Sourdough Bread Alberta: Kaelin Whittaker enables success for all!
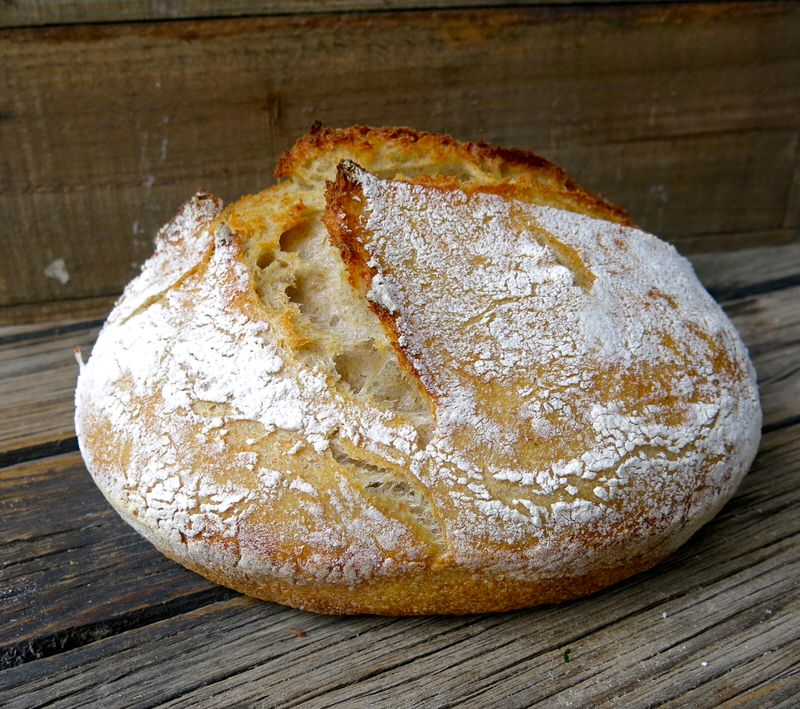
Let’s celebrate for a moment. I have learned so very much. Sourdough bread takes time. A lot of time. Once you “get that”, it is so very easy. Nothing is hard about it, but the knowing. The learning. And the hard part of that, for me, was zero frame of reference.
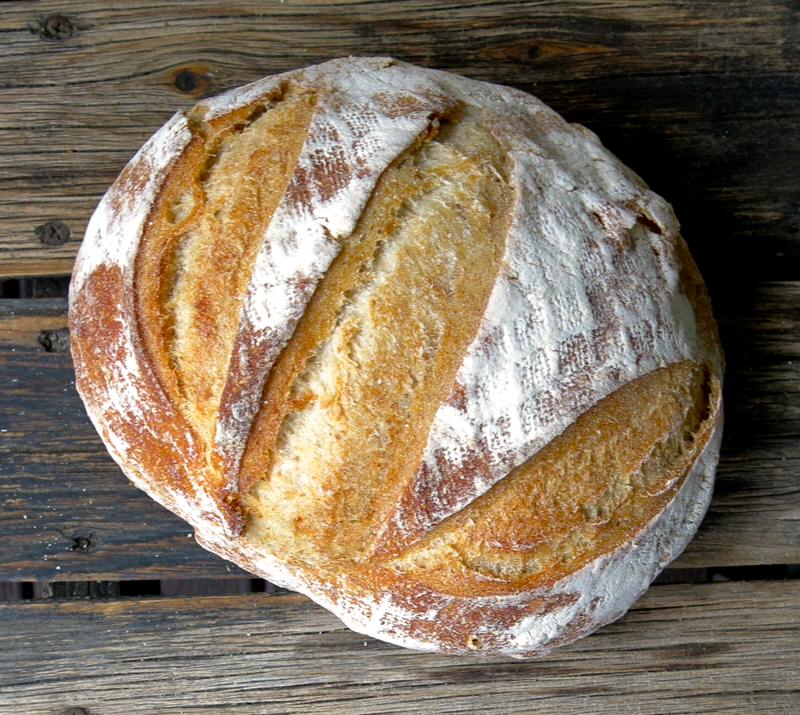
“We’re baking bread, right?” No problem! I know how to do that! Uh-uh! Nope. Notta. Not even a weeny little whittle. 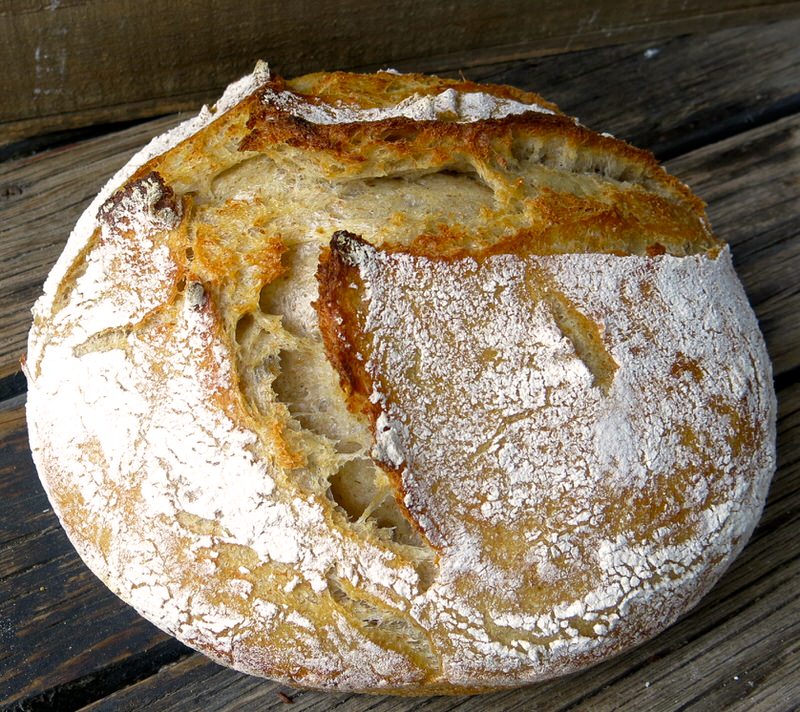
I had no clue that the “big deal” wasn’t just the taste! The “big deal” is the process. It is like making a fine cheese. That, I understand. It took me about three years of making cheese at home to really “get it”, though I had no hook to hang cheese making on, at all. Thus, the confusion. I had a hook to hang bread making on. The sourdough part of that just kept falling off the hook with nowhere to go. Until now.
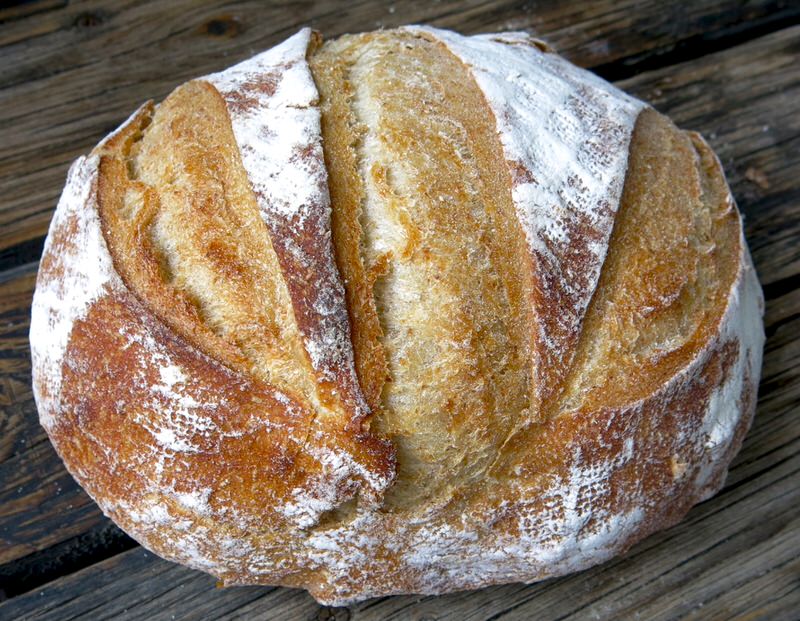
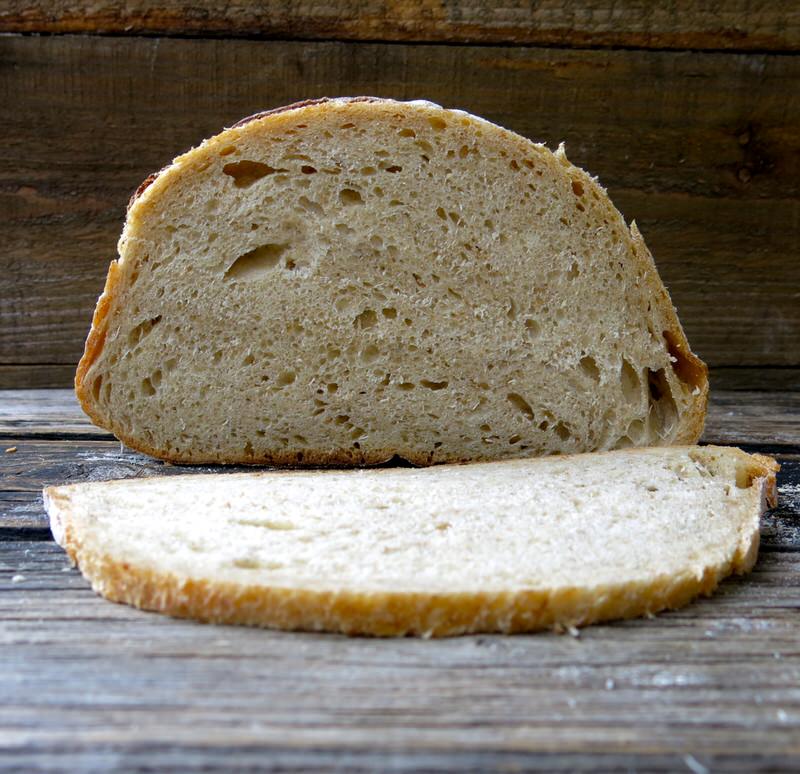
Above is a gorgeous Sourdough Bread in Alberta made by Kaelin in one of her bread making classes. Below is a gorgeous Sourdough Bread in Alberta made by me, all by myself!
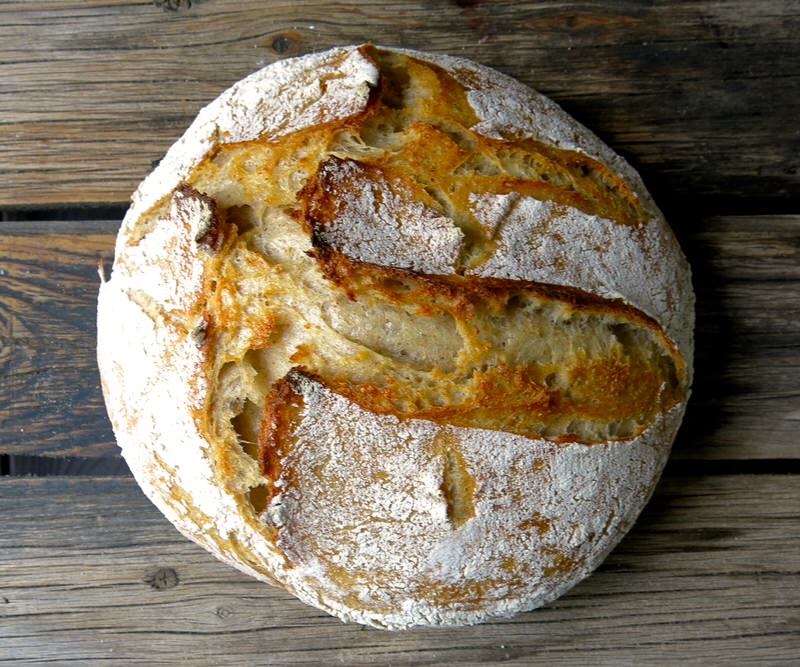
As learned in the previous post about making the Sponge, if left too long, the bread will be dense. Below is the loaf from Kaelin’s bread making class. It is dense due to her attending to the needs of her students before attending to the needs of her sponge. That happens. However, the bread is still delicious, nutritious, economical and a sight to behold. How can one complain about dense?
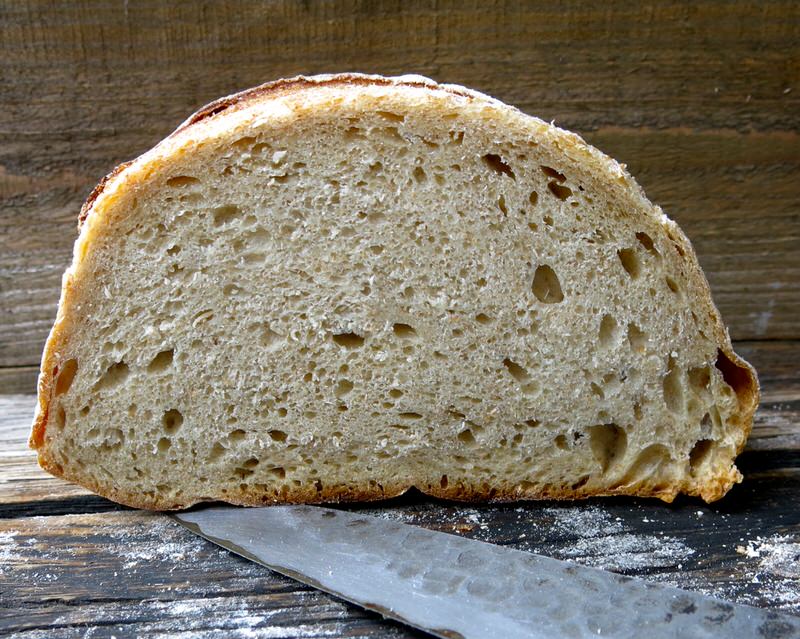
It isn’t even that dense and slices so thinly and tastes of the earth in a wholesome nutty way.
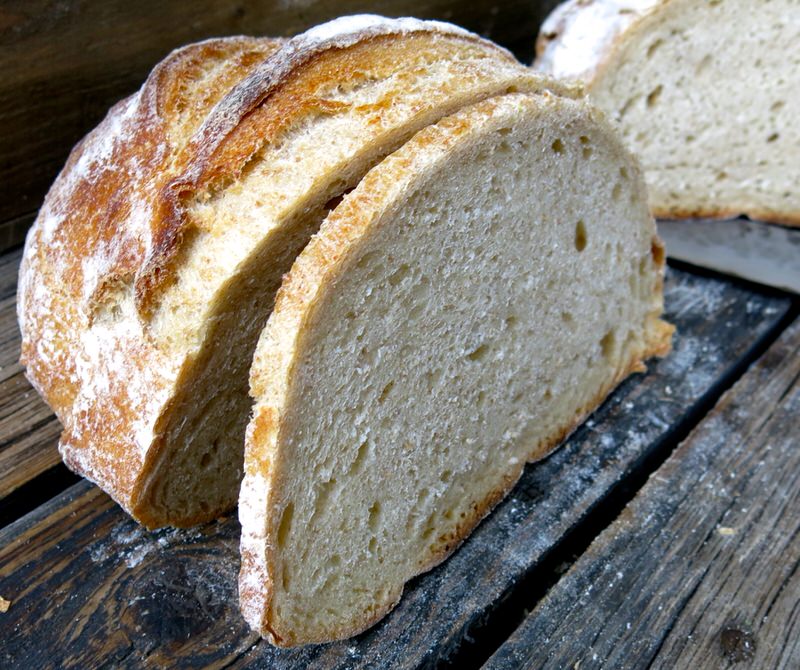
I had many a dense loaf. This would be my eighth, or so. I would be happy for even more holes, whereas when I first sliced into my loaves, holes upset me.
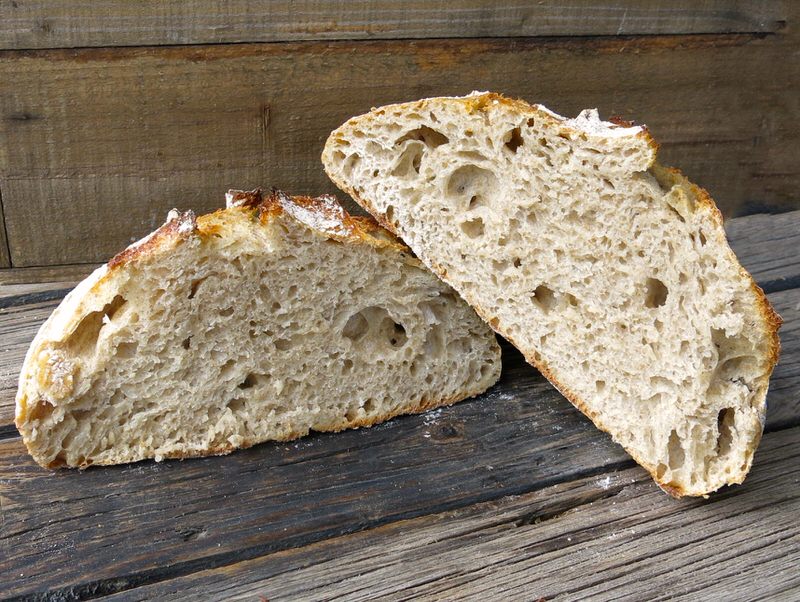
Look at how proud and noble Kaelin’s Sourdough Bread in Alberta appears, below.
Enough self-indulgence. Onto how to make your own Sourdough Bread in Alberta! Caveat: I strongly suggest you use these posts as a reference as I have tried fervently to make them detailed and useful; however, you must take Kaelin’s Sourdough Making Class at The Ruby Kitchen. That experience will provide you with the much-needed foundation of a frame of reference and that other benefit Kaelin so loves about what she does: a relationship. You will meet Kaelin. To meet her is to love her. Seriously. She is a gifted teacher, but her passion alone will motivate you.
Sourdough Bread Alberta: A Review
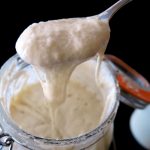
I made your sourdough starter. I fed it for 7 to 10 days and placed in in the fridge for a couple of days. Then, took it out of the fridge three days before I was ready to make Sourdough Bread in Alberta to prepare it to make the Sourdough Sponge. My sponge was made, rested for 90 minutes to 2 hours and passed the float test. Finally: now is the time. Ready to learn how to make the bread! Below, is the sponge.
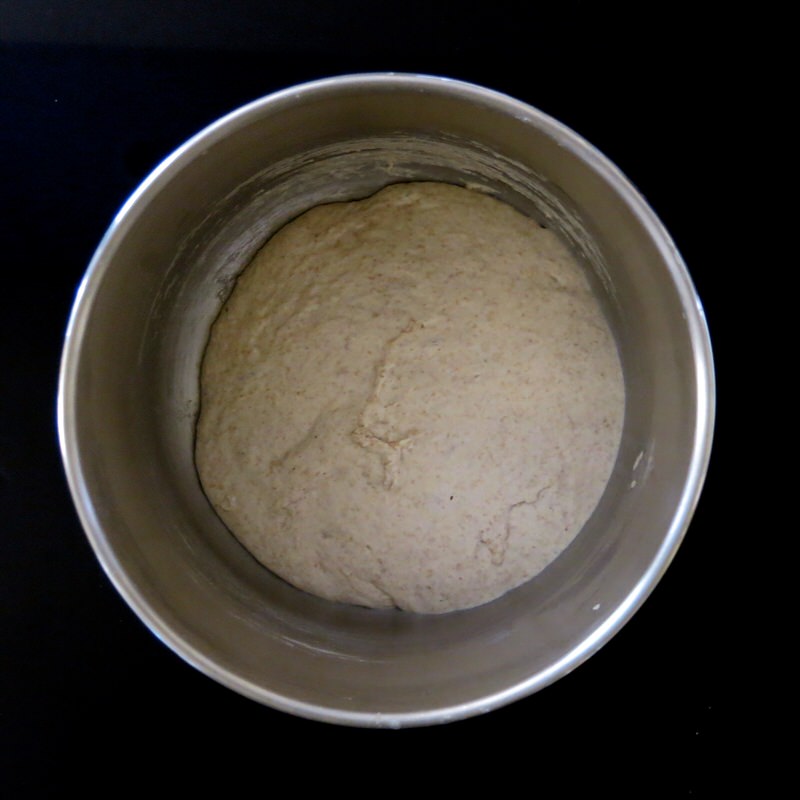
Sourdough Bread Alberta: Making the Bread and Autolyse
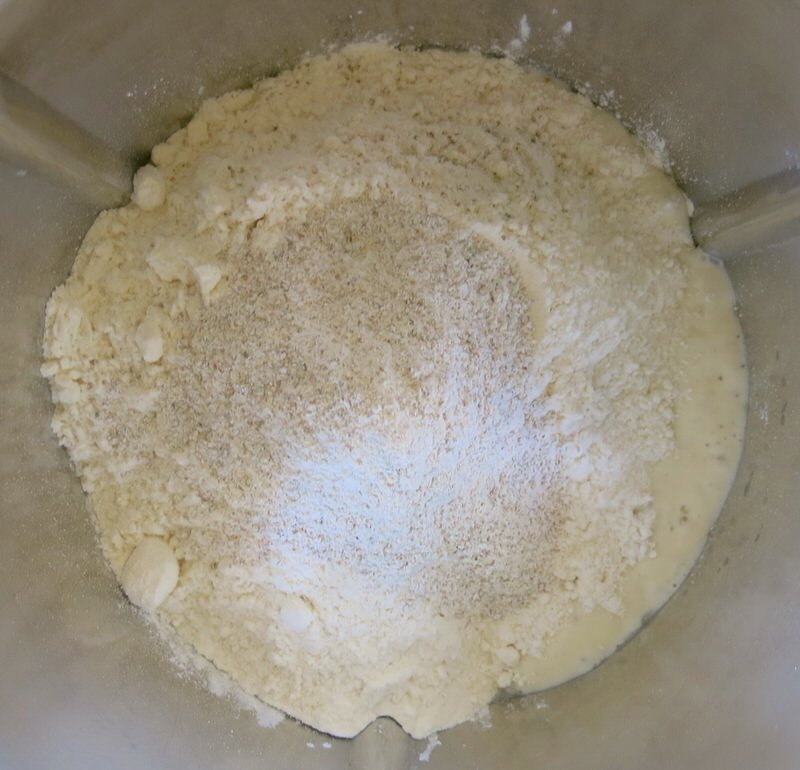
340 grams of sponge went into my Thermomix bowl followed by 230 grams Highwood Crossing organic unbleached flour.
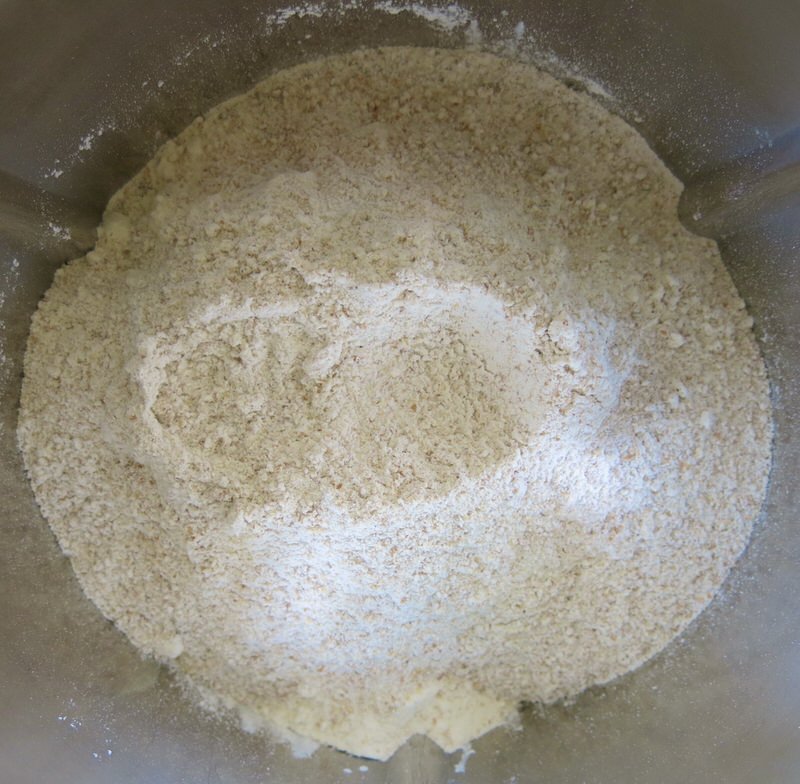
The Gold Forest Grains Rye Flour (20 grams) and Red Fife Flours (90 grams) are also added to the mix with 200 grams water.
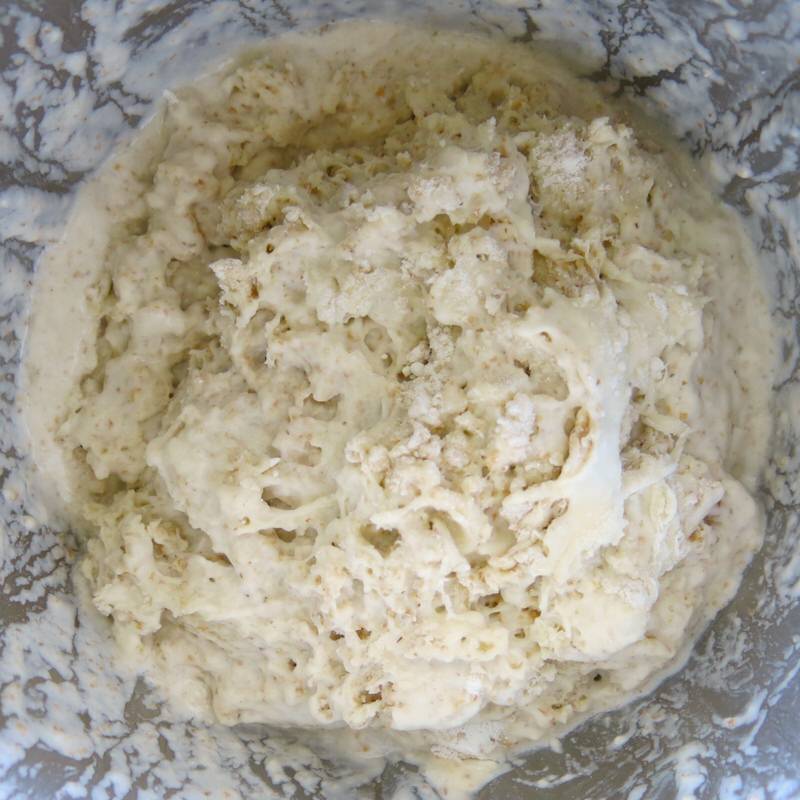
Mix the ingredients until they clump together to form a loose mass. Cover TM bowl with plastic wrap and rest for 20 minutes. This is a technique called “autolyse”. That enables the dough to be easier to work with and shape as well delivering a loaf with better texture, rise and flavour. Do not knead. Simply incorporate all flours until wet, cover the bowl and leave in a warm place for 20 minutes to up to 3 hours. This is when the gluten development begins and simple sugars start to form as starch is broken down. It certainly looked like nothing was happening. I didn’t hear any little snap-crackles-or-pops from the covered bowl, but the texture of the mass becomes smoother and more elastic after this “break”, or process.
Sourdough Bread Alberta: Adding the Salt
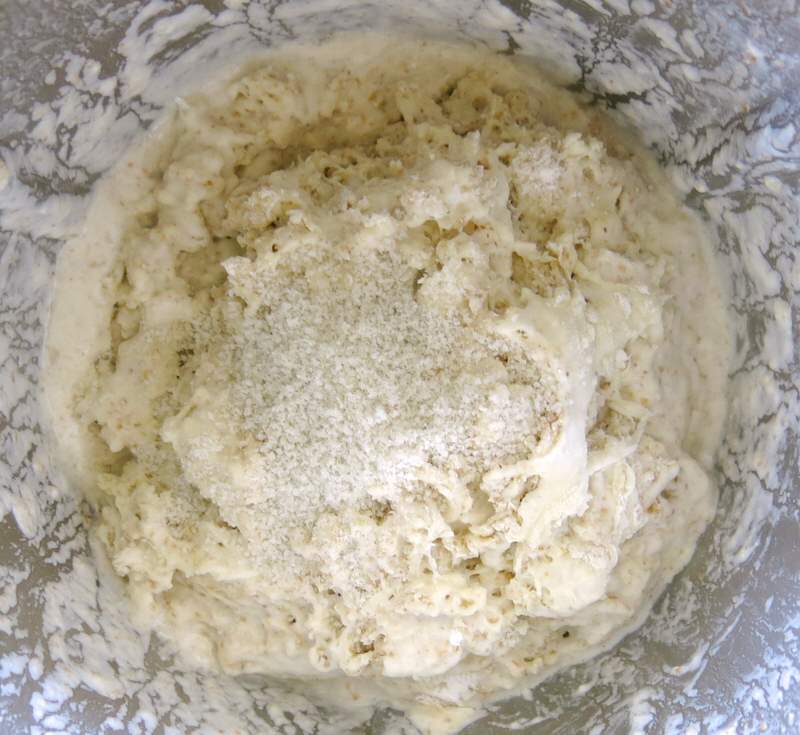
Time to add the salt, as above. Adding it to a tablespoon of water to dissolve it before adding it to the dough also works well.
Sourdough Bread Alberta: Kneading the Dough
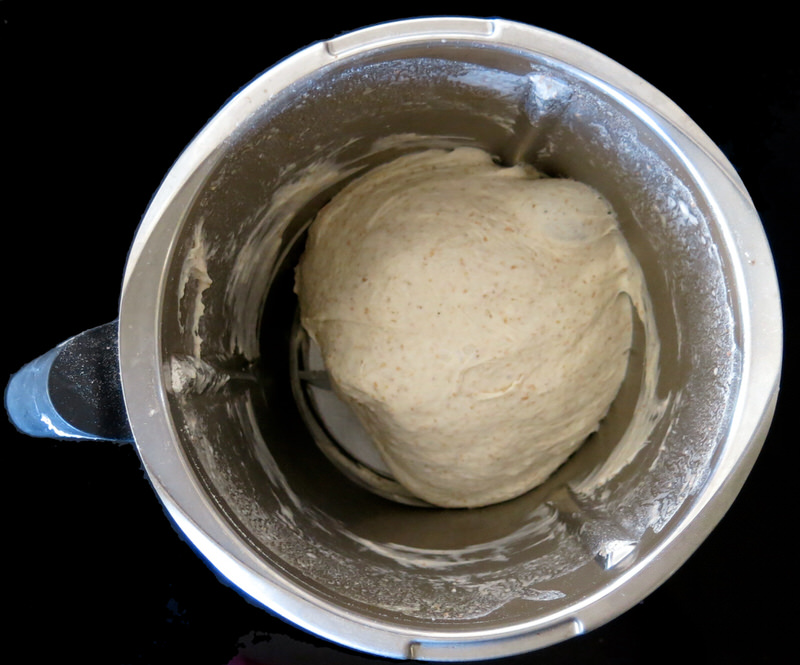
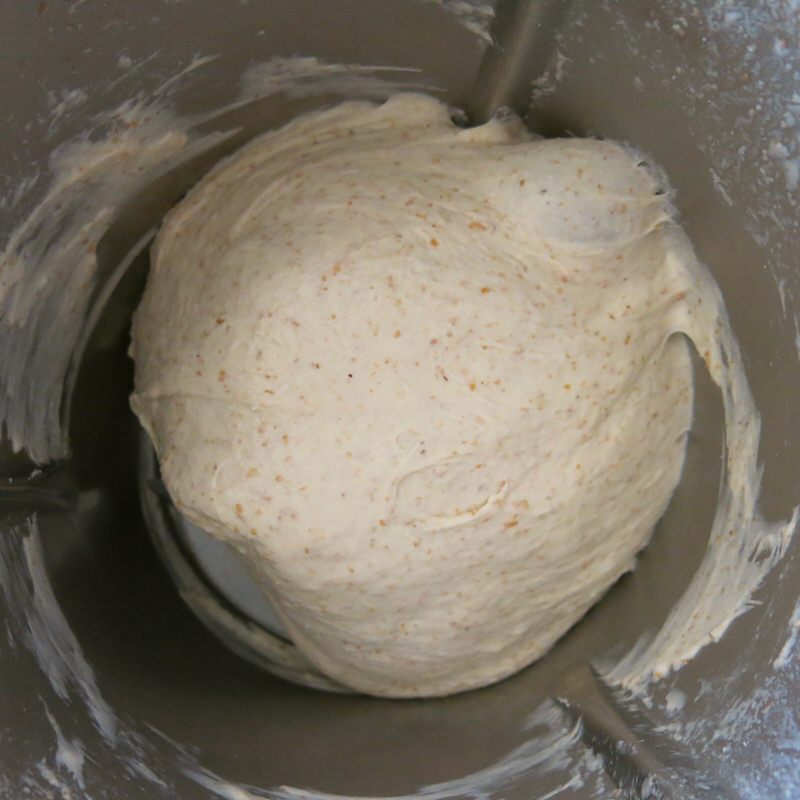
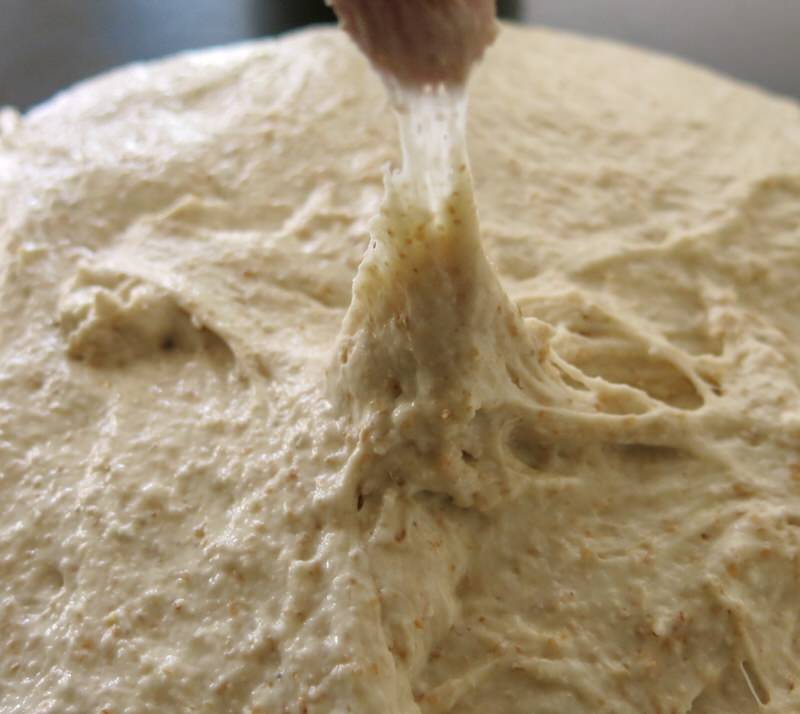
Kaelin teaches how to do this by hand in her classes. She uses her Kitchen Aide when doing it on her own. I learned how to use the Thermomix, but it is not even close to how I would normally knead a non-sourdough bread.Kaelin’s book says to knead until it is no longer sticky, but that didn’t work for me. When we made it together, she told me to stop when it no longer sticks to the sides of the bowl. That worked beautifully for me, but the dough, turned onto the counter was mighty sticky! Look at how sticky, above! Wowsers! So sticky, yet so supple, all at the same time. Confusing, eh? When kneading other bread, you can almost never over knead. With sourdough, keep it low and slow. Over kneading will break down the gluten.
Sourdough Bread Alberta: The Importance of not Over-Kneading the Dough
“Do not over-knead or you will break the gluten!” is the cautious and stern advice given to me by Kaelin. How do I know? What does that mean? Her experience enabled her to touch and pull it to tell if it was “done”. According to The Spruce, wheat flour contains two proteins: gliadin and glutenin that combine to form gluten. The gluten proteins are combined together in a mangle when the dough is first mixed, but as it is kneaded, they align and strands of gluten form to create a pattern within the dough that works to create strength and structure, trapping gasses and enabling a better rise. Fermented dough enables yeast and enzymes time to break down the mangled up proteins without kneading and the gas produced by the yeast inflates the dough, therefore sourdough requires very little kneading to line up the gluten strands. I like that. Over kneading can rarely be done by hand. But, using the Thermomix or a Kitchen Aide, it is possible to break down the molecular bond with the gluten and the strands will break.
How can you tell when enough is enough? Better to err on the side of less is more with a sourdough. You can also check gluten development with the “Windowpane Test”. Pull off a chunk of dough and stretch it with your hands. It should stretch to form a very thin translucent sheet, without tearing. For me, I timed the knead to 1.30 minutes in my Thermomix: the dough just pulls away from the bowl at that time, and I stop kneading and it seems to work. So, that is what I watch for.
Sourdough Bread in Alberta: Resting the Dough
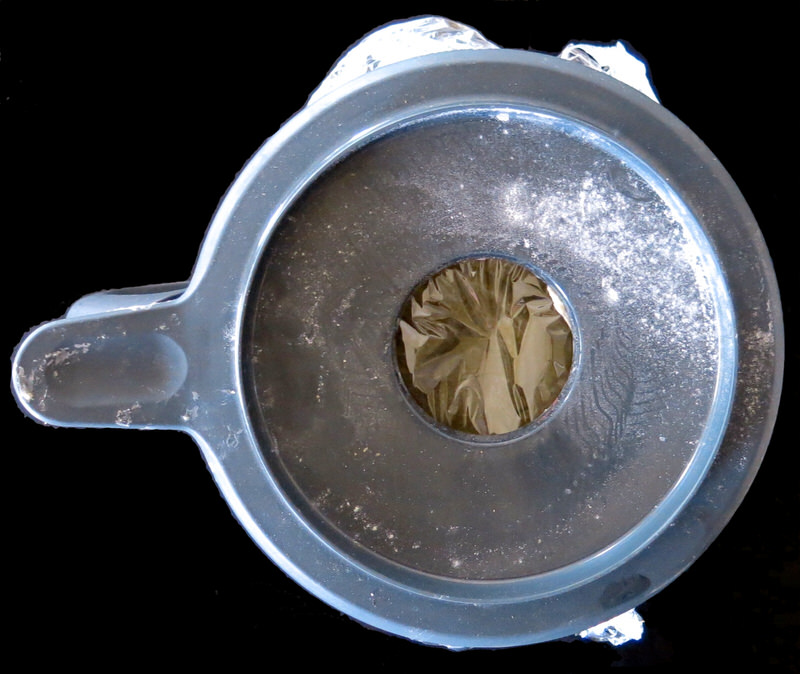
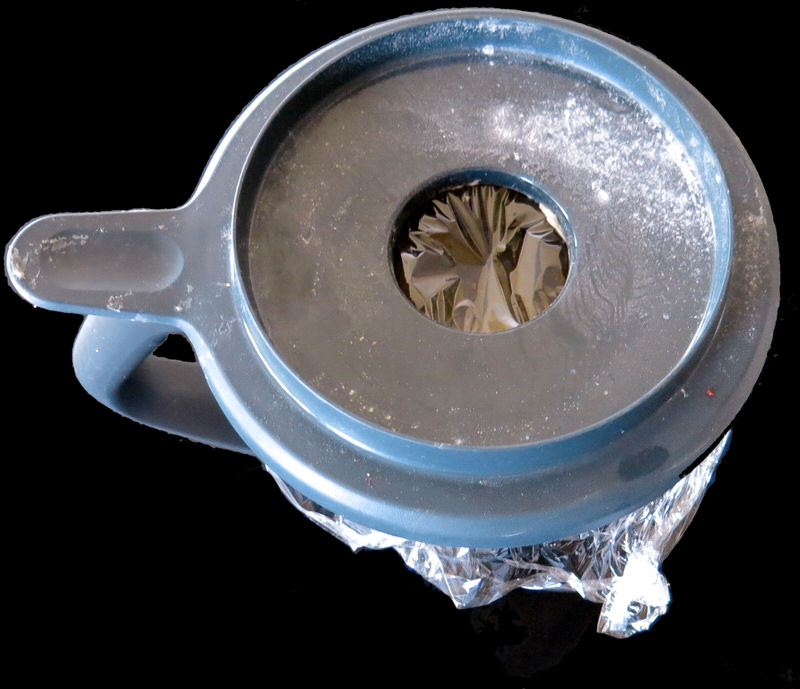
Above, the sourdough was kneaded for a very short period, until it just pulled away from the bowl, then covered with plastic wrap inside the bowl to avoid movement and rested for a good 2 hours, or overnight in the fridge.
Sourdough Bread Alberta: Folding the Dough
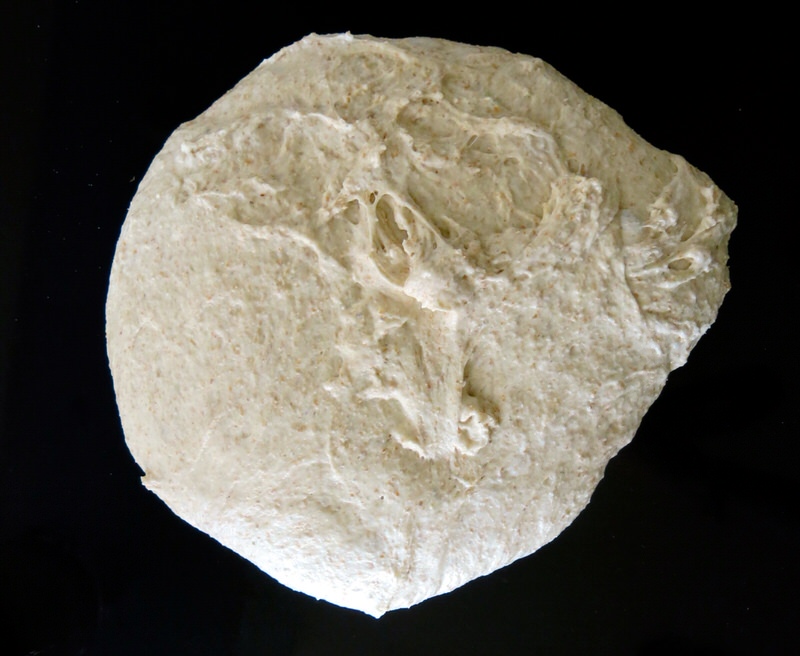
After resting, plop on a non-floured the counter or work surface. Carefully and quickly, use a D-shaped spatula (pictured below) to move the mound into a dough-ball. If placed in the fridge overnight, remove from fridge and bring to room temperature (about one hour): proceed to make the dough-ball.
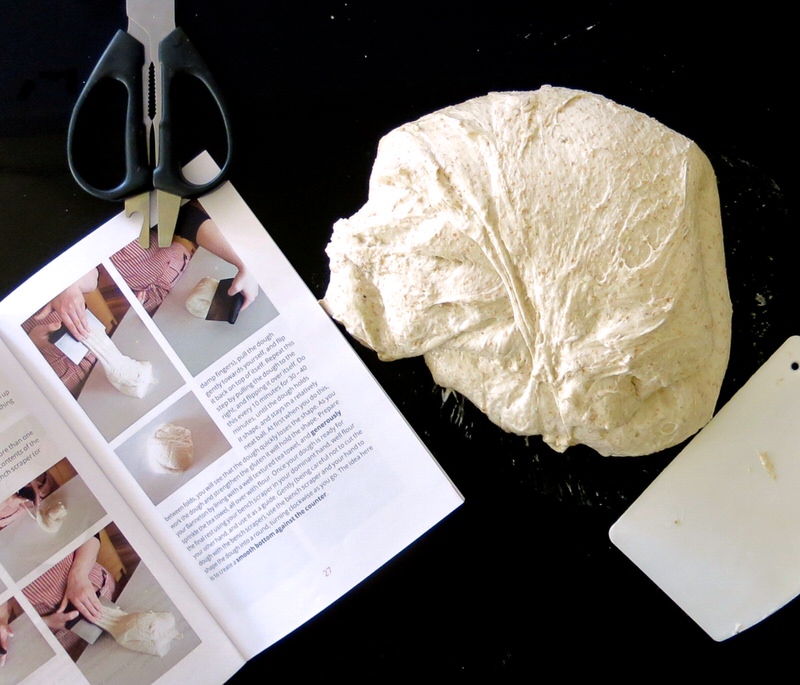
Kaelin has written a very detailed sourdough making guide with step-by-step photos that she should get published. It is brilliant and mine is tattered and torn, worn and loved, beloved, read and stained. Above, the scissors hold it open so I can read the instructions while I fold the dough.
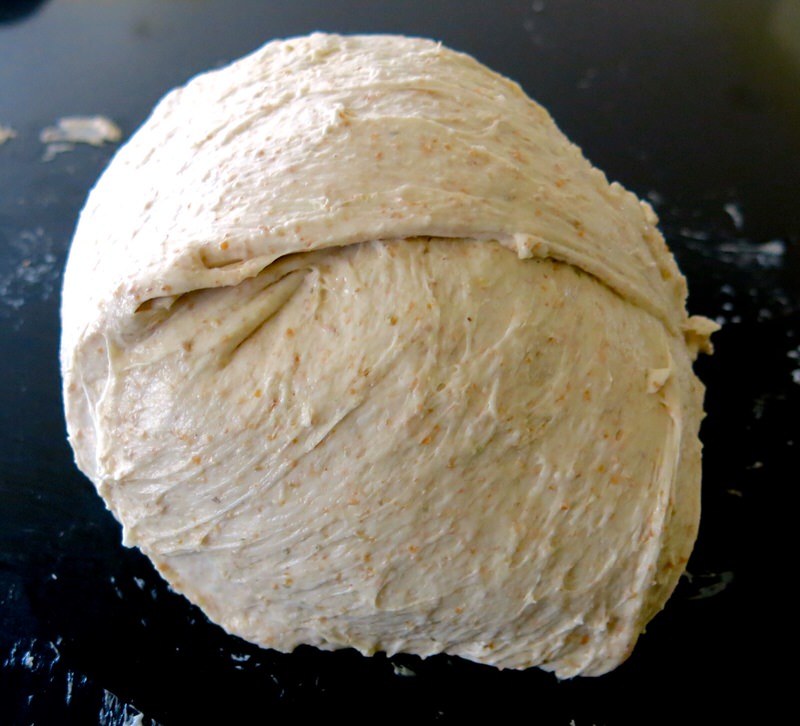
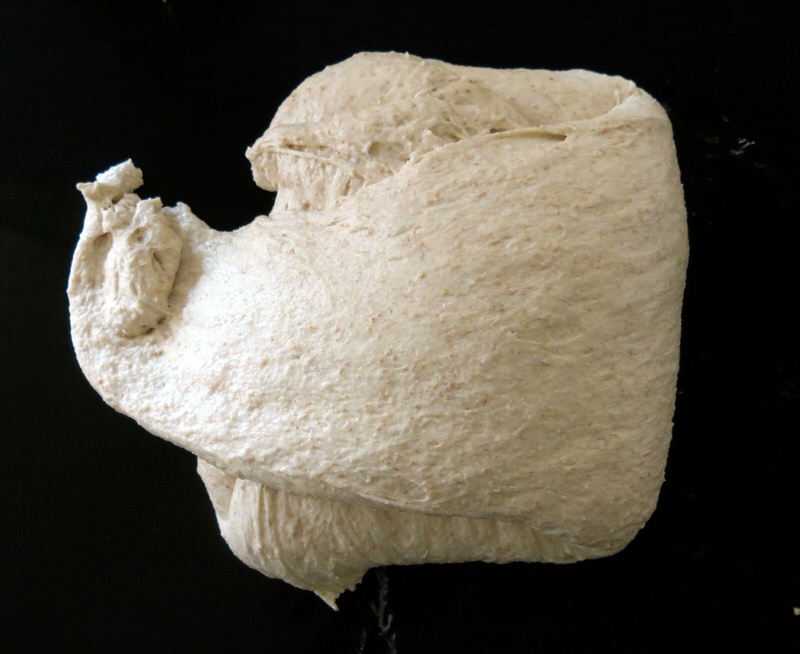
What? Fold the dough? Oh, those of you that make sourdough with your eyes closed, stop laughing at me. I was agape when Kaelin looked at me and explained that I am to use the spatula by sliding it under the dough-ball to grasp a section or side of it (that will happily stick to the hand-spatula) and stretch it out and away from the dough-ball, then up and over it to lay back on top of itself.
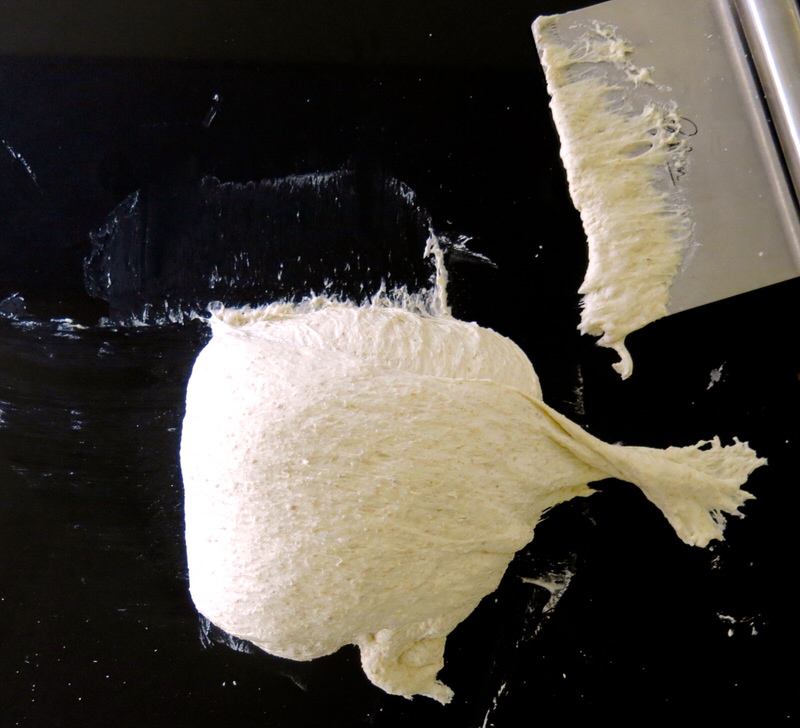
Do it on one side, and then on another. Only two times. Two stretches and folds from two different sides of the dough to fall completely back over the dough. Rest for 10 minutes after doing the 2 folds, and then repeat the process for the next 30 to 40 minutes until the dough-ball holds its shape.
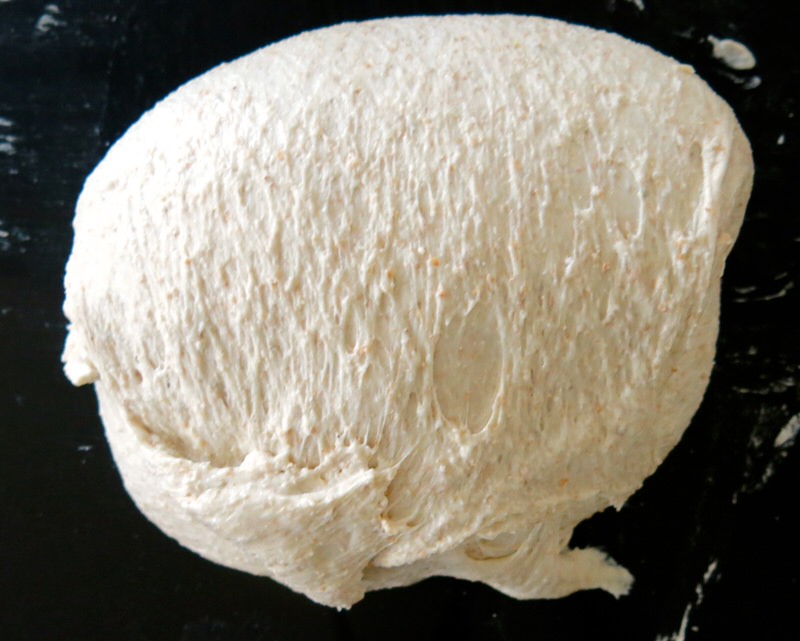
At first, it will slouch, but as the process is repeated, you will notice the dough no longer slouching, but holding its own as the gluten strengthens. When it retains the shape of a ball, you can stop this process.
Sourdough Bread Alberta: Prepare the Banneton or Proofing Basket
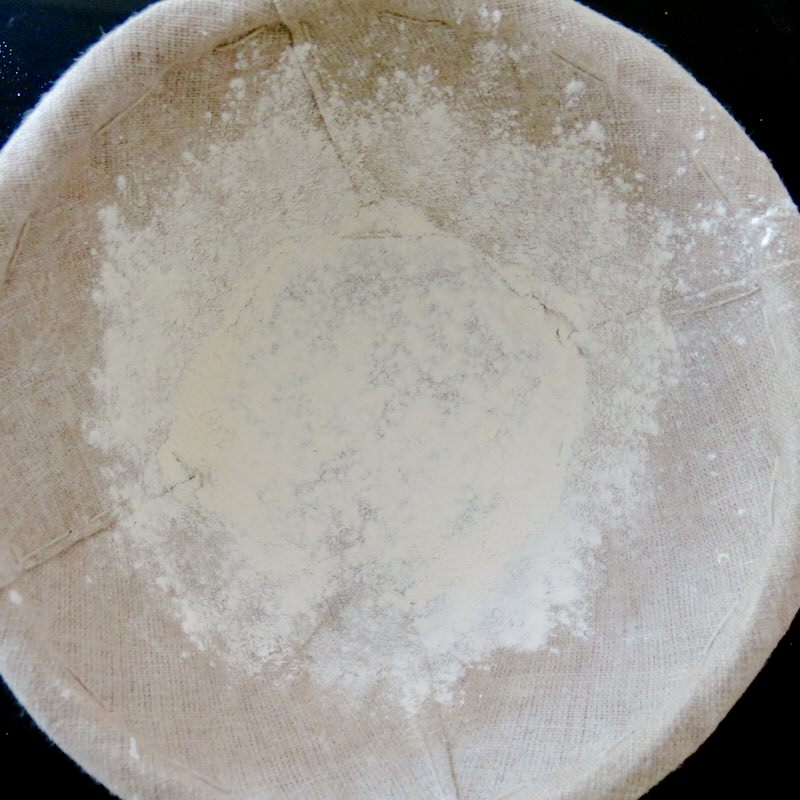
Mine is lined and works well with larger loaves, I learned. Line yours with a textured thicker tea towel that is well floured.
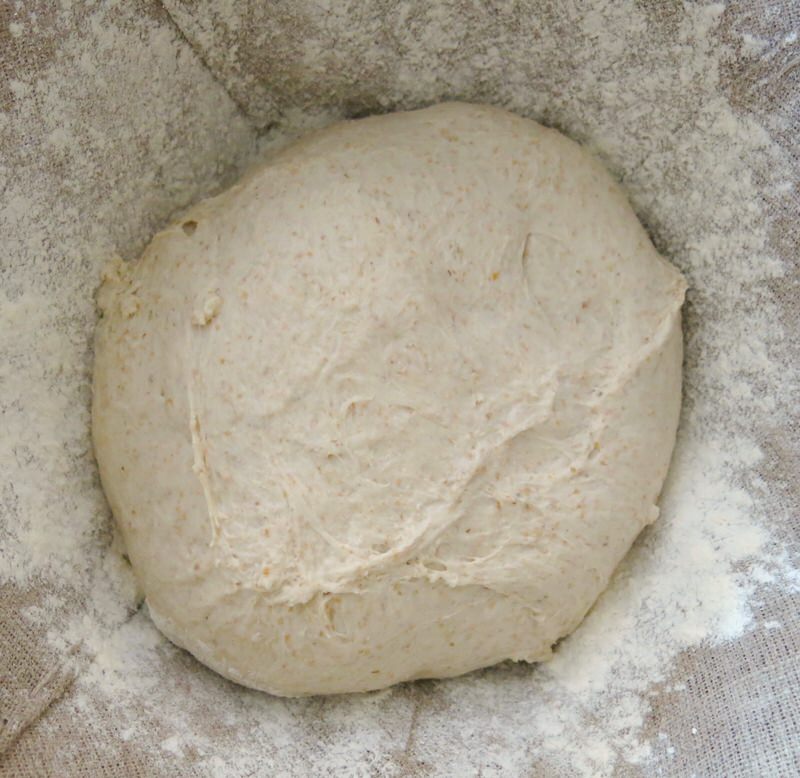
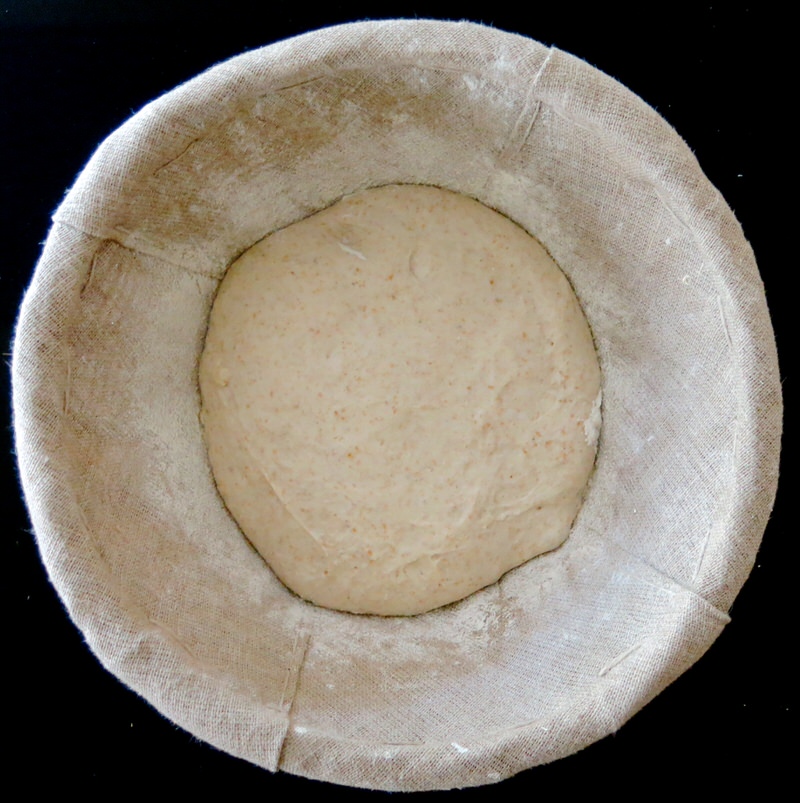
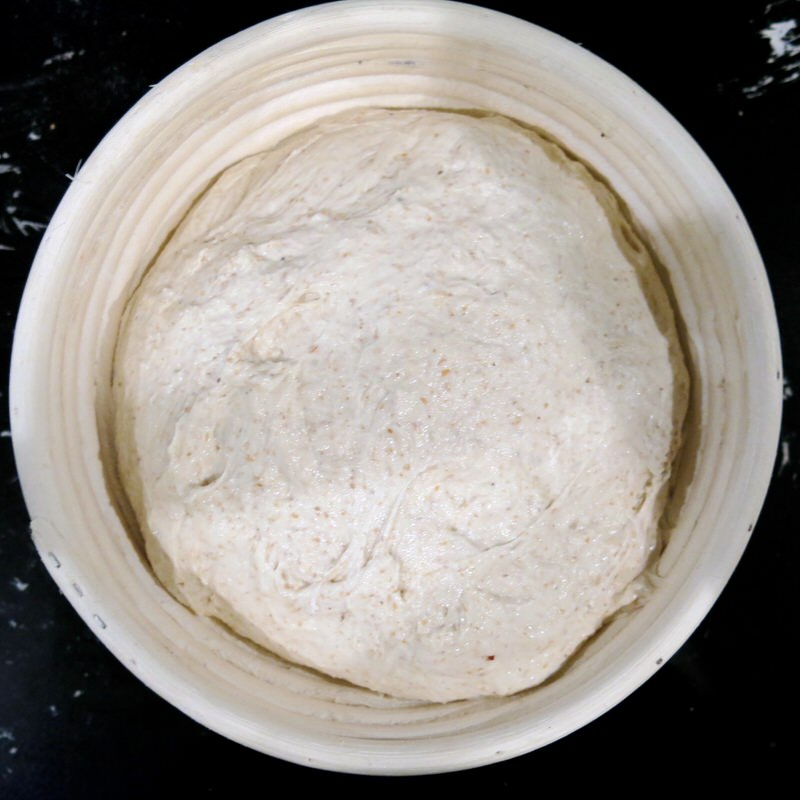
I tend to learn the hard way. I believe I have mentioned that more than a few times. The lined proofing basket works superbly for a double loaf. This size is too small as it is difficult to have control of the proofed dough when plopping it into the hot cast iron pot when so big.
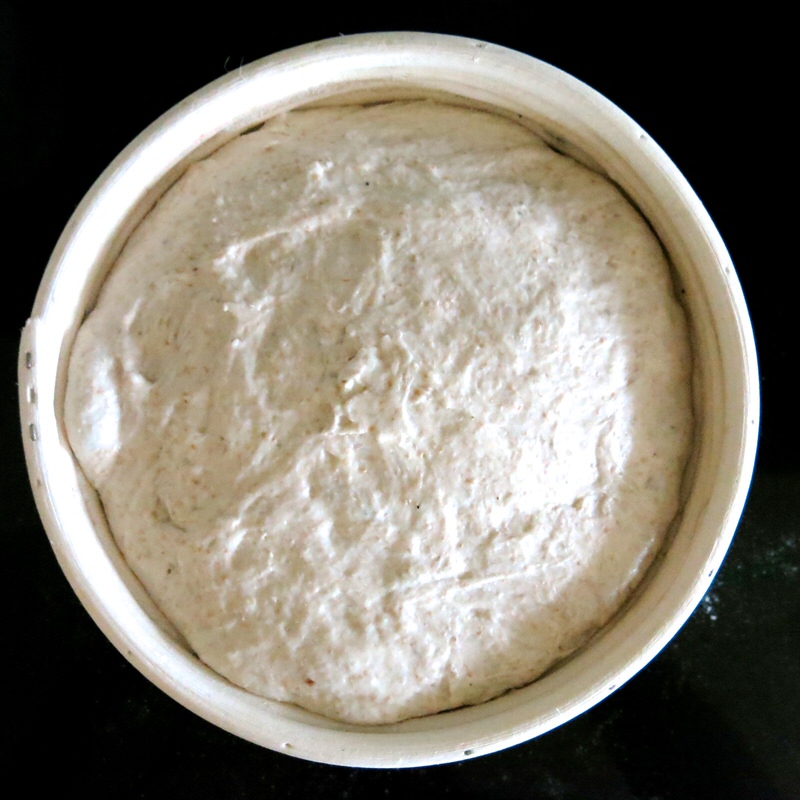
Sourdough Bread Alberta: Shape the Dough into a Ball for the Final Rest
The Banneton in size small, from Kaelin, is perfect for this recipe. However, I have never lined mine before as I had never made sourdough bread. The dough is sticky and the banneton must be well lined.
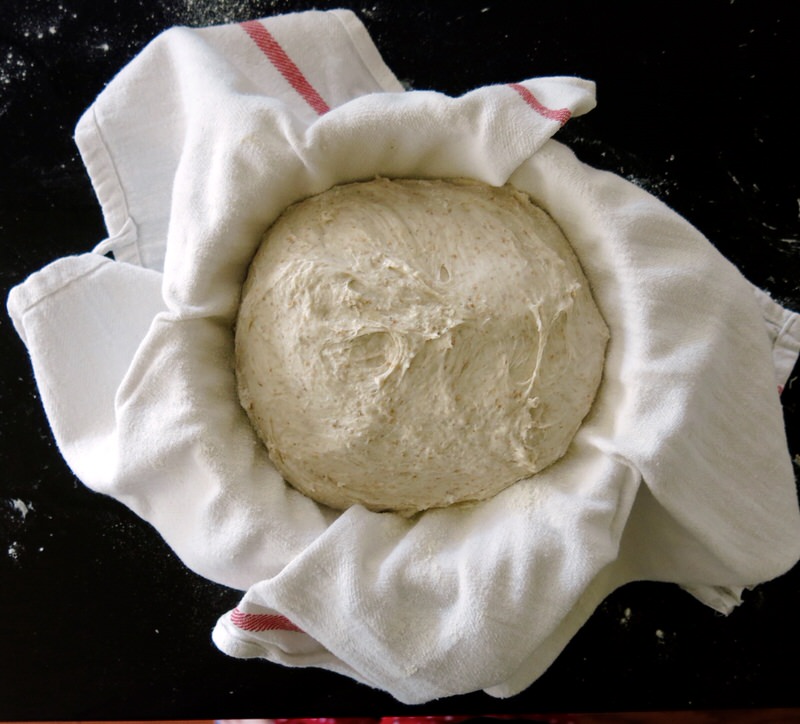
Before placing it into the prepared banneton, the dough must be shaped into a nice ball. Use a D-shaped bread spatula or bench spatula against the base of the ball, turning it with your other hand to form a uniform ball. The idea is to “create a smooth bottom against the counter”. Gently pick up the dough ball with the spatula or scraper and place it upside down into the banneton: smooth side up.
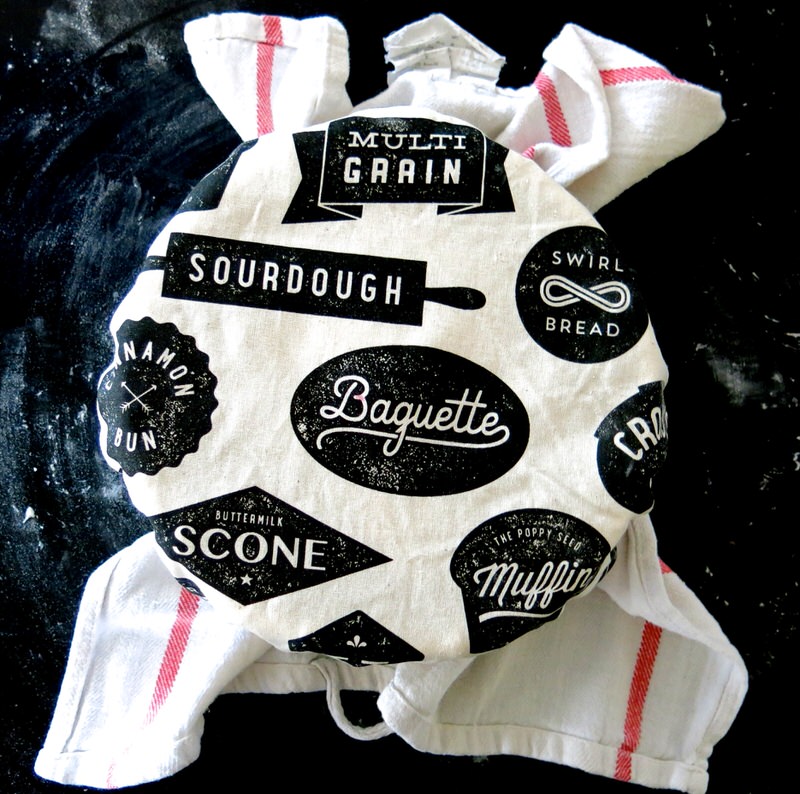
Gently cover with a tea towel. I had a lovely little cover that came in handy. Rest another one to two hours until when pressed gently with a finger, the indent remains. Before it is ready, if it has rested one entire hour at room temperature, you can also cover the banneton with dough inside in plastic and place in fridge overnight or for 8 hours and bake in the morning.
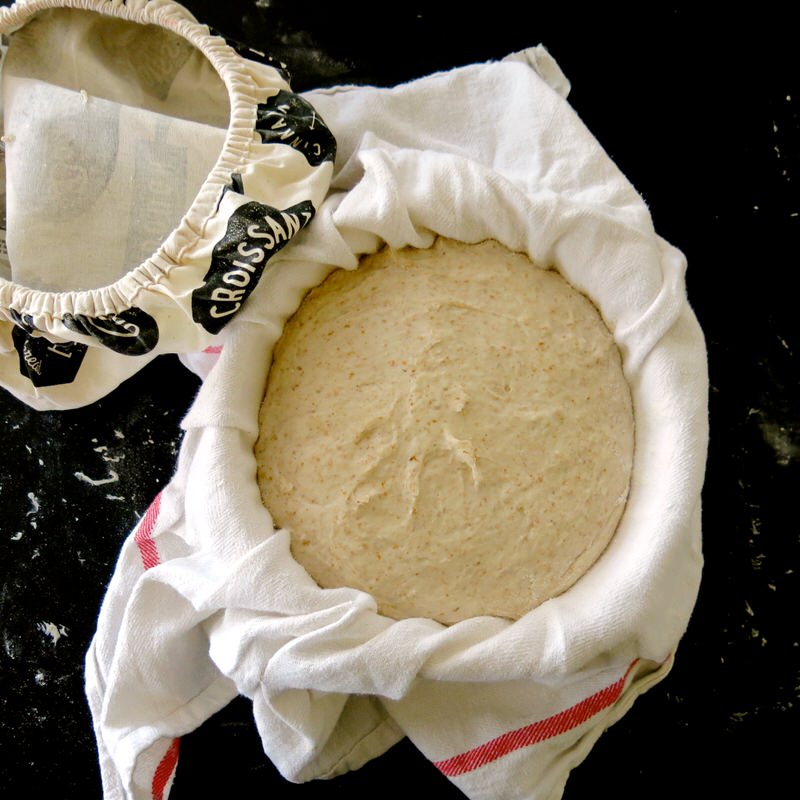
Look at the gorgeous rise. When ready to bake, preheat the oven to 500F and have the heavy cast iron pan in the oven a good 20 minutes at 500 F, or longer.
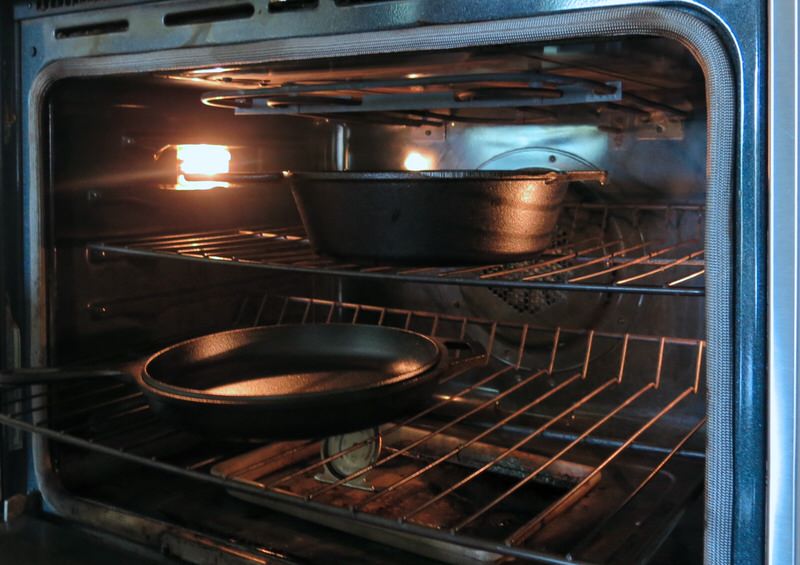
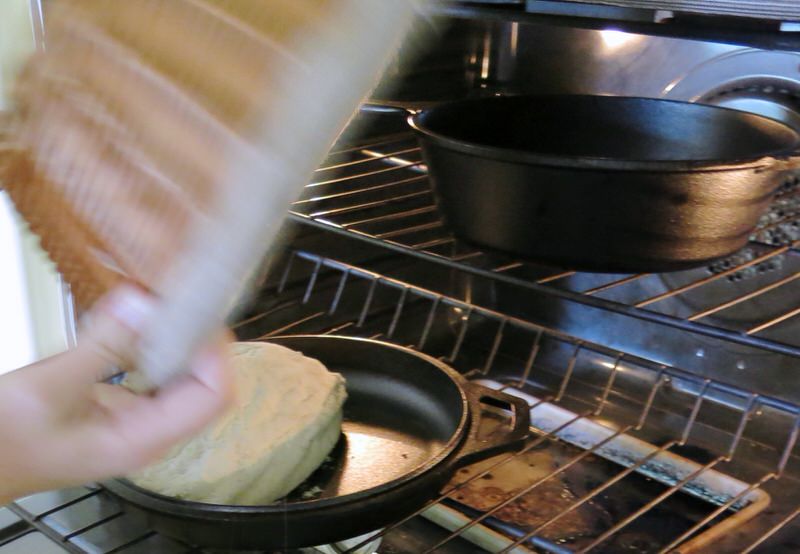
Once the cast iron has had time to heat completely to 500, quickly open the oven, turn the proofed dough into the bottom of the pot, in the middle, quickly and slash top with a very sharp knife.
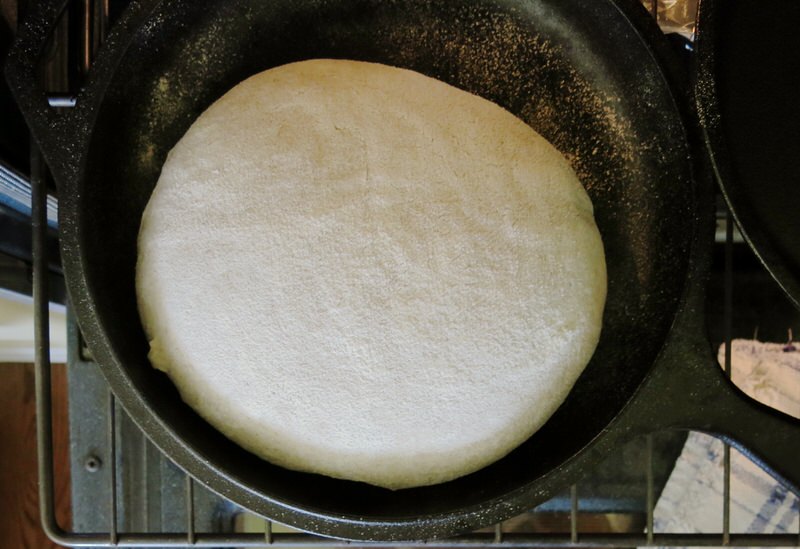
Above, with my proofing basket. Below, with the banneton.
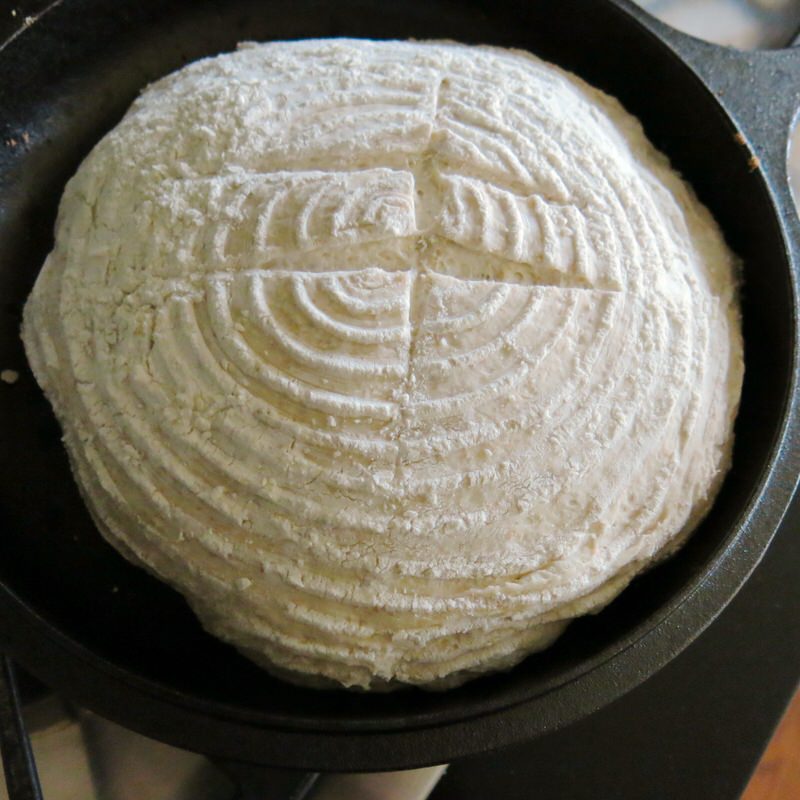
I tend to slash as above. Each baker has their own signature “slash” or “score”. Kaelin’s is below. I am still working at determining mine. Just getting it done is a triumph with the rapidity required to not lose any heat from the oven, get the dough in the pan, score the top, place heavy, heavy lid on top and close oven door quickly.
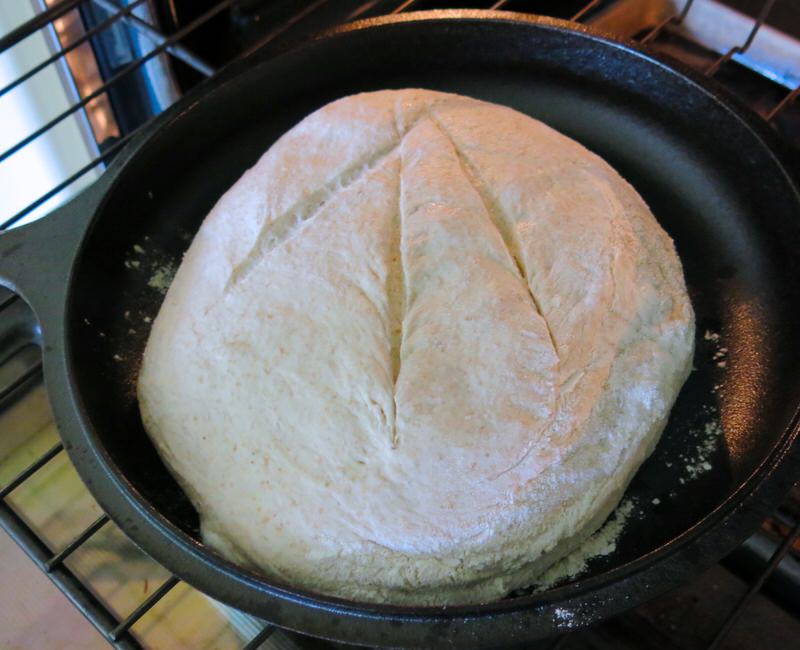
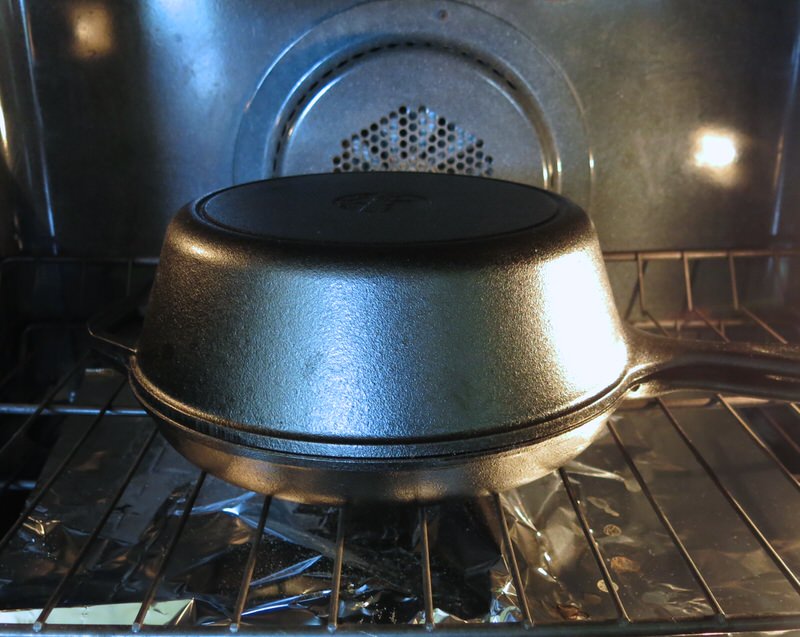
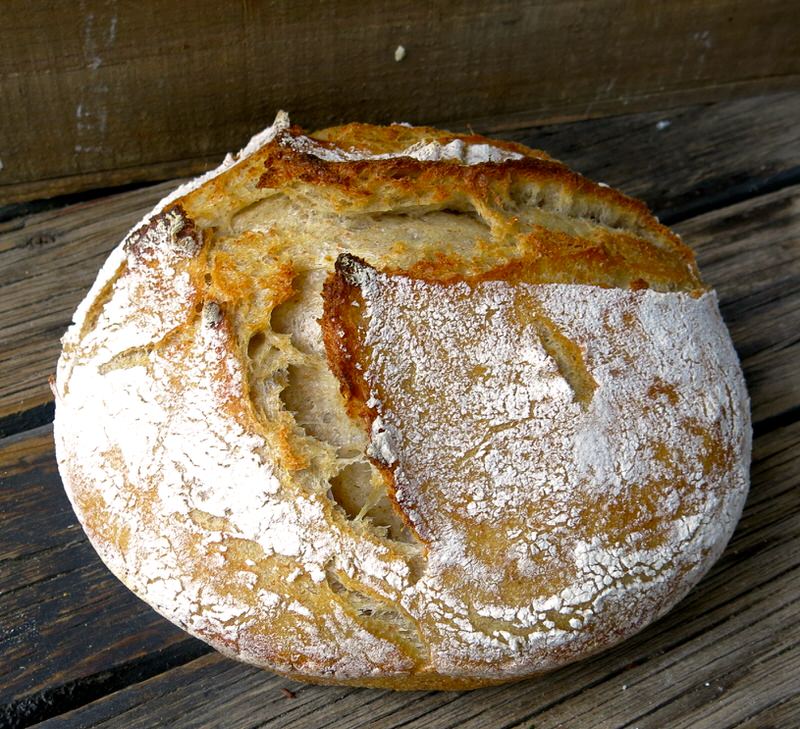
Bake for 30 minutes, but that’s not all. This is where I can compare this part to baking French Macaron. It is as important to know your oven and oven temperature with sourdough, too. Kaelin finds that 10 minutes at 500F, then reduce heat to 450 for 5 minutes, remove the lid in next 5 minutes and bake the remaining 10 without a lid at 400F, reducing the heat one last time. She will tell you that all of these variables will need to be adapted to your own home oven. I have found that lid on at 500F the entire time works for me and resulted in the loaf pictured below.
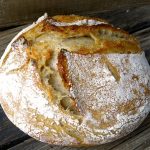
Kaelin Whittaker’s Sourdough Alberta Bread Recipe: Larch Park Wild
Detailed step-by-step recipe for Sourdough Alberta Bread from Kaelin Whittaker of The Ruby Apron, founder of Real Bread Alberta. From start to finish, before baking 7 hours to 7 hours 20 minutes, then 30 minutes bake time.
Ingredients
Ingredients:
- 340 grams Sponge made from Active Starter
- 200 grams water
- 230 grams Highwood Crossing unbleached organic all purpose flour
- 90 grams Gold Forest Grains Red Fife Wheat Flour
- 20 Grams Gold Forest Grains Rye Flour
- 5 grams organic wheat flour
- 10 grams organic salt
- 20 gram water
Instructions
Step One: Combining Flours and Water
-
Place all ingredients in a bowl, except salt; mix ingredients together to form a loose dough
-
Cover with plastic wrap; rest 20 minutes
Step One: Combining Flours and Water in Thermomix
-
Place all ingredients in TMbowl, except salt; mix ingredients for 5-7 seconds at speed 4-7 until ingredients just clump together
-
Cover with plastic wrap; rest 20 minutes
Step Two: Knead using Kitchen Aide
-
Dissolve salt in water; add to dough mixture and knead 10-12 minutes on low until smooth and no longer sticky (do not turn up kneading speed or gluten may break)
-
Cover with plastic wrap; rest 2 hours OR
-
Cover with plastic wrap; rest overnight in fridge (if made after 6pm)
Step Two: Knead using Thermomix
-
Dissolve salt in water; add to dough mixture in TM bowl and knead 1 minute 30 seconds until dough pulls away from sides of bowl
-
Cover with plastic wrap; rest 2 hours OR
-
Cover with plastic wrap; rest overnight in fridge (if made after 6pm)
Step Three: Folding the Dough
-
Plop rested dough onto un-floured work surface or counter; using D-shaped spatula or bench scraper, pull dough out from under one side of the mass, up and over the dough and flip it back on top of itself
-
Rest for 10 minutes; repeat 3 to 4 times (30 to 40 minutes) until dough holds its own ball shape
Step Four: Proofing the Dough
-
Line Banneton with well floured tea towel
-
Using D-shaped spatula or bench scraper in dominant hand, guide dough with floured non-dominant hand; turn dough clockwise to shape into ball (resulting in smooth dough ball bottom)
-
Place dough ball upside down in lined Banneton with D-shaped spatula or bench scraper; cover with tea towel and rest 1-2 hours OR
-
Place all in well sealed plastic bag in fridge overnight after resting one hour(if after 6pm)*
Step Five: Baking Sourdough Bread
-
Insert cast iron pan and lid into 500 F oven; heat all 20-30 minutes
-
Pull out bottom of cast iron pan; gently flip dough into it (bottom will face up)
-
Slash or score top with very sharp knife; quickly place top over dough, slide rack back into oven and close oven door
-
Bake for 10 minutes; reduce heat to 450F
-
Bake for 5 minutes; remove lid quickly
-
Bake for 5 minutes; reduce heat to 400
-
Remove from oven at 30 minute mark; remove from pan and cool on wire rack
-
Rest for a good 20 minutes before slicing and slathering with butter
-
*Test if ready to bake: gently press dough; if indent remains, it is ready to bake
Recipe Notes
*Test if ready to bake: gently press dough; if indent remains, it is ready to bake






Well done! This experienced SD bread maker (who always learns something new) realized I should have been heating the lid of cast iron Dutch oven separately from bottom. Thanks for that and great illustrations!
Kaelin will be thrilled to read your message as she is my mentor!
Happy Holidays!
Valerie
I’m new to sourdough, so,of course have tried many recipes. This will always be my go to! Easiest and best!
Thank you, Amour,

Kaelin will be tickled to hear this!
Valerie
Thanks for sharing a great recipe! I’ve been following it a couple of times and the bread turns out excellent! Quick question regarding doubling the recipe to make a larger bread. Would you know what’s the best time at each temperature step?
Thanks
Sorry – no, AINA,

Valerie
Where can I find all the flours with those specific brand names in calgary
I would imagine you can find them in the phone book or search google? I know they sell at the farmer’s markets there.

V
You can get all these flours at Calgary Coop- all western Canadian, and some are organic.
Yup. We have a great thing going here. A good guy takes a truck down to Calgary periodically, loads up big huge bags of flour for those of us that put in our orders, and we have great flour here.

V