Homemade Oven Baked KFC Chicken: Deboning Instructions, Video and Step by Step Images
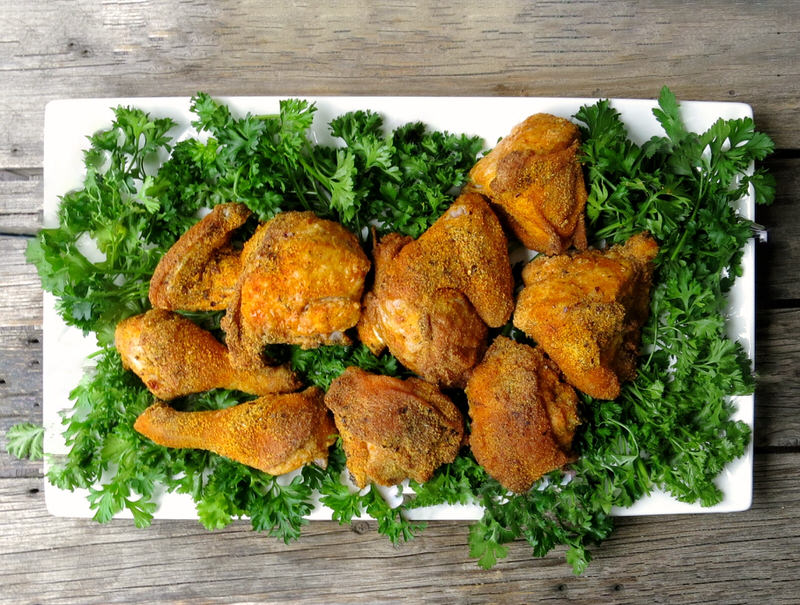
Homemade Oven Baked KFC Chicken: A Chatterton creation and family favourite. How lucky are we to get this exclusive recipe from our own locally famous female Butcher, Elyse Chatterton? Pretty darned lucky! Look at that crispy flavourful skin! And the colour! Sublime. Simply, and it really is “simply” – so sublime!
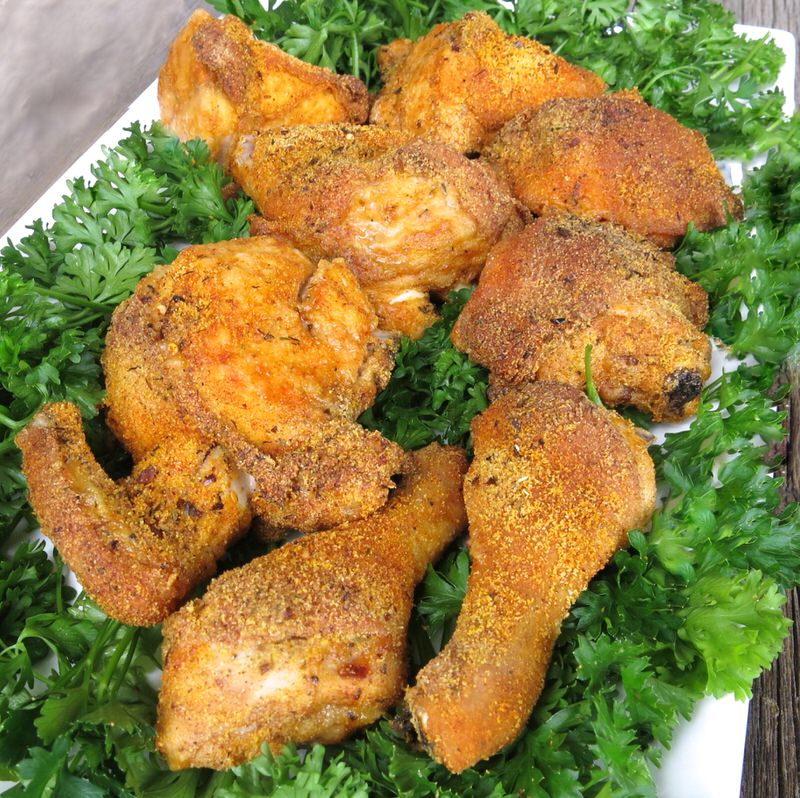
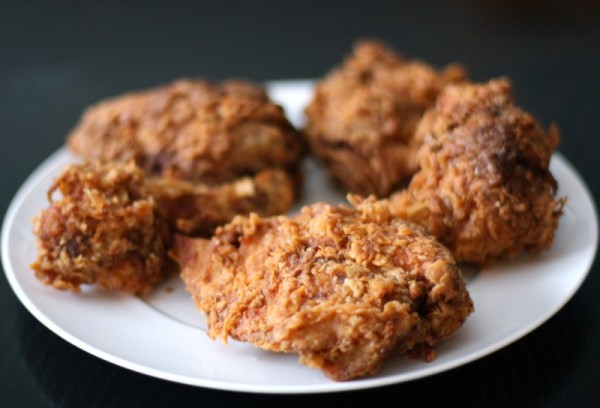
Forgive me Colonel Saunders, but your famous chicken is disgusting. Outrageously delicious – yes. Exceptionally unhealthy – definitely! Non-humanly raised chickens, likely. “Though urban legends about KFC mutated chicken are good for a laugh, on a KFC chicken farm, the chicken is 100% real [how they are raised is 100% secret]—just like the Colonel’s time-honored secret recipe.” To enjoy the lip-smackin’ goodness of this delicious Southern Fried Chicken concept in a much healthier form, Chatterton Oven Fried Chicken is your answer!
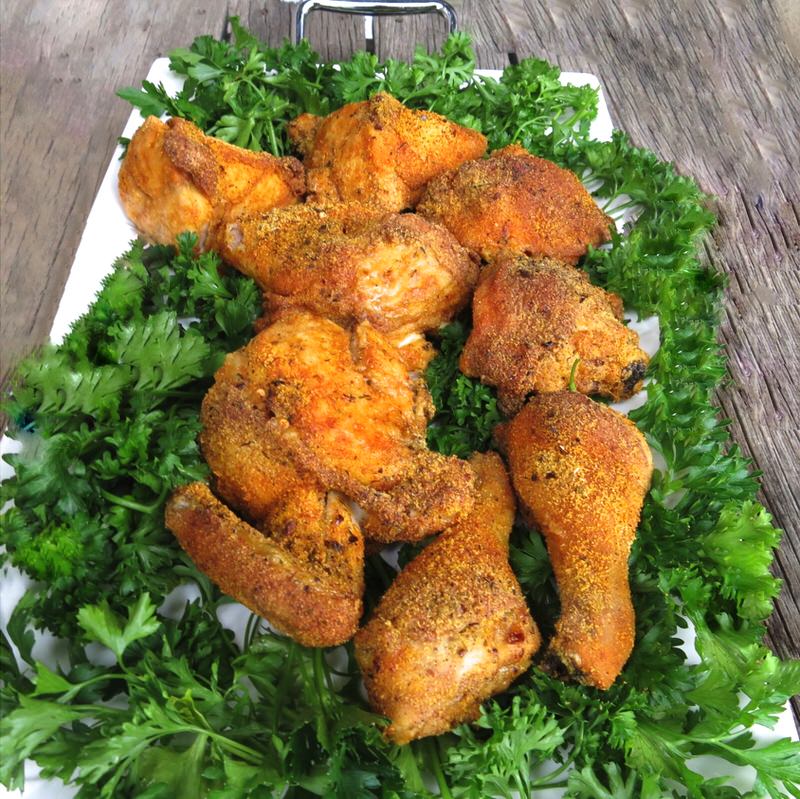
The Alberta prairies are plump and pleasured with lovely whole farm fresh chickens humanely raised ready for traditional frying or for this very tasty and healthier recipe for oven fried chicken created by Elyse Chatterton from Life Without Lemons.
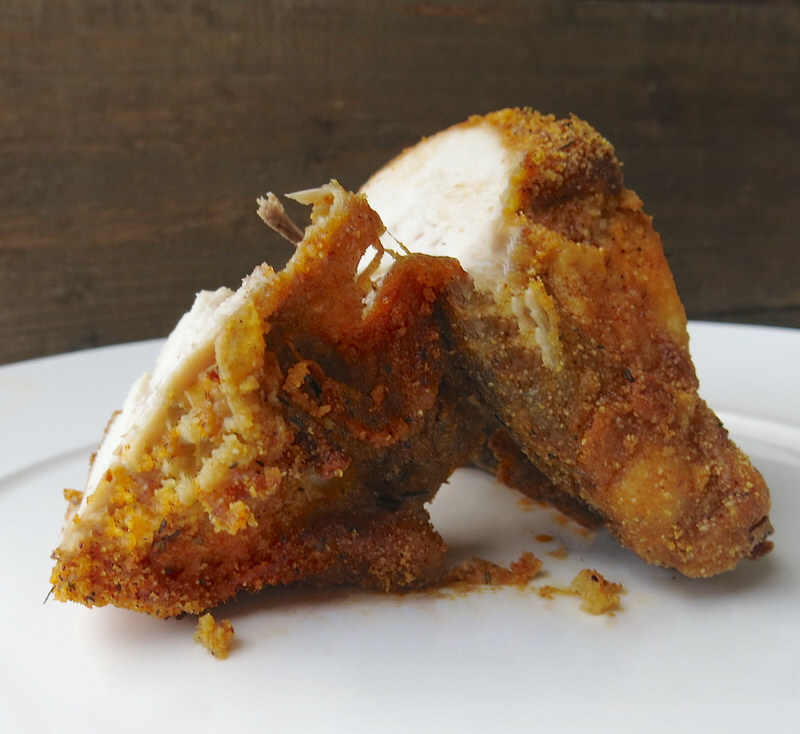
Above, strutting the runway, may I present a little juicy leg?
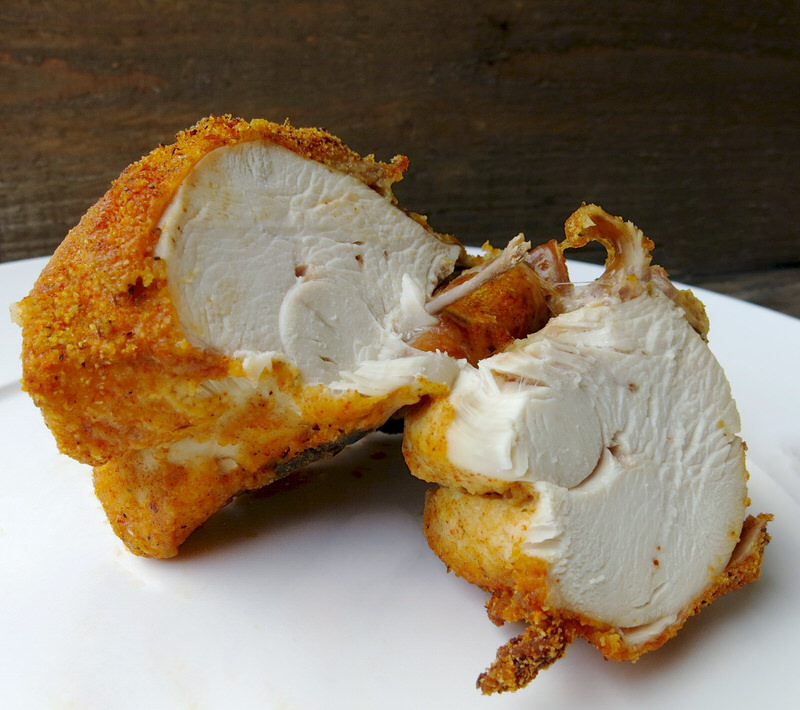
How about an ample breast?
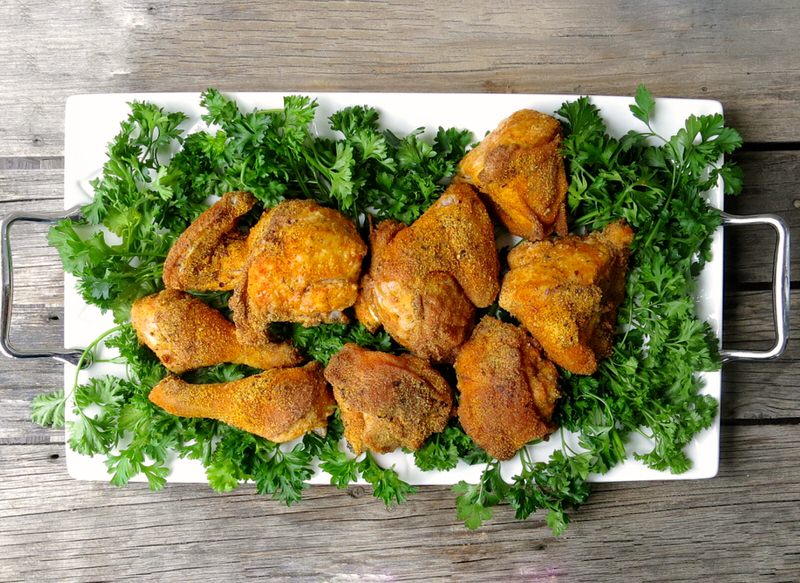
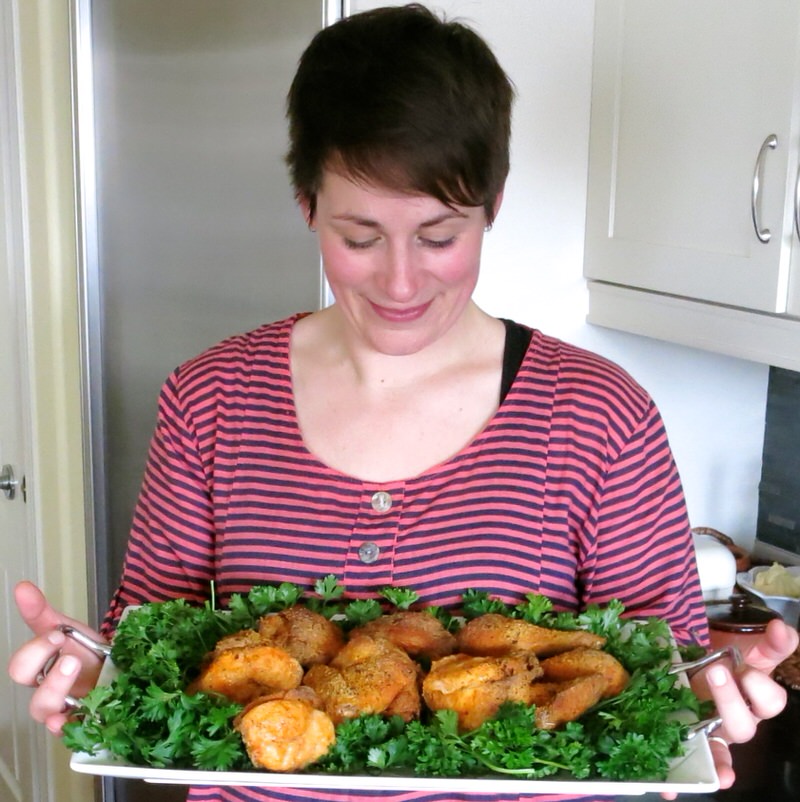
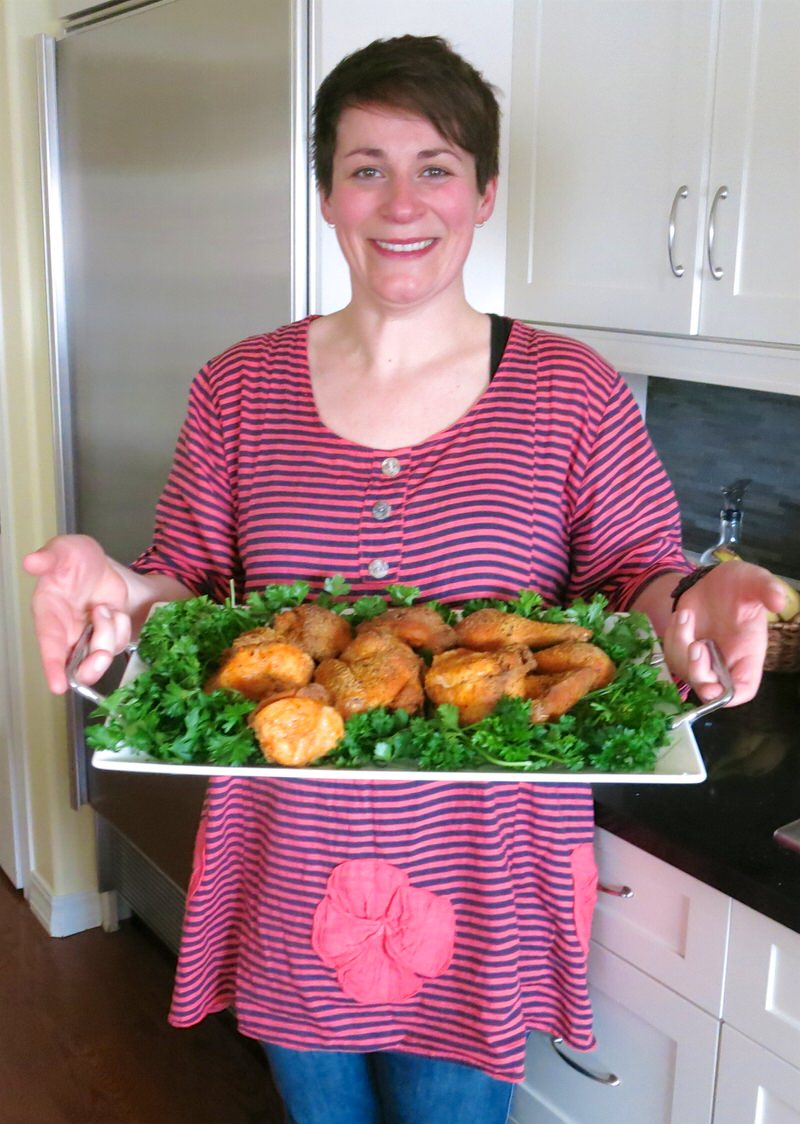
One entire chicken butchered into eight gorgeous pieces, rubbed with the magic mixture and baked until crisp, golden and juicy, above. Simply irresistable.
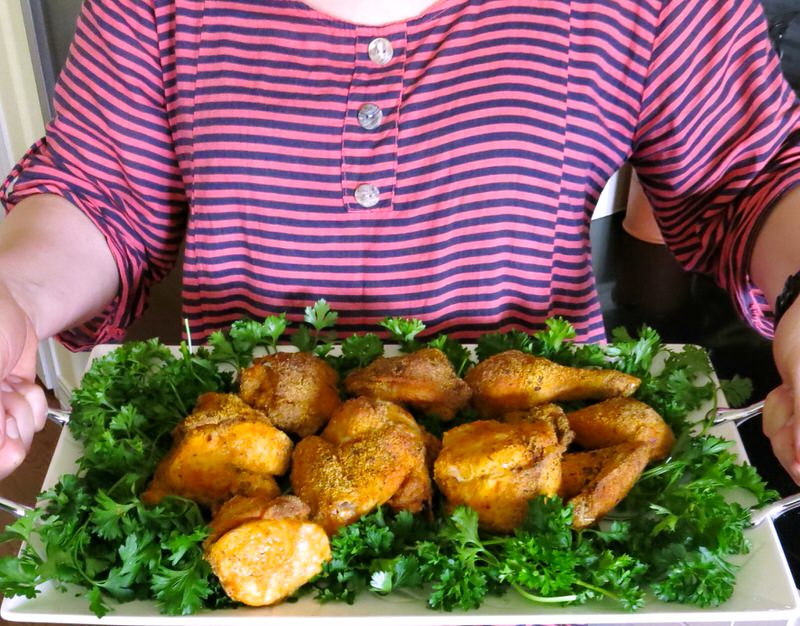
After introducing Elyse, and Project 2017, the idea within is to walk each of you through the chicken butchering process via step-by-step images, detailed instruction and 7 purposeful videos: one for each part of the butchering process. All, so you can prepare your meal right along with us!
Homemade Oven Baked KFC Chicken: Meet Elyse Chatterton at Life Without Lemons
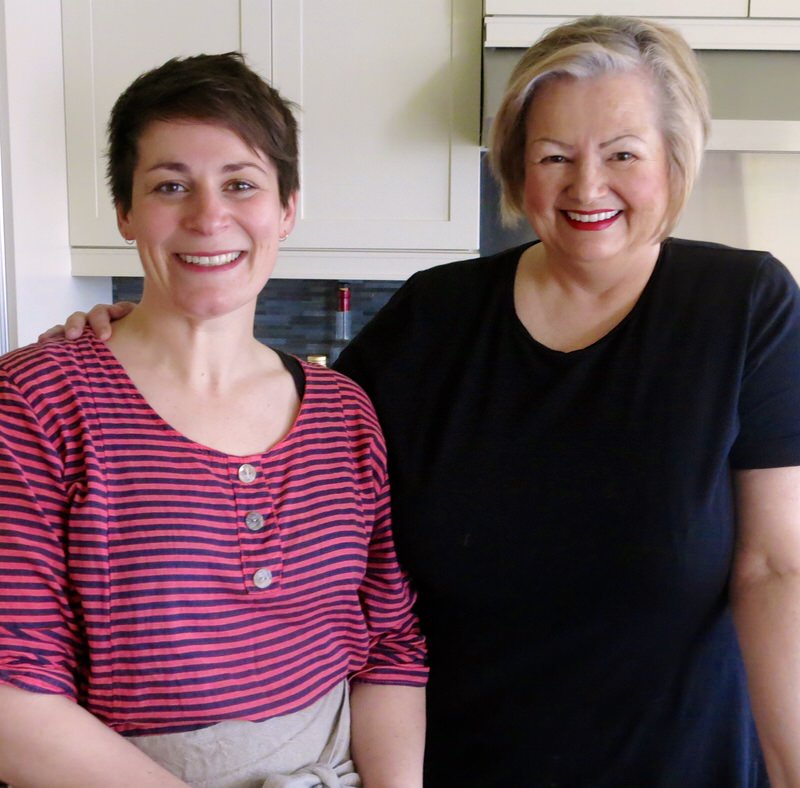
I first met Elyse Chatterton from Life Without Lemons when she presented at Eat Alberta in 2014. Elyse, you will discover, if you have not met her yet, is an exceptionally talented formidable force, to say the very least. I have remained in awe, ever since. Elyse is a classically trained English butcher from Out Rawcliffe, England, who moved to Alberta in 2011 when her husband was offered the position of Deputy Chief Forensic Toxicologist for Alberta. That was six years ago. She says she can’t say it is forever, but can’t say it isn’t, either.
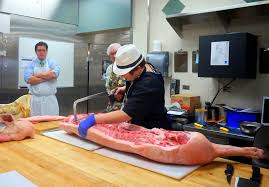
They first settled in the lovely new neighbourhood of Windemere in Edmonton, but Elyse said, “I am not designed to live in the city!” and 4 years later found an acreage near South Cooking Lake where the family has lived happily this past 2 years. Married in 2003 for 12 years, Elyse and her husband have 2 sons, Harry 11, and Alfie 7. She is one busy Butcher Mama!
Elyse had finished school at 16 and was due to go to college in the fall for art and graphic design when her auntie and uncle were short staffed at their butcher shop in Out Rawcliffe. She stayed with them for the summer to help them out and discovered she absolutely loved the work. The family really needed her help, so it was a perfect fit. The formally took her on as an apprentice at 16, and she was classically trained by her auntie when her friends and classmates were going to college to do their A levels.
Elyse started her trade under the guidance of her family when at just seventeen years old and has been butchering ever since, in England. However, she had not planned to do so when moving to Canada. However, she happened to meet Kevin Kossowan on Twitter, and attended a pig butchering party at his house. They compared cuts and processes. Soon, he videotaped and interviewed her about how to butcher a pig English style called “Pig Day”. For a window into Elyse’s world, this is a video worth watching!
Since moving to Alberta in 2011 started her blog, Life Without Lemons, for the folks at home to keep in touch with what she and her family were doing. After meeting Kevin, she began to work with the Sangudo Growers Association, Sangudo Custom Meat Packers, Shovel and Fork, and presently works parttime at Tofield Packers and with Kathryn Joel teaching classes at Get Cooking Edmonton.
Allan Suddaby taught a chicken butchering and frying class at my house in 2012. However, I was the host and not the student. The post is an exceptional read and a great addition to this one. I would say this is Chicken 101 and his is Chicken 102. He butchers it differently, makes a soup stock, and fries it in the traditional manner.
Today, with Elyse, I am definitely the student. This is the first time I know I can succeed at butchering a chicken with ease. I have butchered chickens all my life. Learned it from the now famous episode of Julia Childs on The French Chef butchering a chicken, yet when photographing Allan’s lesson, learned there was so much more I did not know. And, today, after Elyse’s lesson, have a simple guide to butchering a chicken into 8 even-sized pieces. My mantra: if I can do it, you can do it.
- Butcher Tutorials, specifically: How to Tie a Butcher’s Knot
- Gin Recipes (“Getting healthy and drunk all at the same time!”), specifically: Supersonic Gin and Tonic
- Most hits: Kitchen Renovation
And the recipe that Elyse believes is highly underrated and one she is very proud of that is “absolutely delicious” that I encourage all to pop over and take a gander at:
Homemade Oven Baked KFC Chicken: A Brief History of Fried Chicken
Did you know that it was the Scots and later Scottish immigrants from the Southern United States that had the tradition of deep frying chicken in fat as far back as the middle ages? The English baked or boiled chicken. Interestingly, the first deep fried dish was the fritter, apparently popular in the middle ages. The Scottish were the first Europeans to deep fry unseasoned chicken in fat and after immigrating to the Southern US, this method was combined with the West African tradition of seasoned fried chicken battered and cooked in palm oil. The Scottish frying technique coupled with the West African seasoning and battering techniques were combined by enslaved Africans and African-Americans to create what is now known the world over as the famous Southern Fried Chicken. Canadian prairie fried chicken was most often dredged in seasoned flour, fried in butter and kept warm in the oven. Not crispy, but deeply flavourful and unforgettably delicious. After WW2, in the mid-1900s and early 2000s, fried chicken has been mass-produced and the price of mass produced fried chicken has significantly decreased. However, as always, quality food costs more. When introduced to the American South, it didn’t take long for well seasoned crispy fried chicken to find its way across the continent!
Homemade Oven Baked KFC Chicken: Project 2017, Valerie Cooking in the Kitchen with you!
Some women like to shop or go to the spa. I love to cook in my kitchen with a friend – or someone learned who has a recipe to share, and a story to tell. Essentially, I want to glean heritage and traditional recipes – the best of the best – from our oldies and goldies that have so much experience in their heads. I want to cook with our babas and nonnas and grandmas and grandpas and learn to make what they are known for, or famous for, and share it with my readers. This is not exclusive to our elders, but definitely with them in mind. Of course, many, many younger folk, like me, for example, have much to share, as well.
#ACFValerieCookingwithYOU!
Elyse is participating in this project. Fried Chicken is an Alberta prairie staple that rears its head at almost all family reunion potlucks, church lunches, beach picnics or a Sunday Supper. My mom always fried her chicken in butter, never deep fried in oil. Then, keep it warm in the oven. It was never crispy, but it was fried chicken and absolutely delicious. Non of us, as children on the prairies growing up had a clue what crispy fried chicken was until we saw the famous Crisco commercials on TV. I still love my mom’s fried chicken, but my kids love it crispy and this recipe from Elyse is a keeper!
If you would like to participate, please let me know!
- Project 2017: Cooking in the Kitchen With… Completed Project Posts here.
- Project 2017: Cooking in the Kitchen With… Cooking Schedule is here.
- Project 2017: Cooking in the Kitchen With… PARTICIPATE!
Homemade Oven Baked KFC Chicken: Why Buy Quality Chicken?
The video says it all. Every animal we eat deserves a great life. Make an effort to buy only the best meat. Buy less. Eat less. Buy the best you can afford. It is so worth it.
Homemade Oven Baked KFC Chicken: Making the Rub
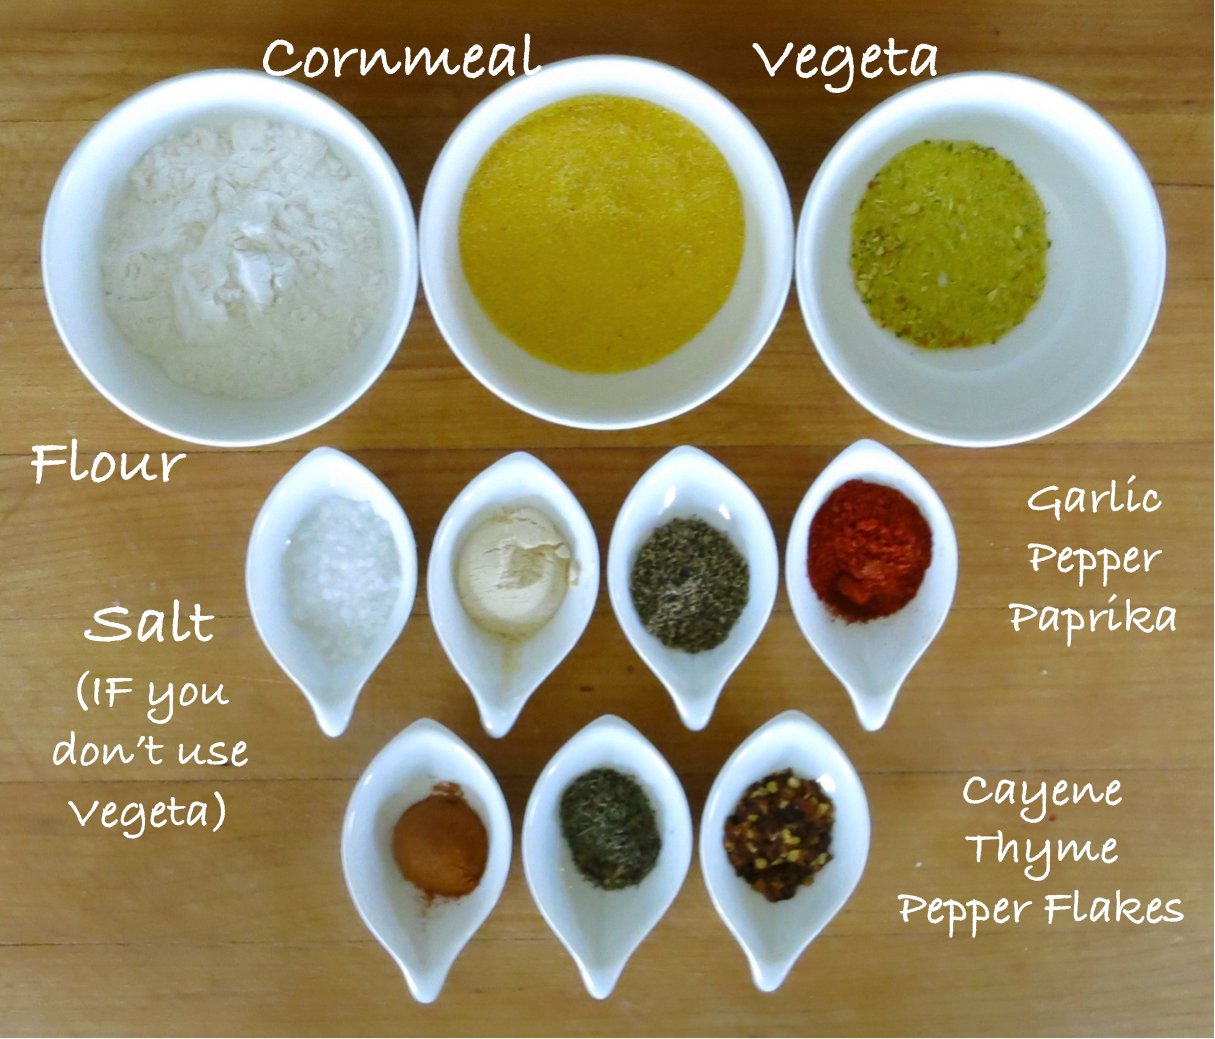
Elyse’s rub mix is in the recipe and she is the first to say it is completely alterable according to your personal palate, but her base is the perfect place to start. I added more of some things, and Vegeta, of course. The salt in the above photo was changed to a finer variety and used to season the chicken before the rub, not added to the rub. Elyse’s chicken is a bit too spicy, so I halved the heat. Perfect for our palate.
Homemade Oven Baked KFC Chicken: Preparing the Chicken for Butchering
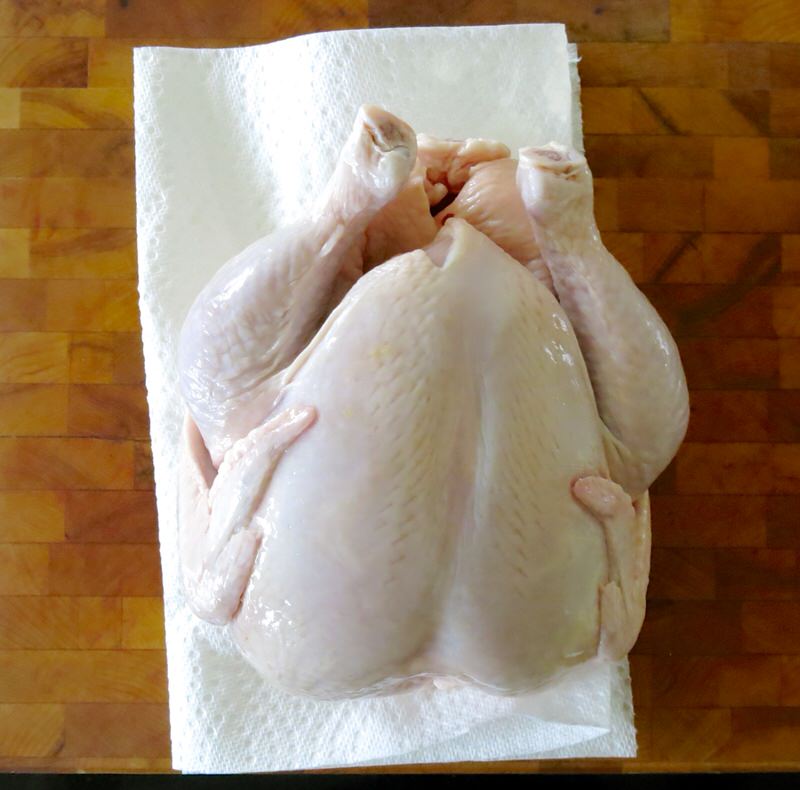
If frozen, thaw in the fridge overnight. Do not wash the chicken. Pat dry everywhere, inside and out. Elyse will tell you why in the video.
Elyse clearly demonstrates this process. Prepare your chicken at the same time.
Homemade Oven Baked KFC Chicken: Removing the Legs
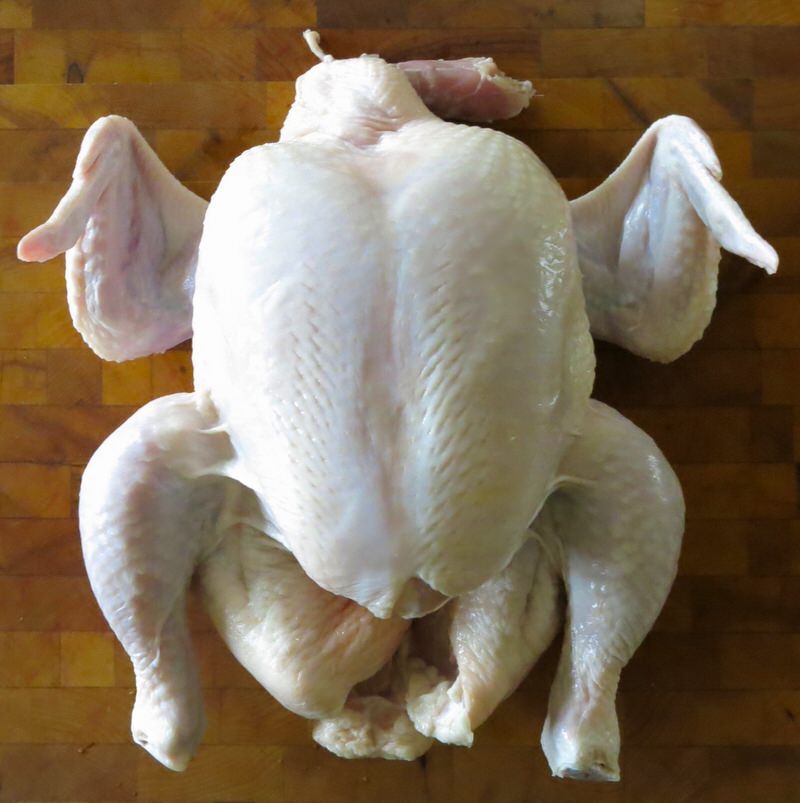
What a beauty. I do buy the best chickens I can find. The flavour is not comparable to the factory farmed chickens. This is a SunWorks Farm Organic Chicken from Blush Lane in Edmonton.
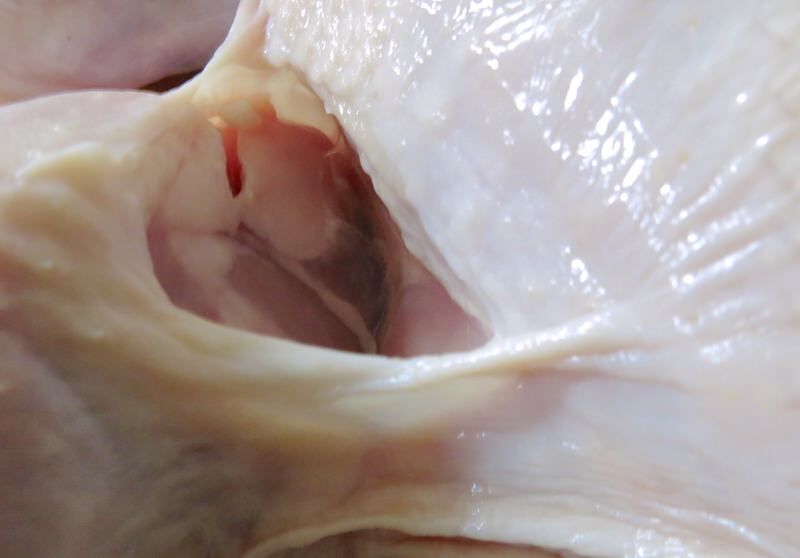
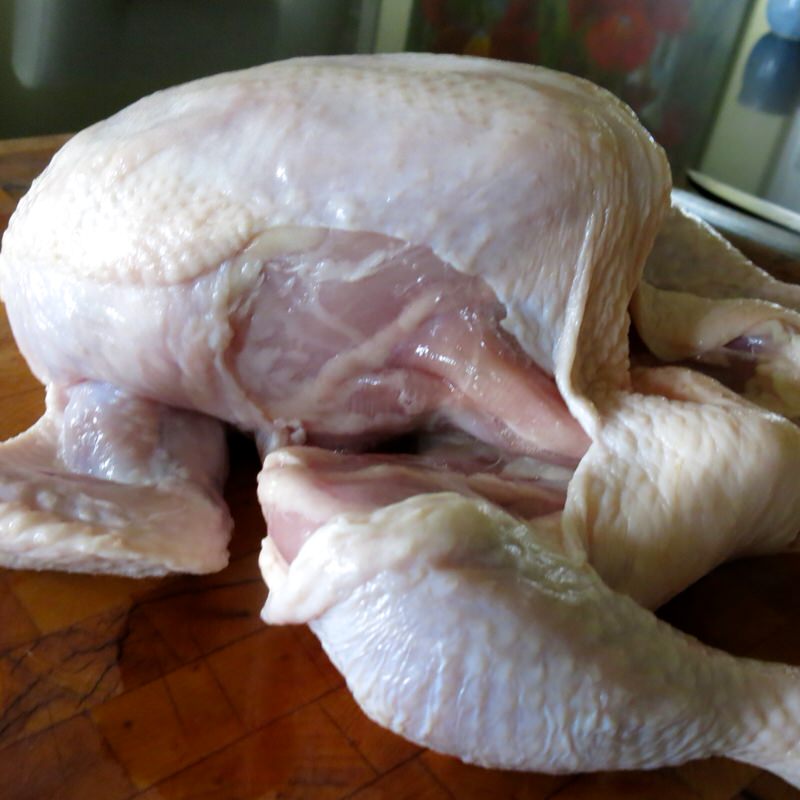
Using a very sharp knife, slit through the skin flap at the inside top of the leg. Open widely to peer in to see where to cut.
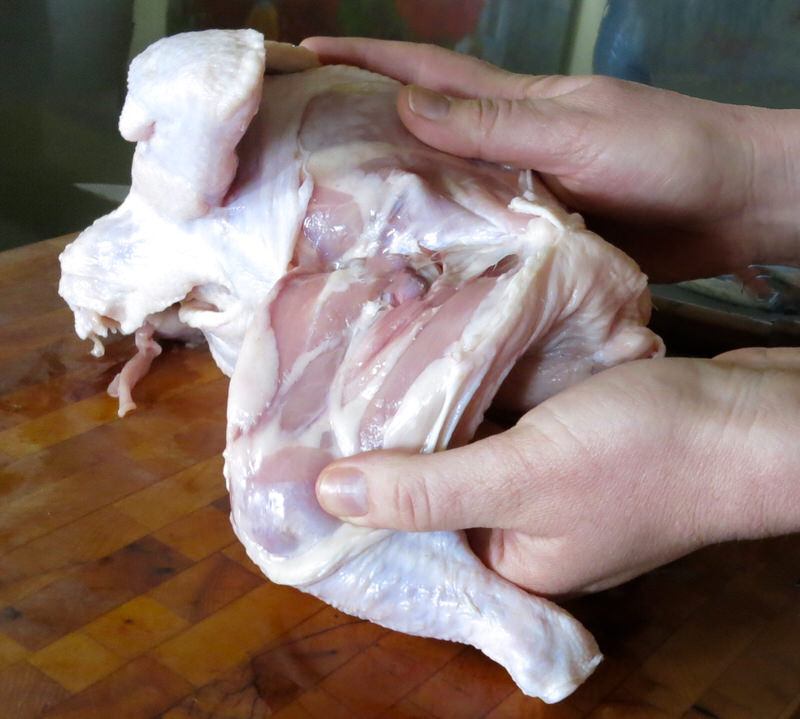
Pull the leg back to expose the joint. Cut through it with a very specific motion: blade down, hand on tip of blade and hold it firm, then slice down through the leg firmly. It is that easy. You will see this process repeated with almost every cut and it makes butchering a whole chicken a breeze.
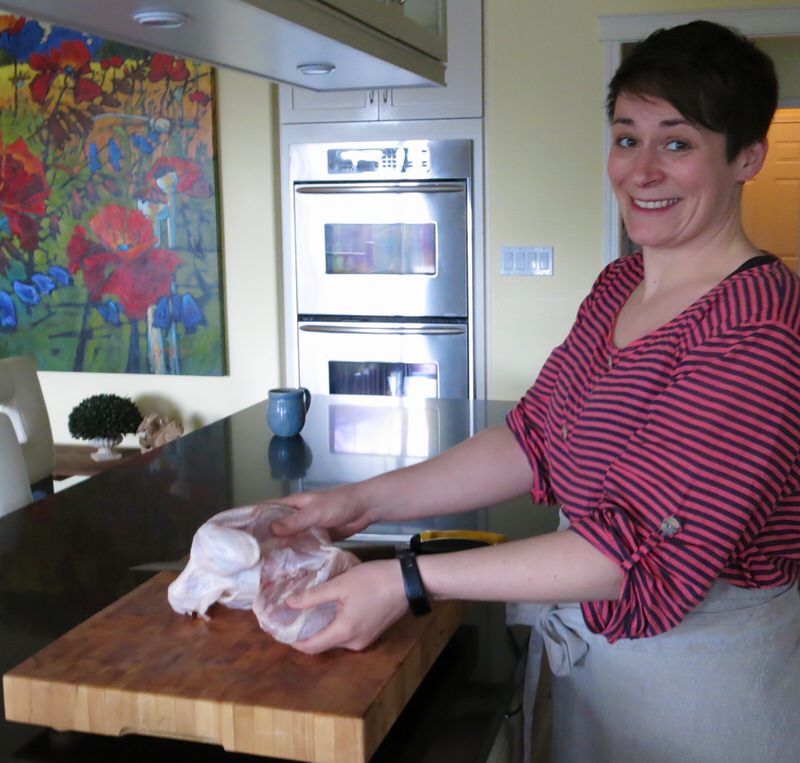
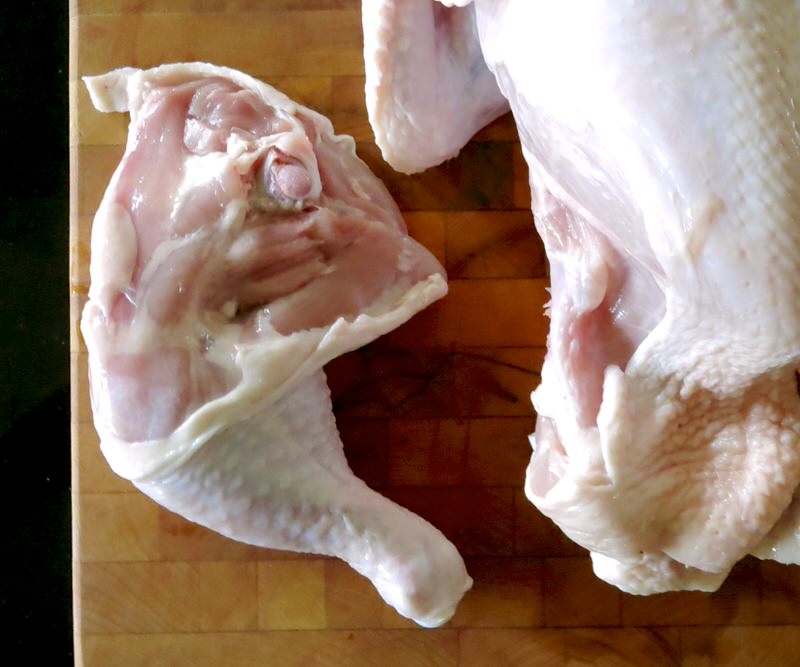
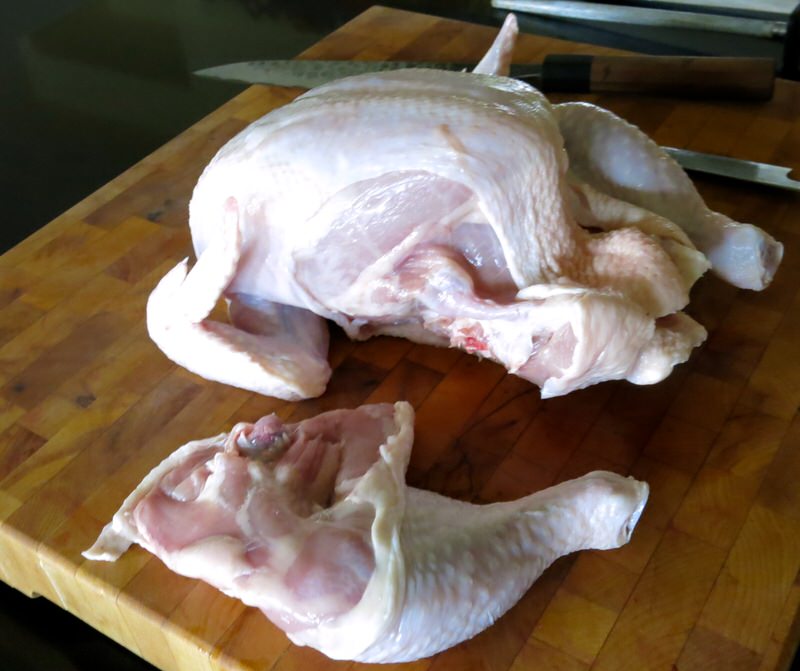
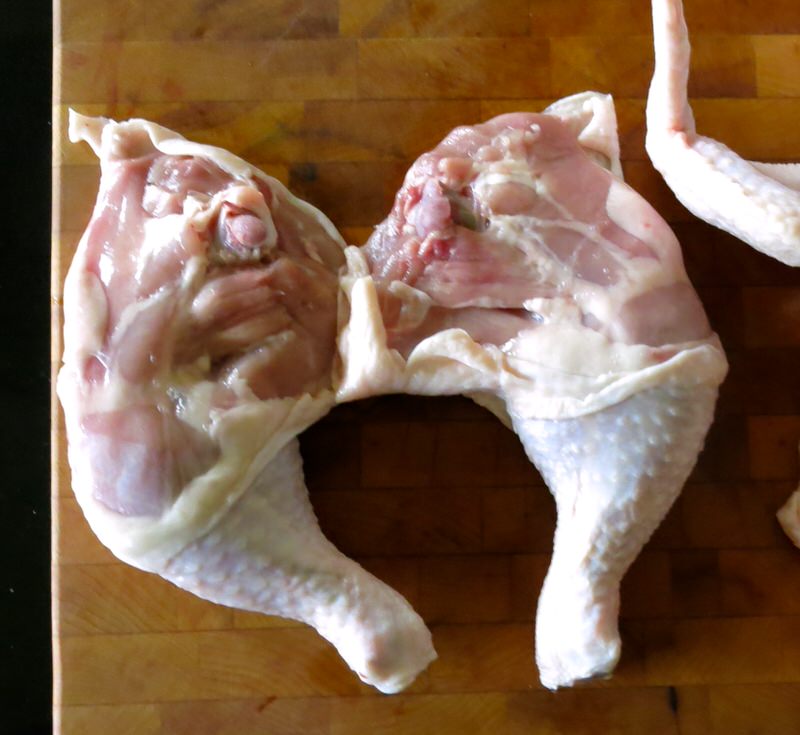
The video follows, demonstrating in real time (at the time), how to move the blade through the chicken.
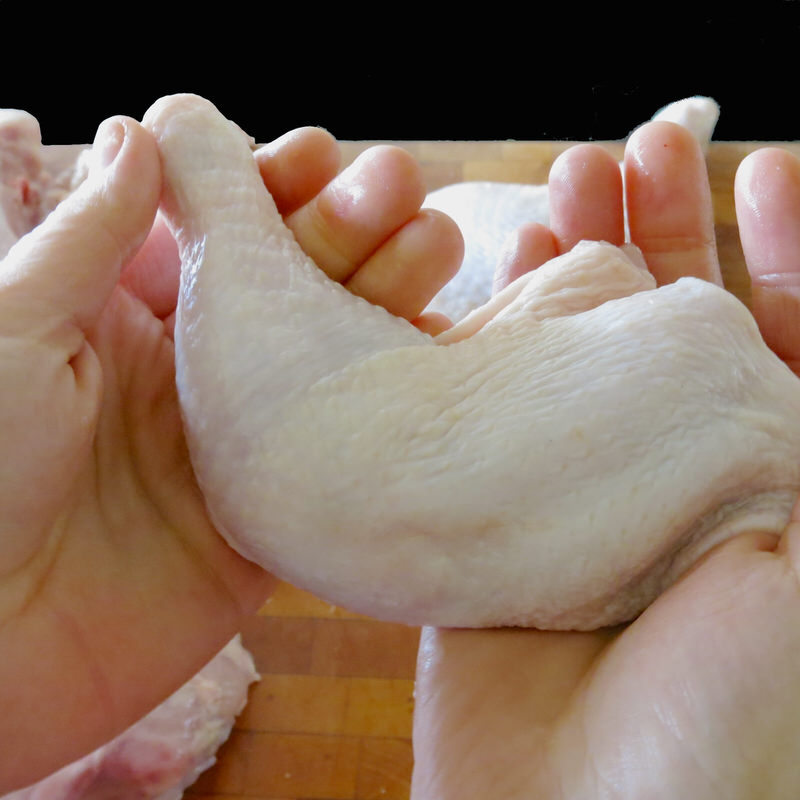
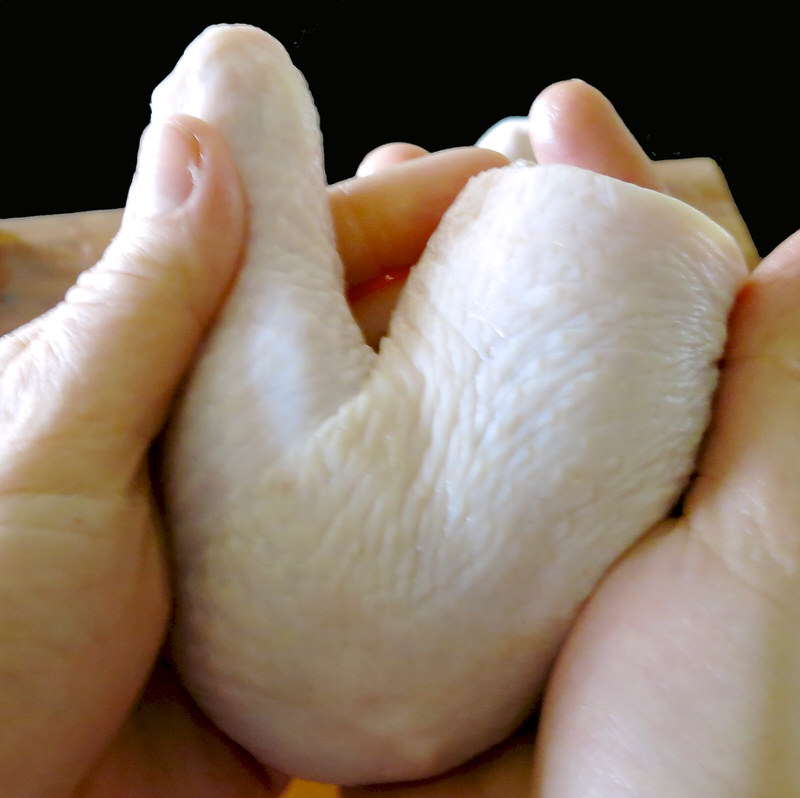
To separate the drumstick from the thigh, fold the piece together to see the joint. Using the same slicing process and motion, separate the drumstick from the thigh.
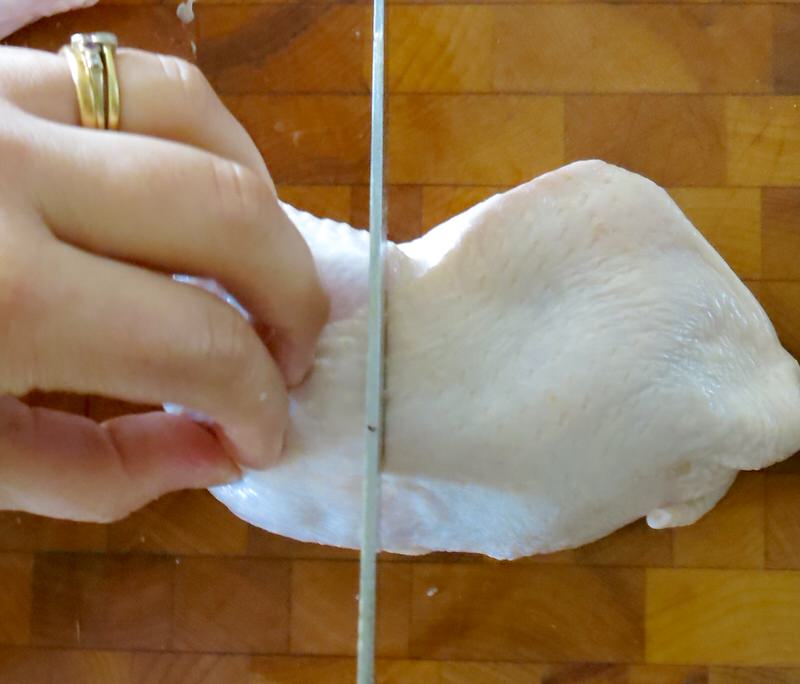
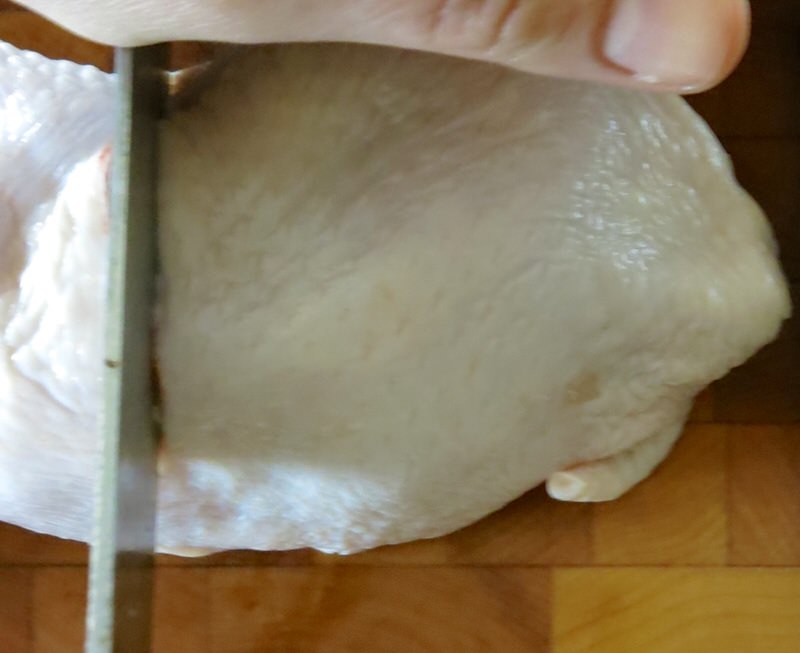
Elyse clearly demonstrates this process. Be prepared to remove the legs of your chicken at the same time.
Homemade Oven Baked KFC Chicken: Removing the Wing Tips, Back Piece and Neck for Soup Stock
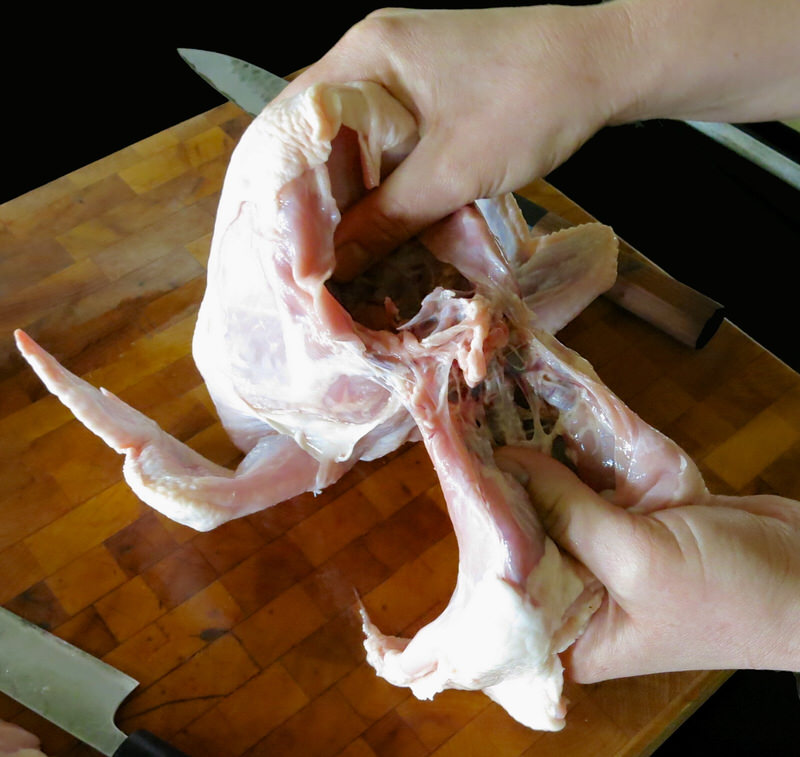
She makes it look so easy, and it truly is. If you follow along with each video, I promise you, you will never again buy a whole chicken cut into pieces. It is more economical to do it yourself, and you can also cut the pieces the way you like them. The legs are removed, above, and you then slice through each side to reveal the back piece. Fold it back, as above. Using the same process, slice it off. It is a perfect piece for soup stock as there is so little meat on it. However, my mom would fry it and no one complained. It was still delicious.
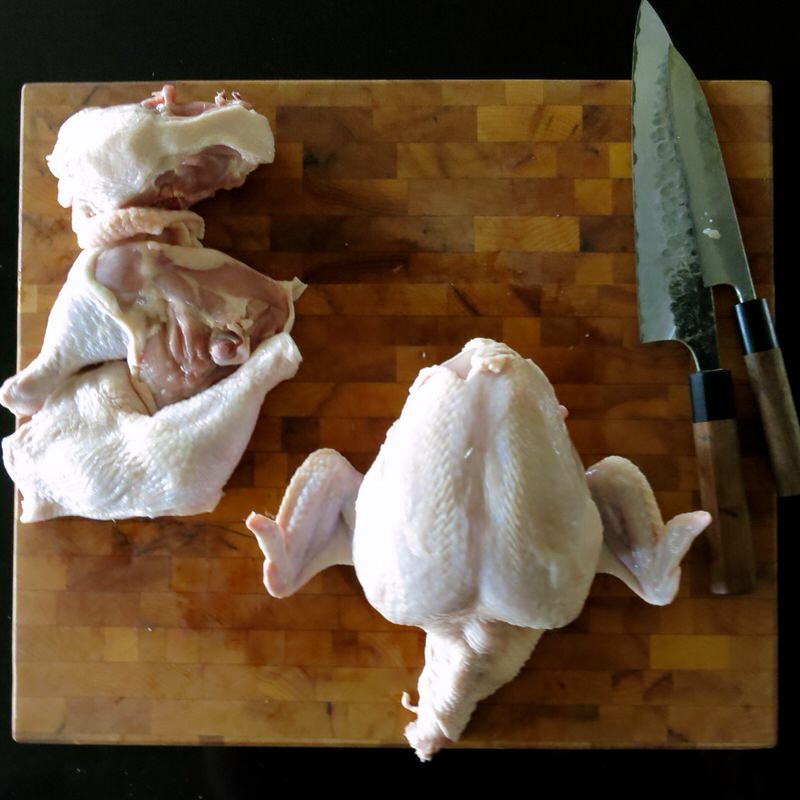
Above, legs removed (not yet separated into 2 pieces each) and back removed.
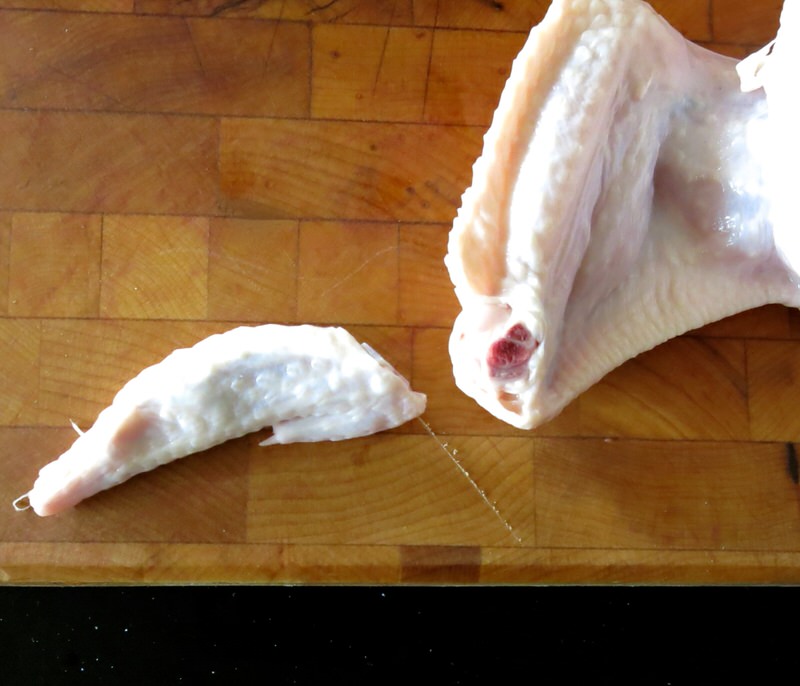
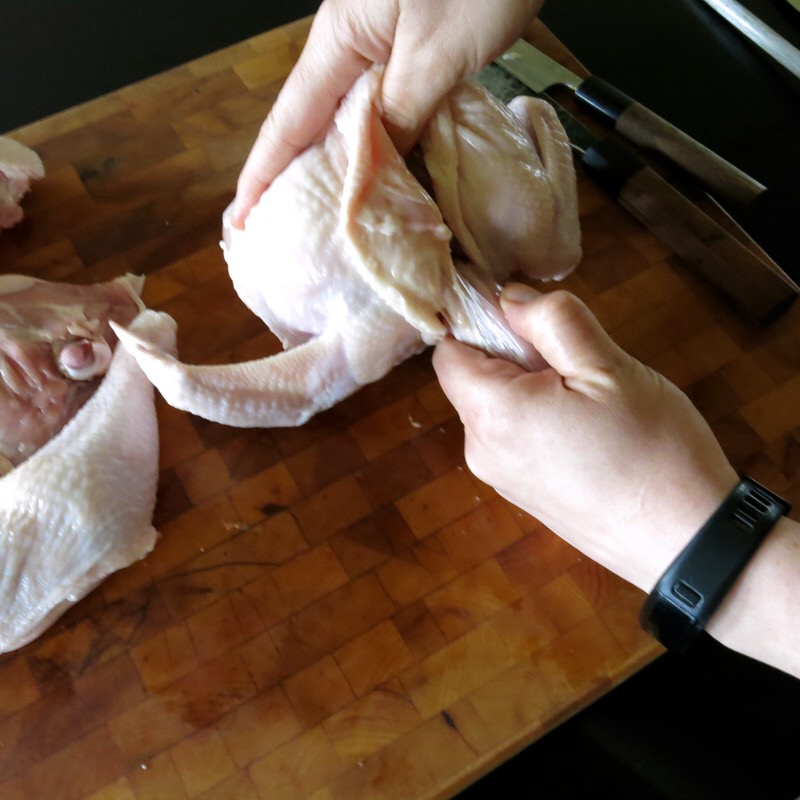
Next, Elyse likes to cut of the wing tips. They are great in stock, and there is nothing of value in them for oven frying. Above, right, the neck is on this bird. Most often, the neck is removed, but this provides the opportunity to demonstrate using kitchen shears to remove it. Open the base of the neck and feel to the very end.
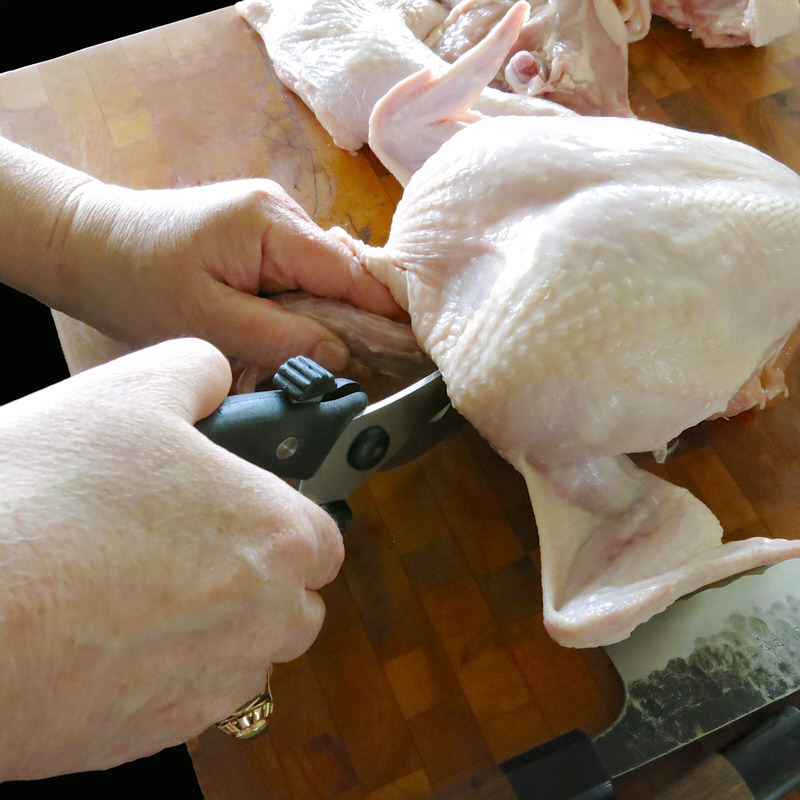
Using kitchen shears, cut it out. It may take a cut on each side. Add the neck to the stock pieces.
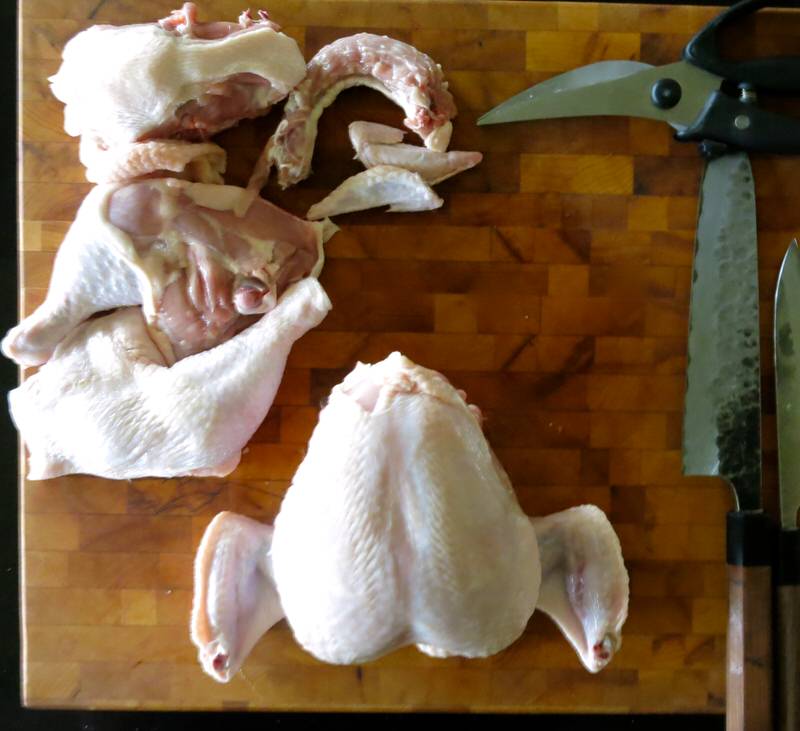
The backbone is the last of the stock pieces to be removed but will be added to the soup stock pile in the breast separating section.
Elyse clearly demonstrates this process. Be prepared to remove the wing tips, back piece and neck at the same time.
Homemade Oven Baked KFC Chicken: Removing the Backbone and Splitting the Breasts
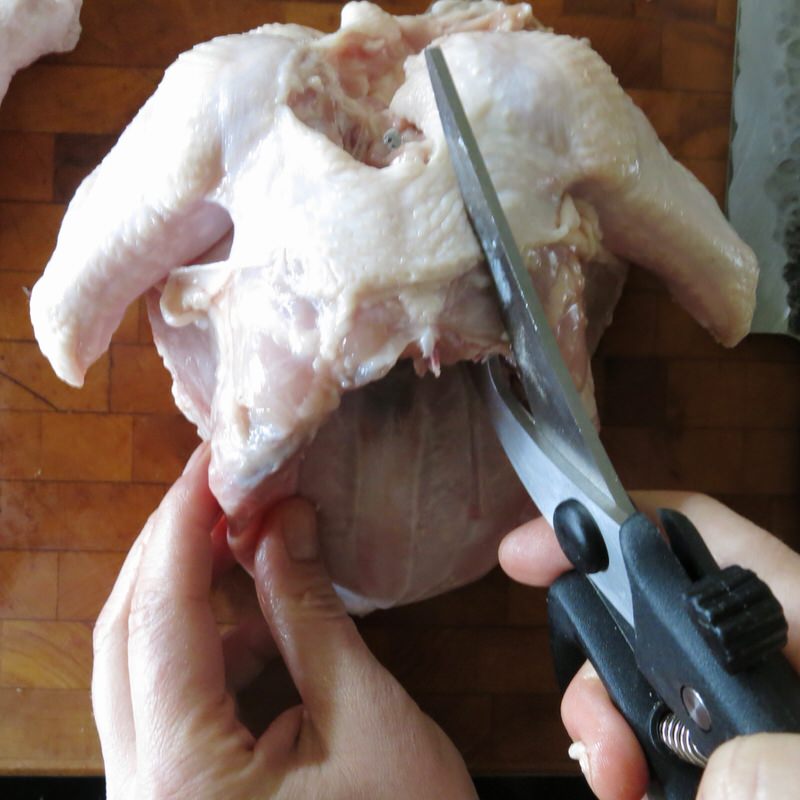
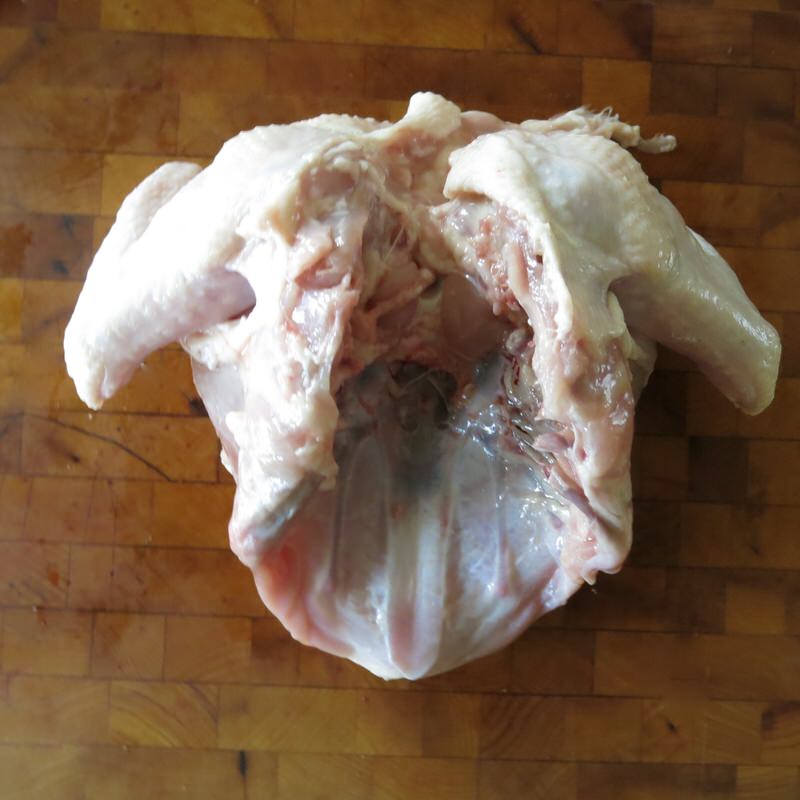
After the back piece and neck are removed, it’s time to remove the backbone: the last of the soup stock pieces. This is also done with kitchen shears – a simple cut through on either side. Done!

Above, all soup stock pieces are removed and ready to be bagged, labelled and dated to use to make a great homemade chicken stock once you have a few more partial carcuses added to the pile. The legs are removed, but not yet divided. Time to remove and divide the breasts.
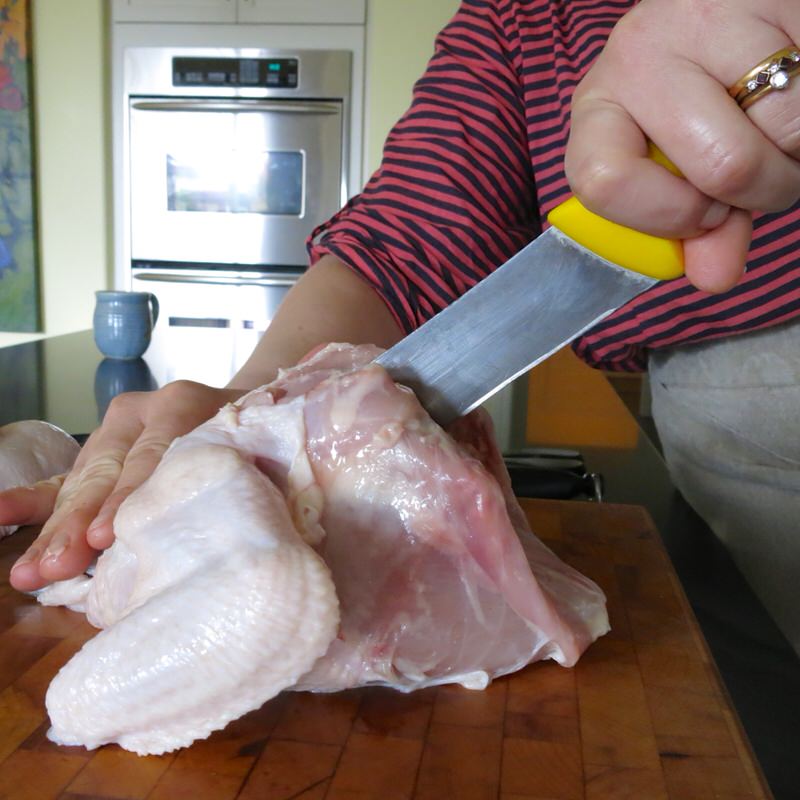
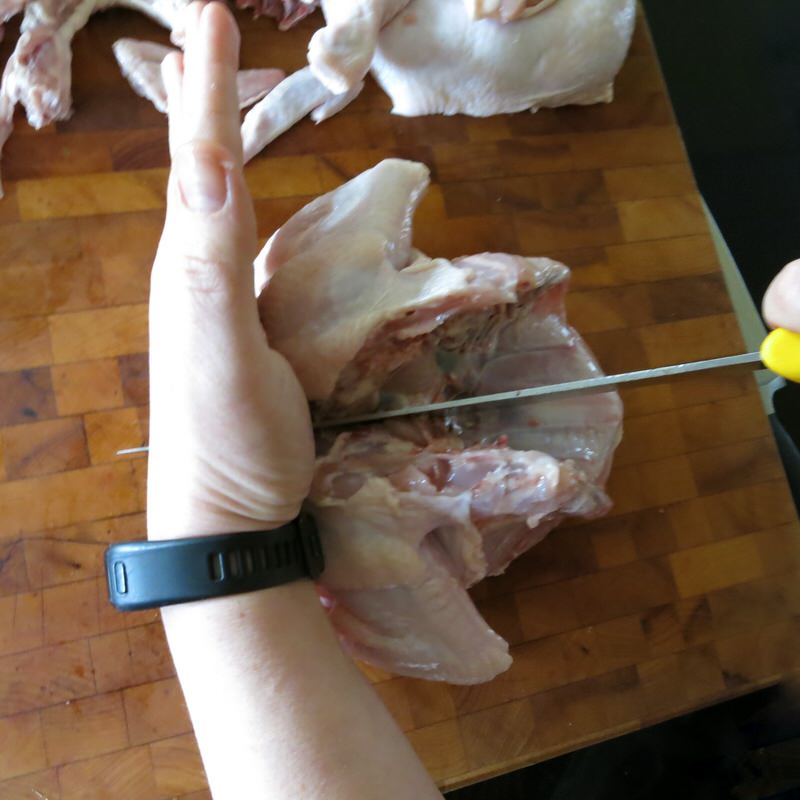
Using the same methodic process for every slice: knife blade at 45-degree angle, hand holding the tip of the knife down while the other hand applies the pressure to cut through the bone to first divide the breasts, above…
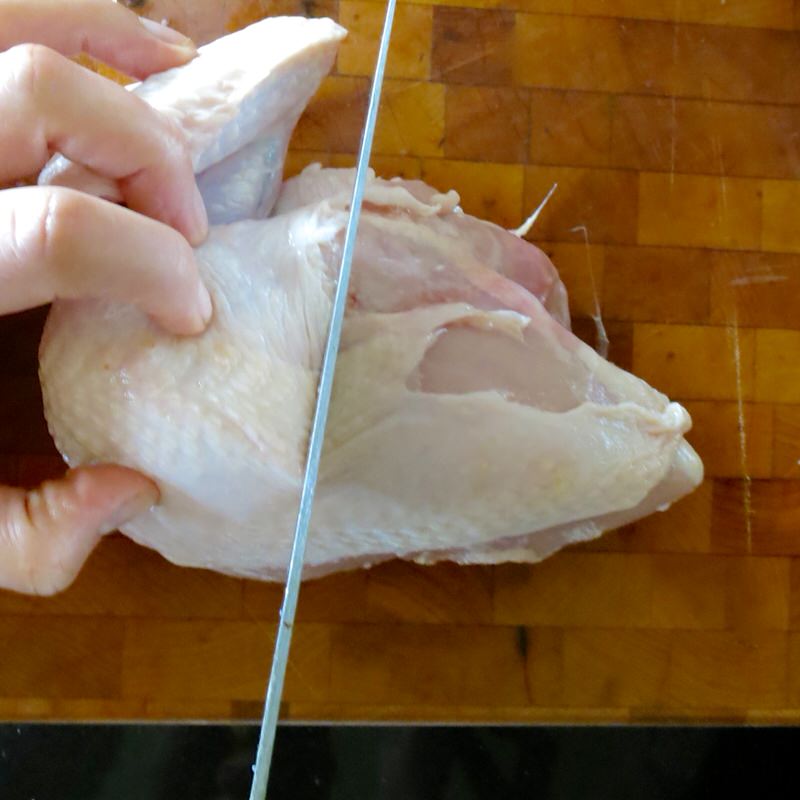
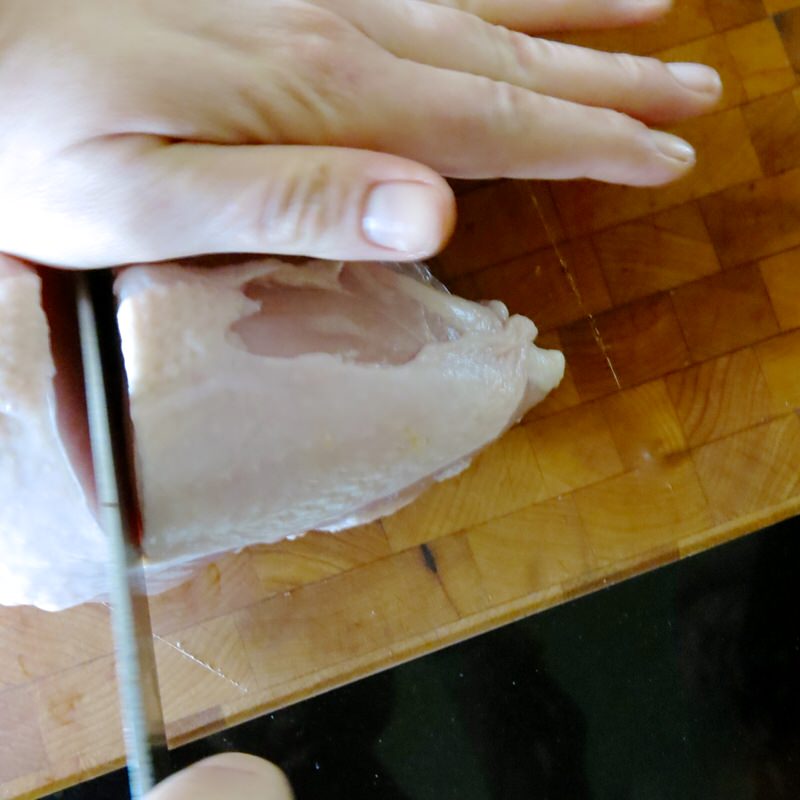
… and then divide “The Supreme” into 2 evenly sized breast pieces for oven frying.
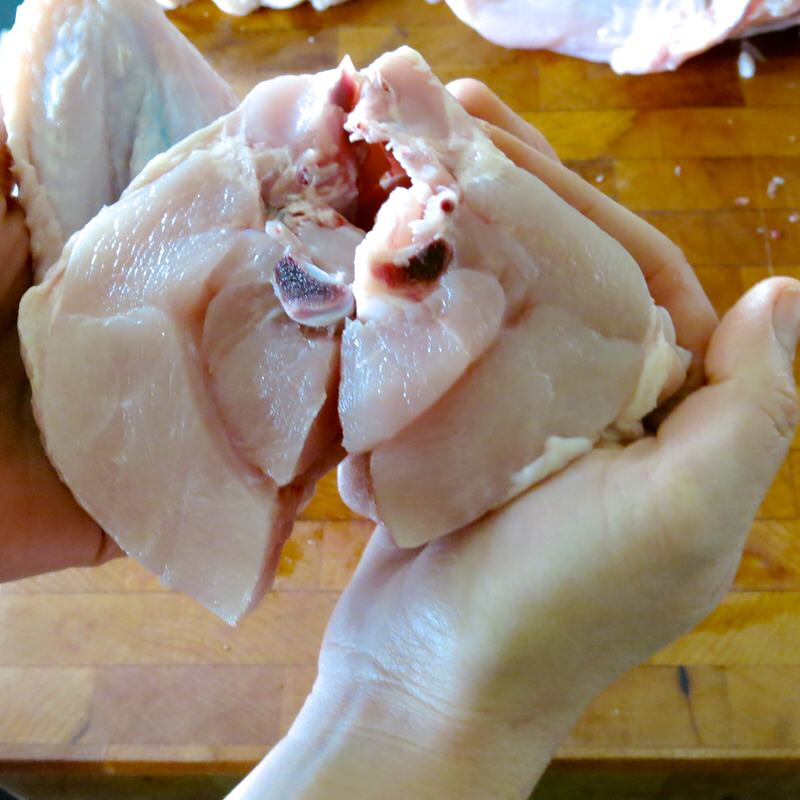
Perfection! And unbelievably easy. Sincerely.
Elyse clearly demonstrates this process. Be prepared to remove the backbone and split the breast of your chicken at the same time.
Homemade Oven Baked KFC Chicken: Knives for Butchering Chickens
Now that the chicken is portioned into 8 fairly evenly sized pieces, a little talk about knives for butchering before completing the recipe.
Homemade Oven Baked KFC Chicken: Preparing the Chicken for the Oven
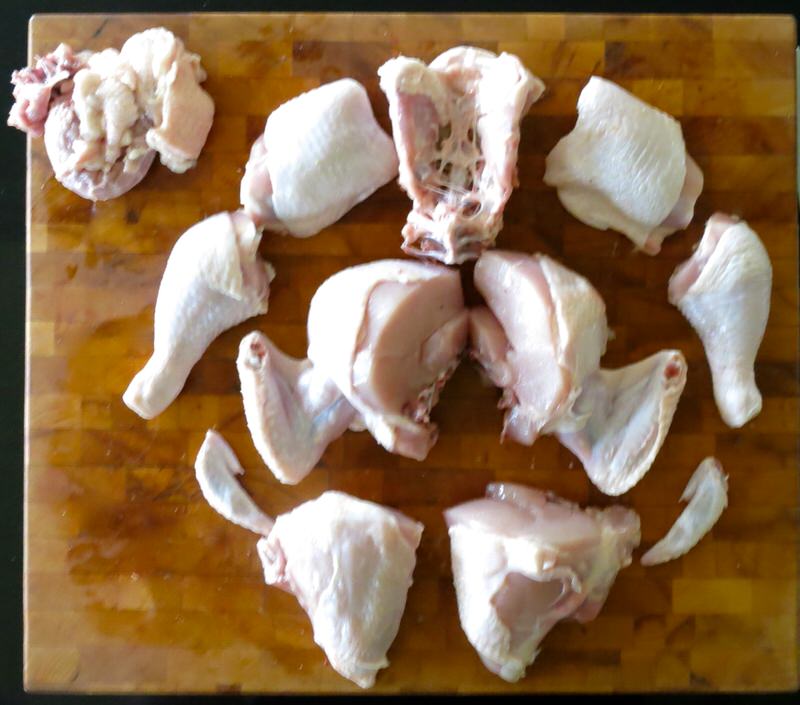
Elyse has artistically arranged the whole chicken portioned into 8 fairly evenly sized pieces close to its original form with the pieces for the stock set on the side (except for the wing tips, added for aesthetic purpose.)
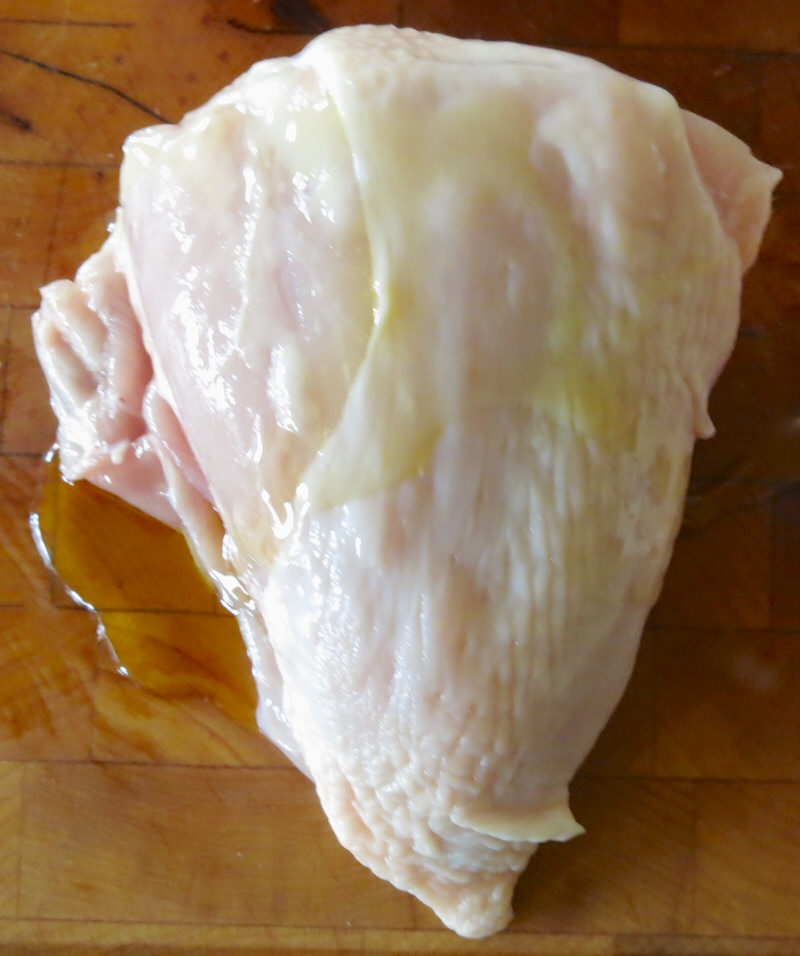
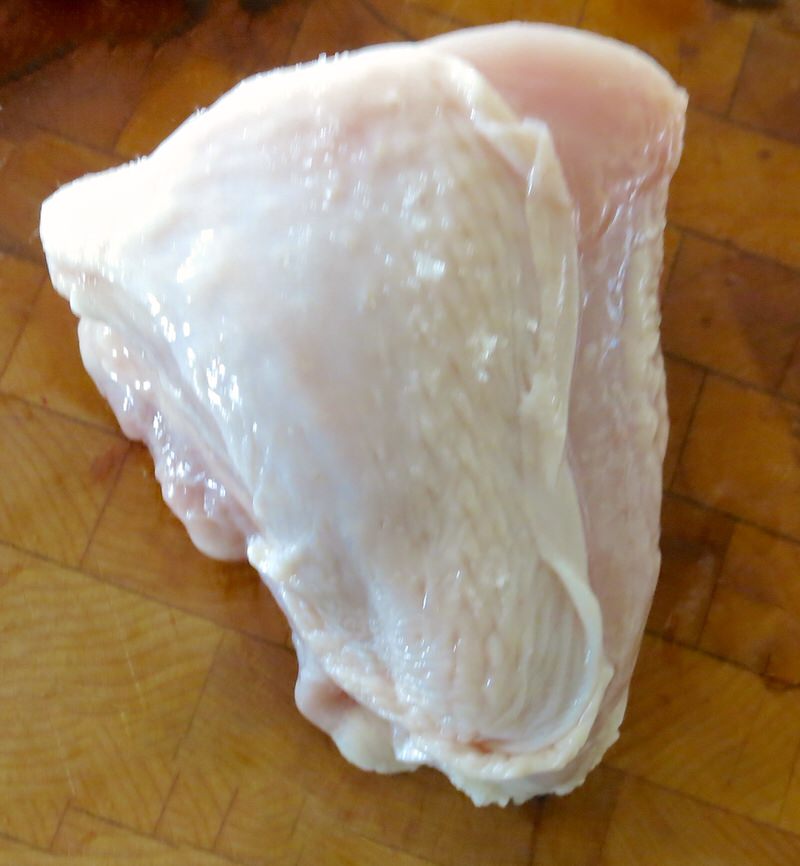
Time to prepare the pieces for the rub. Each is doused with olive oil massaged into its skin, then seasoned with fine salt.
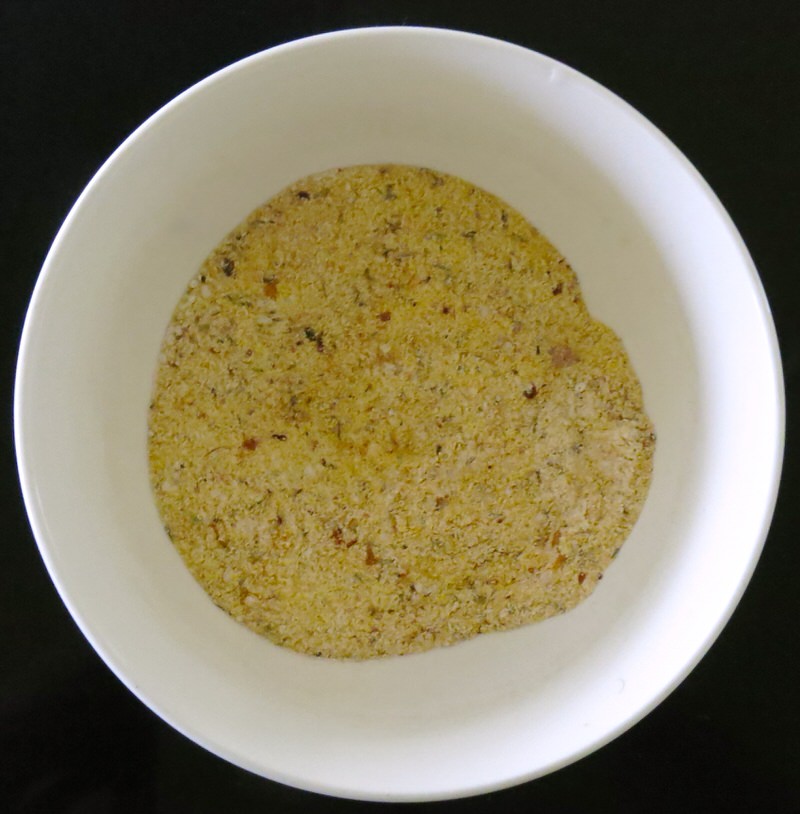
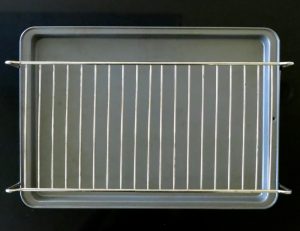
All rub ingredients are combined and placed into a zip lock bag. Oven is pre-heated and baking pan is covered with parchment paper and topped with a rack to enable the drippings to drop below the chicken, enabling the famous crispy coating.
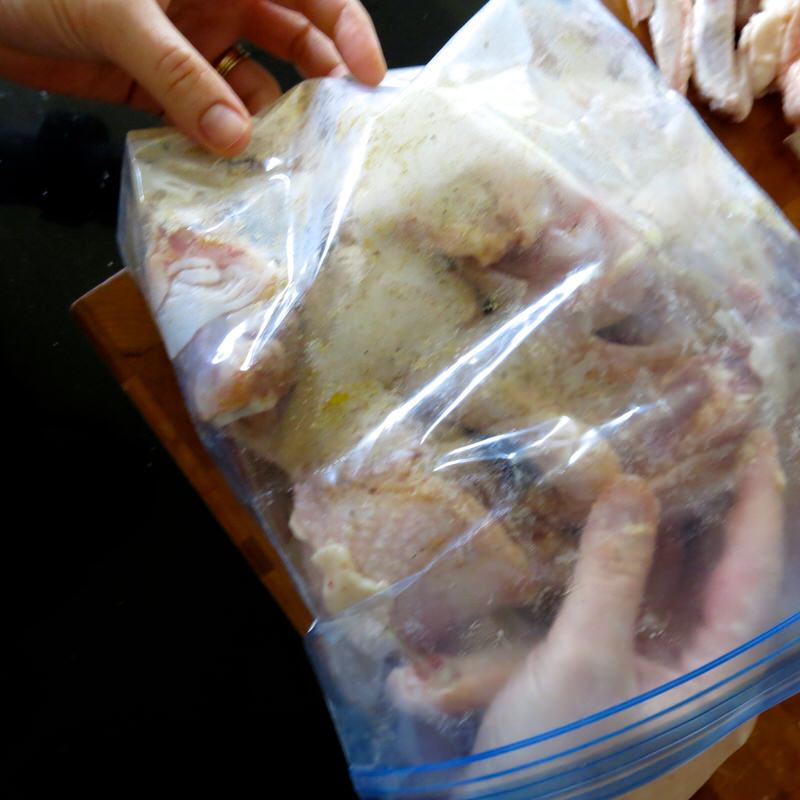
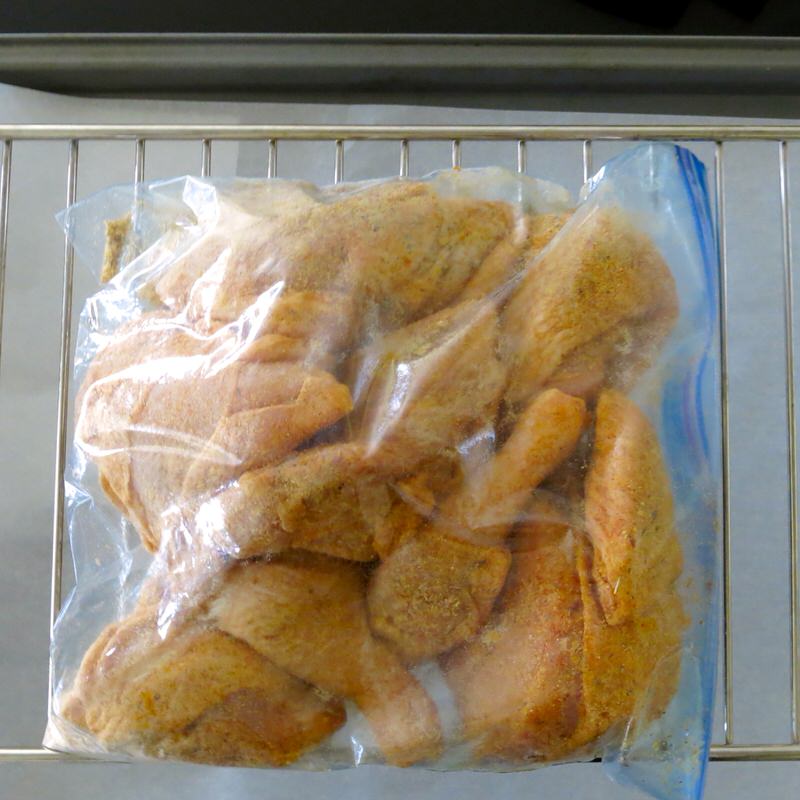
Rub is evenly distributed through all pieces inside of the bag, then each is placed upon the rack.
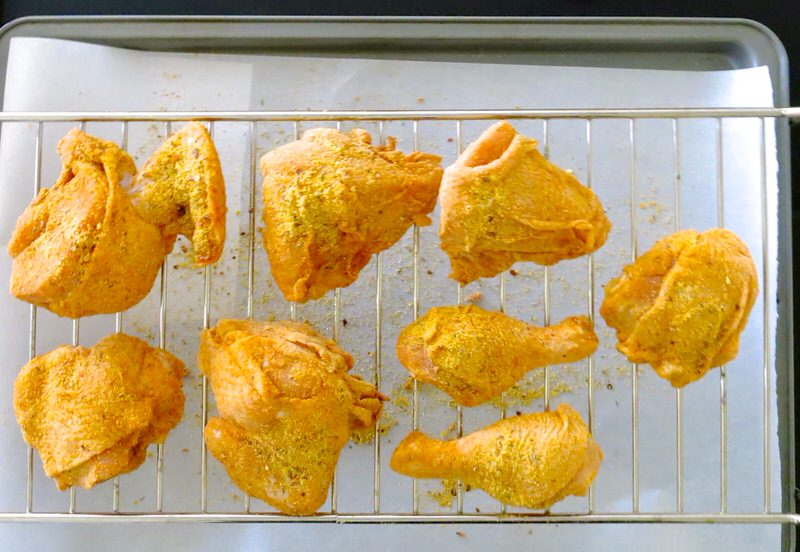
Any fleshy parts are covered with remaining rub.
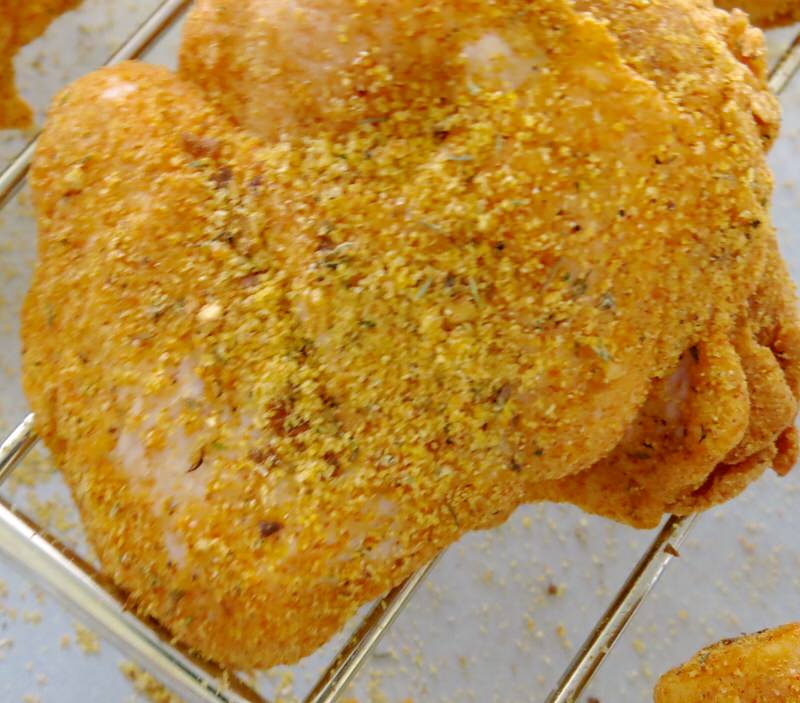
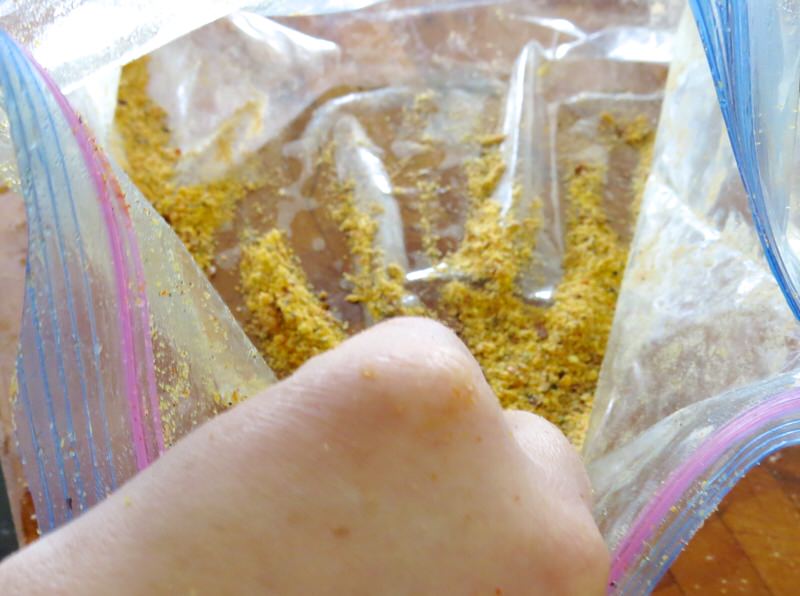
Elyse demonstrates how she makes her famous Chatterton Oven Fried Chicken. Be ready to do the same with your chicken! Now that the chicken is placed on the rack, time to bake it!
Homemade Oven Baked KFC Chicken: Baking the Chicken
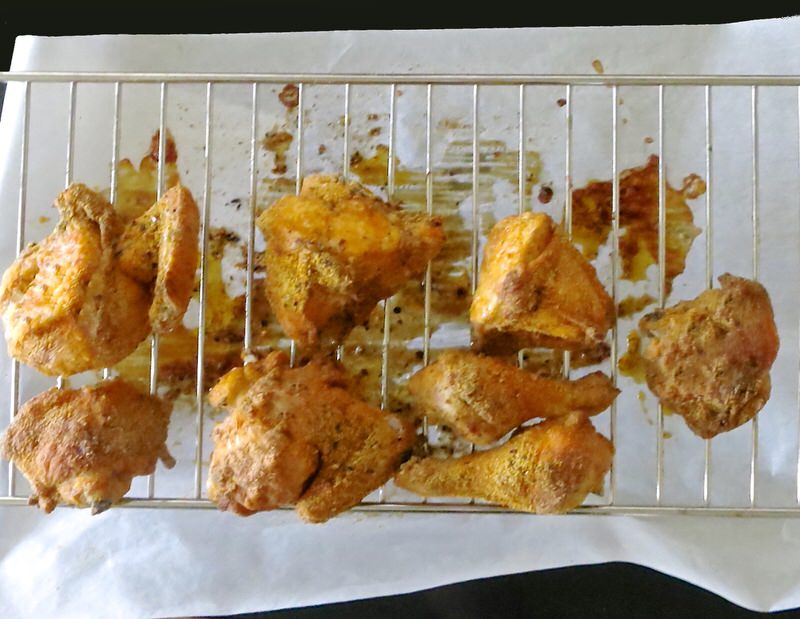
Pretty simple process. Set the time and temperature. Walk away. Return to find this!
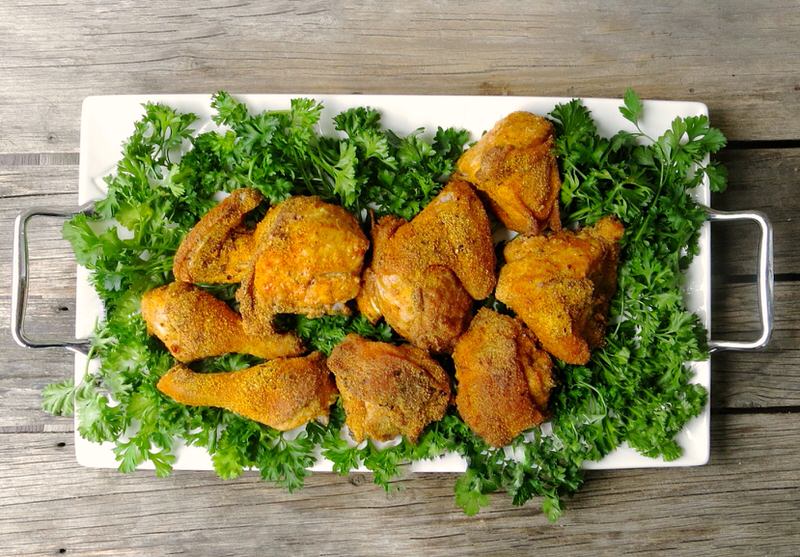
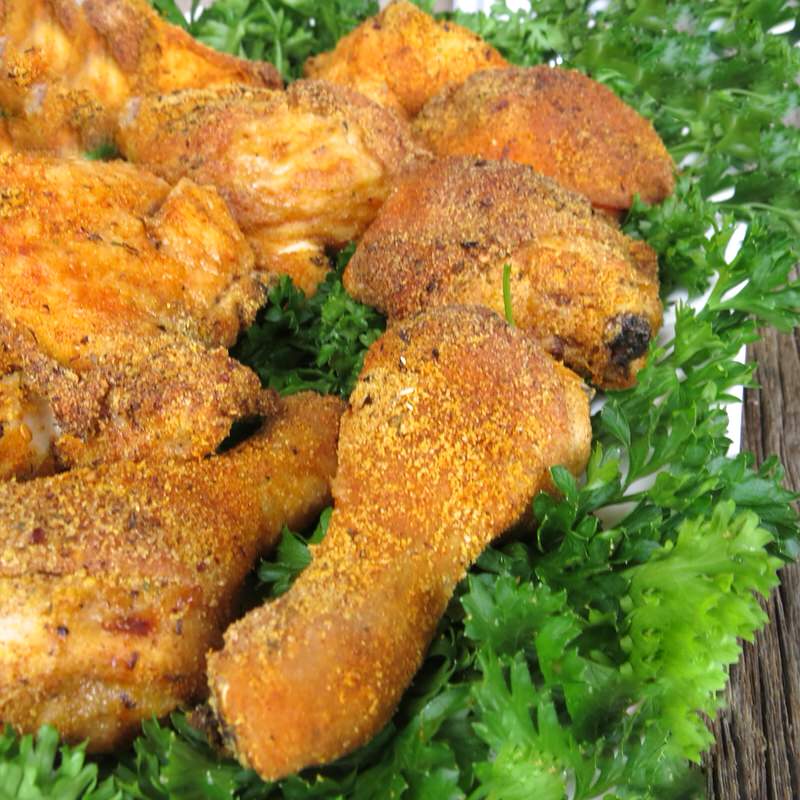
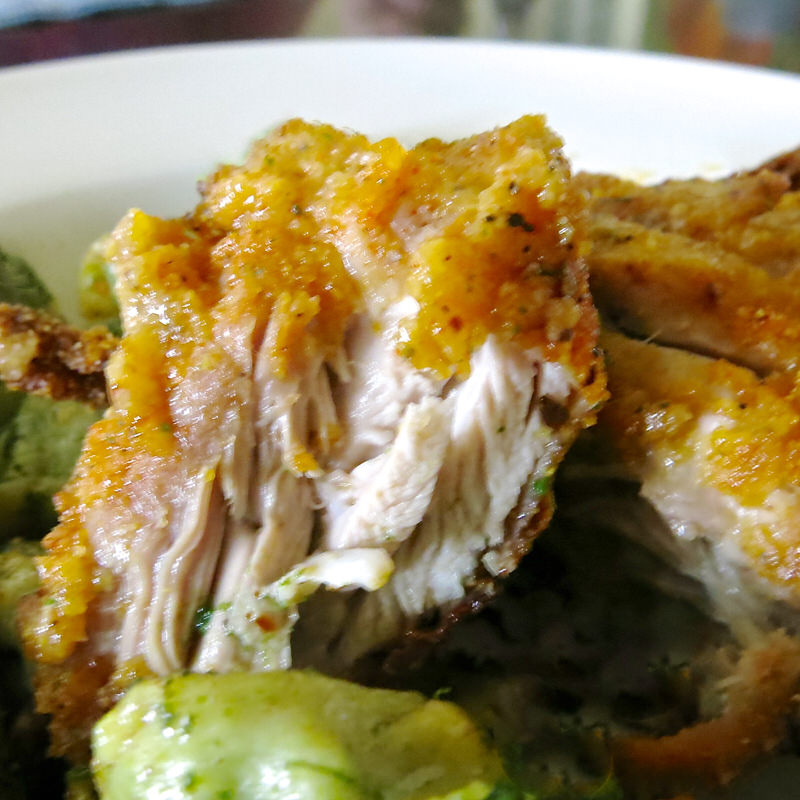
Such succulent juicy crispy flavourful chicken. Vanja loved it.
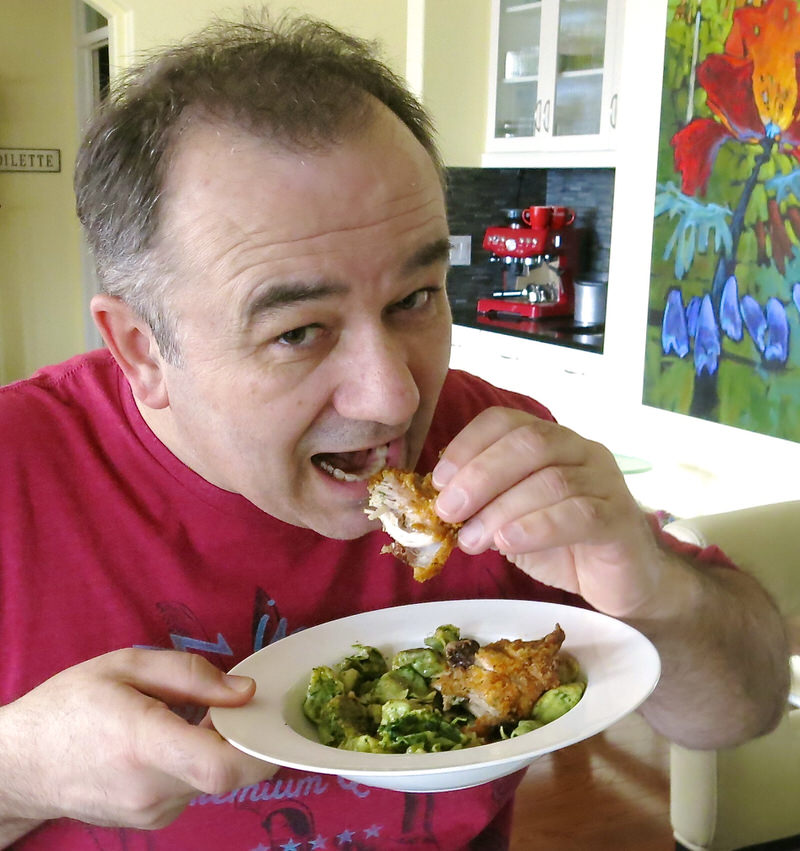
I am apparently making this again. Many, many times!
Homemade Oven Baked KFC Chicken: Serving the Chicken
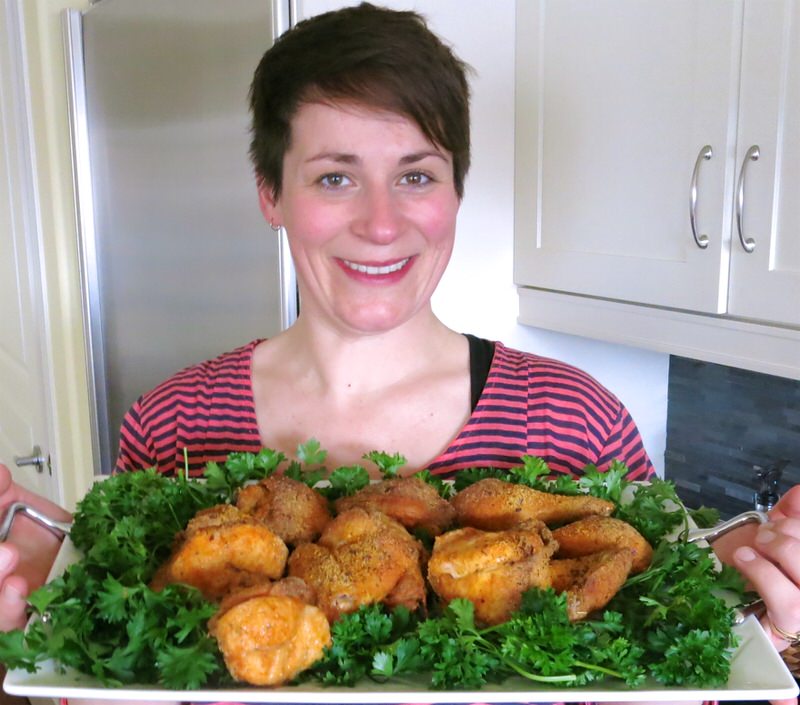
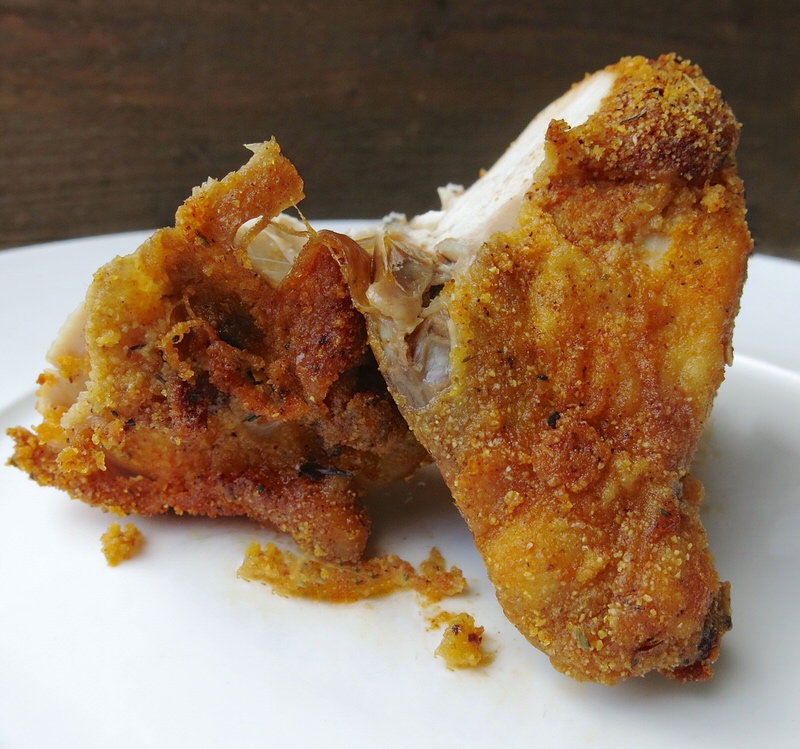
I prefer it hot. It is also delicious cold. In the summer, homemade potato salad is my side of choice with this chicken.
Homemade Oven Baked KFC Chicken: Chicken Butchering Tips and Tricks

Elyse has shared many tips and tricks throughout this process. Which are the ones that you didn’t know before? Of course, both of us would love to hear from you if you use these steps to butcher your own chicken and if you try the Chatterton Oven Fried Chicken recipe. It is now very much at home in our house! Happy Fried Chickens this Summer!

Chatterton Oven Baked KFC Chicken
This Chatterton Oven Baked KFC Chicken recipe will be your family go-to recipe once you make it. Gather the spices, completely cover the chicken in a ziplock bag and bake on a raised rack. Super easy. Super delicious.
Ingredients
Ingredients for Chicken:
- 1 Know-Your-Farmer Organic Free Range Chicken
- 1 tablespoon olive oil (or more)
- ½ teaspoon fine salt
Ingredients for Rub:
- 3 tablespoons flour
- 3 tablespoons cornmeal
- 1 teaspoon sea salt (I used Vegeta)
- 1 teaspoon freshly ground black pepper
- 1 teaspoon garlic powder (½ t in Elyse's recipe)
- 1 ½ teaspoon paprika (½ t in Elyse's recipe)
- 1 teaspoon dried oregano leaves (½ t in Elyse's recipe)
- ¼ teaspoon cayene (Elyse uses ½ t)
- ½ teaspoon thyme
- ¼ teaspoon chili flakes (Elyse uses ½ t)
Instructions
Instructions for Preparing the Chicken:
-
Pat chicken completely dry inside and out (avoid washing regarding salmonella contamination concerns); remove innards and set aside
Instructions for Removing the Legs:
-
Make a cut in skin between leg and breast; push the leg away from body and leg-joint should pop open
-
Cut legs away through the joint; repeat on other leg
-
Cut through middle joint of leg to separate into a thigh and a drumstick
Instructions for Removing Wing Tip, Back Piece and Neck:
-
Find wing tip joint and cut through it; remove tips and set aside with stock bits
-
Remove back piece by cutting along each side of back under where leg was, between fine bones
-
Fold back piece over to expose bone joint and slice through to remove; set aside with soup stock bits
-
Find base of neck with fingers; use kitchen sheers to cut off neck at base (may take two cuts) and remove aside with soup stock bits
Instructions for Removing Backbone and Separating Breasts:
-
To remove backbone, use poultry shears to cut along each side of backbone; remove and set aside with soup stock bits
-
Lay breast side down, bone side up; cut breasts in half through breastbone by holding tip of large knife on board; push back of knife down and cut or slice through breastbone
-
Determine half way point in one breastbone to divide into 2 equal portions; hold tip of large knife on board, push back of knife down and cut or slice through breast producing 2 equal portions
-
Repeat with second breast; set aside and note that there are now 8 similar sized pieces of chicken ready to prepare for recipe
Instructions for Coating Chicken Pieces with Rub:
-
Preheat oven to 425; rub olive oil evenly onto each chicken piece and lightly season each piece with fine salt
-
Mix all dry rub ingredients together; dredge oiled chicken well to coat
-
Prepare baking sheet by covering with parchment paper and setting rack on top of sheet to enable chicken pieces to drip onto paper below
Instructions for Baking Oven Fried Chicken:
-
Place dredged chicken on rack over parchment covered or foil-lined baking sheet; bake for 45 minutes until skin is golden and crisp
-
Remove from oven and serve immediately
Recipe Notes
Legs
If unsure of where joint is, bend drumstick and thigh to see joint bend
Dredging Chicken
Large Ziplock bag works well to dredge chicken, ensuring all pieces well coated with rub





Looks Delicious I want some NOW
Awww – thank you for commenting and reading the post, MOM! Nagging DOES work!
XOXOXO
V
Makes cutting up a chicken look simple , no need to buy it ready done again, great recipe also , well done Elyse.
Yes! Elyse is THE BEST!
Seriously!
Valerie
It taste super good, just thats its not crispy like your photos.. wonder if I had to put my oven grill in the middle and turned these?
Thanks
I’m not sure why yours wasn’t crisp. Did you pat dry your chicken before coating it? Was it at the correct temperature? You can see, ours was very crisp and lovely. So sorry!
Valerie
Great post as usual, Valerie! Am anxious to try this.
Thank you for your kind comment….I’ve been weaning myself off by posting things in my draft folder! I’m 80, still love cooking, but don’t want to spend as much time blogging as I did. We’re following each other on Instagram, so we’ll stay in touch.
Hug right back!
Barbara
What a great post, Valerie! You must have had a fun afternoon. I loved seeing how Elyse cuts up her chicken – totally different from how I’ve always done it, but now I want to try her way – it looks so neat and easy – love the chicken supremes way of doing the wings. The wings usually get ignored on the plate when they are separate. Thanks for all the info – and the oven-fried chicken on a rack is a great trick.
Thank you Val for sharing!
Have you made it, Leila?
Isn’t it delicious?
Hugs,
Valerie
Yummmmm this looks great I want to make it but I don’t like cornmeal what could I use instead……fine bread crumbs?
Is this going to change the taste? I like that there is no pan frying first and it goes straight to the oven but open to all the heat around the chicken to make it crunchy.
Wendy – it is very tasty. My husband DETESTS cornmeal, but loves this chicken. It provides a great texture and crunch, but the seasonings and chicken fat don’t enable that cornmeal flavour to present. It seriously tastes very good, but not at all corny – hahahahaha!
XOXOXO
Can I use this recipe with pork?
Try it. I haven’t. Sounds like it would work to me.
🙂