Torta Pasqualina: Traditional Italian Savory Spring Vegetarian Torte
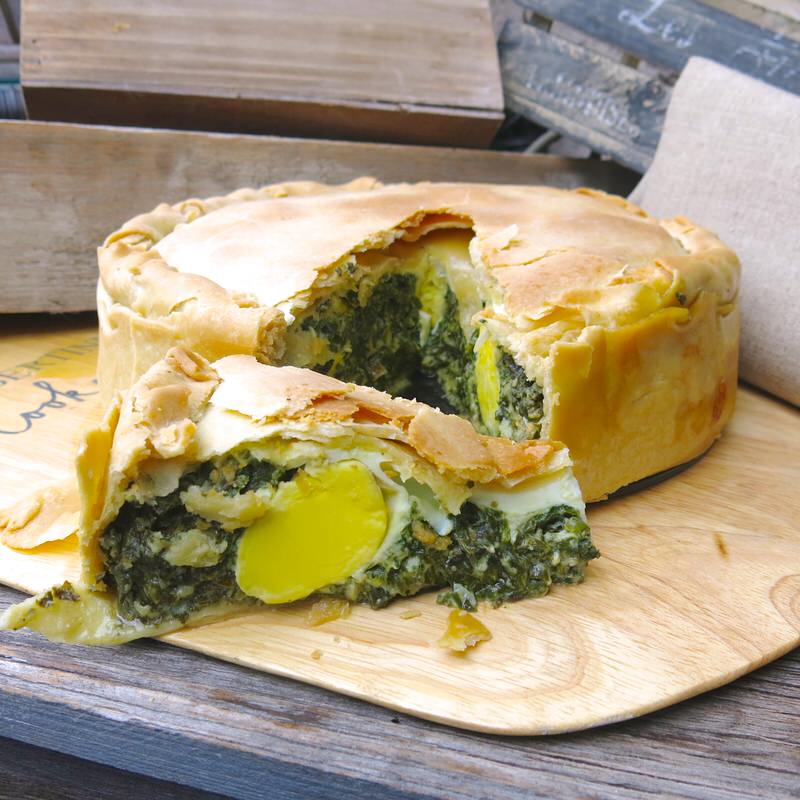
Torta Pasqualina! I had never heard of it until discussing what seasonal recipe from the home traditions of Loreto and Nicoletta to make together for this project. Easter Cake is the literal translation. Pasqua is Easter in Italian and the “lina” part must be the addition of pure Italian flare, don’t you think? In Canada, we would refer to this as a savory vegetarian pie; definitely not a cake, yet the celebratory term holds a different connotation in Italy than the word “cake” holds here. This quintessential savory Easter pie will be found on family tables throughout Italy for their Easter brunch or lunch much like hot crossed buns are a part of our Canadian Easter celebration. What a celebration of Spring, the Spring harvest, and renewal.
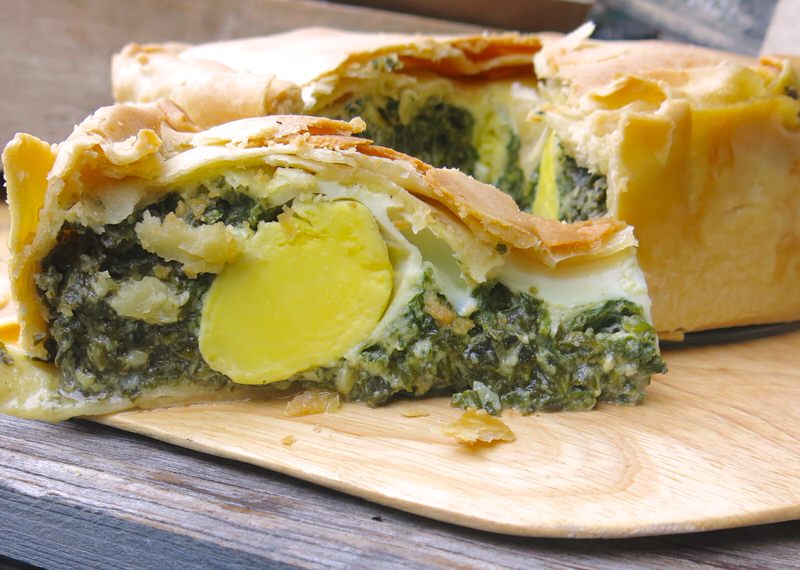
And, it is deeply flavourful, scrumptious and completely vegetarian.
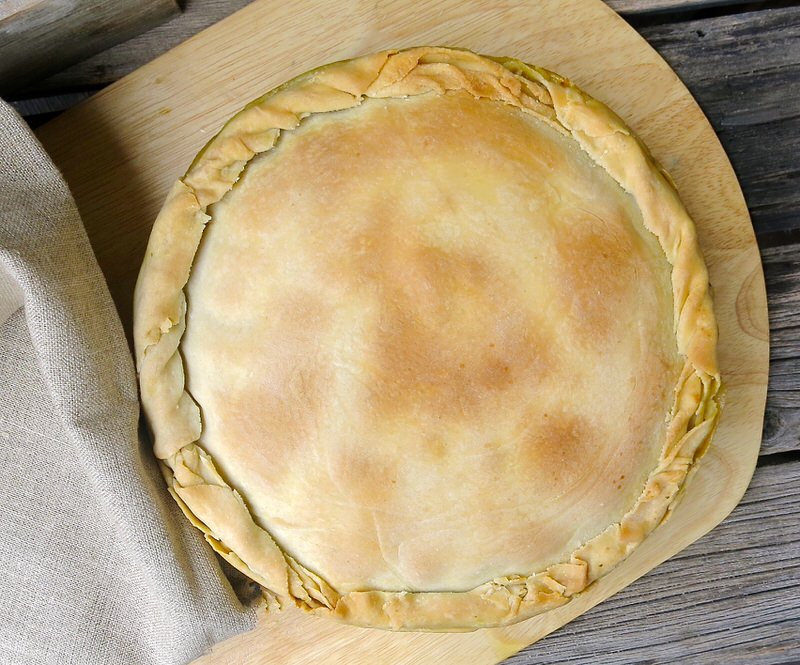
Look at that crust. That is the challenge and there is a story rolled into that crust.
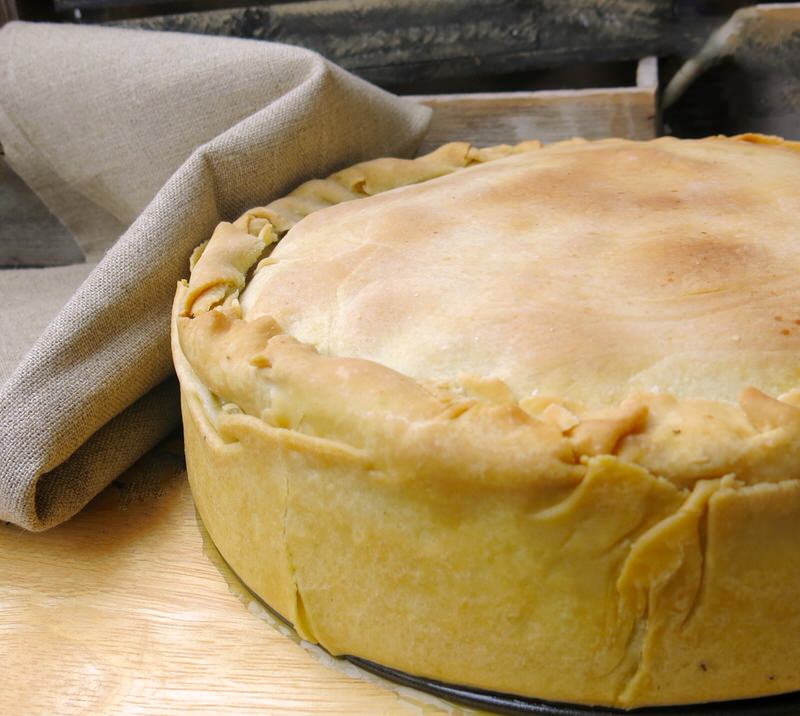
I took more than a minute to revel in the beauty and the bounty of our accomplishment in the kitchen this day. It is deeply satisfying to learn new recipes, techniques and share a cooking experience with like-minded friends.
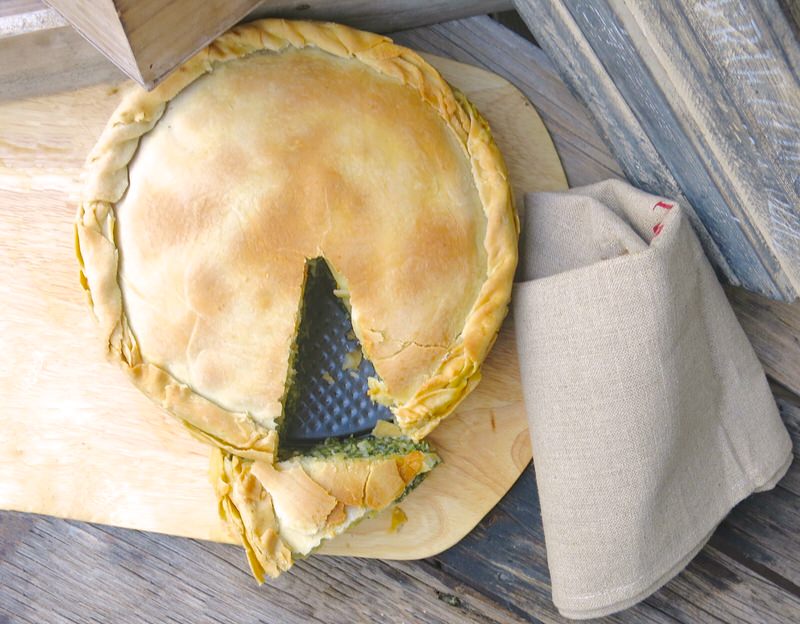
I could knock on the crust like a loaf of sourdough bread and hear that gorgeous hollow crunchy sound.

The crust is not only crunchy and flaky, but provides the perfect textural contrast to the bright flavourful greens and cheesy filling. The yolk is creamy and adds yet another dimension to the textural contrast within the magnificent Torta Pasqualina. The visual surprise the egg offers upon slicing is equaled by its creamy compliment on the tongue.
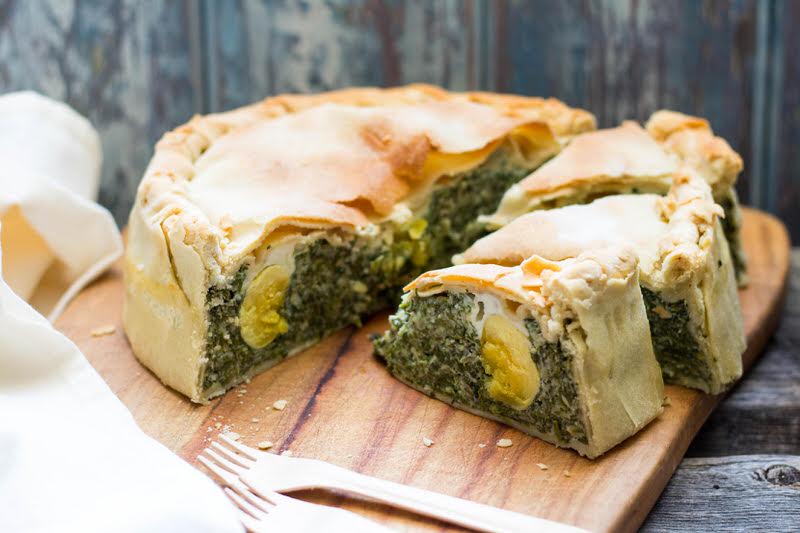
Upon returning home, Nicoletta and Loreto sent me the above photo after slicing their Torta Pasqualina!
Torta Pasqualina: Meet Nicoletta and Loreto from SugarLoveSpices
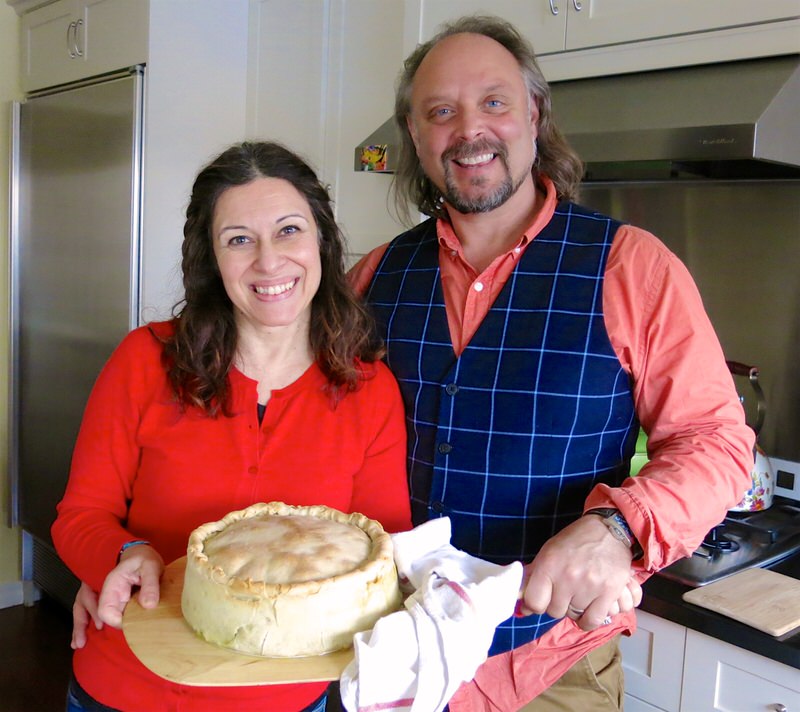
Local readers will already know Loreto and Nicoletta from SugarLoveSpices, well! They didn’t start their blog until 2014, so it is fairly young in the blogosphere, but they have hit our city by storm with their authentic Italian recipes that use local and accessible ingredients. Their gorgeous photography and inviting design aesthetic coupled with the duo personality and their storybook love story packs tons of appeal into each post.

Nicoletta started writing to her Edmonton pen pal, Stephanie, in 1984. Their relationship deepened and they shared all of the important aspects of one another’s lives well over the span of 25 years. In 2007, Nicoletta came to Canada for a holiday to meet her beloved friend, and during the trip, met Stephanie’s cousin, Loreto. For Loreto, it was love at first site. Nicoletta was most definitely enamoured as his farewell hug to her was unforgettable, but she lived there and he lived here.
They began to correspond. Nicoletta was back again in 2008, again in 2009 and in 2010 she came for a few months to be sure this fairytale romance was real. Every New Year had been spent together at a different destination during this time: Montreal, Quebec City, Victoria. In 2013, 6 years after they had first met, they married. What a triumph. Though they suffer 4 months apart each year as Nicoletta returns to her work in Rome with the government, they have each found their soulmate. What a love story!
One of their many shared passions is cooking together in the kitchen. Watching them cook is like watching a couple on the dance floor. They have been at this for a long time, are very good at it and it is clear that each derives a deep sense of personal satisfaction from this shared passion. Nicoletta is the Sugar part of the team. She also makes most of the pasta dishes and does more of the photography. Loreto Spices things up. He is into savory fusion food. They each write their own posts and readers can’t get enough at this up close and personal view into the lives and kitchen of this compelling couple. Play their song of the day (bottom of each post) while you read their food stories.
They are proudest of the relationship they have developed with our local Italian Centre Shops as they regularly develop recipes for them that are in their newsletters for all. Yet, their most popular recipe is Loreto’s Pressure Cooker Pork Tenderloin, much to Nicoletta’s chagrin as she is an avid Pescatarian. Her Spelt Flour Banana Bread with Walnuts and Honey follows close behind!
However, it is their pasta dishes that are their pride and joy, particularly the pure classic traditional dishes that are so simple, as it is with the best Italian dishes: 5 ingredients or less. Nicoletta, a self professed Roman culinary purist, expressed fervent disappointment that her Classic Carbonara Roman Pasta Recipe has not received more love as it is a recipe from her home city, written from her heart, and truly the authentic version.
Loreto believes his Zuppa di Pesce or Haddock and Shrimp Fish Soup made in the Italian style with a deeply flavourful dynamic clear broth deserves a lot more love.
Torta Pasqualina: Background and History
Torta Pasqualina is a savory cake from the Liguria (more precisely Genovesato) region of Italy. The first Spring treasures from the Liguarian garden: eggs, herbs, artichokes, peas, spring onions, and fresh marjoram are baked into the torte. Other regions of Italy impart their regional first Spring greens into the torta: spinach, chard, kale, always onion, and so on. It is the highlight of the Easter lunch and used to be the bench mark that determined the skill of each housewife as making large thin sheets of the dough is no easy feat! Legend has it that “the ultimate wife” would make thirty sheets: one for each year of Christ’s life. In past centuries, the eggs and cheese, essential ingredients of Torta Pasqualina, were only eaten on special occasions. “The Pasqualina Genovese cake is documented to have been in existence since the sixteenth century, when the scholar Ortensio Lando mentions in the Catalog delli inventors of things you eat you drink etc.” (Wikipedia)

All regions throughout Italy make it during the Easter season, each with its own home-version character. Traditionally, the pastry is thin layers of similar to pasta consisting of water, flour and olive oil with a scant brushing of oil or butter-oil between each. The sheets are rolled to a size much larger than the modern torte pan or the more traditional sheet pan as the pastry must have a considerable overhang for trim. The rarer Liguria traditional filling consists of fresh spring peas, the violet spiny artichoke of Albenga (a must in the authentic version), herbs and is covered with an egg custard and the regional Prescinseua fresh cheese curds. Recesses are then made in this filling for whole raw eggs to be dropped into. All is then covered with more sheets of pastry. The eggs bake inside of the torte. The overhanging pastry edges are rolled together to create a decorative edge.
Torta Pasqualina: Project 2017, Valerie in the Kitchen with YOU!
 Some women like to shop or go to the spa. I love to cook in my kitchen with a friend – or someone learned who has a recipe to share, and a story to tell. Essentially, I want to glean heritage and traditional recipes – the best of the best – from our oldies and goldies that have so much experience in their heads. I want to cook with our babas and nonnas and grandmas and grandpas and learn to make what they are known for, or famous for, and share it with my readers. This is not exclusive to our elders, but definitely with them in mind. Of course, many, many younger folk, like me, for example, have much to share, as well.
#ACFValerieCookingwithYOU!
Nicoletta and Loreto are participating in this project. The Torta Pasqualina is not a Canadian recipe like my Canadian Lasagna recipe, but it is a recipe that many Italian Canadians make in their Canadian homes during the Easter season and adapt, as we have today, to the ingredients on hand in their region.
If you would like to, please let me know!
- Project 2017: Cooking in the Kitchen With… Completed Project Posts here.
- Project 2017: Cooking in the Kitchen With… Cooking Schedule is here.
- Project 2017: Cooking in the Kitchen With… PARTICIPATE!
Torta Pasqualina: Making the Dough
Going into this project, I had a frame of reference. My homemade burek pastry lessons in Bosnia (terrible photos and an old post) where we made pastry as thin as tracing paper to cover an entire table. I did it completely by myself, the next time (best link to take a look at) but came home unable to find ingredients here than would enable me to practice my new learning. Ljerka is a gal that has perfected this technique with local ingredients, and I am waiting for her to provide me a date to teach me here. The significant difference between the two doughs is the addition of the olive oil in this recipe. The other is simply flour, salt and water with a melted butter-oil mixture added between layers. The oil in this dough adds so much flavour, but challenges one’s ability to work easily with the dough.
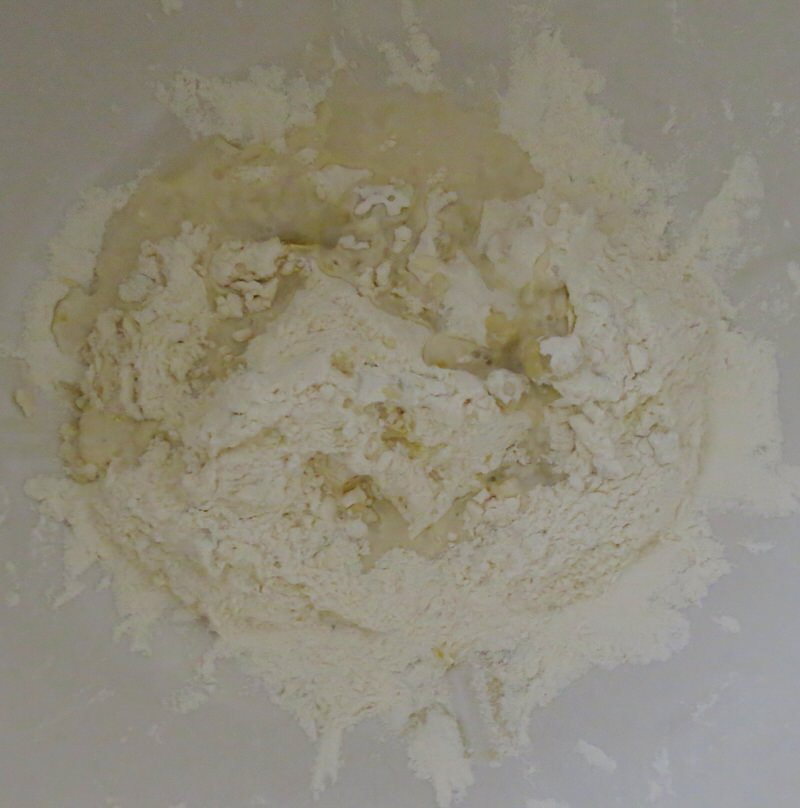
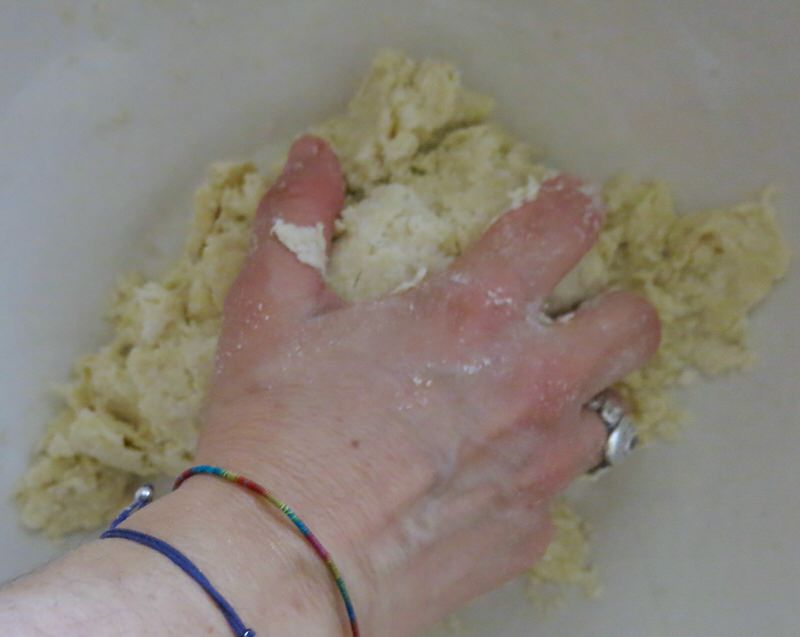
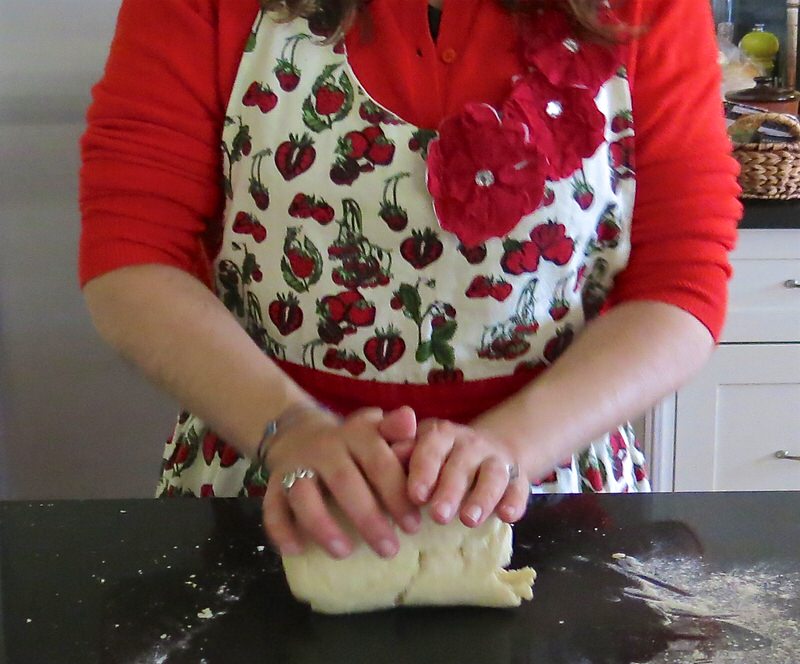
Take your time. Don’t rush the process. You will succeed and experience such gratification if you put yourself through this ancient dough making process. Nicoletta made her dough by hand. I have a Thermomix machine, therefore eager to develop the instructions for making the dough in it. The key is to not get a stiff dough. The ratio of water to the very fine flour used coupled with your perseverance and patience will yield success.
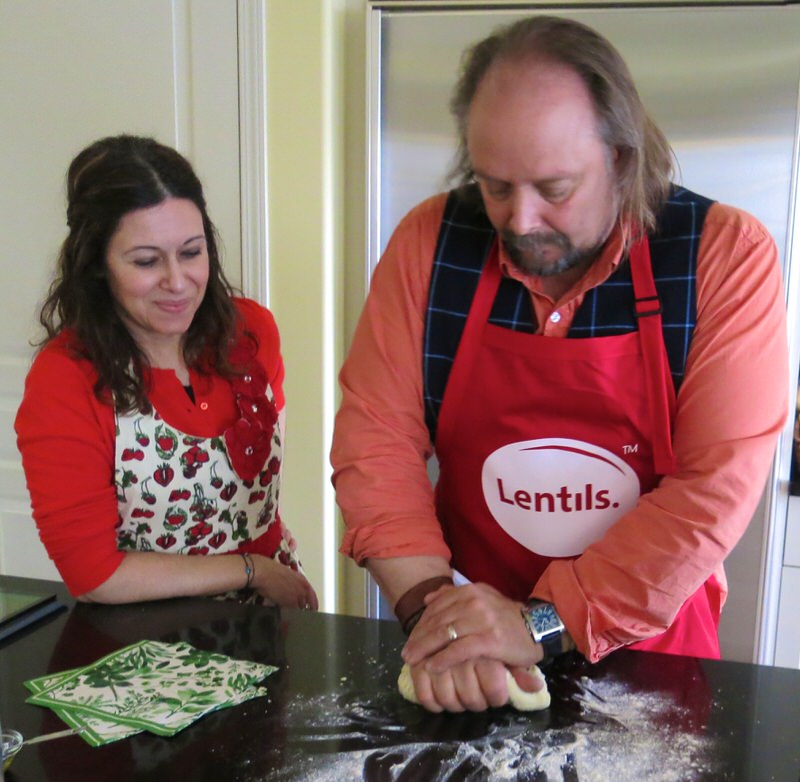
Fortunately, Nicoletta had a second set of muscles with her!
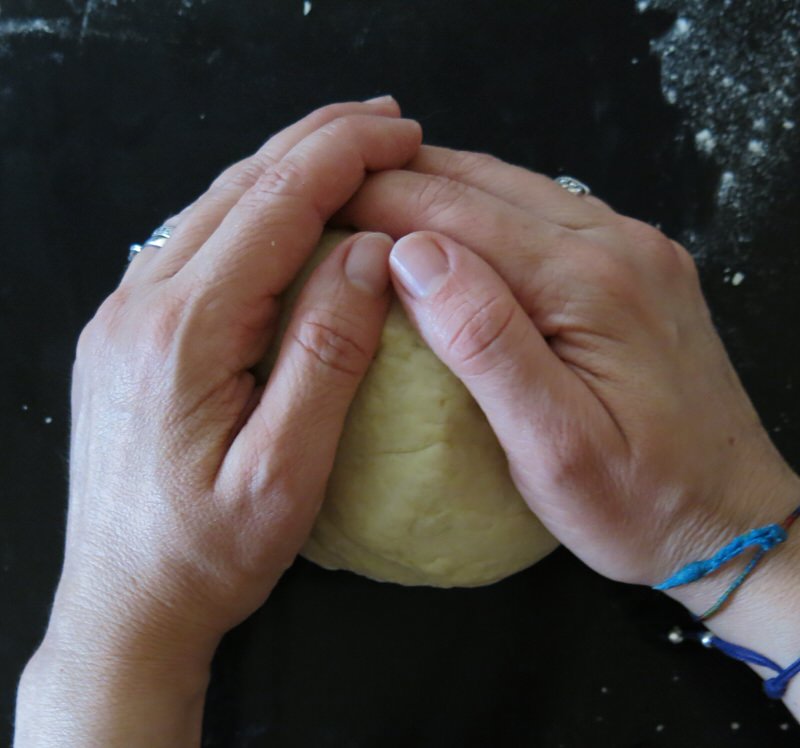
The Torta Pasqualina dough is ready to rest for at least an hour. This rest is as important to the ability to roll the dough into thin sheets as the rest for a yeast dough is to proof.
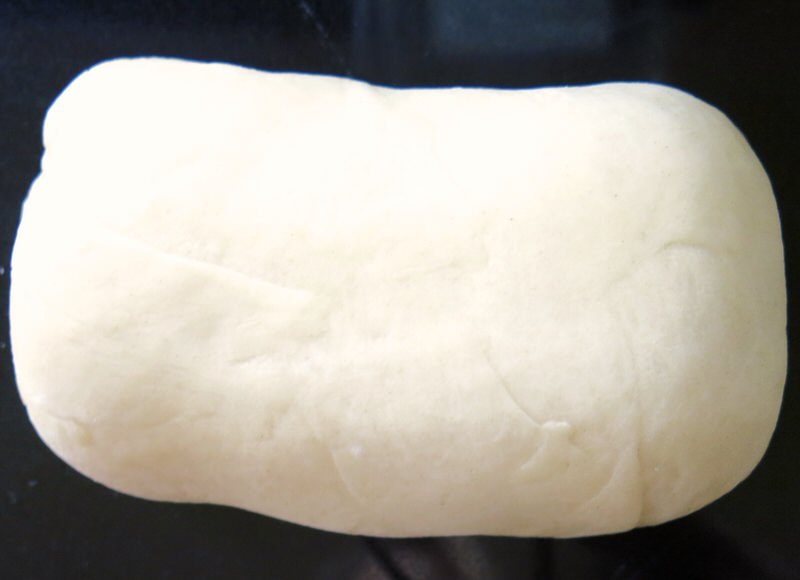
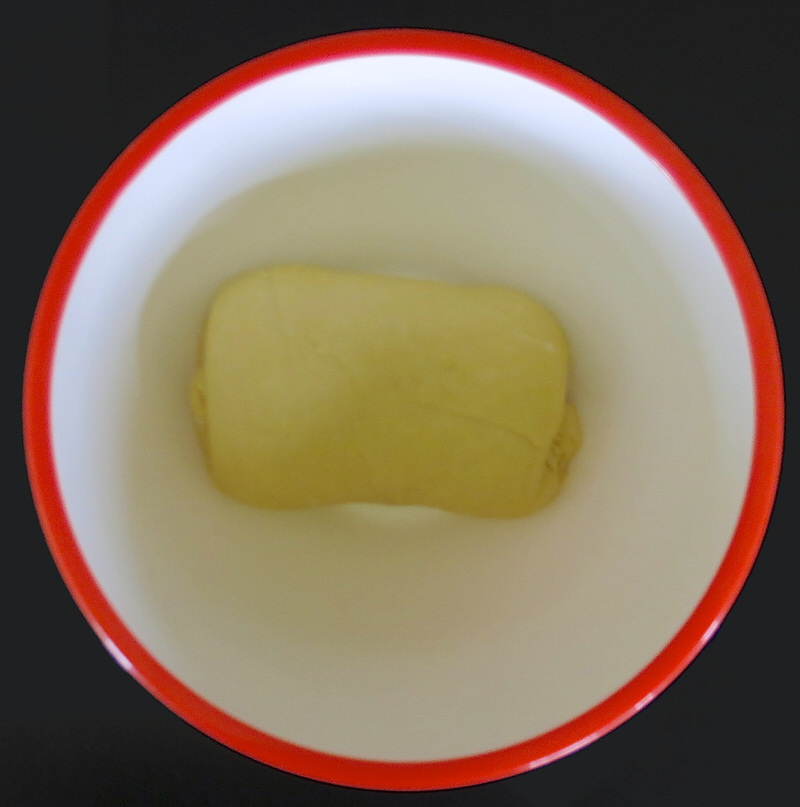
Look at her gorgeous, smooth dough. Covered with a damp cloth, it will rest while we get the filling ready.
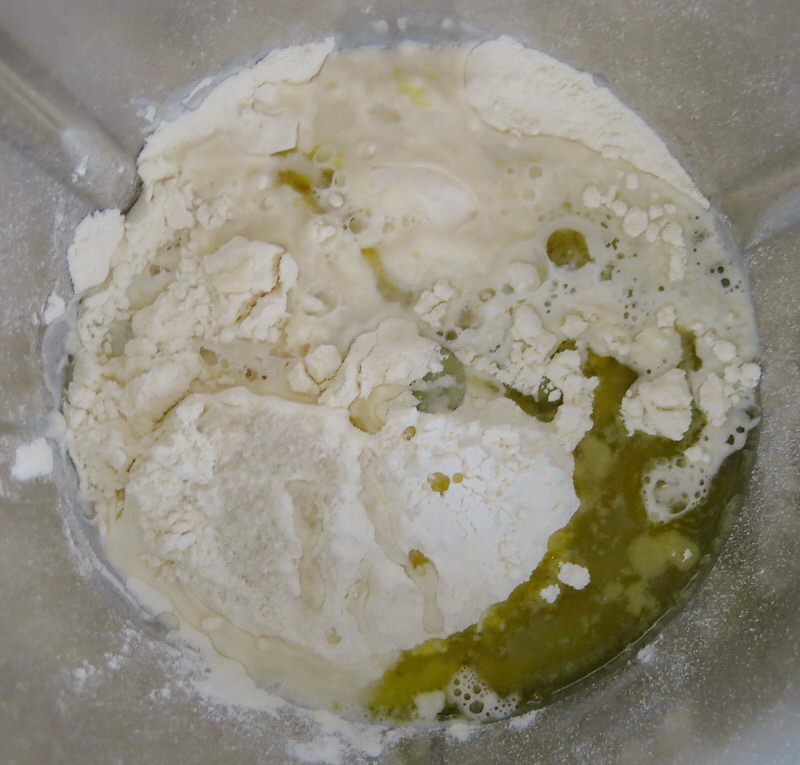
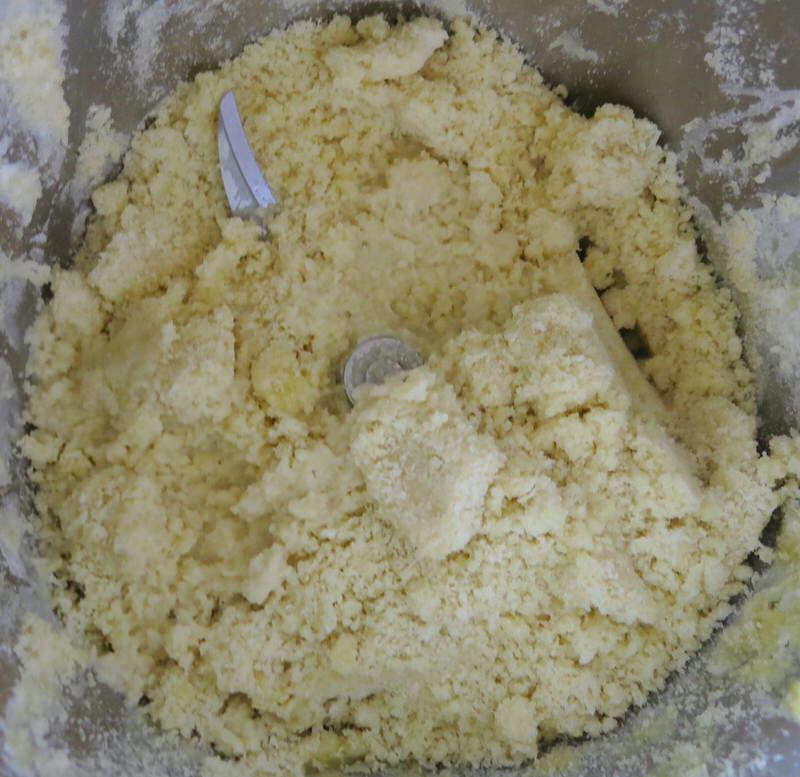
At the same time, I weighed all ingredients into my TM5 bowl and mixed to combine. Because the ration of dry ingredients to wet is so high, the mixture crumbles instead of forming into a ball.
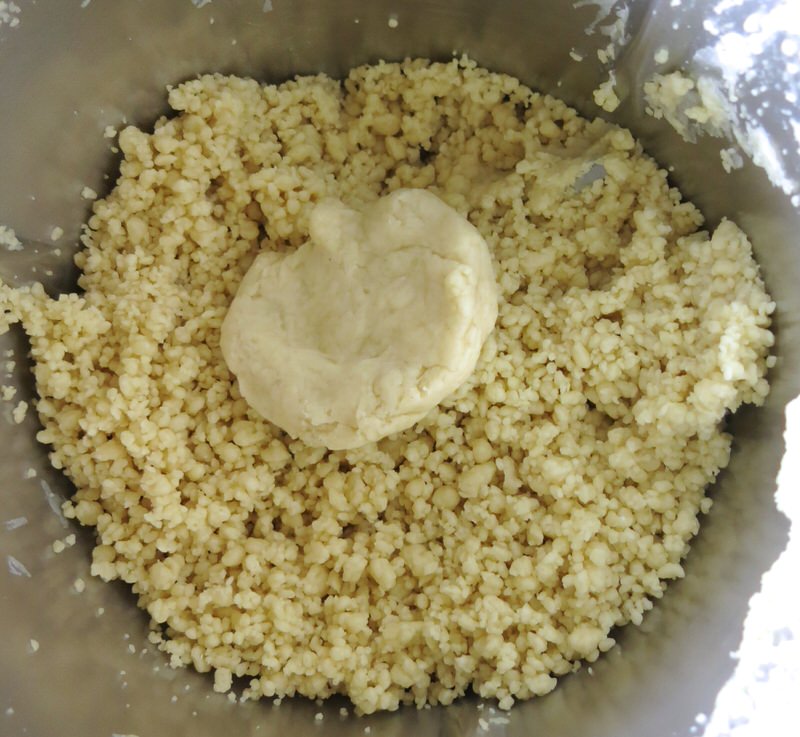
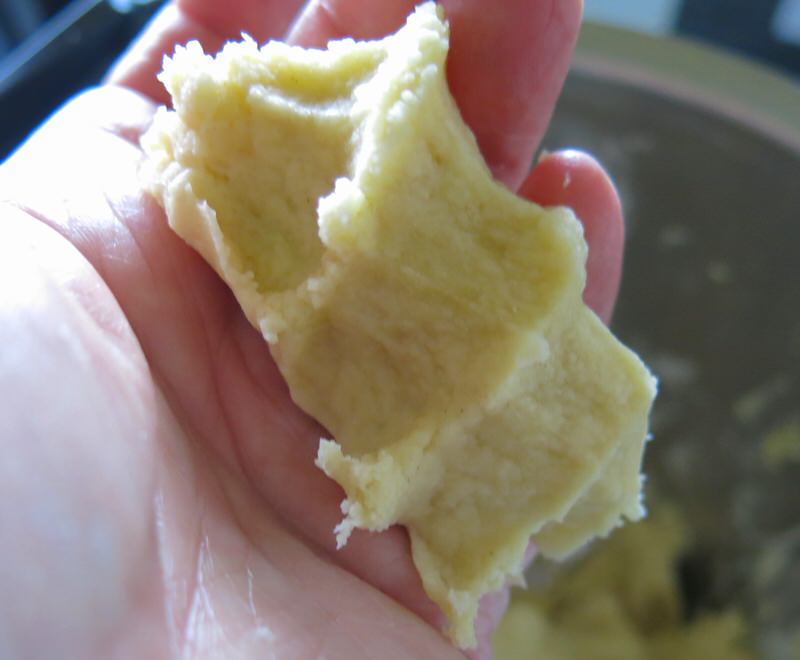
I kneaded it anyway, for 90 seconds and got a gorgeous texture when picking it up to squeeze.
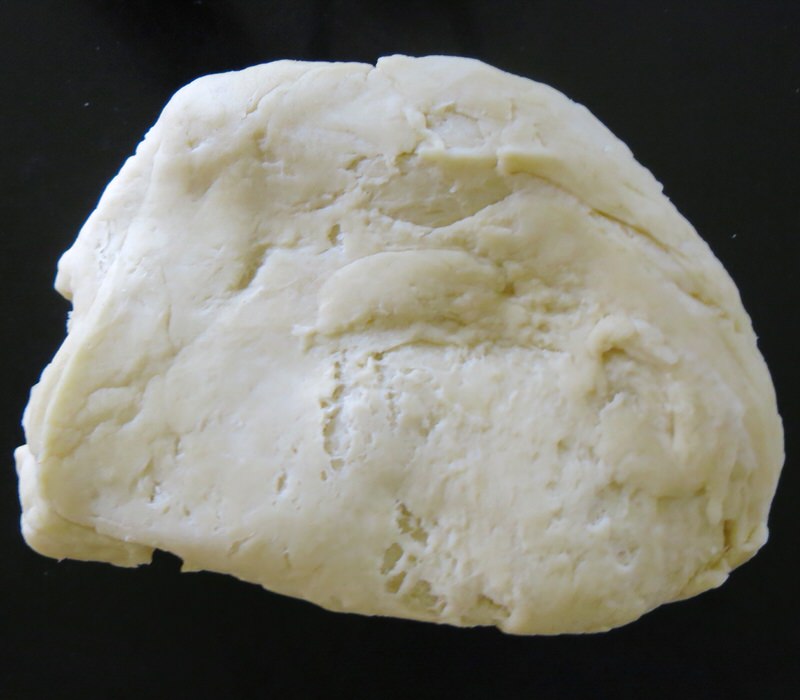
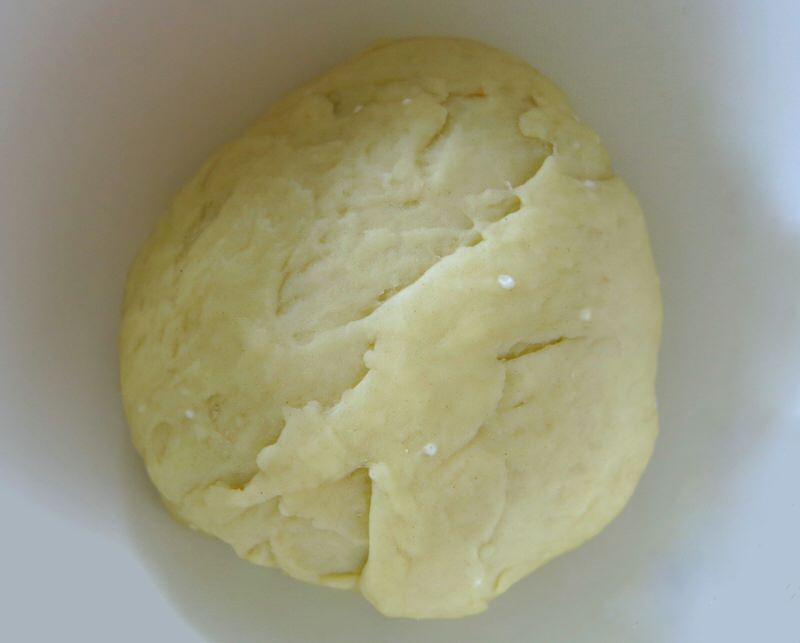
However, when forming it into a complete ball, I worried that it was a bit too stiff. After resting, I did thankfully find my dough to be of similar give to Nicoletta’s and would make it another time in the Thermomix in this fashion. They were both sweating and had a great workout for 15-20 minutes while my dough was done in under 2 minutes. If I didn’t already have considerable dough making experience, I would not allow myself to use the machine. I am a true believer in one must accomplish each bit of a recipe by hand first. While our dough rested, we set out to make the filling.
Torta Pasqualina: Making the Spinach Swiss Chard and Ricotta Filling
Prescinseua is a fresh clabbered cheese milk that has soured and thickened) from the region of Liguria that also uses rennet and is the cheese used in the traditional Torta Pasqualina, but it cannot be found in Canada, nor in many regions of Italy. Thus, noting that it is a creamy fresh cheese with a tang or bit of a sour edge, ricotta is often used with some Greek yogurt. We worked to recreate the flavour and texture. I am familiar with many fresh sour cheeses via our travels and brought home a couple that are available here. Kajmak is made at The Cheese Factory here in Edmonton, though so much sweeter than any version of this cheese I have laid my nose close to in the former Yugoslavia. The other, a Macedonian creamy cow feta made in Canada. Combining the two of those cheeses alone was spectacular on a cracker. We toned them down with the ricotta and Nicoletta thought the blend was excellent. All three were purchased at our local Italian Centre Shops.
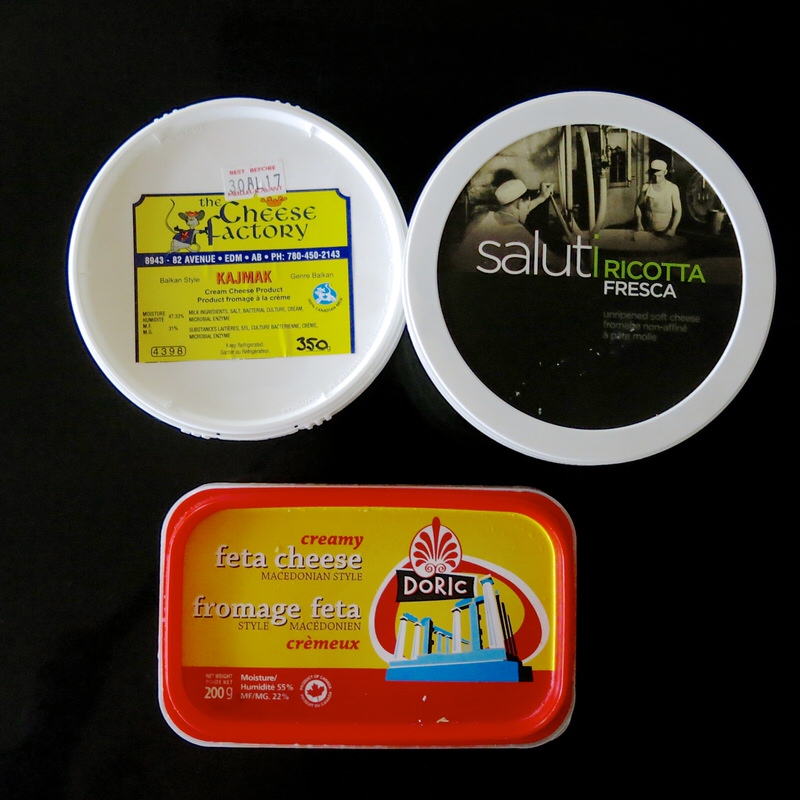
We combined all three and used 600 grams per recipe.
The name of the Prescinseua cheese is derived from the Genoese word “presû”, meaning rennet. Though not well known, this curd has been produced for centuries. During the Republic of Genoa, apparently the Doge revered it. Today is not easy to find outside of the region. The milk to be used is left stationary for 48 hours which is similar to Kajmak, then 50% of it is heated to the temperature of 40-50 ° to be joined with the other 50%. At this point, calf rennet is added and tiny curds form similar to the size of ricotta curd. It is strained and after about 4 hours placed into containers to be consumed within the next 2-3 days. It is the cheese also traditionally used in the Genoese Focaccia.
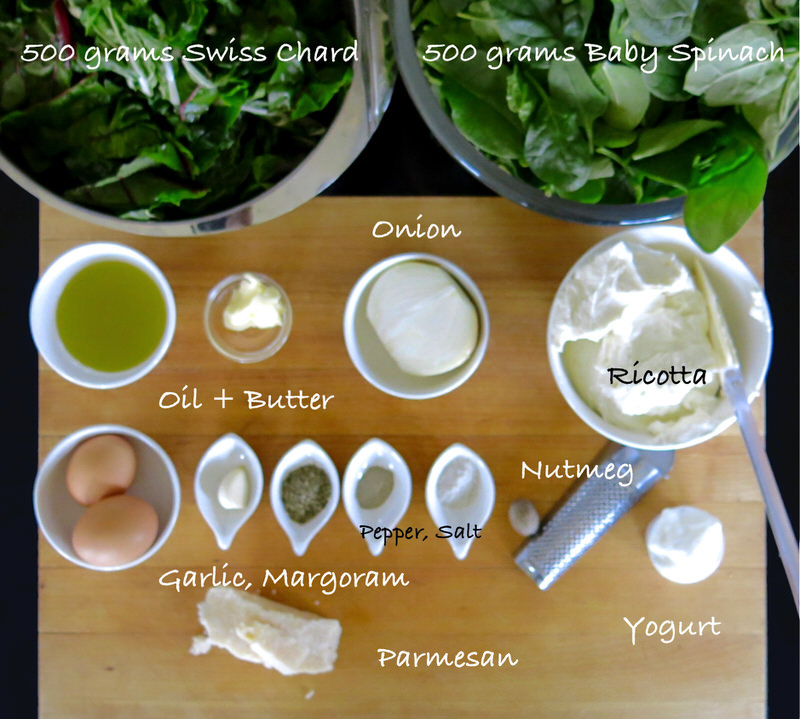
Mis en place. The “ricotta” we used was the mixture, as explained above, with the addition of the yogurt.
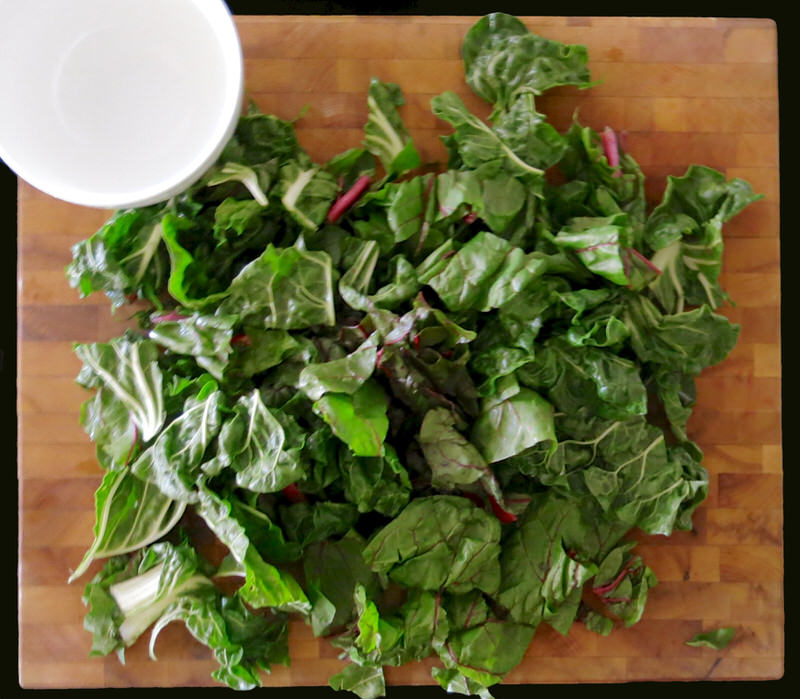
The gorgeous Swiss chard prepared in large rustic chunked for cooking.
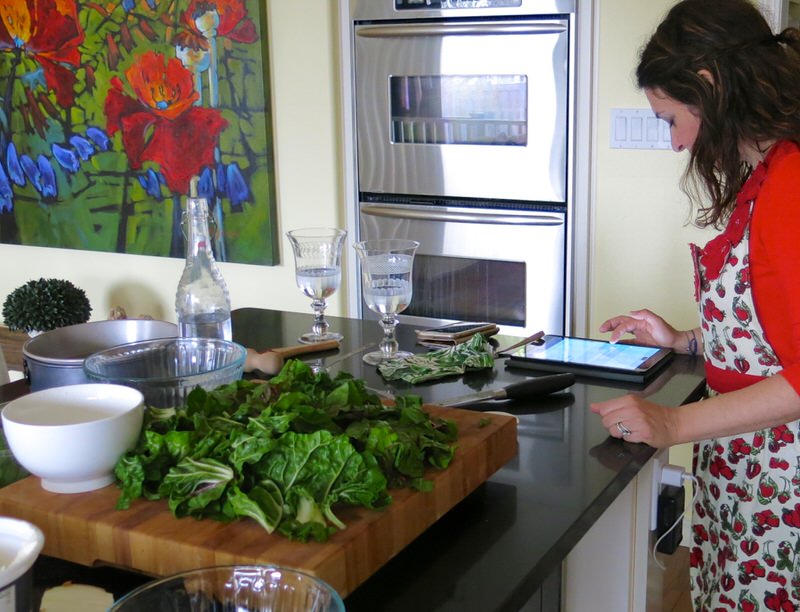
The thoughtful perfectionist reviewing the recipe.
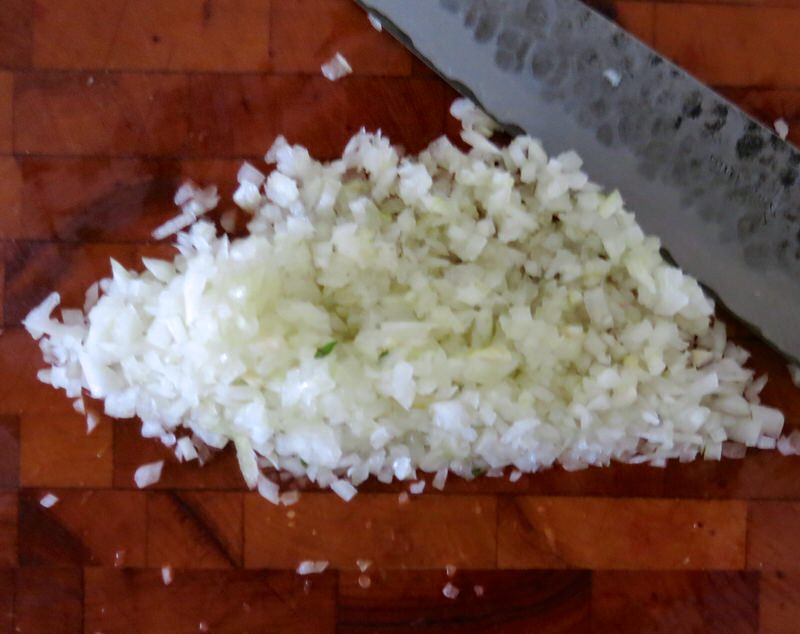
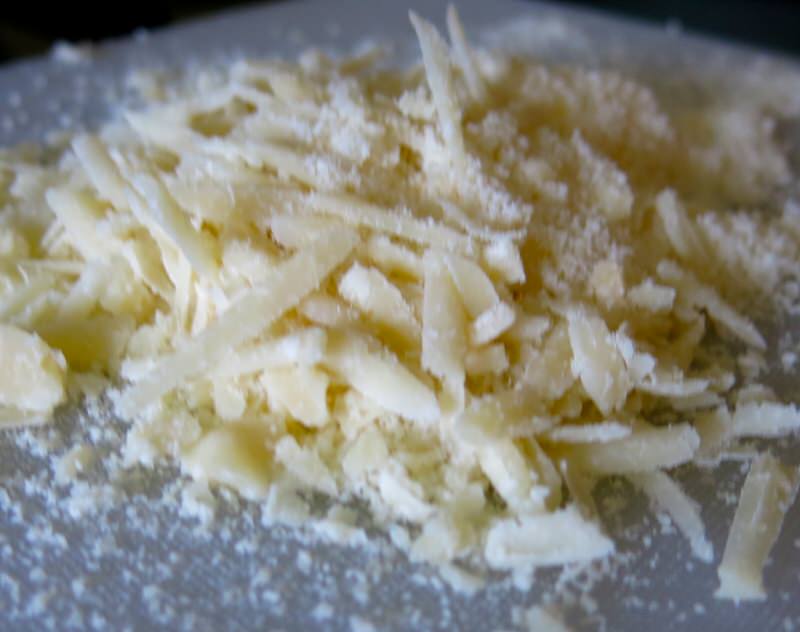
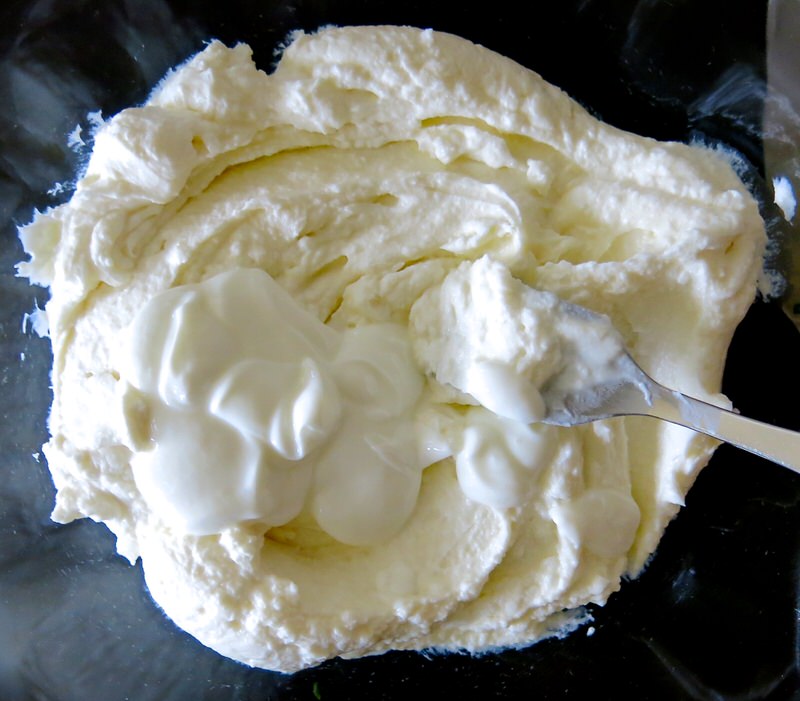
Onion minced, Parmesan shredded, soft cheeses mixed with yogurt.
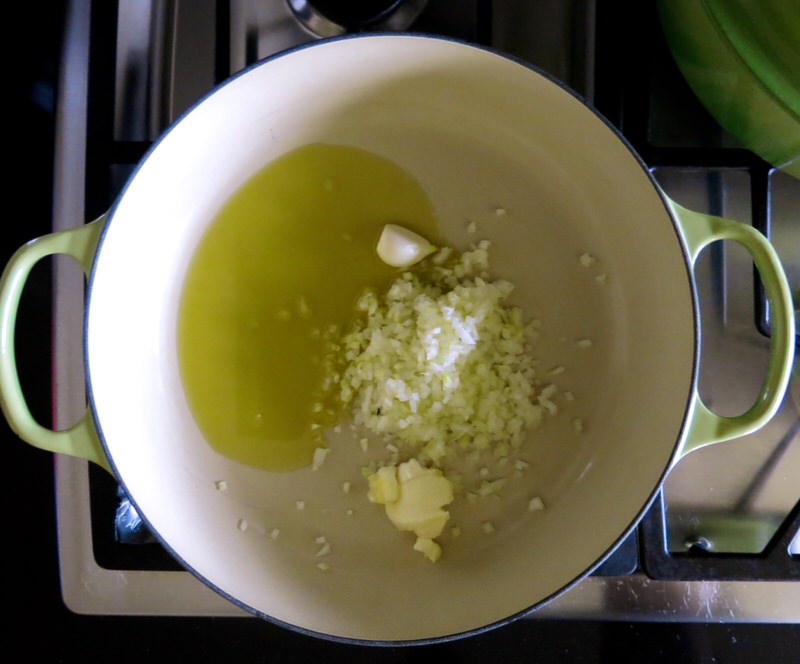
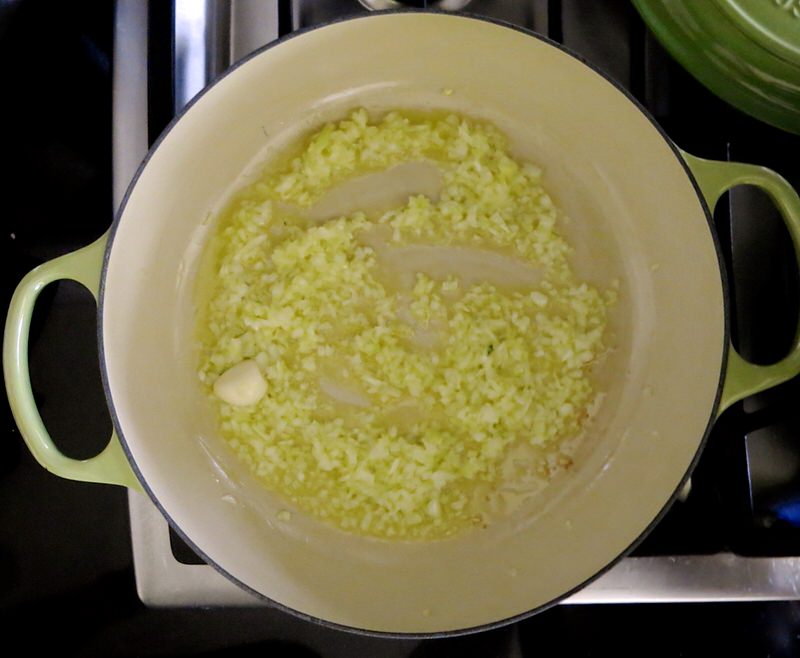
Onion sautéed with olive oil and whole garlic clove.
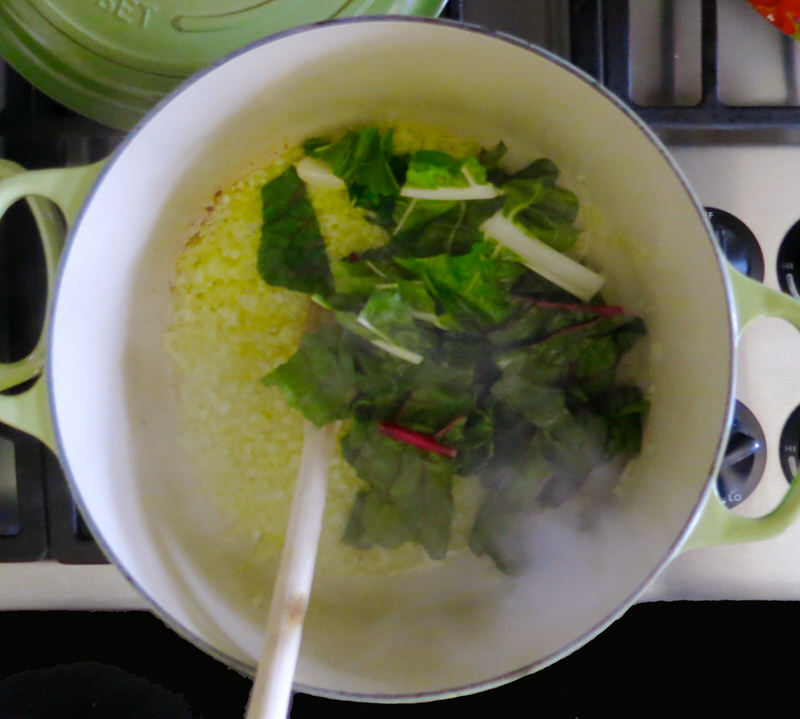
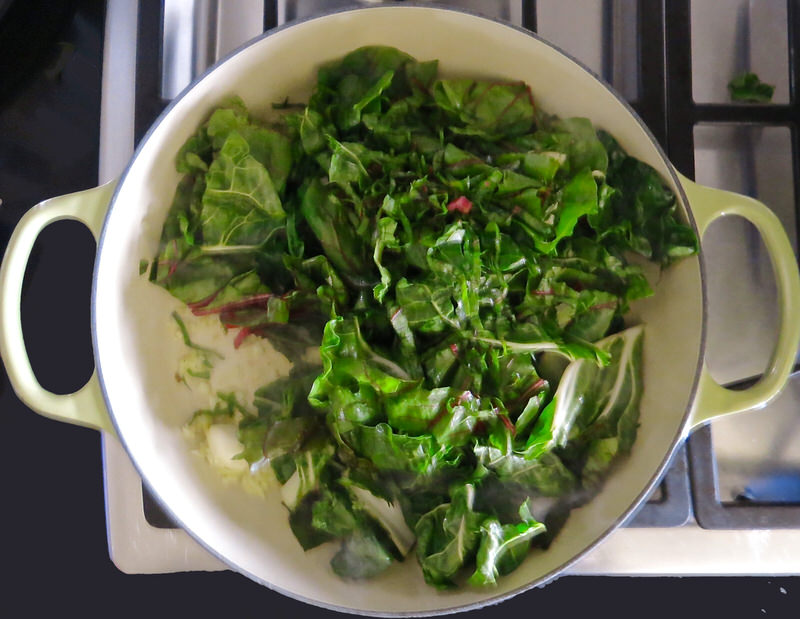
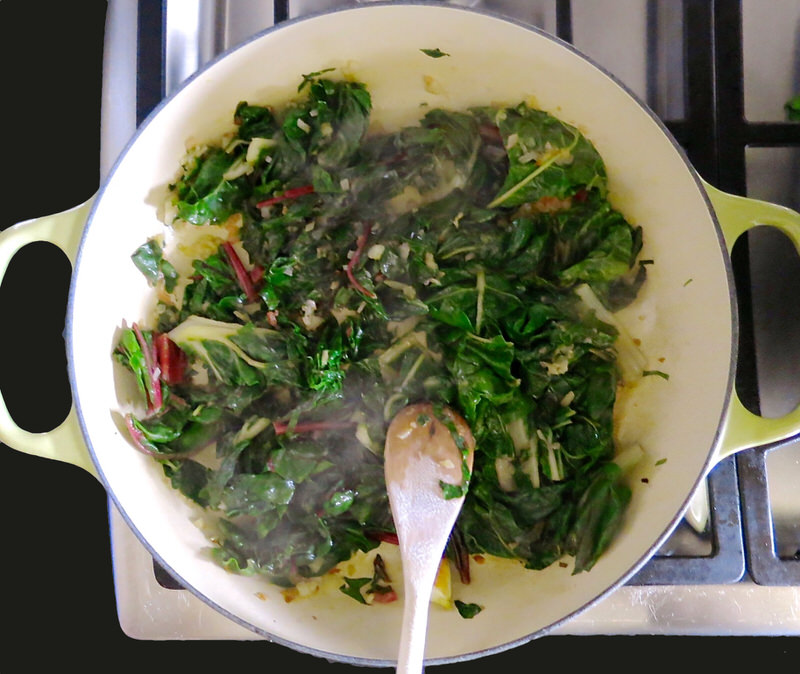
Swiss Chard in, handful by handful, until wilted.
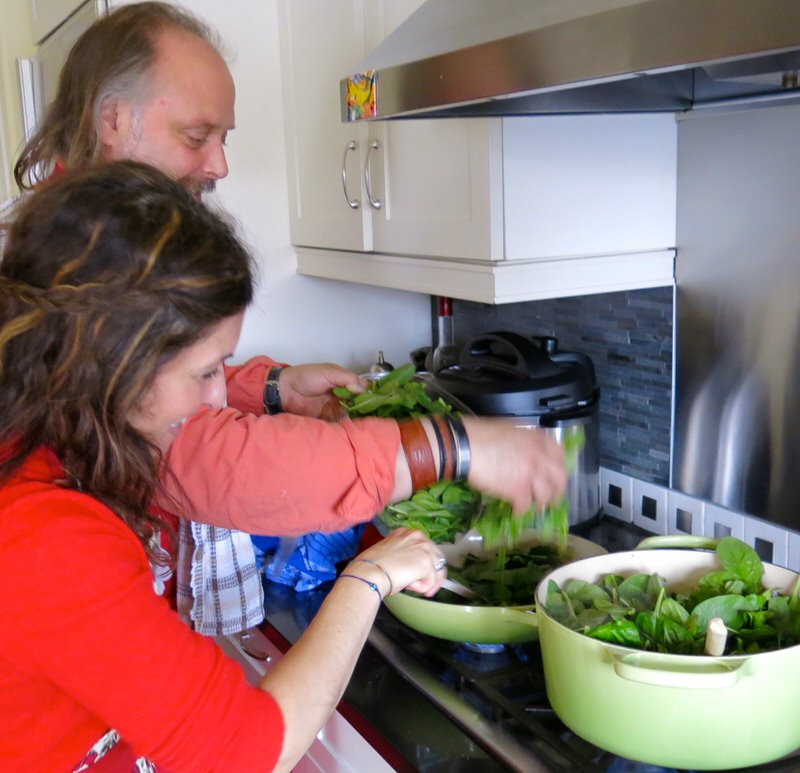
Spinach in. Handful, by handful, with marjoram, butter and a bit of water, then cooked until tender.
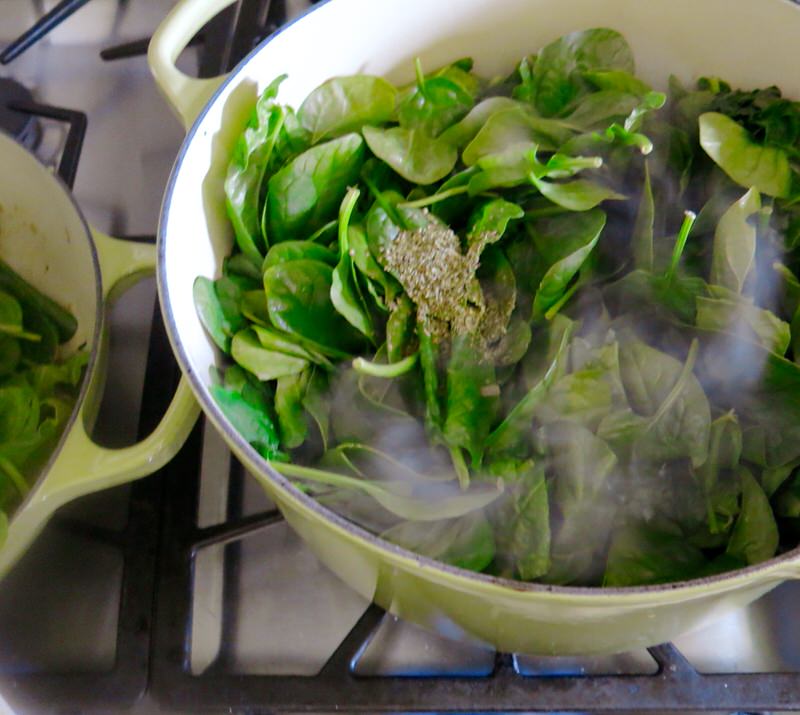
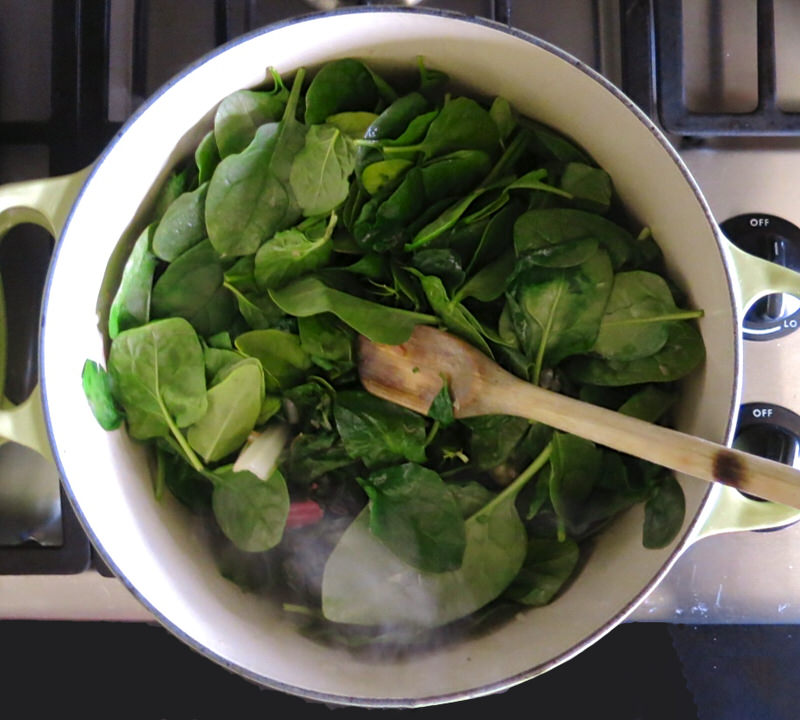
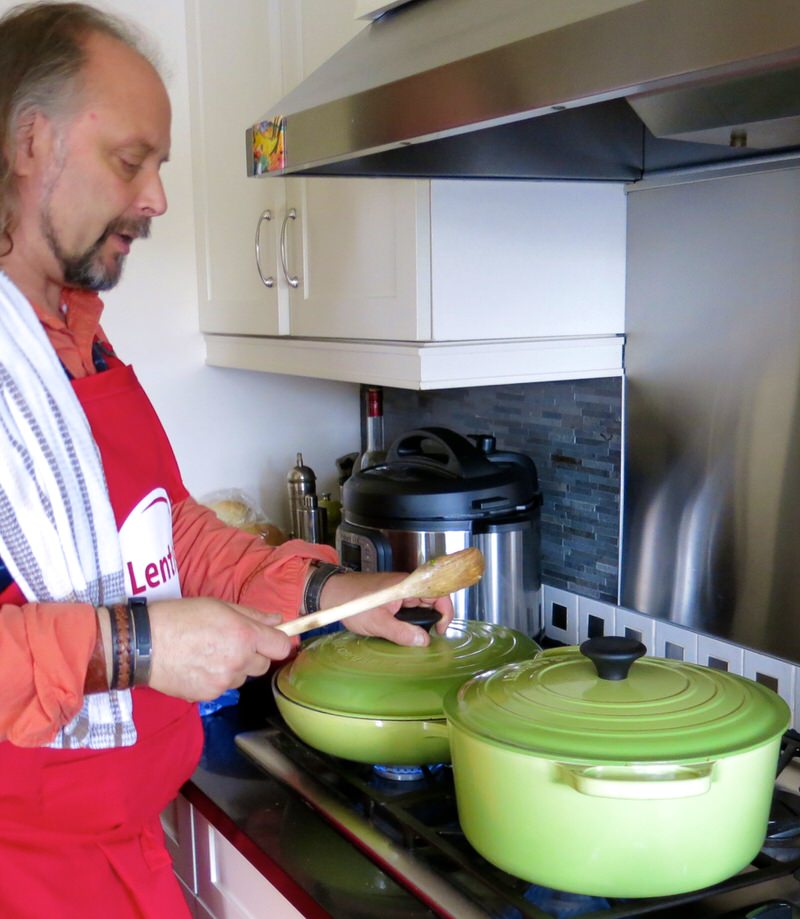
Steam with lid on to ensure completely tender greens.
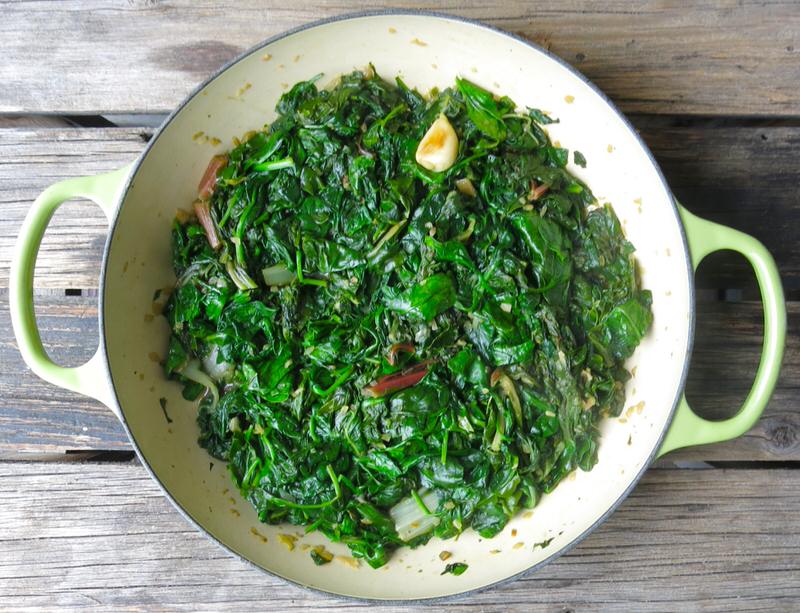
Above, one kilo of tender Spring greens barely cover the bottom of the skillet once wilted and cooked. Look at the gorgeous colour! Oh, the aroma! Mamma Mia!
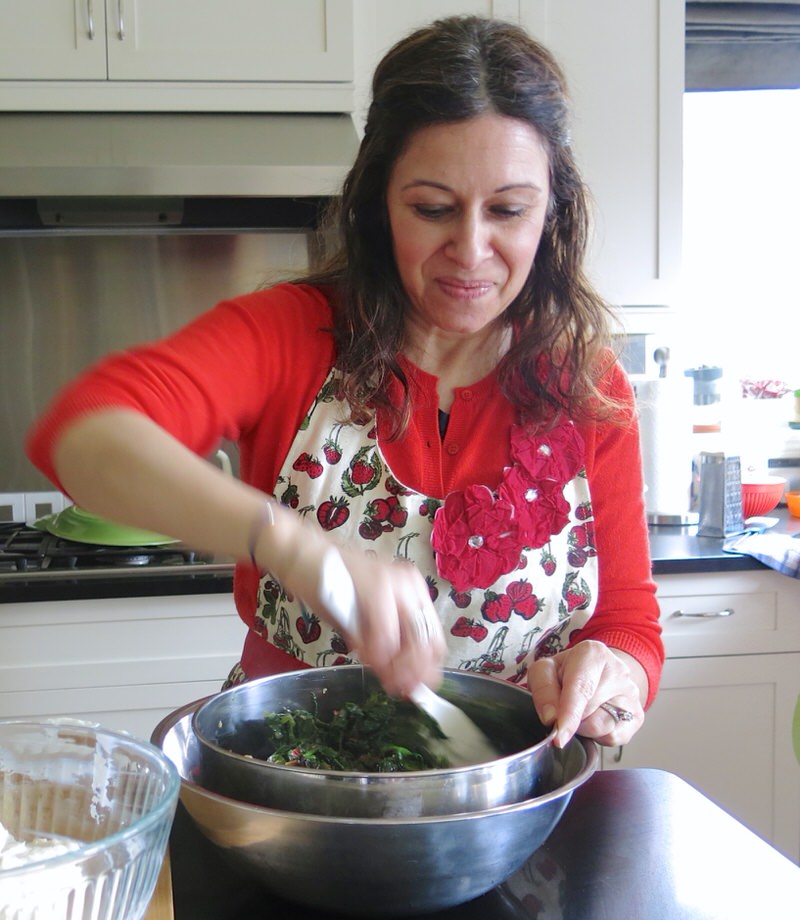
Greens into the sieve to expel as much liquid as possible, then left to cool.
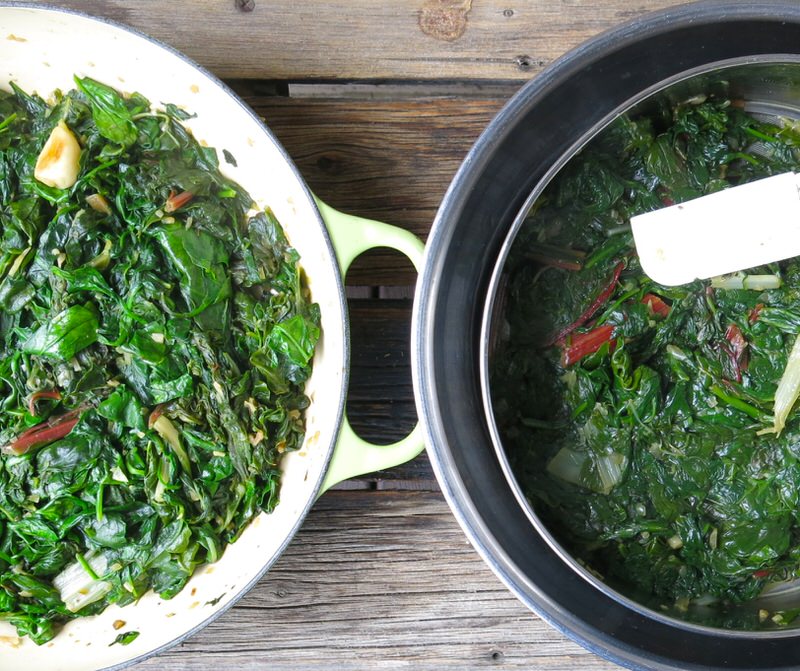
At this point, we were teaming with excitement. The pastry was almost ready to roll. The greens were gleaming and gorgeous.
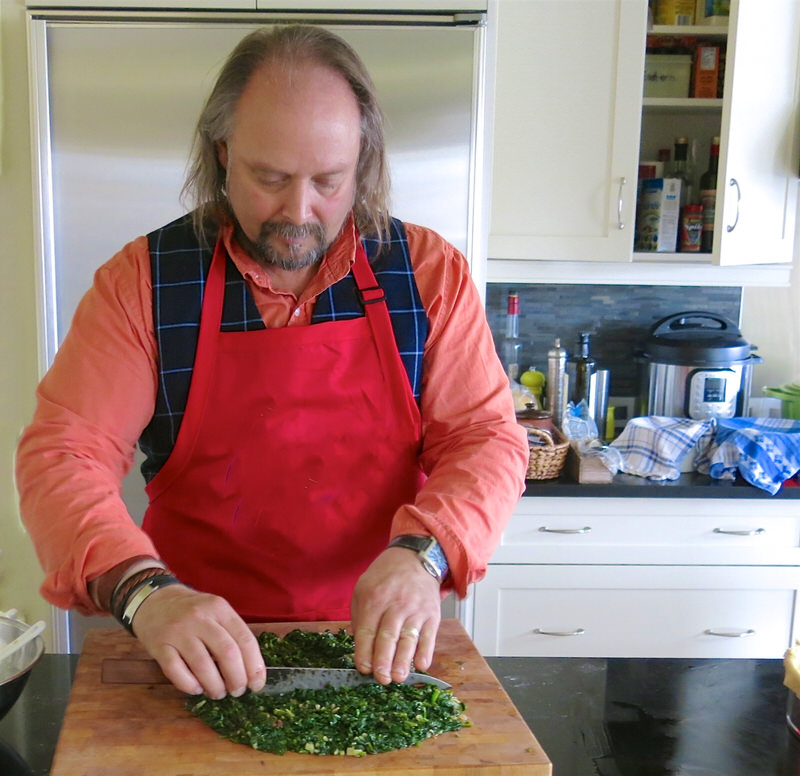
While the greens cooled, we actually rolled the Torta Pasqualina pastry and laid the first two layers into the pan to receive the filling, but I am going to walk you through making the filling here. The recipe will take you through the correct process. Loreto is now finally chopping the cooled greens.
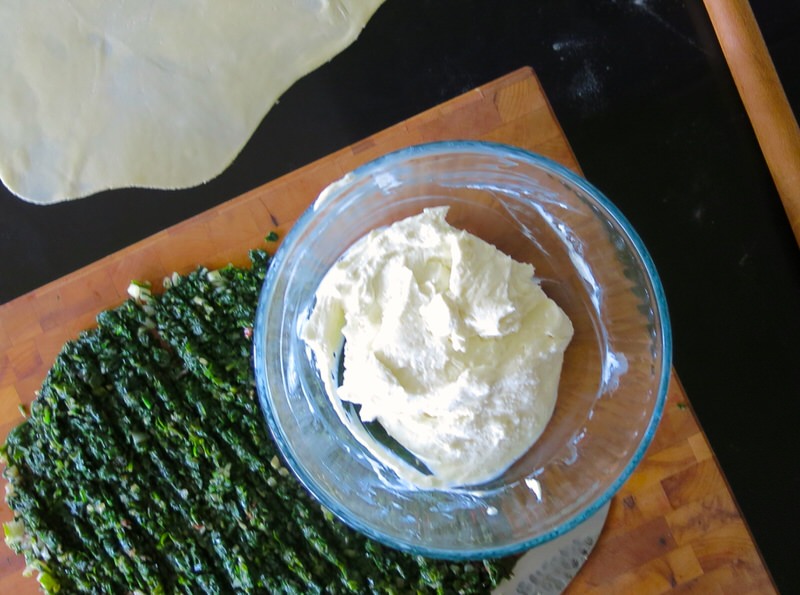
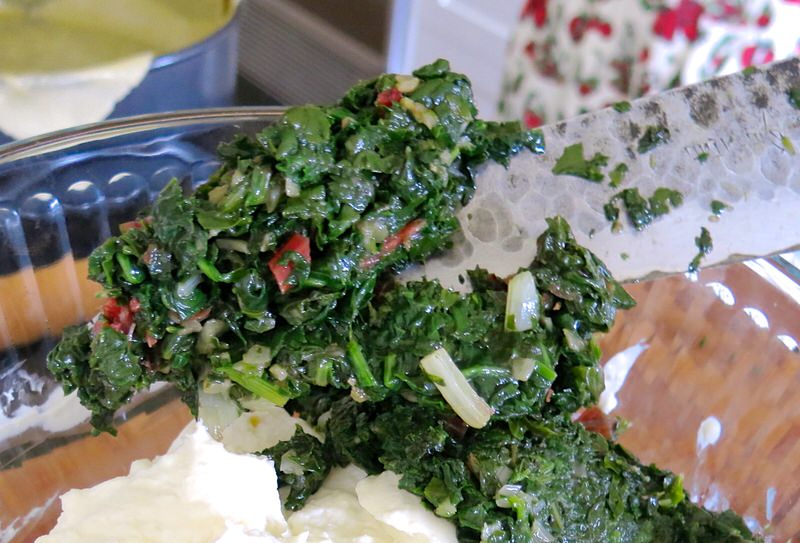
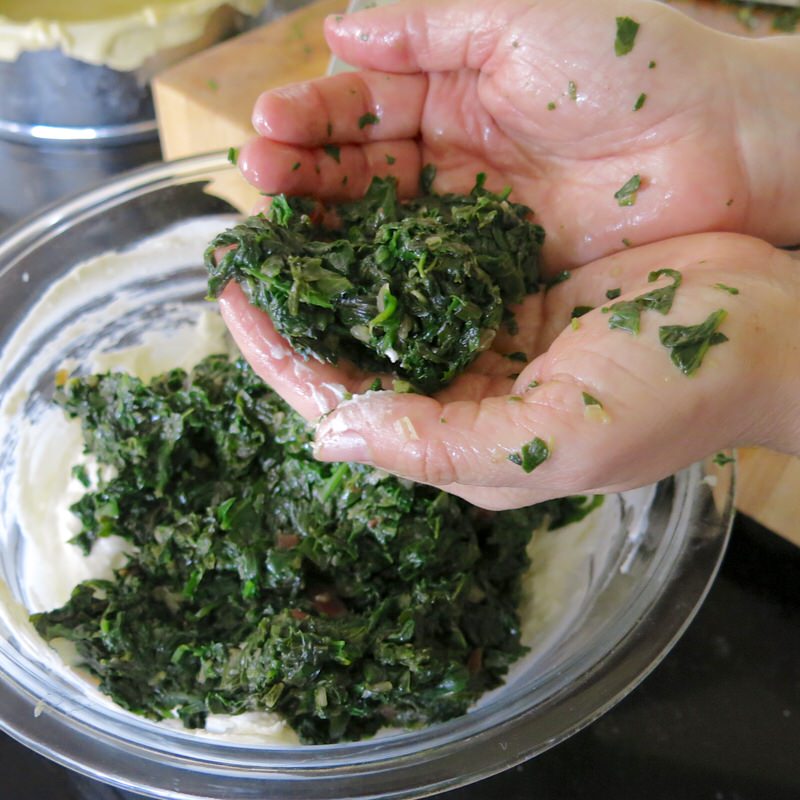
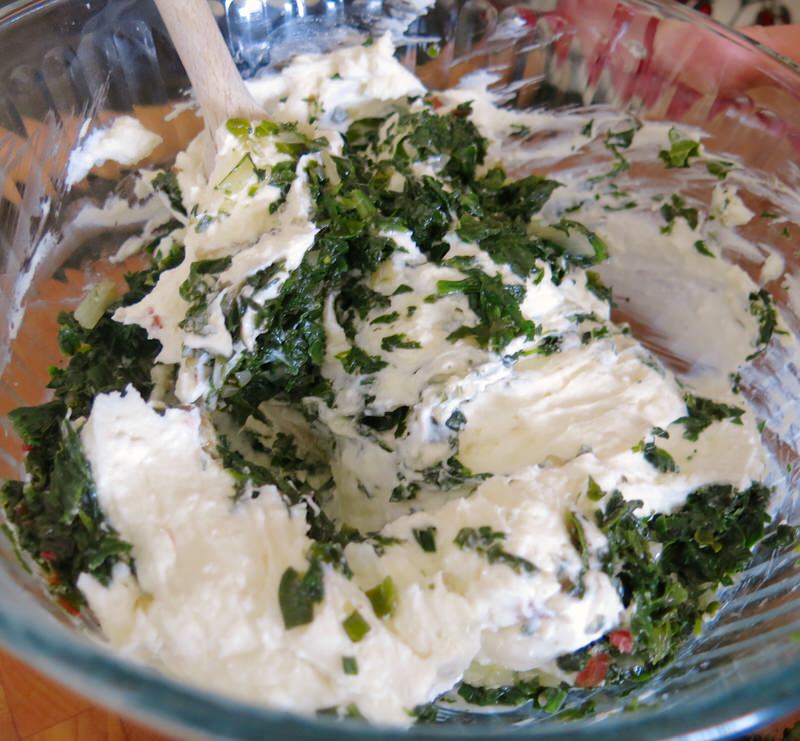
They are added to the fresh cheese mixture with the white pepper, eggs and shredded Parmesan.
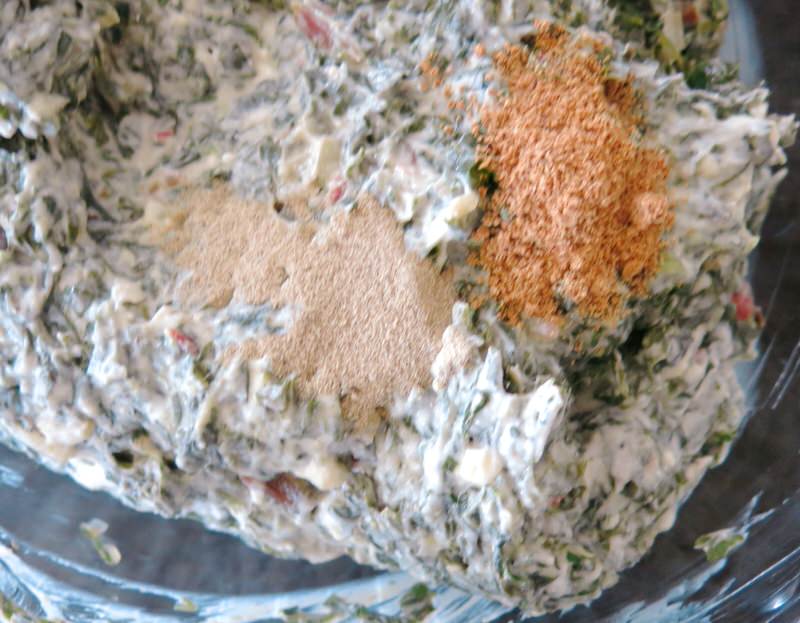
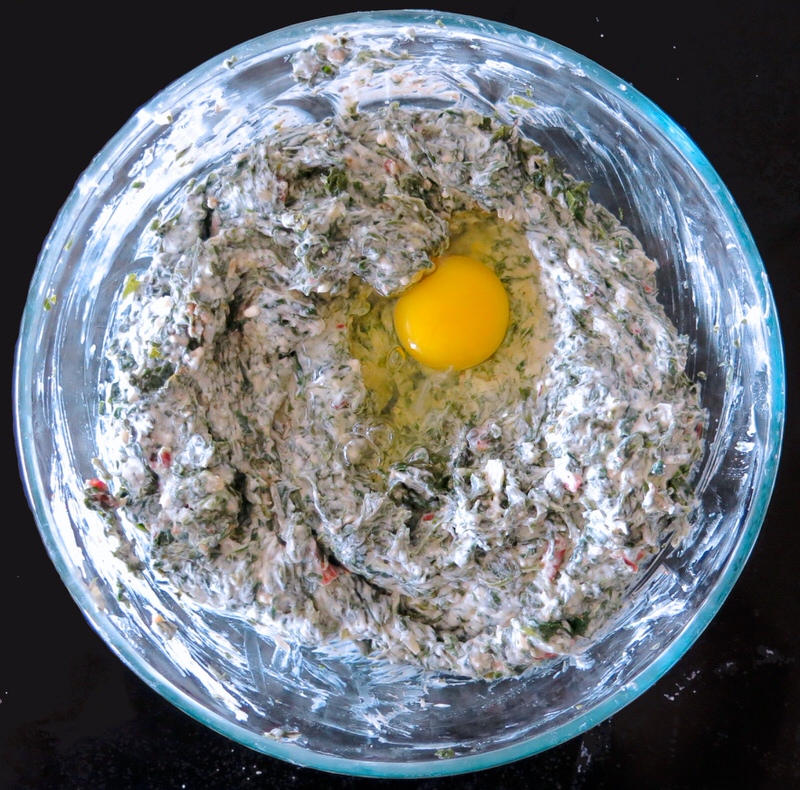
No salt was necessary at this phase due to the salt in the cheeses.
Torta Pasqualina: Preparing the Butter Oil Mixture
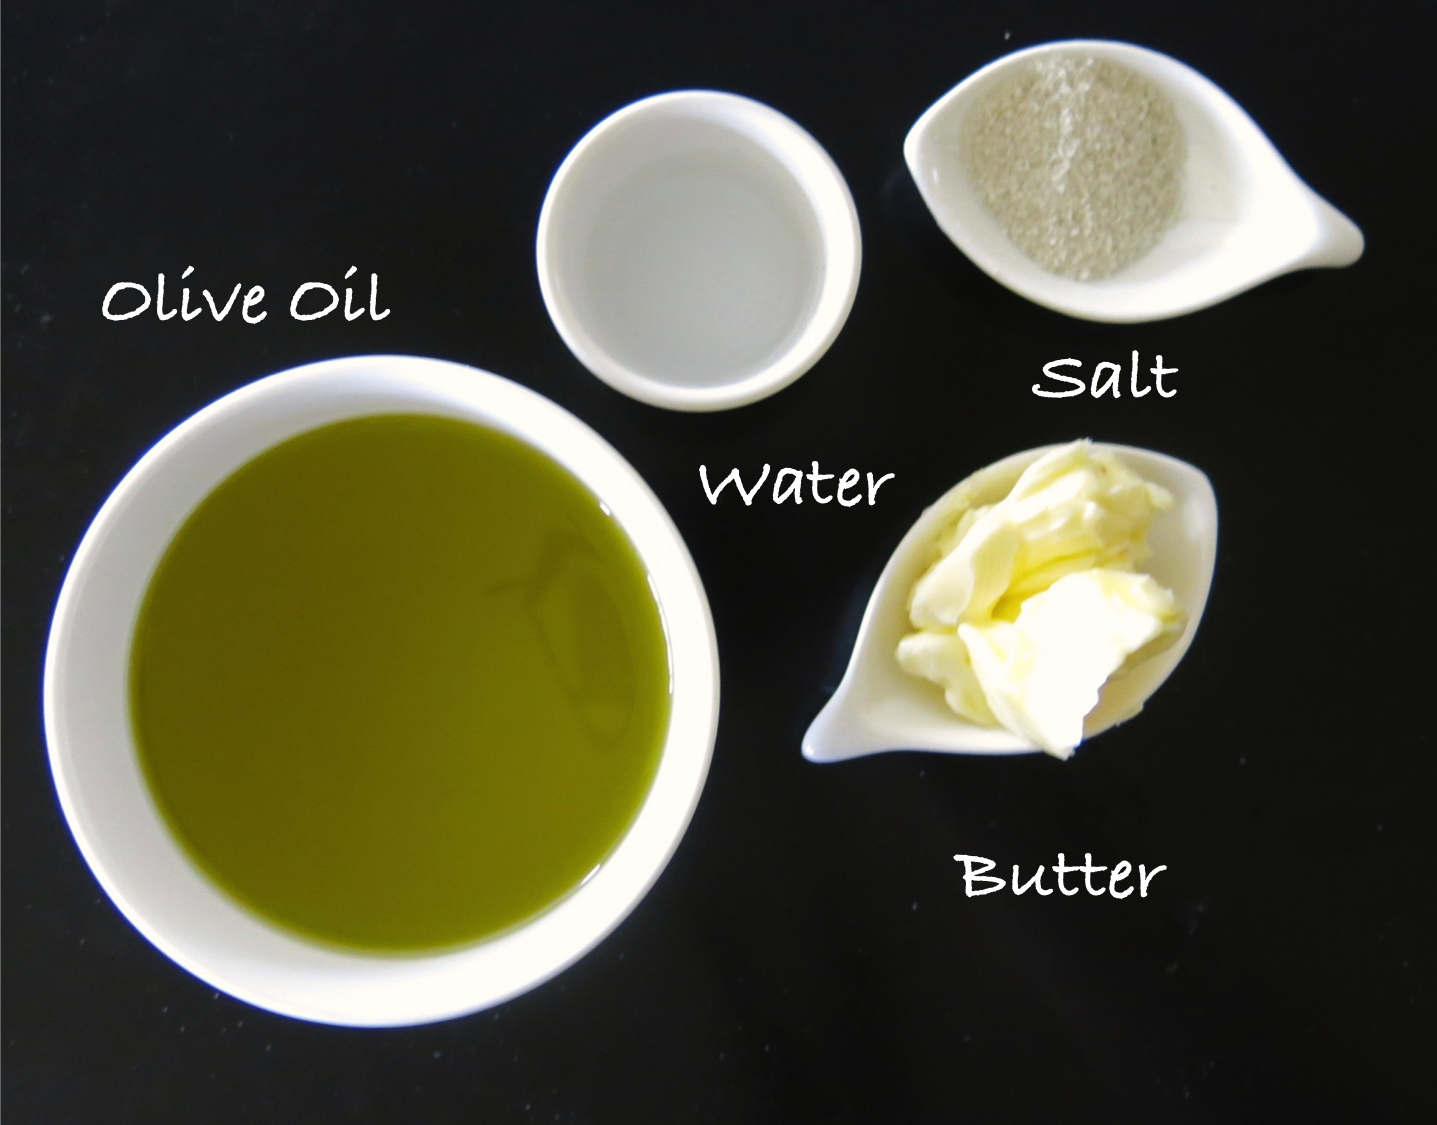
A seemingly insignificant addition, this mixture adds a whole lot of the flavour to the pastry.
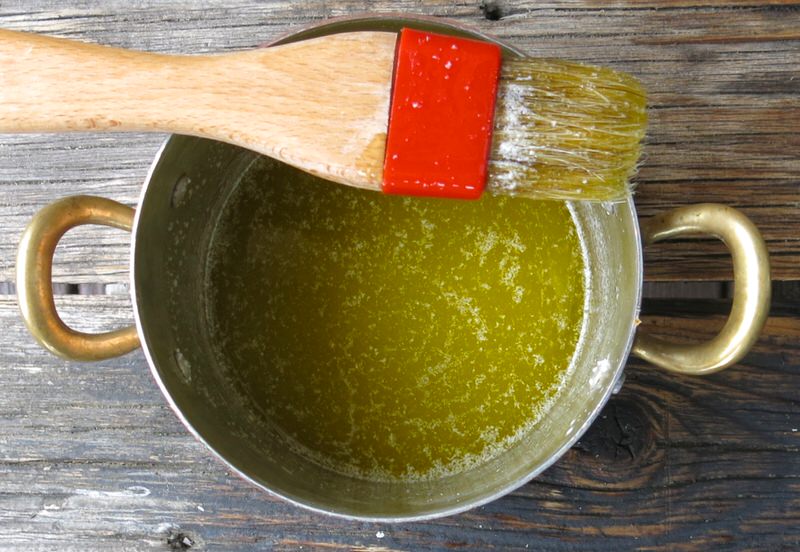
Melted together over medium heat, now ready to brush between layers of rolled pastry.
Torta Pasqualina: Rolling the Dough
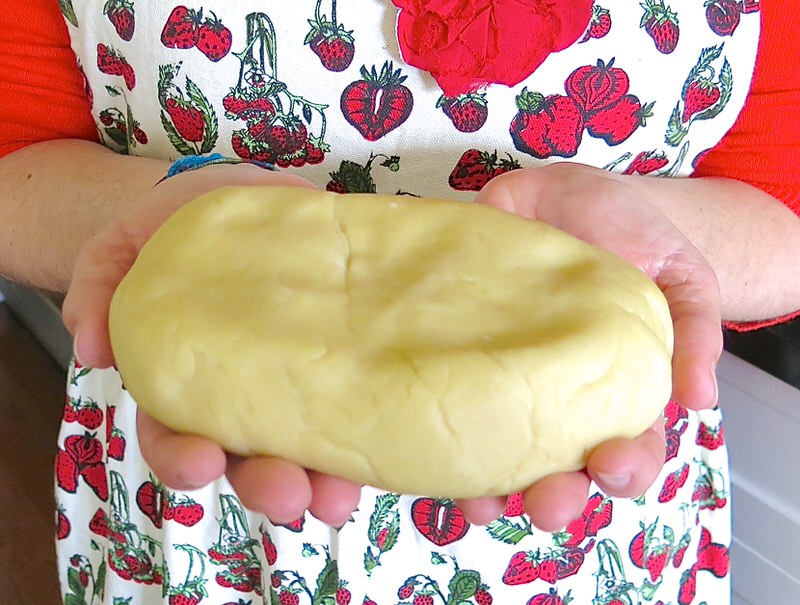
The pastry has now rested and must be evenly divided into 33 pieces. Can you even imagine? We were laughing so hard. This amount works perfectly for 2 layers on the bottom and three on the top.
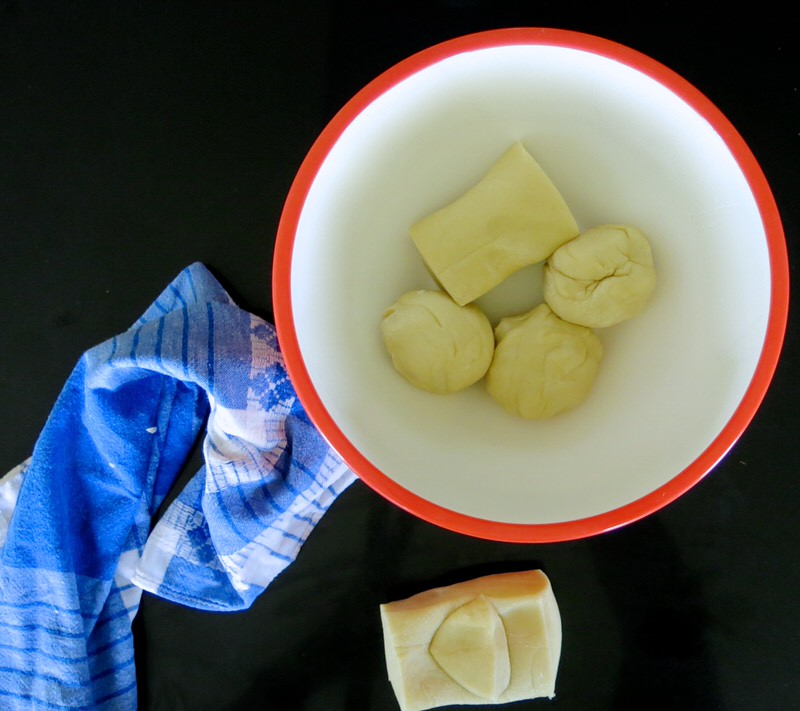
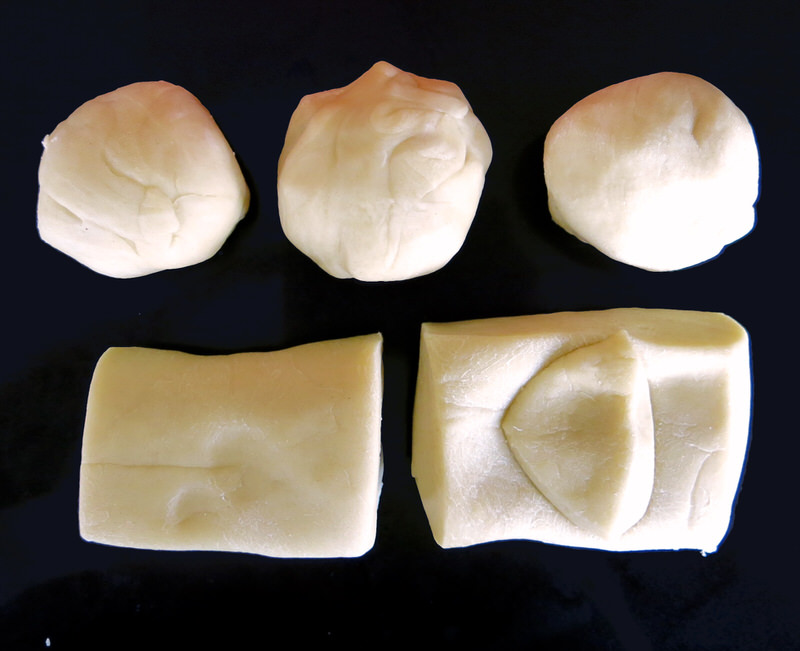
Weigh your dough. Ours was 500 grams. Divide it into 5 with 2 larger portions and 3 smaller ones. We had 2 portions at 125 grams each and 3 at 80 grams each. That worked perfectly for each of us. Start with one of the larger pieces and cover the remainder with the damp cloth while you roll it out.
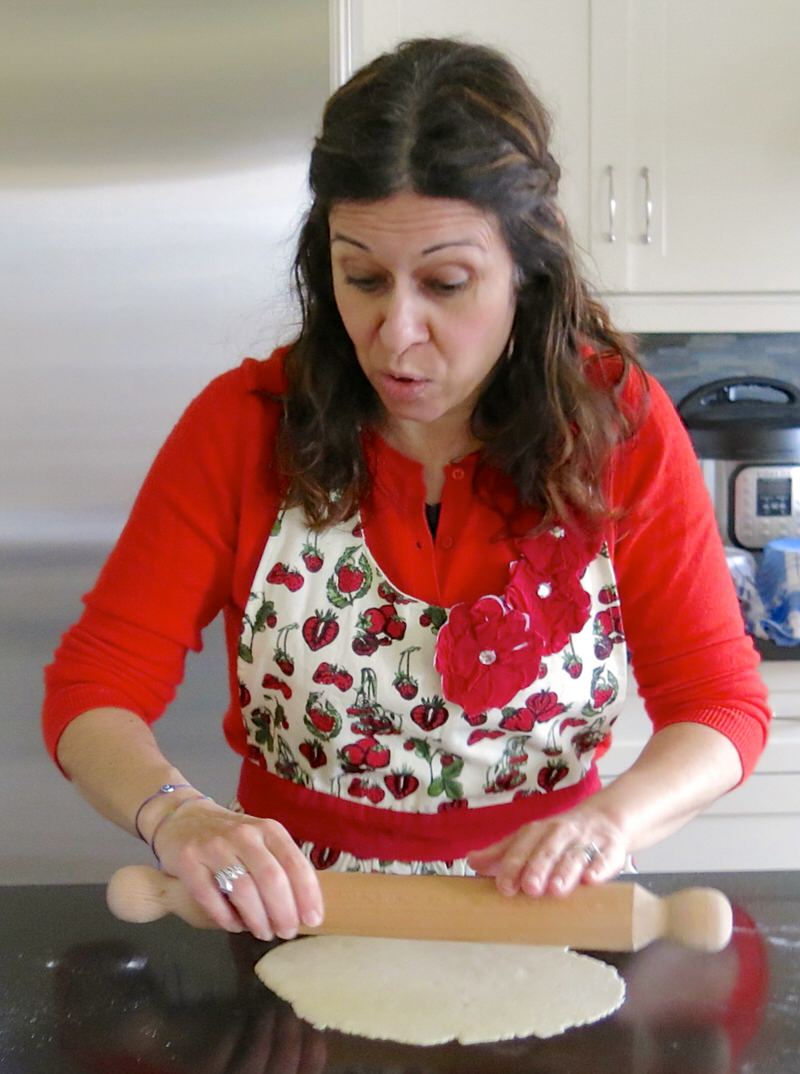
I should have reviewed my pasta rolling techniques that Marina from Taste of Italy taught me in 2012! (old post but great information)
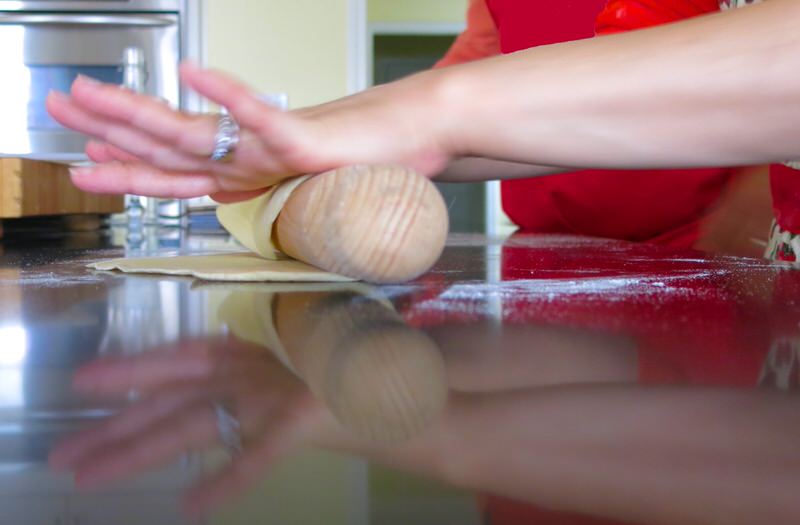
Nicoletta had a few good tricks of her own. She rolls the Torta Pasqualina dough completely around the pin and rolls in back and forth, then out to lengthen it.
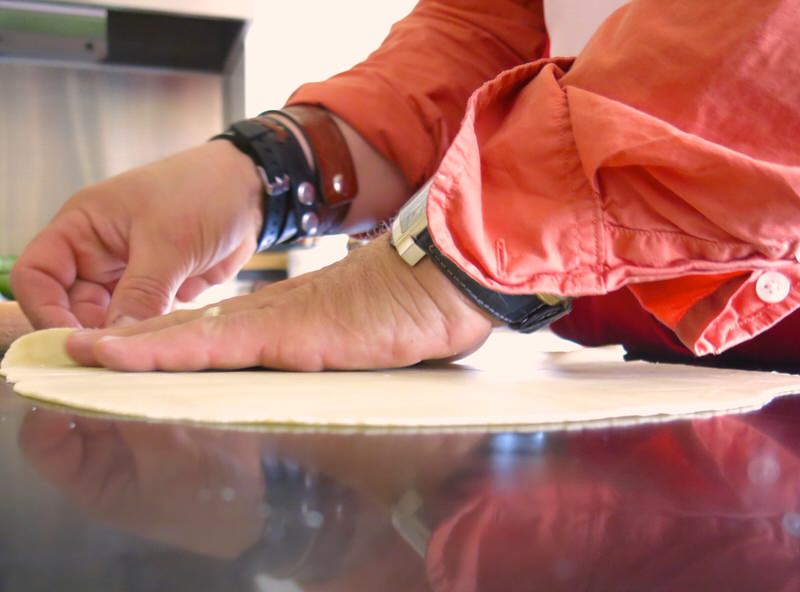
Loreto is working on my pastry, above. I confess, I was not up to par health-wise on this day, so appreciated Loreto’s help immensely!
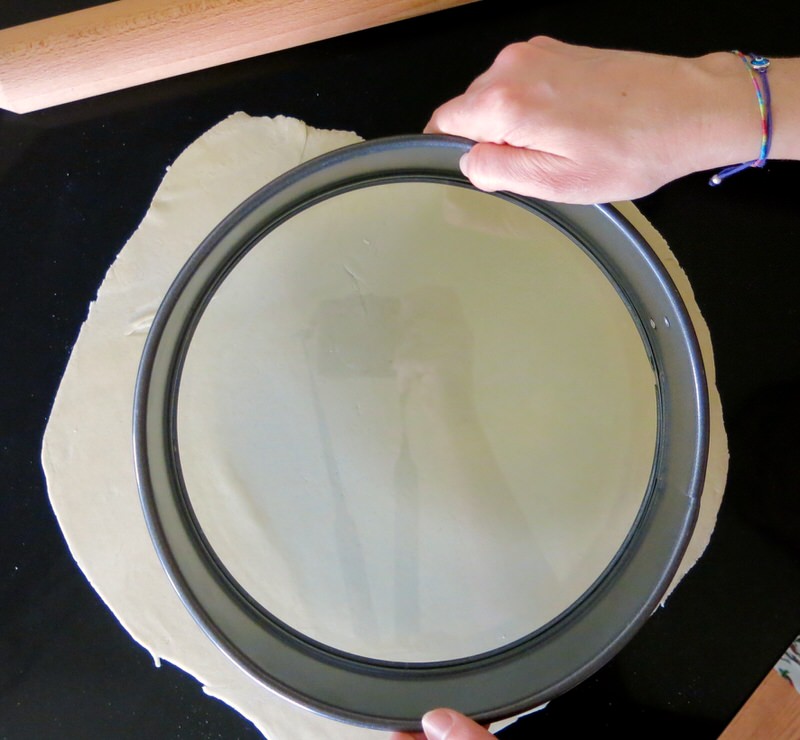
Nicoletta is determining how much more she has to stretch her pastry to have her it come up the sides of the pan and hang over them a little.
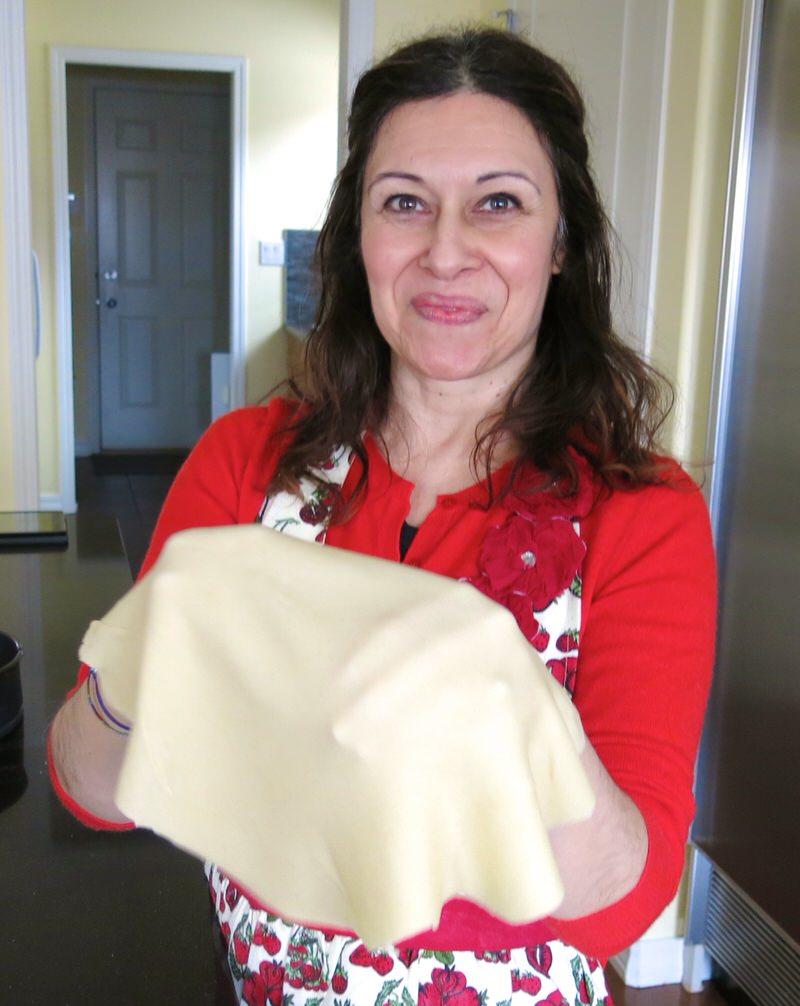
Once it is big enough to cover the pan, it is now time to stretch it by lightly flouring the back of the hands and easing the surface of the dough around the edges until it is the desired size and thinness.
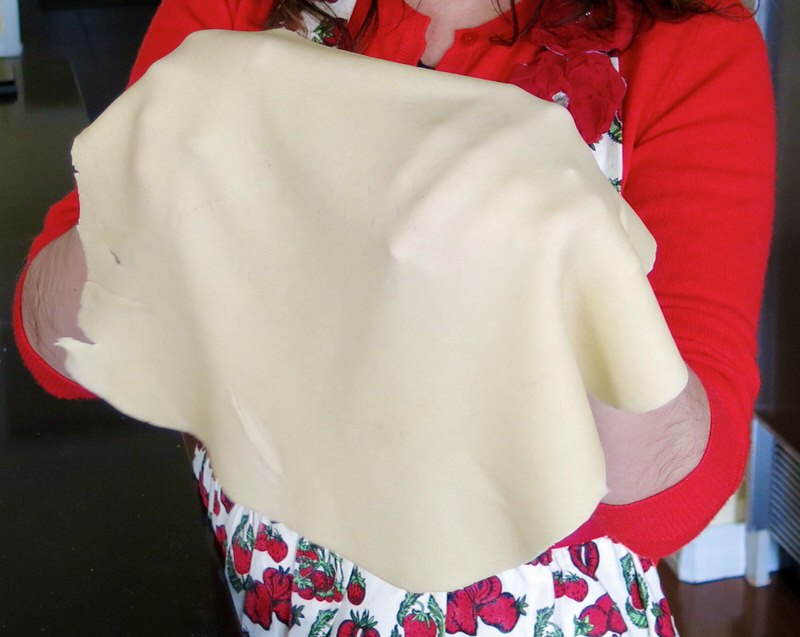
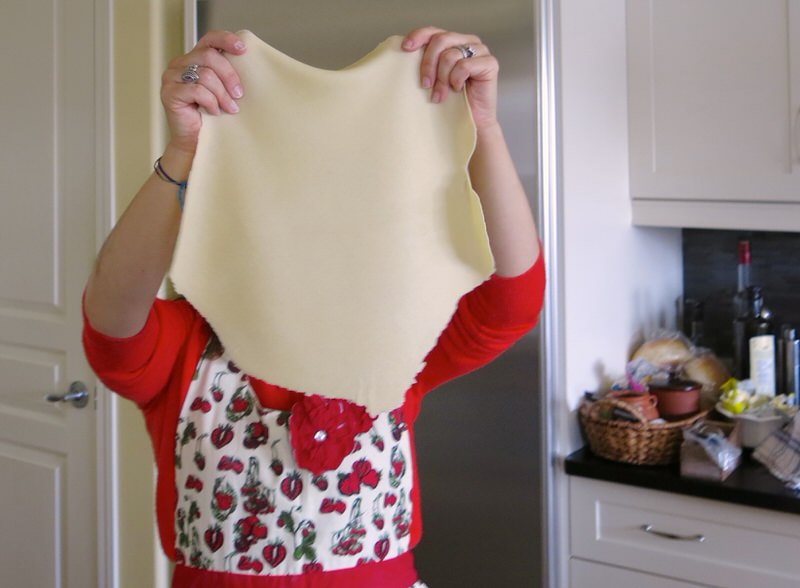
Bravo, Nicoletta! At this point, the dough is fragile and will easily get broken. Gentle and slowly are key terms to keep in mind. Do not rush. Keep your eye on the ball. You do not want a hole.
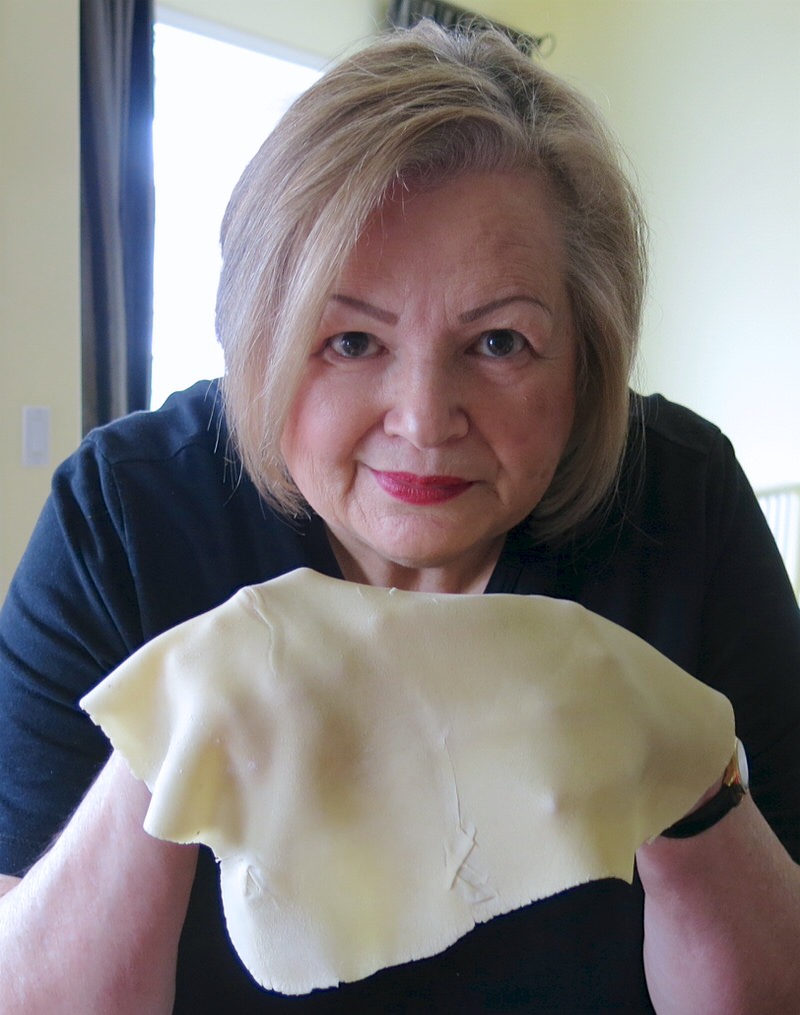
Look mom! I am ready to stretch my dough, too!
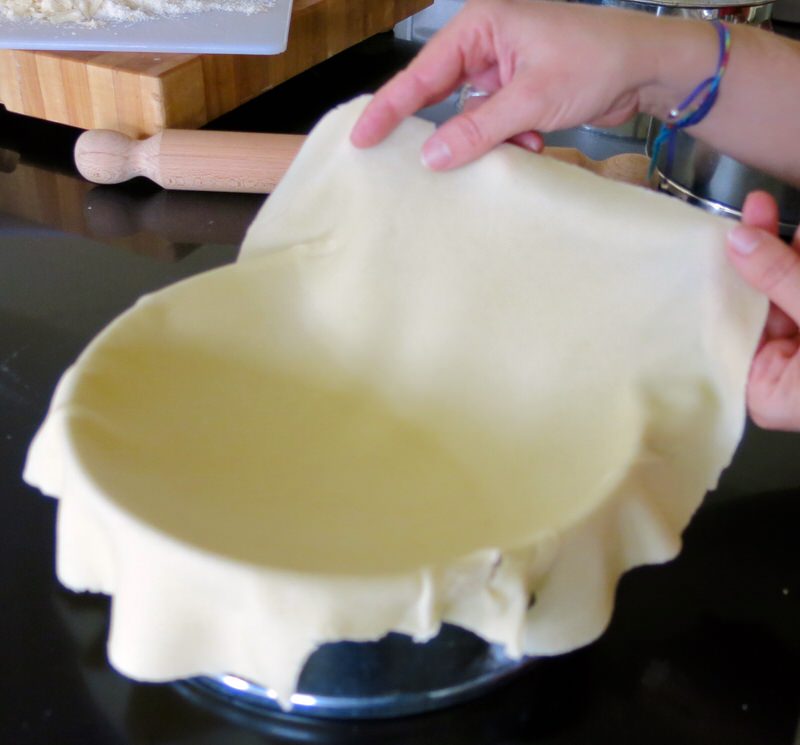
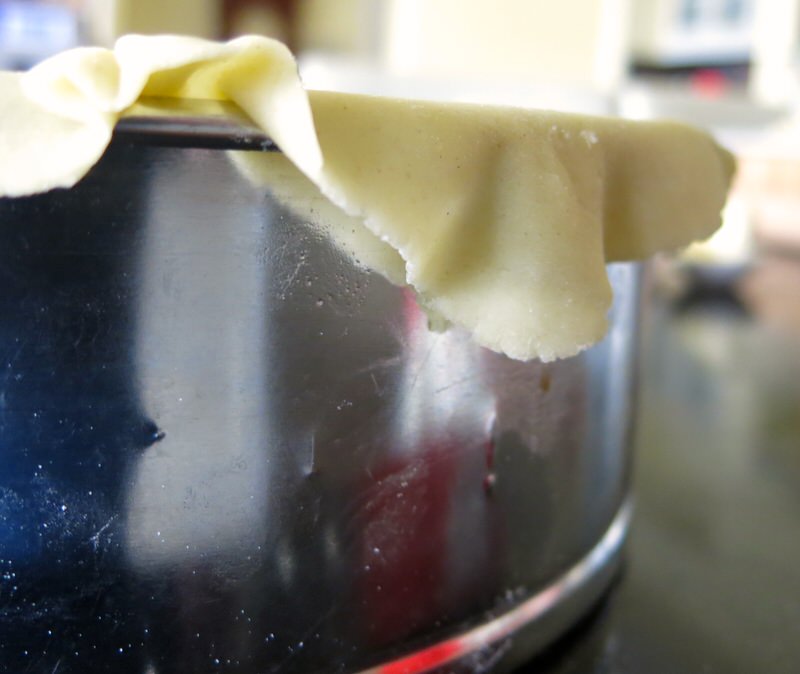
Nicoletta gently lays her first layer over her well oiled and prepared pan. Top edges must be very well oiled to avoid the pastry sticking to the top and breaking.
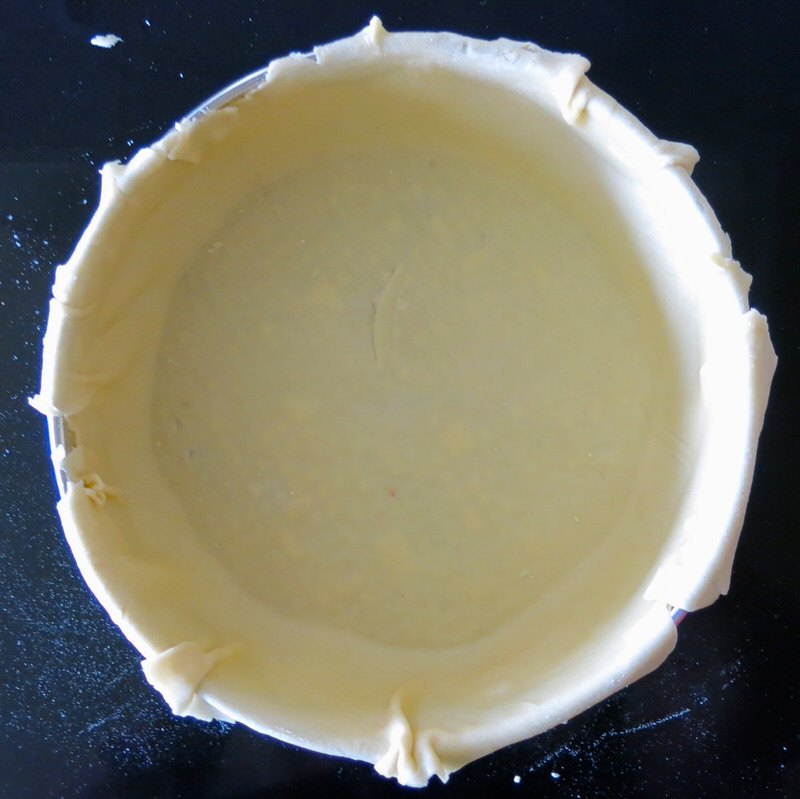
Though she was disappointed she didn’t get a better overhang all round, she was far too hard on herself. It was gorgeous. Mine did not have much over hang at all, first layer, and I was seriously worried and likely would have worked quite a bit more with it, but Loreto was very confident and reassuring. In the end, he was completely right. Both tortas turned out beautifully.
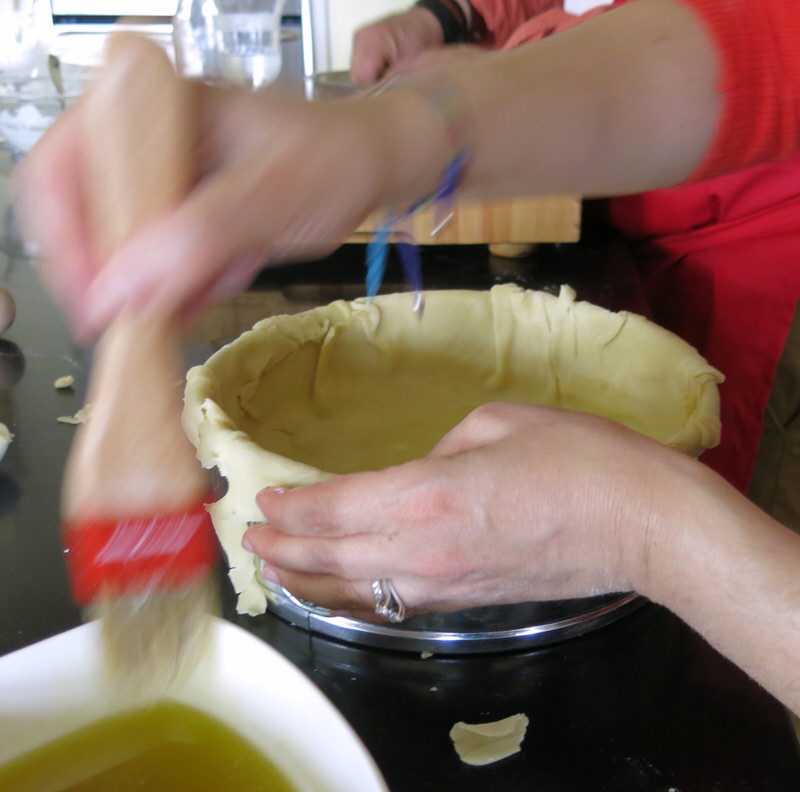
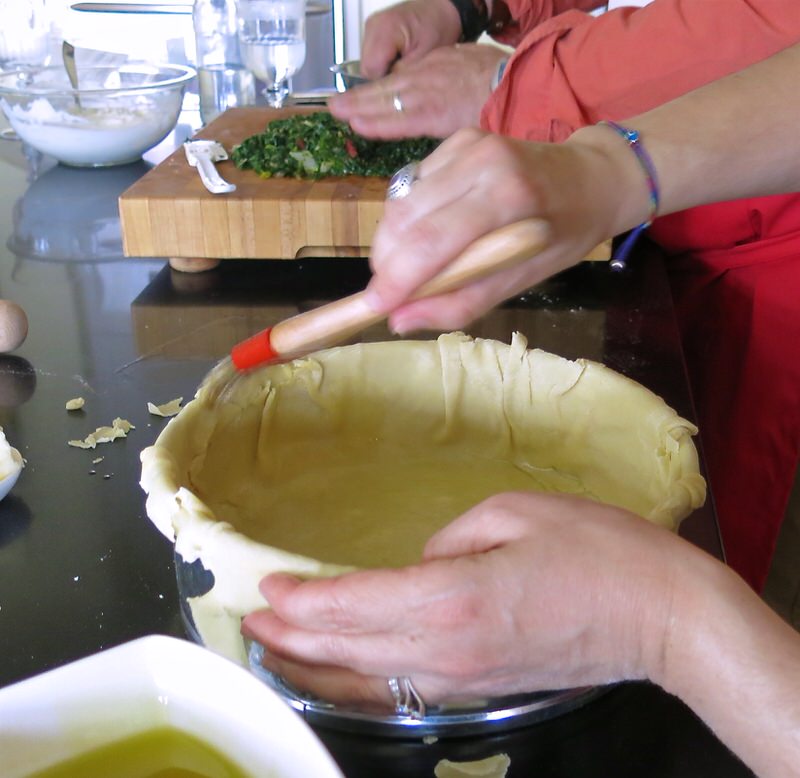
As I mentioned earlier, we rolled our first two layers while the greens mixture was cooling. Loreto has just started to prepare the cooled greens for the filling as Nicoletta is just brushing her second layer of pastry with the oil butter mixture. Timing is important and the pastry will dry and become breakable, similar to a phyllo dough, though not as quickly.
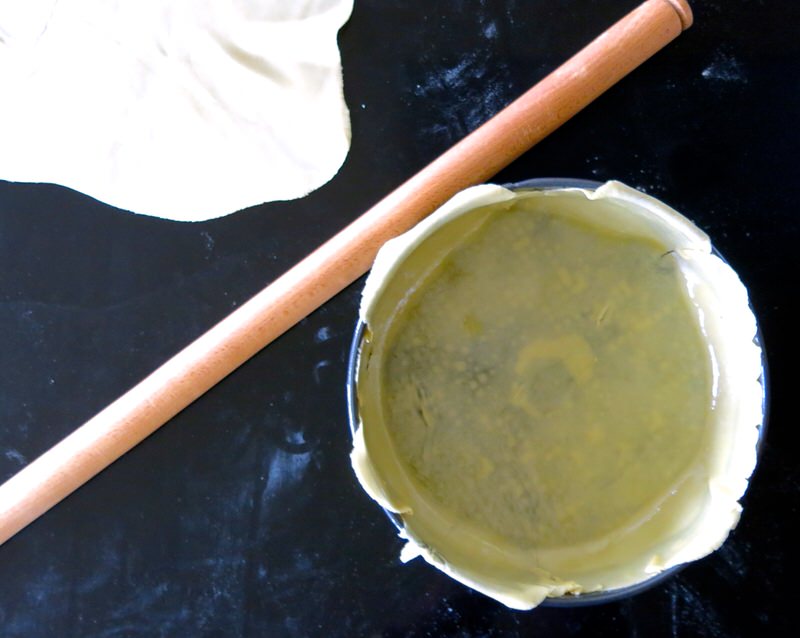
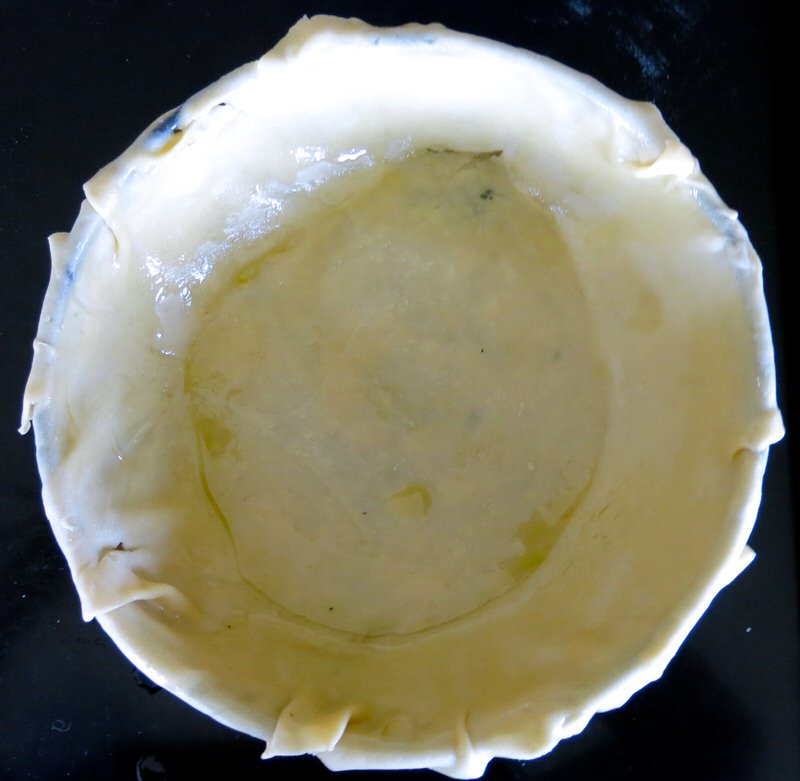
I now have my two first layers ready to receive the filling. See the first layer, and how it barely reaches the top edge of the sides of the pan? Worry not. As long as one of your first two layers has some hangover for a crust, you will be fine.
Torta Pasqualina: Putting Filling One and Filling Two Together
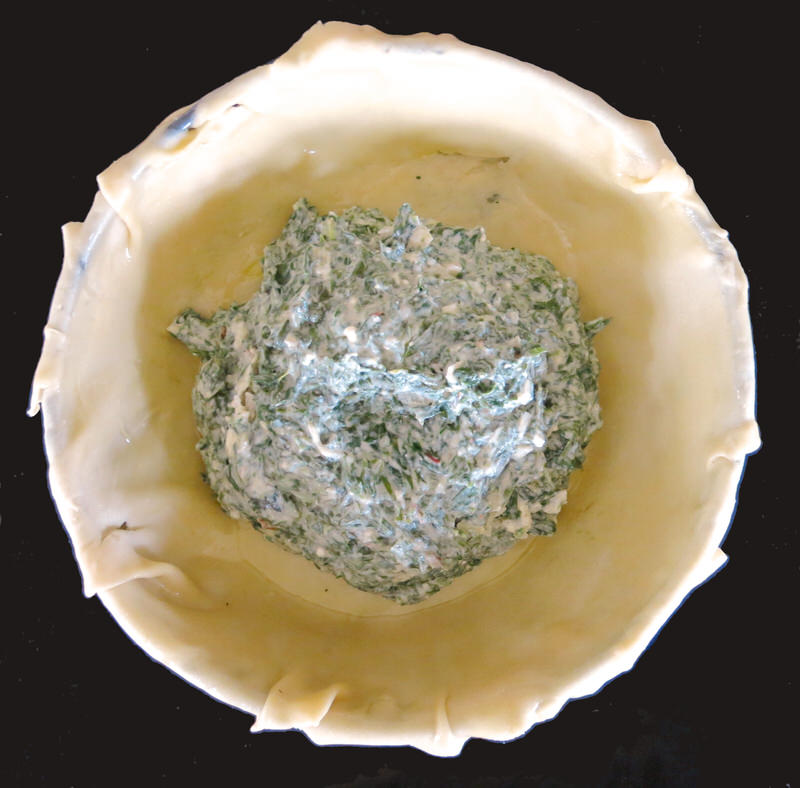
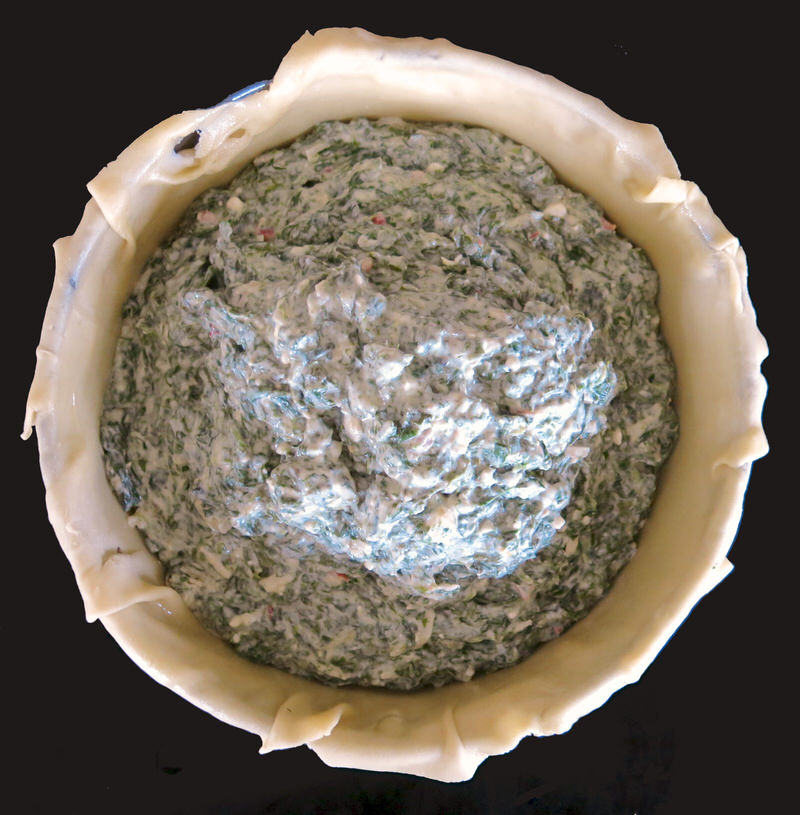
Ah! Two layers of thin dough well buttered and oiled. Plop filling into the centre of the pan and gently move to edges. This will enable dough to stretch around it with out breaking.
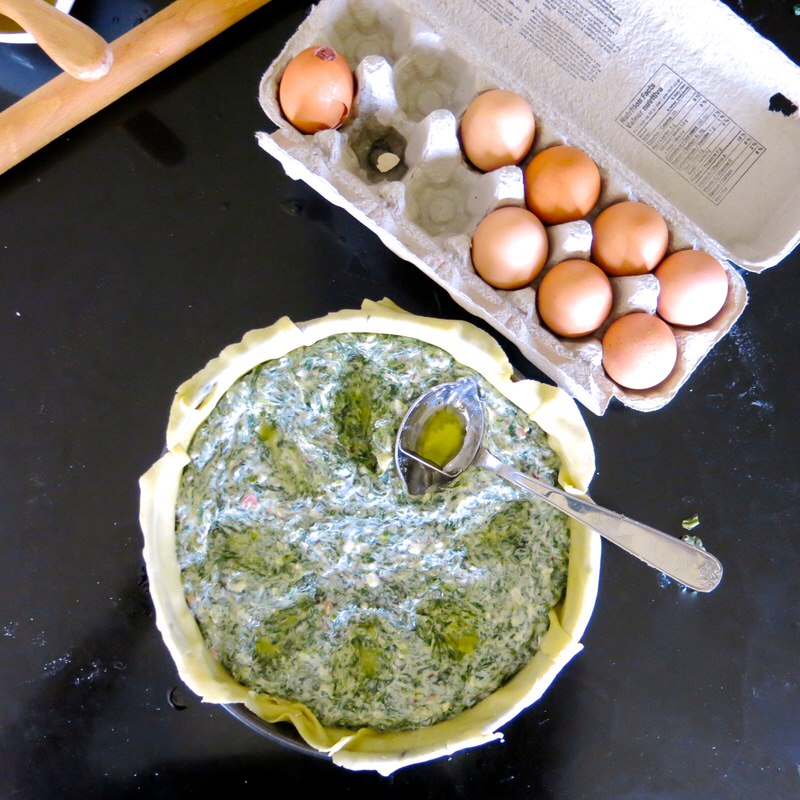
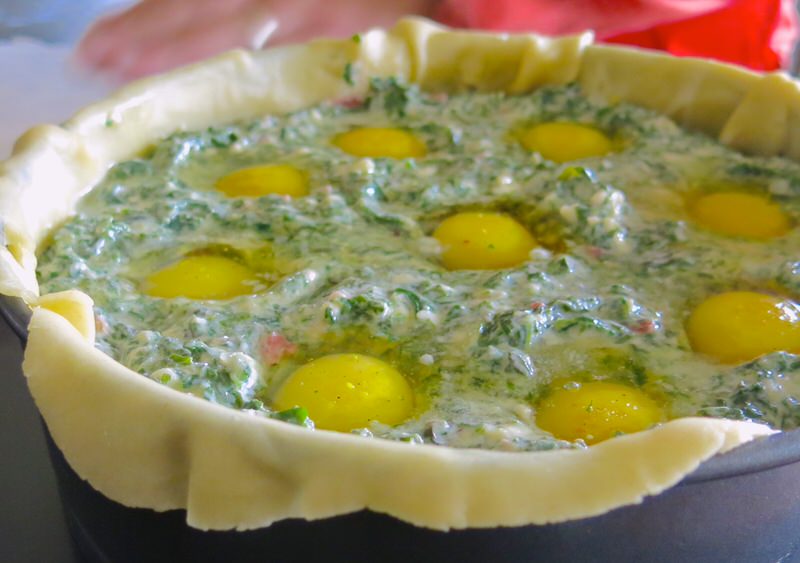
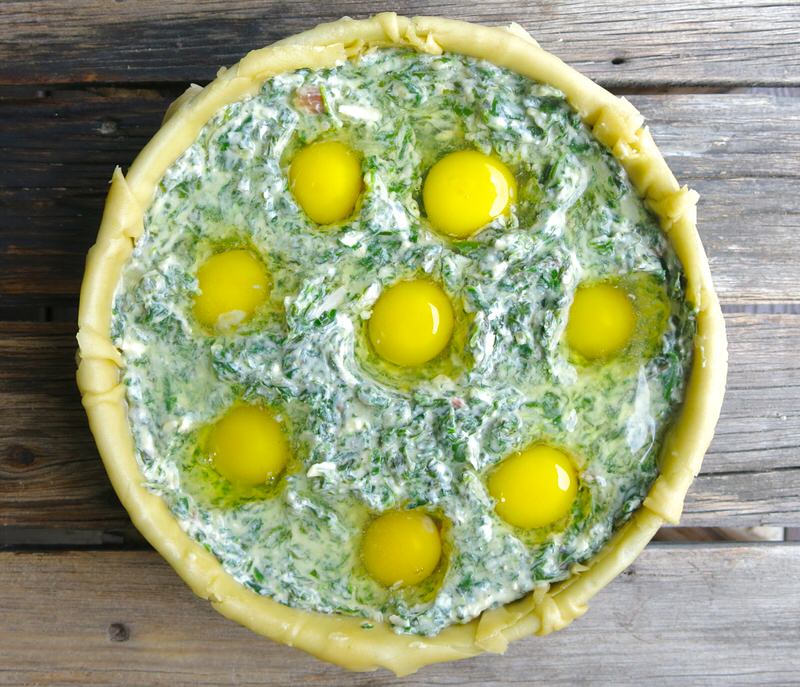
Time to nestle the eggs into the Torta Pasqualina filling. However, the filling does replace itself rather quickly, somewhat like quicksand. So, we had to devise a technique or two.
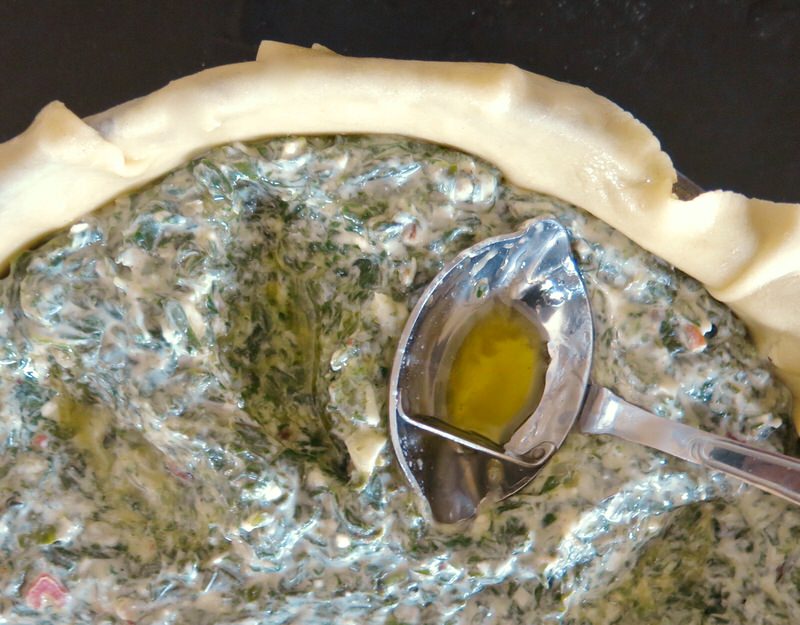
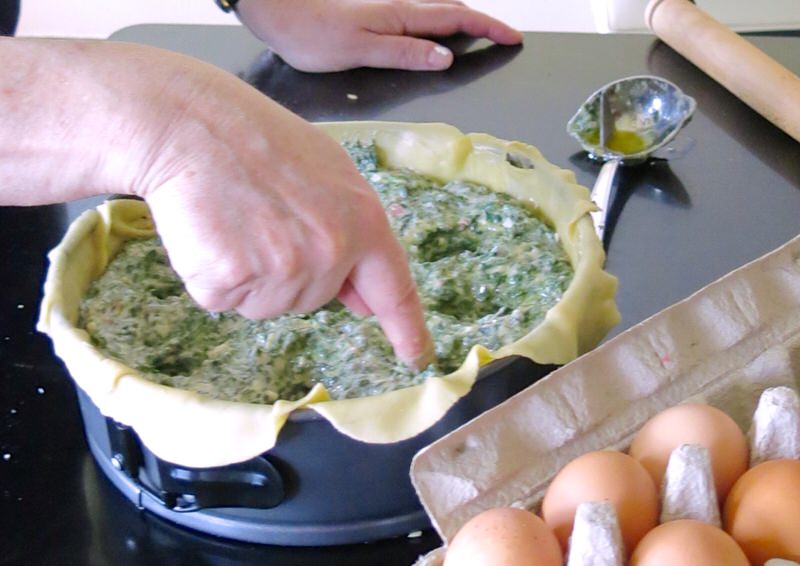
I thought my gravy spoon was perfect, but soon realized it was perfect only for marking the spot each egg would go. My pan fit 9 perfect. Nicoletta’s received 8 as her circumference was that much smaller. I determined that plunging my pointer into the mixture was most definitely going to work.
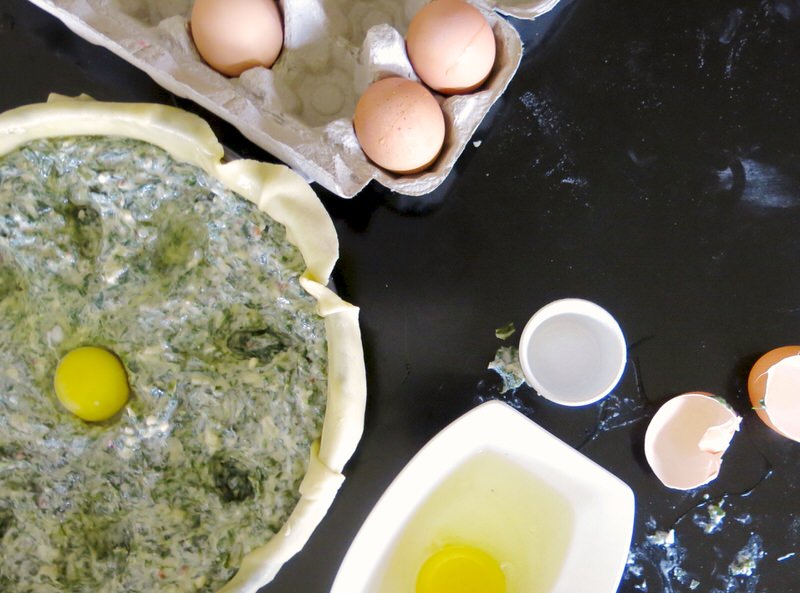
Start with the middle egg. After whirling up a deep hole with my pointer, Loreto held the walls of each hole back with a spoon. I cracked an egg into a bowl first, lifted the yolk only into position, dropped it into the prepared hole, and worked the spoon a bit around the sides to ensure it was deep enough to receive some of the albumen on top.
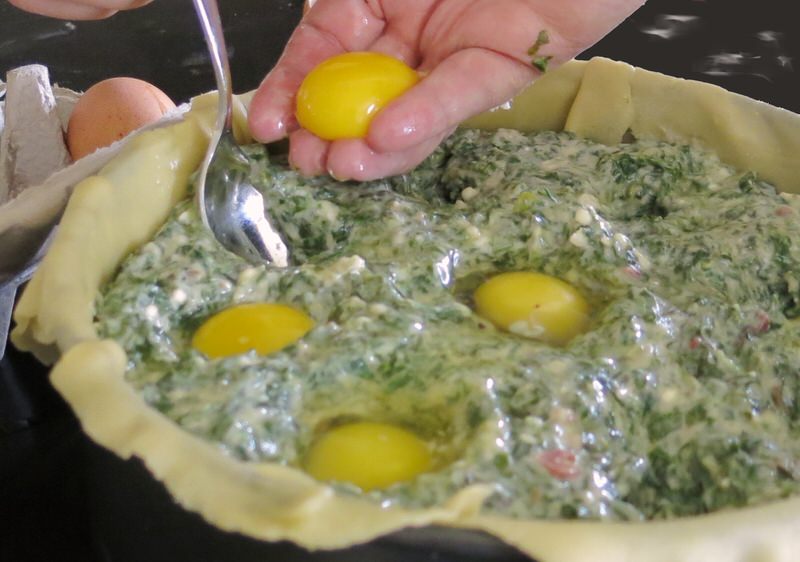
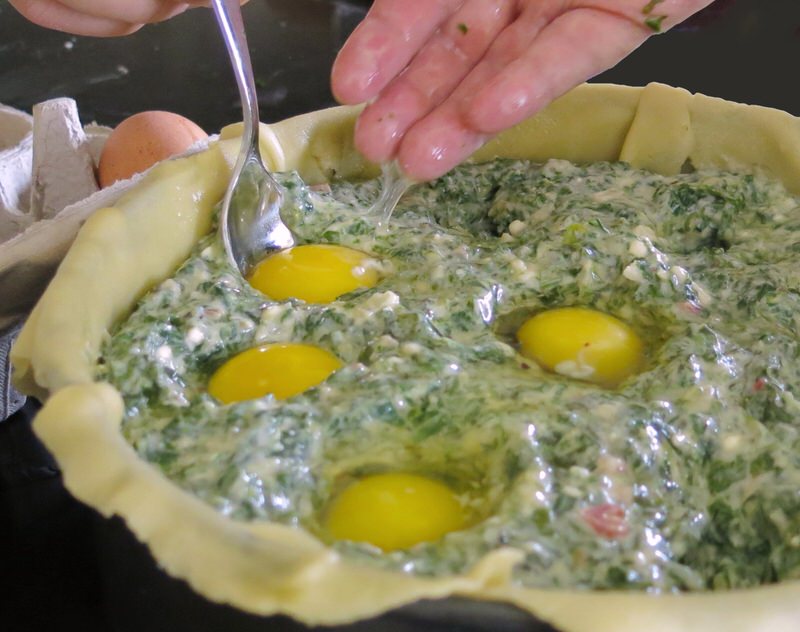
It does work best with two people at this phase. One could do it, but it is more fun with two. Above, the yolks are nestled in. Below, as much “white” albumen is added to each yolk as the hole it is nestled in will receive without overflowing. On the right image, below, you can see the albumen on top of each.
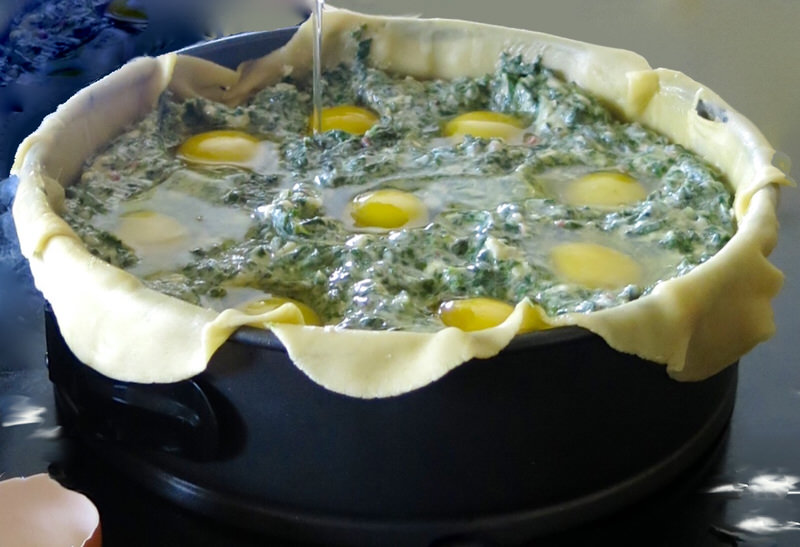
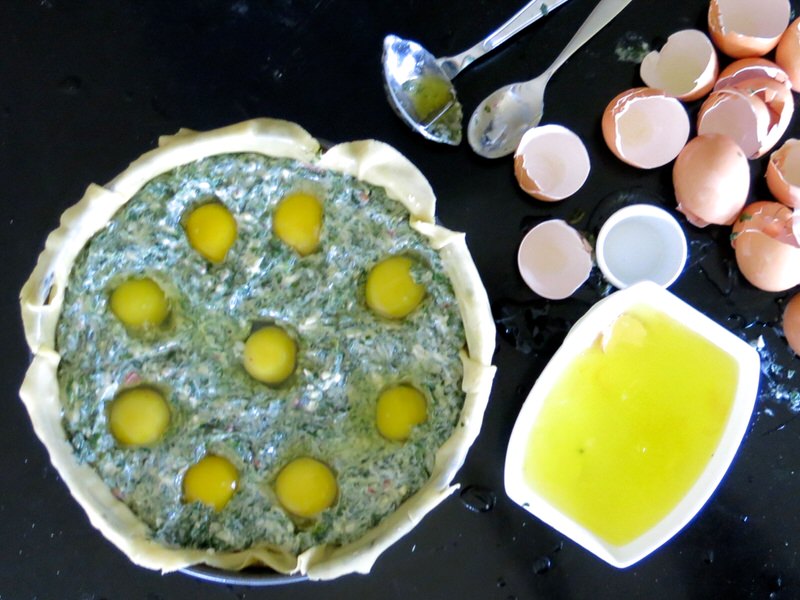
There is a considerable amount of white left. Some add it over the top. We decided not to as we wanted that individual egg look on each slice.
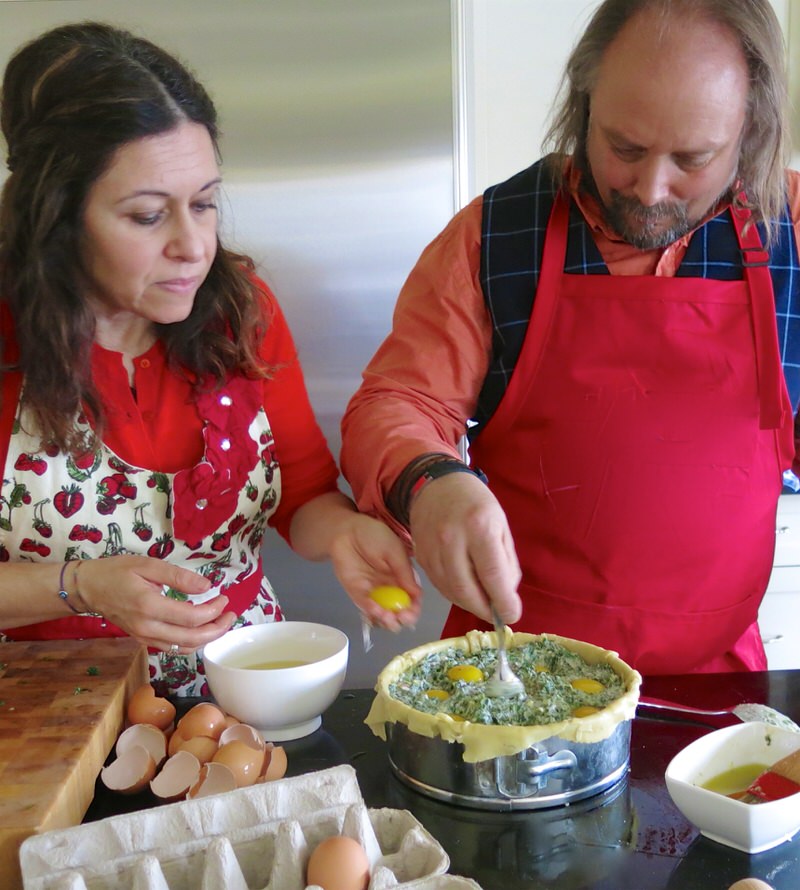
Team work.
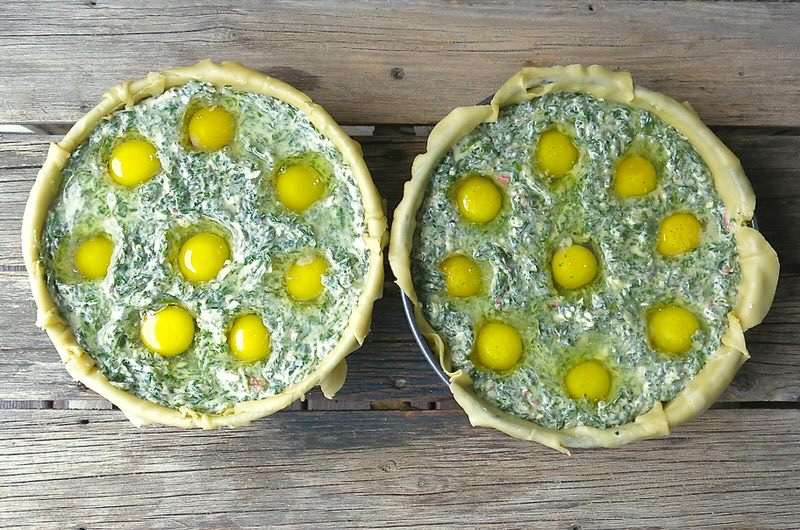
We are both ready to roll out our last three sheets of pastry to cover our tortas!
Torta Pasqualina: Covering the Torta and Finishing the Edges
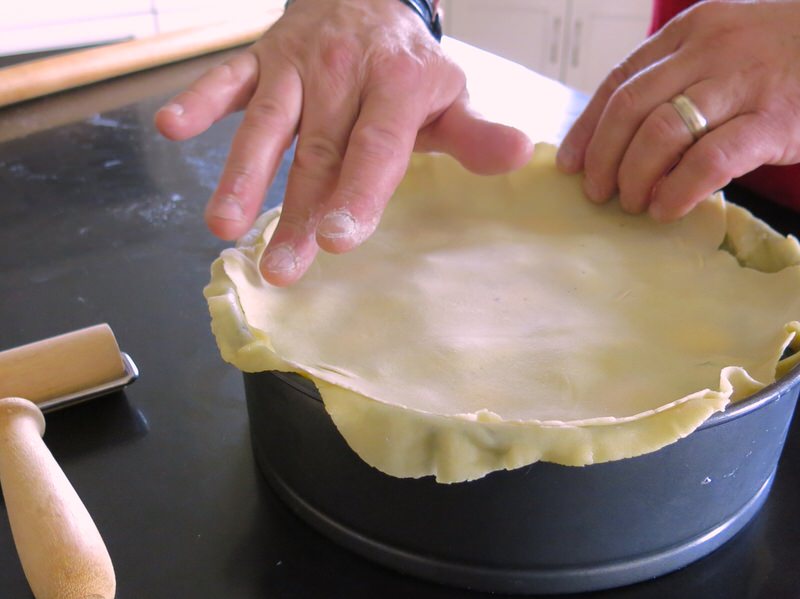
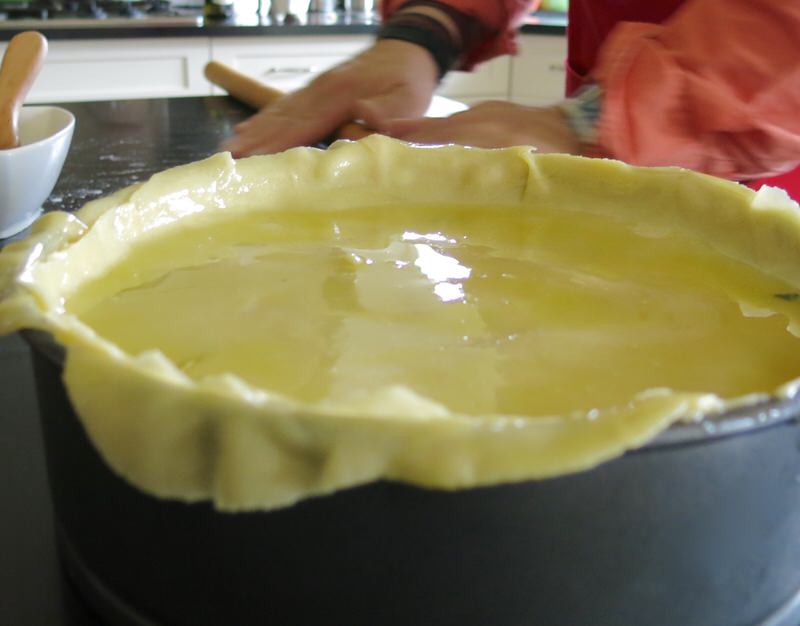
The rolling process was easier this time. Though we were working with a considerably small piece of dough (80 grams vs 125 grams) we found that each rolled completely to a little larger than needed and we didn’t stretch these three with our hands. Might have been the longer rest? These smaller bits of dough were supple.
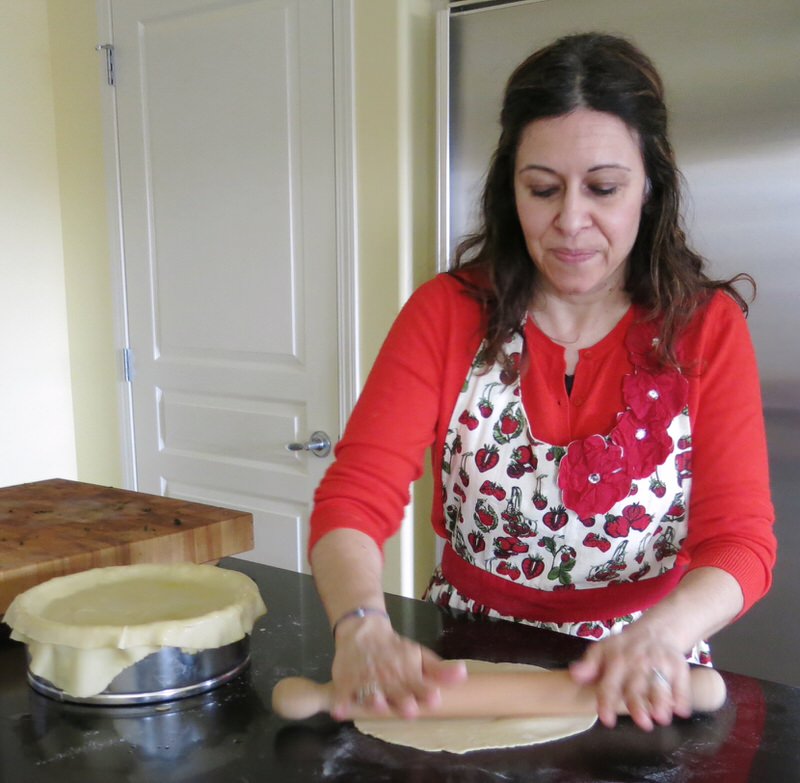
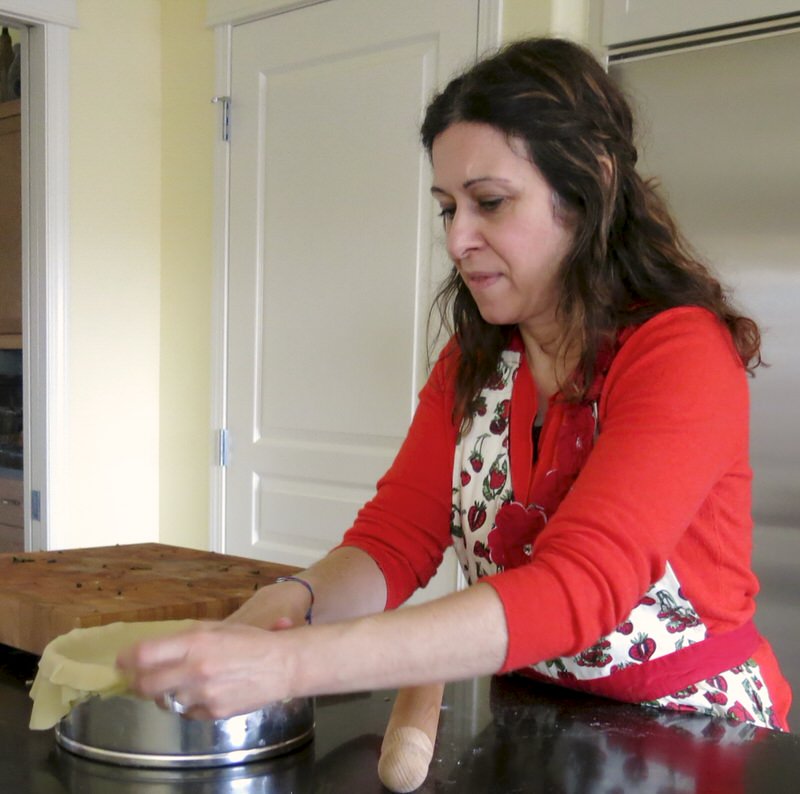
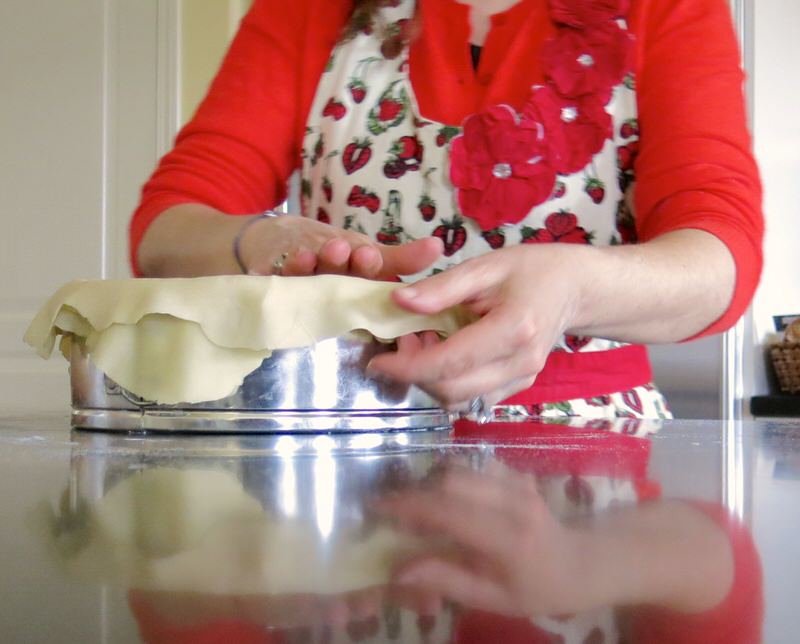
Nicoletta has her second layer on and will finish with her third. Each is buttered and oiled well.
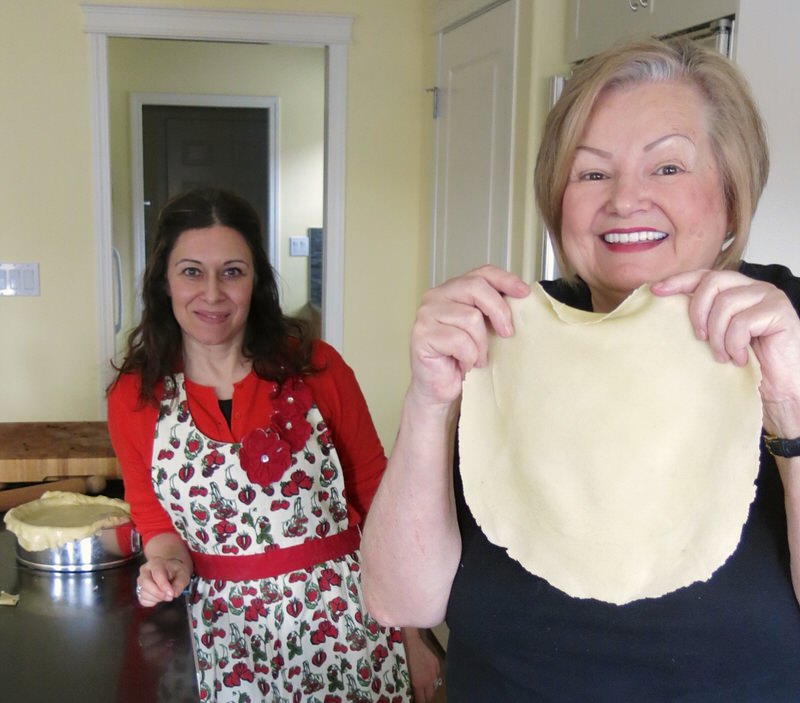
I am not as fast, but I am a proud and happy cook in my kitchen!
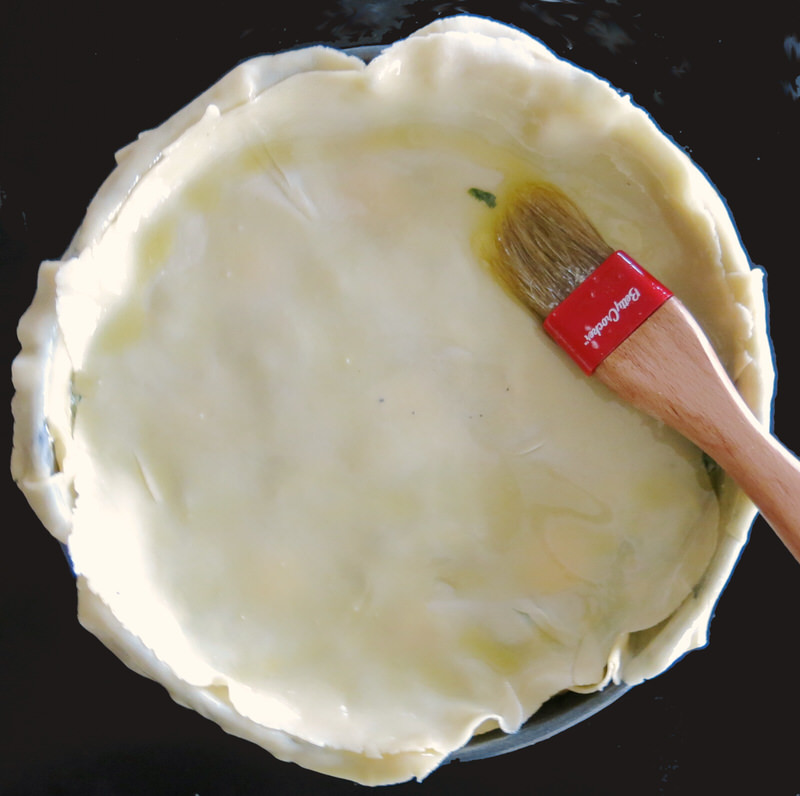
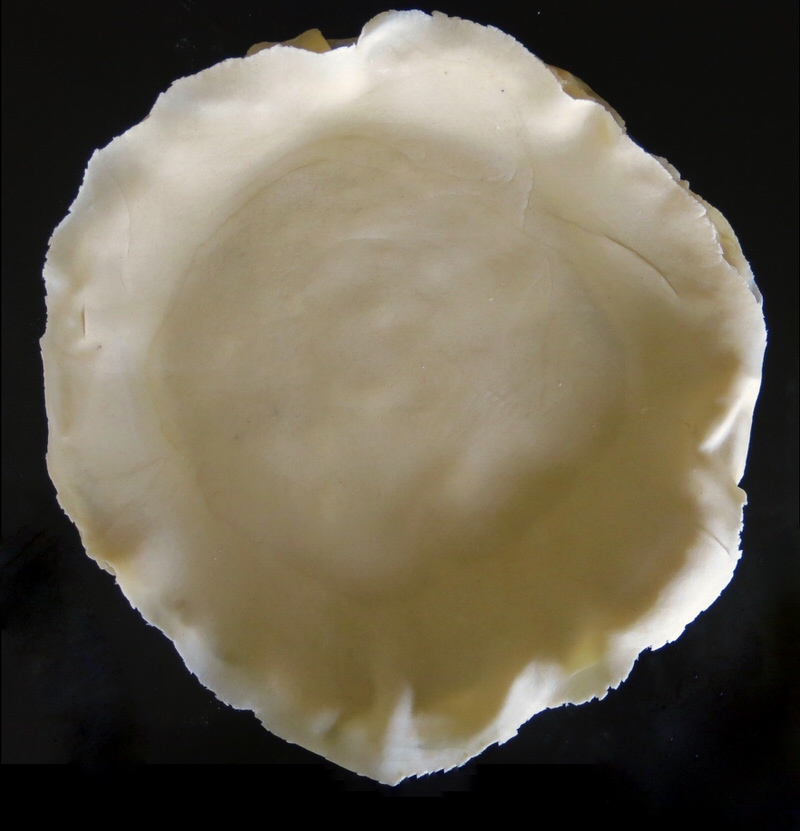
Three layers on, we are ready to finish our edges; instead of crimping this kind of dough, as that would never be possible, a rustic rough roll held great appeal and is what each of us did.
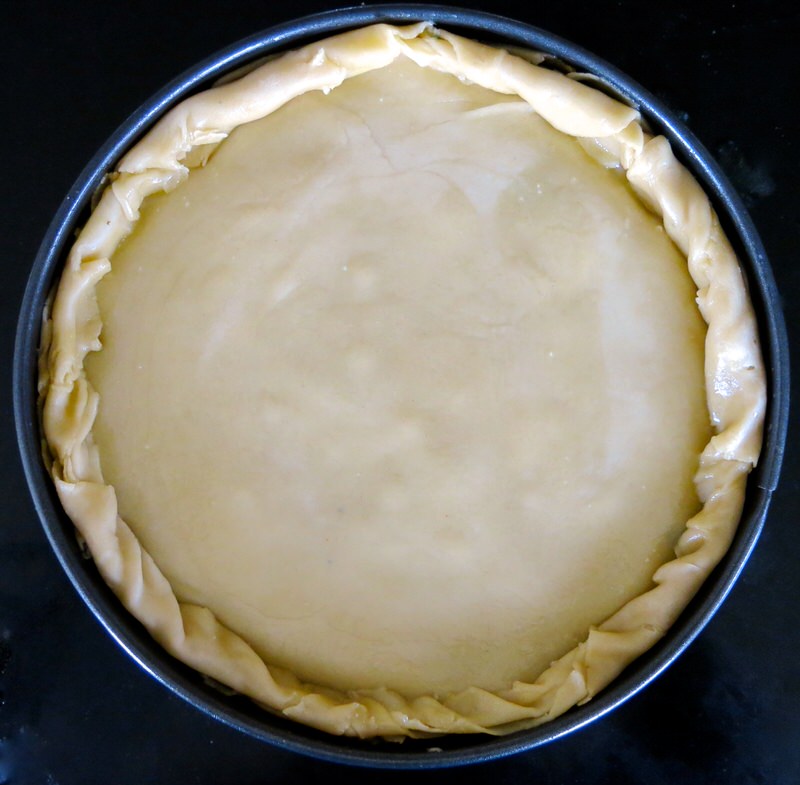
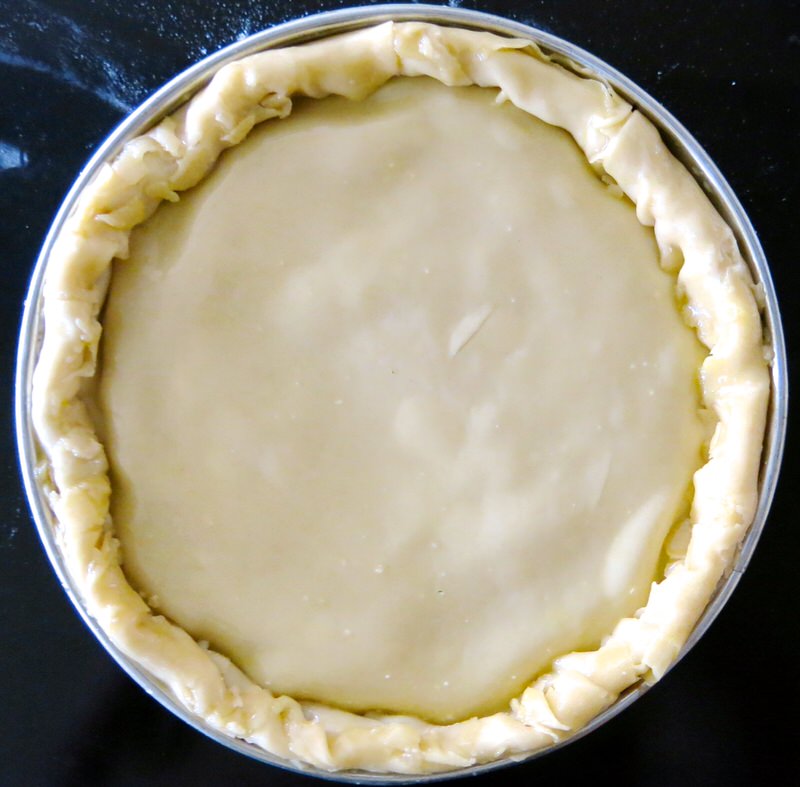
Nicoletta’s had the lovely overhand and is the one on the right with the thick confident crust. Mine is the other… just giving thanks it has a crust at all. How much worry I invested into that, but look? They both look lovely, don’t they?
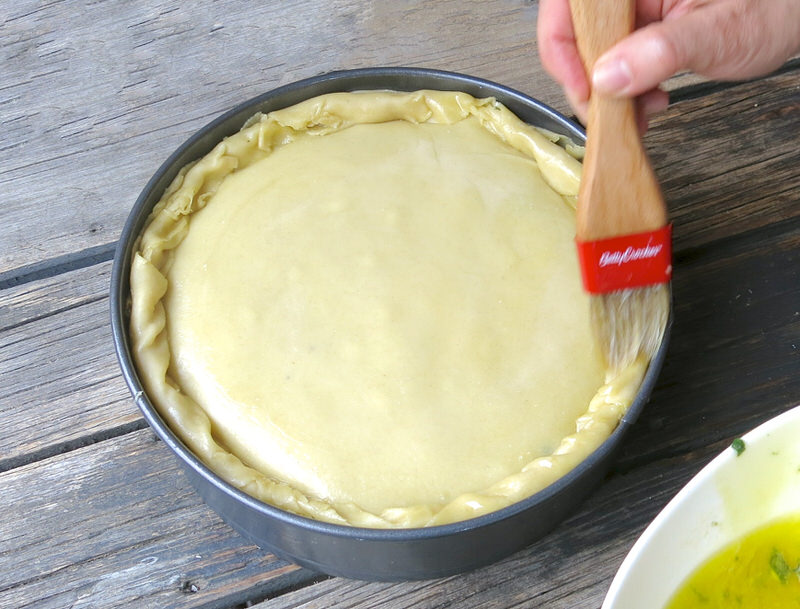
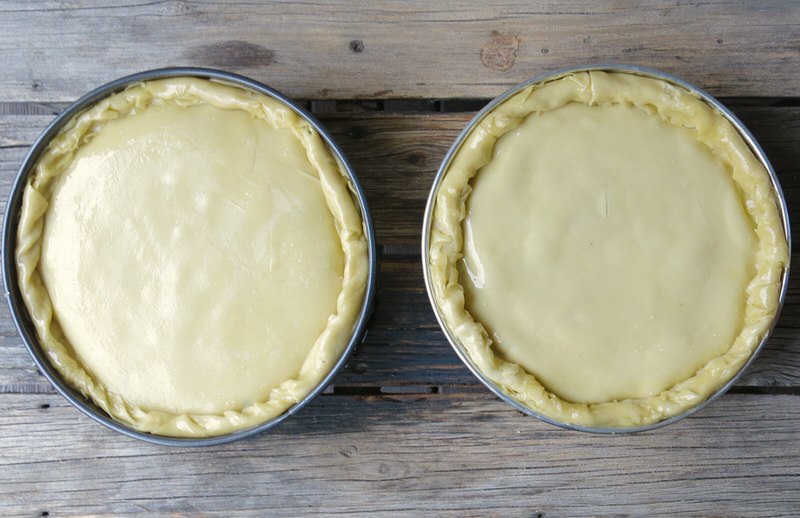
All dressed up and ready for the party, the oven is hot and we are eager to get them baking!
Torta Pasqualina: Baking the Torta!
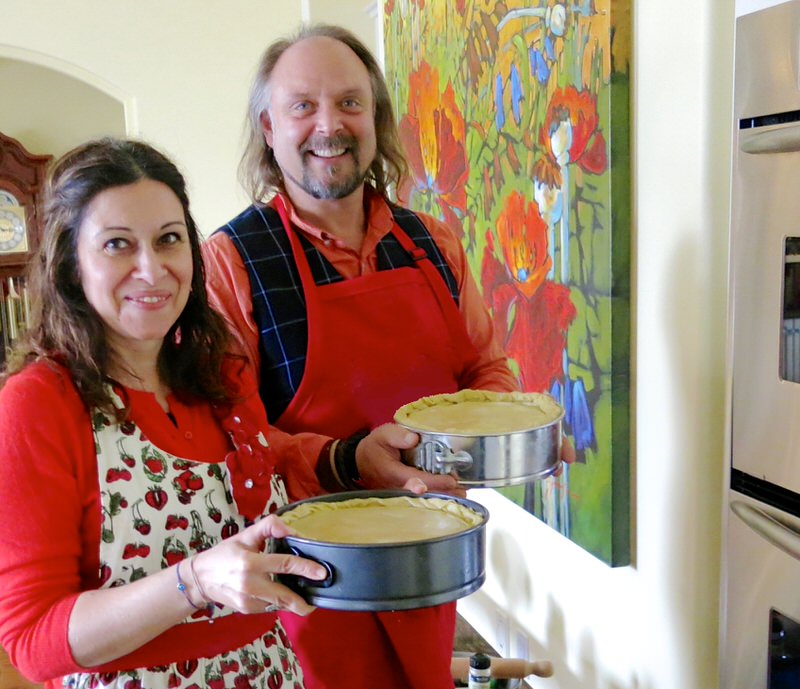
I had considered baking each separately, but they both fit with plenty of circulation around them on the same oven rack, so in they went.
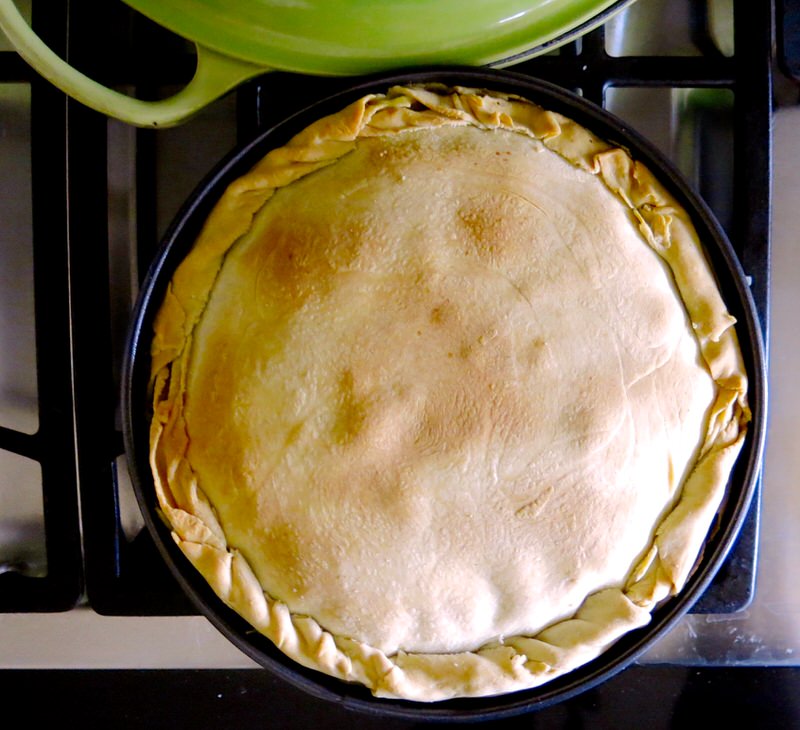
They took a good hour. One would likely take a little less, with a little less mass in the oven to heat up. Neither browned very well, but after 2 minutes on broil, the crust was glowing and golden.
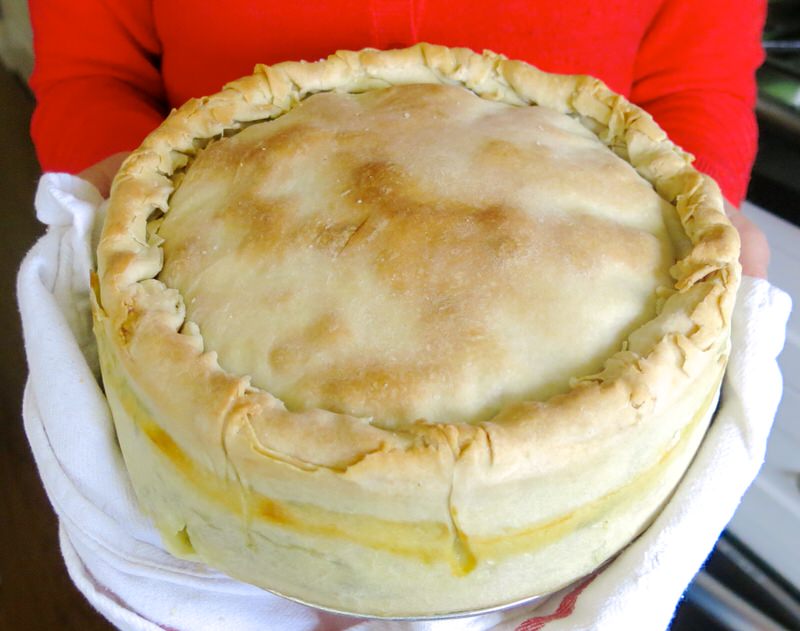
Interestingly, each of us used different pans made of differing materials for our Tortas. The sides of Nicoletta’s and Loreto’s wasn’t as done as mine. Ten more minutes back in the oven without a pan solved that, but it was surprising to see the cooking time would vary that much depending up what kind of pan is used.

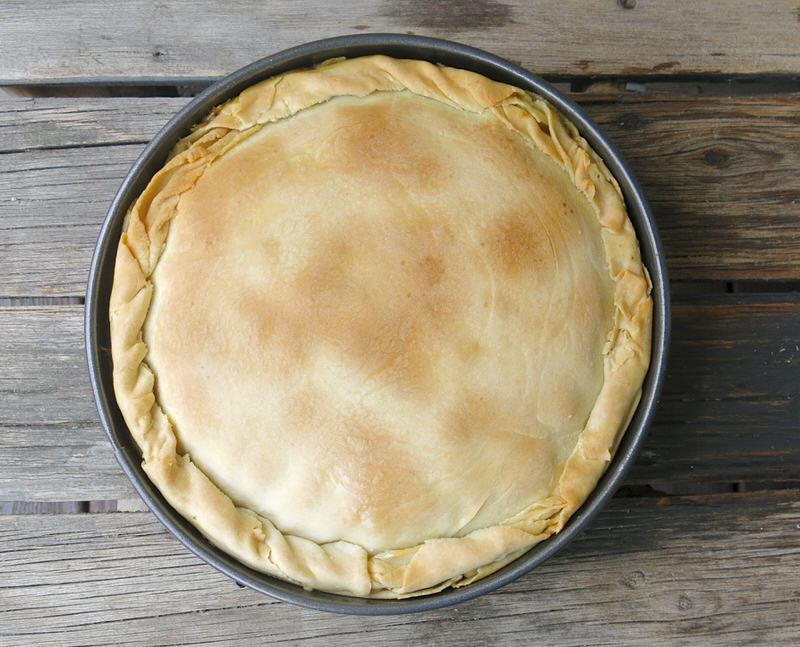
Above, my torta is gorgeous! You would never know the pastry sheets were barely big enough!
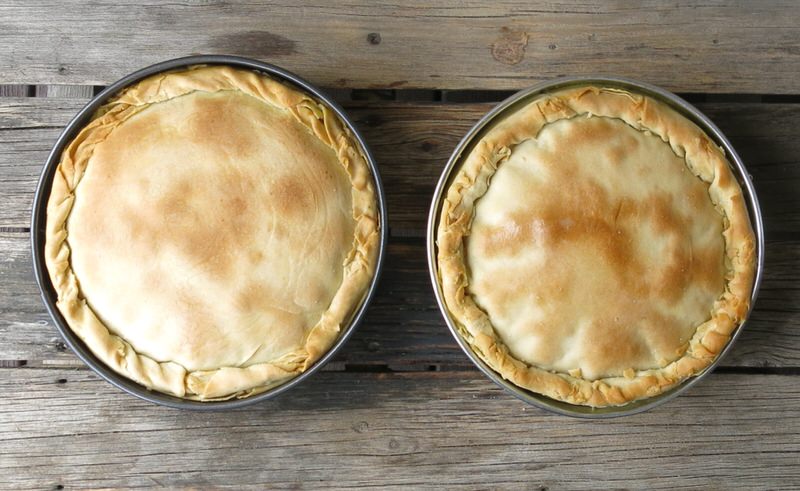
Two successes! Three cheers! Torta Pasqualina! Torta Pasqualina! Torta Pasqualina!
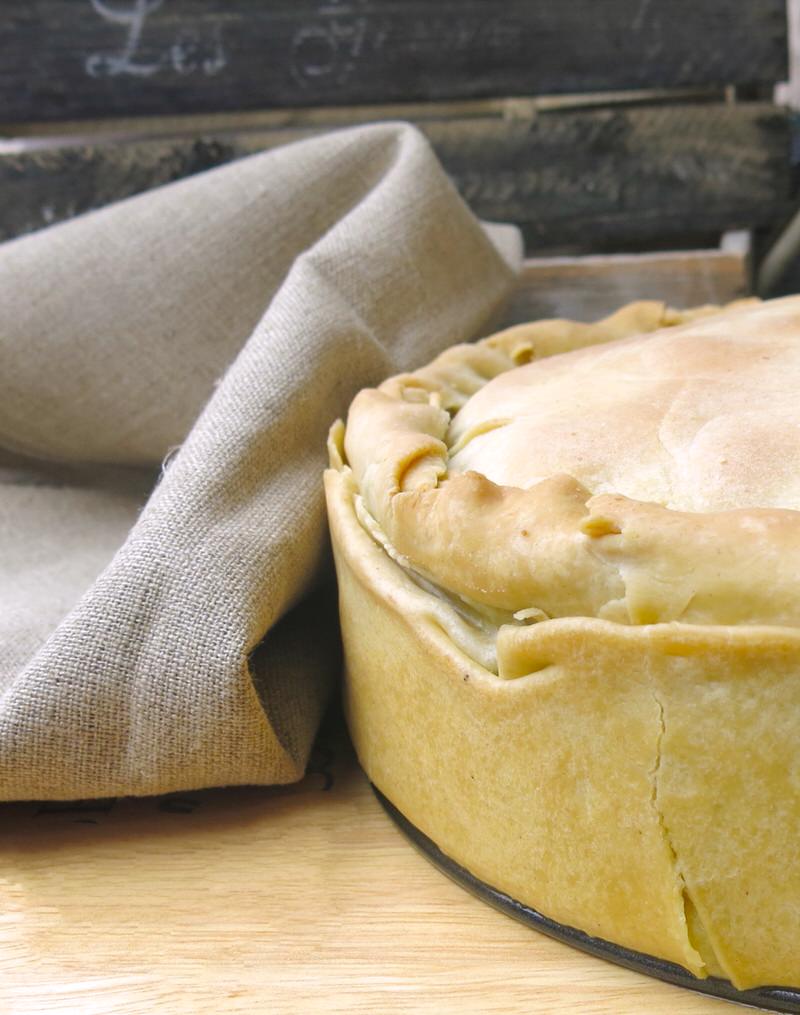
And now, a little quiet celebration as I play with my food.
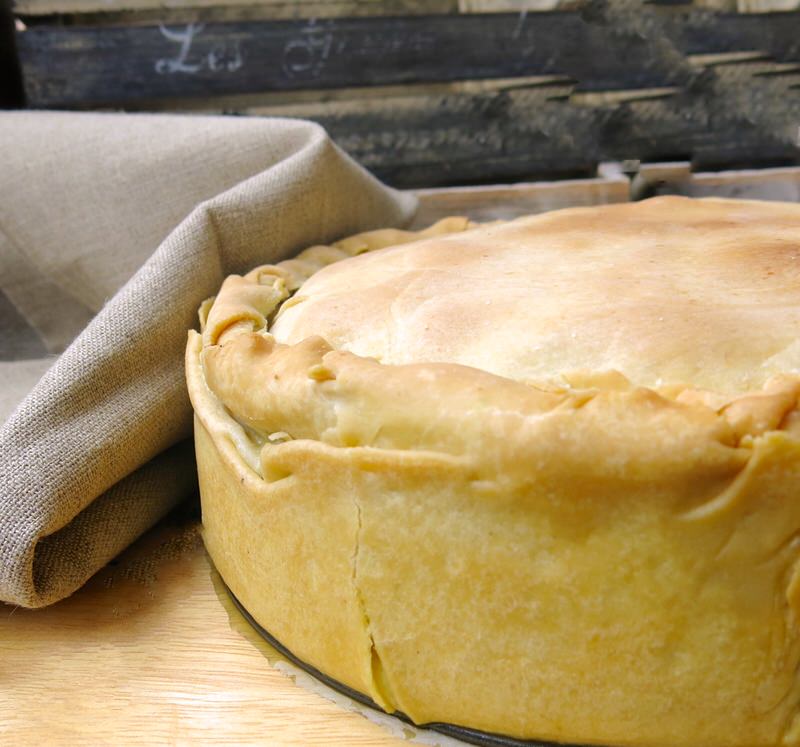
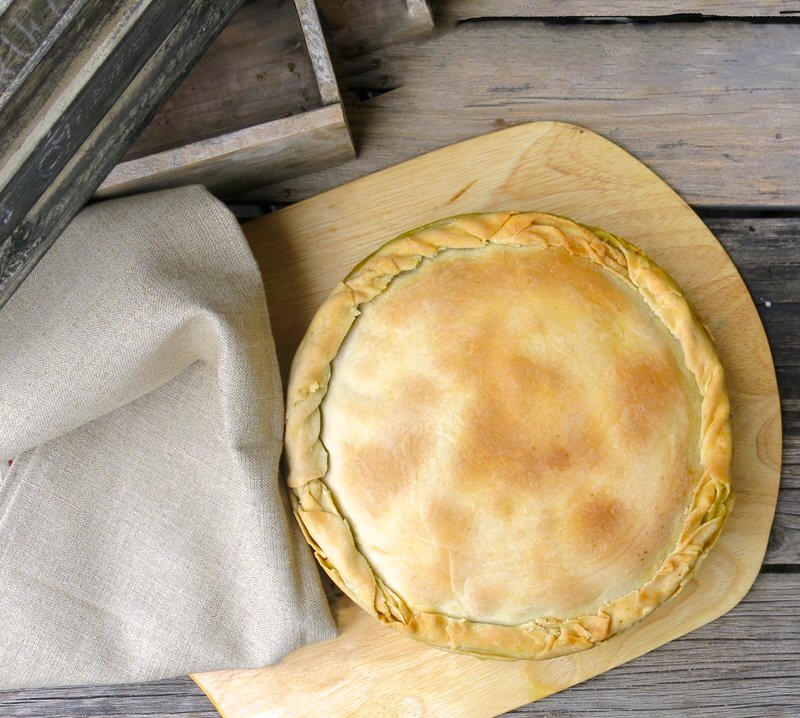
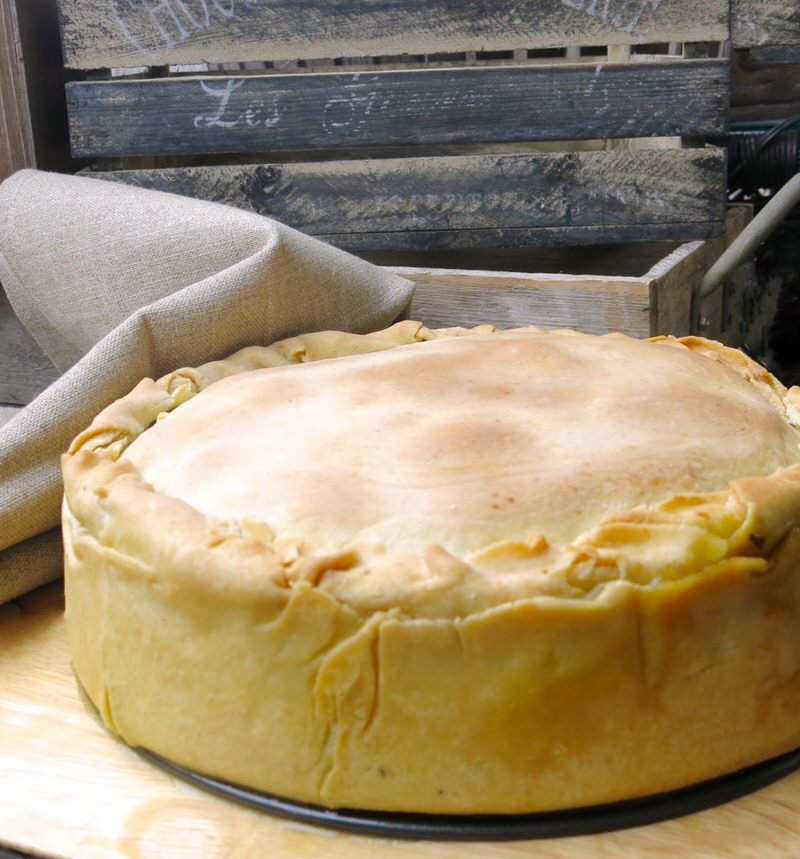
Torta Pasqualina: The Celebration
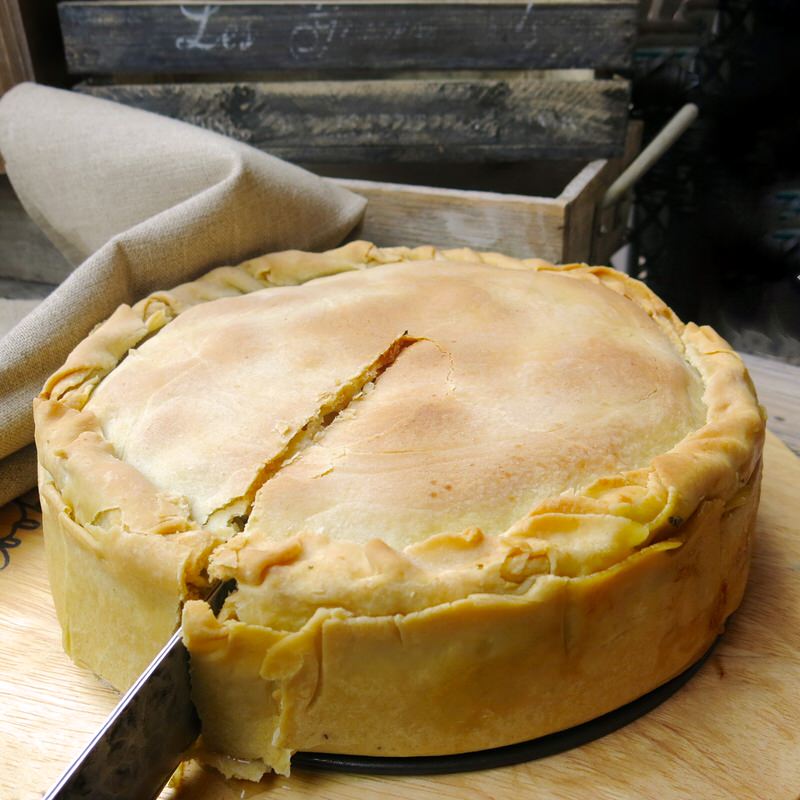
Enough! Time to take a peek inside! Listen to that crunch as shards of our incredible finely layered homemade pastry explode with celebratory exuberance.
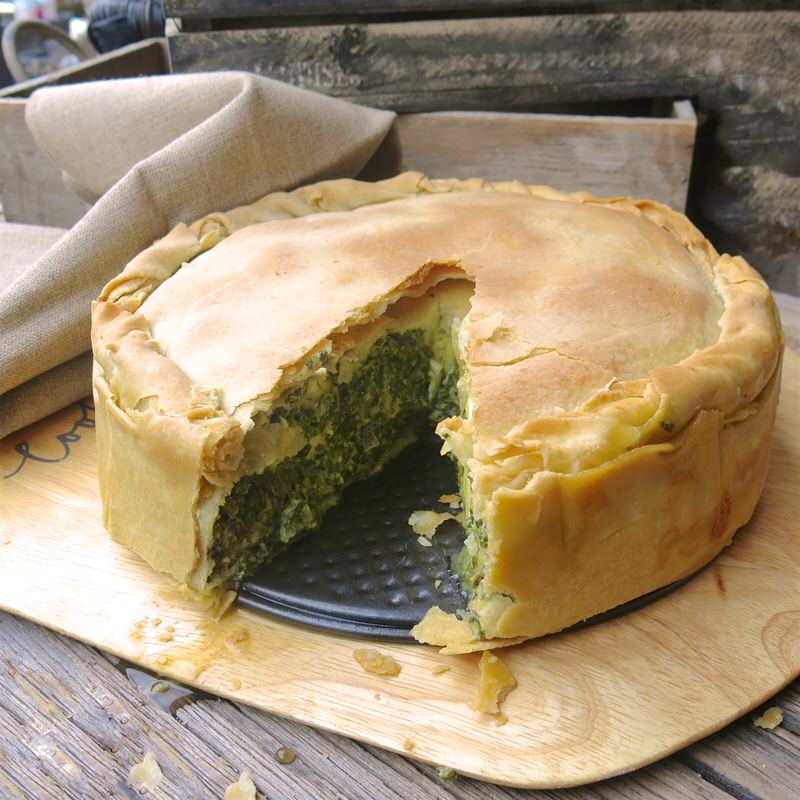
Oh, my! Such layers! Where’s the egg?
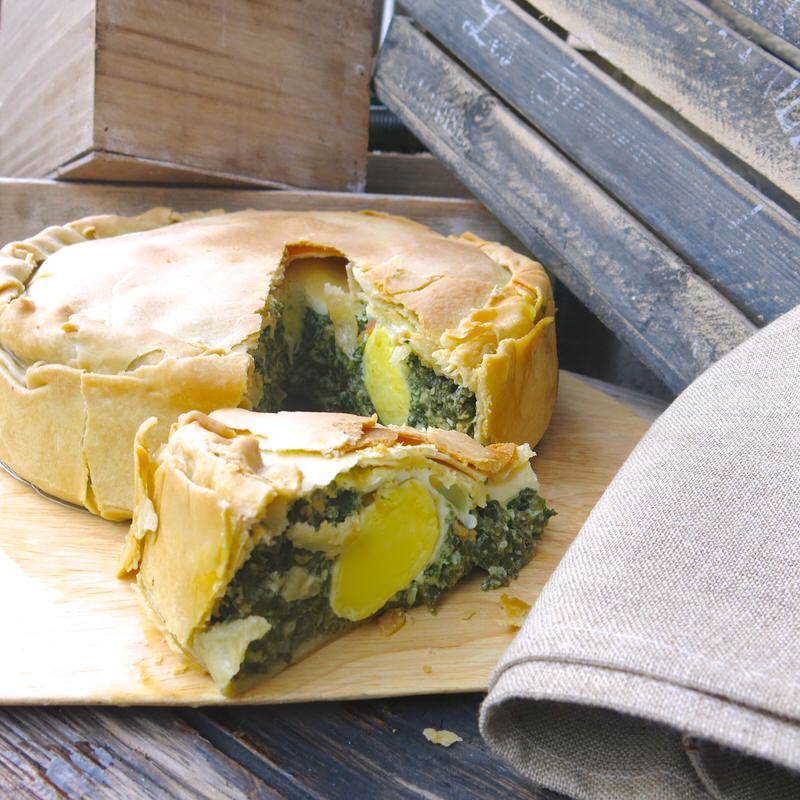
What a stunning treasure hidden within the Torta Pasqualina! The Easter Egg! This is the best Easter Egg hiding place I have ever discovered. The perfect celebratory offering.
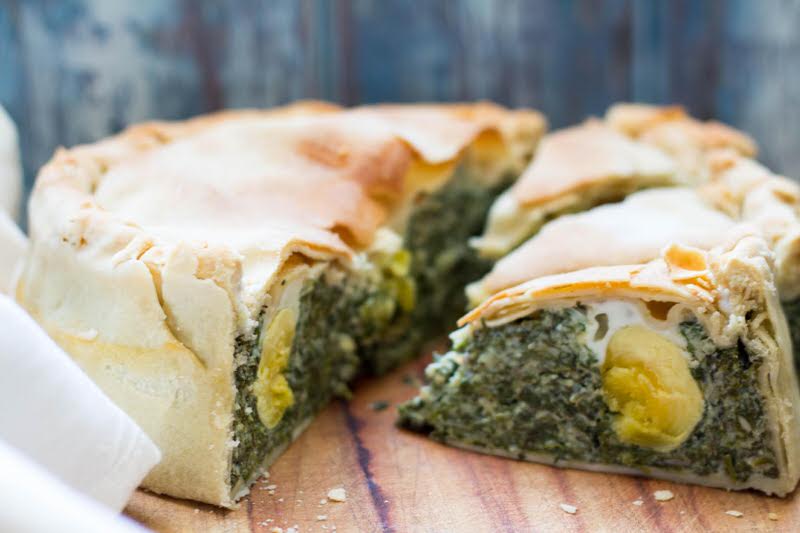
This photo was taken by Nicoletta upon returning home with their torta.
And the taste? I know I have already described it, but it is an unforgettable experience. I have already purchased another kilo of fresh Spring greens to make it for my family for Easter brunch, as this one is long gone. However, I am going to do miniature versions with Quail Eggs. Maybe even just flans from the interior filling recipe. I haven’t quite decided, and it will depend upon the time I have for preparations. In any case, a big thank you to Nicoletta and Loreto for their time in the kitchen cooking with me last weekend. I certainly hope that is only the beginning of many more shared cooking adventures to come!
Italian Torta Pasqualina: Savory Spring Vegetarian Torte
Torta Pasqualina is a Celebration of Spring in the form of a Traditional Italian Savory Easter Vegetarian Pie (Step-by-Step Images)
Ingredients
Ingredients for the Dough:
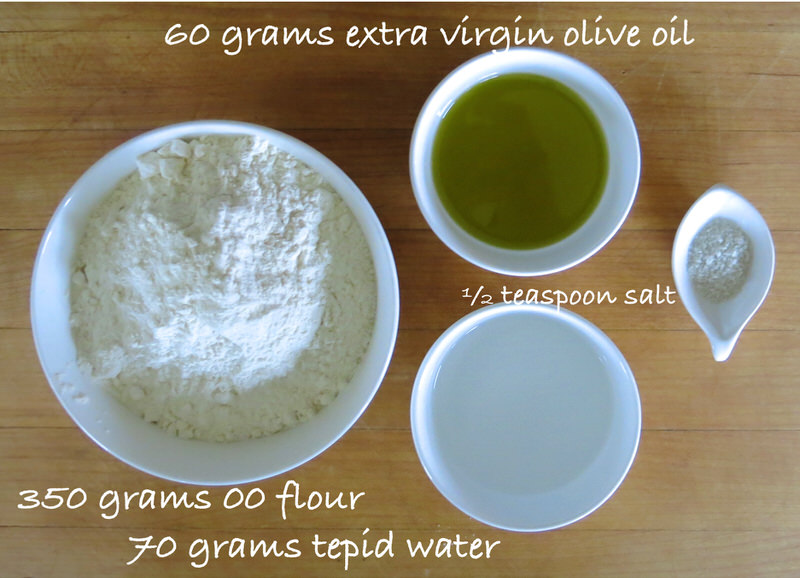
- 350 grams 00 flour , plus more for the work surface
- 4 tablespoons extra virgin olive oil
- ½ teaspoon salt
- 70 grams tepid water
Ingredients for Filling One:
- 1 kilo Spring greens: 500 grams organic baby spinach and 500 grams organic tender small leaf chard , stems removed
- 100 grams onion , minced
- 1 clove garlic , whole
- 1 teaspoon dried marjoram
- 3 tablespoons olive oil
- 1 tablespoon butter
- 600 grams fresh cow Ricotta (see note)
- 2 tablespoons plain yogurt (see note)
- 2 organic know-your-farmer eggs
- 50-75 grams Parmigianino Reggiano , grated
- ½ teaspoon ground white pepper
- ½ teaspoon freshly ground whole nutmeg (about ½ a nutmeg)
Ingredients for Preparing the Pan:
- Springform pan with removable bottom , size 20/22 cm with high sides or 10 inch Springform (12 inch will work, but deep dish torte is better with smaller circumference and higher sides)
- Olive oil
Ingredients for Butter-Oil Mixture:
- ½ teaspoon salt
- 1 tablespoon water
- 1 tablespoon butter
- 3 tablespoons olive oil
Ingredients for Filling Two:
- 7-9 eggs
- a pinch salt (I used Vegeta)
- a dash white pepper
- a sprinkle freshly grated Parmigiano Reggiano (optional)
Instructions
Instructions for Making the Dough:
-
In medium bowl, place 300 grams flour, olive oil and salt; while stirring, slowly add ½ cup lukewarm water until ingredients clump into a ball
-
Work or knead, still in bowl, to obtain soft, elastic ball that no longer sticks to hands (Do not add more flour than 350 grams, as dough will become tough.)
-
Lightly flour work surface; knead till dough becomes smooth, silky and compact
-
Form into ball; set to proof in bowl for at least 1 hour, covered with damp cloth
Instructions for Making the Dough in the Thermomix:
-
Weigh flour, olive oil, salt and water into TM bowl; set time at 10 seconds, speed at 5-6 and combine until ingredients just begin to clump into ball
-
Set knead for 1.5 minutes; ingredients will cluster into small balls
-
Remove from TM bowl; form into ball and set to proof in bowl for minimum of 1 hour, covered with damp cloth
Instructions for Filling One:
-
Wash and spin-dry spinach and chard leaves; mince onion
-
In large sauté pan, place 3 tablespoons olive oil, garlic clove and 1 tablespoon butter with the onions; sauté at medium heat until onion is translucent (2-3 minutes)
-
Add spinach, chard and marjoram to pan, in two batches; sauté until wilted then cook gently for about 15 more minutes, until chard stems are tender
-
Place greens in colander; set aside to cool and drain
-
In large bowl, combine ricotta add yogurt; stir to completely combine
-
Finely chop and gently squeeze cooled greens; add to ricotta mixture, stirring to fully incorporate
-
Whisk an egg into ricotta mixture, stirring until completely absorbed; add and repeat for second egg
-
Add grated Parmigiano, pepper and nutmeg; stirring to fully incorporate
-
Taste, adjust seasonings; set aside
Instructions for Preparing Pan:
-
Oil pan very well, bottom, sides and upper rim
Instructions for Preparing Butter-Oil Mixture:
-
In small pan over low heat, add ½ teaspoon salt and ¼ teaspoon few drops of water ; stir until dissolved
-
Add 1 tablespoon butter and 3-4 tablespoons olive oil; when melted, remove from
-
heat and set aside
Instructions for Rolling Dough:
-
Weigh dough; divide into 5 pieces: 2 larger for covering bottom of pan and 3 smaller for top (my dough was 500 grams: 2x125 gram pieces and 3x80 gram pieces)
-
Work each piece of dough at a time, starting with larger two; leave remaining pieces covered
-
Dust work surface sparsely with flour; with rolling pin, roll until sheet size circumference of spring form pan is achieved
-
Place dough, gently, on back of floured hands; work to stretch until obtaining a round dough sheet large enough to cover bottom, come up and hang over sides of spring form pan (do this for two larger pieces, only)
Instructions for Putting it All Together:
-
Pre-heat oven to 180° C or 350° F, ensuring rack is in middle
-
Place first dough sheet into prepared pan; gently push into place around bottom and up sides to leave hangover
-
Lightly and gently brush sheet with butter-oil mixture starting from center, then inner and outer edges of pastry and top rim. (Be very gentle to not break dough when brushing)
-
Place second sheet on top of first; repeat same light brushing process (If air bubbles form between the layers, lift sheet from edge of pan to release)
-
Place filling into bottom of pan in middle; gently spread toward edges until evenly filling pan
Instructions for Filling Two:
-
With back of spoon, create 7-9 "cradles" in filling (depending upon circumference of pan), equal distance from one another: 6-8 around sides and 1 in center (indentations should be halfway into filling, but not to bottom)
-
Carefully break each egg into separate bowl; separate yolk and lift yolk out with hand
-
Starting with middle, use spoon to enable yolk to sink into indentation "hole" by holding sides of filling back and deepening the indentation; release yolk into deepened indentation
-
Repeat until all yolks are in nestled in position; cover each with albumen (will be very little used from each egg)
-
Season each with a pinch of salt (or Vegeta), a dash of pepper, and grated Parmigiano (optional)
-
Prepare each of remaining three pieces of dough to approximately 2 inches larger than circumference of spring form pan; cover filling with 1 sheet of dough to overhang generously (at least 2 inches)
-
Brush with butter-oil; layer second sheet and brush repeating with third sheet
Finishing the Edges of the Torta:
-
Remove more than 2 inches of overhanging dough from around edges of spring form pan
-
Fold excess dough overhanging edges and roll gently inside of pan to create a “rope” around edge
-
Brush top of torte with butter-oil mixture
-
Bake on middle rack for 55-60 minutes, or until golden brown (see note); check oven from time to time to prevent surface from becoming too dark (cover with foil, if necessary)
-
Remove from oven; cool for 20 minutes to set inside firmly enough to slice
-
Serve warm or cold for Easter breakfast, brunch, lunch or anytime !
Recipe Notes
Chard
If the chard leaves are big and not tender, blanch in boiling water for 1 minute, until tender
Pastry
Butter-oil must be well dissolved and completely cooled to not break through dough when brushing on
It's important that the upper rim of the pan is well-oiled to prevent the dough from sticking and breaking
Baking Time
Torta will be completely baked in one hour; if top isn't golden, turn oven on to broil and watch carefully 2-3 minutes until good colour is achieved
Serving Temperature
It is delicious hot or cold, but you must try it warm, or hot. I find it exceedingly better that way! MMmmmmm1





What a beautiful day we spent together in your kitchen! I am so happy with the result and I have to stop being so hard on myself. Great job everybody! Both looked wonderful and what is most important tasted absolutely delicious! Thank you so much, Valerie, also for sharing a bit of our story and the story behind the Torta Pasqualina. I loved reading the post, it is so detailed in the step by step and the pictures are gorgeous. I do hope people try making it, it is worth every minute!
Yes, Nicoletta! I enjoyed our day together so very much! Ha! Loreto’s encouragement and positive vibe really eased our anxiety, didn’t it? I usually don’t fuss too much any more as I have made so many mistakes it is almost impossible for anything to turn out perfect, but no one really knows it hasn’t, except me. Vanja tells me that all of the time! You can share it with your family in Italy and they can see you cooking! Like you, I really hope our work together inspires and motivates others to give this recipe a go. It is really a celebration of Spring and I am completely hooked. It will most definitely always be a part of our family Easters from here on in.
Hugs,
Valerie
Hi Valerie, there are places that you feel comfortable in and there are places that are welcoming. I felt both welcomed and comfortable to be myself and have the confidence to cook with you in your kitchen. I loved you comment on how Nicoletta and I move in the kitchen, the funny thing is we are always dancing in our kitchen and it is small. It was wonderful getting to know you even more and love your drive and determination! I was so pleased with this torta pasqualina, it had such wonderful and comfort food flavors and those eggs so vibrant inside against the green canvas of the spinach and Swiss chard. It added just enough richness to this recipe and enticed us visually. Look forward to working with you again, it was a lot of fun!
Thanks again for the opportunity and for your lovely words!
Cheers!
Loreto
And your lovely words, Loreto!
Cannot wait til the next time, and I am so excited about my Pasqualina Flan – I can’t wait til you see it!
)
Valerie
I saved this recipe and I can’t wait to try it! I just can’t take my eyes of that wonderful tart. Thank you for sharing
Thank you for visiting, Simona!
I will be visiting you, shortly! Violet is my ultimate flavour and I just cannot find a flavouring here. I saw your post on instagram and will be to your site later today! If you make this, let us know! We love it!
Hugs,
Valerie