This Shortbread Tart Shell recipe is that tender melt-in-your-mouth one you’ve been looking for!
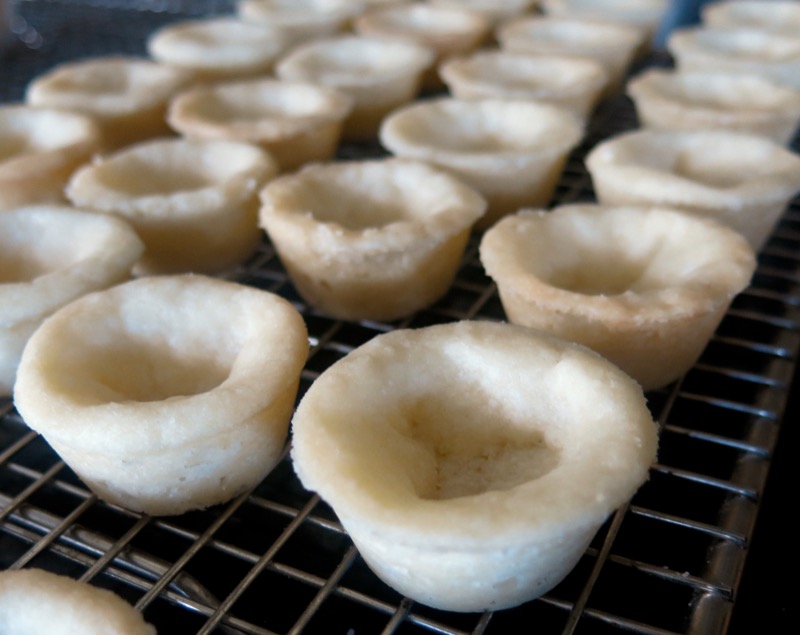
Simple. Even somewhat rustic, yet so dainty the juxtaposition denotes a hand formed delicacy of the highest degree. The fragility is visible, yet when at room temperature, these melt-in-your-mouth buttery morsels are unexpected forcibly independent strongholds for any variety of sumptuous fillings.
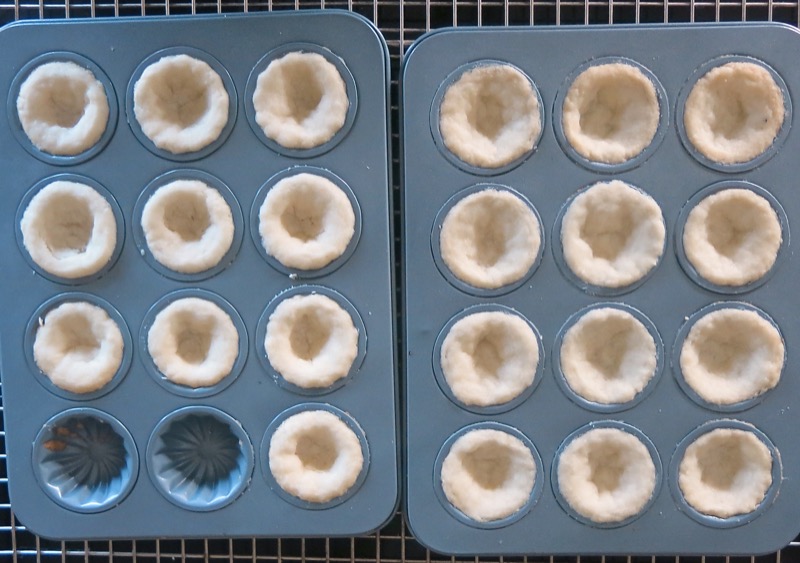
Peculiar miniature pans are a fetish of mine and I was delighted, excited and beyond ignited to find the pair of 12 mold dome-shaped tart shell pans at an off-sale market. The shells are above and the pan is below.
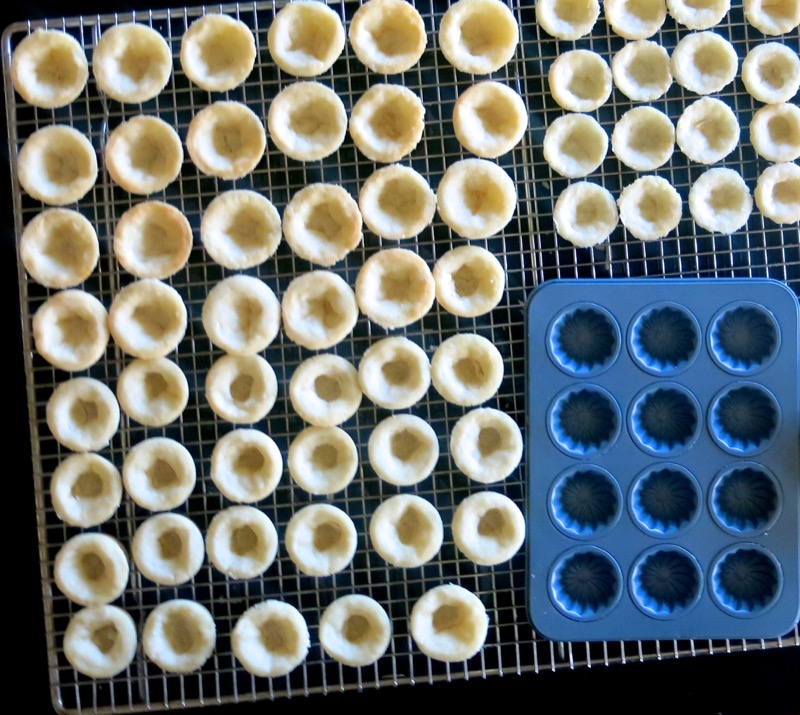
This recipe is meant for the standard miniature muffin tin and makes exactly 36 shells. Above you can see I have baked a double batch: 3 dozen of the miniature muffin tin Shortbread Tart Shells, above left, and 3 dozen of the dome-shaped Shortbread Tart Shells, above right.
Miniature Shortbread Tart Shells: Making the Pastry Crust Dough
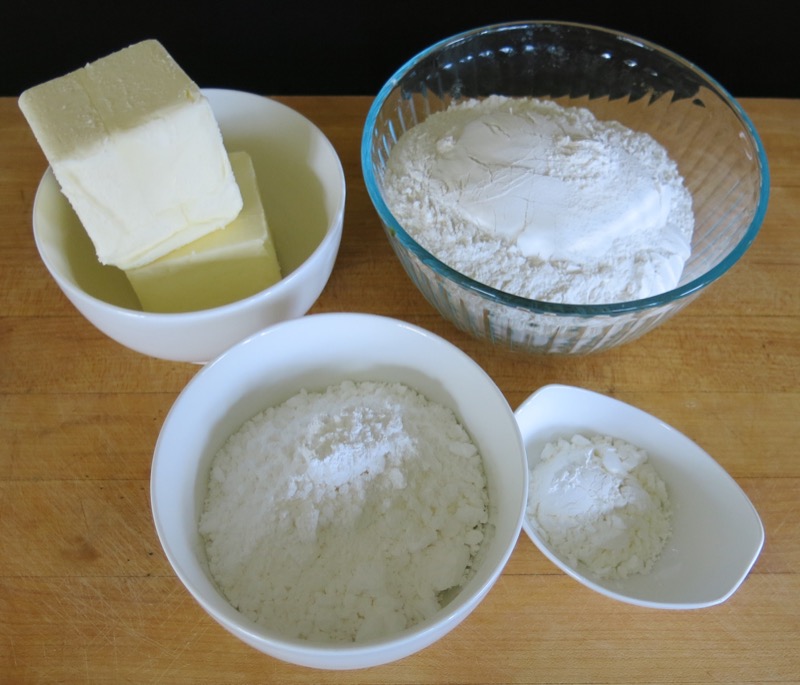
Vanilla is missing from mis en place image, above. It adds a gentle warmth to the buttery blend. Simple basic shortbread ingredients with a couple of exceptions. Cornstarch is added for that melt-in-your-mouth appeal. The vanilla. And, icing sugar is used instead of granulated sugar which also adds to the melt in your mouth appeal and creates the very soft ‘workable by hand only” shortbread pastry dough. The usual shortbread ratio of flour:butter:sugar is 1:1/2:1/4 and is the same in this recipe with the exception of the addition of the cornstarch. Usually, if cornstarch is added, the same amount of flour is removed for the amount of cornstarch added.
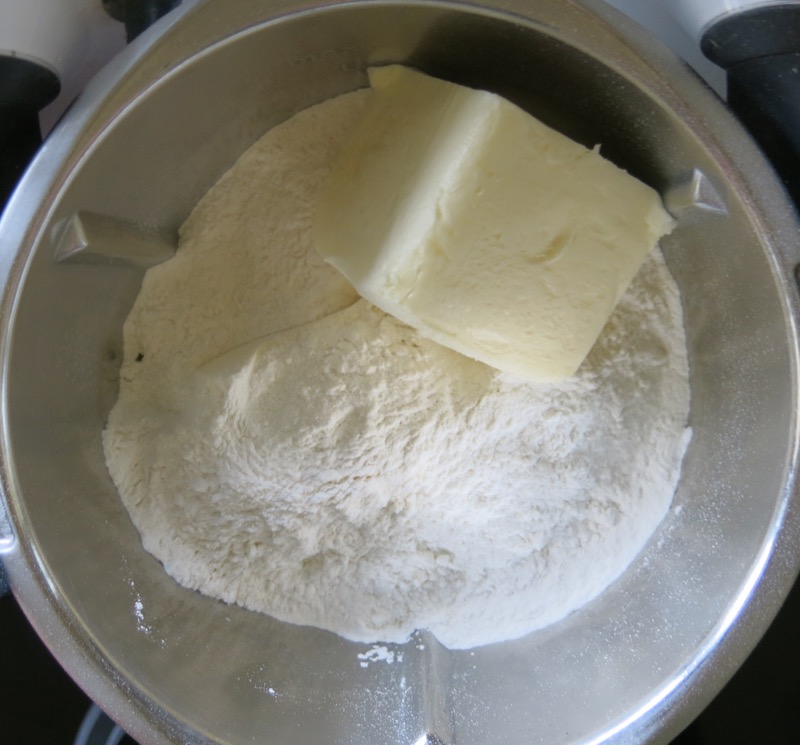
Butter and sugar are creamed together. This is another variation from the traditional shortbread method which adds the sugar to the flour first, then the butter is rubbed into the dry ingredients with one’s fingers. A traditional shortcrust pastry hasn’t any sugar, so this is a shortbread pastry recipe that deviates from the traditional shortbread cookie method; this creates a softer sticky dough that must be molded by hand instead of rolled and cut.
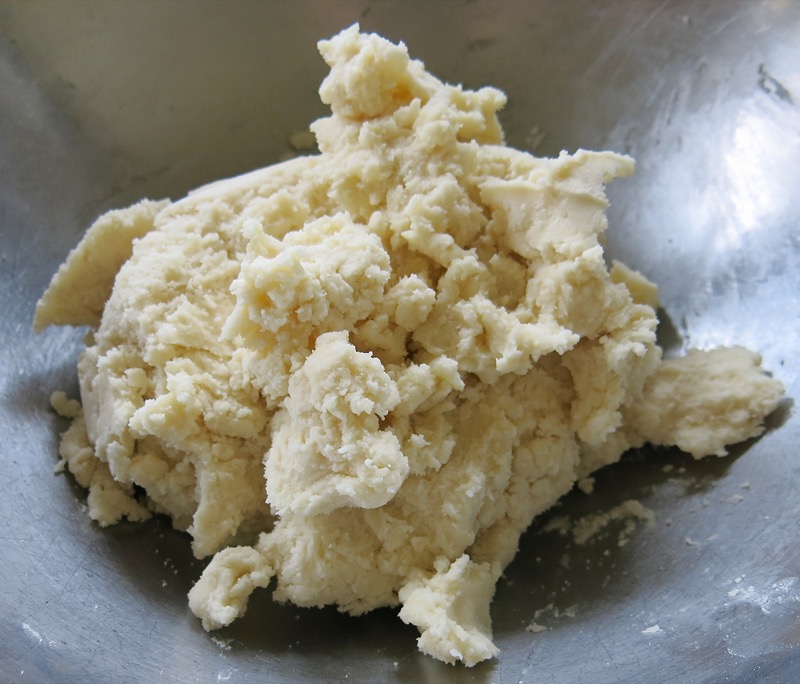
I used my Thermomix machine to mix the ingredients together, but instructions for both follow within the recipe, below. Either way, once the ingredients begin to clump, they need to be formed into a ball and chilled.
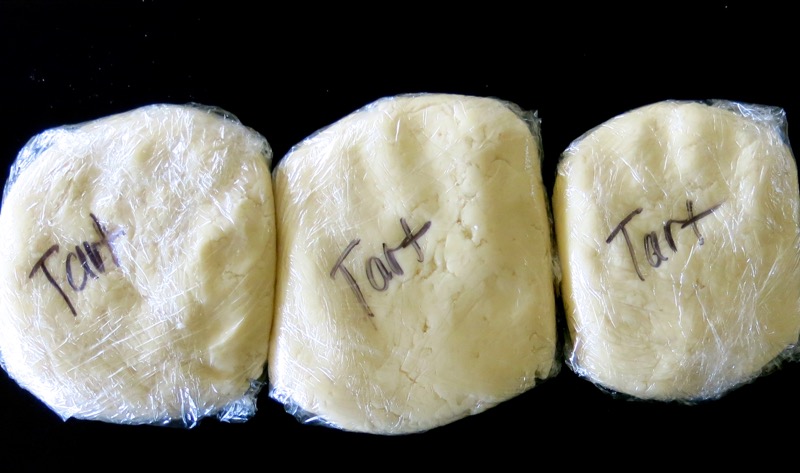
I tend to make all doughs a day or two in advance as most require chilling, anyway. The dough does need to be chilled until it can be formed into a ball. When working with it after it is chilled, best to work with 1/3 at a time, and keep the remainder chilled. As the dough warms, it is more difficult to work with as it won’t hold its shape as easily.
Miniature Shortbread Tart Shells: Making the Tart Shells
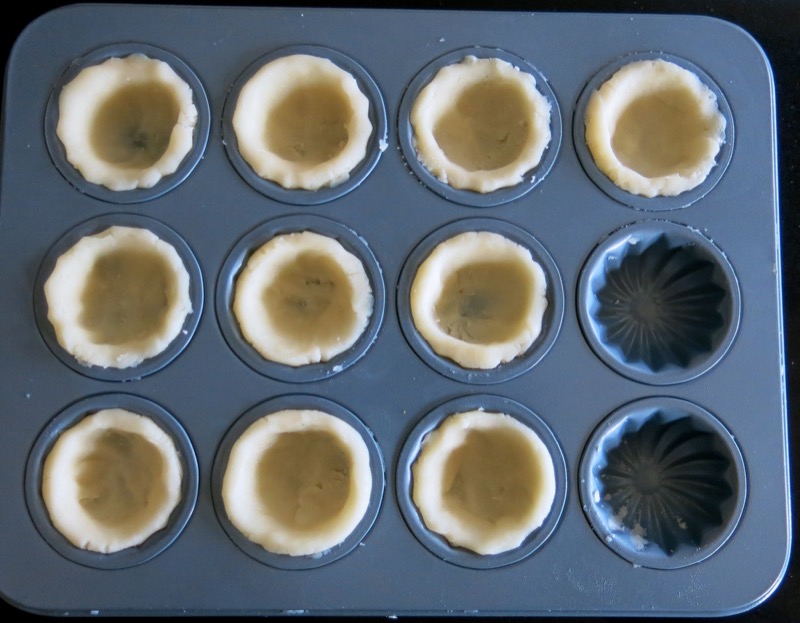
The dome shaped tart shell mold takes less pastry dough as each individual mold is shallow. Remember, if you make the dome shape by placing one shell on top of the other to form a ball with the filling hiding in the centre, you will need double the number of shells. Three dozen tart shells will yield 18 dome-shaped tarts or tart balls.
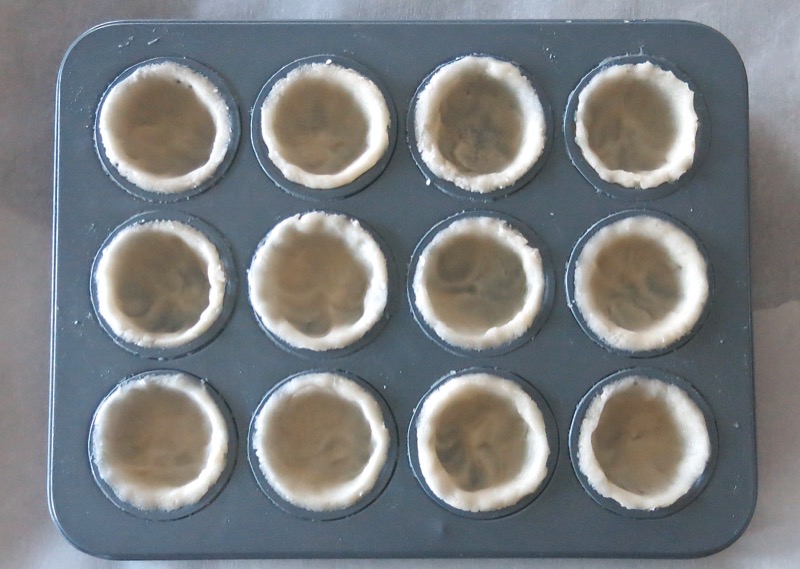
I usually plop myself down in front of a good movie or program on TV and work away. One 15 gram ball of dough for the miniature muffin tin tart shells works perfectly. Using fingers, press the dough into and across the bottom of the mold, then up the sides, carefully ensuring even thickness throughout.
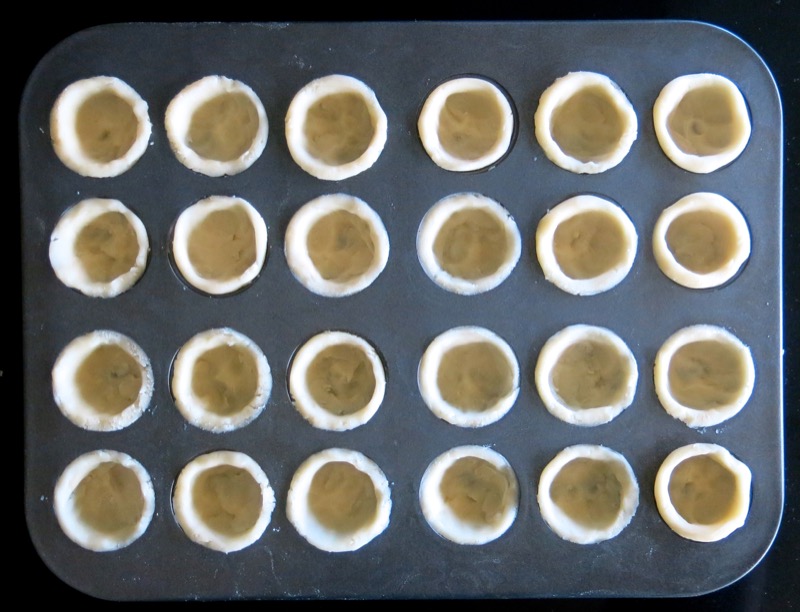
Getting the edges finished on the top of each tart is the most difficult part of the process for me. It will take some practice as cutting the tops off leaves an unattractive finish. I find the finger pushing from the bottom up leaves a nicer edge.
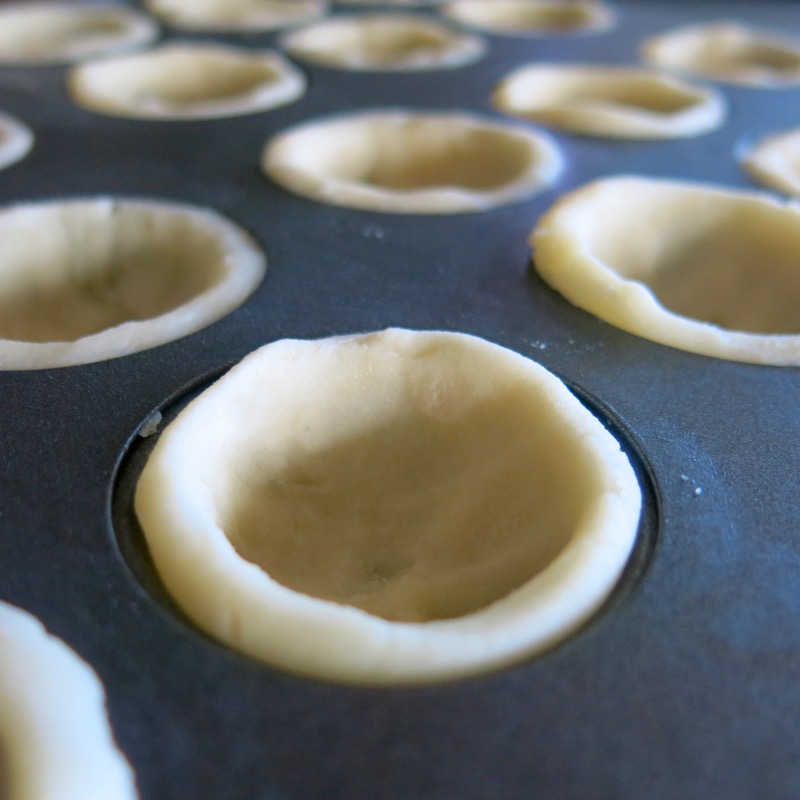
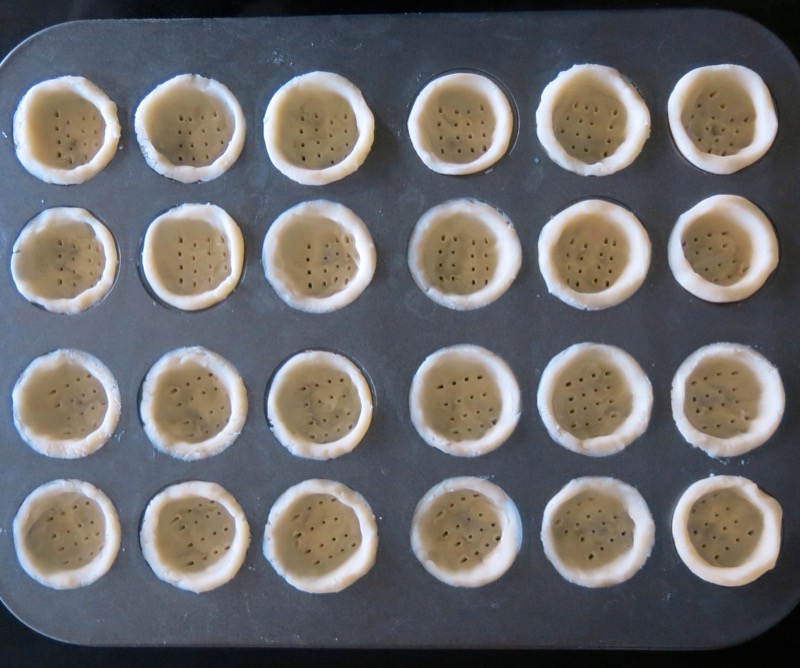
Dock each carefully and thoroughly with the tines of a fork and refrigerate or freeze until ice cold and firm.
Miniature Shortbread Tart Shells: Baking the Tart Shells
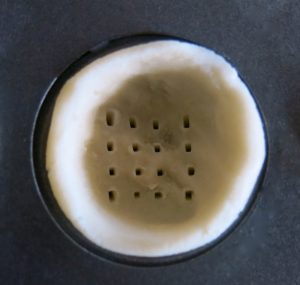
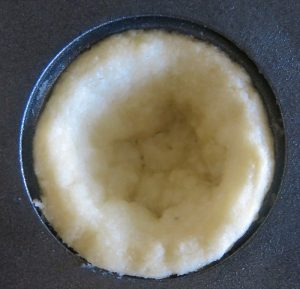
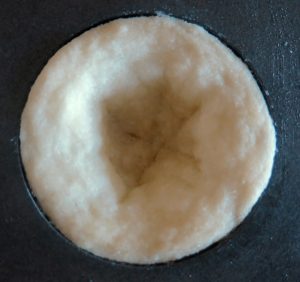
Docking and chilling these shells before baking them is important. If you don’t dock them, they can puff up completely on the inside. If you don’t dock mid-way, they will look like they do on the far right. I find I must dock, chill and dock mid-way through the baking process, once or twice per mold to get the proper little pocket within each shell.
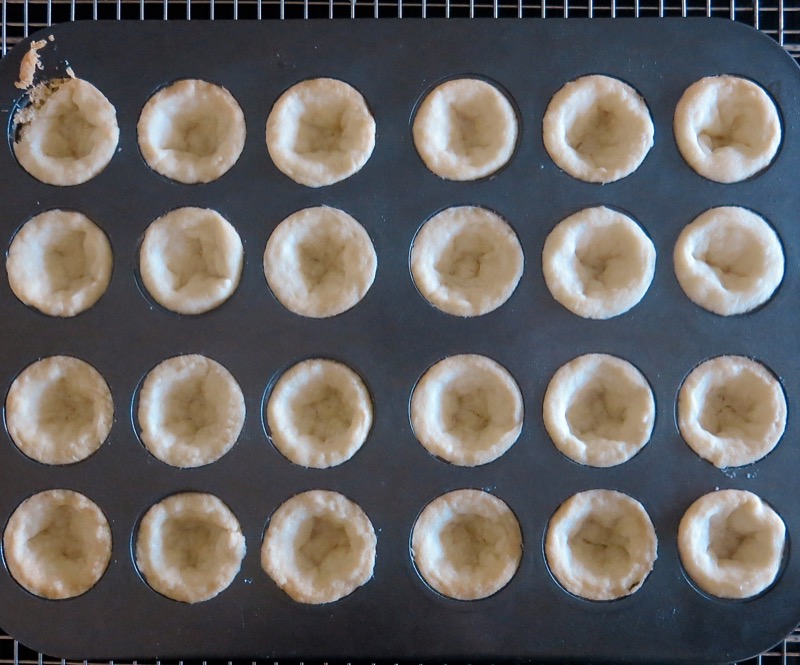
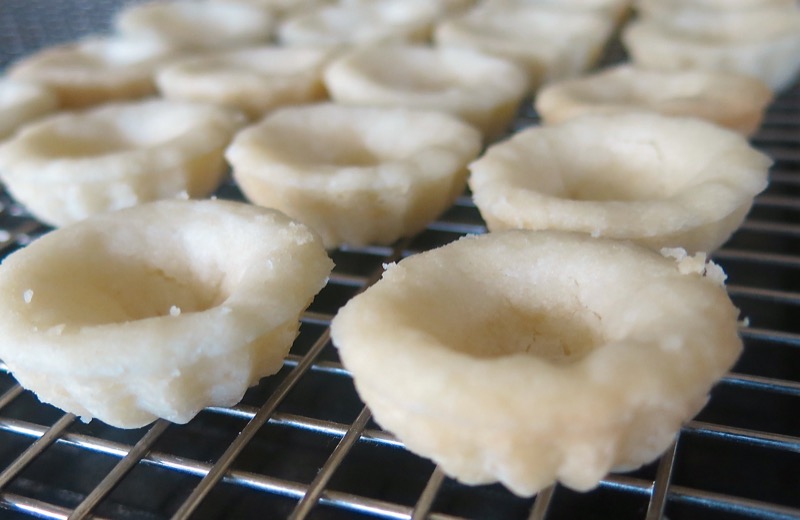
When warm, the shells are so fragile that touching one with my thumb pulling the tray from the oven created the break above. Once they are completely cooled on the baking rack at room temperature, they can be removed quite easily from the nonstick pan by inverting it onto a flat cutting board or similar surface.
I place a flat board on top of the shells, then turn them over onto in, and bang it gently on the counter. The shells release and fall out in unison. It is always an exciting moment with each perfect little shell bottom up.
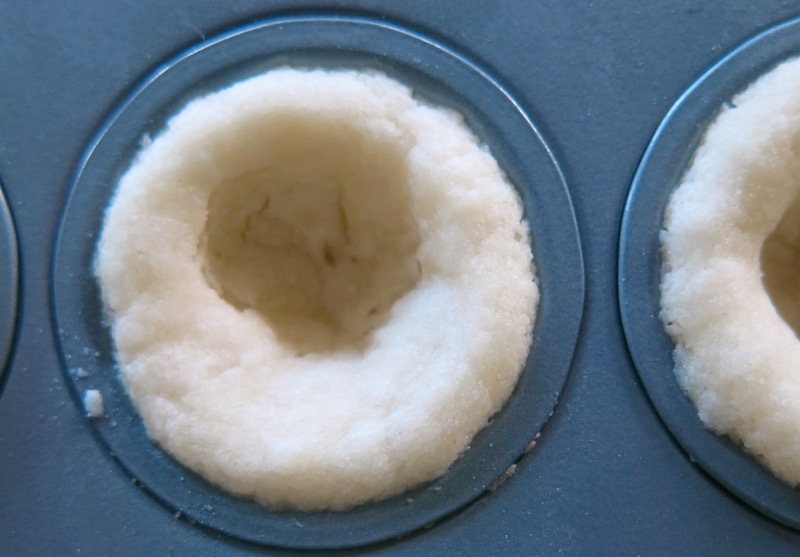
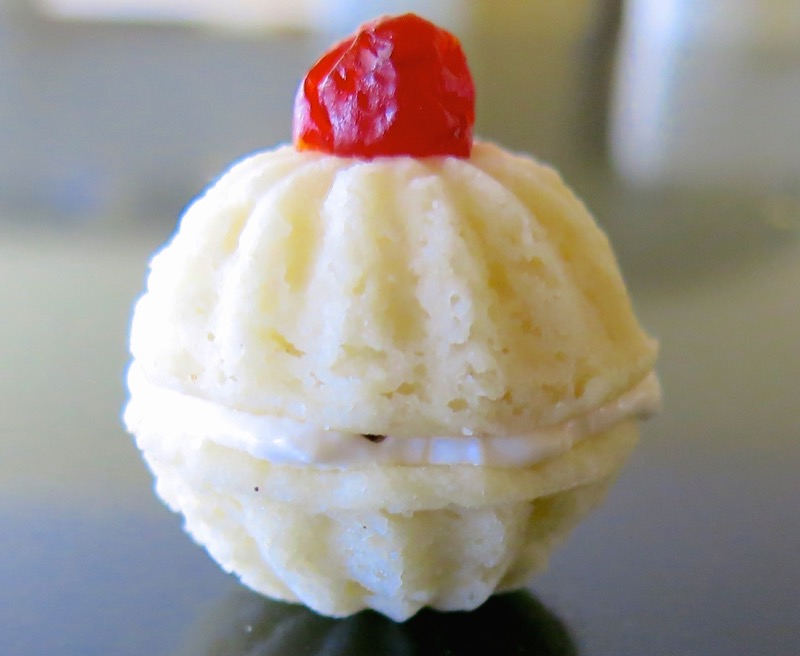
You can see the shells do protrude a bit from the side, thus the gentle bang on the counter. Above, right, is the ball that two dome shells make when placed together to make a ball shaped tart. Don’t you just love that? I was so tickled! The first recipe I have created for this shape is my Sour Cherry Tart Ball Recipe.
Miniature Shortbread Tart Shells: Storing and Freezing the Shells
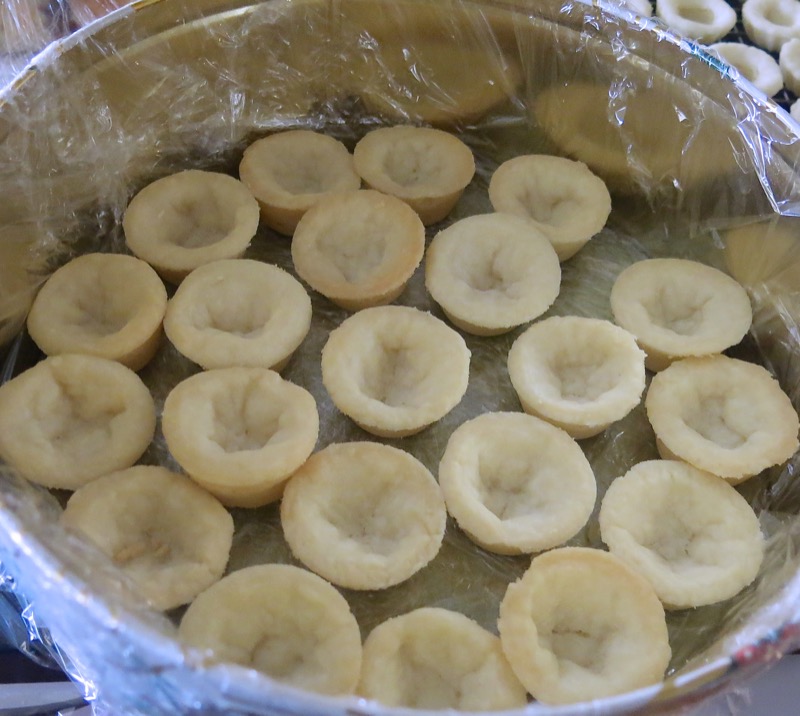
These shells last a very long time wrapped well and closed tightly in a labeled and dated freezer proof container. I layered them carefully inside or a tin or Tupperware container with plastic wrap. They have lasted beautifully for me for over 6 months. Simply remove however many you plan to fill as needed.
Miniature Shortbread Tart Shells: Filling the Tart Shells
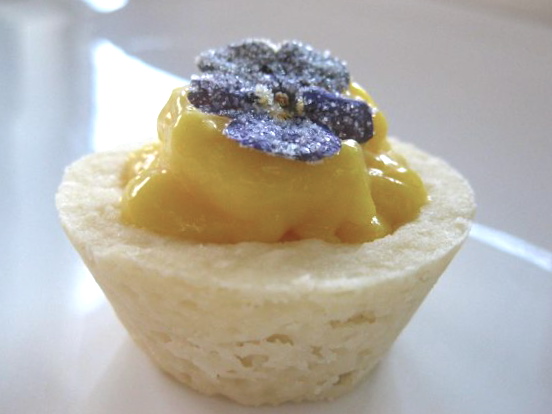
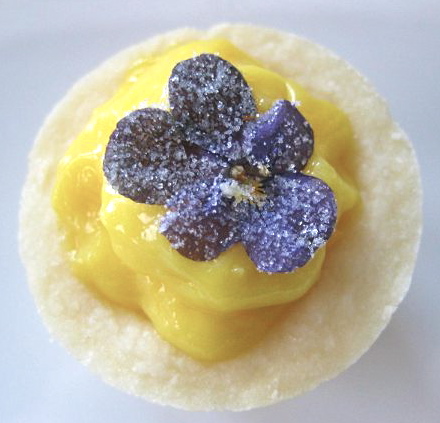
So many choices! During the holidays, I have been known to have a variety of shells ready to fill:
- This Chocolate Shortbread Shell is divine
- My Almond Pie Crust Recipe makes lovely miniature shells
Using different pans and shapes for each dough lends itself to a different filling, too! The Sour Cherry Tart Ball is a perfect example of that. Think of that shape with the chocolate shortbread dough dusted with icing sugar using the same filling. Completely different flavour experience and plating appearance, yet equally divine. The above (very old and in need or serious updating) Lemon Curd Tart recipe can be found here, and the candied violet recipe with step-by-step instructions, here.
Do you have favourite fillings and shells? Please do share!
Miniature Shortbread Tart Shells or Crust: Non-rolled (pushed into mold)
This Miniature Shortbread Tart Shells or Crust Pastry recipe is not rolled, but instead, pushed into the tart shell mold. Delicate, buttery and melt in your mouth magic definitely worth the time and effort required to hand form each shell.
Ingredients
- 1 cup or 225 grams butter
- ½ cup or 120 grams icing sugar
- 1 teaspoon or 5 grams pure vanilla extract
- 1 ½ cups or 180 grams flour
- 1 tablespoon or 15 grams cornstarch
Instructions
Instructions for Shells:
- Use nonstick miniature muffin tins 2 inches or 5 centimeters in diameter
- Cream butter and sugar together for 1-2 minutes or until smooth with an electric mixer; add vanilla extract to combine
- Fold in flour, cornstarch and salt; mixing until just incorporated
- Cover and refrigerate 30-60 minutes; form into small balls (15 grams each)
- Using fingertips, press dough onto bottom and up sides of each individual miniature muffin tin mold ensuring even sides and bottom; dock each with tines of fork to prevent puffing when baking
- Place filled unbaked shells into freezer for about 15 minutes or refrigerator for 30 minutes to prevent puffing while baking; pre-heat oven to 325F ensuring rack is in centre of oven while cooling shells
- Bake 16-18 minutes or until edges a light golden brown; check halfway through and lightly prick bottom of each shell, again, if necessary
- Set on rack still inside nonstick miniature muffin pan to cool completely: important to prevent breakage as shells are very fragile until completely cool
- Place flat surface (pan) over shells; carefully invert entire pan onto flat surface, gently knocking on bottom and lift to reveal shells
- Shells store very well in tightly sealed labeled and dated container in freezer for 3 to 6 months
Instructions for Shells with Thermomix:
- Use nonstick miniature muffin tins 2 inches or 5 centimeters in diameter
- Weigh butter and sugar into TM bowl; cream to combine well for 1 minute at speed 3.5
- Add vanilla extract; combine for 5 seconds at speed 3
- Weigh in dry ingredients; stir to combine for 30 seconds from speed 2 to 5 until dough begins to clump
- Remove from TM bowl; form into a ball
- Cover and refrigerate 30-60 minutes; form into small balls (15 grams each)
- Using fingertips, press dough onto bottom and up sides of each individual miniature muffin tin mold ensuring even sides and bottom; dock each with tines of fork to prevent puffing when baking
- Place filled unbaked shells into freezer for about 15 minutes or refrigerator for 30 minutes to prevent puffing while baking; pre-heat oven to 325F ensuring rack is in centre of oven while cooling shells
- Bake 16-18 minutes or until edges a light golden brown; check halfway through and lightly prick bottom of each shell, again, if necessary
- Set on rack still inside nonstick miniature muffin pan to cool completely: important to prevent breakage as shells are very fragile until completely cool
- Place flat surface (pan) over shells; carefully invert entire pan onto flat surface, gently knocking on bottom and lift to reveal shells
- Shells store very well in tightly sealed labeled and dated container in freezer for 3 to 6 months







Hi, those little dome tarts are the cutest things ever!
I want to make these but I couldn’t find the salt amount. Could you help?
I see I did leave it out – just a pinch of salt. 🙂
Hi Valerie,
Where did you find the domed miniature muffin tins.
I live in Kelowna, BC
Thanks
Mavis Molloy
Hi Mavis –
I think they are called miniature Swedish Tart Shell pans – but I did buy them as Id not seen them and had a bit of a fetish at that time to have a huge variety. I cannot find them online to buy individually but can see they are part of some “vintage swedish sets” though mine were not vintage.
Sorry!
Valerie