Prince William’s Second Christmas: Christmas Butter Cookies all dressed up for the party!
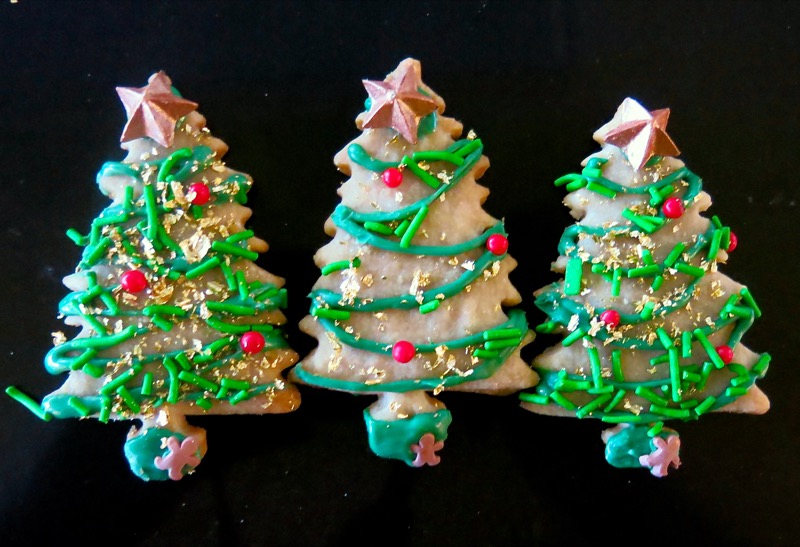
Christmas Butter Cookies: Which do you prefer? Over dressed, under dressed or can you tell the difference?
With a Hey! and a Hee! and a Ho-Ho!
With a Hee! and a Ho! and a Hah-Hah!
With a Ho! and a Hah! and a Hey-Hey!
Oh, I’m the Happiest Christmas Tree,
Ho! Ho! Ho! Hee! Hee! Hee!
Someone came and they found me
And took me home with them!
Oh, I’m the happiest Christmas tree
Ho! Ho! Ho! Hee! Hee! Hee!
Look how pretty they dressed me,
Oh, lucky, lucky me!
I’ve got shiny bells that jingle
And tiny lights that twinkle,
When ever anyone passes by
I blink my lights and I wink my eye!
Oh, I’m the happiest Christmas tree!
Christmas day, wait and see
I’ll be laughing happily
With a Ho! Ho! Ho! Hee! Hee!
Nat King Cole’s Christmas Album for Children is iconic. It is my all time favourite at this time of year and every little child should sing along and dance to “The Happiest Christmas Tree”! Mom bought the album for my children over 30 years ago and I used this song in my own school plays and concerts for years. My students and their parents learnIt brings me so much joy and fills me with so many happy magical memories, that I had to decorate a “Happiest Christmas Tree” for my little Prince William’s second Christmas – and the first he understands. Christmas Butter Cookies are also delicious.
Listen to the music as you read along… Of course, I do not want William to eat one cookie. I want his body and blood and bones to be as pure as the day that he was born, but that isn’t how life unfolds in our world of plenty. Yet, I am not making this cookie for him to see and eat this year. I am making it now hoping it will become one he knows every year that will have a song to sing along with it, a story to tell, and a place in his own mother’s heart. I am making it to have some place to work out my love for this sacred gift of a grandchild so many thousand miles away from my heart. Cherishing the knowledge that we will all be together this year.
Christmas Butter Cookies: Making the Dough
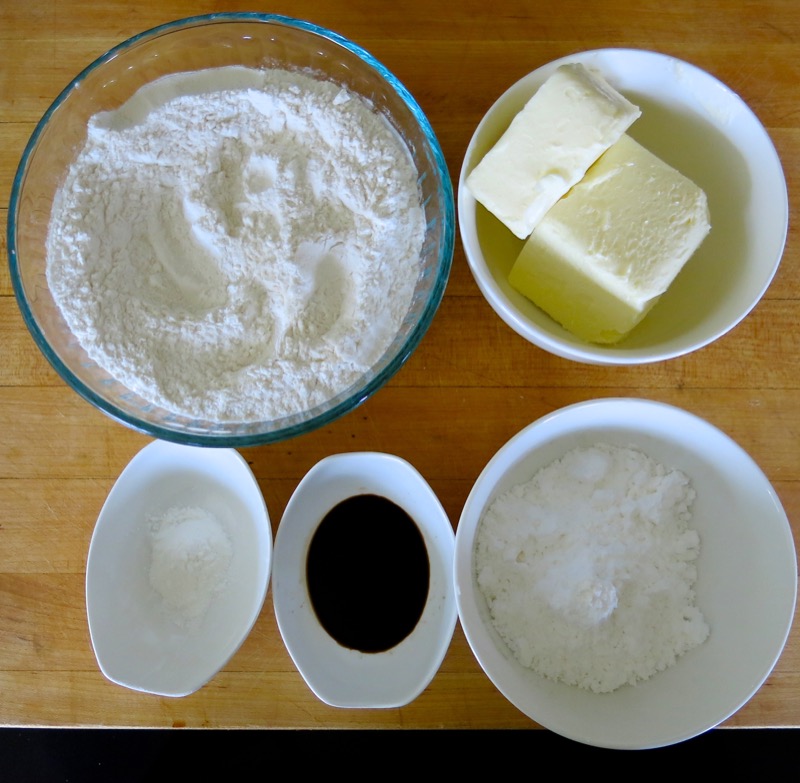
Mis en place, above. Simple ingredients that taste really delicious without any decoration whatsoever. This is a classic butter cookie recipe and I used it last July for the Pink Baby Girl Onsie Butter Cookies for Heidi’s Baby Shower. It is great for cut out cookies.
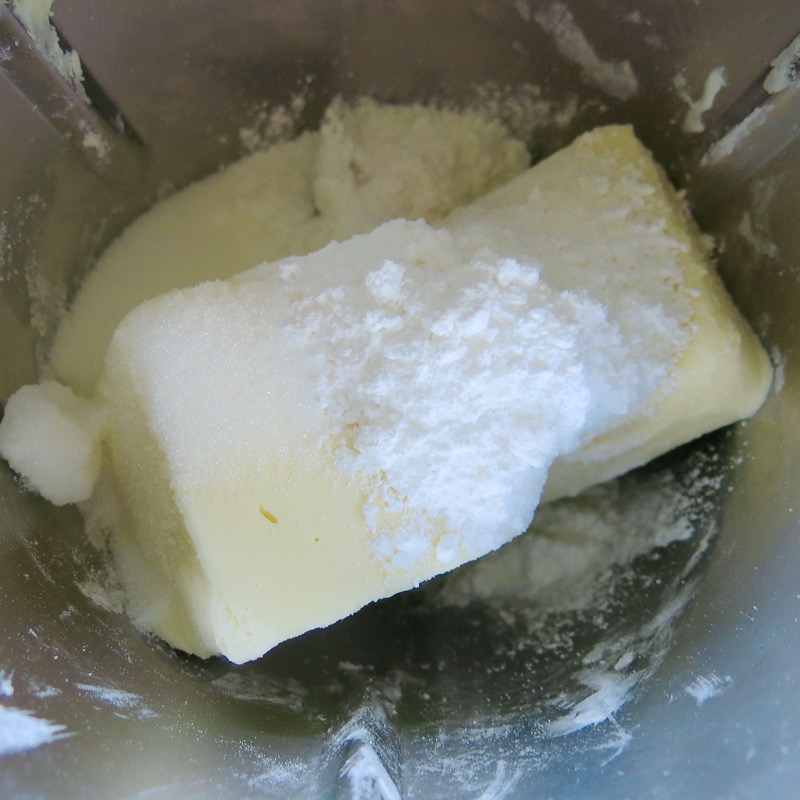
I use my Thermomix machine for everything, but the instructions for making this without it, are also in the recipe below. Above, butter and powdered sugar, or icing sugar is creamed.
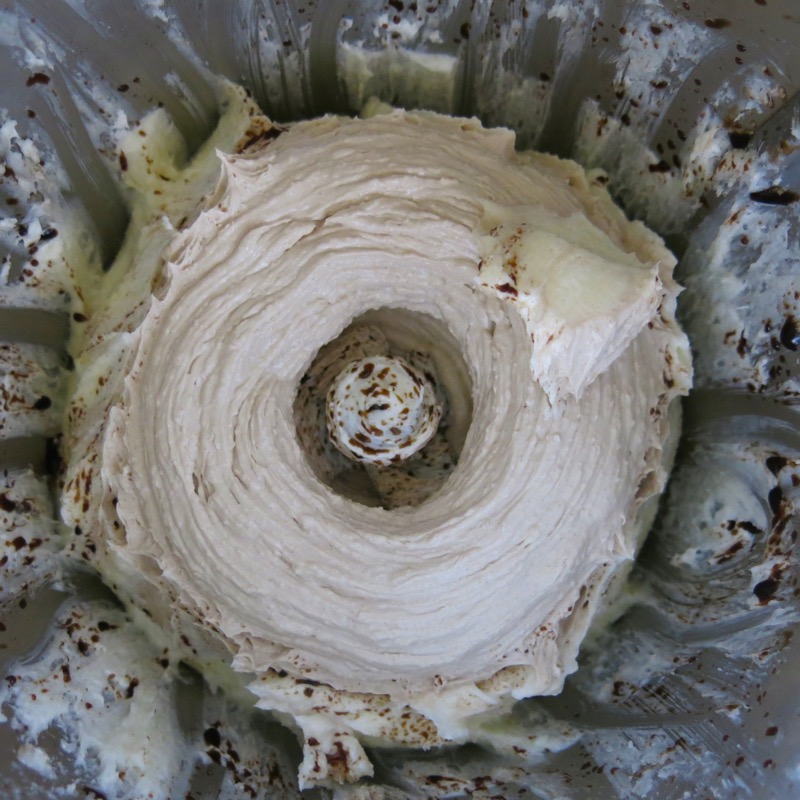
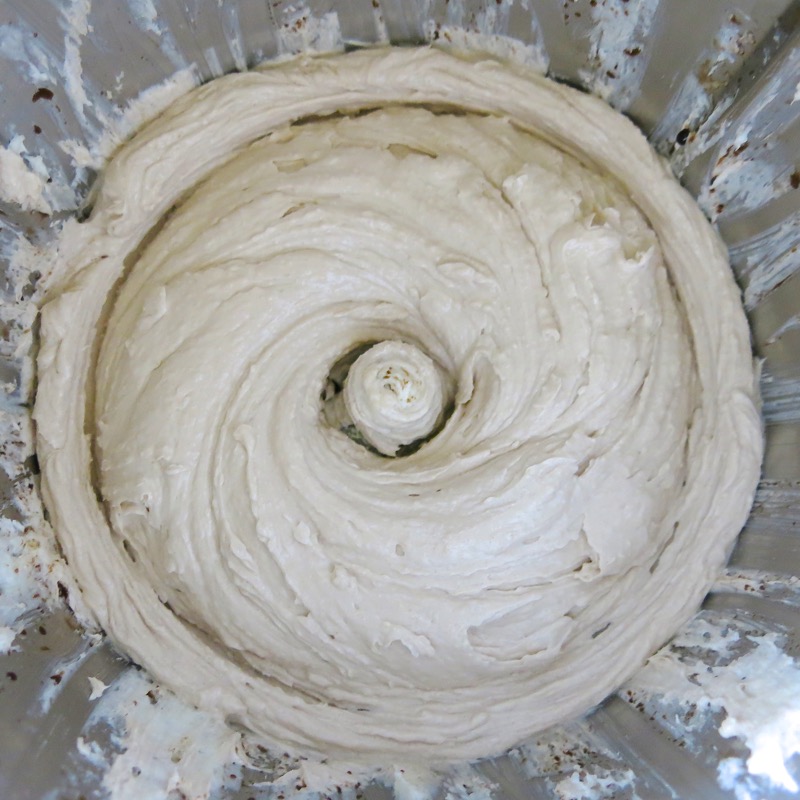
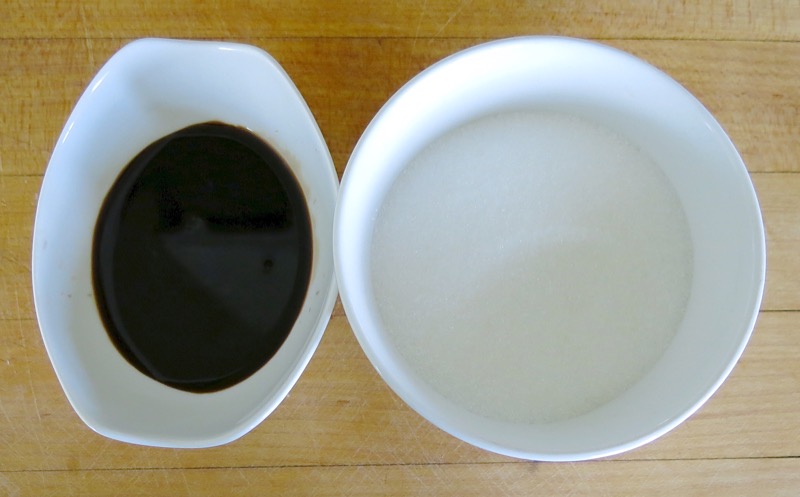
Vanilla and granulated sugar is added, and whipped into silken oblivion.
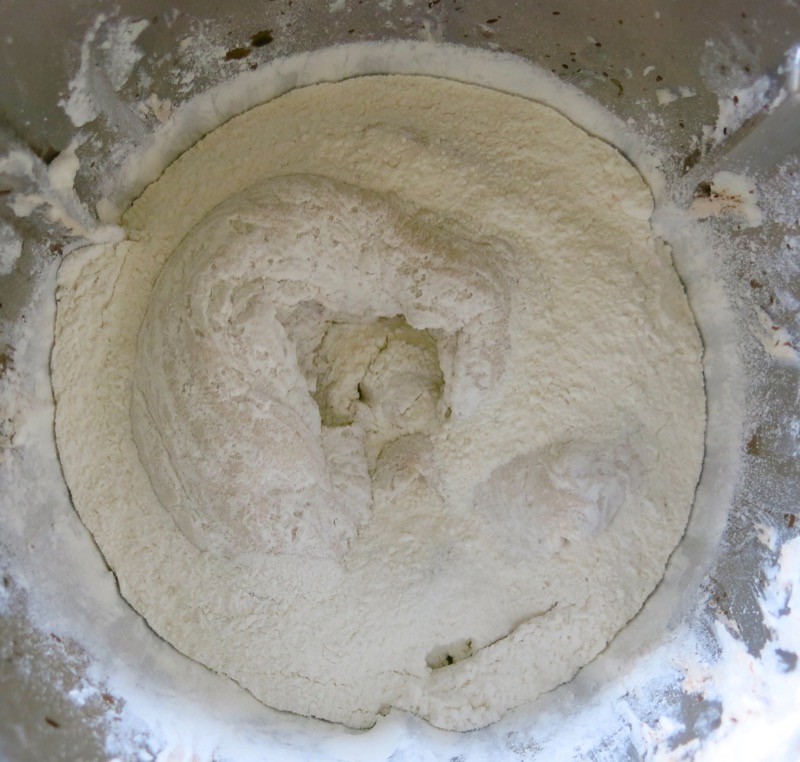
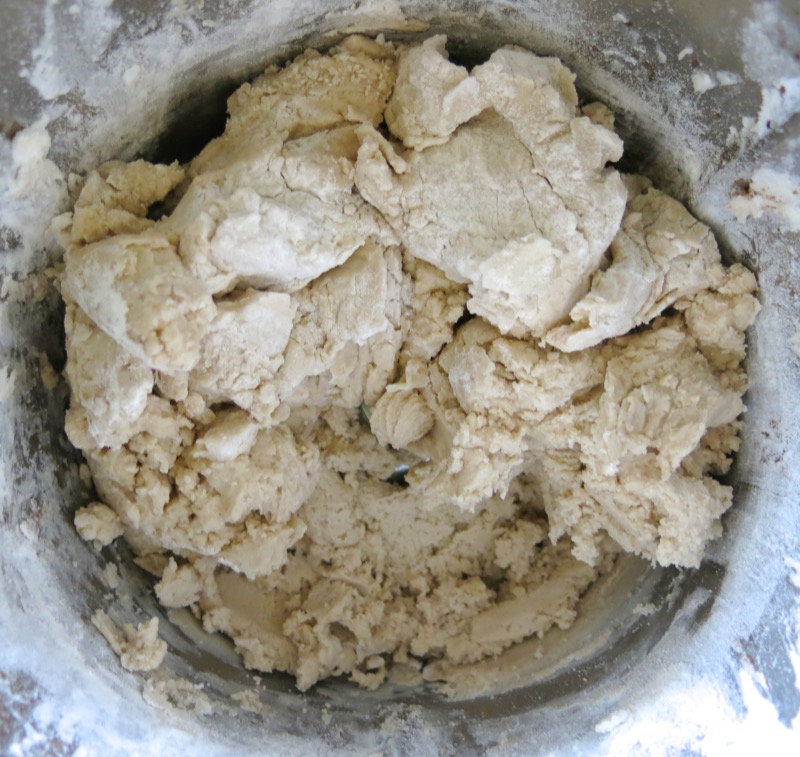
Flour is added and combined just until it comes together in clumps.
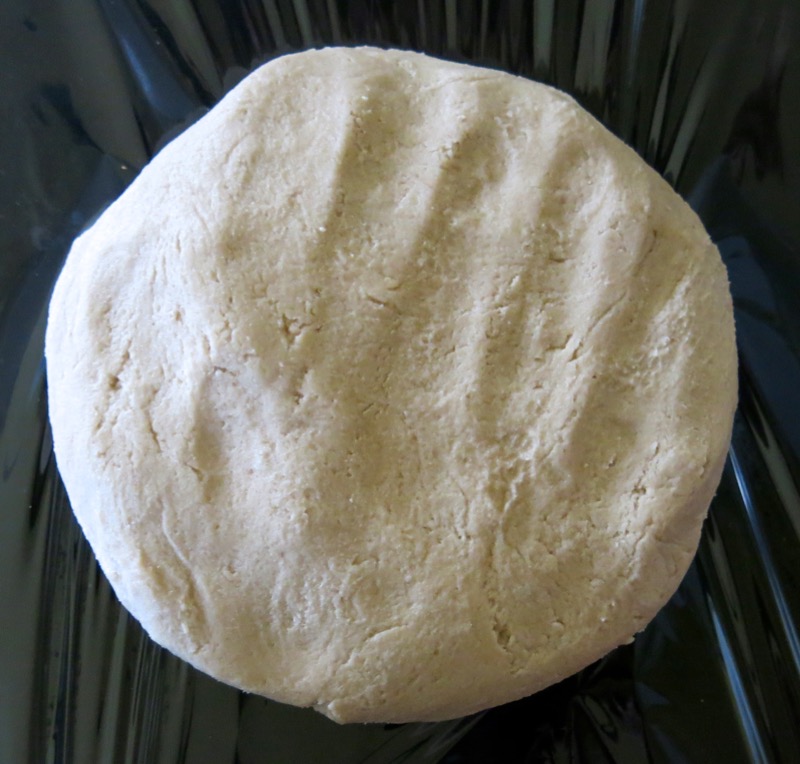
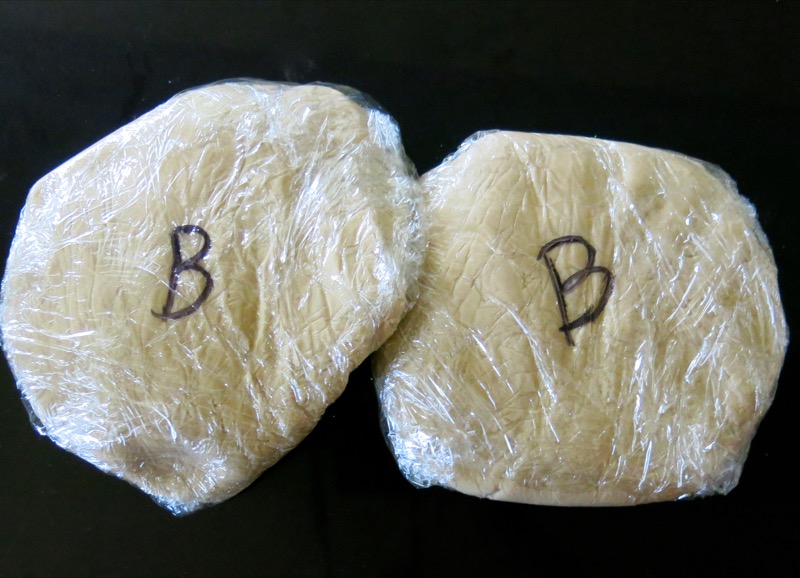
Out of the bowl and onto the counter, formed into two discs and refrigerated until ready to rock and roll!
Christmas Butter Cookies: Rolling out the Dough
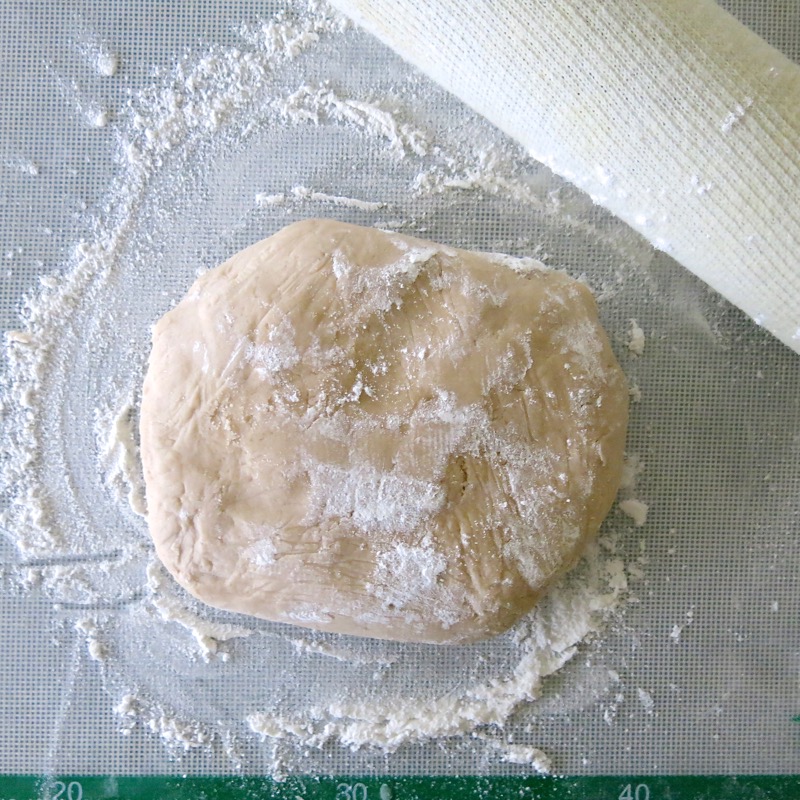
There is a lot of vanilla in this recipe, thus the brown colour.
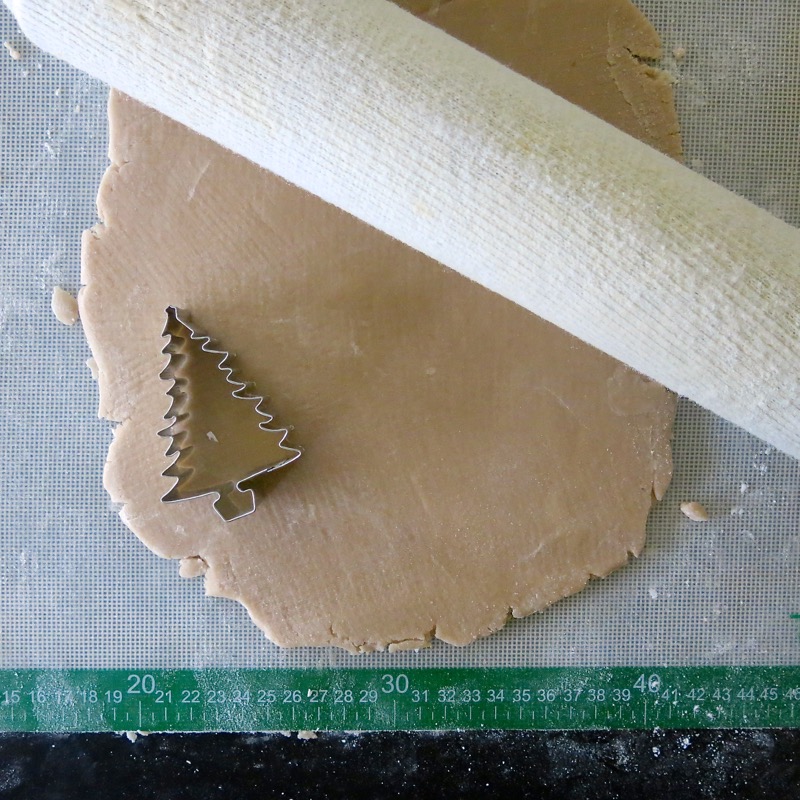
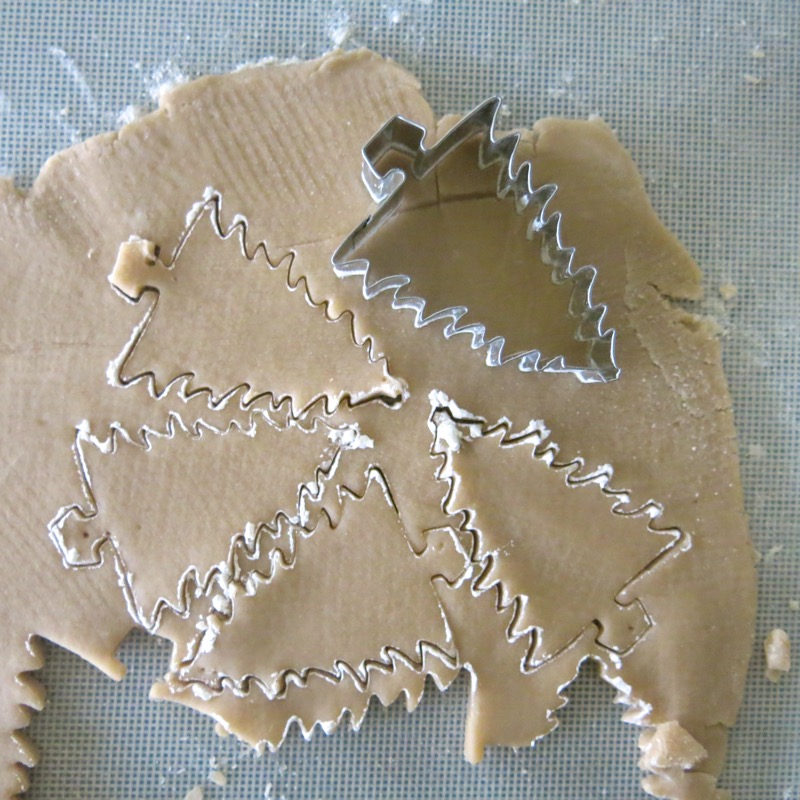
Got the cookie cutter at a local kitchen shop. Of course, the top and the bottom stay in the cutter and break off. Intricate cutters are the prettiest, and the most finicky. I dip them in flour, and use a toothpick to gently push the dough out of them so the cut out stays in one piece.
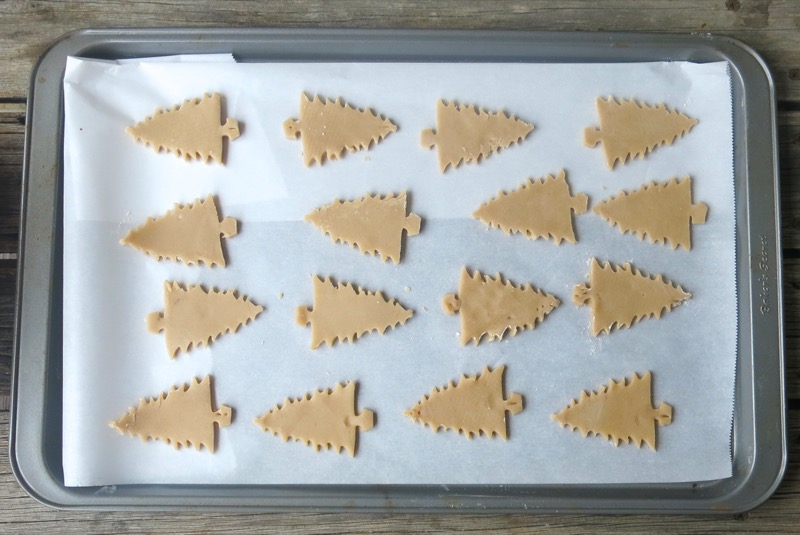
Christmas Butter Cookies: Decorating the Cookies
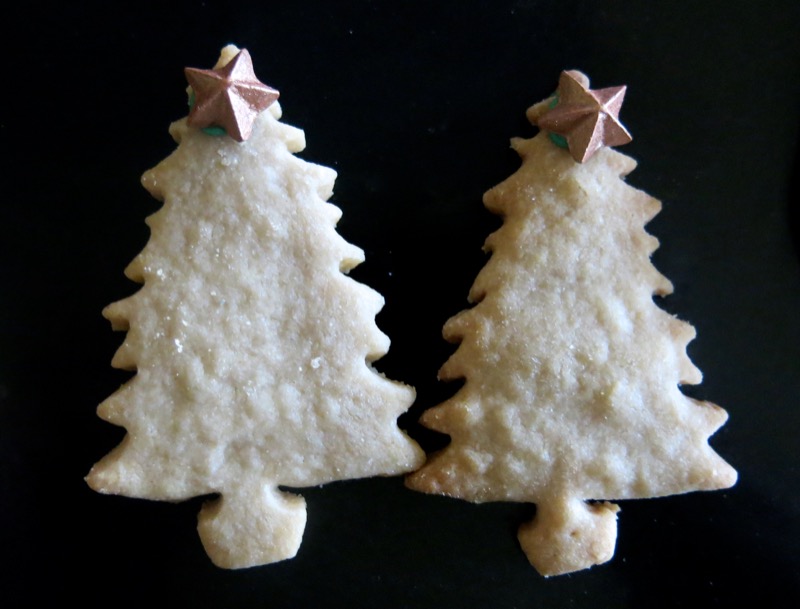
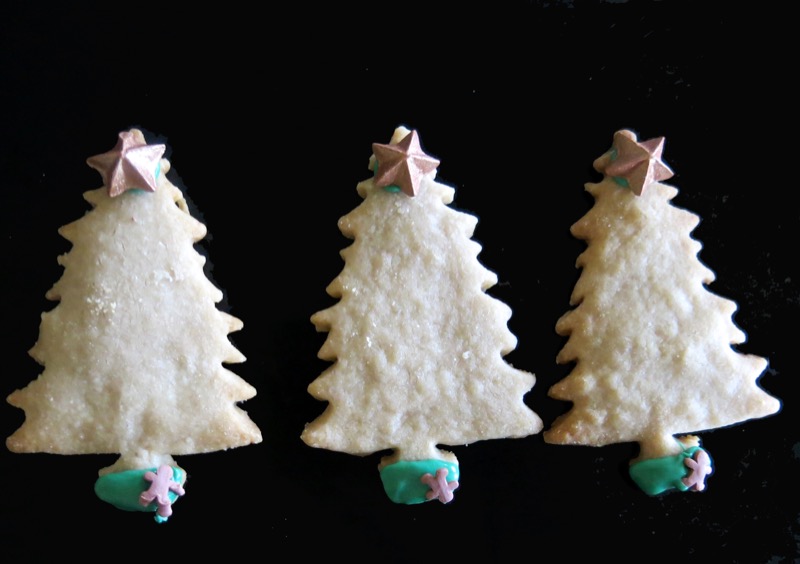
I am always delighted with how well this recipe bakes. No spreading. Shapes stays very well. Not only are the chocolate stars on the tree the perfect size and obnoxiously adorable, they are dark delicious chocolate. Expensive, but worth it. From a local kitchen shop and 13.50 for 100 grams.
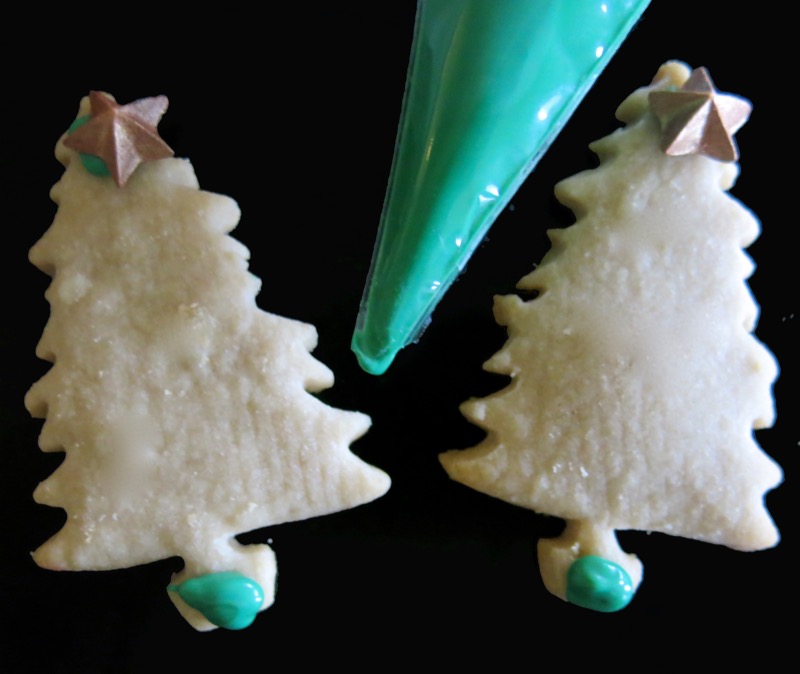
I knew the stars were going on the trees, but how to decorate the trees was a big decision. I bought the green candy melts as my first idea was to dip them in it. However, I did not want them so sweet. I loved the long green sprinkles that reminded me of tree needles, and thought of just pushing the dipped cookies into the needles with a star on top. They would be cute and furry, but likely not too tasty. That’s why I avoid royal icing. I do use it when there isn’t a viable alternative to decorate something, but it just doesn’t taste good.
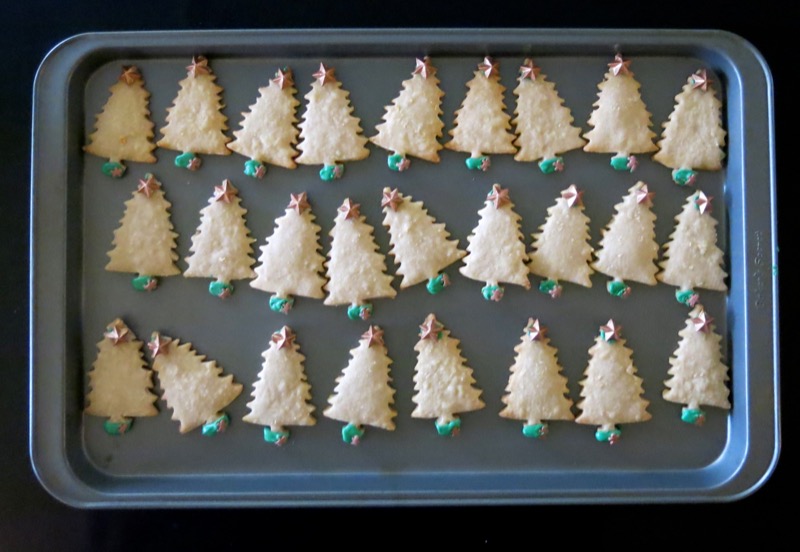
Stars on. Bases on, with a little gingerbread boy on each base for added whimsy. Not hard, and gave me a little giggle. Now, that’s got to be a Happy Christmas Tree!
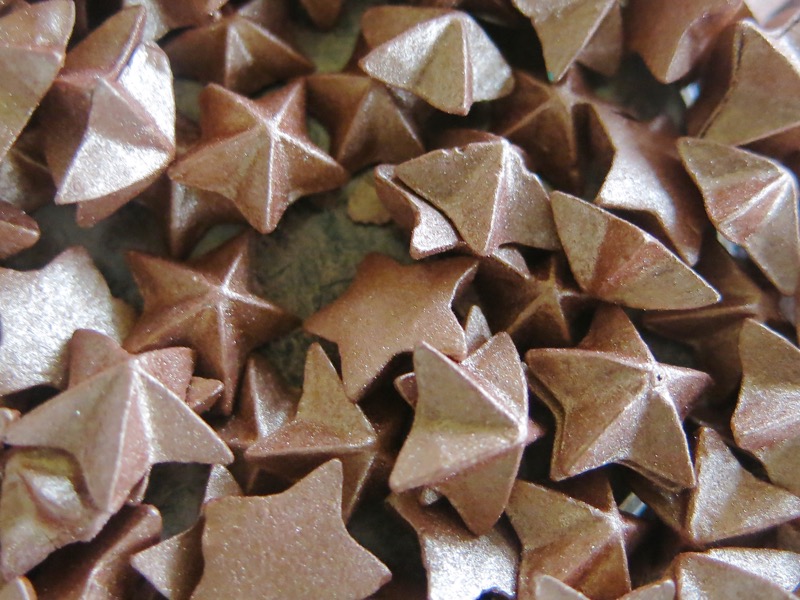
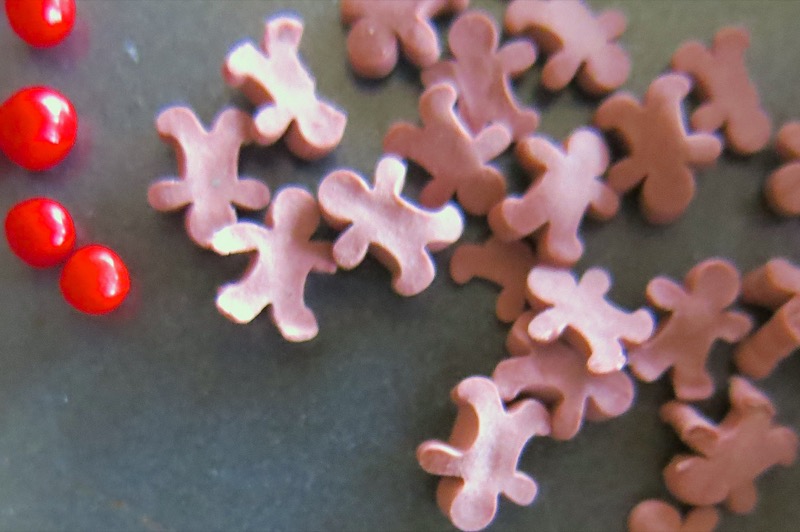
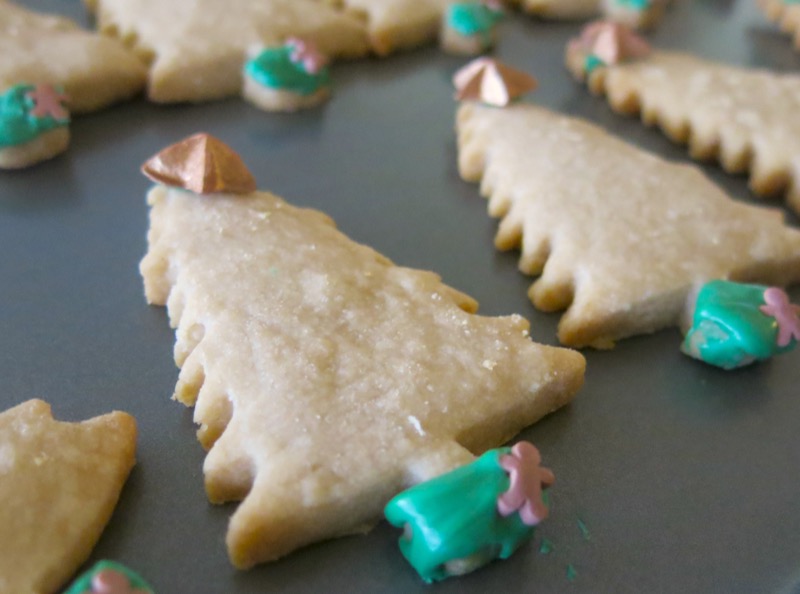
What next? Gardland. Yes. I thought of silver balls and I had little candy cane sprinkles, but simple is usually best.
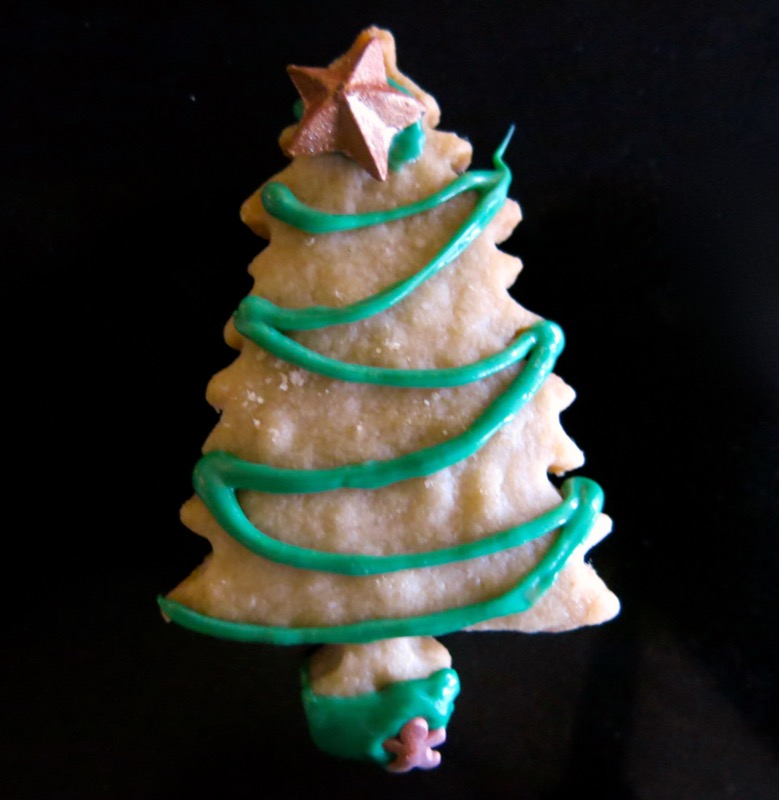
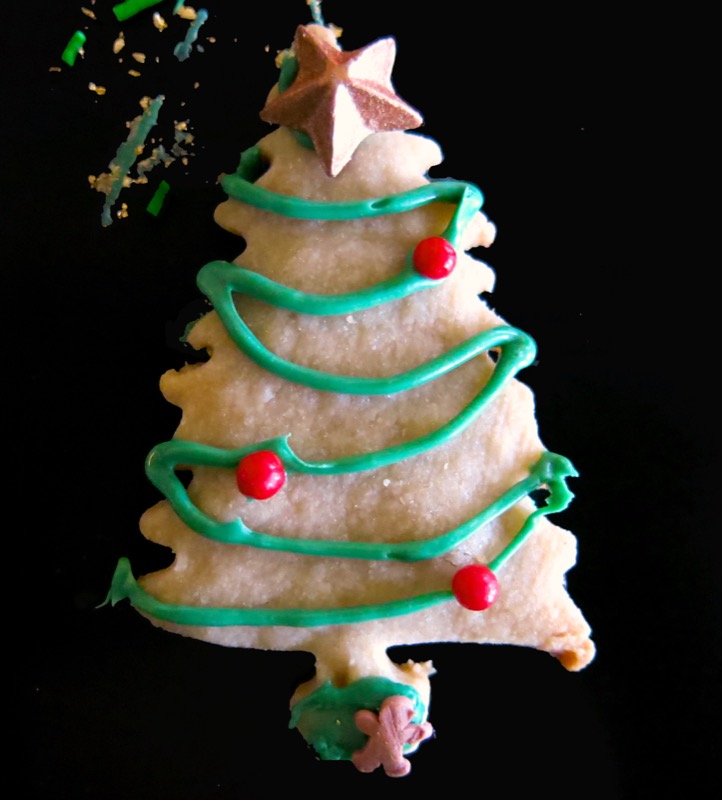
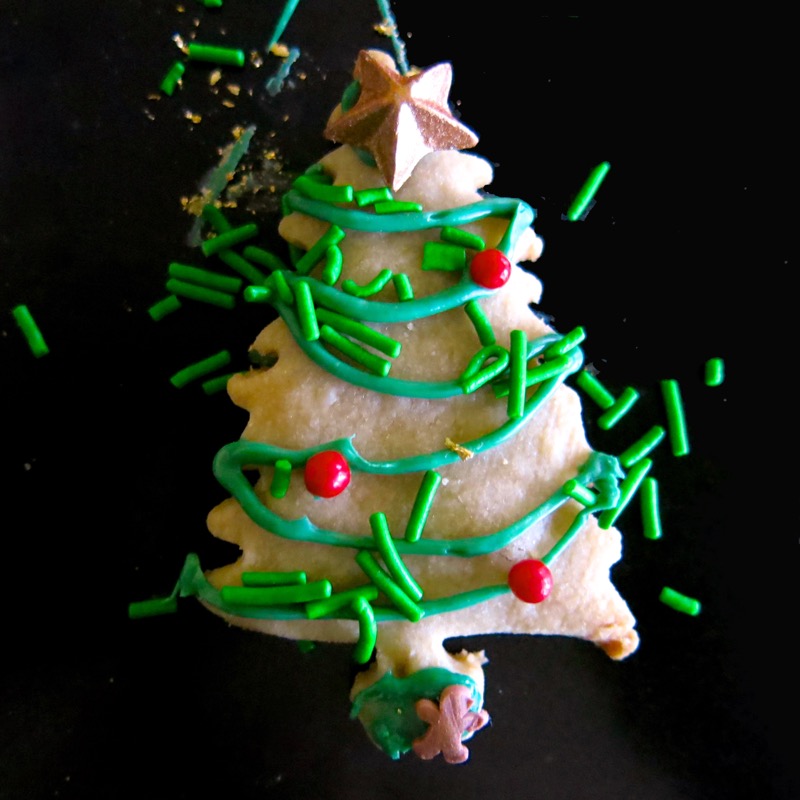
Not that these were simple to decorate. They were not. But deciding what to do and how was most time consuming. Garland on. Three red cinnamon balls and then tree needles. Just a few. I tried to get them vertical. Tried. But, enjoyed the haphazard result. Got them completely rather quickly once I decided what exactly I was going to do.
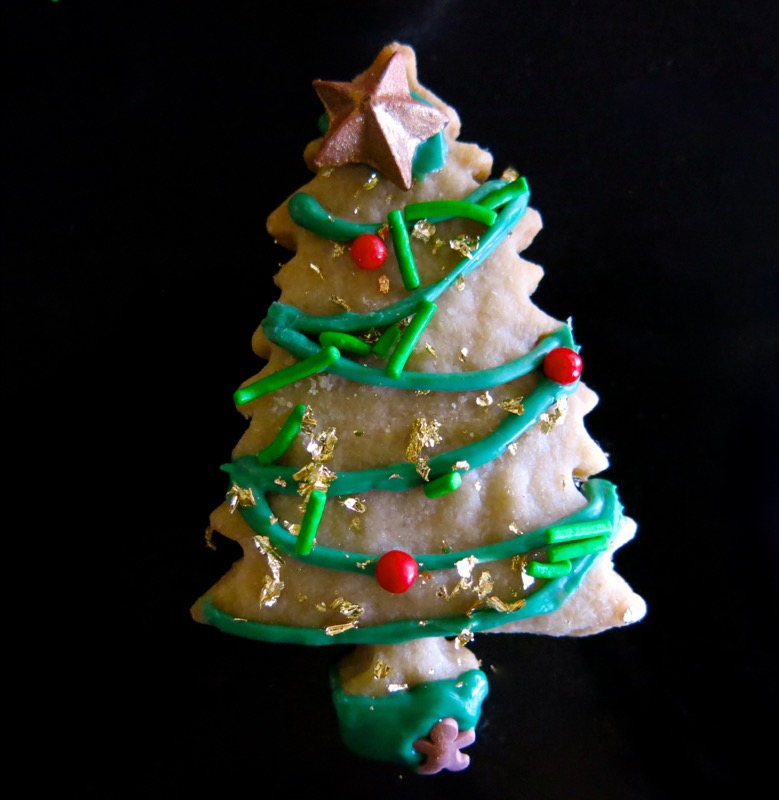
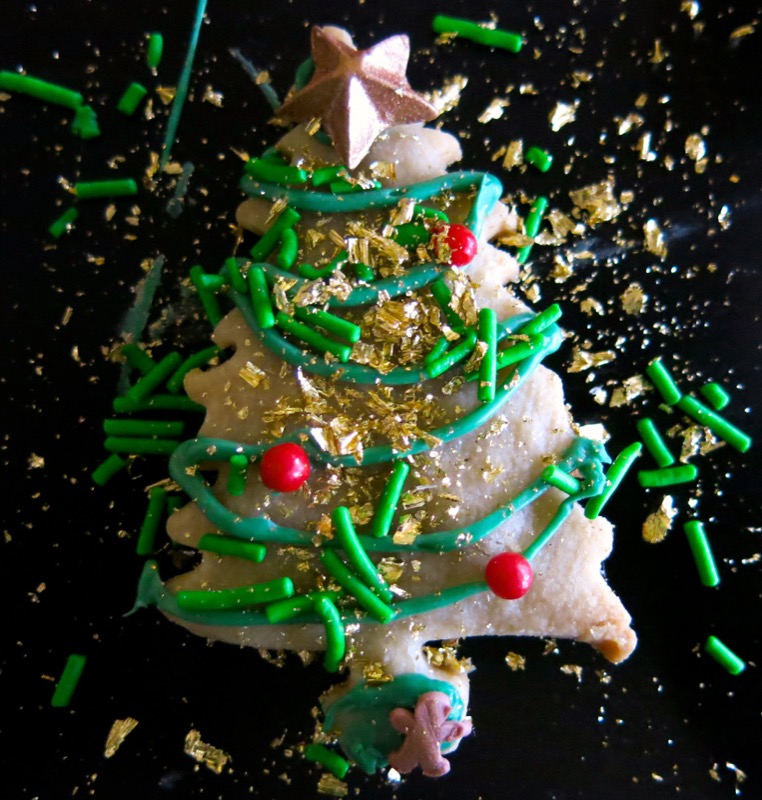
Still, something was missing. Glitter. Tinsel. Remember tinsel. I do.
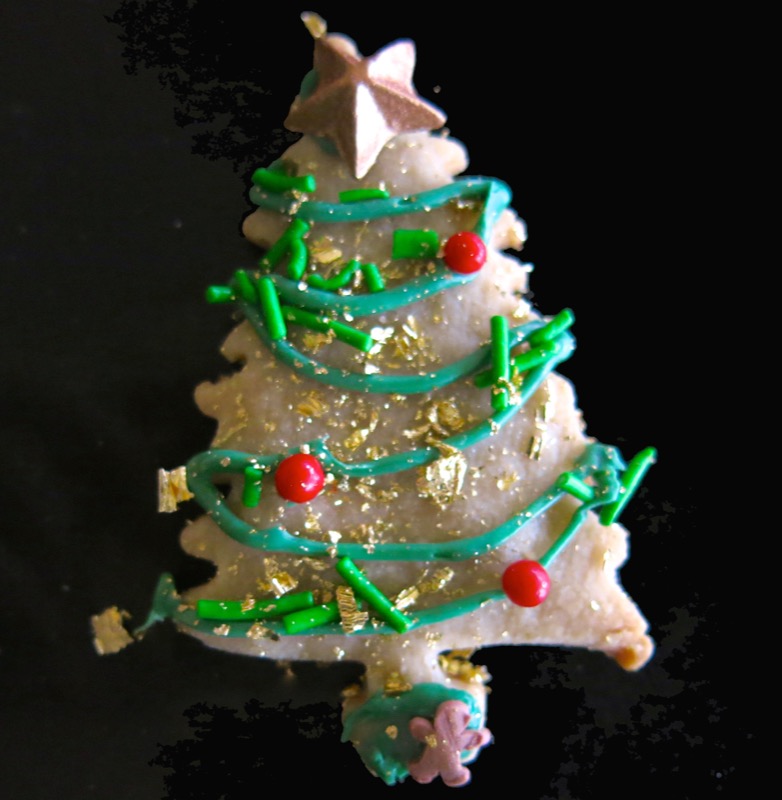
Yes!
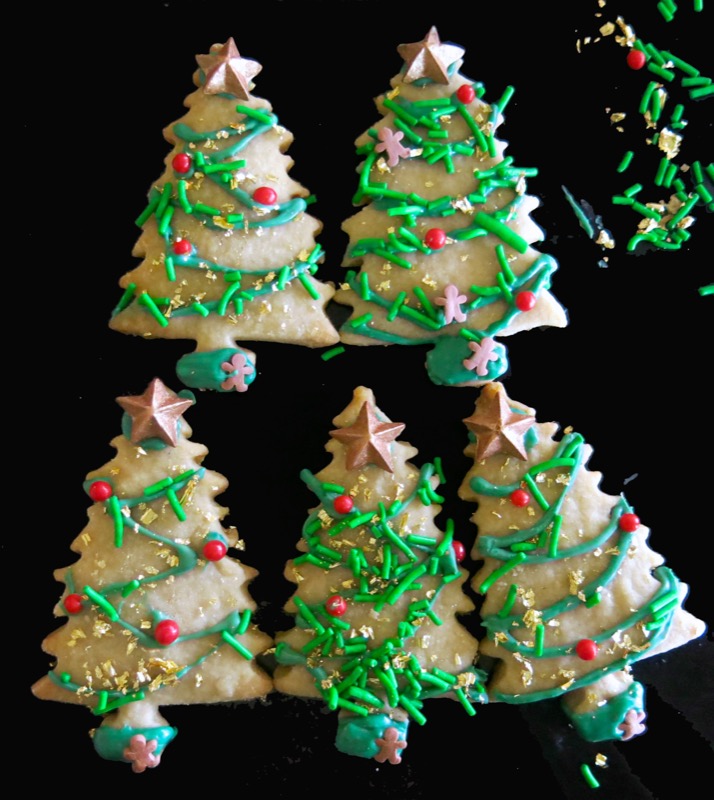
Some got lots of needles, some not so many. Some lots of glitter, some not so much. Why? I couldn’t decide which looked best.
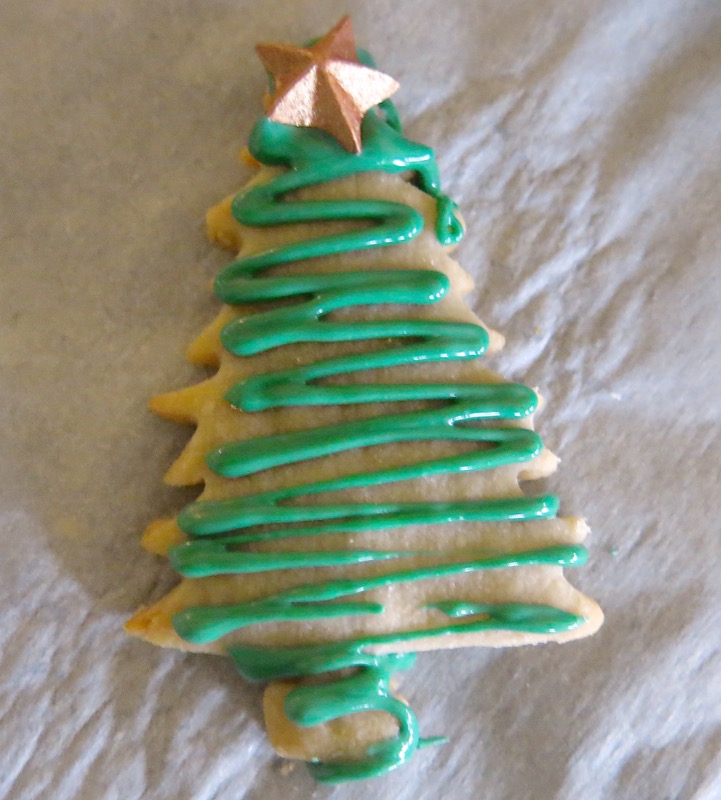
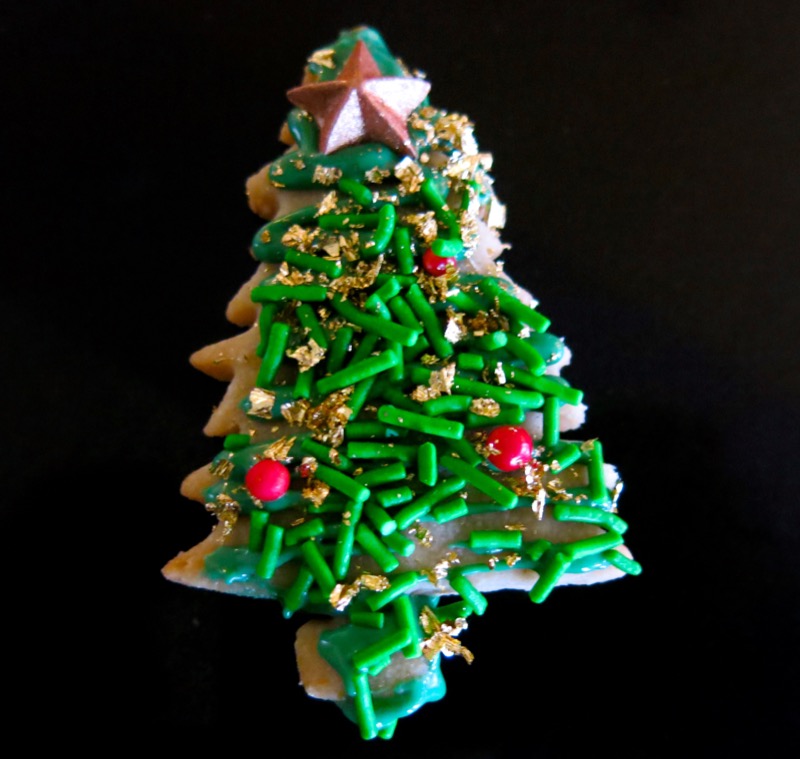
A faster route? No garland, just zig-zag it on and sprinkle it up. Much faster, but I think I do like the tree showing more, and I did believe it would be tastier with less “topping”, so this idea was scrapped.
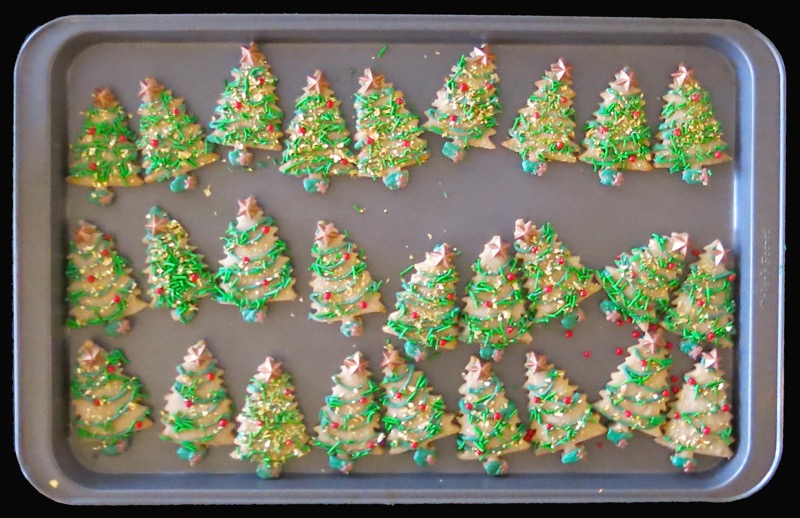
Are these not the Happiest Little Christmas Trees you ever did see?
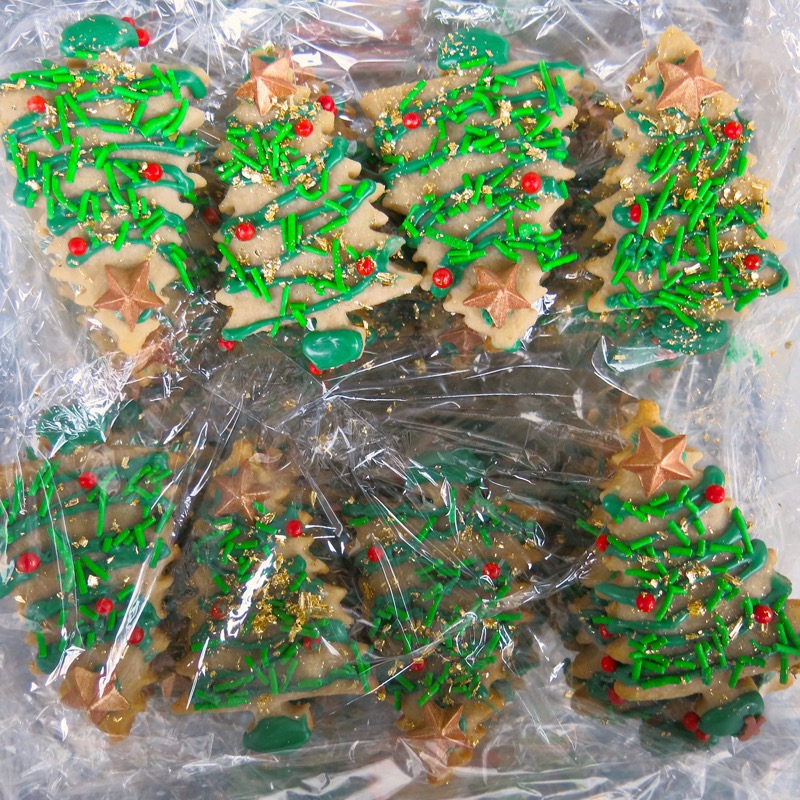
All packed away and ready for the Season and the family. Being together at Christmas is everything to me. Some believe being together whenever possible, should be enough. Yet, it doesn’t work that way, for me. It is about tradition and making memories together with the family around special holidays. Particularly Christmas. I worked all of my life to provide tradition, and tastes, and music and activities that my own two daughters would cherish and recognize as signatures of our home and the magic of our shared experiences. These are the ties that bind family together through one’s life. This is what I love about the holidays. Being together. Offering my labours of love with my hopes, dreams, well wishes and love for the future worked into each. The creating of a shared experience. The games. The songs. The laughs. Oh, the crazy laughter. And the excitement of such anticipation that a child brings back to the fold. We are ever so fortunate that Lauren married into the most wonderful family and that William is living among so many cousins and aunts and uncles that love him dearly. Why can’t both of our families be together? That would be my fervent wish. We have room. Kind of. It would be fun to try to fit everyone in every corner, yet we are so far away… so, I am thankful for the time we share, and this year, I will teach Prince William to sing and dance with Gramsy!
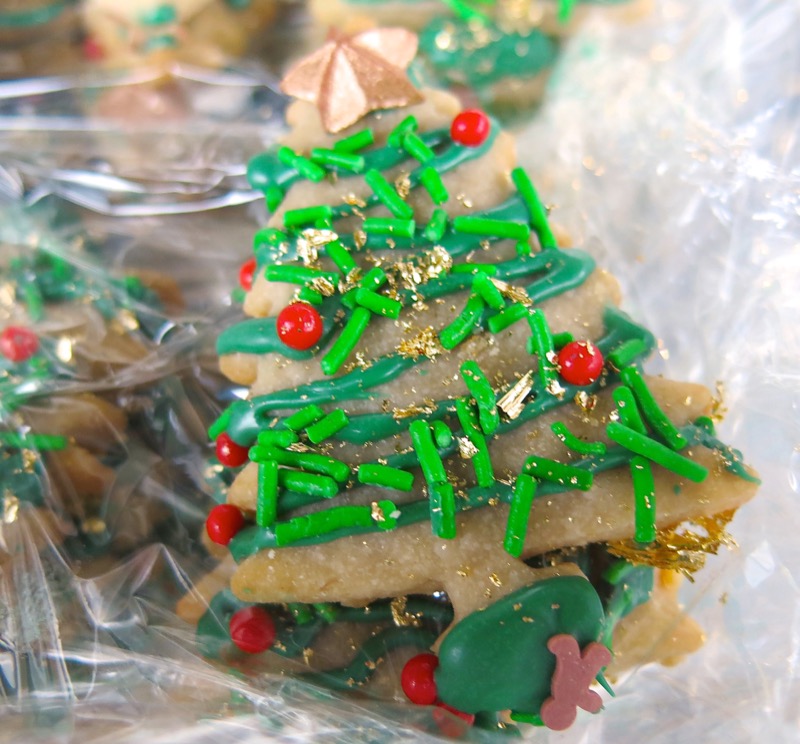
We will sing “I am the happiest Christmas Tree” and I can hear him now: Ho! Ho! Ho! Hee! Hee! Hee! And we will dance.
If you have an iconic little cookie that you decorate a specific way for a specific reason, please do share! Have you heard the song? Do you love it?
Christmas Butter Cookies: The Happiest Christmas Tree
The most delicious Christmas Butter Cookies recipe decorated as "The Happiest Christmas Tree" for your cookie platter 2016 with step by step instructions!
Ingredients
Ingredients for the Butter Cookie Dough:
- 720 grams or 3 cups flour
- 1 ½ teaspoon baking powder
- 335 grams or 1 ½ cups butter
- 80 grams or ¾ cup icing sugar
- 125 g granulated sugar
- 15 grams or 1 tablespoon pure vanilla extract
Ingredients for Decorating the Christmas Tree Cookies:
- Gold Starsor tree topper of some kind
- 400 g Green Candy Melts
- Red sugar pearl dragee
- gold flakes for tinsel
- Gingerbread Men sprinkles
Instructions
Instructions for Making Dough:
-
Sift together flour and baking powder; set aside
-
Cream butter and sugars on medium-high until light and fluffy; scrape down sides of bowl
-
Add vanilla and mix to combine; scrape down sides of bowl
-
On slow speed, add dry ingredients until fully incorporated (do not over mix); shape dough into large disc
-
Wrap in plastic; chill in fridge for one hour or overnight
Instructions for Making Dough in Thermomix Machine:
-
Sift together flour and baking powder; set aside
-
Weigh butter and powdered sugar into TM bowl; combine together for 30 seconds on speed 3.5
-
Weigh in granulated sugar with vanilla; mix to combine and cream for 3.5 minutes, speed 3-4
-
Scrape down sides of bowl at mid point
-
Add dry ingredients; mix to combine until ingredients start to clump together 15 seconds speeds 1-7
-
Shape dough into large disc or two discs
-
Wrap in plastic; chill in fridge for one hour or overnight
-
Divide disc in two; place on lightly floured surface between parchment paper papers
Instructions for Rolling Dough:
-
Divide disc in two; place on lightly floured surface between parchment paper papers (I use a mat and a sleeve on my rolling pin)
-
Roll to ¼ inch thick; cut with cookie cutter and place on prepared baking sheet about ½ inch from one another
-
Combine dough a couple of times and continue to roll out and cut into shapes; avoid combining dough more than two times, or it will be tough
-
Continue with second disc, repeating the process; bake for 9-11 minutes, or until lightly browned only around the edges for a small cookie
-
Cool on baking sheet for 5 minutes; remove cookies to cool completely on baking rack
Instructions for Decorating Cookies:
-
Place green candy melts in disposable pastry bag; clip on one end to avoid spillage
-
Melt in microwave, according to instructions
-
Snip end off bag ever so carefully, holding up to the light to allow only the tiniest thread of liquid to escape the bag
-
Dot 3 trees with a dollop of candy melt glue at the tip of each tree and cover the base of each tree at the same time; place a star on the top of each tree and a little gingerbread sprinkle on the base
-
Repeat this process until all cookies have stars and bases; then proceed, one cookie at a time
-
Draw a garland on a cookie in a draping fashion, from side to side of tree; plop three red dragees into position on the tree: one top right, one mid-left and one bottom right
-
Using about 1/2 teaspoon of longish green needle-like sprinkles, sprinkle over wet candy melt garland to affix sprinkles, starting along each side of the tree and finishing down the centre leaving some open space (avoid base)
-
Shake 24K gold foil flakes over tree for final sparkle; set on cookie sheet with finished cookies
-
Pack in air tight container, in layers divided with plastic wrap; freeze until ready to serve





Adorable again, Valerie!
Re the tip and stump: take a couple pairs of needlenosed pliers, and re-shape the entire stumpular area. It can even be a kind of bucket-ey-thingey. I can’t take credit for the technique, though; I remember my mother taking pliers carefully doctored with adhesive tape (so as not to scratch, and returning a stepped-upon cutter to glory!
Ah! I also have done this, but have clearly forgotten! Thanks for the tip! Tonight, I was shopping and bought a cool napkin holder shape for a cookie cutter. Hilarious, no? I would love to see a photo of your mom’s cookie platter – or yours? And you are right about the tip of the tree… it bothers me that the candy melt “glue” is visible under the stars, though.
But I am shaking it off and dancing to “The Happiest Christmas Tree!” Happy Happy to you!
Hugs,
Valerie
PS … and also the tip of the tree. It doesn’t need to be so sharply articulated!
Valerie, your absolute love for little William is evident in every word you write. He is a very lucky little boy to have such a loving Gammie in his life. And I can see what pleasure he brings you, too. (Lovely cookies, by the way!)
Dear Margaret,
I am unapologetically obsessed. I may not be so obnoxious if I leaved closer to them, but as they are so far away, I just indulge myself in Gramsy splendor!
Lovely to hear from you!
Hugs,
Valerie
Perfect timing just around the holiday season, i will try this over the weekend, i’m sure my kids will love this, Thanks for sharing.
Looking forward to hearing back from you, Jane! Cannot wait to hear how your kids enjoyed the cookies and how they turn out for you!
Happy Holidays!
Valerie
Thank you so much for sharing with us.
Hug to you Ginette and Happy Holidays!
🙂
Valerie
How long before Xmas can I make these? How do you store them to stay fresh? Thank you for sharing.
Hi Ginette!
I have made mine already. I store them in a well-sealed container, layered between plastic wrap, in the freezer. Right now, though, they are outside on a table in “The Real Canadian Freezer!”
Hope this helps!
Valerie
Thank you so much for your answer. Have a very Merry Xmas and a Happy New Year.