Pineapple Flowers Garnish Pina Colada Cakes, Ice Cream and so much more!
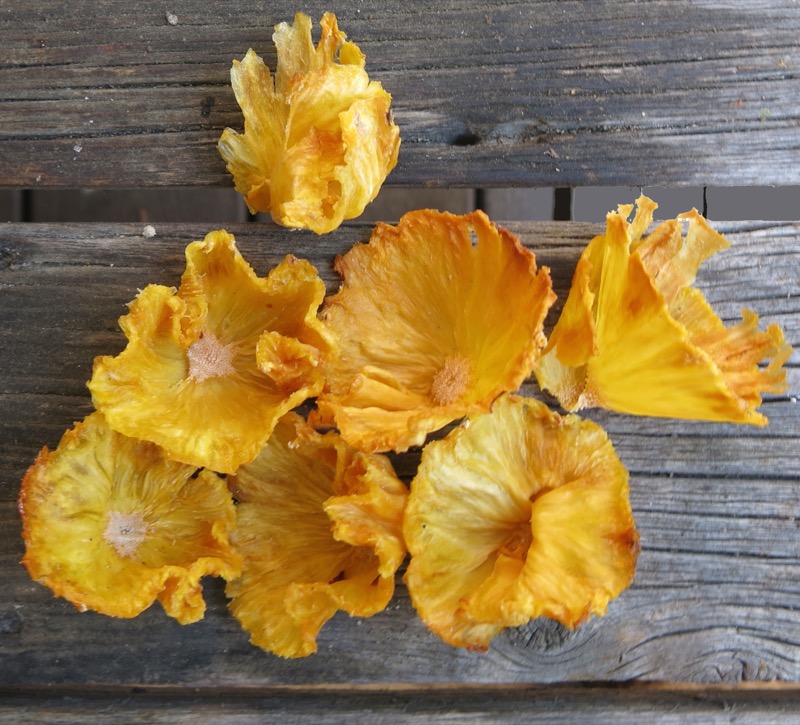
What? Pineapple flowers? You are pulling my leg, no?
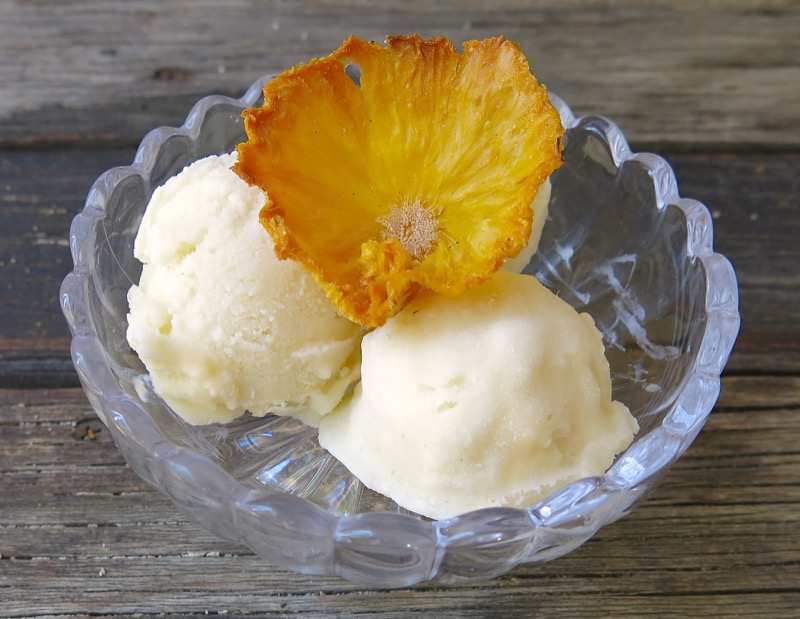
I have dried almost every kind of local fruit there is, but tropical fruit, other than bananas, have evaded my radar… until now. Looking for a show stopping garnish to top the Humming Bird Cake cupcakes I am making for Amy’s baby shower, I came across pineapple flowers. Who knew? Did you? Really? Well, a lot of you did, anyway, as there are several “how to” posts on line. And, here is yet, one more. But, this one is for my readers, friends, family, and me! If I don’t record what I do and how I did it, I can’t improve upon it next go ’round!
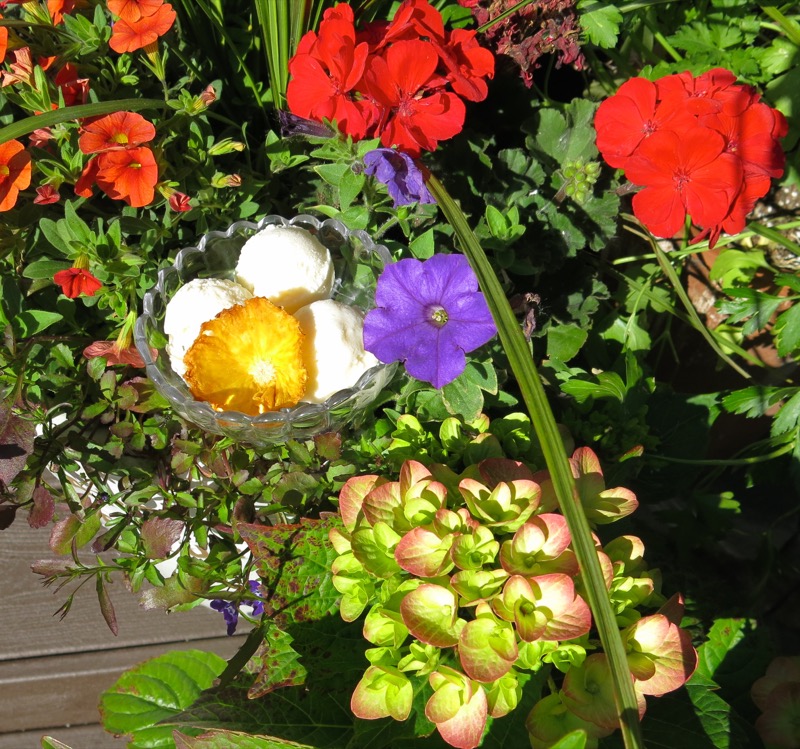
When I saw the photos online, I thought, “Nah! They can’t really look that good!” But, they do. And, you can see, unabashedly rival real flowers in a believable fashion.
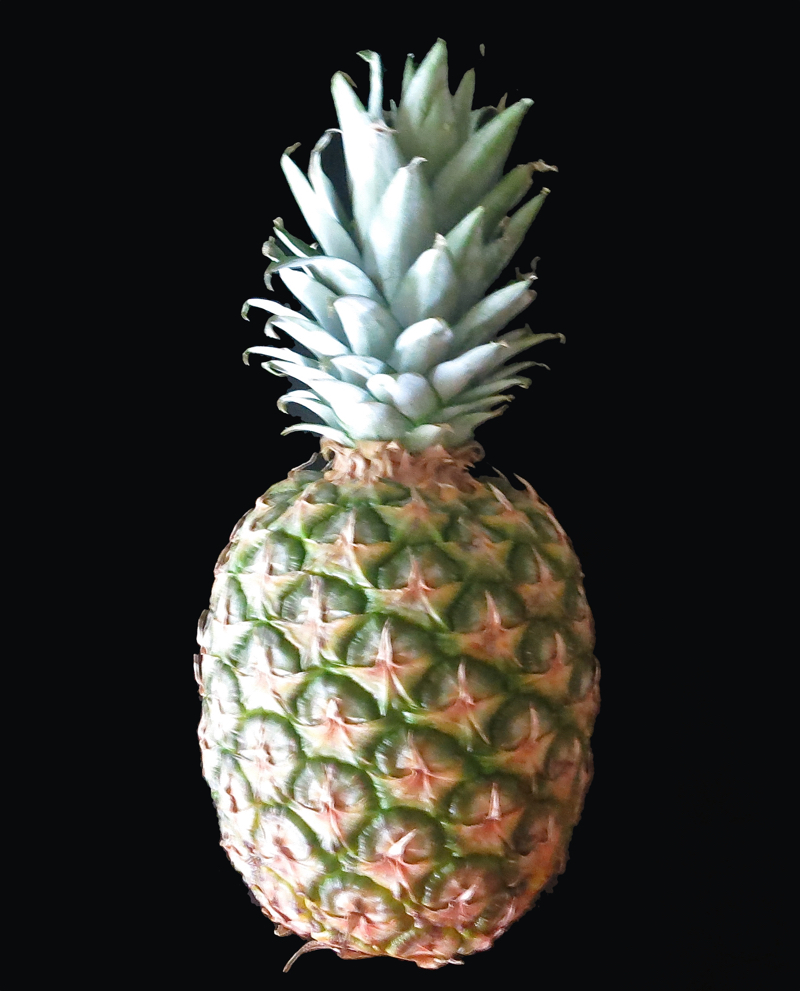
One simple ingredient. Or a few of them if you want to make enough to cover an entire layer cake: about three large should do it.
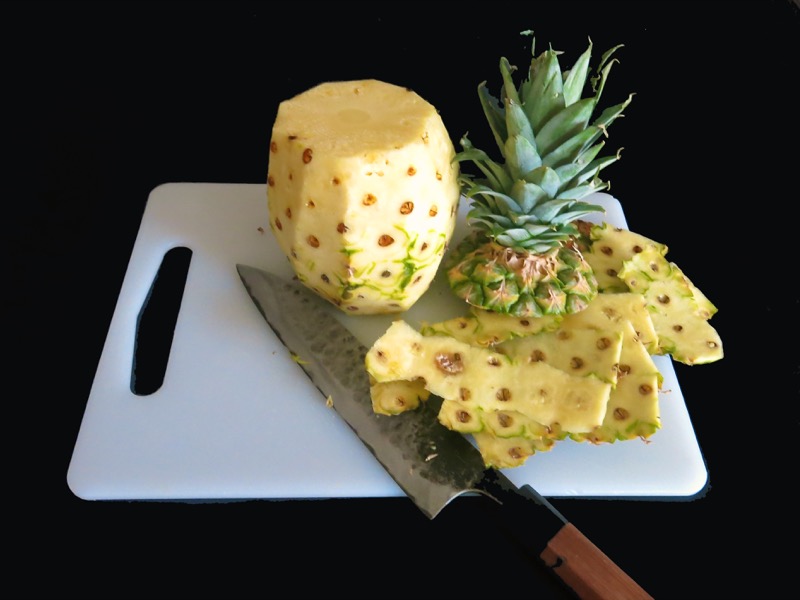
Vanja, I and our entire family love a good fresh pineapple (especially little Prince William), so cutting them up is not new to me. I am still in shock regarding how they really taste when ripened on the plant. Nothing like a Hawaiian pineapple. The difference in flavour is so significant, I will compare it to that of a Granny Smith apple and a Honey Crisp Apple. Those are the same fruit, but different varieties, so one expects the texture, flavour and juiciness to be significantly different. Yet, the pineapples shipped to Edmonton are that vastly different in texture, flavour, aroma and juiciness from those in Hawaii. The same variety of fruit, but you would never know it. This year, the pineapples arriving here are surprisingly sweet and delicious, so I have been buying them regularly.
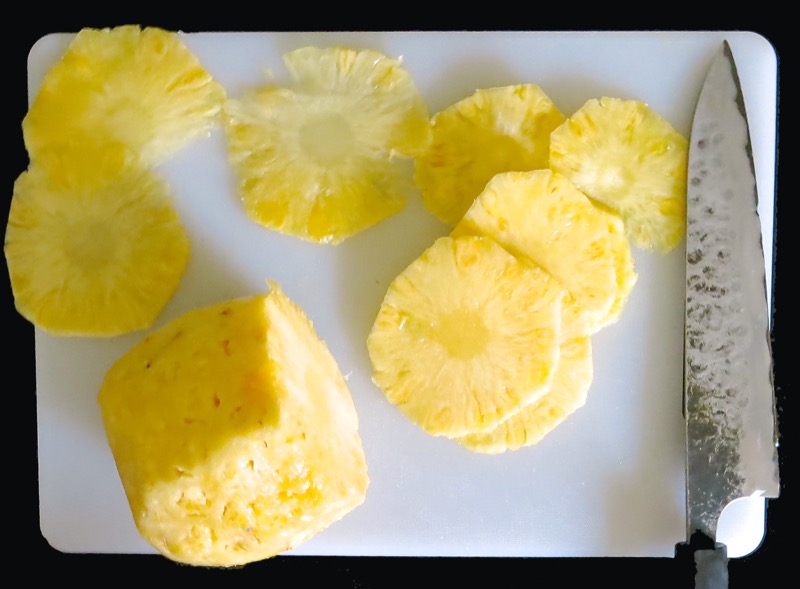
I learned through this process that you do not have to go through the tedious melon ball process to remove the “eyes” if you have a sharp knife. That process wastes too much fruit, anyway.
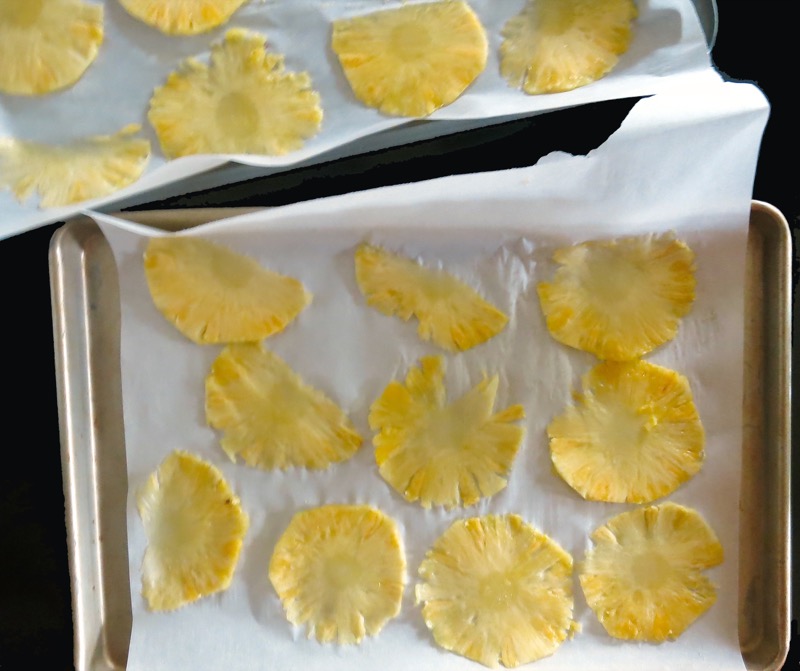
I also learned though this process that the slices do not have to be translucent and “paper thin”. In a perfect world, that would be nice, but in reality, one gets far too many 1/2 slices attempting that perfection.
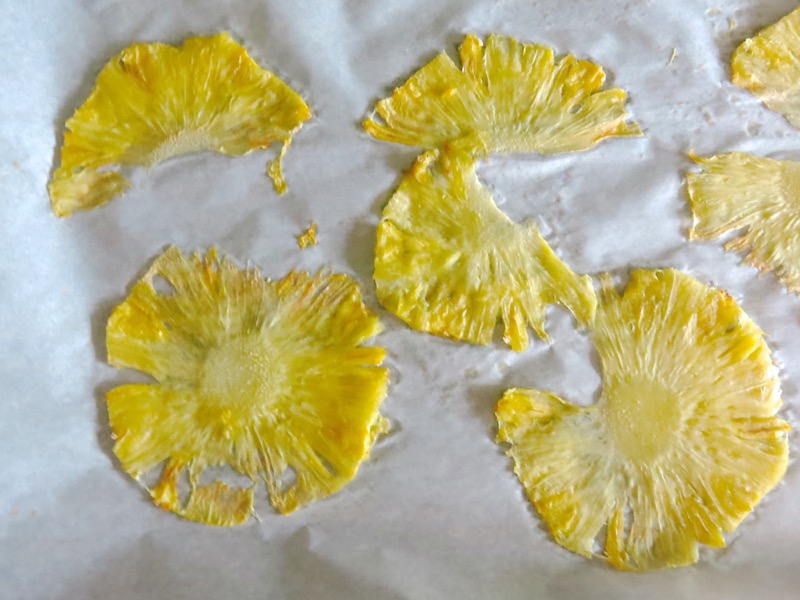
Allowing for a thin slice, instead, enables greater success.
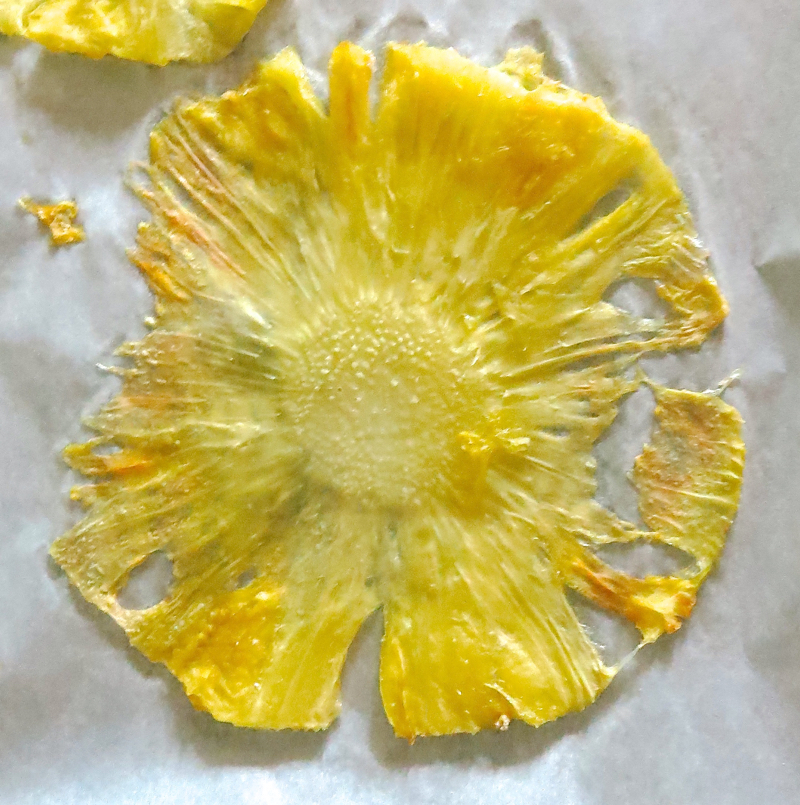
Once laid out on parchment, oven dried on both sides, and then molded into a flower shape to finish drying in a mini-muffin time, you have your flowers!
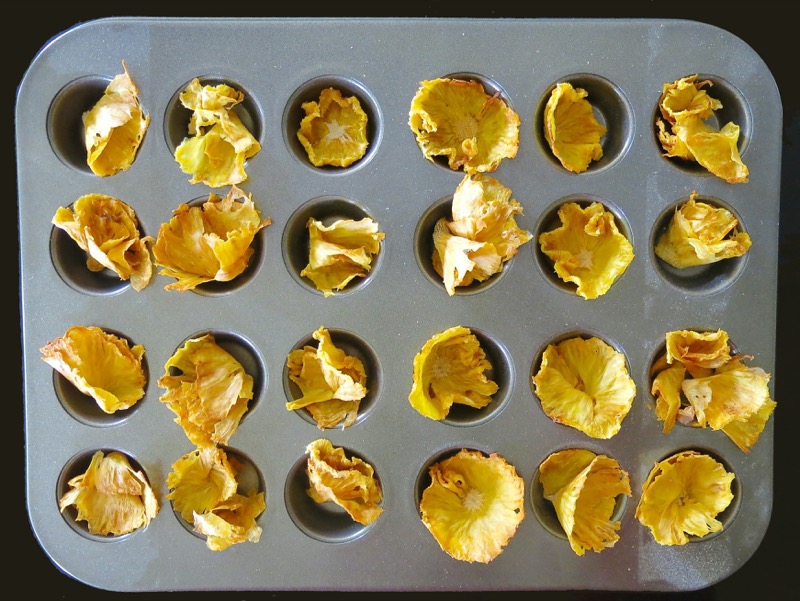
Above, you can see that my “ultra thin” slices gleaned 1/2 portions which I rolled into “buds” or “blooms”.
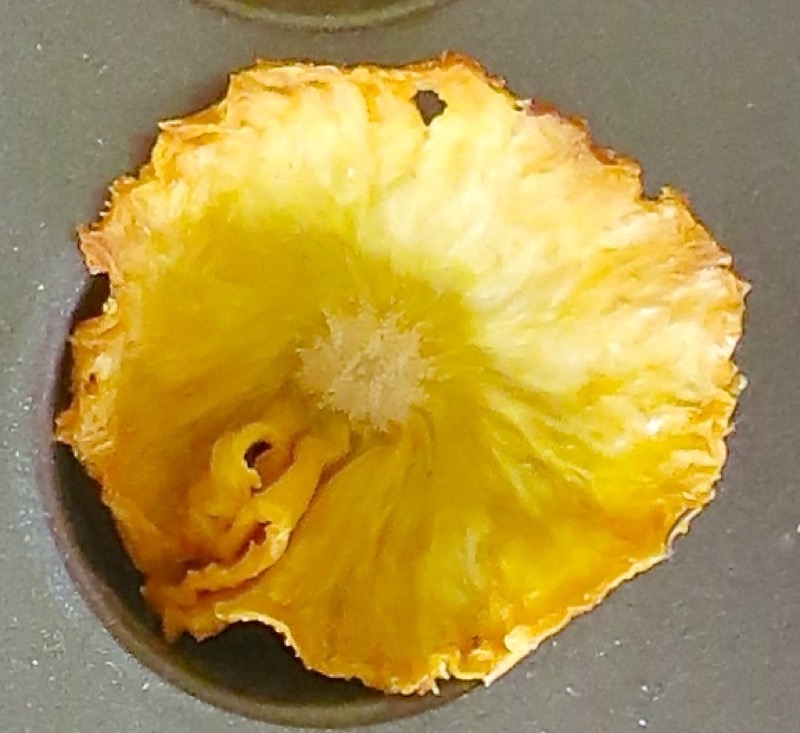
Isn’t it wild, how the dried centre of the pineapple actually looks like stamen?
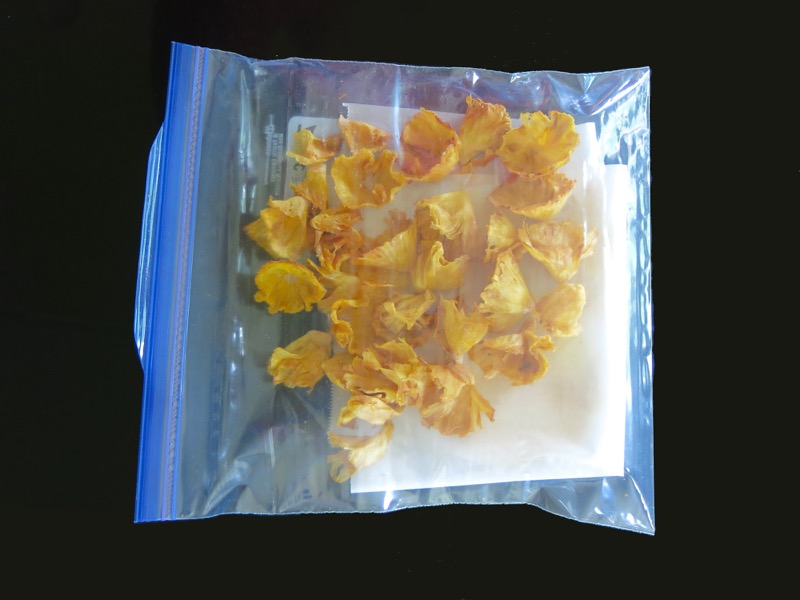
Once dried, seal from dust and store up to about three months. If only partially dried, they will keep about three days.
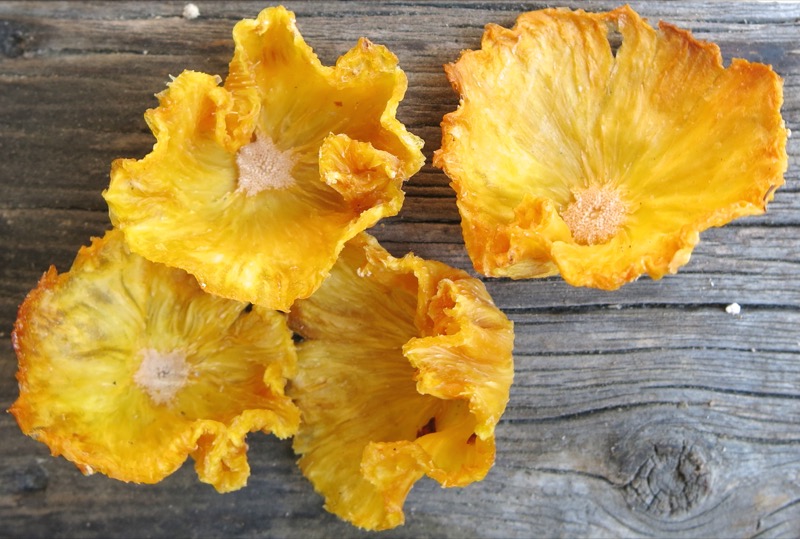
My event is still a bit away, so I made sure to completely dry each slice. Pliable, not brittle and crisp, but dried all the same. So fragrant, chewy and delicious!
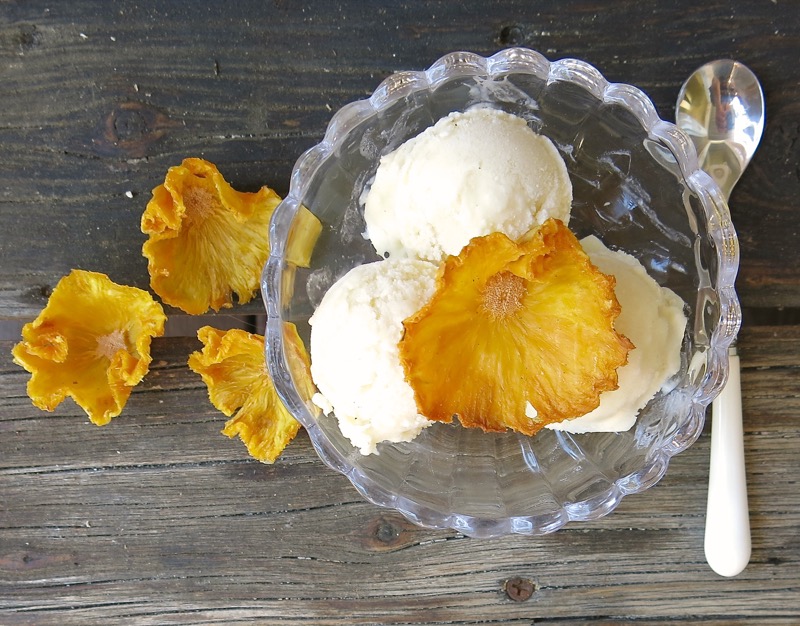
And quite the show stopper, if I do say so myself. Do you agree?
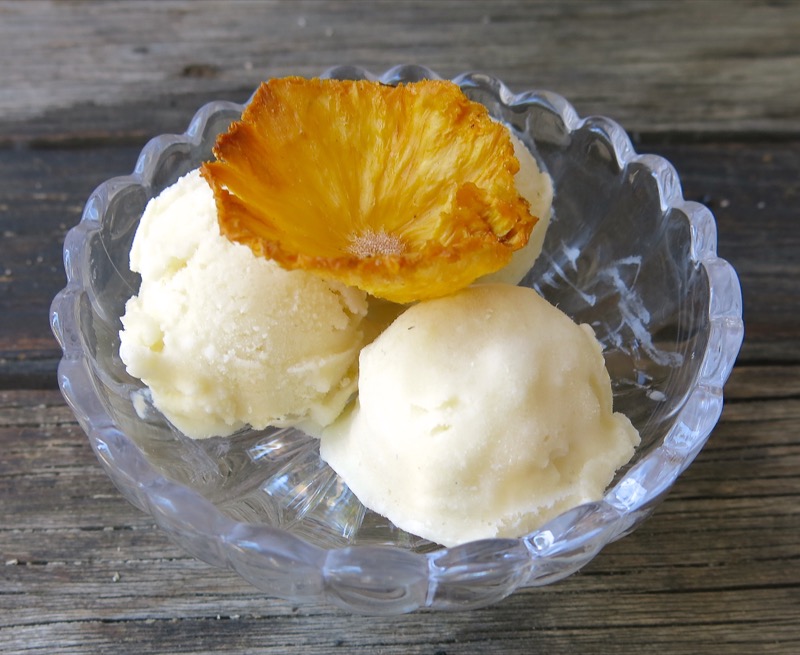
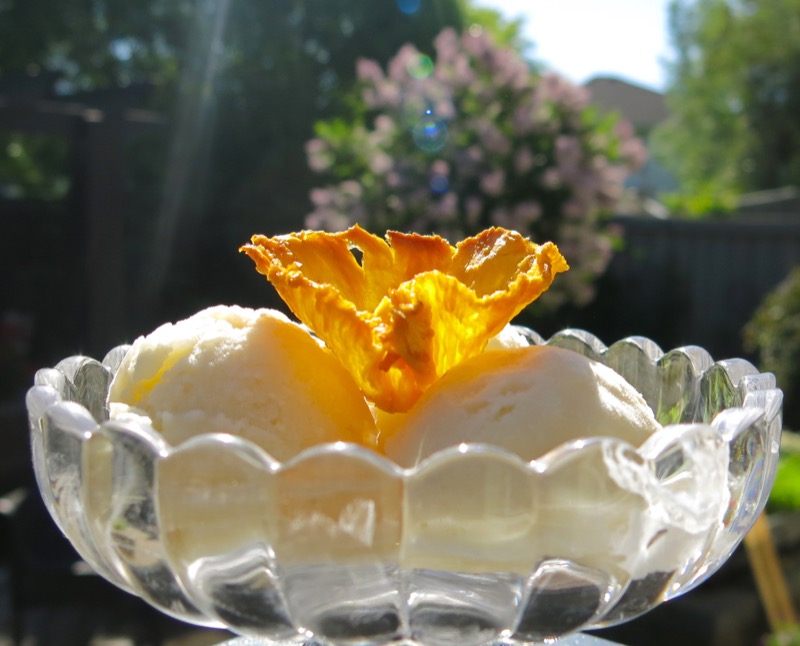
Even the mistakes look great. I don’t sweat the small stuff. These are lovely little natural fruit roll-ups. How could one go wrong?
Above, a half sliced rolled into a budding blossom; below a blossom beginning to bloom… both look great, and no waste!
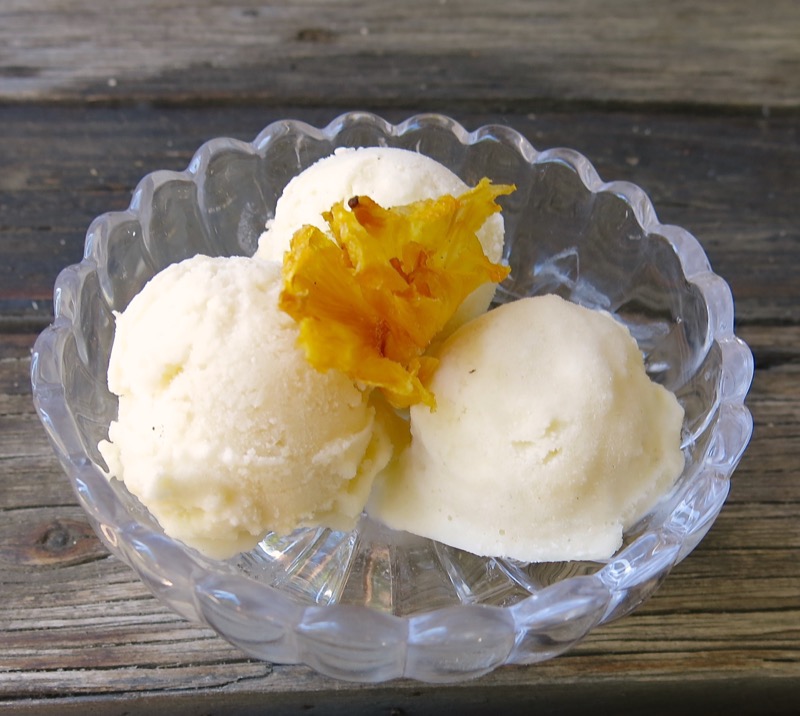
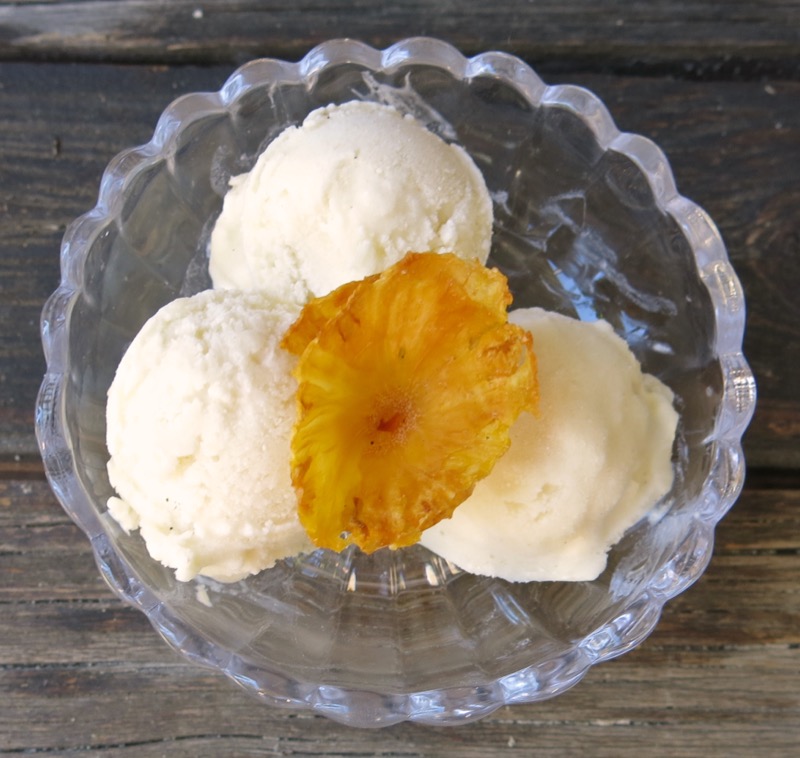
Of course, the entire slice in a full flower form is perfection and the real “ah-ha!”, but it’s all good. Plated, each portion will bear its own little personality and together make a strong visual statement. Let me know if you try these, if you have already – or, if you have other favourite garnishes to share!
An Exotic Garnish: Pineapple Flowers
Pineapple Flowers are the perfect garnish for cakes, cupcakes or frozen sweets with pineapple. Delicious, chewy and a spectacular show stopper!
Ingredients
- One large fresh pineapple (three large, for garnishing a cake top)
Instructions
- Prepare 2 parchment covered sheet pans per pineapple; pre-heat oven to 300F
- Lay pineapple down on cutting board; remove top and bottom of pineapple with very sharp knife, and discard
- Slice off tough skin all around pineapple; discard
- Do this one more time, with a very slim careful slice around the circumference, to remove all of the pineapple eyes; alternately, use a melon-baller to remove each one
- Again, with a very sharp knife, slice the pineapple into very thin slices: these do not have to be paper thin, and avoid half slices (they will be fine as thin as you can cut them, they just may take longer to dry)
- Place each on a parchment lined sheet pan; dry for 30 minutes in pre-heated oven
- Cool 10 minutes, gently remove each slice and turn over; bake 30 minutes in pre-heated oven (At this point, they may be brown along edges, but not dry in the centre. If they are too moist, continue to dry for 10 minutes at a time, flipping each time, until dry around edges, pliable, but still not completely dry)
- Remove from sheet pan while warm; place each in mini-muffin tin, forming a cup or flower shape, and letting the muffin cup support the flower shape
- Leave over night to dry; if not dried my morning, place in convection oven at 170F and dry for 1 hour, or until dried and pliable, but not brittle
- Store in air-tight container for up to 3 months; do not freeze



Valerie, do you remember a little, very simple gadget, sold as a “strawberry huller” or for removing pin feathers?
One of those’d be *perfect* for removing those little pineapple cactus spines!
I do recall the strawberry huller. Had one for years, never used it, so I threw it out. the pin feather gadget I have never heard of. Great ideas!
🙂
V