This spectacular recipe takes 3 minutes to make in a Thermomix Machine
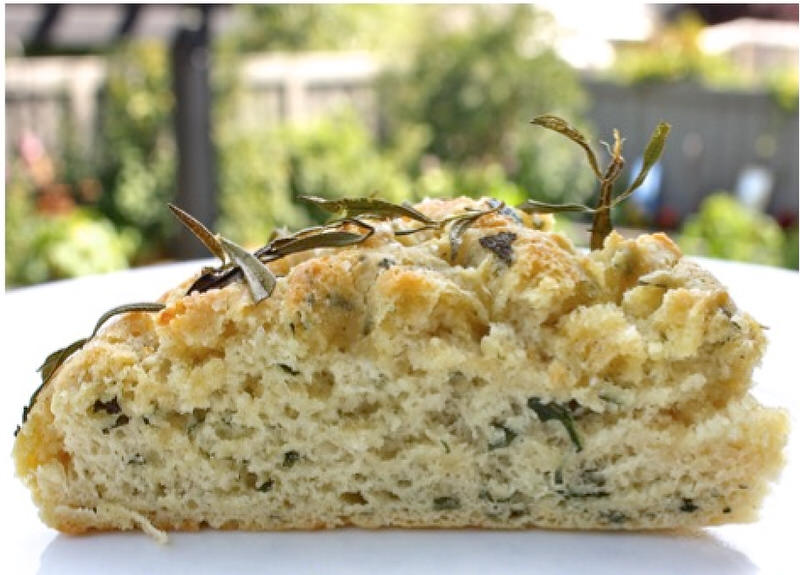
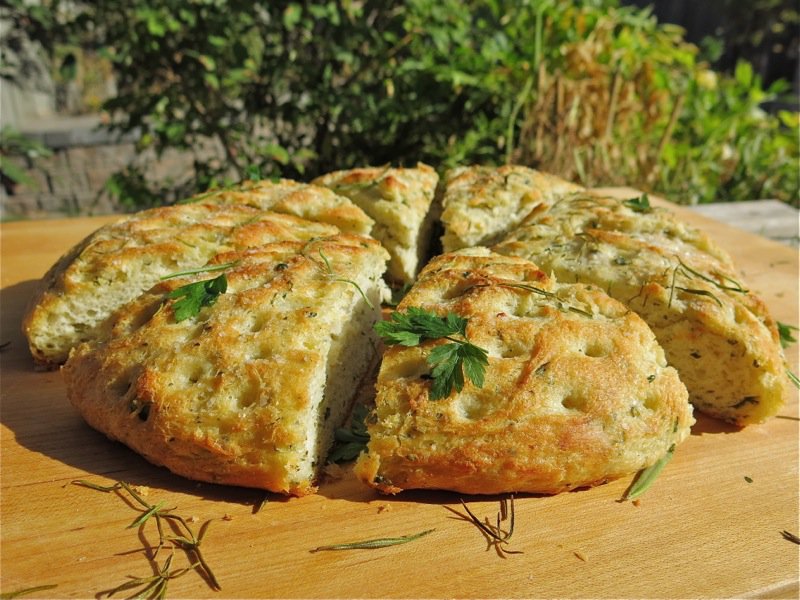
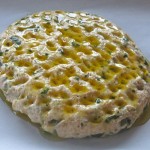
Homemade Focaccia! Look at the crumb in this bread. This is a very special recipe. I promise you that if you make it, it will become a family favourite.
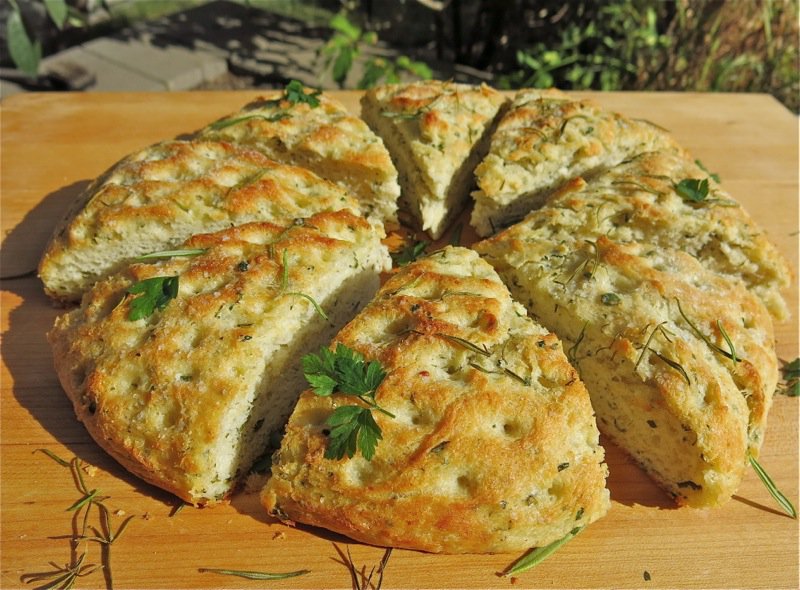
It has been a while since I have raved about my Thermomix machine. This is another recipe that I make all the time in the machine and it takes literally 3 minutes to make, mix, and knead. I have included the recipe for those of you without a machine, too. But, for all my clients, and the Thermomix owners throughout the world, this is a recipe you will want to make over and over.
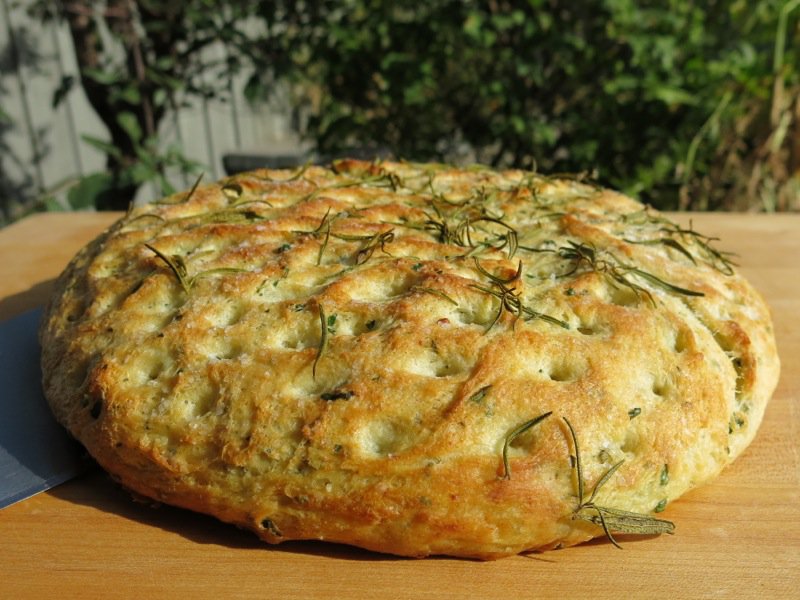
I think I grew my sage just for this bread. I have the most lovely sage growing in my herb garden just outside of my kitchen door every summer. The fuzzy velvet silvery leaves are lush and fragrant, but I don’t use them for many things… some meat dishes, deep-frying for garnish, and this bread. I use a good amount. About two of the bunches you see on the stem in the foreground, below.
I add an equal amount of flat-leafed parsley because it grows prolifically in my garden and is delicious. I think the reason I use the last herb is part of the reason I use the first two: Are you goin’ to Scarborough Fair? Parsley, Sage, Rosemary and Thyme… I grow fragrant and lively little leafy thyme, too… but, stopped with the rosemary. I use less of it, as it is stronger in flavour, but still a good amount. About 3 strong long sprigs, minced and the fourth for the garnish on the top. I hum the song every time I make the bread unless I am making it for a demonstration. Then, I am just too busy talking. This round was made for a demonstration very early last Saturday morning.
Early because dad’s still fighting the good fight in the hospital and my client was kind. I also love mornings and bread in the oven on a Saturday morning is kind of a celebration of life, isn’t it?
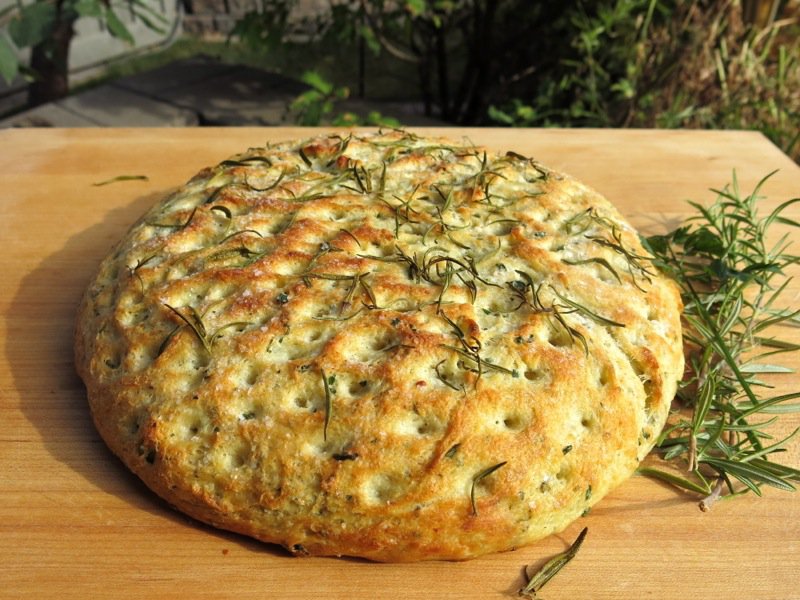
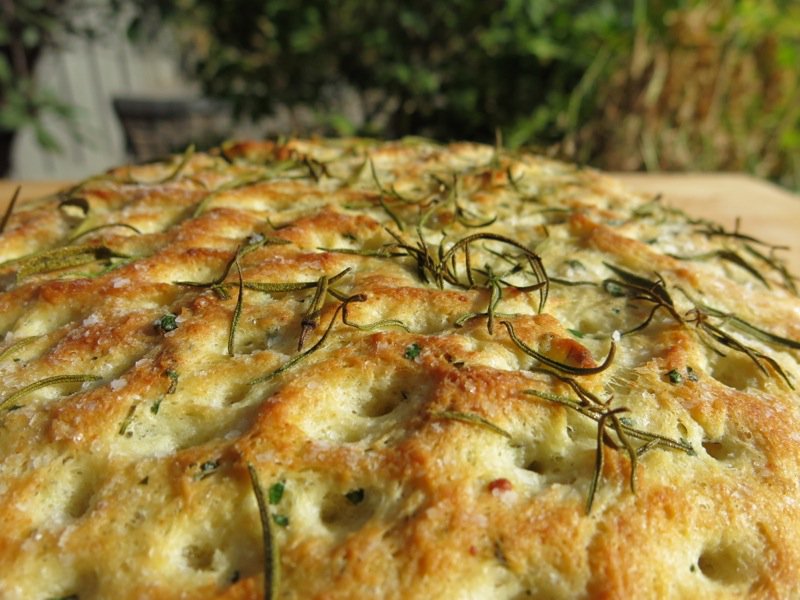
It felt perfect. I used about twice the amount of rosemary above, inside of the bread, and about that same amount on top of it, for garnish. I grow a variety of kinds. Some are dense and thick, and others, like the one in the photo, are more relaxed.
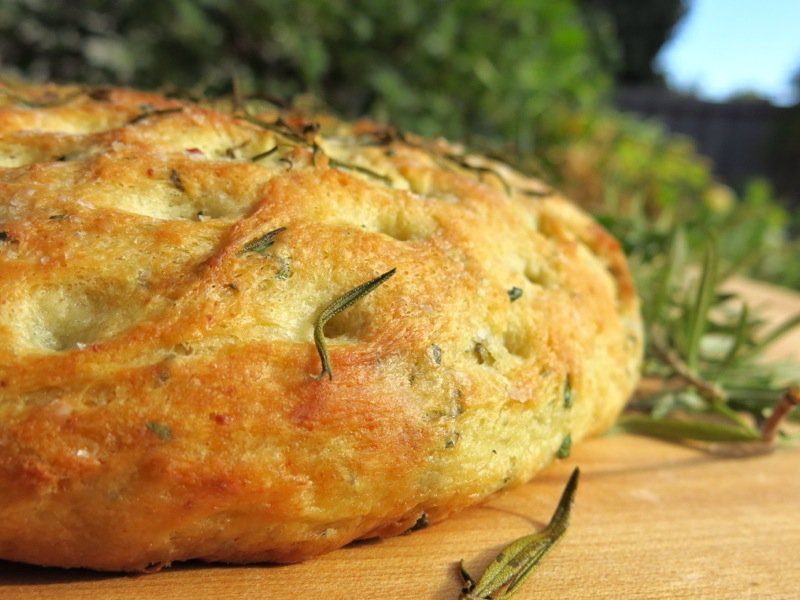
The dough is docked before baking. That can be done with a docker, as I did (the reason there are holes pierced in the surface), or with one’s fingers. Either way, it must be docked, gorgeous fruity olive oil poured over the surface and captured by the docking, salted with chunky sea salt and garnished with whatever is inside: olives, herbs, sun-dried tomatoes… it is up to you. The salty crunch of the crust is part of the allure when eating this focaccia.
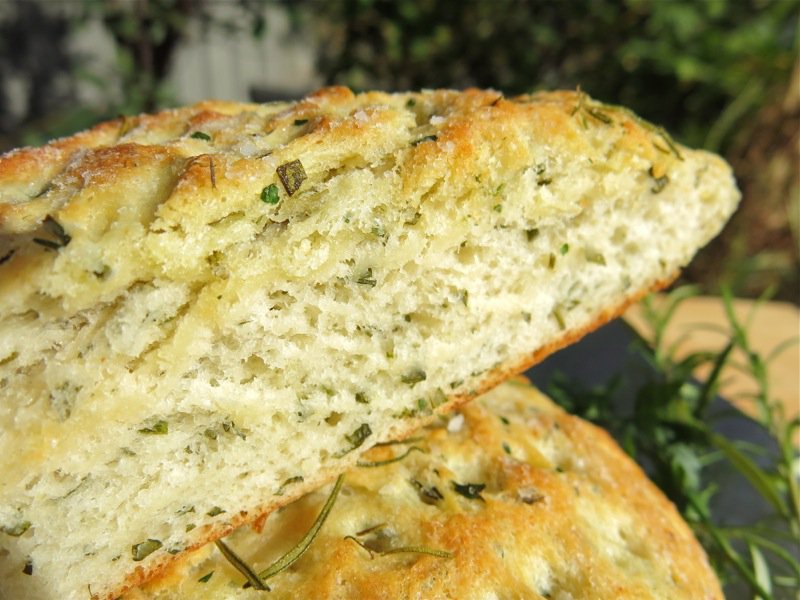
The light, moist and cheesy herb-scented interior provides the perfect foil to that crisp crunchy salty crust. It has to sit for a bit to cool, as do all breads, if one can resist… otherwise, the interior is gummy and appears undercooked.
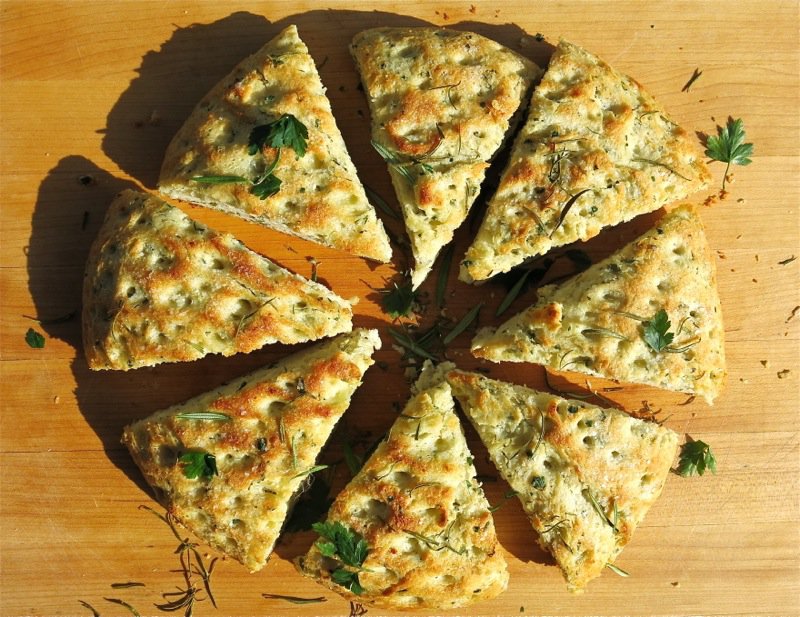
Have your eye on the slice you want? Though it is only a North American thing, I do love dipping this into a balsamic-olive oil splash to add a little kick to the mix.
WP Recipe Maker #72536remove
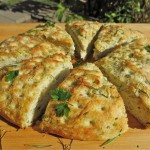 Homemade Focaccia Thermomix instructions for this recipe are included as well as how to make it sans Thermomix. This is a very versatile recipe that lends itself to a variety of concoctions added to it. Course: Bread Cuisine: Canadian Italian Prep Time: 3m Cook Time: 35m Total Time: 38m Author: Valerie Lugonja – 50 g Parmesan cheese – 230 g water – 20 g yeast fresh or non-instant – 5 g salt (but I usually leave this out due to the Parmesan and the salt on top) – 350 g flour – 20 g olive oil – 3 tablespoons flat-leafed parsley leaves and tender stems finely chopped – 2 tablespoons fresh sage leaves only, finely chopped – 1 tablespoons rosemary needles only, finely chopped Garnish – 1 teaspoon coarse sea salt – 1-2 tablespoons extra virgin olive oil – 1-2 stems rosemary needles Instructions for the Thermomix: 1) Prepare herbs; set aside 2) Weigh Parmesan cheese in TM bowl; grate for 1 second on Turbo 3 times 3) Weigh flour and yeast into TM bowl on top of cheese; mix to combine for 5 seconds, speed 3-4 4) Weigh salt into TM bowl; mix to combine for 5 seconds, speed 3-4 5) Weigh olive oil and tepid water into TM bowl; mix to combine for 10 seconds, speed 4-7 until ingredients clump together into a ball 6) Set time to 2 1/2 minutes; speed on Knead 7) After two minutes, put minced herbs into TM bowl through hole in lid while still kneading 8) Prepare 2.2-litre ThermoServer just before placing dough into it to proof by pouring boiling or hot water into its cavity, sit for 15 seconds, remove, dry completely and coat lightly with olive oil OR lightly oil a bowl 9) Dust hand lightly, but completely, with flour; remove dough from TM bowl with that hand (prevents sticking) and place dough inside ThermoServer to proof OR place in prepared bowl covered with damp cloth, then… 10) Place full glass of water into microwave on high for one minute; remove and place dough quickly into the warm humid environment to proof 11) Proof dough 45 minutes or until double in size 12) Pre-heat the oven to 350 F; cover baking sheet with parchment paper 13) Once dough has doubled in size; gently loosen sides of dough with D-shaped spatula, working to not deflate any of the air 14) Turn bowl of dough completely upside down in middle of parchment paper on baking sheet (Plop!) 15) Dock surface of dough with docker or dimple it with fingers (only about ¾ of the way into the dough with your docker or finger tips) 16) Fill dimples with the 2 tablespoons of olive oil (approximately – drizzle over surface of dough) 17) Sprinkle generous amount of crystal sea salt (larger crystals) over surface (a touch more than you think would be needed as this is to be a salty crust) 18) Add rosemary needles randomly over top in a rustic fashion, to garnish 19) Bake 25 minutes 20) If top is not golden, turn on grill for one minute, watching closely, and turning pan once during this time, to ensure even browning on the surface of the crust 21) Rest crusty bread 20 minutes before slicing; serve with dipping oil or a mixture of oil and balsamic vinegar (If you can’t wait 20 minutes, use a serrated knife, place loaf on end vertically, and slice) 22) Get ready to hear a lot of lip-smacking groans of pleasure Instructions for the Dough without the Thermomix: 1) Shred the Parmesan cheese: freshly grated cheese makes a big difference to the flavour of this bread 2) Measure all other dry ingredients into a large bowl; sift through fingers to combine 3) Measure liquid ingredients in another small pouring vessel and pour into the dry ingredient bowl along the sides; work to combine the moisture into the dry ingredients with your hands and fingers until the mixture begins to form a ball 4) Add the herbs; continue to combine the ingredients into a ball 5) When the dough comes together, begin to knead it, using only a lightly (lightly) floured surface and a bakers scraping spatula to assist with the kneading and counter cleaning (back into the dough) as you knead 6) When you have kneaded the dough until elastic, coat a medium bowl with a little olive oil 7) Place the dough into the olive oil bowl to proof (45 minutes to one hour); covered 8) Pre-heat the oven to 350 F 9) Cover baking sheet with parchment paper 10) Carefully turn bowl of dough upside down on the baking sheet covered with the paper; do not deflate the dough 11) Dock the surface of the dough 12) Pour a good 2 tablespoons of olive oil over the surface of the dough, ensuring that lots stays inside of the little holes made by docking it with your fingers, or a docker 13) Sprinkle a generous amount of crystal or large chunky sea salt over the surface (a touch more than you think would be needed) 14) Add garnish: rosemary, sliced olives, sun-dried tomato chunks (whatever you like and whatever is in the bread) 15) Bake for 25 minutes; turn off the oven and leave for 10 more minutes 16) Rest crusty bread 20 minutes before slicing and serve with dipping oil or a mixture of oil and balsamic vinegar (get ready to hear a lot of lip-smacking groans) Parmesan cheese must be at room or refrigerator temperature as a blade may become engorged in frozen cheese and damage the Thermomix machineThe only time yeast needs to proof with water and sugar is if it might be old; if it is recently purchase, or used regularly, it can be very effectively and simply worked into the flour as done hereTepid water is room temperature: it should feel neither warm, nor cool. If necessary, err on the side or ever so slightly warm. Alternatives:The possibilities are endless with this recipe. Make it your own. Add: • ½ cup of sliced olives, removing the pits• ½ cup of finely chopped sundried tomatoes• ½ cup chopped roasted garlic• or any combination of the above or whatever else you think you may enjoyAlways garnish the top of the loaf with what is in the loaf, so if you have:• olives and herbs in it; garnish with sliced olives and herbs• sundried tomatoes and herbs in it; garnish with sundried tomato slivers and herbs• roasted garlic and herbs in it; garnish with roasted garlic chunks and herbs
Homemade Focaccia: Docking the Dough
After rising, do not punch the air out of the dough that you just took the time to rise within it. Carefully release the dough from the proofing bowl onto a parchment lined baking tray with a D-shaped bread spatula. Dock the focaccia with your fingers, or with a docker as the indents will hold the fruity gorgeous olive oil necessary for the legendary focaccia crust. This may look like a lot of oil, but you can measure 2 tablespoons and drizzle it over your focaccia. It is no more than that. The large salt crystals do make a difference. A good tablespoon or more are sprinkled over the oil, then garnish with whatever you have inside: herbs, olives, sun-dried tomatoes… and bake in the oven for a mere 25 minutes.
Broil for a couple of minutes to brown the crust. Rest for another 15 before slicing into the cheesy herby goodness of this gorgeous loaf.
Below, a focaccia with green olives inside!

If you make it, please tell me!






Your foccacia looks to be the perfect texture Valerie. As for your dad I am sorry to hear that he is still in the hospital. Lets hope all turns around soon.
Thank you, Valerie!
Let me know if you make this!
🙂
V
Beautiful foccacia, I have a lot of sage and rosemary to use from my herb planter as well.
Lesley
Let me know how it goes!
🙂
Valerie
I LOVE your foccacia bread and the recipe for the Thermomix sure makes it sound easy. I’ll have to get one of those one day. 🙂 It almost makes me want to bake again. 🙂
Hi
I am in the process of making this Foccacia now – my TM doesn’t seem to let me set a temperature when I have it on the Interval setting?? Am I doing something wrong?
Any help would be appreciated.
Thanks
Hi, Julie,
You cannot set the temp at the interval setting – what was I thinking?
I set it for the stir… and will definitely take that out! How did your bread turn out? Dying to hear!
🙂
Valerie
Turned out quite nice, but I would have preferred it a little lighter in density. Great taste though! I didn’t have any sage, but rosemary and garlic are one of my favourite combinations so just added a bit extra. Sprinkled it with chopped olives – Yum!
Interesting. Mine isn’t heavy at all, but not light, either. I think the photo gives information about the lift in the bread… I hope. But, glad you loved the flavour. Maybe let it rise a bit longer, and work to not let the air out of it when you move it to the pan and dock it.
🙂
V
Looks great!
Could it be baked on a pre-heated baking/pizza stone? I’m guessing I’d need to put it on the paper then slide paper and dough onto the stone like a pizza. Stones usually give a good boost to bread.
Sure – why not? I bake my other breads similarly.
🙂
V
Great recipe! I had no parmezan at home, so I skipped it completely. Though I did ad nigella to the dough. When the dough was ready I stuffed the middle a but of fresh mozzarella and chives. Thank you. Next time, I will try it with parmesan.
Glad you enjoyed it Marta!
You are so right! SO much can be done with this recipe. The imagination is limitless!
🙂
Valerie
Hi Valerie, just wanted to let you know I’m loving the Thermomix I purchased from you last year. Sat in the cabinet for a while but now it’s out on my counter and I try to use it every day.
I tried to make the focaccia yesterday and through my own fault it did not turn out right. (BUT my chickens loved it so there is never waste in my home)
Question…what type of yeast do you use, fresh or active dry?
I think this was one of my issues, besides the fact I forgot to add salt, out in too many herbs and the failures go on.
Kaye
HI, Kaye,
In the winter I use fresh yeast – as I make more bread, but in te summer I use dry yeast, but never instant. Can I call you to discuss? Email me a time. Valerie@acanadianfoodie.com. This is a pretty fullproof recipe, so I think if I go over it with you, we will realize the problem?
SO thrilled you are loving and USING your Thermomix daily!
🙂
Valerie
Valerie, Fantastic focaccia! I used less Parmesan (it was all that was left in the fridge) & omitted some herbs & doubled up on others & it was lovely. The next time I make this I’ll prove the dough in a large rectangular Pyrex dish (my lasagna dish). I proved it in a round bowl & then had to stretch & shape it a bit. Because of this it wasn’t as even & pretty as it could have been. I wanted the foccachia to be large & rectangular as I used it as a base for a fig, prosciutto & blue cheese pizza. The figs are sliced, the prosciutto laid on top & then blue cheese sauce drizzled over it all 🙂 Thanks for the recipe!
Caryl!
Thank you for letting me know… sounds absolutely divine! Just melted blue cheese? MMMMm must try!
XOOX
Valerie
Hi Valerie,
I live in Sydney Australia. After a few bread fails I had almost given up. I came across this recipe and thought I would give it a go. OMG. It is divine. Only problem is that I can’t stop eating it. Thankyou for sharing this. My enthusiasm for making bread has been rekindled.
HI Michelle
Sent you an email.
🙂
Please check your spam!
Sincerely,
Valerie
Thrilled to hear this, Michelle! Give it a 5 star rating!! hahaha!
XO
Valerie
Hi, how much salt do you add to the dough? The ingredients only list 1 tbsp of salt used for garnish?
Hey Kasia
As there is cheese in it, and salt on top, none. 🙂 Valerie
Thanks. Point 4 of recipe says “Scale salt into TM bowl” so I got confused.
Me too. I just added a teaspoonful.
I have made this quantity into 7 focaccia rolls and then used them like paninis in the sandwich maker – delicious!
Any ideas for making fruit yoghurt?
Didn’t I fix the recipe – I will try that again, Theresa – I took out the salt as there is plenty in the cheese, but clearly you can put it in without issue, too! Sounds wonderful! Will have to try your idea next!
Fruit yogurt? Of course! Follow my instructions for making yogurt, and place whatever fruit compote you want in the bottom (room temperature), then pour the warm yogurt over it, to set. Fresh fruit won’t work too well. Best to lightly cook the berries, apples, peaches, whatever you add first, with enough sugar to preserve it well. Otherwise, just stir in fresh fruit to the plain yogurt.
🙂
Valerie
Hi Valerie,
The receipt for thermomix calls for salt but there is no measurement for salt? Is there supposed to be salt mixed with the yeast and flour?
Please advise
Hi Tamara
I leave out the salt due to the Parmesan and salt on top – but 1 teaspoon of salt is what I used to add.
🙂
Valerie
I would like to try your recipe but being old school, I do not know metrics.
The converters do not get the measuements close enough.
Please put standered measuements also!
Thanks!!
So glad you figured it out, Carol. I just go to google and use their conversion tools. I am doing all new recipes in both systems. I will have to make the bread again to put in the Imperial system to be sure of the conversion.
🙂
Glad you enjoyed it. It is a family fav!
🙂
V
My husband helped me convert the measurments and all went well!
I am making it again today!
Carol,
I have been under the weather, so sorry about not responding sooner! I usually do put both Imperial and Metric measurements on all recipes now, but my older recipes do need revising. Thank you for the reminder and I am so happy to hear you figured it out and are making it again! That is wonderful. We love this recipe!
🙂
Sincerely,
Valerie
Is it okay to use instant yeast?
Sure. But, the other is better.
🙂
V
why is it so much yeast…. 20g (3 sachets!) to only 350g flour. I am using active dry yeast. is this correct?
Hi Heidi – it is correct.
It is a lot of yeast, but it will create the desirable rise and texture.
You will love this bread. It is one that everyone makes over and over!
🙂
V
Hi Valerie, I can only get instant dry yeast. Is that ok to use and if so, it is the same amount as per recipe?
Hi Michelle,
I’ve already sent you an email. You may use instant yeast, same amount.
🙂
Let me know if you love this recipe as much as my family does!
🙂
Valerie
Can I use dried herbs instead? (No fresh on hand)
Of course. It’s focaccia. You can use so many things: sundried tomatoes, olives and more – but it will not taste the same as with fresh herbs – but it is logical. Too much money to buy in the winter what grows for nothing in the summer. I might use dried herbs (and have) but with olives, or sundried tomatoes, etc… as dried herbs lack the power of fresh in focaccia says my personal palate. Let me know how it goes! But, you must try with fresh herbs one day!
🙂
Valerie