CIN Day Three: My Last Session of the Day (Whew!)
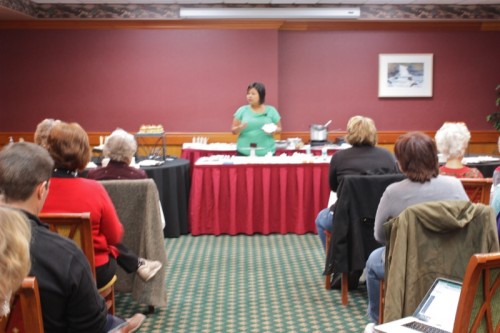
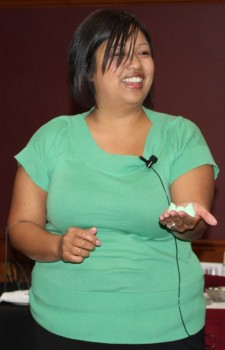
I was tired. (I had been to breakfast, then Sushi Making, Lunch and the Wine and Cheese Tasting and it was only three o’clock!) I considered skipping a session. Here it isn’t called that. It is called a “relaxation break”. You can even book in your slots when you register instead of signing up for a class. Isn’t that wild? And so completely impossible for me. I have never delved into fondant but have always been curious, and this was my least favourite class. Nothing to do with the lovely Miss Ailynn Santos. She was so sweet and kind and nurturing and wonderful. I just have a lot of expertise in this area and didn’t learn very much.
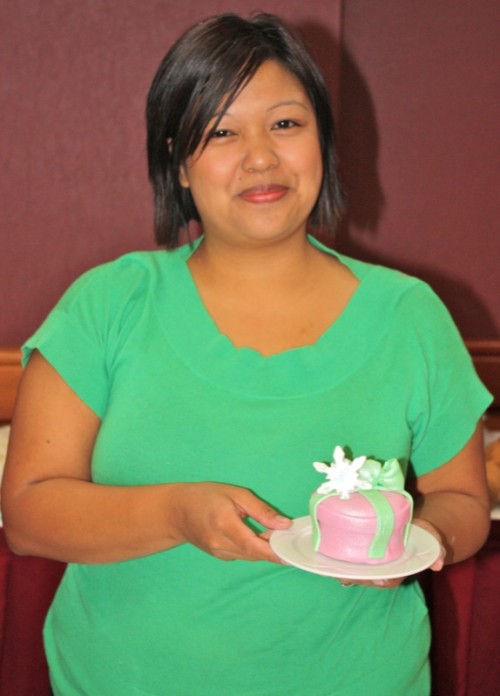
I am proud to say that Ailynn is the founder and lead cake designer of Whimsical Cake Studio Inc. in my hometown of Edmonton! Her passion for designing cakes stems from being self-taught through books, other designers and each unique cake she creates. With the desire to learn more, she researched some of the best in the cake industry and discovered cake classes with Bonnie Gordon in Toronto. It was there that she was able to learn more tricks of the trade and discover her own style”¦a whimsical style in every sense of the word.
Ailynn thinks of each cupcake and cake as an original work of art designed just for you! Beneath the delectable frosting and fanciful frills you’ll find only the freshest and finest ingredients baked from scratch. “It’s cake beyond your sweetest dreams.” With husband and business partner, Ken, the two are growing a ” sweet business”. They travel together, meet cake designers and bakers, and taste sweets from all of the destinations. Ailynn is a teacher by trade and now offers beginner baking and cake decorating classes in her cake studio for cake enthusiasts of all ages. If you are interested, she is in town!
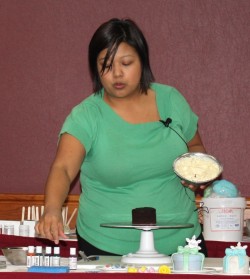
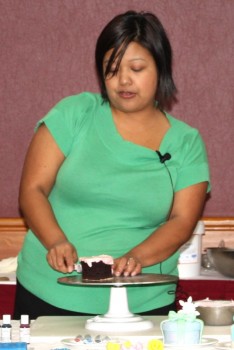
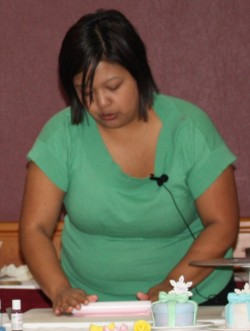
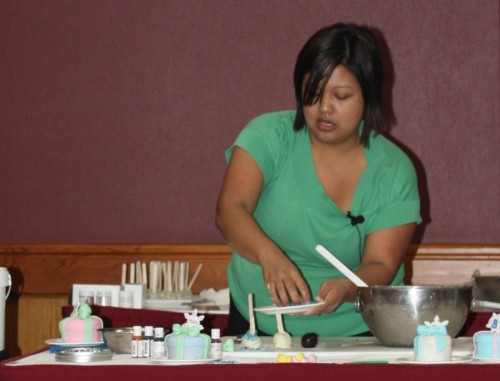
I have that same Wilton cake pedestal and love it! It was a splurge at the time, but when you need it, you need it! Below, she is icing her cake with a crumb coating of butter cream frosting.
She uses a Vanilla Buttercream that consists of egg whites, butter and sugar (go by time if you don’t have a thermometer) that you beat over a simmering pan and should be hot to the touch and you will feel no more sugar grain, then it will be ready to be mixed up: use a great mixer (not a hand mixer). Beat this for 10-15 minutes and the volume will triple to stiff peaks in 10-15 minutes and the marshmellow consistency will hold its own shape without folding over. At this point, you add your butter. You need to add 2 pounds, so add the best butter you can afford as it will make an incredible difference. You can add only one pound of butter, but then you will have a more marshmellowy icing and not a butter cream, but it also works well. Coffee and rum are really good flavourings to use with butter cream.
In the words of Ailynn Santos:
- You can freeze it (the recipe will make enough to fill and ice two double cakes) and will freeze for 4 weeks and will keep in the fridge for a week
- Put it in a bowl over steam and re-whisk until it returns to the original consistency if you have frozen it
- (if you melt it, you have to start again)
- Do not use liquid colouring, use powdered
- This icing is great for piping and will hold up quite nicely in heat because you have stabilized the frosting with the butter and the sugar
- Ice and cut from a frozen cake; cut rounds from a frozen cake and refreeze them before icing them
- Cut shapes with a cookie cutter or a round form to make a bigger mini-cake form
- Do 2-3 coats of butter cream crumb coat icing (called a mask coat or a crumb coat)
- Give 5-10 minutes to dry between coats
- Hot water works well with sugar frosting, but will melt butter cream
- Use bent spatula
- Butter cream works better and smoother than sugar frostings for a crumb coat before fondant application
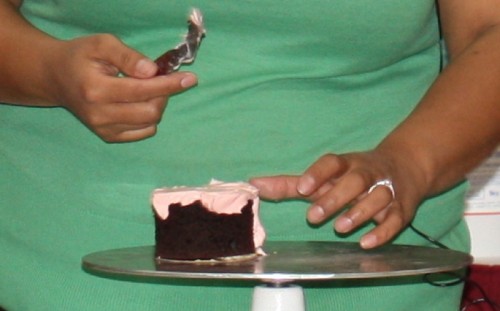
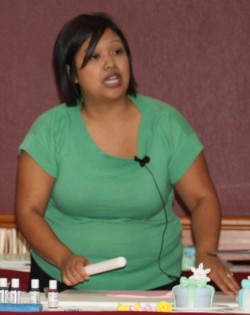
She recommends buying coloured fondant from Michael’s, the Bulk Barn, Bosche Kitchen Store, etc. to avoid having to work in the colours yourself. Below she is rolling it out after warming it up with a gentle knead.
Voilà ! Easy, she says! See?
- She uses McCall’s brand and buys it in large buckets
- Qzina is another great place and you can also buy your fondant from there if you live in Edmonton
- A bucket is enough to cover a three tiered wedding cake
- Four pounds is enough to cover 15 mini cakes
- Once open, it will last about a month if stored in air tight container (or 3-4 months) unopened
- Make your own Marshmellow Fondant: here is the recipe
- water and mini-mellows and beat with a dough hook and add 4-5 cups of icing sugar one cup at a time
- 1 full bag of mini mellows and 14 cup water and 4-5 cups icing sugar is the real recipe
- It is very sweet and a very short shelf life, but is a great place to start
- Season your surface so fondant won’t stick
- Use shortening or powdered sugar or cornstarch to season it: shortening is also great for hands
- Do not flavour fondant
- Use powdered or gel colour if you don’t buy coloured fondant
- Red or black or purple are hard fondant colours to make; buy coloured fondant of these colours (they are just too hard to make)
- Purple cake can turn blue in the afternoon depending upon the quality of your fondant or your food colouring and you can be very disappointed: practice first
- Fondant will dry with in 2-5 days on a cookie sheet after being cut out with cookie cutters, and imprinted
- You can then use edible markers to write names on them
- Fondant must be firm enough for it to be written on
- Bulk Barn Fondant takes quality really well
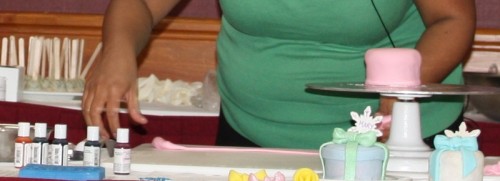
- Make sure you have placed a little shortening on cutting board to roll it out
- You will need a small rolling pin: very small
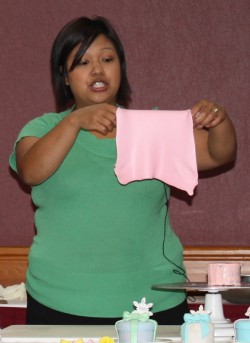
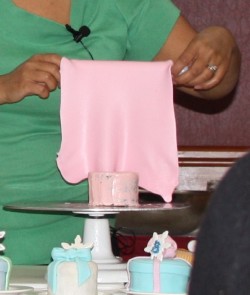
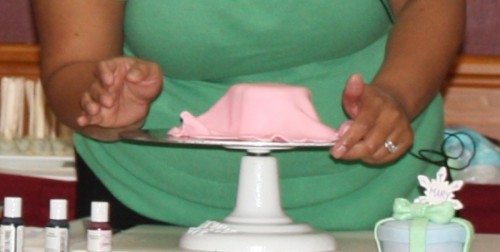
- Place the fondant over cake
- Secure the top to the top of cake
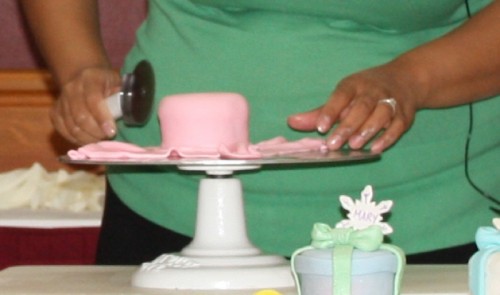
- Using hand lightly press the fondant downward
- Pull and press where you see it come together
- Square shapes are trickier
- Start with the corners if doing a square cake so no you do not get any pleats
- secure corners and start with them
- You can reuse the fondant you cut away, but do cut away crumbs of cake from the cut away fondant
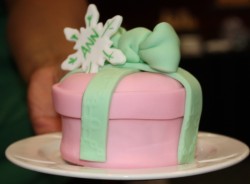
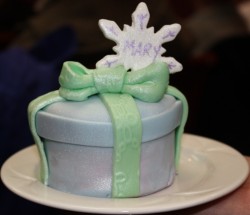
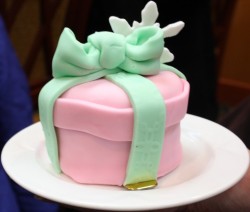
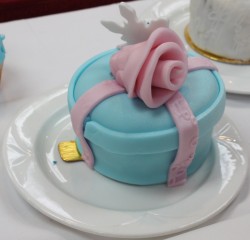
- Make lid with a strip rolled then cut with pizza wheel
- Fondant sticks well to fondant when it is still moist
- Store each colour in a different bag so colours don’t bleed into one another
- Keep at room temp for 24 hours or in the fridge for 3 days
- Do not freeze, or it may sweat and there will be indents from the water
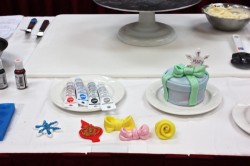
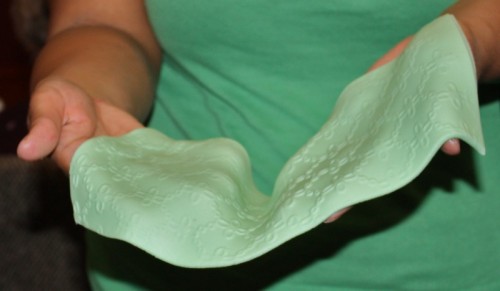
You can make all kinds of interesting textures with fondants from anything you find or you can buy texture sheets from Candy Making and Bakeware stores (see below).
- Use luster and vodka for special touch
- If you collect stamps you can stamp on to fondant and paint details in with gel colouring; or use a luster spray
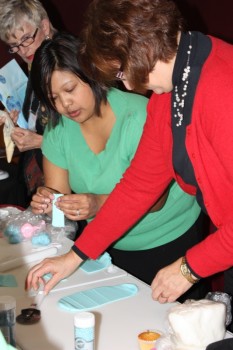
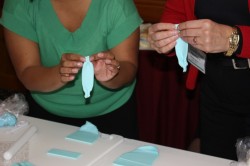
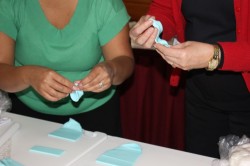
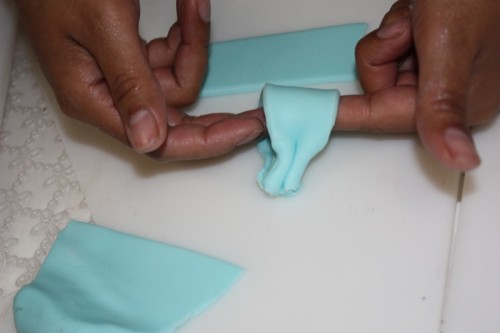
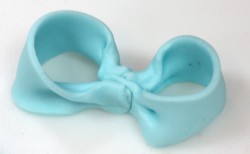
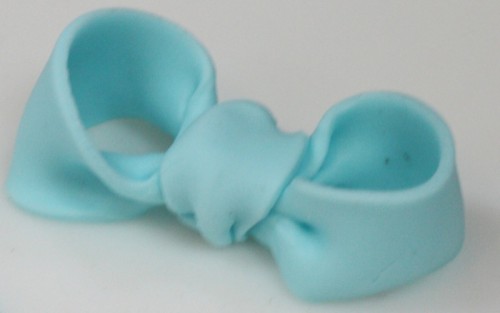
Let’s Make a Bow!
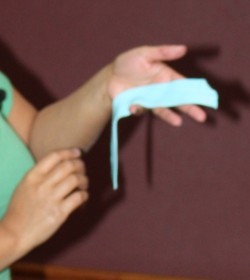
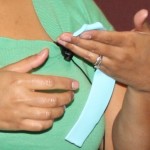
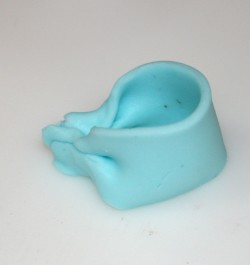
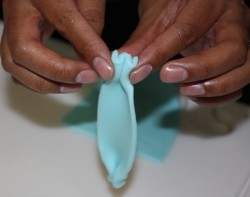
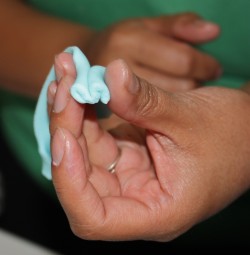
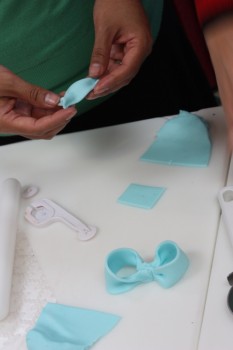
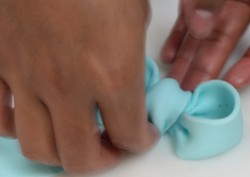
- you need two rectangles: pinch each end like this (below) and “M” them together
- do two the same (each will be a half of the bow)
- wrap another around the bow; that is it!
- Pleat the edges (dip the middle and put both ends together to make first loop for half of the bow)
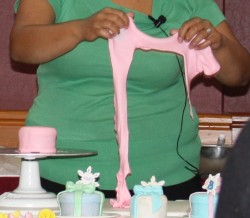
- You can pull on the fondant without it tearing
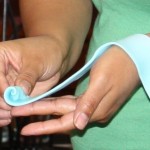
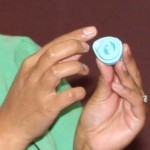
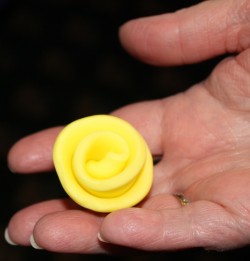
Let’s Make a Rose!
- The size of the strip of the fondant you cut will determine the size of your rose
- Use the top triangle to be the bud and twist like a ribbon rose, then fold the petals over
- Center needs to be the highest
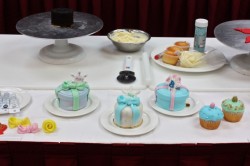
- Mini-cakes or cake pops are fun for place card holders; 5-10 guests works best or it is just too much work!
Let’s Make Cake Pops!
- Crumble up the excess cake leftover when you cut out the mini-cakes and use cream cheese frosting
- Mix the frosting with the cake crumbles (do not use butter cream, or the mixture will be too soft)
- Fresh raspberries or jam works well instead of cream cheese frosting
- Add pecans or any nuts and add rum or a liqueur
- Form in a ball and add the lollipop stick, then freeze them
- Or, form “cake truffles” in shape of Hershey kisses and put a paper message on the end after dipping in chocolate (another fun place card)
- Roll and set in refrigerator or freezer
- Cake must be moist and hold its shape
- Finding cool ice cube trays is fun as you can press the cake in ice into the ice cube trays and then freeze it and it will hold the shape
- Dipping: Dip really fast so that you don’t get any liquid into the chocolate when you dip it (liquid will seize your chocolate)
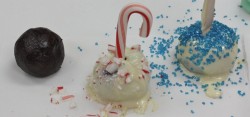
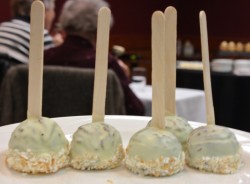
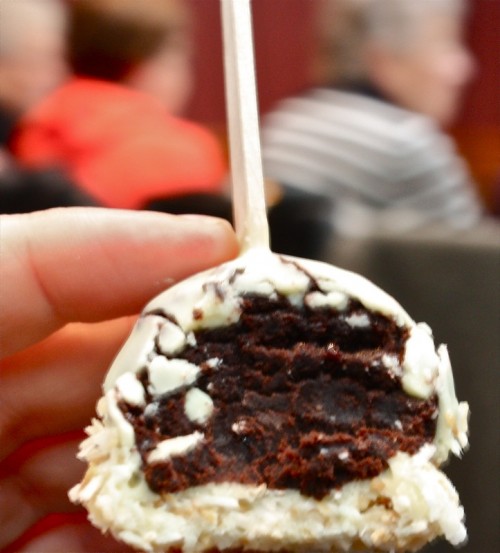
I really do hate to admit that this little cake pop was delicious. I hate to admit it because it is SO bad for me! But, Ailynn makes a very yummy cake pop and this is a great idea for left over cake. I have always made trifle in the past, but these are really, really tasty! And, let’s face it: I was not hungry.
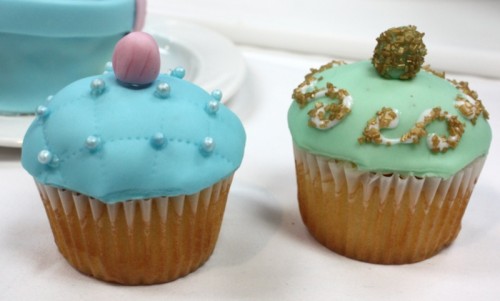
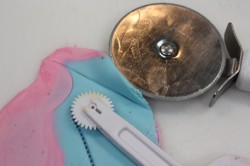
I like the pearls and the quilted look, so took a picture of the sewing tool she used. After the session, she invited guests up for hands on play, and several stayed behind to do just that.
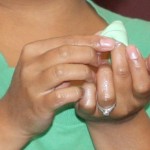
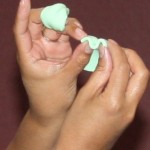
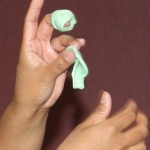
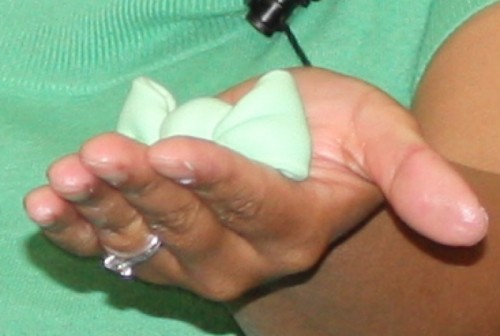
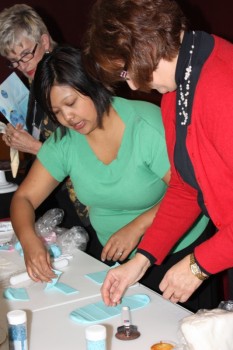
Here is another one to one tutorial I caught Ailynn offer a curious guest.
It reminded me of my love for play dough, plasticine and clay. I can see a whole lot of my students going crazy over this kind of a decorating class! Thank you, Ailynn!






It always amazes me how beautiful people can make cakes and cupcakes look these days. To be honest, I was never a cake maker, more an eater…teehee. With your expertise I could see why this would be Ypur least favorite class. You took some really great pictures, Valerie! For someone who doesn’t bake much at all like me, this was quite the informative post. I’ll bet if I went to this class, I’d be inspired to start making a cake as soon as I got home. Talk about an eventful day! Kudos to you for not skipping class, Mrs. Lugonja 😉
This is something I’d really love to learn how to do. It looks very difficult though, I have to say, but it looks a lot of fun too. And daaaaahling, cake pops ARE good… good for the soul LOL 😀
*kisses* HH
This really is a seriously lovely piece of art, working with fondant (especially those that really know their stuff) produce awesome stuff don’t they. Great tips.
I have always wanted to try my hand at working with fondant! Thanks so much for posting this and sharing so many tips with us — I’m bookmarking this post so I can refer back to it! The little cakes are gorgeous!
As always, I learned SO much from this blog post. Ailynn (pretty name!) does an incredible job. I would love to say I think I’d be good at this – but I know I wouldn’t be, LOL! I’d still be interested in checking out a class for fun sometime. I am always so grateful that you feature so many amazing local businesses and people. I’m sending this post to a friend in Calgary who has experimented with fondant before – she’ll love it!
O that sounds like such a fun class! Great shots to see also as we learn alongside you now… 🙂
I’ve been rather absent lately so I am hoping to catch up soon!!
Simone!
I cannot tell you how nice it is to see you here, again!
I have missed you! Truly!
🙂
Valerie
Good for you for attending that last class, even though you were tired. It sounds like you had an amazing day. I love the look of fondant-covered cakes–some of them are pieces of art. I just don’t think it tastes good, so I don’t work with it. Buttercream on the other hand…
What a fun class! I would love to attend something like that. Those little cake pops are calling my name!
Great post, I have never really been fond of fondant, only for the reason that I know I do not have the patience for it…I prefer my cakes rustic, lol..maybe if I learned how to work with fondant I could cover my many baking mistakes..lol
sweetlife
I would head to Jasper simply for this class Valerie. What a fun-filled weekend you must have had.
So “EASY” for the expert :-))
Maybe I should take a Fondant Cake Course…. the mini cupcakes look so pretty. I just wonder what to do with the cake after you finish making it…
I have taken cake decorating classes and discovered such a world out there of a myriad of toppings, and sprinkles and dragées and ribbons and and and. It was dizzying!
I like the idea of the cake pops and would do this next time with extra cake batter, thanks!