And a very gratifying bread baking day with Maria!
Before my trip to London, I put out a group e-mail to Slow Food Edmonton members and asked where I might buy Red Fife Wheat. Within seconds, Maria responded saying she had a bag that she would share if I wanted to bake bread with her. She had picked it up in Prince Edward County when she was there, and had not yet delved into it.
I crave a baking partner. I love baking and cooking and doing it with a friend is so much more fun than doing it alone. Would I? Absolutely!! We booked a date after Vanja and I were to return from our holiday and after mom’s 80th tea. Maria arrived bright eyed and cheery smiled. I was just delighted with the opportunity to get to know her better, and to work with the Red Fife wheat flour which was Canada’s first nomination to the Ark of Taste with Slow Food International in 2003 as a Canadian Heritage Food, and the Red Fife Presidia was created. As I Canadian, I had to taste this wheat and its flour and the flavour notes of the bread made from it.
“The Presidia sustain quality production at risk of extinction, protect unique regions and ecosystems, recover traditional processing methods, safeguard native breeds and local plant varieties. The Presidia directly involve producers, offer technical assistance to improve production quality, organize exchanges among different countries, provide new market outlets (both locally and internationally). There are approximately 200 Presidia in Italy, protecting the most various products: from Burlina Cow to Garfagnana Potato Bread. With more than 120 International Presidia, Slow Food protects biodiversity in the whole world: from Rimbas Black Pepper in Malaysia, to Mananara Vanilla in Madagascar.” (Slow Food International) …to red fife wheat in Canada!
As a Canadian who has lived on the prairies her entire life, I thought I had better acquaint myself with our only Presidia heritage food. In Edmonton, it can be purchased in grain form from The Italian Centre Shops open every day of the week on the north and south side. The Italian Centre Shop is also presenting Red Fife Wheat at Slow Food Edmonton’s Indulgence 2010, so buy a ticket and get tasting! (Tickets are available from the Junior League of Edmonton, 780 433-9739.) I had just taken my bread baking course with Richard Bertinet at his Cookery School in Bath, and Maria lived in England for a year in 2008 and took a bread baking course while there, from Betty’s Cookery School at Harrogate, in Yorkshire. She had picked up a bag of the red fife flour while in Eastern Canada and had not used it yet.
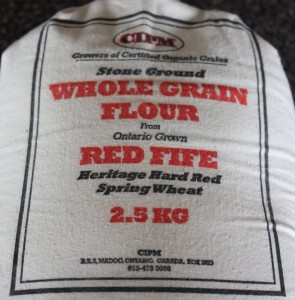
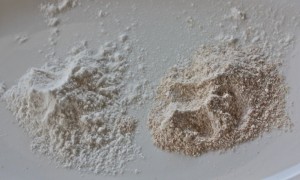
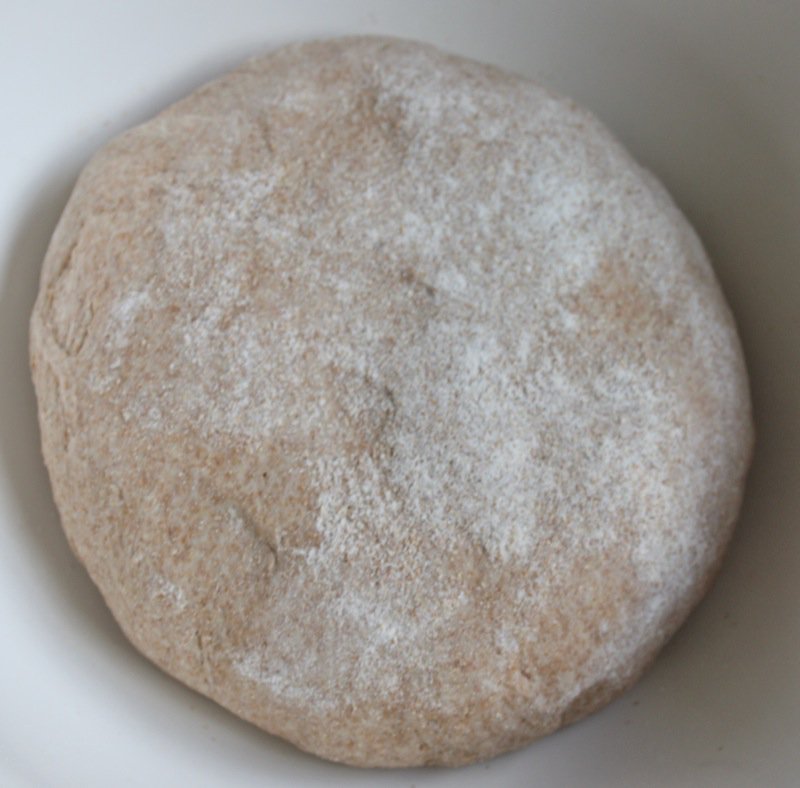
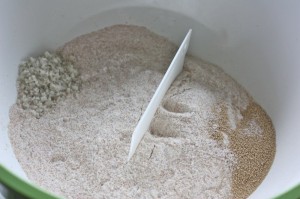
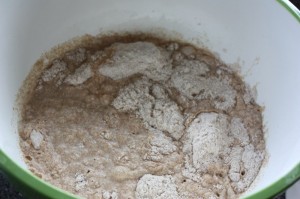
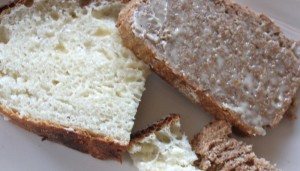
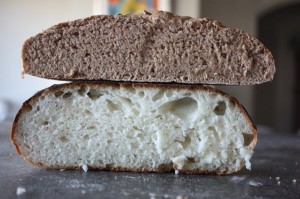
Look at the difference in colour between an all purpose white and the red fife flour. When you later see the difference in the bread colours, you may be as amazed as I was. The red fife flour made a very brown bread. This flour was milled to a fine powder and lovely to work with.
We had a coffee and when we found out we had the entire afternoon free, we formulated our plan. We would each make:
- Richard Bertinet’s basic white bread dough with white flour and use the same recipe with the Red Fife flour
- The Swiss Stick from Maria’s class at Betty’s Cookery School with white flour (just one of these)
- The Yorkshire Cobble form Maria’s class at Betty’s Cookery School with rye flour and white flour (we made one batch, but four small loaves)
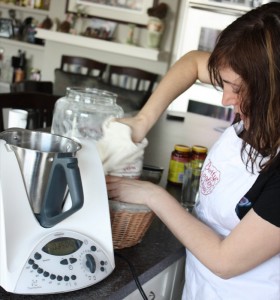
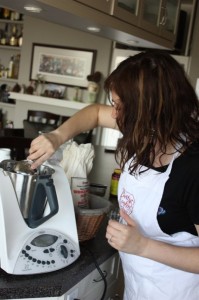
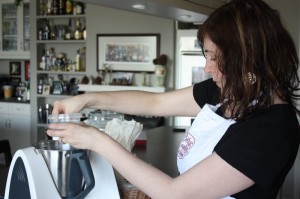
And then we started right away. We used the Thermomix for most of the kneading, but we did work (not knead) the Red Fife loaves the way I learned from my Bath classes. I wanted to teach Maria what I had learned, and definitely wanted to learn what she had learned. We started with the white flour first, and made two in the Thermomix without a photo. Then we used the Thermomix to weigh the Red Fife, and worked the dough by hand.
500g of white flour and 10g of yeast (do not let the yeast and salt touch one another)
10g of salt (I used the beautiful wet gray salt I bought at The Borough Market.)
350g of water
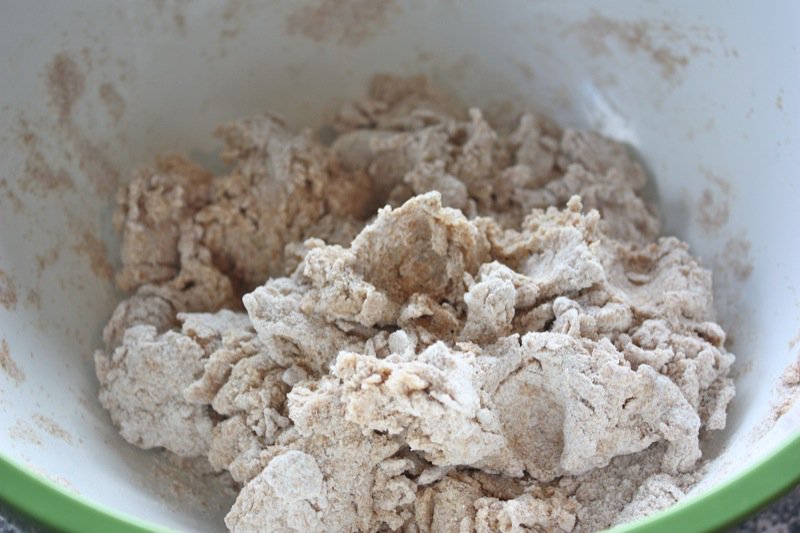
Mix for 15 seconds and knead for 3 minutes in the TM bowl; by hand, work the dough the Bertinet way as we did with the mixture below.
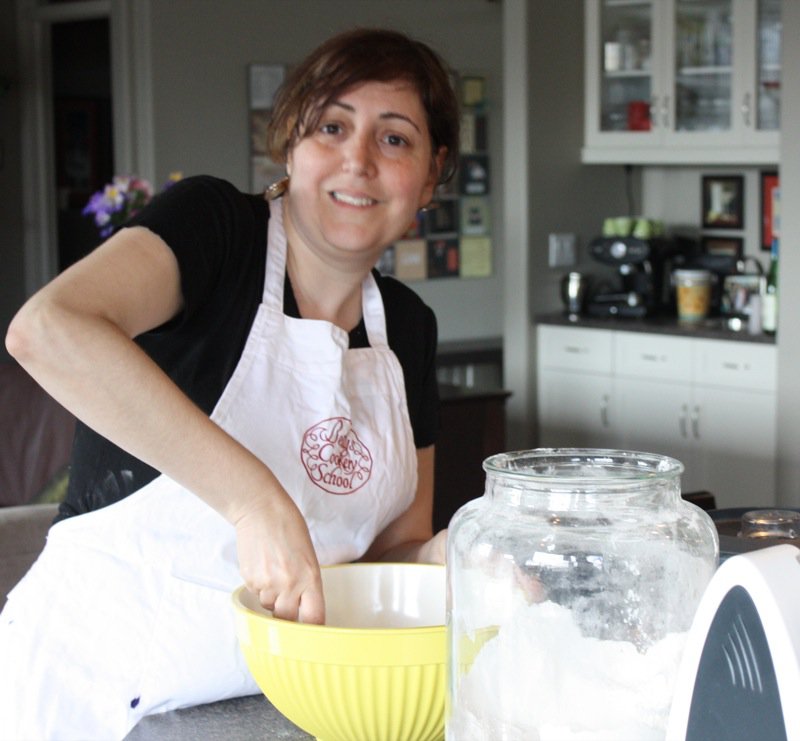
Maria is using the plastic spatula and is about to get really sticky. See how naive she is? She has no idea what she is in for. (sideways grin)
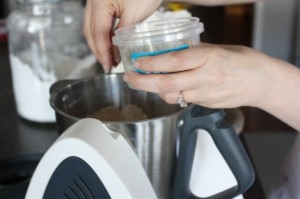
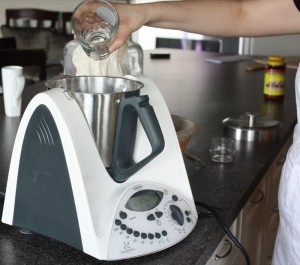
The surprise was on me. The dough was not at all sticky. Possibly to do with our elevation or humidity that day, but probably due to a miscalculation with the measuring. I wasn’t watching when she measured, and she could have bumped the cord. The Thermomix machine is super sensitive when weighing anything, and if the cord or rim of the machine is touched at all, the measurements are skewed. I forgot to mention this to her. In any case (and thank goodness for experience), the dough needed more water, so I splashed some more into both batches, and we worked the dough. Mine came together much faster than hers. I probably put more water into hers, so we took turns working it and it wasn’t long before it was “going for a walk” across the counter top, and ready for proofing: four loaves bedded already. We were on fire!
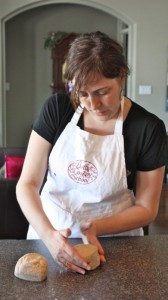
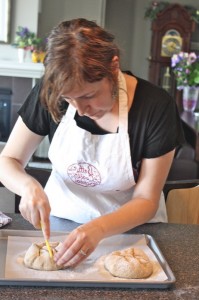
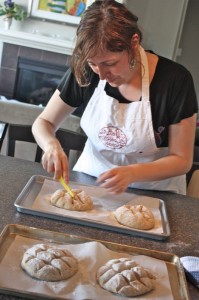
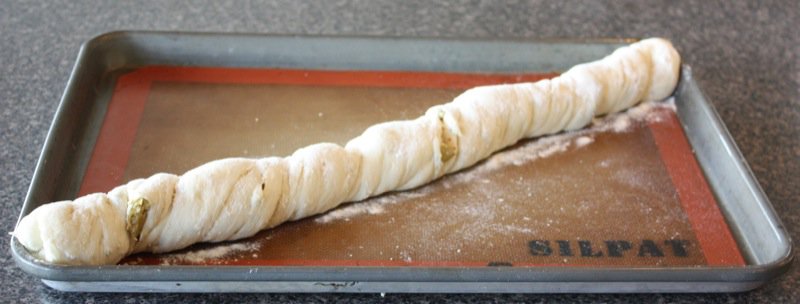
That’s when I found my rye. I knew I had some somewhere, and we needed rye flour for the traditional Yorshire Cobble Bread. We made one batch and divided it into four for two of each. We made one Swiss Stick with white flour and filled it with pitted Sicilian olives from the Italian Centre Shop South. I filled and twisted it exactly like we did our bread sticks at my cooking class in Bath, but this one was much larger, so it was softer and lighter and so lovely. There was no need to take photos of the Thermomix kneading (sorry, Richard – “working”) our bread, but I have included some of us shaping the dough.
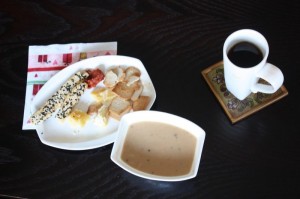
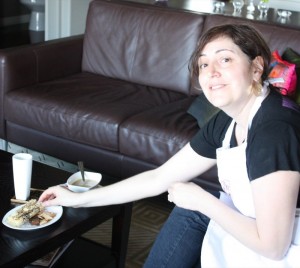
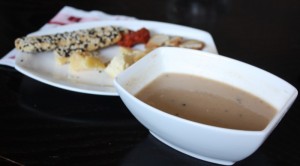
We were both ready for a little break once we finished our last loaf. There were nine in all. I guess that really isn’t much. We certainly weren’t working hard. It was an extremely enjoyable day. I had cheeses and goodies left from mom’s party the week prior, and whipped up a pear soup that morning as I found four lonely, almost over-ripe, pears in the fridge. A little onion in the Thermomix with a little olive oil, sautéfor 2 minutes, add the pears sliced in chunks and cover with chicken stock; cook for ten minutes. When we were ready, I reheated it for five more minutes, seasoned with salt and pepper, then puréed it. Yum! I had that wonderful Stilton left from Neal’s Yard Dairy, and with my Sesame Breadsticks, the pear soup was heaven. I am not sure Maria liked it as much as I did, but she is definitely easy to please, and a joy to work with! (Yes, you are, Maria!)
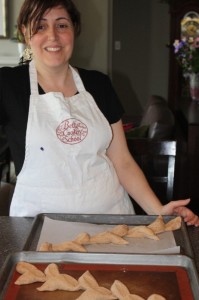
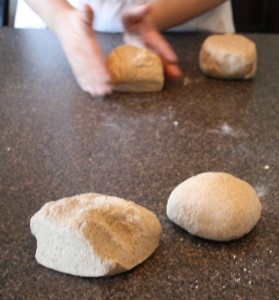
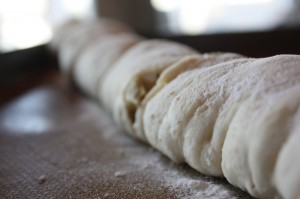
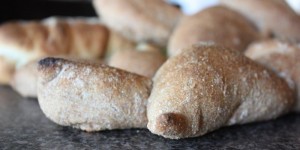
Our first batch of dough was ready. We took the red fife dough and shaped each into epi’s.
We reformed the rye dough into four balls, and let it proof again while we prepared the Swiss Loaf and cleaned up.
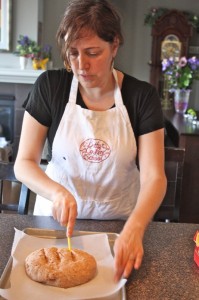
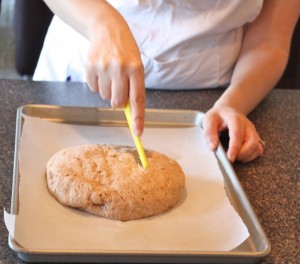
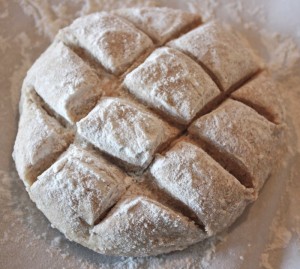
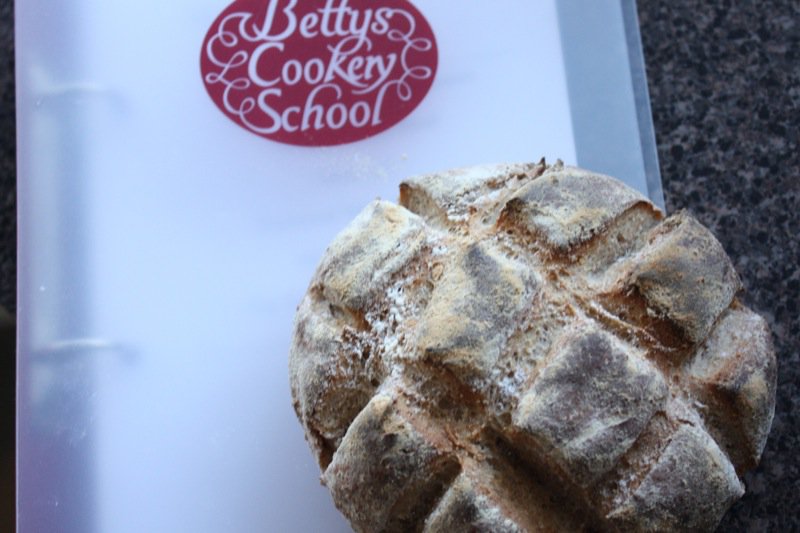
Then Maria showed me how to score the loaves to make cobbles on the top like the cobblestone walks in Yorkshire. This was really fun to do, and I was wishing I could find the lames I bought at the Bertinet Kitchen. I bought three, and cannot find them anywhere! There is nowhere to buy them in Edmonton. Anyone know of anywhere closer than the UK?
The Swiss Roll has risen beautifully. Prrrrroaw! (roll your “r’s” with that!)
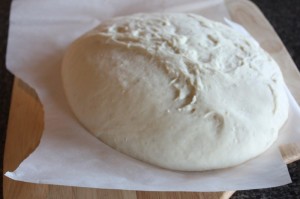 One of the white loaves just plopped onto the parchment paper so beautifully, we decided to leave it like that. Beautiful. And it would have been even more gorgeous baked, if I hadn’t scorched the top. It didn’t taste burned. But, it looked burned. One or two minutes in a 500ºF oven can make a big difference to the final product.
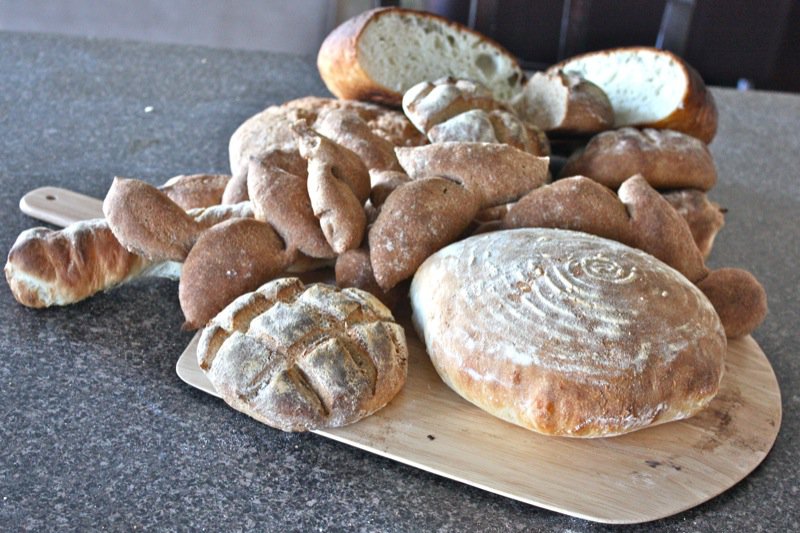
The other white loaf was proofed in a round banneton and plopped beautifully onto the parchment was also left in its proofing shape. All round loaves were put into the oven with a paddle onto a preheated surface and had crisp crusts. YUM. The Swiss Stick, and the Epis were put into the oven on the trays each was shaped on.
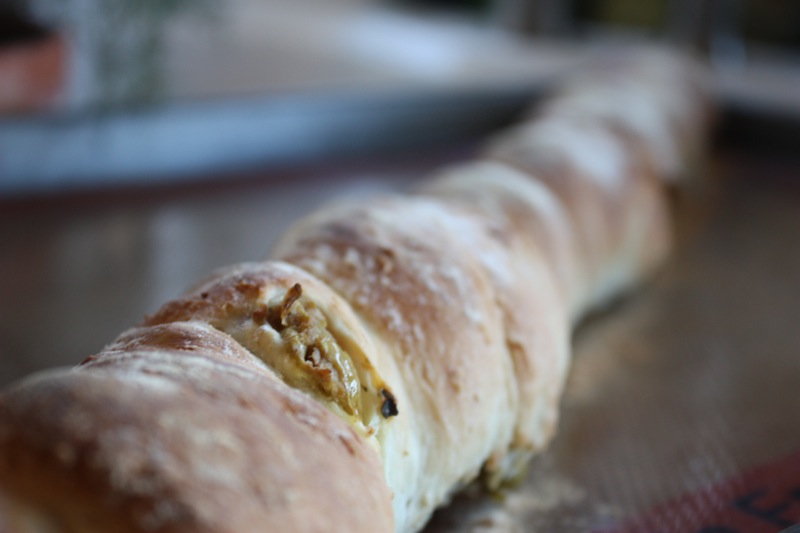
I was excited to see the Swiss Loaf. Can you tell?
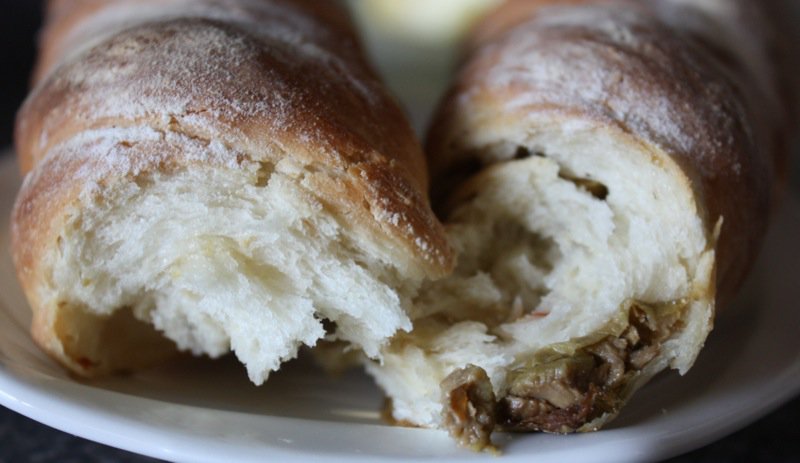
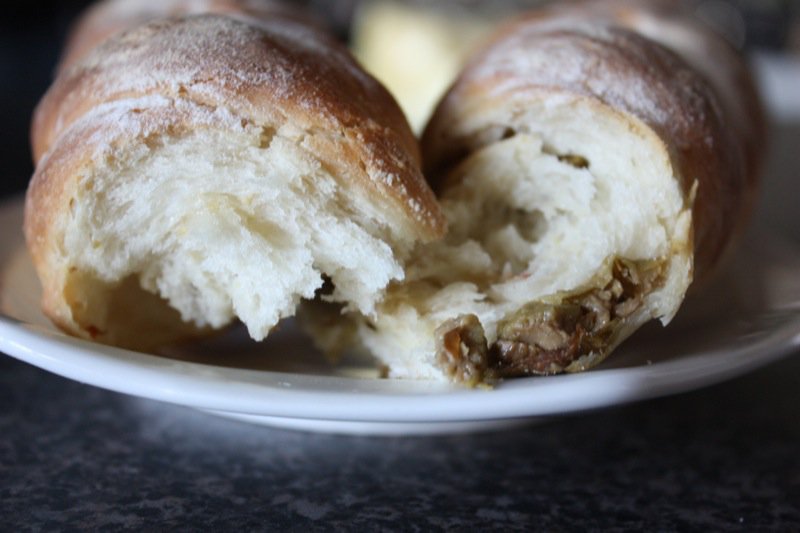
Seriously, look at the olives oozing out of the crusty loaf. I just wanted to rip it, and bury my face right in it. It is so exciting to learn something new that is as gratifying and as simple as this loaf is to make. Thank you, Maria!
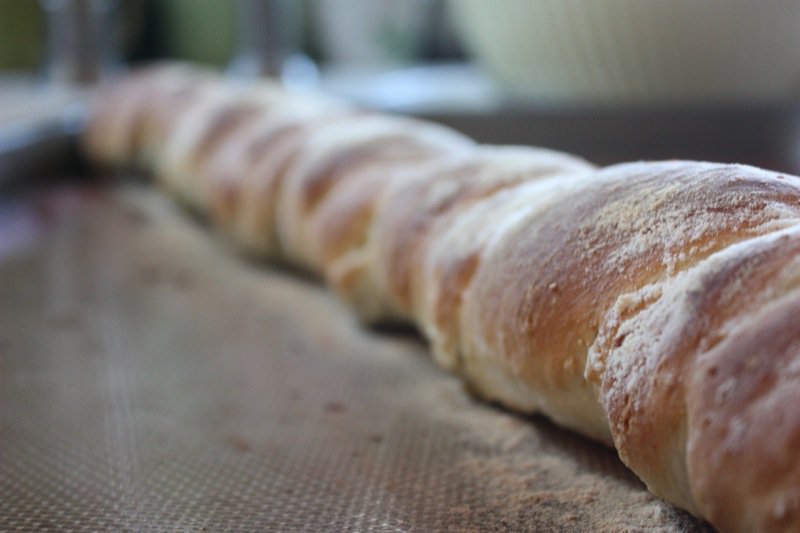
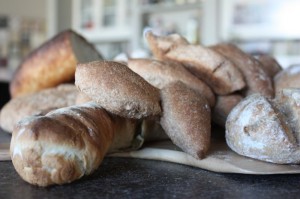
And the epis were pointy! I adore pointy epis.
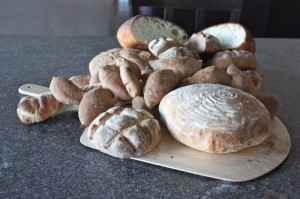
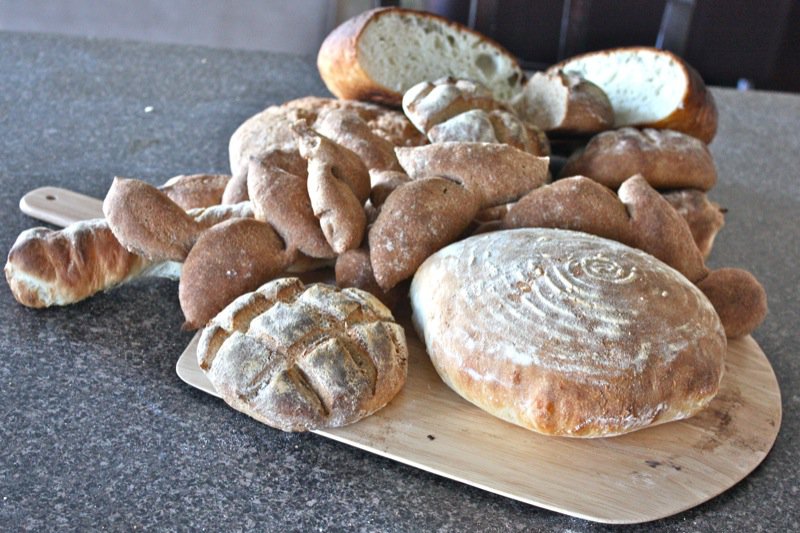
Quite a reward for a couple of hours of work. Really delicious breads. And gorgeous! If only we had an outdoor oven like Colleen and Vince! Their bread is fantastic baked in that oven!
But, we didn’t do too badly without one!
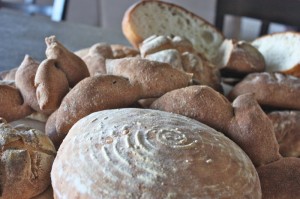
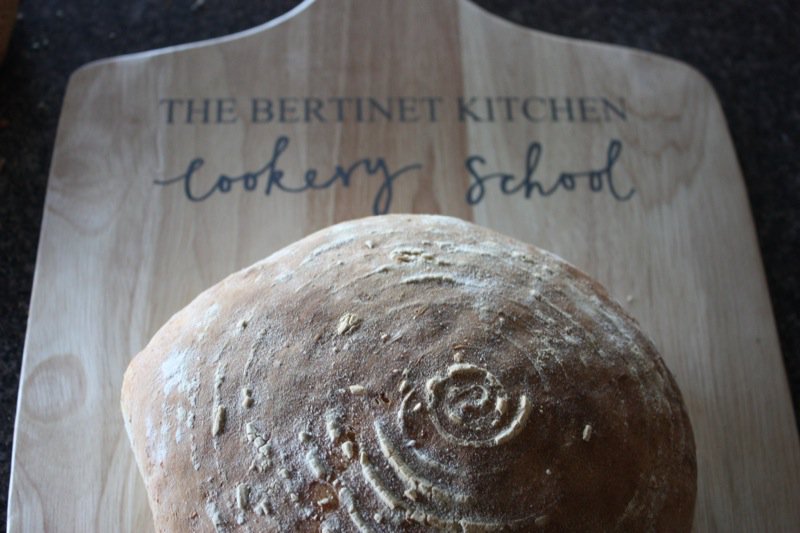
I love the circular marks made by proofing bread in a banneton! Gorgeous.
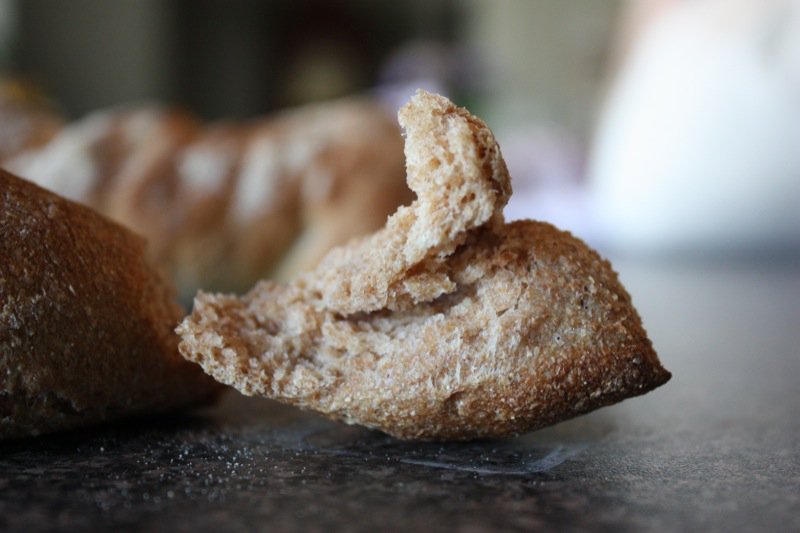
The top is the bread made with the red fife flour. It was delicious, moist, dense, fine, and I thought bold in nourishing whole wheat flavour. I will definitely have to do a bread tasting sometime. The flavour notes described on the Slow Food International site for the Red Fife bread is motivating!
Recipes
Basic Bread Recipe from Bertinet Kitchen Cookery School:
- 2 loaves in white in the Thermomix and
- 2 loaves in brown by hand
Recipe can be found here.
Swiss Stick Recipe from Betty’s Cookery School:
We made only one stuffed with pitted Sicilian olives. Mmmmm….
Ingredients:
- 200g strong white flour (we used all purpose for lack of any other at the time)
- 3g sea salt
- 10g fresh yeast (we used dry)
- 130ml tepid water
- 5m extra virgin olive oil
- 100g rice flour for dusting and rolling (I was out, so we used all purpose white)
- optional: 50g olives, sundried tomatoes, etc. for stuffing (we used as many as we thought we needed as we sprinkles them over the dough: definitely more than 50g)
Instructions:
- Mix flour and salt together in bowl
- Dissolve yeast in water (we did not do this)
- Add the yeast mixture and oil to the flour mixture (we added all three to the flour mixture at once)
- Mix the ingredients together and knead (we used the Thermomix) “Betty” notes that this dough is much softer than a standard bread dough
- Proof in a warm area in a lightly floured bowl until doubled in size and springs back slowly when touched (30-60 minutes, depending upon the room temperature)
- Gently release dough from the bowl and stretch into a rectangle (about 25 cm long); roll in rice flour and twist randomly to form the shape (we sprinkled the olives on at the rectangle stage, folded the dough over them in thirds, and then twisted to form the shape)
- Place onto a line baking sheet and dust with rice flour (we used all purpose); proof again until doubled in size (same time as earlier)
- Bake in a preheated oven at 400ºC for 25 minutes until golden brown and crusty
Yorkshire Cobble Bread Recipe:
Special equipment: 2 balsa baskets (which we didn’t have – any one want to go in on an order?)
Ingredients:
- 400g strong white flour
- 200g light rye flour
- 10g sea salt
- 10g vegetable fat
- 25g fresh yeast
- 300ml tepid water
- 15ml extra virgin olive oil
- 60ml fresh milk
Instructions:
- Place flour, salt and vegetable fat into the mixing bowl and mix until the fat forms a fine crumb with the flour
- Dissolve the yeast in the tepid water; add the olive oil and milk to the dry ingredients with the yeast mixture
- Mix until ingredients are combined
- Knead the dough (we used the Thermomix)
- Place dough in lightly floured and covered bowl in warm area until doubled in size (and springs back slowly when touched)
- Knead again until the air has been removed and the dough is again smooth (we did do this)
- Divide the dough into 2 portions (we divided it into 4) and mold each into a round ball; rest for 5 minutes
- Form into a loaf and place in balsa basket or roll into a flat round and place on lined baking tray; rest for a good 40 minutes
- Dust with flour and cut cobbles with a sharp serrated knife of a lame
- Bake in a pre-heated oven at 400ºC for 25 minutes until a deep golden brown and sound hollow when tapped (our sounded perfect!)
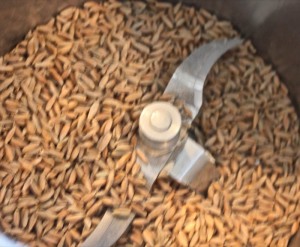
I cherish this experience. I loved working with this heritage flour and with Maria. Next, I will buy the whole grain from The Italian Centre Shop and grind it; grind my usual red spring wheat and make bread and do a tasting of the two. That will be another great learning experience.
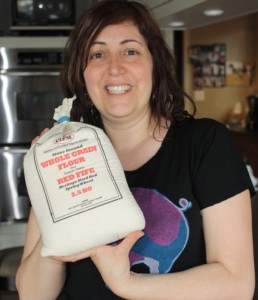
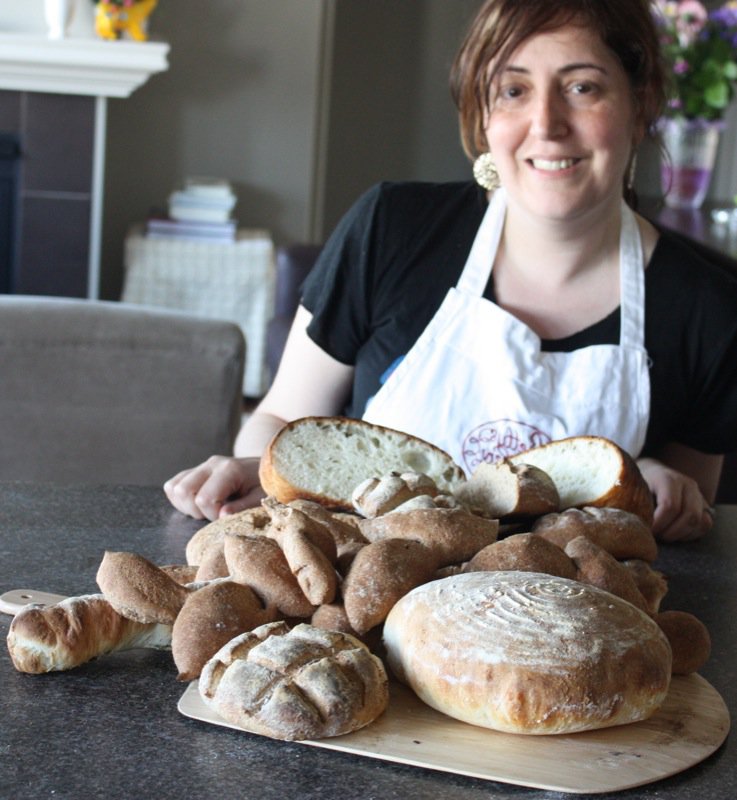
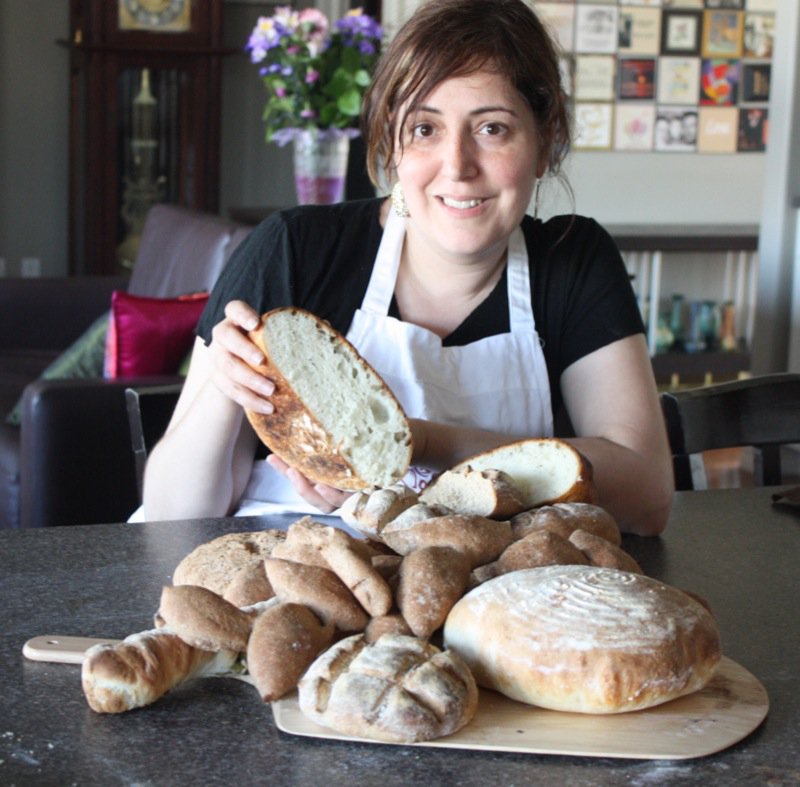
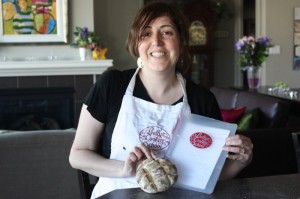
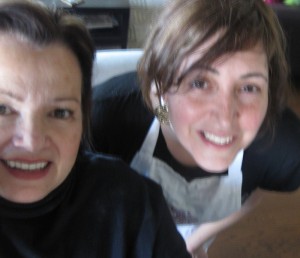
There was no one to take our photo, so I tried and tried and tried. This was the best I could do. Another great day Baking with a Friend!







Oh my… now I have drool on my key board!! I ADORE bread…I haven’t baked a loaf in ages. Suddenly I MUST!! 🙂
Look at all these artisan bread!
I love especially that crusty loaf with olives. Thermomix sounds quite an interesting gadget.
All these breads look fantastic! I’ve never tried any flour except all purpose white flour as we don’t have any other choice in the markets here. I love how brown it makes the bread. I bet its taste is better, too.I love how you shape the cobbles.
I think I need to try some of that Red Fife flour, it looks excellent – so much prettier and wholesome than regular white flour.
Whoah, you are one talented baker daaaaaahling, it all looks completely fabulous. I’ll bring over some butter and jam and we can start getting to work!
*kisses* HH
This just looks sooo professional! Thank you for sharing. I am so inspired to start baking my own bread… now if only I had a thermomix! 🙂
Valerie
This is so neat: I had no idea Canada produced its own artisanal and distinct flour this red fife sounds wonderful! I wonder if I can order it through King Arthur catalog; your breads came out looking like they came out of Poilane! I can smell them from here! Heaven!
I’ll have to look up Poilane, now, Joumana, But, no, King Arthur won’t have it. It is still rare in Canada and can only be found in specific locations as it is a heritage wheat. A few farmers are growing it to keep it available for the Presidio. That is my understanding.
holy moly! look at all that bread you guys baked! i don’t know if i would bake all that in my whole lifetime. i’m not a baker but reading food blogs is actually starting to intrigue and inspire me to bake more. i’d like to be a better baker so that i can bake with my kiddies when they get older. by the way, would you know where i can buy rosewater in edmonton? i saw a recipe for coconut milk & rosewater panna cotta that intrigued me try try.
http://thewitchykitchen.blogspot.com/2010/04/coconut-milk-rosewater-panna-cotta.html
that swiss stick looks very interesting. i love olives and olives stuffed in bread sounds so delightful. i’ve never had a swiss stick before….looks yumms! glad you guys had a great time. thank you for another great, informative post Valerie.
happy baking,
lequan
Rosewater you can buy at superstore, and almost anywhere these days, Lequan. When your little ones are a bit older, I’ll have you all over for a fun baking day at my house!!!!
Of all smells – BREAD !!!!!
Ooo look at all that gorgeous bread and it looks like you two girls had a really good time!
Sounds like the perfect way to spend an afternoon up to your elbows in dough and flour. I have some bread to be baked today for an event, so wish I had some of that flour instead of the whole wheat to be used.
I have heard of breaking bread with a friend but making bread has to be fantastic. What a fun day! Love the bread.
oh dear, that is a LOT of carbs sitting on your table. LOL. i bet the whole house smelled spectacular!!! i love the smell of fresh baked bread.
What a day that must have been. I applaud both of you. Everything looks wonderful and there’s enough bread to start a bakery of your own. I’m really impressed. I hope you are having a wonderful day. Blessings…Mary
Aaaw, thanks Valerie, you’re so sweet! But you don’t know what you’re getting yourself into lol.
That red fife flour looks wonderful. Lucky you to find your lovely baking partner Maria. It is so fun to find friends that share our unique passions and interests. Gorgeous breads you ladies made 🙂 I would love to bite through those crusty exteriors, to the soft doughy centers! xo
Fun fun fun! Great blog post Valerie. Nice to see the Red Fife, all the experimentation, and the Thermomix too. I’m envious of your fun day 😉
I’m impressed that you guys ground your own rye, and of course with the variety of breads baked. I’ve said this before and I’ll say it again, homemade bread is heavenly!
Valerie you two are amazing. When I saw the photo of the post I thought, “that doesn’t seem like Valerie to use a cookbook/interent photo of her blog” When I finished reading I realized you two had baked ALL that beautiful bread yourselves.
The bread looks so fantastic that I am speechless.
I am amazed!
Wow Valerie !!! Your bread looks wonderful. I wish I would have a baking partner here…but at least the Red Fife is growing local here.
I’m impressed that you guys ground your own rye, and of course with the variety of breads baked. I’ve said this before and I’ll say it again, homemade bread is heavenly!
As the godmother of today’s Red Fife movement http://en.wikipedia.org/wiki/Red_Fife_wheat I can point you to an Alberta organic farm where I grow my foundation Keremeos Red Fife wheat. Our ‘brand’ is ‘Faith’ Red Fife, grown in southern Alberta. http://www.ehnesorganic.com/faith-red-fife.html
The ‘terroir’ of each farmer’s Red Fife will vary year to year because of the genetics interaction with the soil and the weather. So experiment to find the baking profile you wish as well as the taste. So you can’t judge all Red Fife by one bag of flour.
Red Fife is the first ‘variety’ and ‘farmer’ identified flour product available in Canada. That was my intent 25 years ago when I started bulking up the seed.
Want to read more check out my book in the Edmonton public library Demeter’s Wheats or order a copy from http://www.grassrootsolutions.com/
Sharon Rempel
Sharon!
Thank you SO much for your invaluable comment, information and links that you added to my site. That is exactly why I write about my experiences… to learn more, to foster discussion, and to provide an opportunity for interaction. Where is your farm located? I am in the process of planning a fieldtrip in the fall for Edmonton Slowfood members and your farm might be a perfect stop and information session!
You bet I will read your links and get your book. Bravo for you! Where do you sell your grain in town?
Big Hug,
Valerie
What an inspiring depiction-makes me want to bake some bread myself.
An FYI- the Italian Centre Shop sells Red Fife Wheat FLOUR- grown & milled by the Ukranian Cultural Heritage Village. Can’t wait to see what they bake up at Indulgence.
HI, Kim.
Didn’t I say that? They also sell the wheat grain or berries. Don’t wait for Indulgence (though I am thrilled you are going!) DO it now. I just made some more yesterday and was actually nibbling a piece while reading your comment. It is so nourishing.
🙂
Valerie
Can you tell me where I might buy red fife flour in Edmonton?
Thanks
HI, Brian,
Both Italian Centre Shops carry it. Ask at the Bakery or call the manager if you cannot find it.
🙂
Valerie
I’m not sure but Red fife wheat and flour could possibly be found at Strathcona Farmers Market. I believe the name of the table is Golden Forest Grains, a local organic farmer north of Edmonton. I’m not sure what brands of wheat they carry, you would have to check with them. Fabulous article. Cheers…
Chris
Hi, I would just like you to know that I grow the Red Fife wheat here in southern Alberta. I obtain the original seed from Sharon Remple. I started to grow the Red Fife when she had approached me 2 years ago with the wheat. Also I grew another older wheat called Selkirk, another hard red spring wheat. I also have available Emmer, an ancient grain from 7000 to 9000 years ago.I can ship these at any time.
Bernie
Berie responded: I am working on and checking different shipping to Edmonton.
I have dropped my pricing for The Red Fife and the Emmer
The price for the Red Fife is $30 per bushel and the Emmer is $38
It may make a bit of difference in shipping depending on the quantity
The cost to ship to Edmonton would be $30.67 for 60 lbs. I would need to know your friends address to get her a shipping rate.
Hope this helps.
I read many questions about the use of Red Fife flour in Bread machines. I just made my first loaf and it looks perfect! I make all measurements by weight on a small digital scale. Two old machine recipe books give metric measurements for the flour and water. 30 grams per ounce of water and 150 grams per cup of flour. The recipe added 1/2 cup of gluten. I have been using the weight method for all breads in any of my three machines. The loaves are consistently perfect. I can hardly wait for the loaf to cool!
Stew
Couldn’t agree more. I do the same thing.
🙂
V
Baking some bread right now – the regular Friday task along with watering the plants and efilling the birdfeeders. Always satisfying when making bread – especially Red Fife. But, ladies, please be sure to use nets on that hair!
HAHA Peter!
We use nets on our hair when we bake for others – but at home, in our own kitchen, baking for ourselves, my tornado proof hairspray works very well!
;0
Valerie
I’ve tried a similar recipe twice with a stand mixer and using the exact same stone ground Red Fife hard spring flour (that mill is two hours from me). I’ve noticed both times that after ten minutes of kneading at medium speed, the dough dramatically changes texture. It goes from a standard dough type to a sticky, thick pancake batter type. It seems like I’m doing something wrong. Advice anyone? Thanks in advance!
I don’t use a stand mixer.
🙂