Fruit Bread: A Traditional Family Christmas Morning Favourite
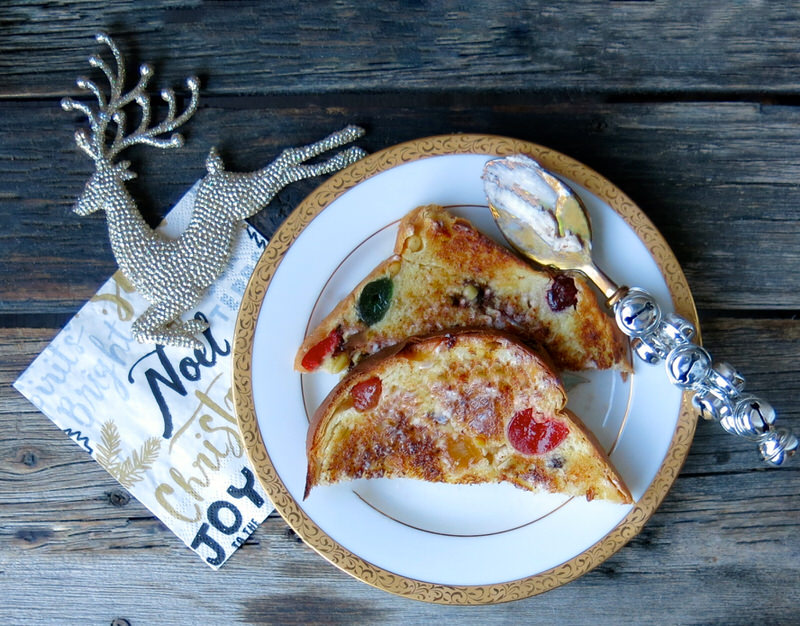
This Christmas, Ragan asked mom to remember to make her famous Holiday Fruit Bread. As our family ages, we tend to prepare less of the staples we all know and love as we just cannot eat them all. Yes! It has been a few years since this Christmas Tradition has graced our table. Now, was definitely the time.
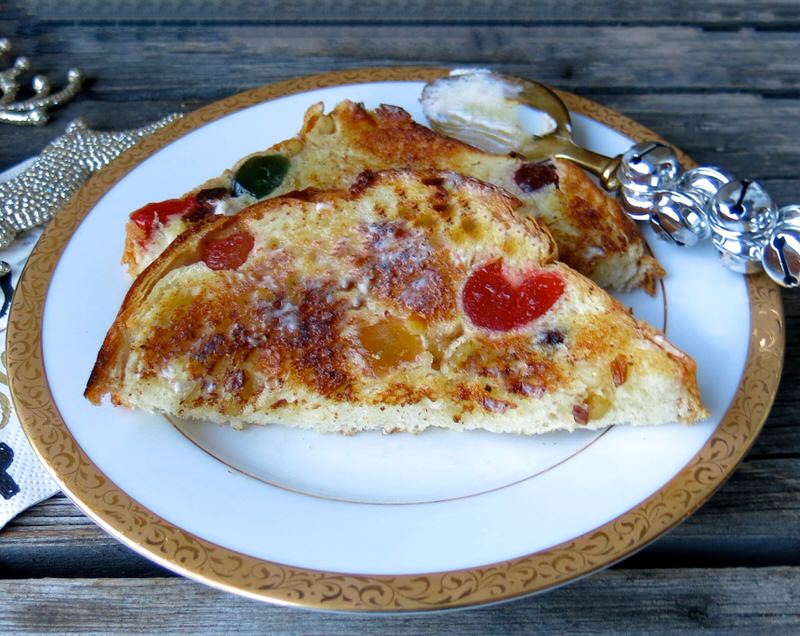
However, mom neglected to get the message: no cinnamon buns this year. She made those, too! Whatever comes from mom’s kitchen is delicious and timeless. This fruit loaf is at its best, however, when toasted. We all heartily agree with that. Golden brown, slathered with butter and every bite a mixture of savoury yeasty goodness, salty butter-rich crunch with sweet chewy bobbles of fruity jewels bursting of bright fruit coupled with sticky sweetness. Does it get any better?
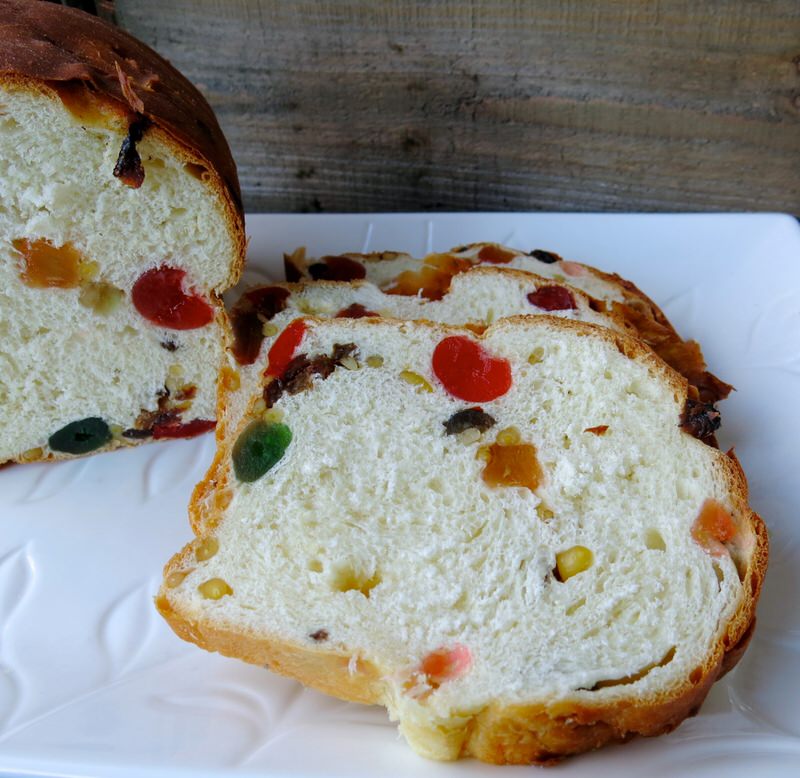
It just does not. The key to Helen’s Famous Canadian Holiday Fruit Bread is using the “Fancy” glazed fruit mixture that provides large morsels of fruit instead of the finer chopped blend available at most grocery stores.
Fruit Bread: Mis and Mom en Place
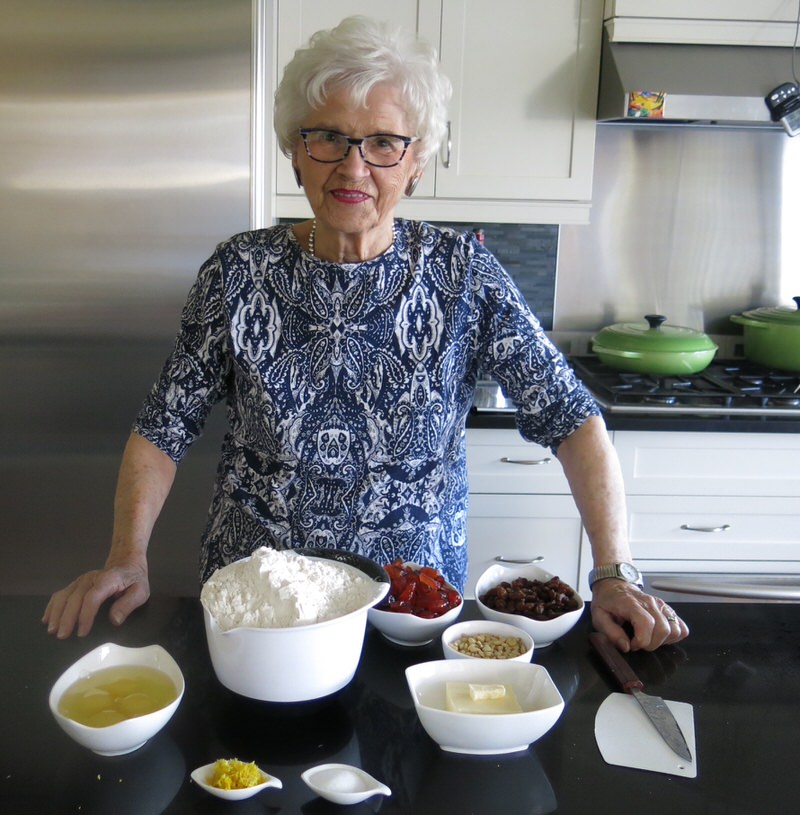
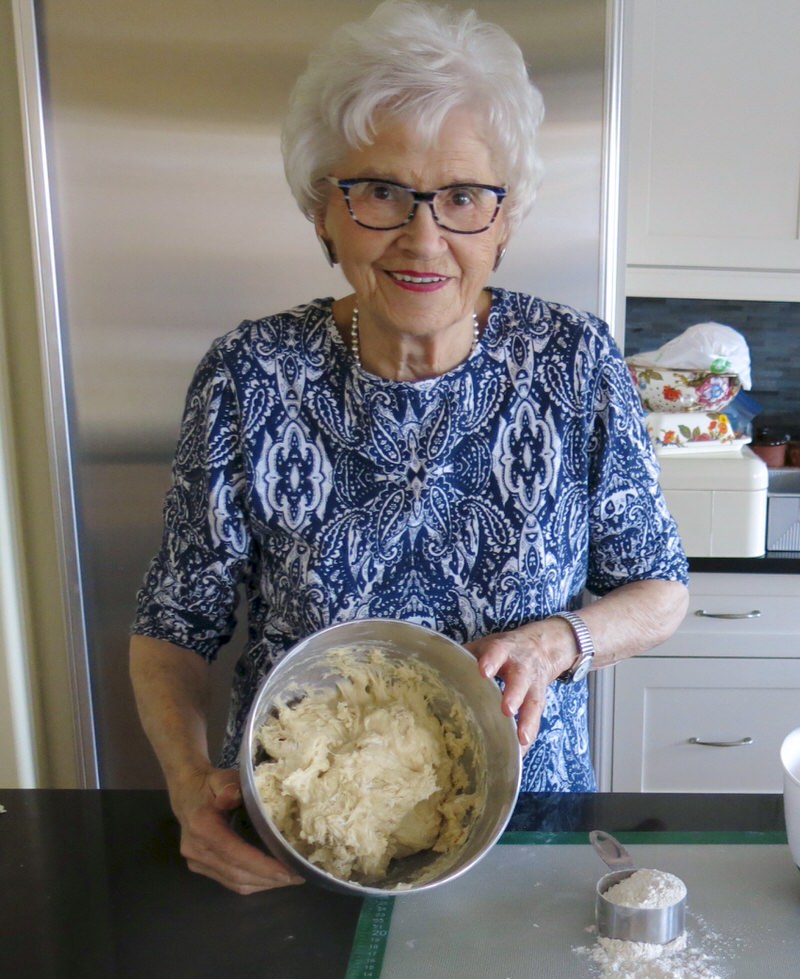
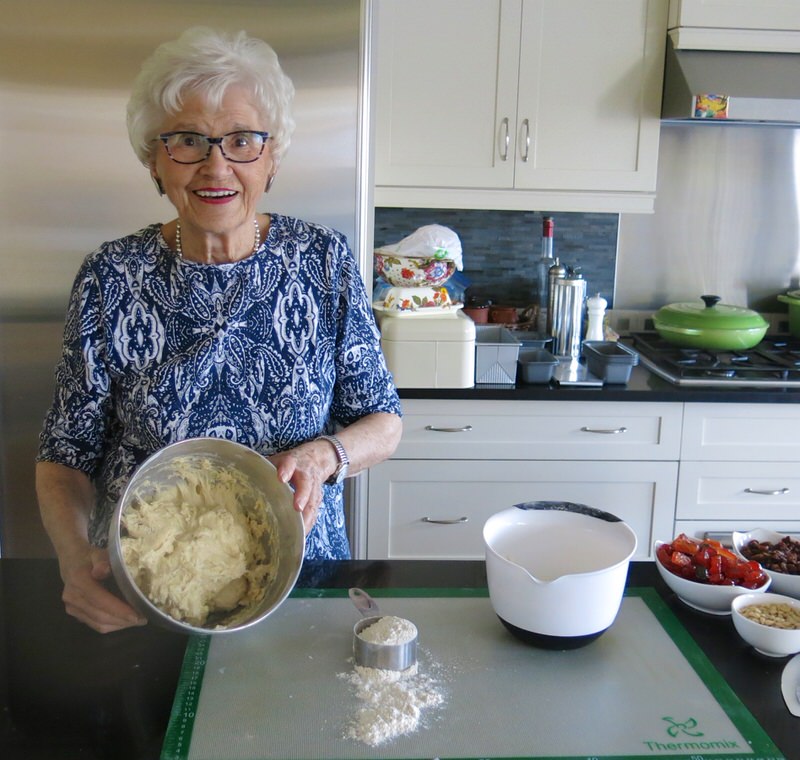
Ready to go, as always, my mom Helen never leaves the house without her hair done, her lipstick and earrings in place and her perfume on.
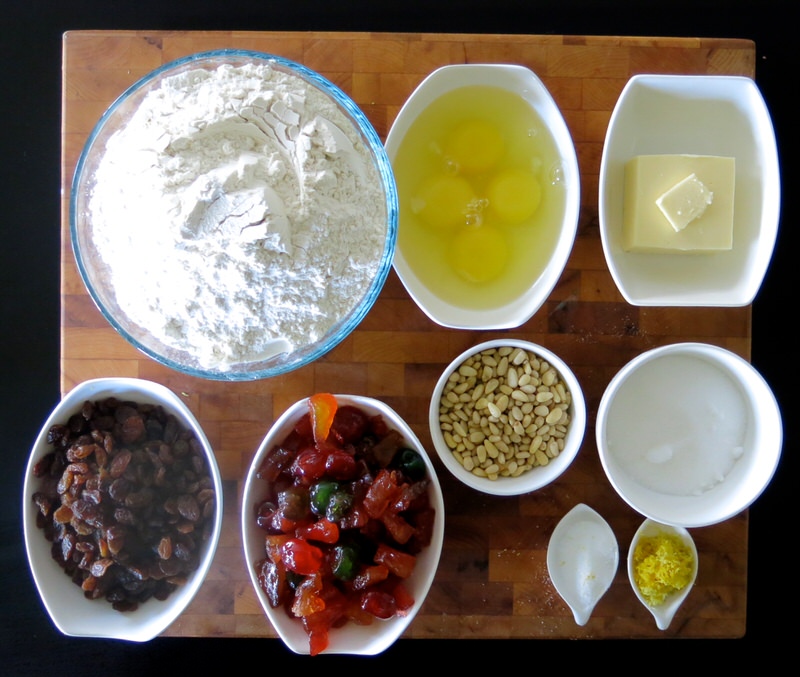
Above, the ingredients for the dough and the filling. The raisins, fancy glazed fruit mixture and pine nuts are added after the dough has proofed.
Fruit Bread: Making the Dough with Helen
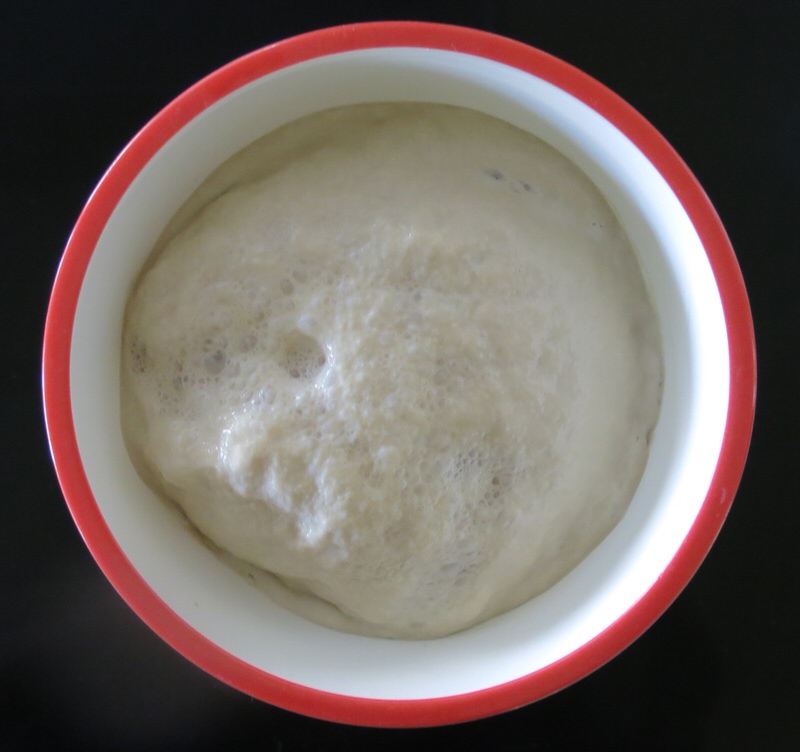
Baking beside my mom has enabled me to capture so many of our traditional family recipes here and to translate most of them to make in the Thermomix machine. I will be doing that with her, today.
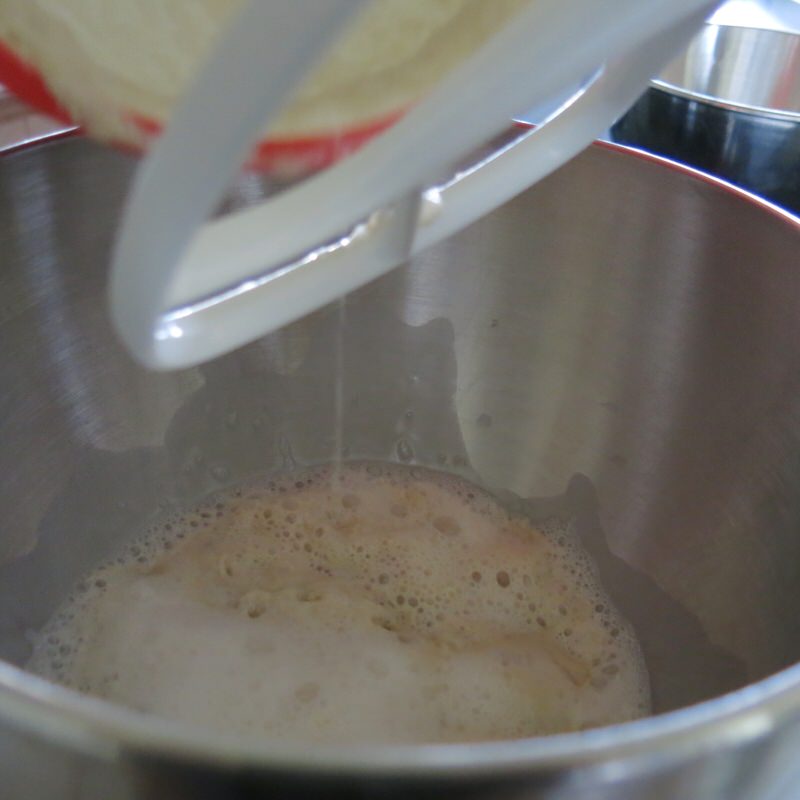
She proofs her yeast and then adds it to the bowl of her mixer.
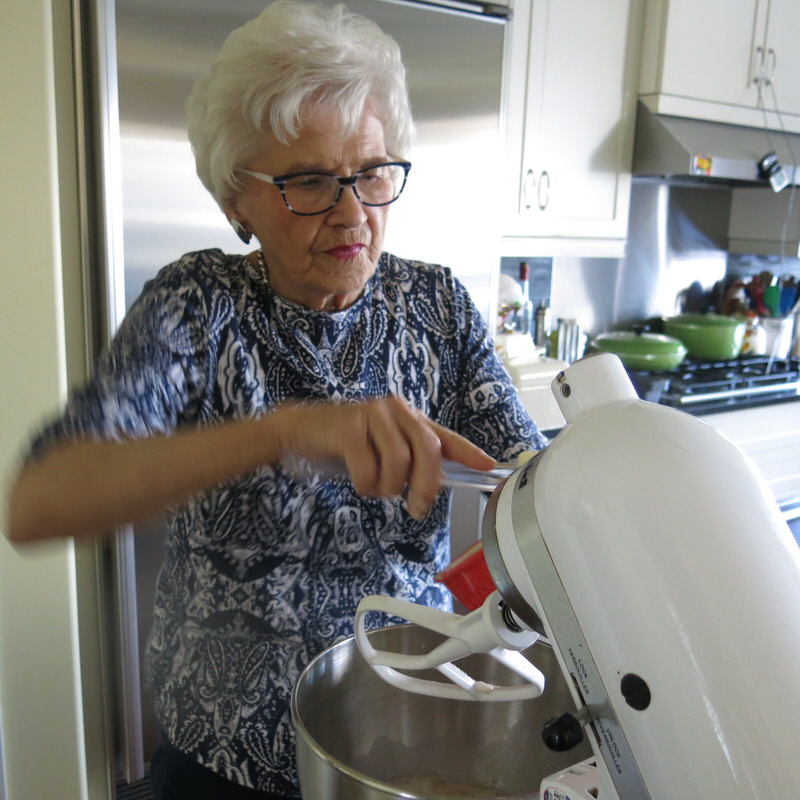
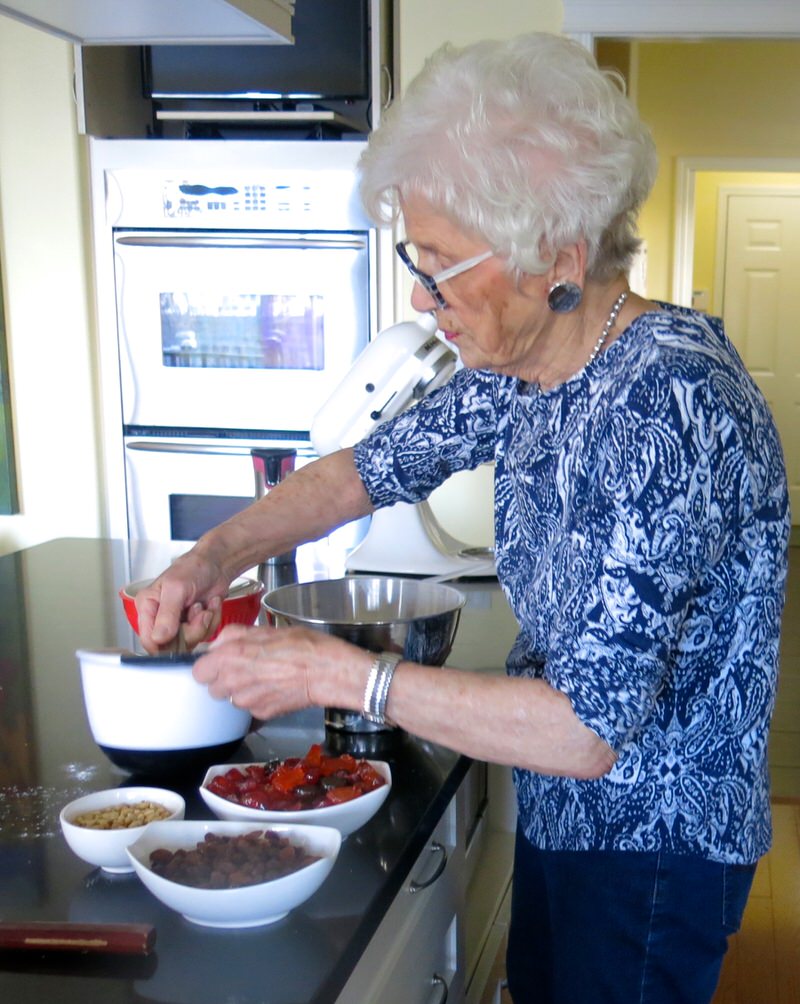
Mom carefully adds sugar, butter, salt, rind and 2 cups flour into her mixing bowl with the yeast mixture, above, and below left is what the dough looks like once combined.
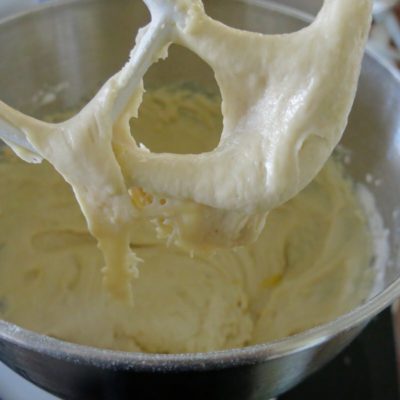
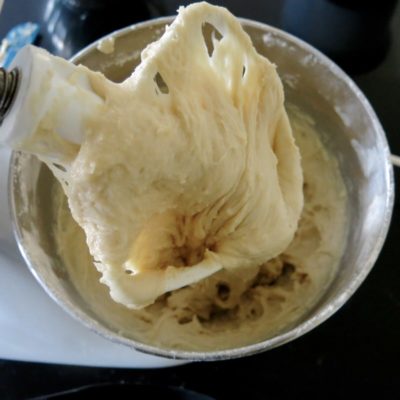
She then added more flour and eggs and continued to whisk as above, right.
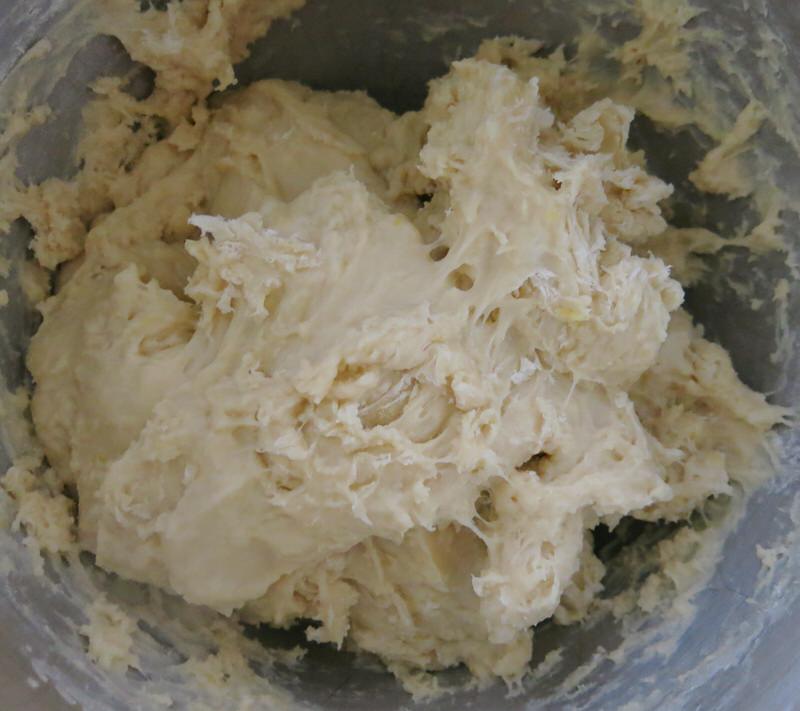
Finally, after stirring in the remaining flour, the dough has clumped together and formed a softball. She is ready to knead it.
Fruit Bread: Kneading the Dough with Helen
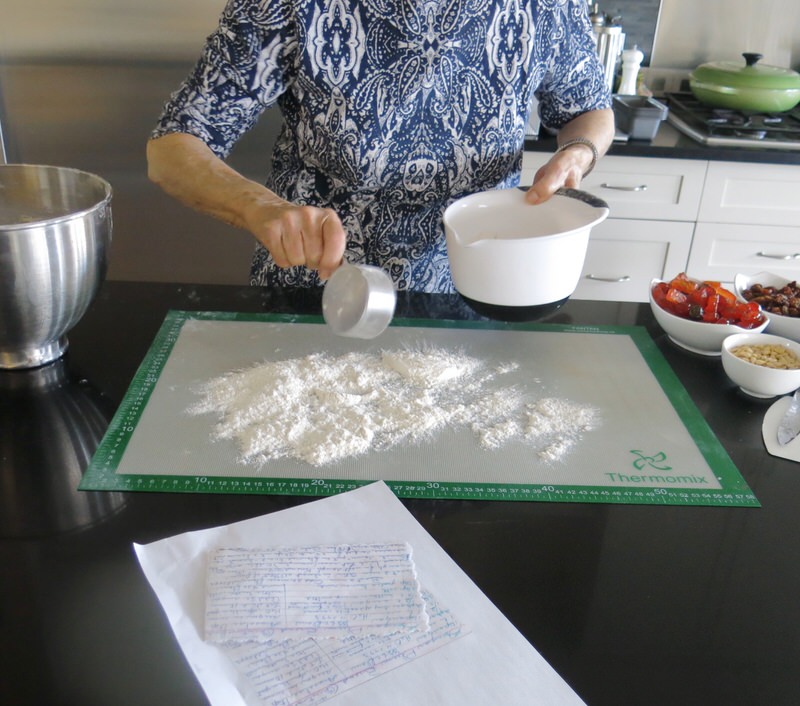
Placing her dough on a lightly floured work surface; she then kneads vigorously for 8-15 minutes until the dough pops and is elastic. Kneading is daunting and does require skill and practice. However, the resulting loaves are so worth the effort!
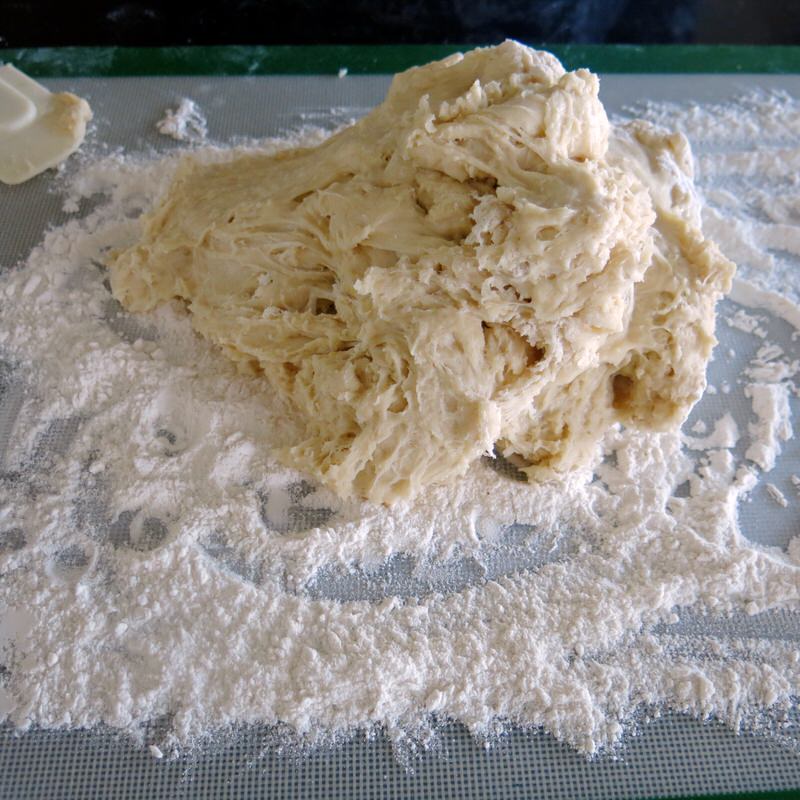
Did I say “lightly floured workbench”? Yes, I did! That is definitely my advice, but my mom makes her bread “old school”. I have managed to rewrite her recipe to include all this bench flour (maybe not all), but as much as necessary, to create her famous recipe.
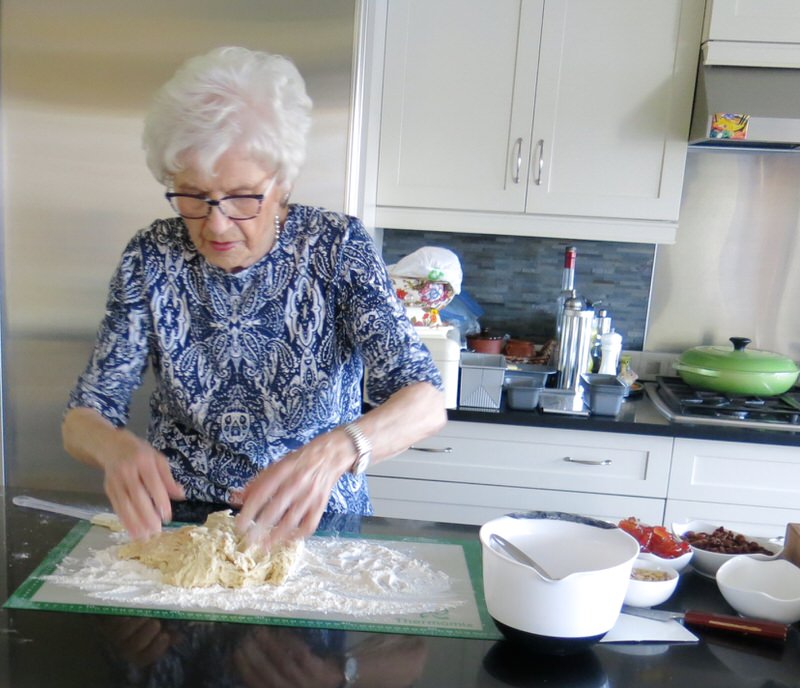
Granted. It is a very sticky dough. Even when I translated the recipe to make in the Thermomix machine, I did honour mom’s process and recipe. The dough is very sticky which is part of the success of its gorgeous flavour and texture.
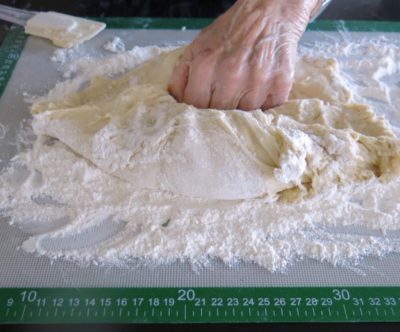
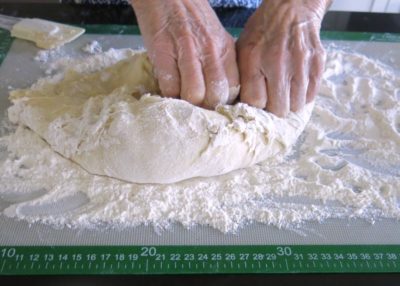
Like riding a bike, mom knows what to do with her dough. She is not afraid. Her confidence is inspiring as I watch her create a vibrant, elastic dough ready to proof.
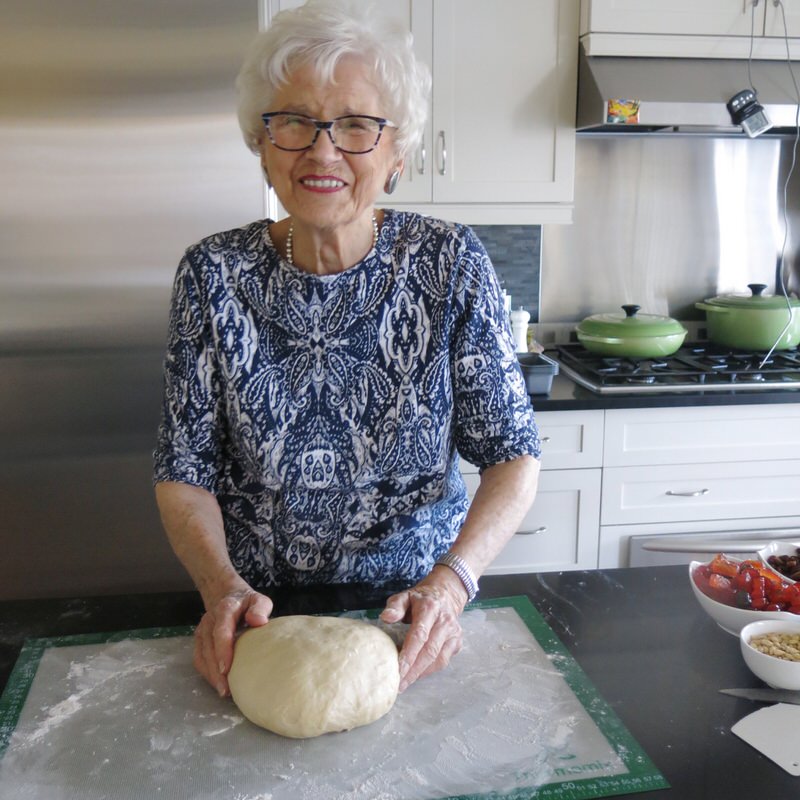
See? Now, into a well-floured bowl with a damp cloth to cover and it will take a couple of hours to double in size.
Fruit Bread: Proofing the Dough with Helen
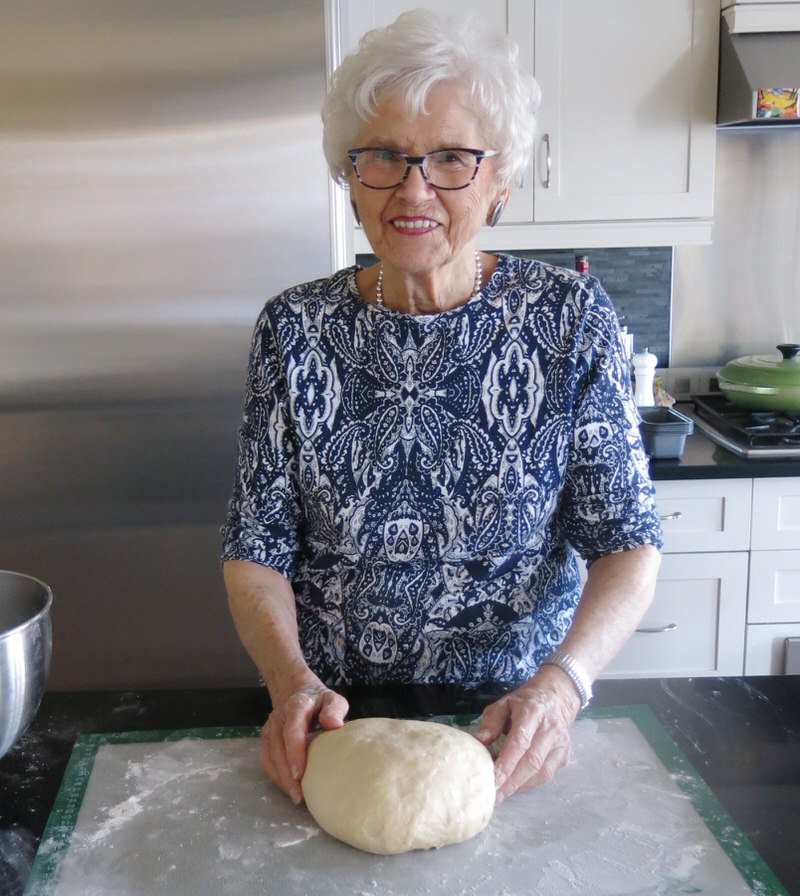
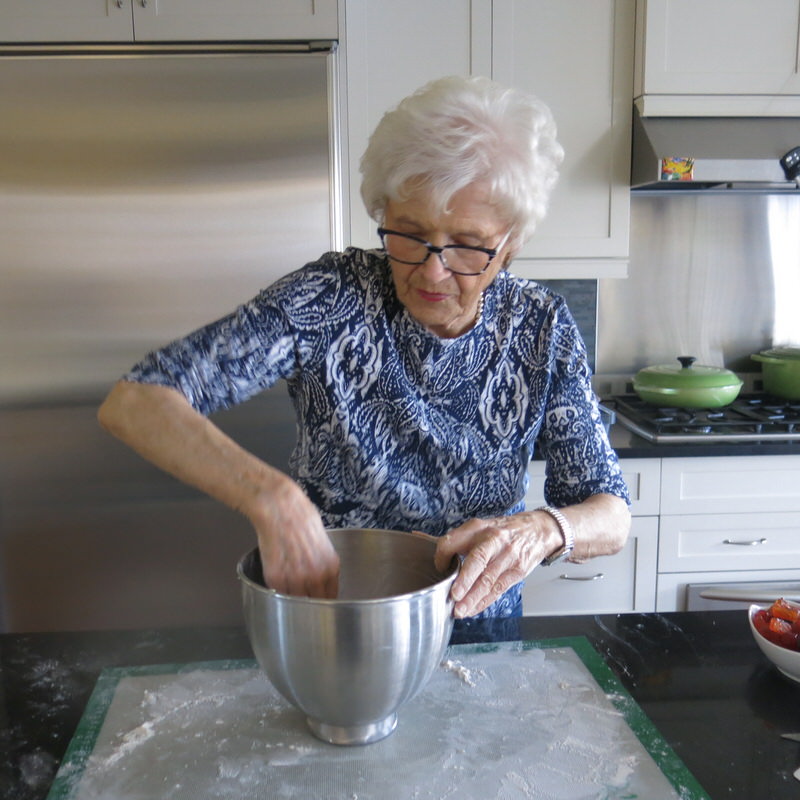
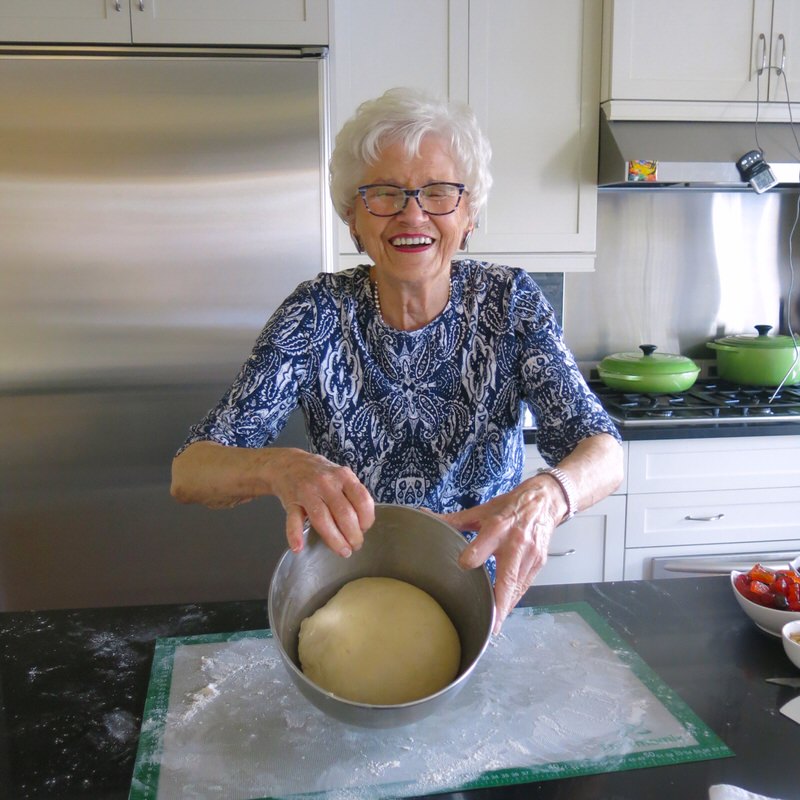
It is so gratifying to get that little dough ball sitting proudly in its proofing bowl.
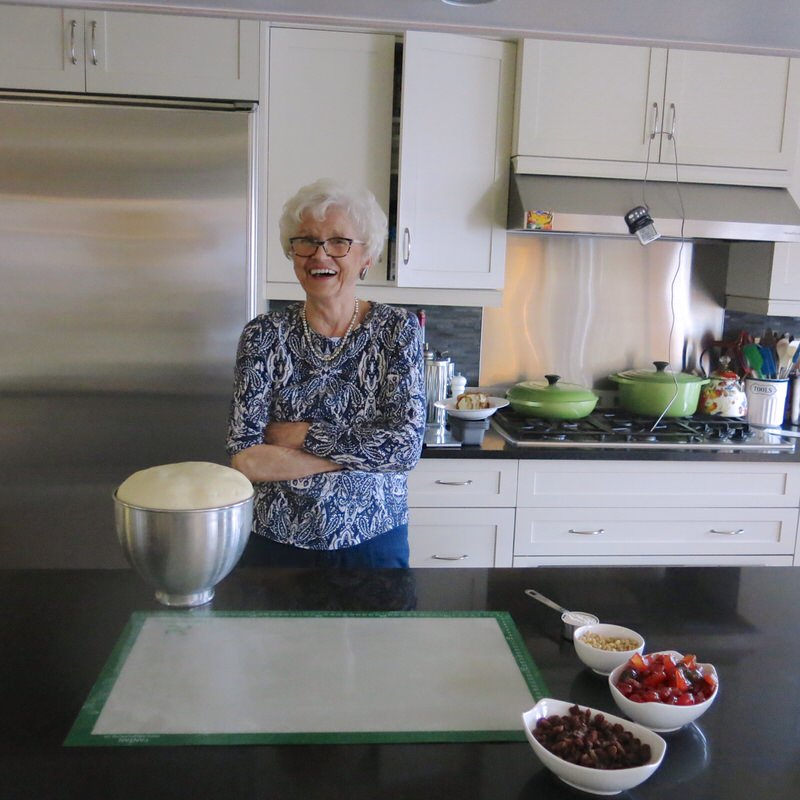
And two hours later, almost… look at that rise!
Fruit Bread: Making and Kneading the Dough in the Thermomix Machine
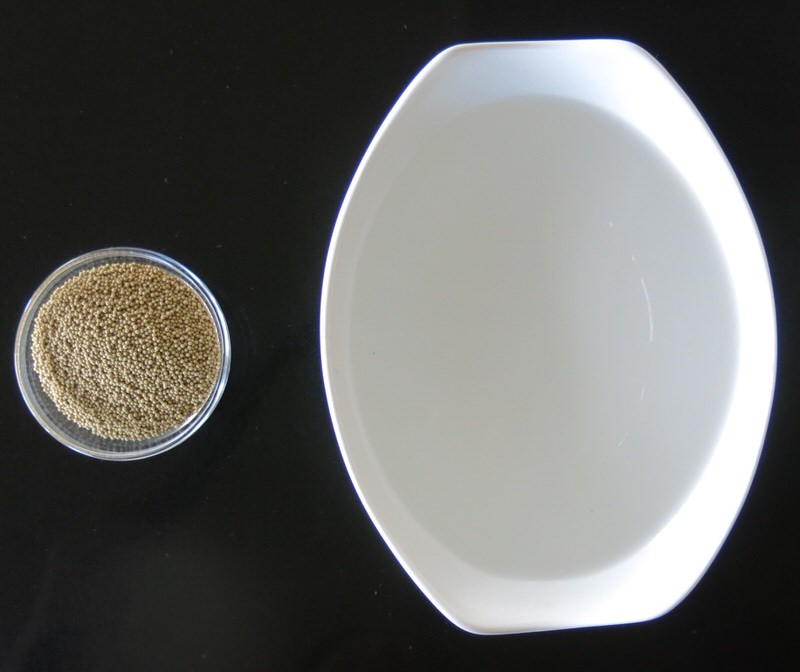
When making the dough in the Thermomix machine, or even without it, if you use your yeast often and store it in the fridge, you do not need to proof it. Proofing yeast used to be important to be sure it was alive as we only made bread on holidays. If you make bread often, no need to proof. You know your yeast is alive and well.
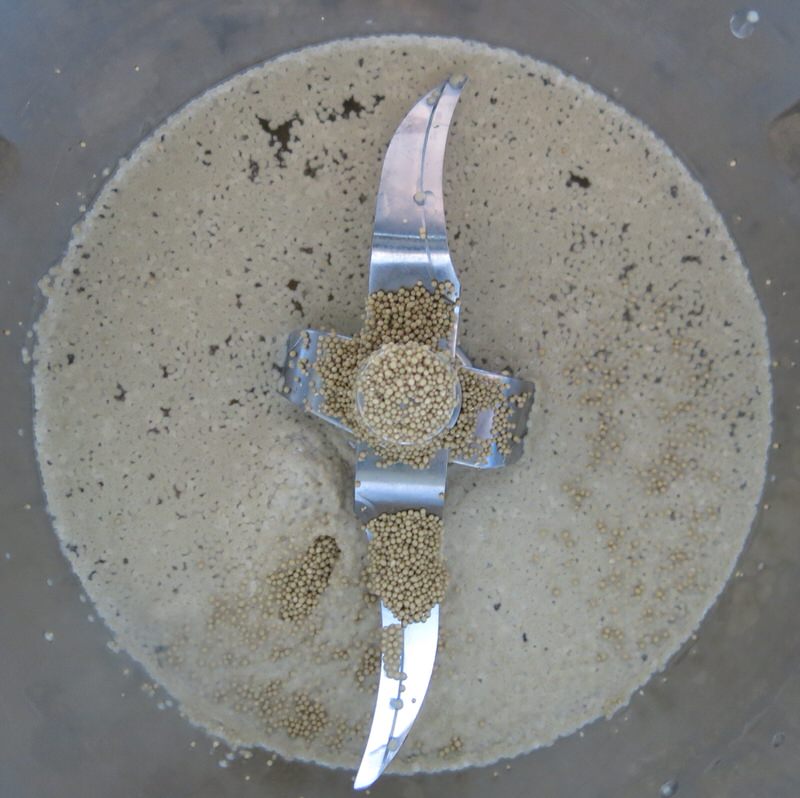
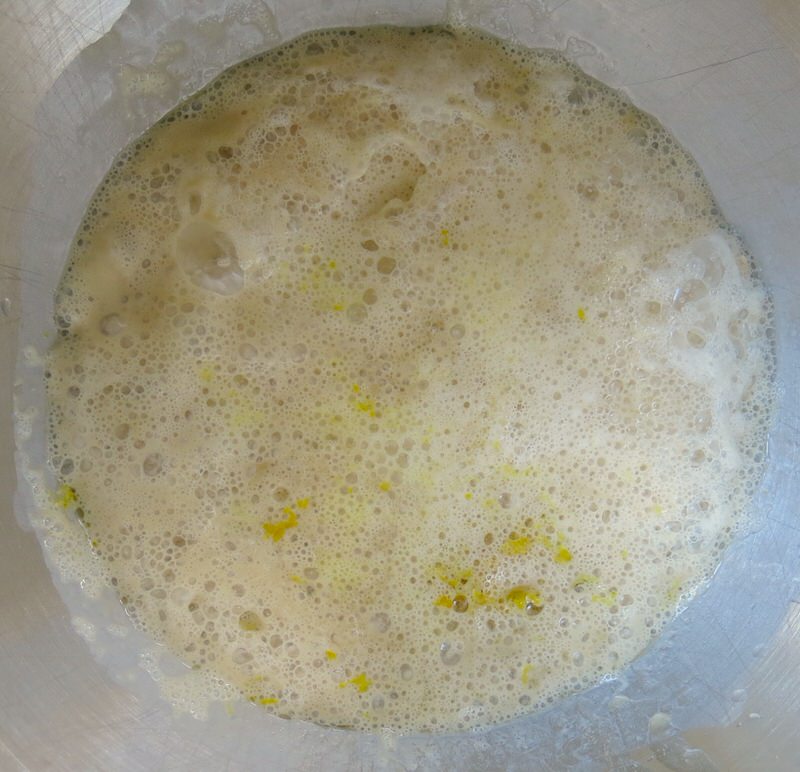
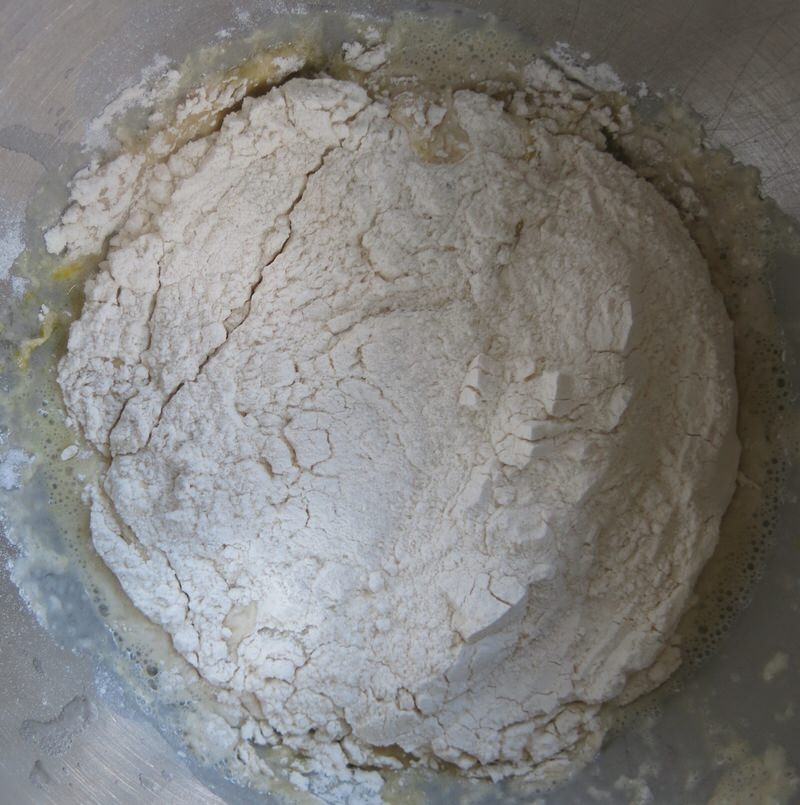
So, I weighed the items into the Thermomix mixing bowl, not exactly in the same order mom did hers in, but in a similar fashion.
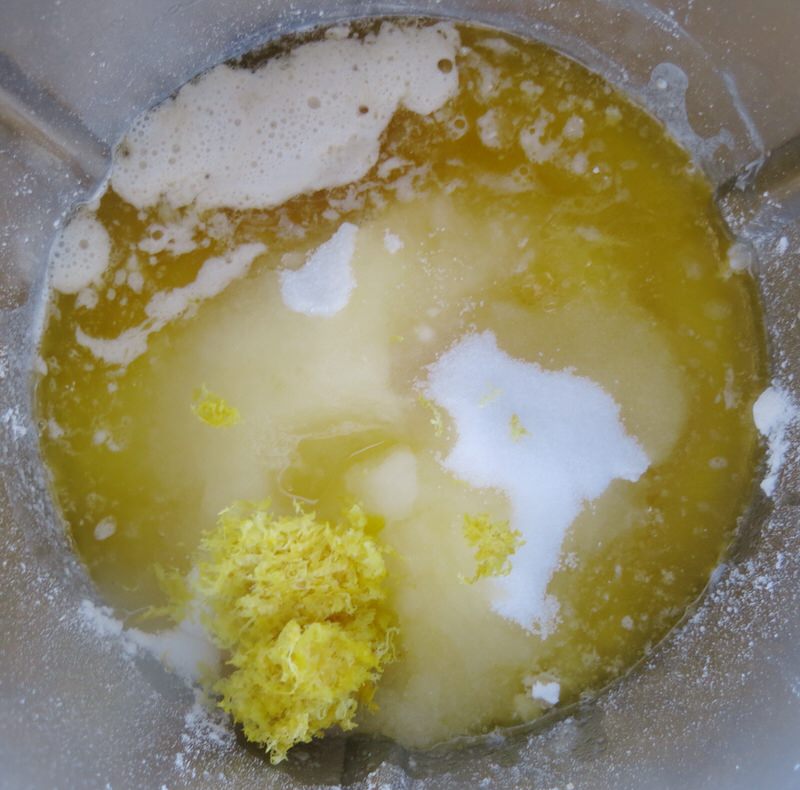
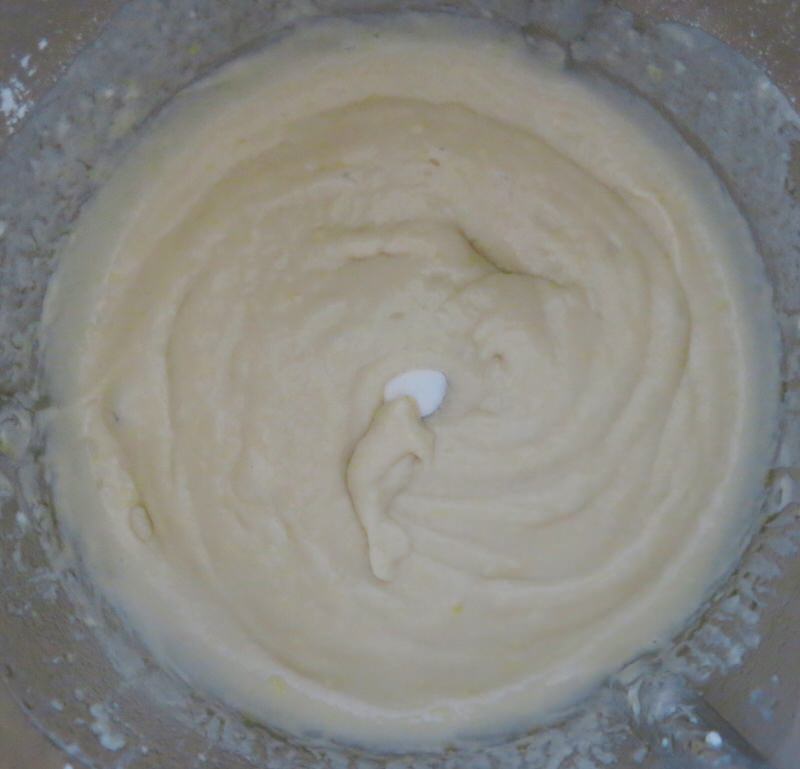
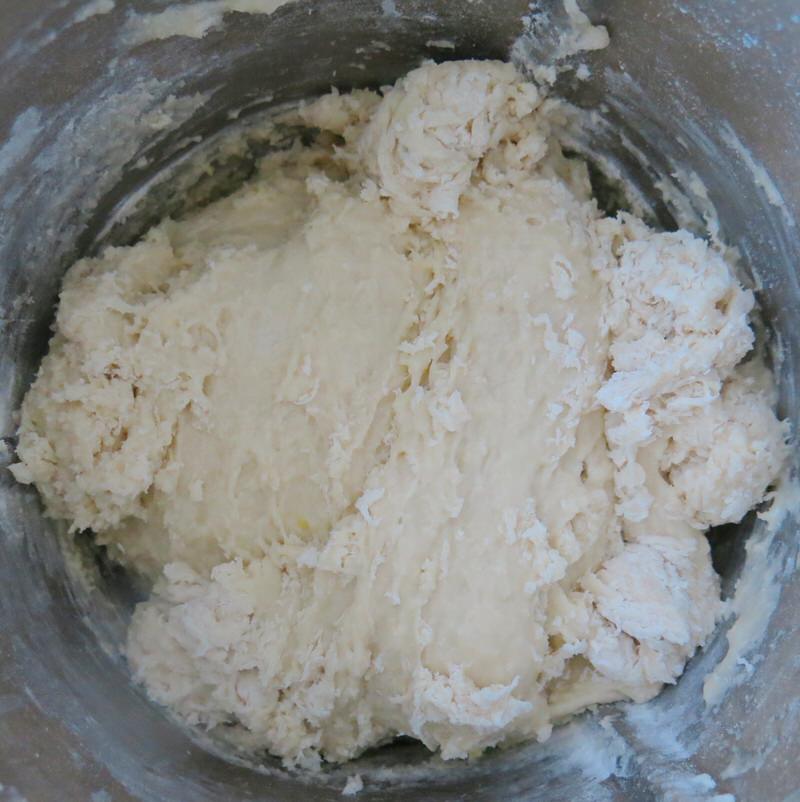
Adding the flour until the dough clumped and then kneaded mine in the machine. No sweating for moi.
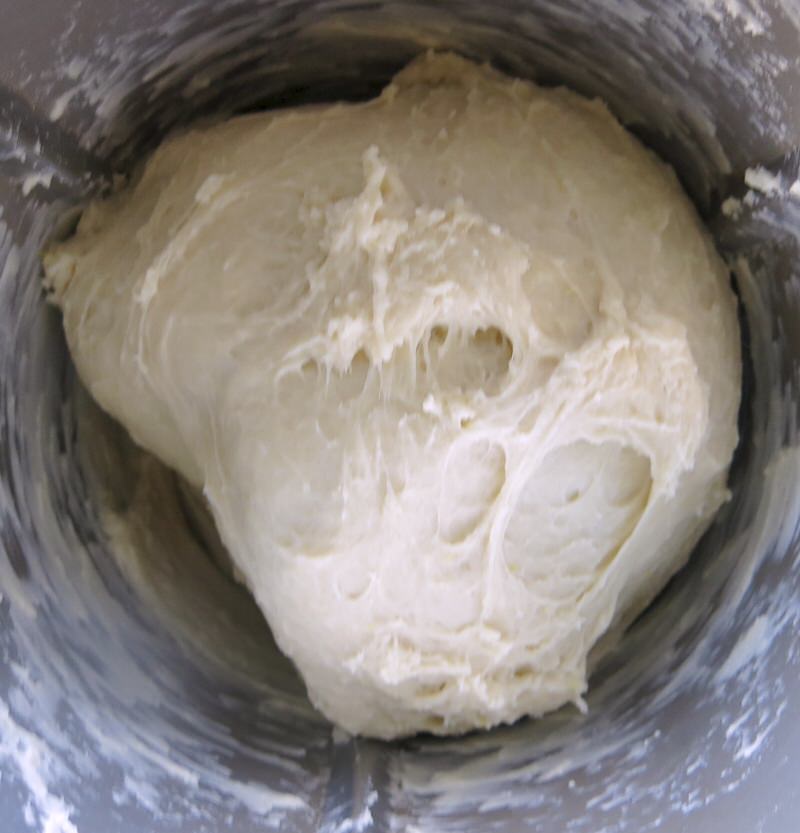
Clearly, the dough is elastic and ready to proof.
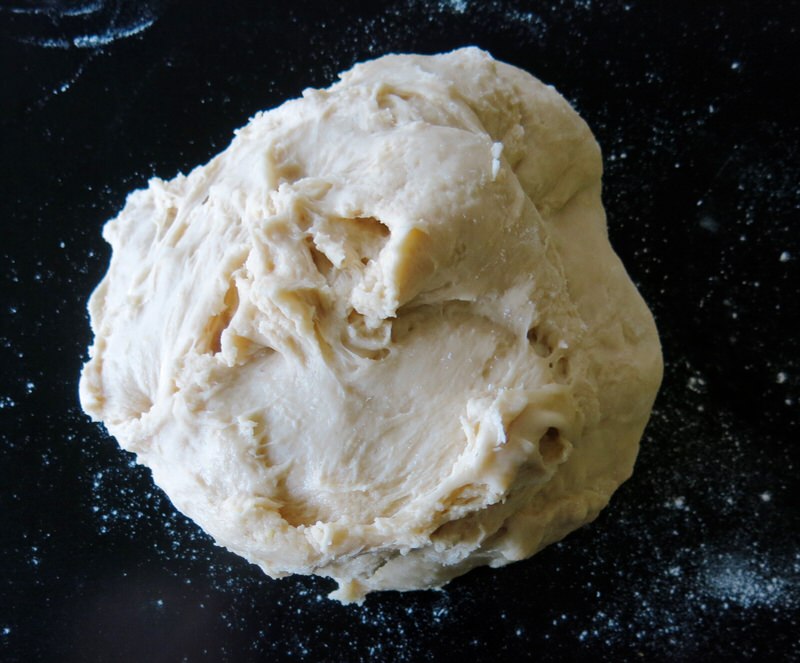
So gorgeous!
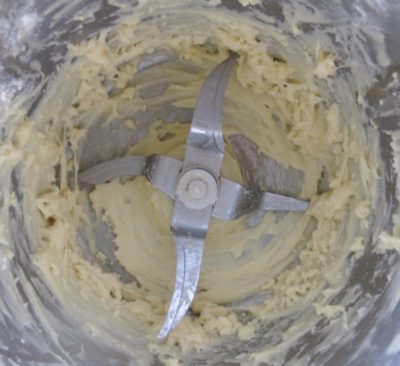
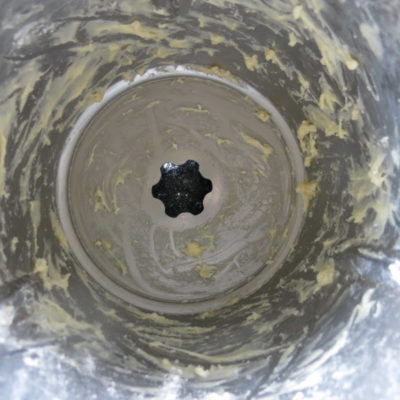
However, it is mightly sticky, remember? I put the bowl back on the base and whisked it on high to remove the sticky dough from the blade, far left. Then, removed the blade and rolled out the rest of the bits before washing, as best I could.
Fruit Bread: Rolling the Dough and Incorporating the Filling
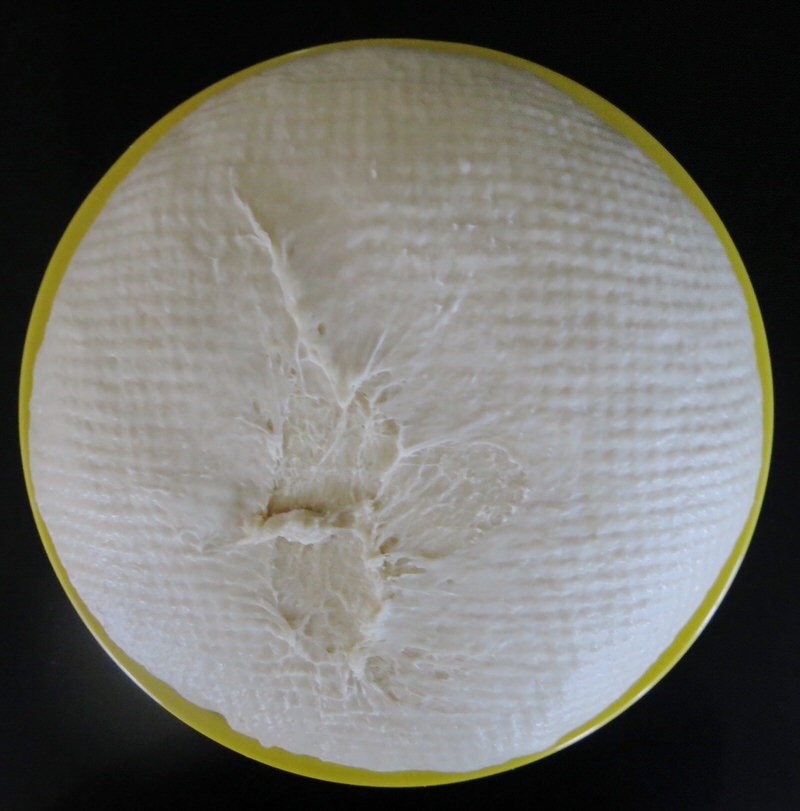
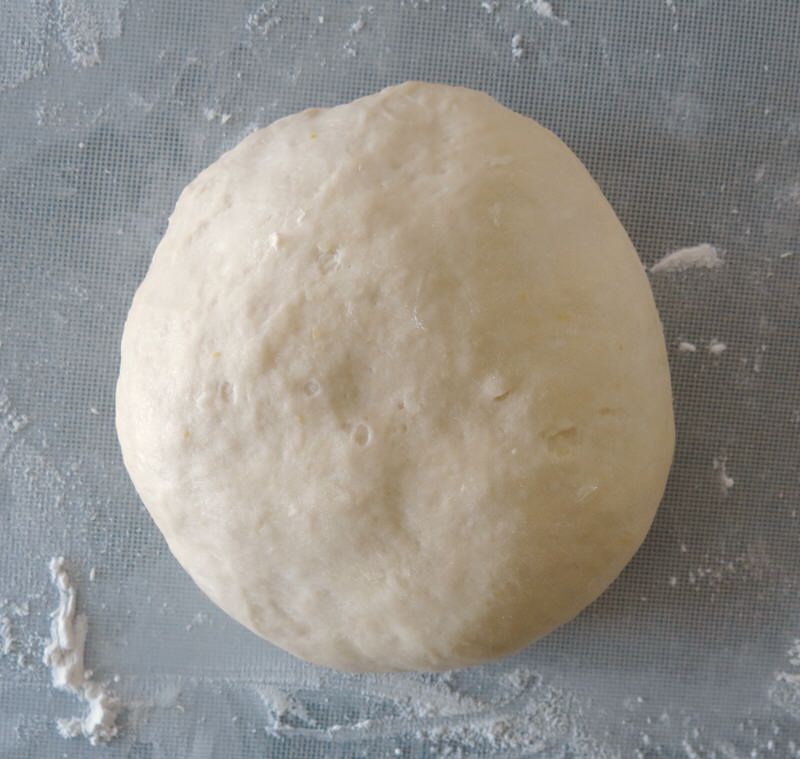
I did not knead my sticky dough further by hand. I simply put it in a bowl, just like mom, and proofed it.
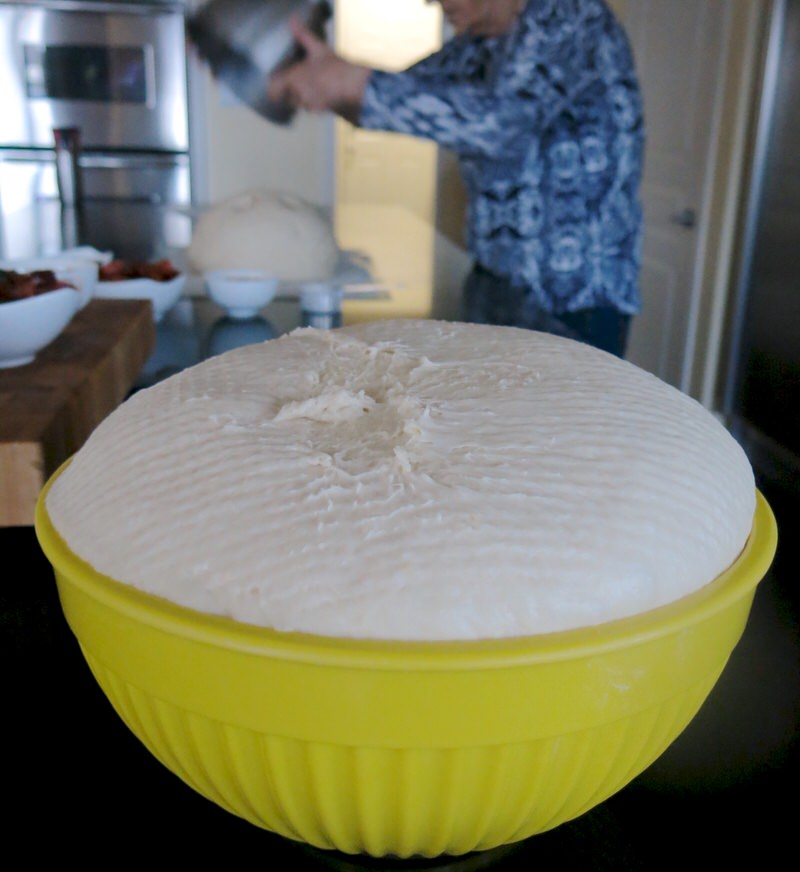
Gorgeous looking dough, too!
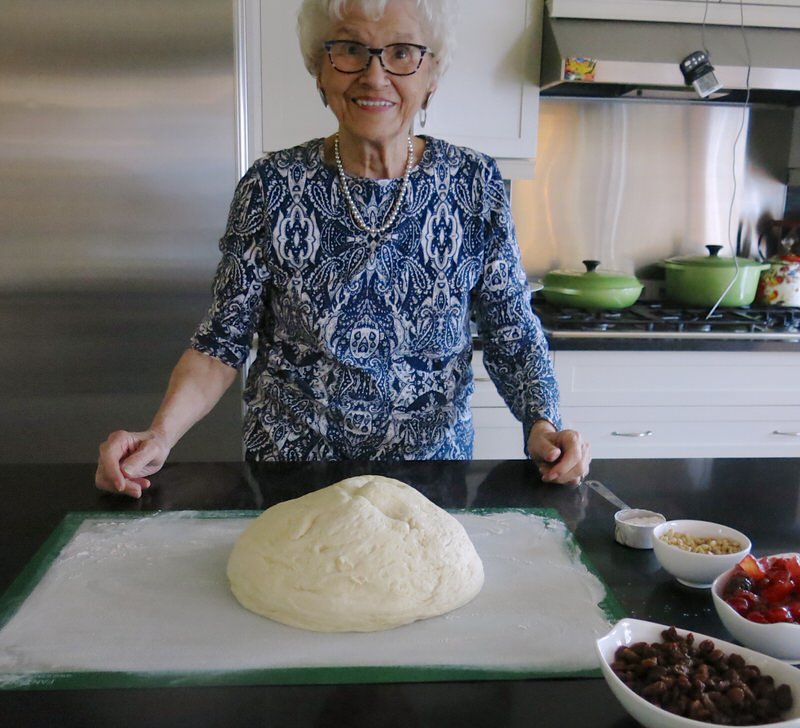
Time to rock and roll! Let’s get this famous holiday citrus scented loaf filled with fruit!
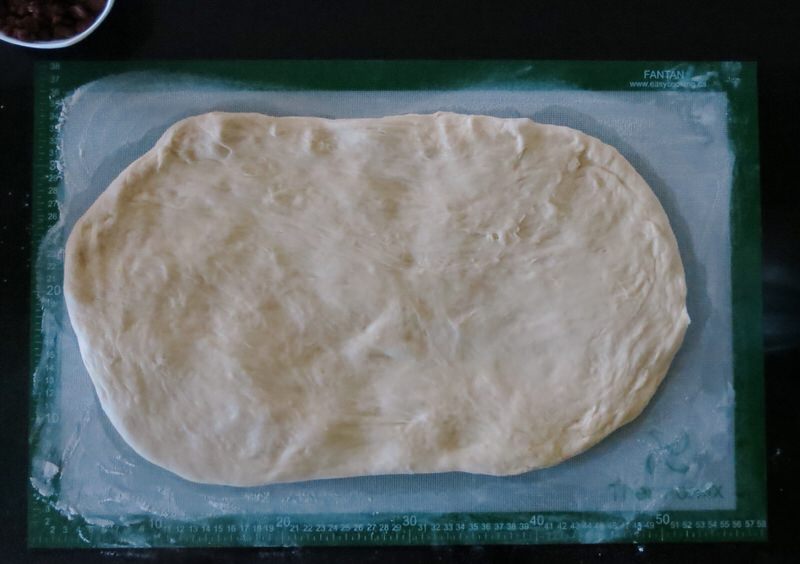
This recipe makes two loaves. You can divide the dough and fillings in half and do each separately, or do as we did: all together. Roll out one great rectangle.
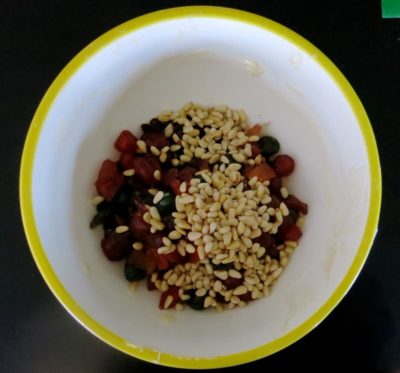
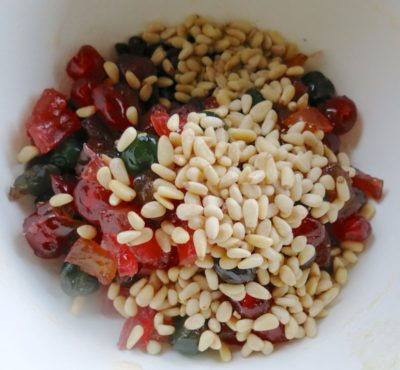
Mix the filling ingredients in a bowl to combine well.

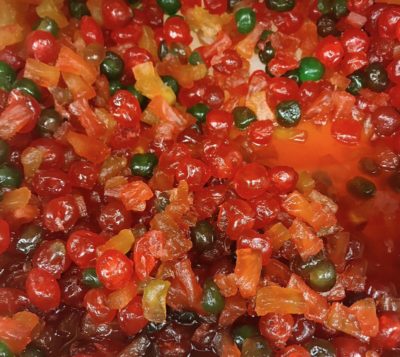
Ragan found the Fancy or Deluxe glazed fruit mixture at Bulk Barn.

Mom has the entire filling mixture spread evenly over the rectangle of dough.
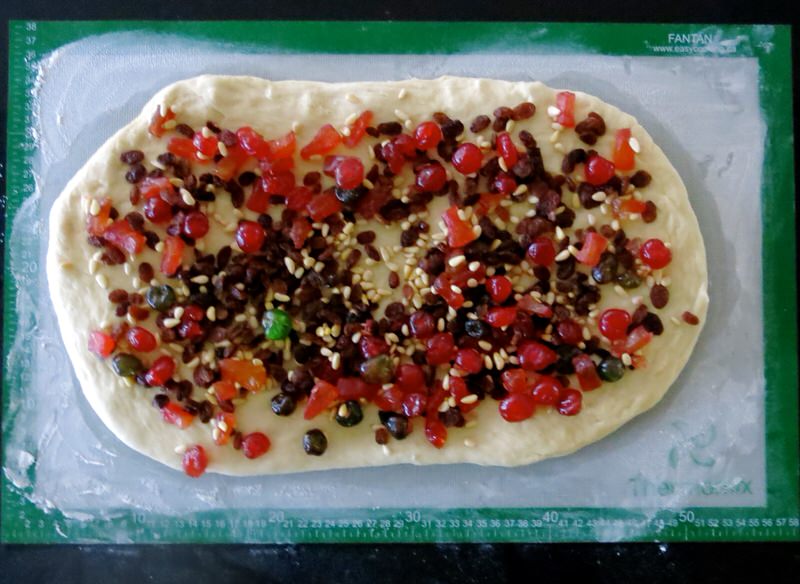
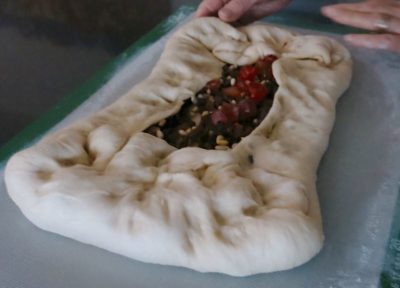
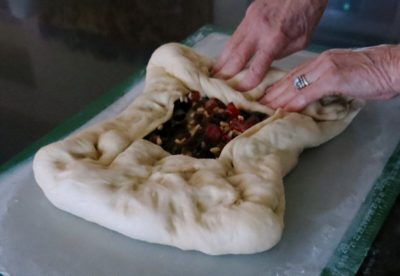
She folded the sides over to the middle with the fruit and then the ends over to the middle, as well.
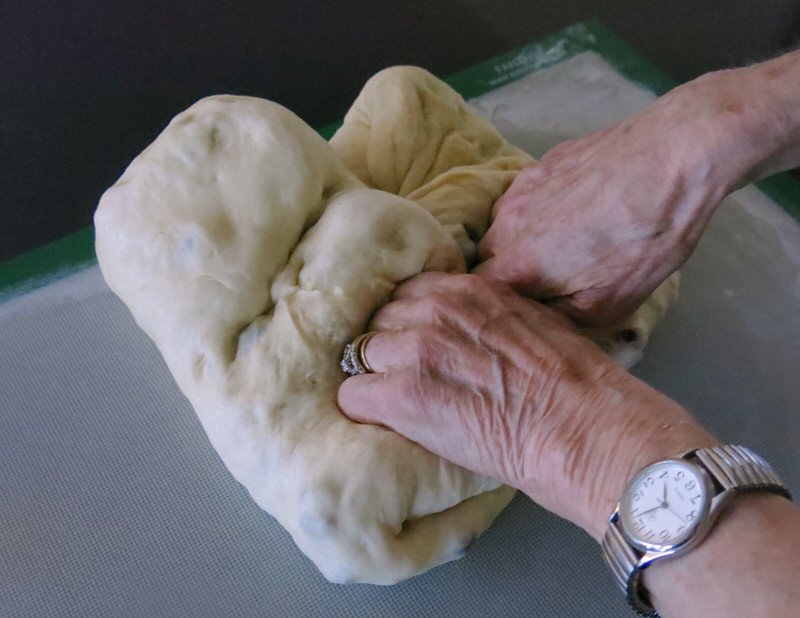
Then rolled both ends into the middle and kneaded the filled dough to fully encase the fruit.
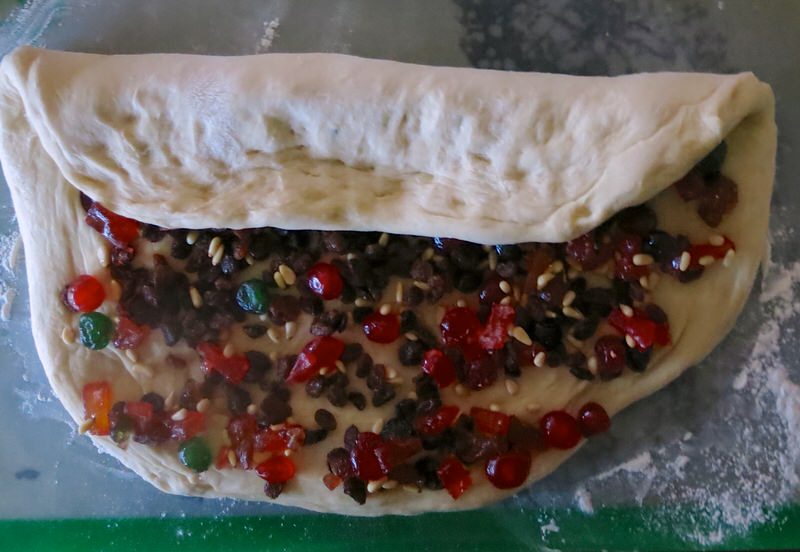
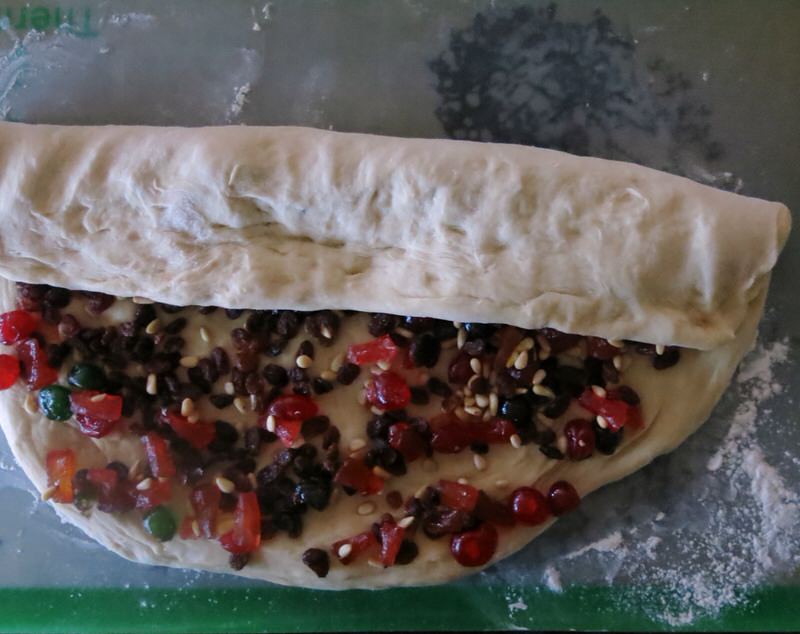
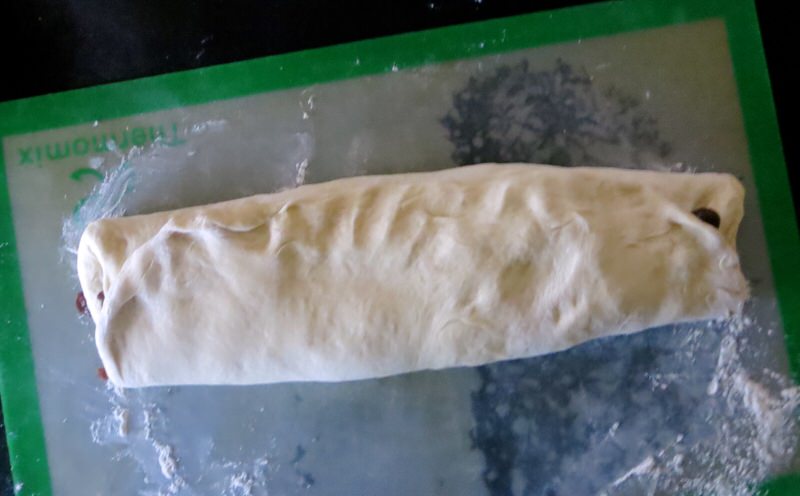
I did mine a little differently. I folded the dough with the fruit over to cover 1/3 of the rectangle lengthwise, then pulled the bottom up and over to create a loaf-like cylinder.
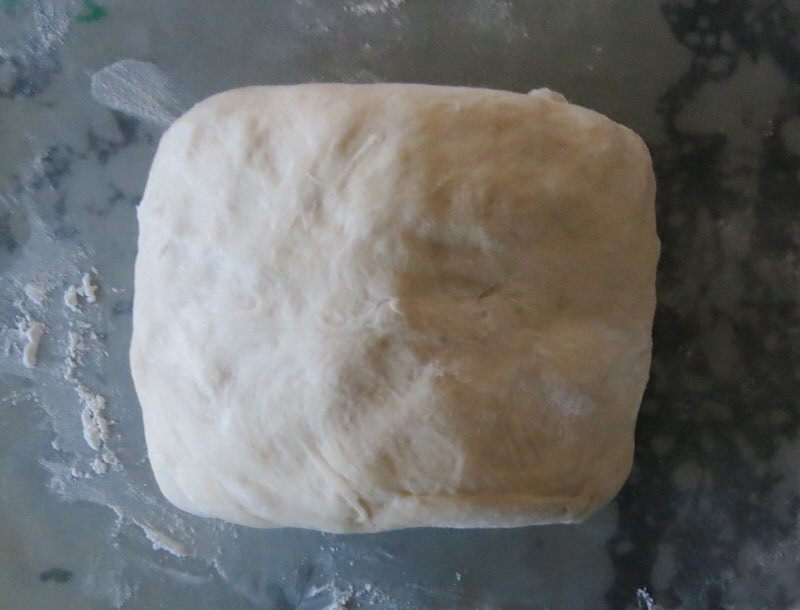
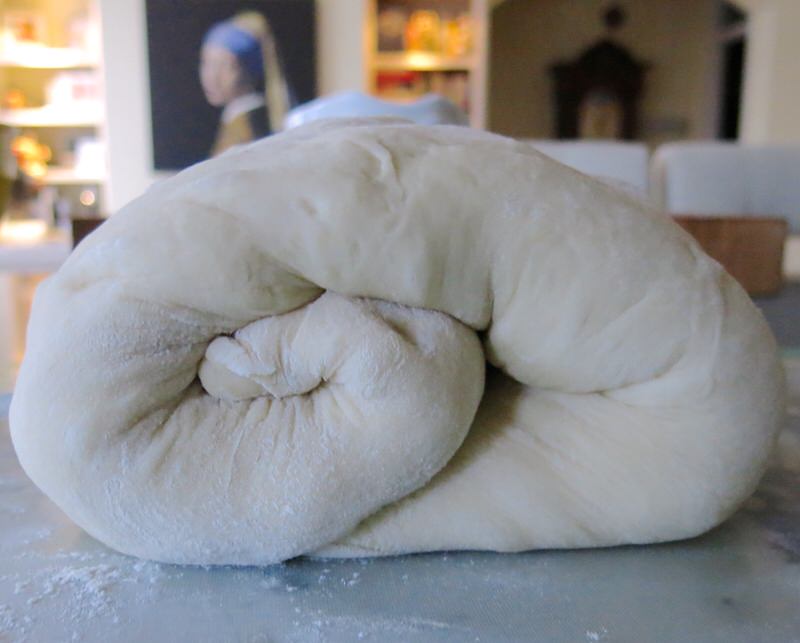
I then rolled it into a spiral from one end to the other.
Fruit Bread: Forming the Loaves
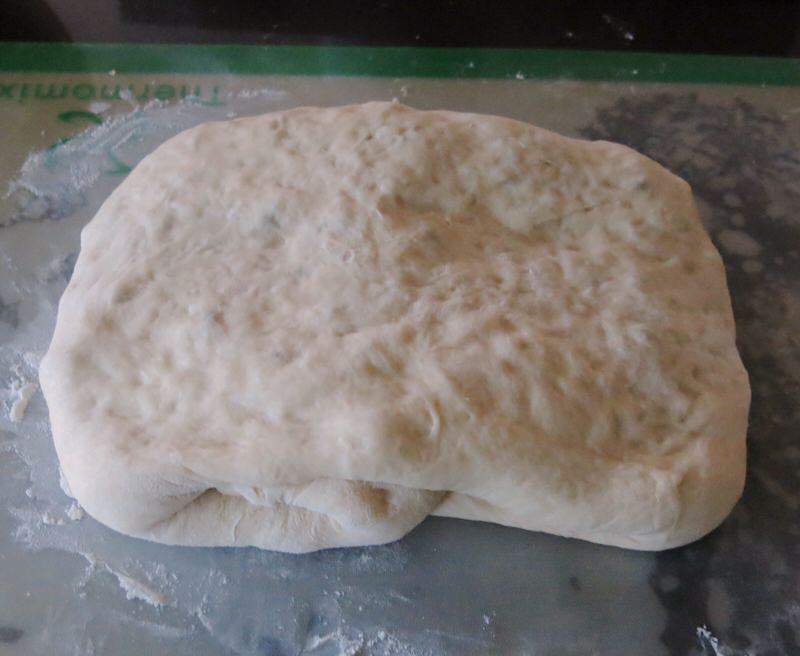
I did what mom did, at this point. I simply flattened my spiral to encase all of the fruit.
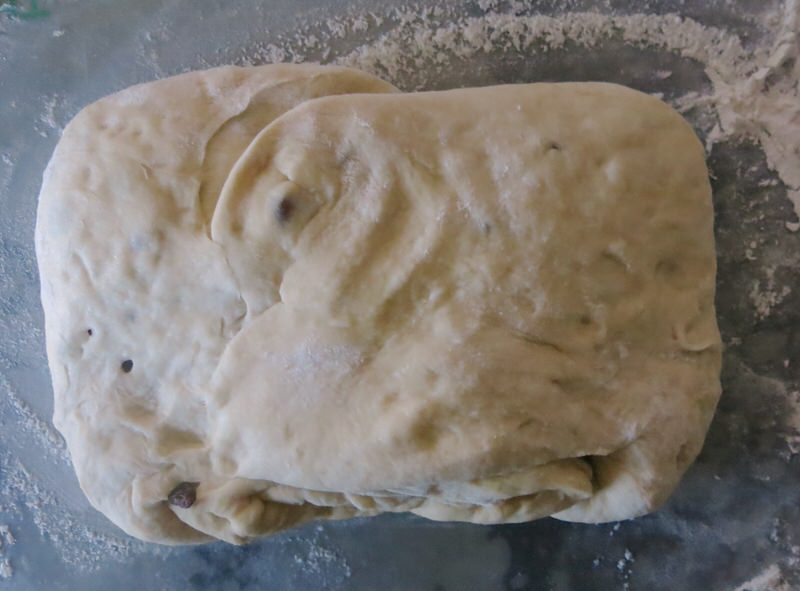
Now, how many loaves will we make? I made one recipe and she made another, so between us, we had enough dough for 4 full loaves. However, we had only 2 loaf pans. One regular sized and a pull-man style loaf pan that is more narrow and longer. Then I had small individual pans (dough from one loaf makes 3-4 of these) and I also had a flower-shaped loaf pan in a tin. Mom wanted to give some away and I just wanted a couple of loaves for the holidays.


Don’t panic. It looks daunting once you cut through the dough to make two loaves, but it really isn’t. I rolled it, as above, right, to contain the filling, and placed it in a pan, seam sides down. You will see the texture and appearance once baked, is lovely.

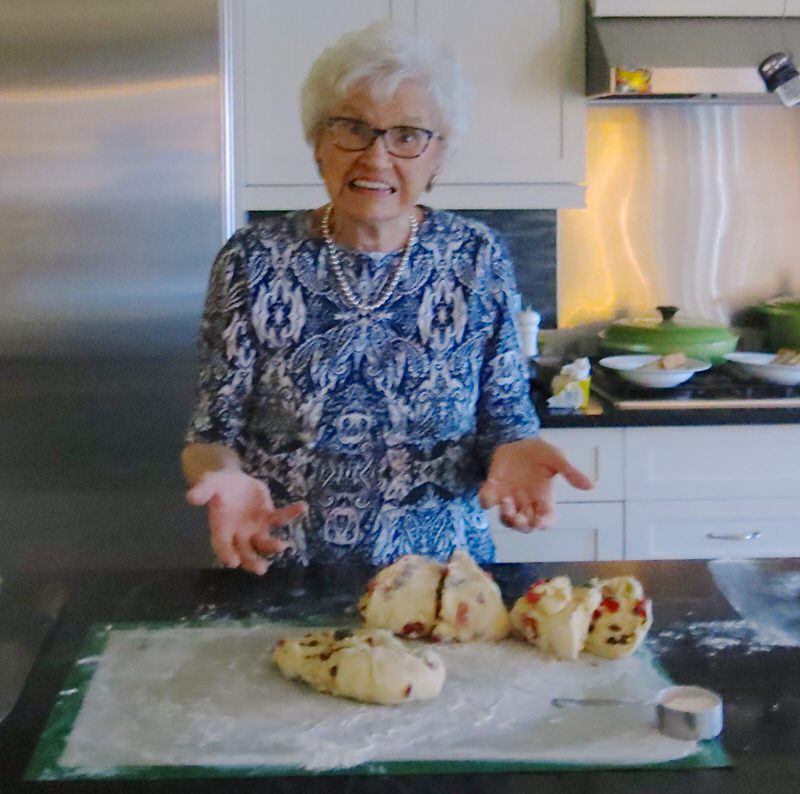
Mom did the same with hers. I was making two larger loaves and she was making the four small ones as well as the flower loaf.
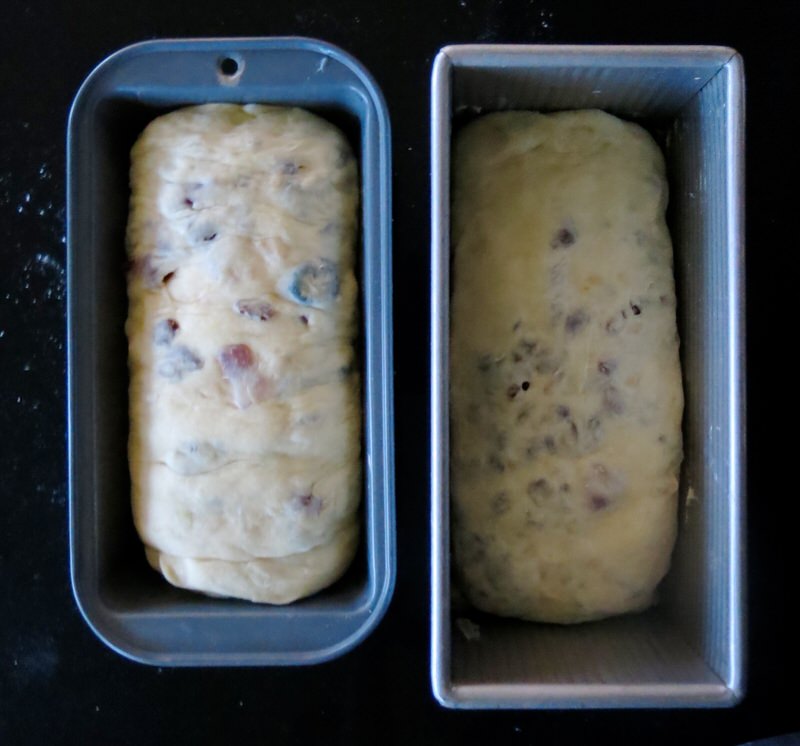
My dough, above, set to proof.
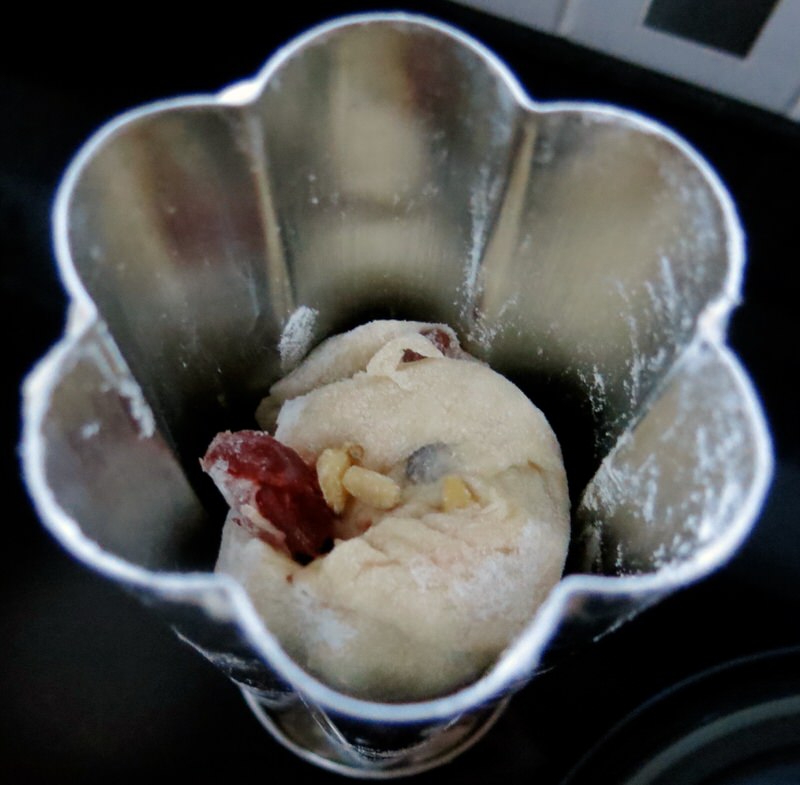
We filled the flower loaf pan perfectly, about 2/3rds full. Put the end on, and let it proof with the others.
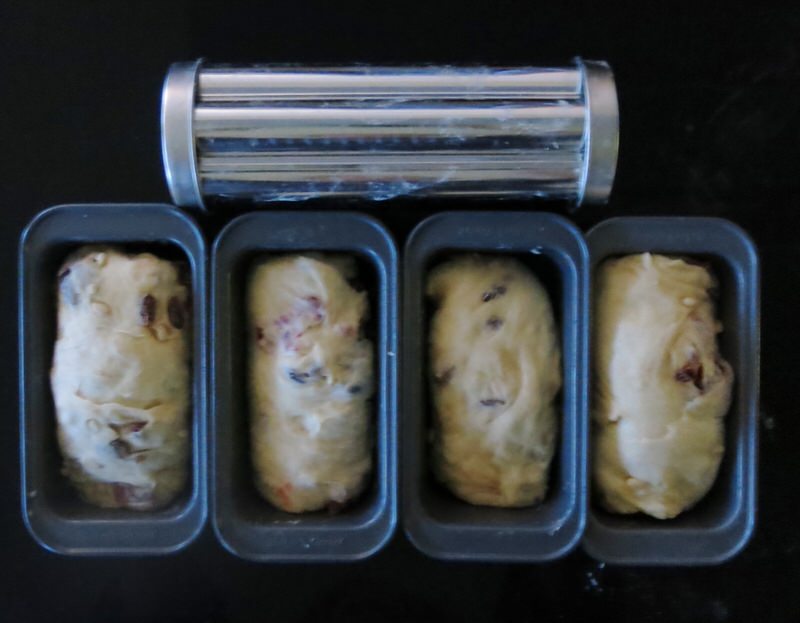
Mom would have 4 lovely little individual loaves to gift and a flower loaf to slice for a fancy little tea sometime in the new year.
Fruit Bread: Proofing Formed Loaves
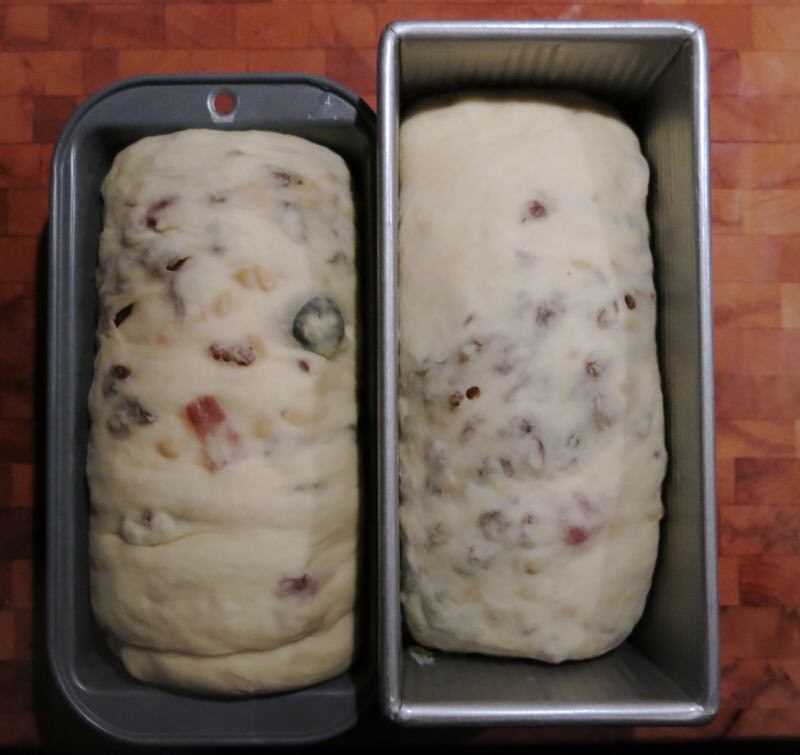
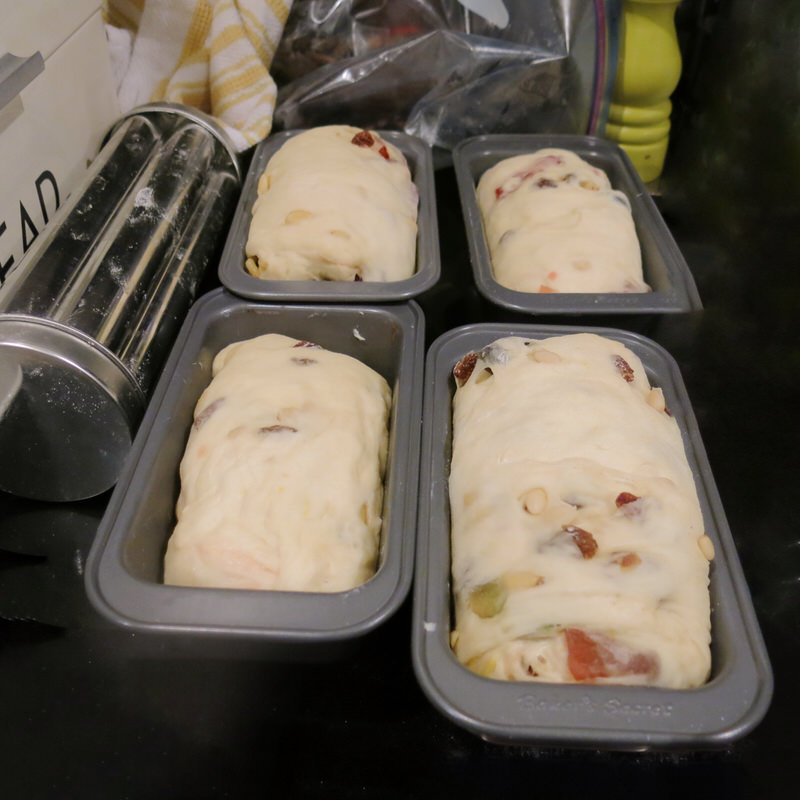
An hour or so later, the dough is lovely and puffy. Ready to go into the oven.
Fruit Bread: Baking the Bread
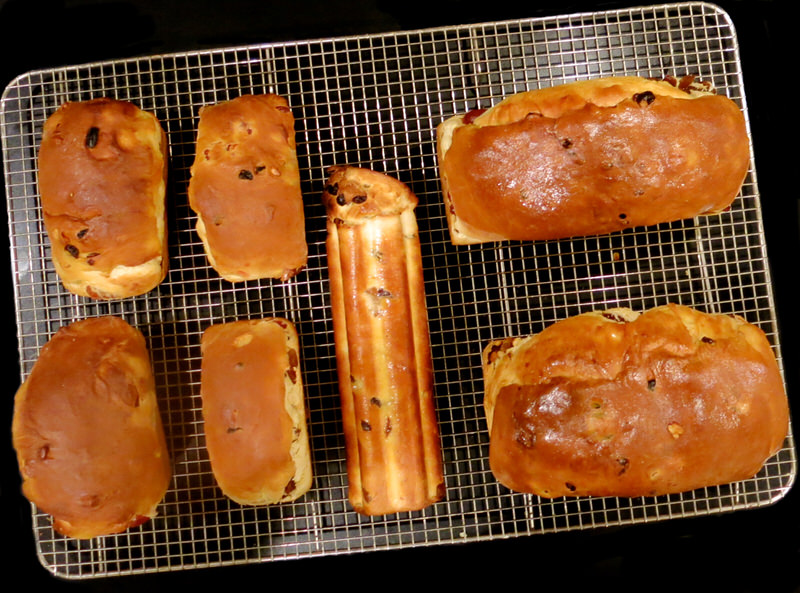
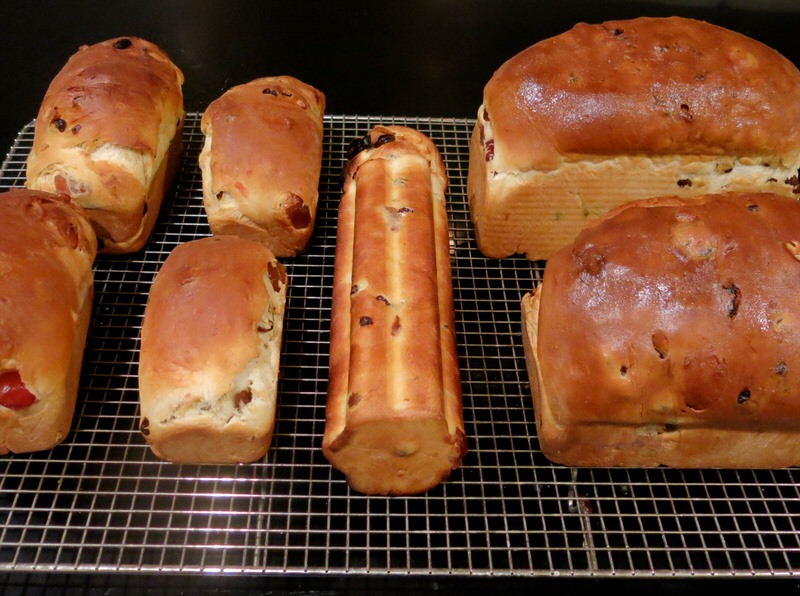
Look at that! Look at that! You can see, as you follow this day with us that the daylight faded and the baked loaves are out of the oven after dusk. It is December, and night falls here at around 5 pm so it doesn’t take as long as it might seem it does.
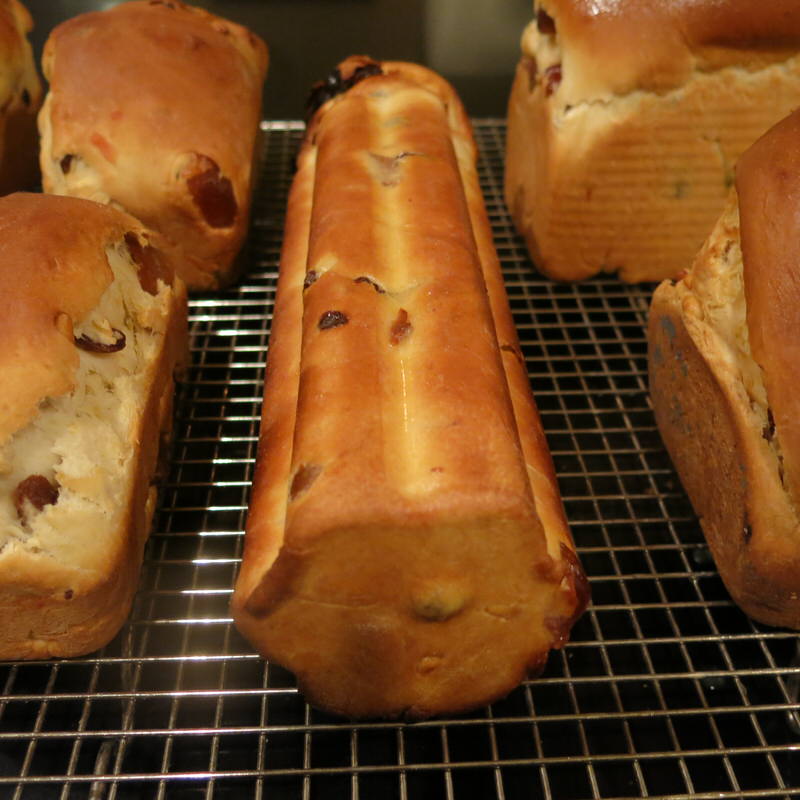
The flower loaf is my favourite but I love them all.
Fruit Bread: Serving the Bread
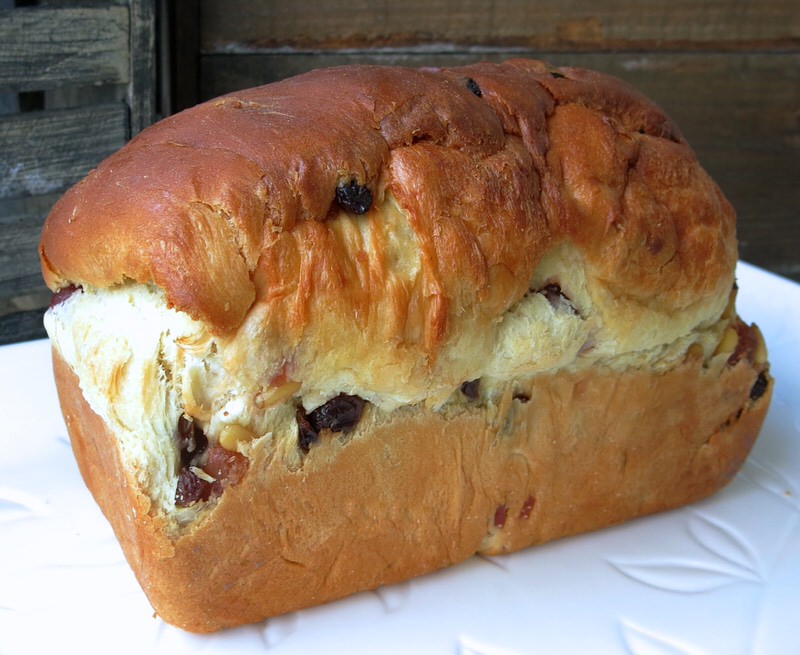
Look at this proud homemade loaf studded with jewelled fruit and oozing deliciousness. I cannot wait to slice into it.
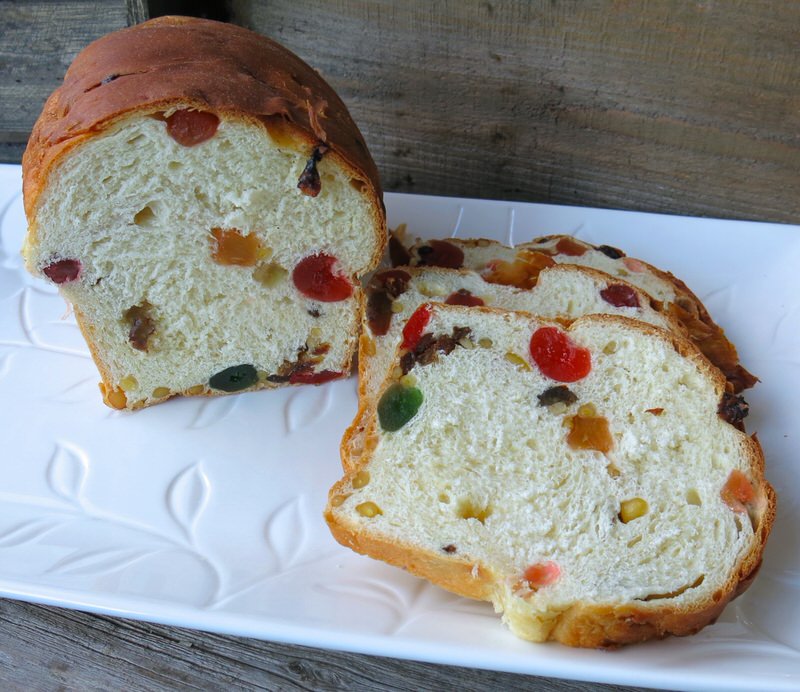
Every year, I am surprised. Mom tweaked this recipe over 50 years ago and doubled the fruit at that time. Over the years, with the addition of the fancy fruit which presents each fruit piece in a much larger portion, it is more difficult to contain the filling within the dough. But that is part of the charm. It is a Holiday Fruit Loaf stuffed to the brim with fruit and though that is so very true when slicing each loaf, it always appears that more fruit could easily be added. I challenge you to add more fruit to this dough. Send me a photo if you succeed.
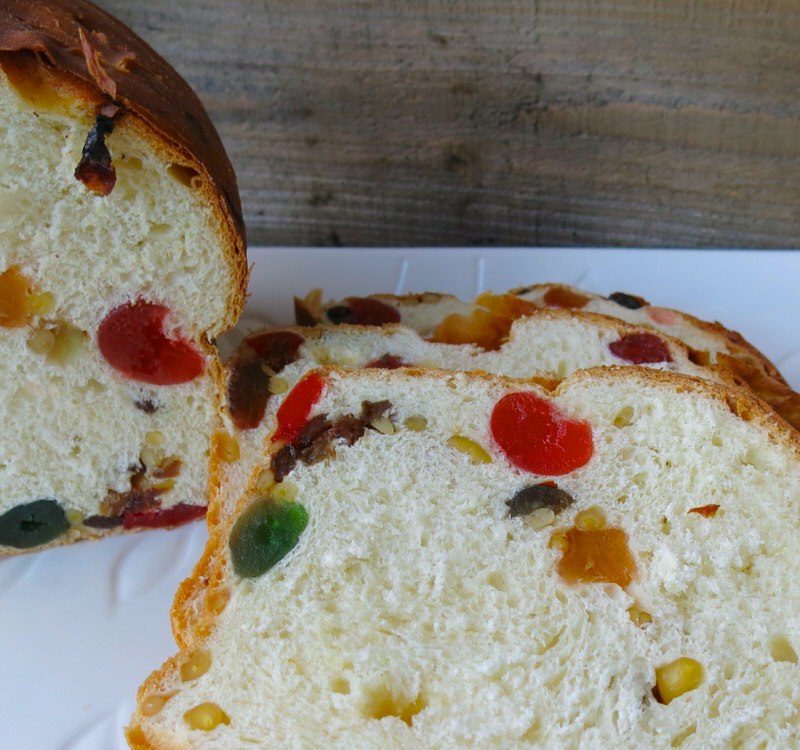
I always wish I could see a few more pieces within each slice, but when I eat it, I am not wishing for more of the fruit.
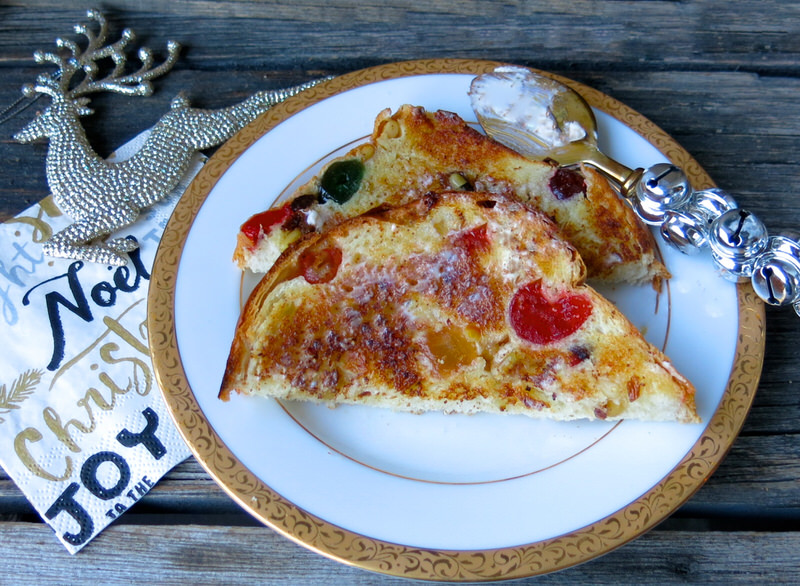
The balance of dough to fruit upon the palate is perfect. And a toasted slice of Helen’s Famous Canadian Holiday Fruit Bread truly is sublime. You must make this recipe if you have never made a homemade fruit loaf. The challenge can be on if you like. I have never had one better.

Helen’s Famous Canadian Holiday Fruit Bread
Helen’s Famous Holiday Fruit Bread is a traditional family favourite and one that is definitely on the "pass on" list
Ingredients
Ingredients for Yeast
- 1 cup or 200 grams whole milk
- 3 packages or 25 grams dry yeast
- 1 teaspoon or 5 grams sugar if making by hand
Ingredients for Dough
- 6 cups or 660 grams flour
- ½ cup or 100 grams sugar
- ½ cup or 113 grams butter melted
- 1 teaspoon or 5 grams lemon rind grated
- 2 teaspoons or 10 grams salt
- 4 large know-your-farmer eggs
Ingredients for Filling
- 1 cup raisins
- 1 ½ cup “fancy” or "deluxe" glazed mixed fruit*
- ½ cup pine nuts
Instructions
Instructions for Proofing Yeast
-
Dissolve sugar in warm milk; sprinkle yeast and stand 10 min
Instructions for Dough
-
In large bowl of electric mixer, place sugar, butter, salt, rind and 2 cups flour; add yeast mixture and beat 2 minutes
-
Add 2 more cups flour and eggs; beat 3 minutes
-
Stir in remaining 2 cups flour; form into soft dough
-
Place on very lightly floured work surface; knead rigorously for 8 minutes until dough pops and is elastic (avoid adding more flour)
-
Place dough into prepared bowl in warm place** to proof two hours or until double in size
Instructions for Kneading and Proofing DOugh
-
Place dough on lightly floured surface; gently knead in raisins, candied fruit and pinenuts
-
Shape into 2 portions; place each into prepared pan and rise until doubled or 1-2 hours
Instructions for Making Forming and Baking Loaves
-
Pre-heat oven to 350˚F and bake 45-55 minutes, or until golden on top; butter surface of each loaf to provide nice sheen
Instructions for Dough in Thermomix
-
Weigh milk and yeast into TM mixing bowl; proof for 5 minutes at 37˚C speed 2
-
Weigh sugar, butter, salt, rind and 220 grams flour into TM mixing bowl with yeast mixture; combine 1 minute speed 4
-
Weigh 220 grams flour into TM bowl with combined ingredients and add eggs; fully incorporate for 1 minute at speed 3.5 stopping at 30 seconds to scape down sides of bowl
-
Weigh remaining 220 grams flour into TM mixing bowl; combine for 15 seconds at speed 4-7 until dough clumps
-
Knead 3.5 minutes; prepare large bowl to proof dough by greasing well with butter
-
Dust non-dominant hand lightly with flour; remove sticky dough from TM bowl into very lightly floured work surface with floured hand
-
Place blade back into TM mixing bowl; spin at speed 10 for 5 seconds until sticky dough flies off blade and onto sides of bowl
-
Remove blade; remove all remaining sticky dough from sides of bowl with hand and add to dough on work surface
-
Place dough into prepared bowl in warm place** to proof two hours or until double in size
-
Place dough on lightly floured surface; gently knead in raisins, candied fruit and pinenuts
-
Shape into 2 portions; place each into prepared pan and rise until doubled or 1-2 hours
-
Pre-heat oven to 350˚F and bake 45-55 minutes, or until golden on top; butter surface of each loaf to provide nice sheen
Instructions for Serving Fruit Bread
-
Delicious warm with butter and even better toasted, slathered with butter
Instructions for Freezing the Dough
-
Wrap well in plastic wrap and place into a labelled and dated freezer bag; freezes well for up to three months
Recipe Notes
*Tip 1: “fancy” fruit mix can usually be found at Bulk Bark in Canada; it is much larger pieces of a greater variety of candied fruit than the “regular” mixed fruit at most grocery stores *
*Tip 2: place glass of water in microwave on high; remove quickly and place covered dough into warm moist microwave to proof





Made these yummy loaves yesterday following Helen’s process and my Kitchen Aid as I don’t have a Thermomix. We ate them for breakfast this morning and they were delicious. Also made your baguettes which are all ready for lunch later. Thank you for sharing your recipes.
Going to try Helen’s prairie dinner role next 🙂
Good Morning, Bronya!
Wonderful to hear! Mom will be tickled pink!
🙂
Valerie
Hi Valerie, how do you prepare the bowl and loaf pans for rising? There are two “**” beside each reference but no corresponding instructions that I can see.
Thank you
Laura
Hi Laura,
The reference was beside “warm place” and in the notes, at the bottom, I suggest that you proof the dough in your microwave. Here is the tip beside the **”*Tip 2: place glass of water in microwave on high; remove quickly and place the covered dough into the warm moist microwave to proof”
That’s what the ** was referring to. You prepare the bowl with flour and the pans as you usually do when making bread. I don’t do anything other than what is in the recipe.
Hope that helps?
Valerie
Valerie you mention adding rind? What kind? Is this orange or lemon? Thank you.
Whichever you prefer – but we choose orange.
YUM!
🙂
Valerie
My mother-in-law used to make a very similar bread and she would put a powdered sugar glaze over the top and it was delicious. I cant wait to try this recipe.
Hi Paula
That’s a great idea, too… you could likely make this recipe scroll style, too and glaze the buns.
It is delish!!
🙂
Valerie
I don’t even have to try this recipe to see it will totally be amazing! Your mother is so talented and precious! Thank you both for sharing this recipe and yourselves with us. I cannot wait to make some of these for our holiday this season 🥰
Aww – it is delicious. We went on a big quest to buy the special Delux Fruit Mix from Bulk Barn this year as they didn’t have it during Covid so she has been cooking up a storm!
🙂
Valerie
Was just getting out the ingredients to make this and noticed that the butter measurement conversions seem to be off? 1/2 cup butter is about 110 grams, 210 is closer to 1 cup which seems like too much. Which measurement is correct?
Hi Kristin
I emailed you within 15 minutes of receiving this message – personally, but never got a response from you.
Maybe it went to your spam, or maybe the email you provided had a typo.
In any case, the recipe is up to date now, and thank you for that catch. It was a typo!
Hope you still made it and figured it out?
🙂
Valerie
Do you think I could make this in the bread maker?
I have no idea. I have never used one. Maybe others can chime in?
🙂
Valerie
A couple tears ran down my face after I read your mother was wearing her perfume, lipstick, makeup while she made her fruit bread. My mother always did the same. In fact once when she was sick I had to call an ambulance. Her fever was terribly high and she wasn’t rational. Before she would leave the house she insisted I help her with her lipstick and hair. After she died I took her lip liner brush, lipsticks, perfume and placed them on a small glass shelve in my bathroom.
Thank you for the reminder…classy is forever.
Awwww completely understand.
Don’t even get me started.
XOOX
Valerie
I can’t wait to try this recipe. My grandma made this bread every Christmas (with a little icing on top!). I looked forward to it every year. She has since passed but I can’t wait to surprise my dad with this on Christmas and continue this tradition with my kids now. Thank you!
Hi Alison
I can’t wait for you to try it either!
Let me know how it goes!
🙂
Valerie
This is an excellent recipe. The fruit bought from our local Bulk Barn is far juicier than the small containers found in the baking section of the grocery stores.
The first time, (last week) I made the recipe in my bread maker, turned out fine but don’t add the fruit until near the end of the mixing cycle. The paddle at the bottom will break it down into much smaller pieces. I like biting into a cube of fruit.
I do have one comment though. I have 4 decades of bread baking under my belt and the time in the oven for two loaves of this delicate bread is way too long. I left my first 2 loaf batch in for 25 minutes and that was too long resulting in a thicker dark brown crust – still tasty though. Was the timing based on a double recipe 4 large loaves or more?
Hi Sandra
Lovely to hear from you and glad you enjoyed the recipe.
The timing is mom’s is for 2 loaves.
She does make it dark on the outside. I have learned through my cooking classes – particularly the French ones – that the hotter the oven when making bread, the better the bread, but they, too, bake to a far darker crust than I would usually make.
So, I think go with what you like. I am used to what mom does, and it is delicious and my favourite way to enjoy it is toasting it… but every oven and palate is different.
Definitely appreciate your feedback.
Hugs,
Valerie
I made Helen’s buns and cinnamon buns and they are easy and delicious. This is next on my list. I tried her recipe because she is Canadian and uses Canadian flour which makes a tremendous difference in baking. I watch pintrest for all her recipes. Love her.
WOnderful to hear, Linda!
YOu can also search her recipes here by putting Helen in the search bar, or subscribe at http://www.acanadianfoodie.com/Subscribe.
Eager to hear about your enjoyment of the recipe, and sure hope you have commented under the other recipes you have made as it warms her heart and fosters confidence in readers that the recipe will be a good one for them to try.
Happy Holidays!
Valerie
Love this and want to make the bread. You say to place the dough in prepared bowl and again place dough in prepared pans what are you preparing the bowl and pan with?
Thanks for asking, Rennie!
I am surprised I didn’t add that detail, but I certainly became a better recipe writer over time…. though thought by this recipe I would have that under my belt. HAHAHA. We butter our bowls and pans for this recipe.
Let me know how it goes!
Cheers,
Valerie
I so miss my Mom. On this overcast day
I’m giving this bread a workout.
Going through a rough personal patch.
Will share it with friends.
At your lowest time do good for others.
Thank you
Happy 2023
Thank you, Sandy
I hope you enjoy the bread!
Big bug to you
XO
Valerie
Your Holiday Fruit Bread is the same as my Easter Bread recipe. My family always made this at Easter, with the powdered sugar glaze. I braid the dough into three loaves. Don’t always use the glaze. Can’t beat it either way.
Great to hear, Carol!
Thanks for chiming in!!!
🙂
Valerie
Hi! Are Canadian yeast packages different from those in the US? Three packages is 6-3/4 teaspoons of yeast. That seems like a lot. Can’t wait to try it!!
Yeast pkg in CA are 7 grams each which is about 2.25 teaspoons of yeast.
🙂
Valerie
I was so happy to find this recipe and even happier to see all the beautiful photos of your mom! Plus as a Victoria B.C. resident I really appreciate the Canadian touch. I used to make a fruit loaf with my breadmaker but your mom’s recipe puts mine to shame!! My breadmaker broke so I will be trying to make it by hand if that is possible because I just can’t wait to try it! My own mother did not like to cook or bake at all so we never, ever had home-baked goodies at Christmas or any other time so at an early age I learned how because I had such a sweet tooth! My daughter’s don’t bake either so I bake for everyone. My breadmaker broke with a fruit bread in it wouldn’t you know it! I must admit I’ve slowed down a bit over the last year with baking but after I found your mom’s recipe I am inspired to start up again. Thank you from the bottom of my heart for such a beautiful recipe
Thank you, Kathleen!
I make this every year, use my bread machine 2 lb loaf add fruit directly in the add in cycle holds up to four cups flour makes two loafs always works out.
WOnderful!
Would love to know the difference in baking times if you’re dividing this dough for four smaller loaf pans. Thanks for sharing this lovely recipe , and the photos of your mom are precious. What a wonderful thing to still be able to bake with your mom!
Hi Ginny,
Thank you for chiming in. I’ll have to let you know the next time I make it.
🙂
Valerie