Sourdough Sponge: Made from Homemade Sourdough Starter
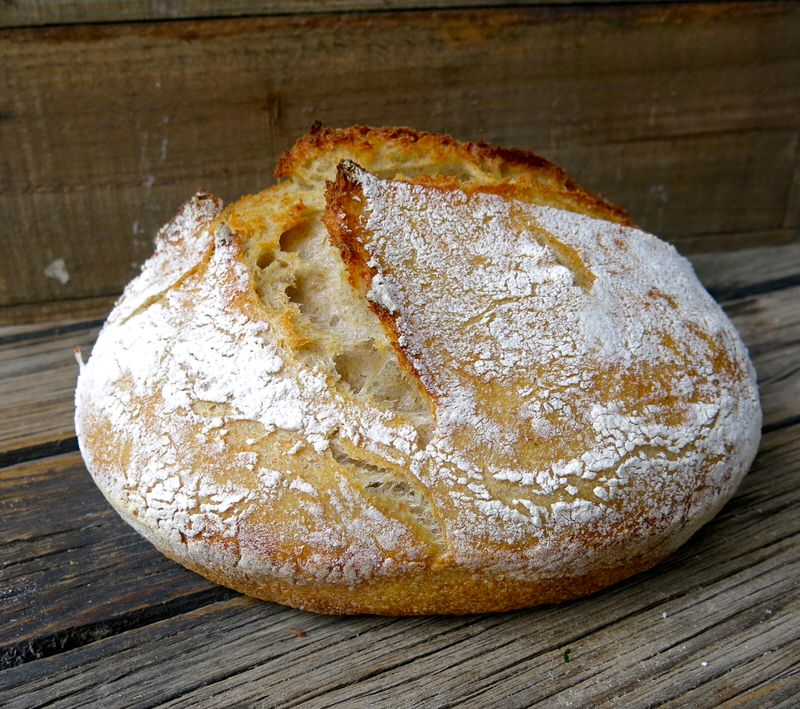
I could not resist. This is a sneak peak at my first triumph. The first 4 I did not photograph. They were lopsided or “not perfect”. In retrospect, wrong decision. I would love to refer back to those images now, and believe most were successful. But, come on… this fragrant, substantial loaf of nutritional bounty is simply beautiful, isn’t it?
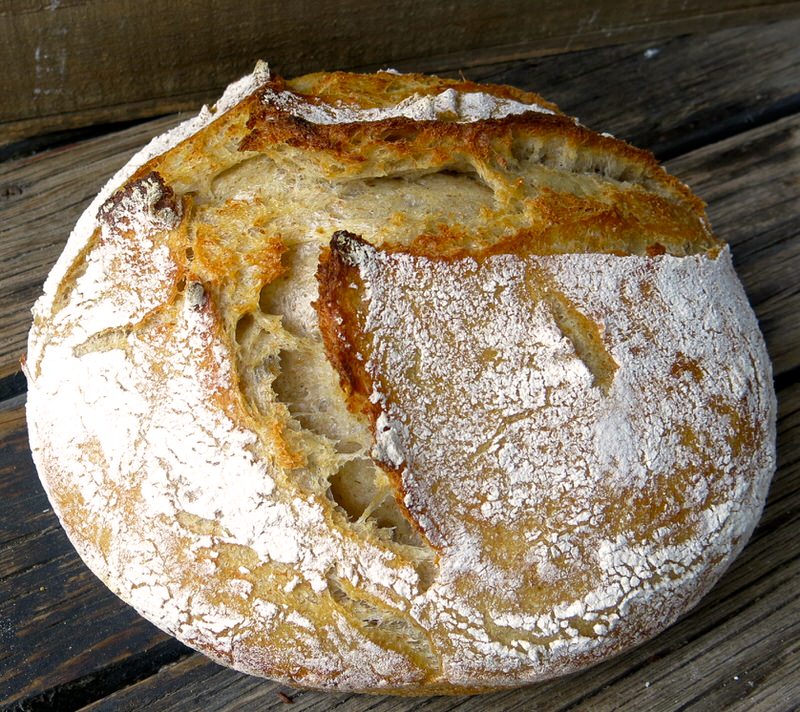
All of my loaves were tasty. The first couple a bit more dense, but I really never “failed”, though the perfectionist in me labelled each before this one, a “fail”.
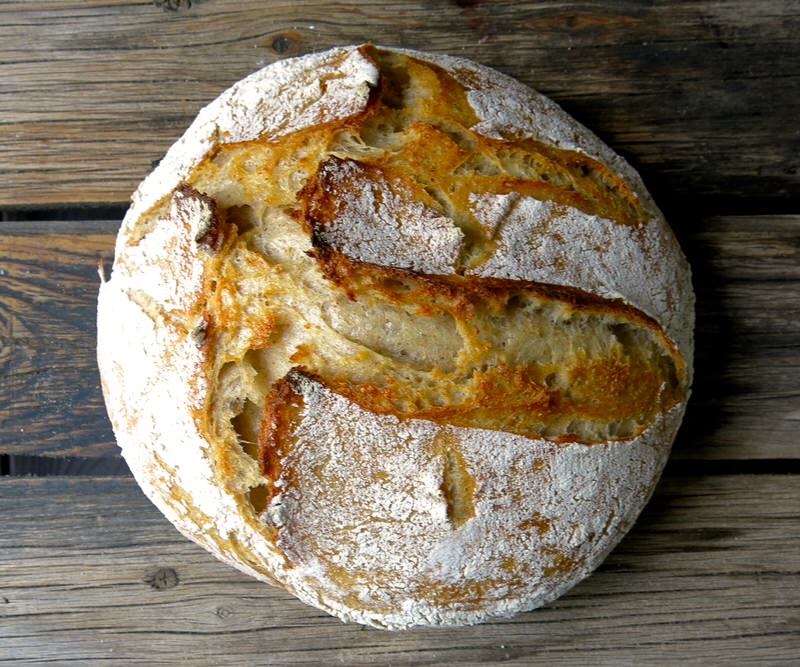
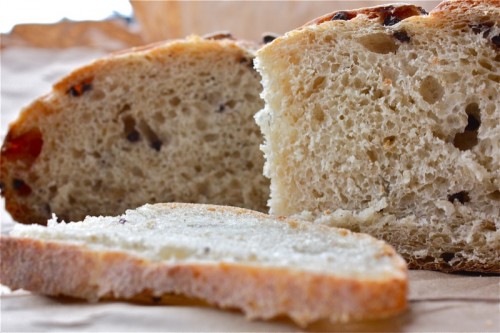 It’s that this one was “gift-giving’ quality, I suppose. I know I have been tickled to get such gifts. I recall many years ago being gifted a loaf of currant sourdough by Chad Moss and have never forgotten the complexity of the flavours within that loaf or my appreciation for such a heartfelt gift. It is still my goal to make one as flavourful. The bit of sweet offered up by the currants contrasted perfectly with the substantial earthy grains and sealed the deal on that loaf, for me.
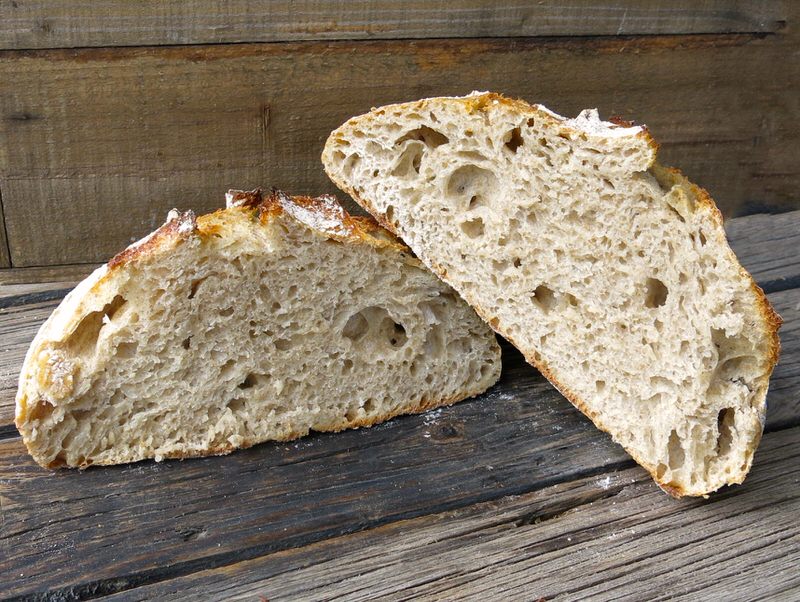
I’m well on my way there, only seven years later, all with thanks to Miss Kaelin!
Sourdough Starter: Introducing Kaelin Whittaker owner of The Ruby Apron and Founder of Real Bread Alberta
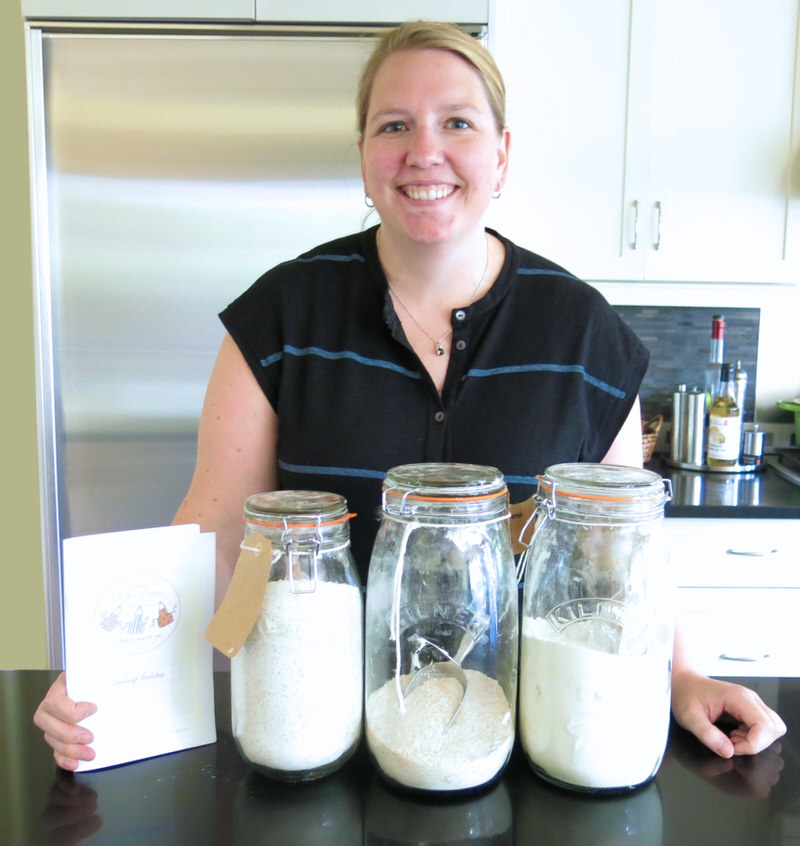
The full introduction to Kaelin is here.
Recipes for Kaelin’s Sourdough Bread Making that are posted as part of this series:
- Sourdough Starter: Introduction Sourdough and Kaelin Whittaker
- Sourdough Sponge: Made from Homemade Sourdough Starter
- Sourdough Bread: Made from Sourdough Sponge
Sourdough Starter: Project 2017, Cooking in the Kitchen with You!
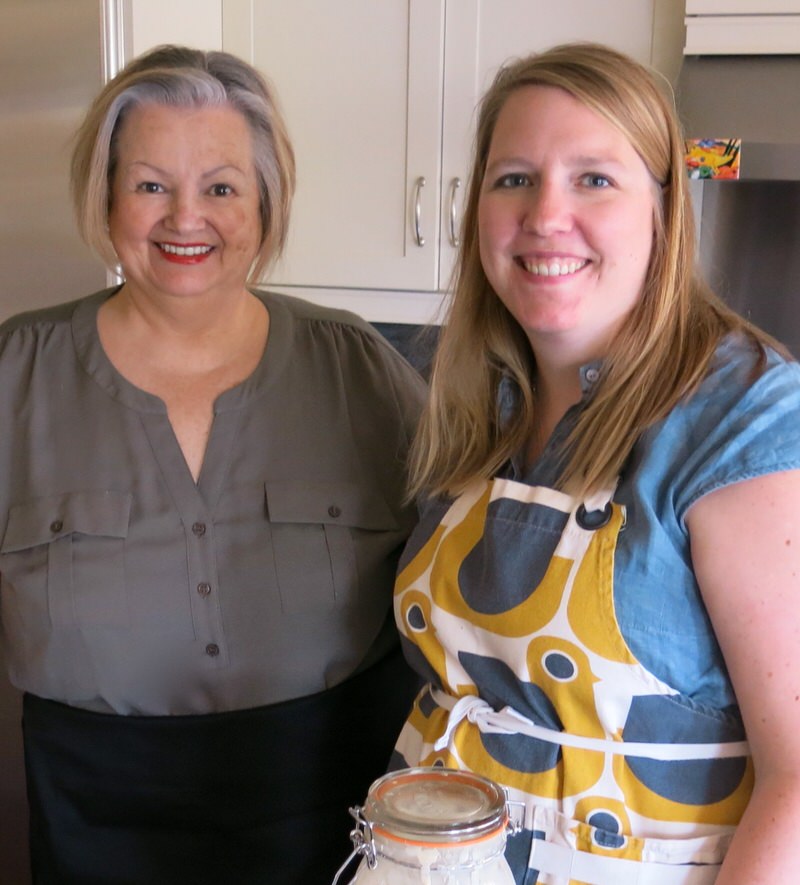
Some women like to shop or go to the spa. I love to cook in my kitchen with a friend – or someone learned who has a recipe to share, and a story to tell. Essentially, I want to glean heritage and traditional recipes – the best of the best – from our oldies and goldies that have so much experience in their heads. I want to cook with our babas and nonnas and grandmas and grandpas and learn to make what they are known for, or famous for, and share it with my readers. This is not exclusive to our elders, but definitely with them in mind. Of course, many, many younger folk, like me, for example, have much to share, as well.
#ACFValerieCookingwithYOU!
If you would like to, please let me know!
- Project 2017: Cooking in the Kitchen With… Completed Project Posts here.
- Project 2017: Cooking in the Kitchen With… Cooking Schedule is here.
- Project 2017: Cooking in the Kitchen With… PARTICIPATE!
I was already a lover of making homemade bread. I am an Alberta Prairie gal. Born and raised. Rural Grandmother baking bread regularly. Urban mother baking bread on special occasions throughout the year. Working to preserve the practices of those that have come before in my own family for those that will follow has been a passion of my own years. Learning from my mother. My grandmother. Then, Richard Bertinet with a life-changing day in his Cookery School in Bath, England… followed by a day with Chef Walters at Le Cordon Bleu Bread Making Atelier in Paris. Yeast. Flour. Water. Salt. Such magic in four of the simplest ingredients. And even more within the hand of the maker.
So, this is my – our- lucky month. Kaelin Whittaker is going to share her sourdough bread making knowledge with me. And you.
Sourdough Sponge: A Little Background to Answer – What is a Sponge?
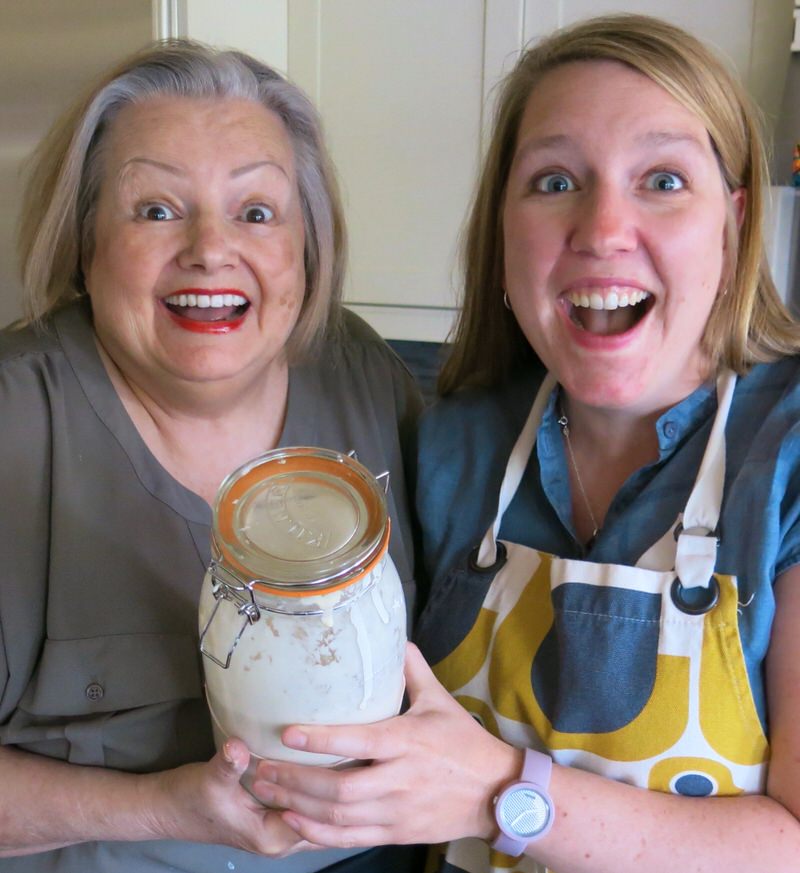
A ‘sponge’ uses some manner of pre-ferment which can be a pâte fermenté, sponge, biga, poolish, sourdough starter and so forth. A pre-ferment is one part flour and one part water, with about half the amount of sourdough starter used in the recipe. A pre-ferment is essentially anything used on the way to building a sourdough which assists the leavening process. For example, a ‘baker’s sponge’ is made of flour, yeast and water, and is a type of pre ferment that doesn’t include any yeast, except that created via the sourdough starter. A ‘poolish’, which I used in my bread making Atelier at Le Cordon Bleu in Paris, is a wet sponge that contains a wee bit of yeast. Another type of preferment is a ‘biga’, similar to a dough, also with a small amount of yeast. Who knew making bread was so Scientific. Arg! The “pre-ferment” increases the activity of yeast and elasticise the gluten to enable a better rise. Gluten grows naturally by simply exposing flour to water over time. Thus, pre-ferments assist by helping to create gluten without much kneading.
We use the sourdough starter in our sponge. A preferment allows the flour to develop flavour over time by pre-wetting some of the flour in the recipe. Once the sponge or preferment part is completed, it is added to the sourdough loaf recipe making the sourdough bread making a two-stage process. Three, if you count the making of the Sourdough Starter.
Sourdough Sponge: Prepare the Starter Two Days Prior to Bread Making
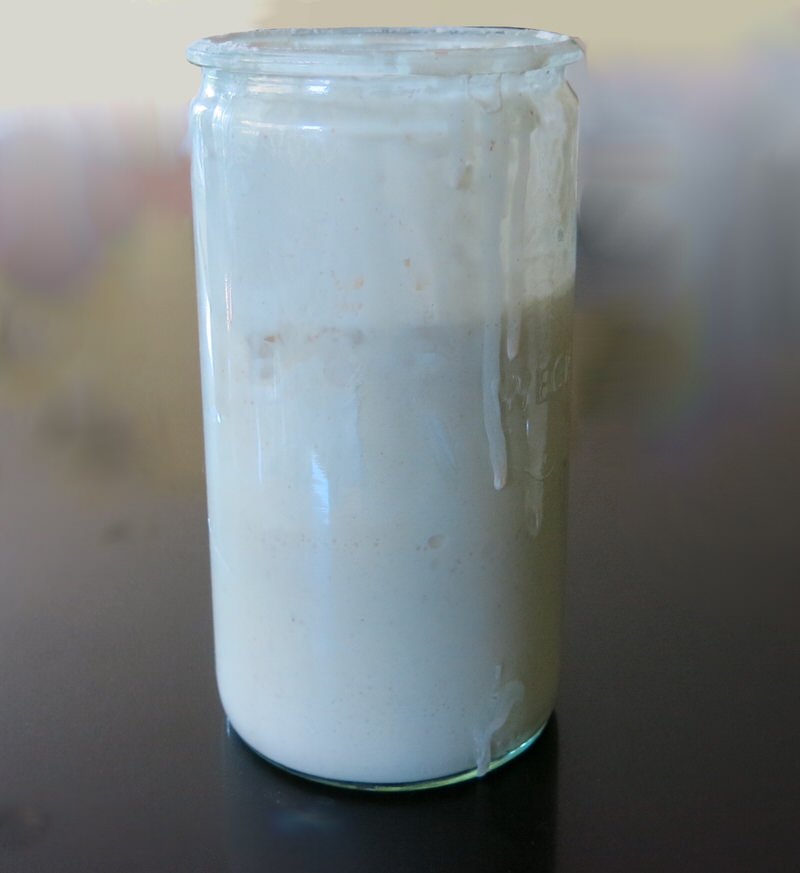
Take your starter out of the fridge to days prior to bread making. Leave on the counter over night to reach room temperature. Feed it, as usual, the following morning.
- Feed it, as usual, the following morning with 50 grams water and 50 grams Highwoods Crossing organic flour
- Feed it again that evening with 50 grams water and 50 grams Highwoods Crossing organic flour
The next day will be bread making day! The Sponge (or Leaven) will be prepared in the morning.
Sourdough Sponge: Preparing the Sponge on Bread Making Day
The sponge is created with equal amounts of flour and water added to our prepared starter. Our starter is fermented water and flour. The addition of the extra flour and water to the fermented starter created a very “sponge-like” batter after a fermenting process when it is active.
Step One
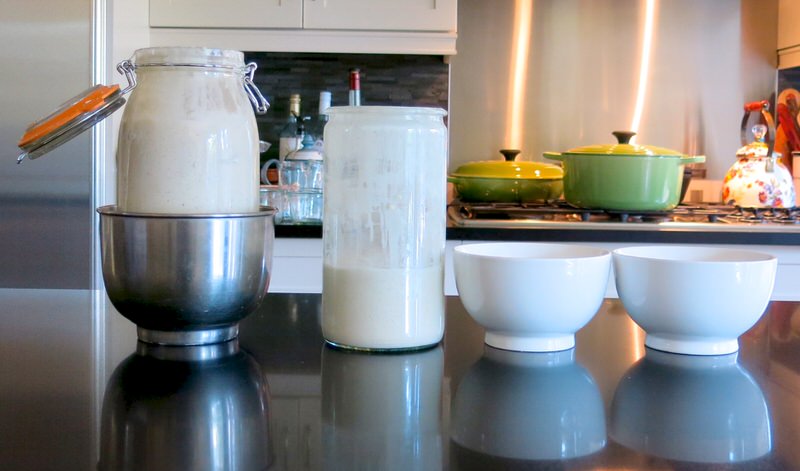
Far left is Kaelin’s Sponge, then my remaining starter with half in one of the bowls to the right.
First, and this is the hard part. That gorgeous fermented water and flour you have named and begun to develop that personal relationship with now has to be divided into two equal parts. One of those portions is discarded. You can definitely use to build another starter or to make a second loaf, but otherwise and usually, it is simply discarded.
Step Two
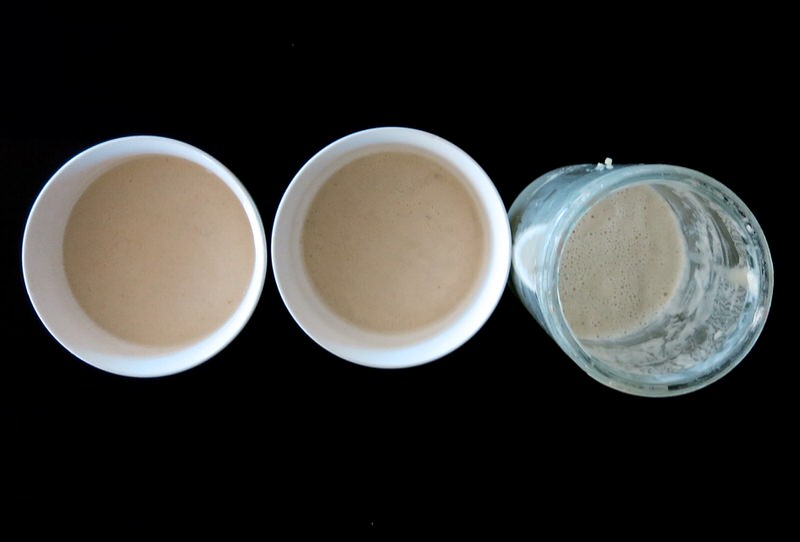
My starter was divided into each bowl; there is still some left to divide in the Weck litre bottle to the right
With the remaining half of the prepared starter, you now build your sponge by
- adding equal amounts of flour and water to the starter. In Kaelin’s recipe, 225 grams of each;
- cover with plastic and set aside to rest and ferment for about 2 hours
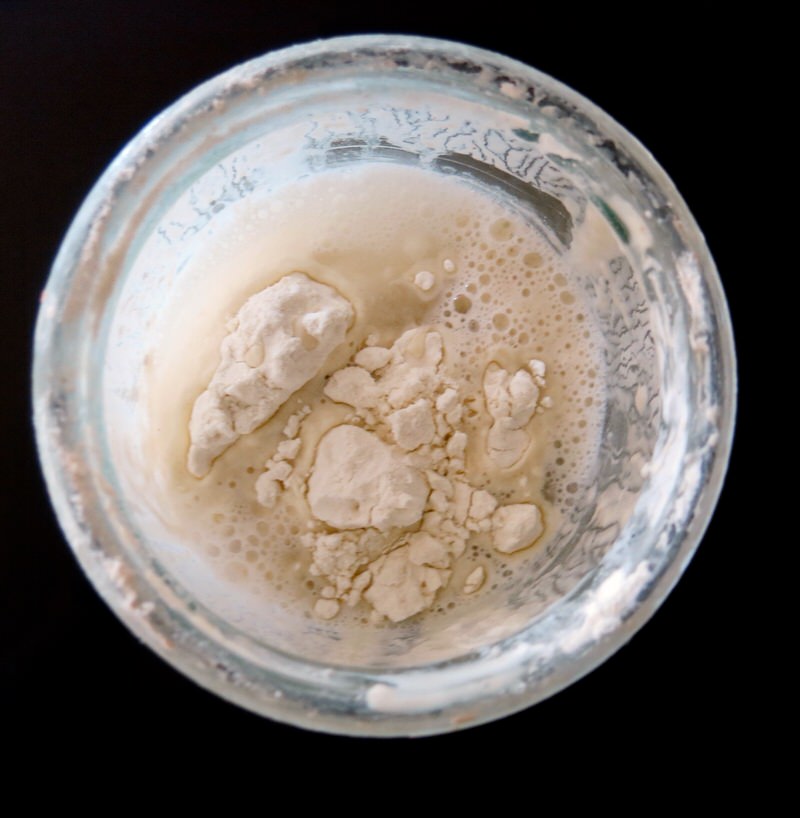
Then half was discarded and the other half poured back into the jar with 225 grams of water and flour added to the Starter to create the Sponge.
This is the beginning of our traditional sourdough where the leavening is achieved without the addition of yeast.
Sourdough Sponge: Bread Making Day, The Float Test
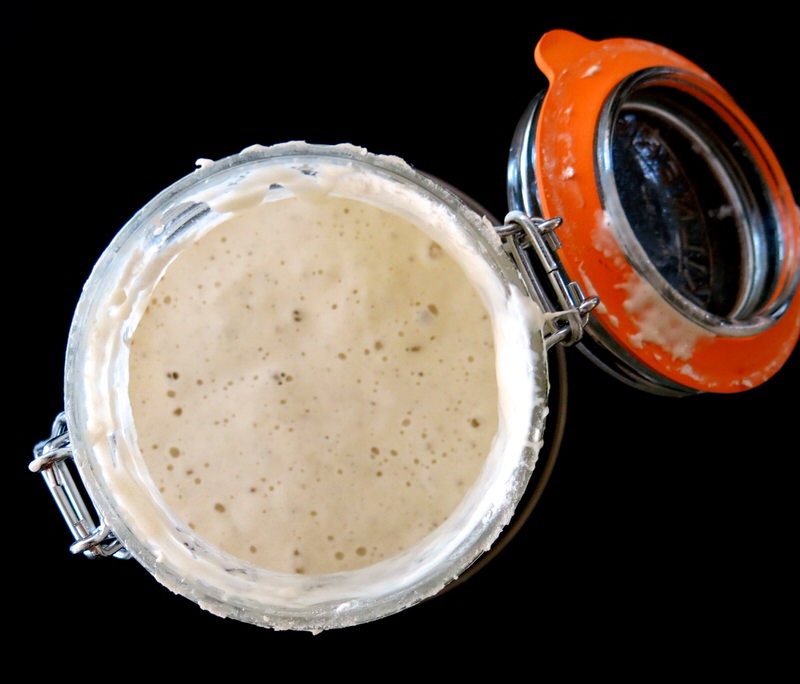
Kaelin’s Happy Sponge
The starter should be active and happy (bubbly). Time to do the Float Test. Fill a transparent glass or jug with water and drop 1 tablespoon of the sponge into the water. If it floats like a fat and happy little daub of dough, the sponge is ready for breadmaking.
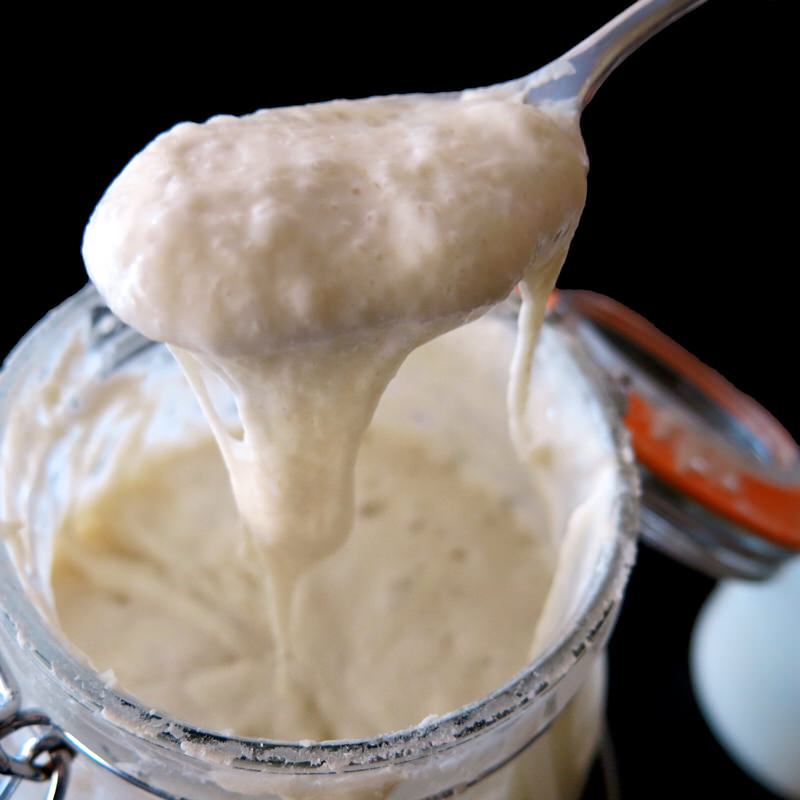
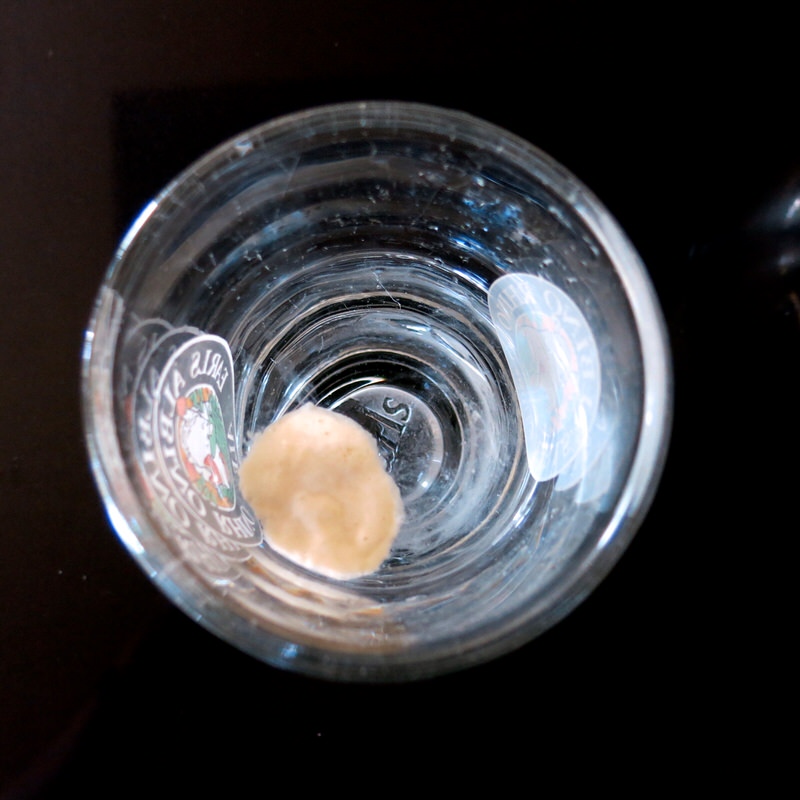
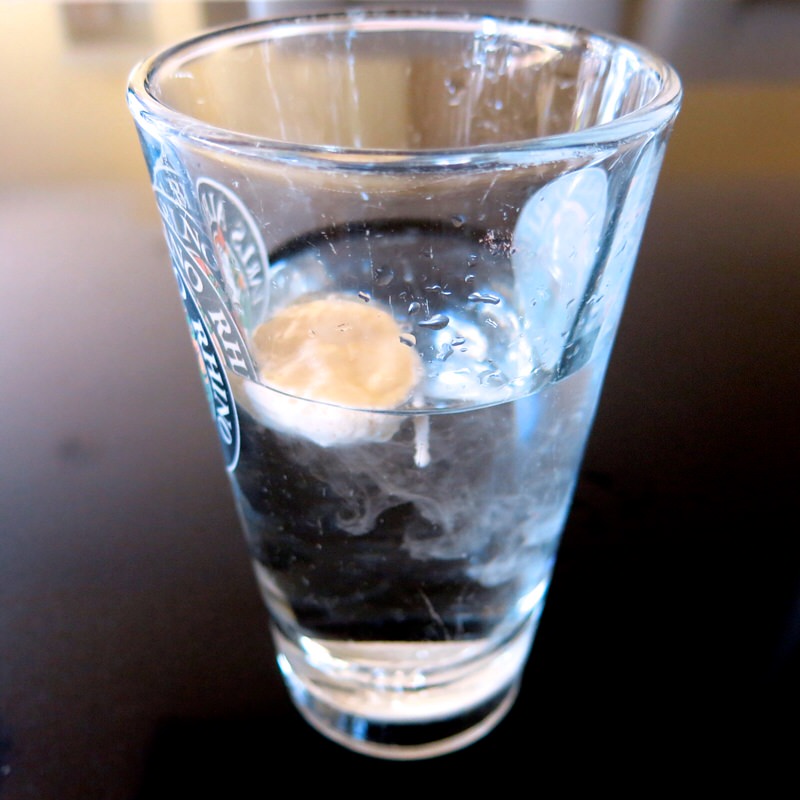
If it sinks, or partially sinks, wait a bit longer, and perform the float test again. Don’t lose track of time. If the sponge starts to have a real bubble party because it has been left too long, it will be runny and the resulting dough will be more dense, even very dense. The over excited sponge will float, but usually in strands which is a telltale sign that it was left too long. Use it. The bread will still be delicious, nutritious and economical. Learn from it, and watch more closely next round.
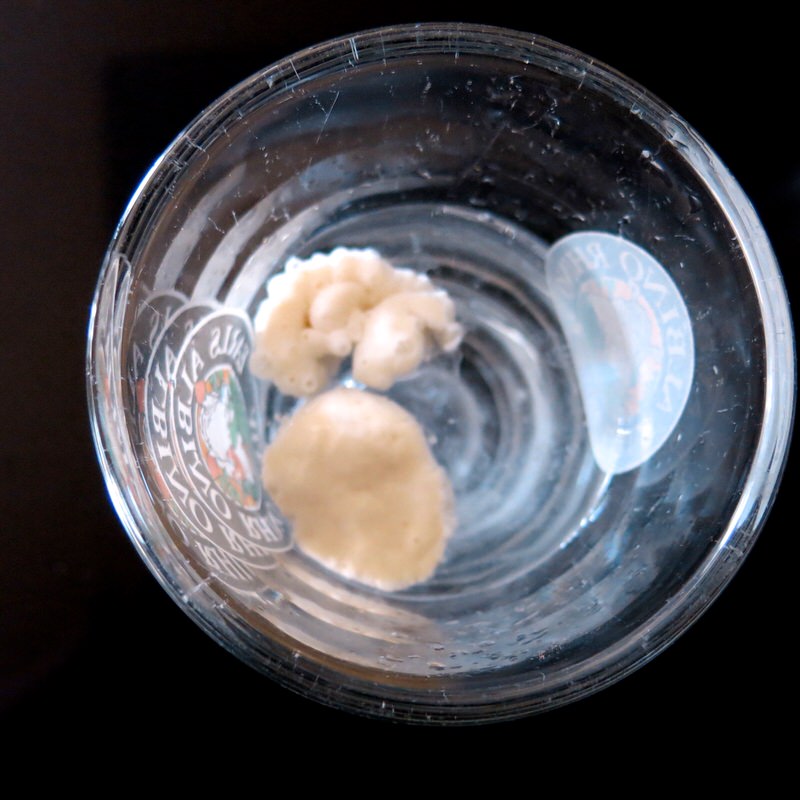
You can see, above, that when my sponge was added to the glass beside Kaelin’s that I will have a more dense loaf as my sponge floats, but in stringy strands, as it was left too long before using it.
This is one of a three-post series: Find out how to make the bread using this sponge, here.
Sourdough Sponge
After developing a healthy starter and getting to know it well, it is time to bake a loaf of sourdough bread. First, the starter must be prepared by using it to make a Sponge. Kaelin Whittaker walked me through this process.
Start Two to THREE DAYS before Bread Making Day.
Ingredients
- 700 to 1000 grams Healthy Homemade Sourdough Starter
- 100 grams Highwood Crossing Organic Unbleached Flour
- 100 grams Water
- 225 grams Highwood Crossing Organic Unbleached Flour
- 225 grams Water
- Water for the Float Test
Instructions
-
Day One: Remove starter from Fridge two days prior to bread making day; sit on the counter to climatize to room temperature
-
Day Two: Following day, feed starter 50 grams water and 50 grams flour twice: once in the morning and once at night; leave on counter overnight
-
Day Three: Following Day, or Bread Making Day, divide starter in half; discard half
-
Make the Sponge by feeding the remaining half with the 225 grams flour and 225 grams water; cover with plastic and rest 90 minutes to 2 hours
-
Float Test: Perform the Float Test after 90 minutes, then after 30 minutes, then every 15 minutes until one tablespoon of sponge floats in a glass of water. When this happens, it is time to use the sponge to make sourdough.
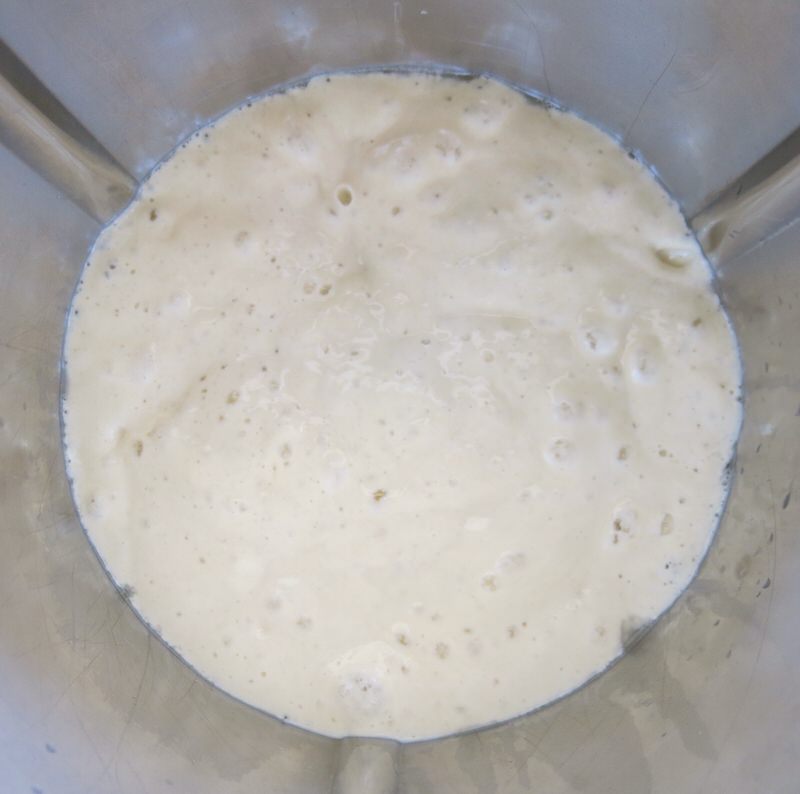
Now, that is a beautiful sponge. We used Kaelin’s first and mixed my sponge up into a sourdough, but covered it well and put it into the fridge overnight to bake the following day. That way, I could practice what Kaelin is teaching me on this day.
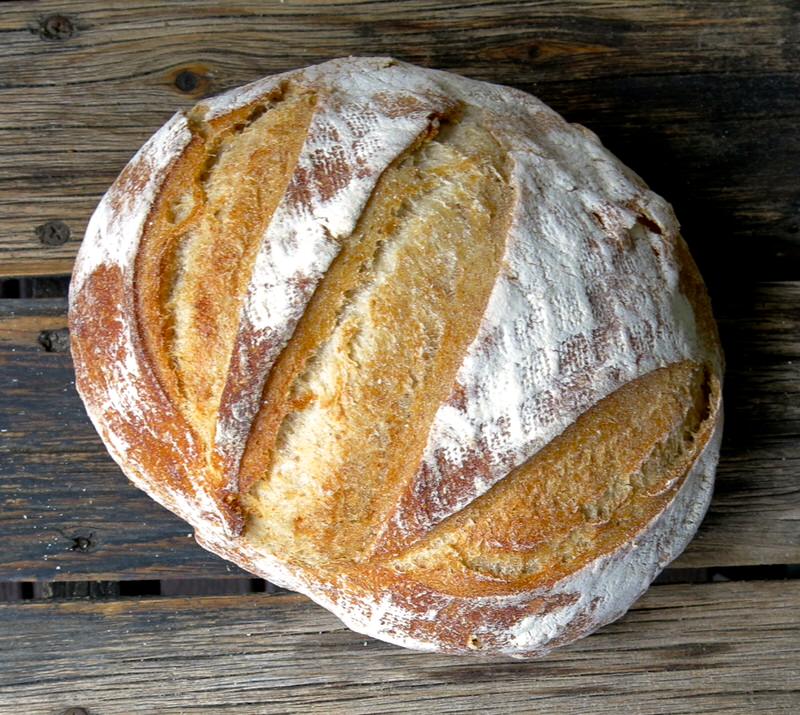
And did I? Oh, yes I did. Past the point of giving up. I loved the process and worked fervently at it (described in three posts) until I lost faith in my ability to succeed. Yes. I actually got there. Yet, determined to give it one last go. And the last go? Well, that is the loaf upon opening of this page! In the meantime, I had picked up a loaf, above, from Kaelin, to use and see and learn from. She creates a nicer slicing on top, doesn’t she? In any case, read on. The most amazing learning was yet to come, for me. And, maybe you, too?
Share your sourdough making experiences here? Your path, route, recipes, learnings, tips, tricks? Inquiring minds want to know.
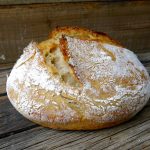





That loaf of bread in the first picture is awesome, Valerie! Absolutely gorgeous. What a great post to read, as well, and learn a lot of things I had no idea about sourdough bread making. Would have loved to assist, and try my first sourdough bread. I make bread at home, often enough, but it is not a beautiful sourdough. Thanks again for such amazing collaborations that you do and that teach us so much!
We can definitely get you started and do some of this together, Nicoletta! It was so much fun! Take a course with Kaelin, too – for sure. But, let’s book a time together. I have the pot. Then we can talk and get started 2 weeks prior to the bread making – at least 🙂
Starter needs to be made – 7-10 days – then the Sponge – 3 days before bakng bread prep started and make sponge…
so – 2 weeks, and you will need your supplies before you start. But, I think, for the two of you – you would LOVE it, and become hooked, completely!
Then, you would bring your starter here to make the sponge – and it would take an entire day – but meanwhile, we could make biscotti or your amaretti cookies – or a Christmas specialty from Italy!
Hugs,
Valerie
Could you have a requirement for a good flour to make bread in the USA??
Sorry, no.
🙂 I live and bake in Canada.
🙂
V
Cool, only I couldn’t see the baking instructions. Bake on parchment paper? Temperature. Baking time. I am excited to try it. thanks
Hi Paula
This is part of a three-post series. I have added the link to making the bread using this sponge recipe just above the recipe in this post, for you.
🙂
Valerie
Do you have to discard the remaining starter, or can you place the rest back in the fridge for future baking?
And if so, how often to do you have to feed starter?
You throw out the remaining starter as the other one is started.
All of the information about feeding the starter is in the post about the starter.
🙂
This is a three-post series.
Cheers
Valerie
Why wouldn’t you keep the 2nd half as your starter for the following week? They keep in the fridge for 7-10 days without feeding.
Simply because it is too much for 2 people
🙂