Homemade French Macaron: The Eternal Quest in Mastering the Art of the French Macaron
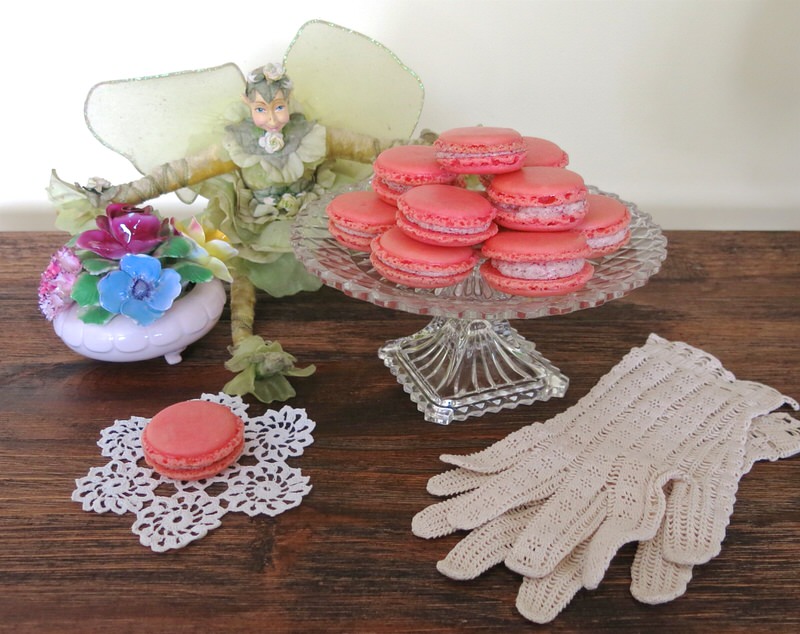
The French Macaron is a well known delicacy these days, but a very few years ago, it was completely unknown to most in North America. I recall my first spotting of these mysterious petites gâteaux. It was in Paris in the Springtime. Gorgeous abundant Easter sweets and treats were artfully arranged in pâtisserie windows with these enigmatic perfect little pastel rounds priced at 24 Euro per dozen in 1995
What were they? Why were they so expensive? And, at that time, there wasn’t just one for sale. They were sold by the box. Thus, the mystery continued….
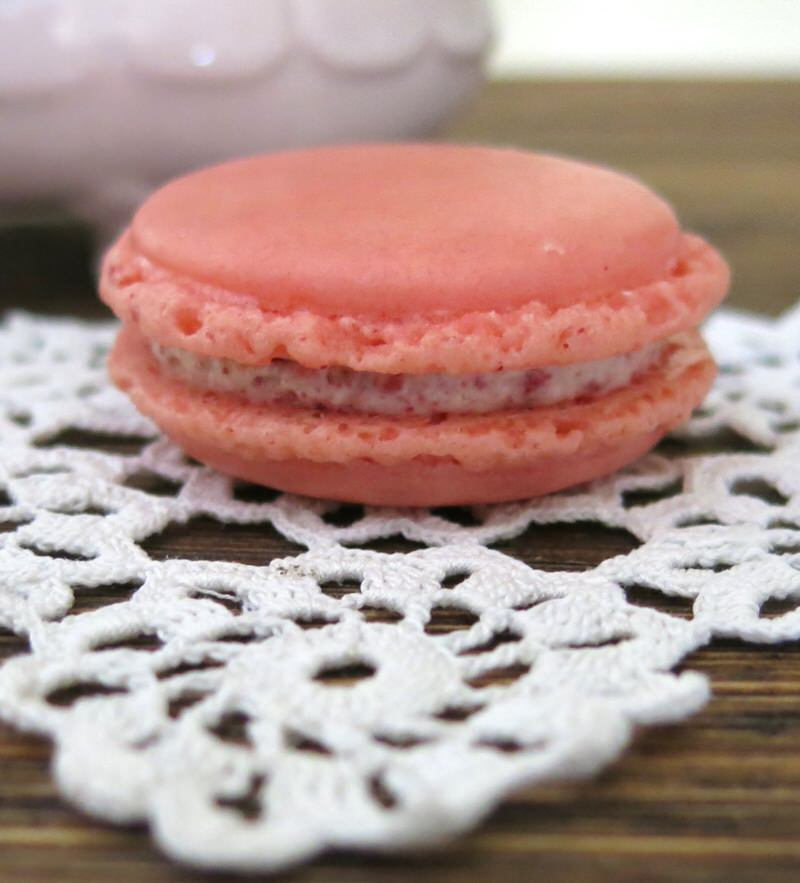
…. and a few Springs later, I found myself in Italy. There they were again. This time, more vibrantly coloured, and available in individual portions. “One please.”
At 3 Euro, it was an indulgent splurge, but I considered it money well spent on culinary research. Carefully jostling the crisply folded delicate vellum bag back to my hotel, I could barely contain myself. In my room, over to the window, I unwrapped the package. Barely any scent. One bite. One bite.
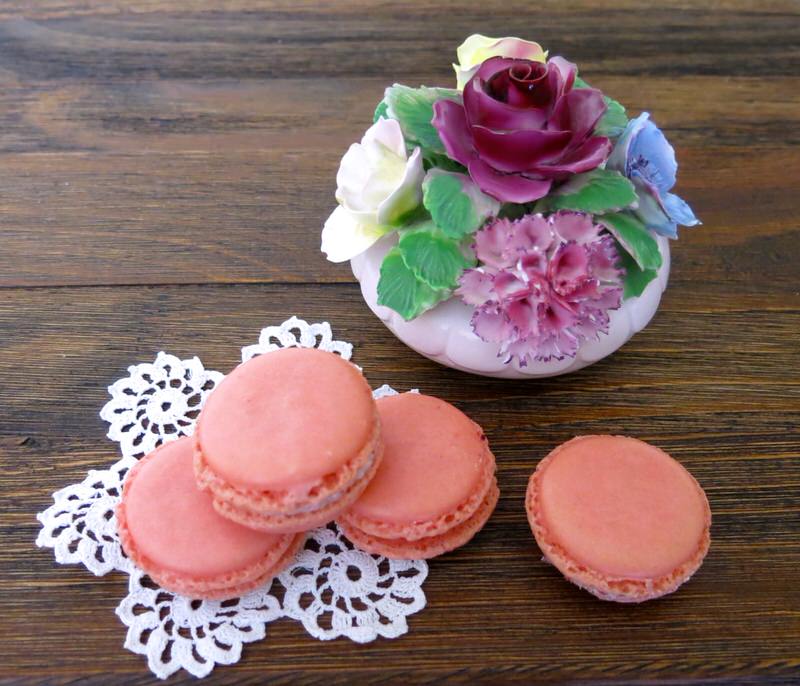
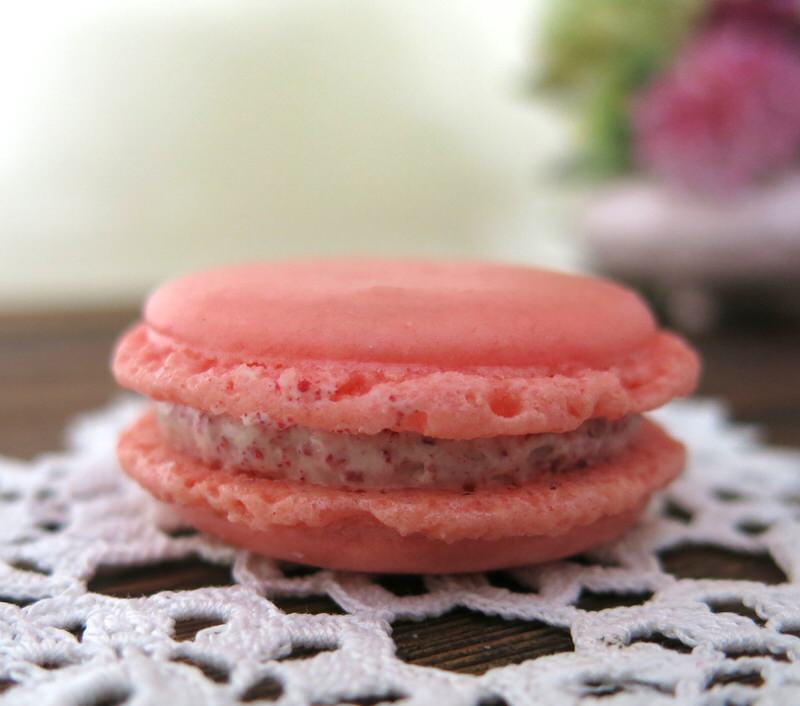
I had chosen a delicate mauve coloured macaron flavoured with the French Violette. The crisp delicate shell shattered and gave way to a sugary chewy almond mass that was quickly joined by a velvet cream bursting with what I came to know as the rare and compelling flavour of the mysterious French violette. I had never known such pleasure in a bite of food. And I only had purchased one! That was in 2007. Twelve years after laying my eyes upon the French Macaron.
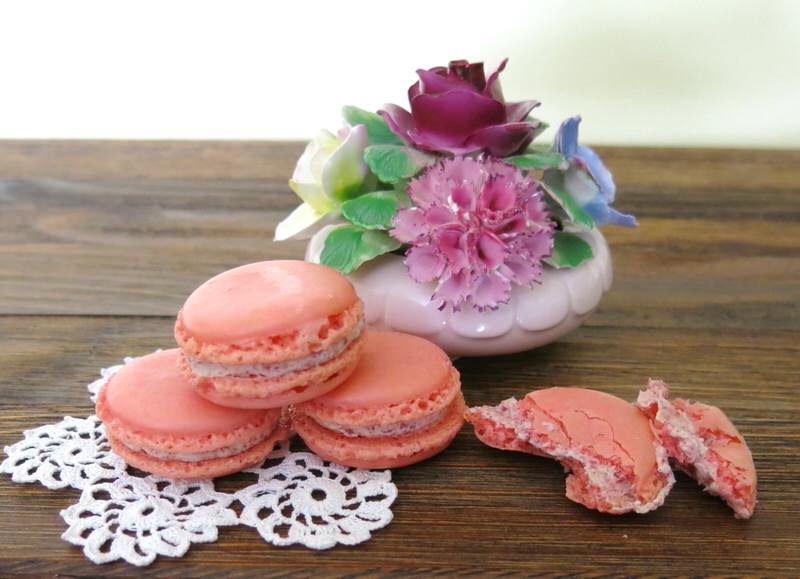
I had seen many more, over the years, as I was doing some major lèche les vitrines (“window licking”, literal translation for window shopping) during many trips, but never were any sold individually, until this time. Yet, how dare I spoil myself with more at such expense?
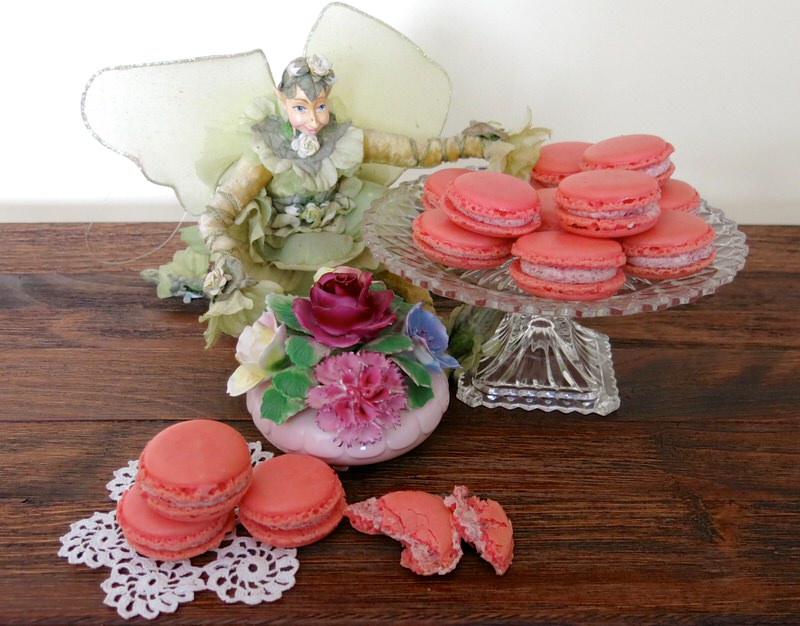
Had I been able to return, or passed by another shop selling these blissful bites individually, I know I would have given into the desire. But, I was not so fortunate. The remainder of my trip did not afford another moment like this one, and I returned home with a wanton desire for the French Macaron that was indefatigable. I must learn more and how to make them myself.
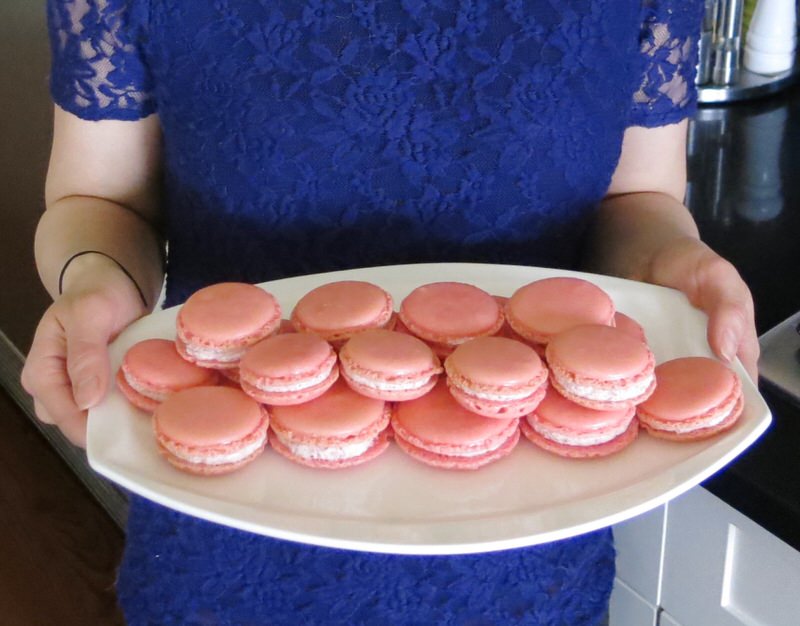
It was in 2008 when my Quest for the Elusive French Macaron began and in 2009 when I started to write about it. The first time I succeeded was under the guidance and coaching of Béné in 2009. What delicate gorgeous macaron au chocolat! Still unsuccessful at home. Then the class at Lenôtre in Paris in 2010. I came home and made a very successful Salted Caramel Macaron! It did not feel like success at the time because it was not perfect. This kind of quest can take a confident baker down a very dark road. My somewhat successful attempt later that same year on my own, at home with violette and rose flavoured macarons still left me discouraged. I made batch after batch after batch after batch of failures. I took a two year break. I had Connie from Mirabelle Macarons come and teach a class at my house for others in 2012, and I was too busy hosting to learn anything from it, really. I decided that there are some things that are too difficult to make and are just best left to the professionals and that I would splurge to satisfy my urge when I could no longer contain myself. This was until I reunited with Lillian at the launch of the Feast Cookbook at the end of February of this year (2017)… and invited her to participate in my new project.
Homemade French Macaron: Meet Lillian Tse from Beyond Umami!

Homemade French Macaron: A Little History
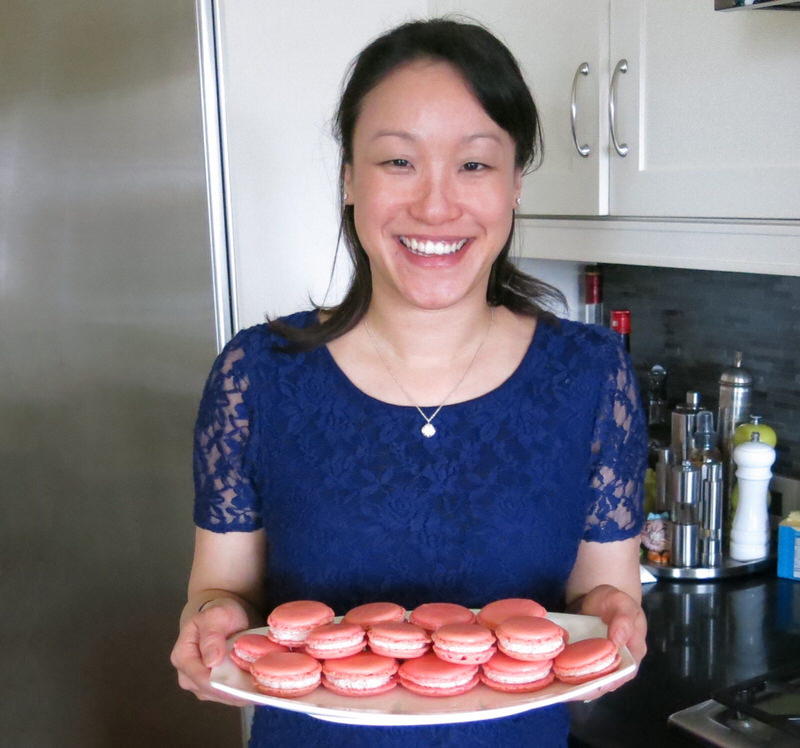 The French Macaron sandwiching a buttercream, fruit or ganache filling, as we know it today, was created by Pierre Desfontaines of the French pâtisserie Ladurée in 1952. That is just 65 years ago, and the little ditty was only 43 when I first laid eyes on it! There is uncertainty about whether Claude Gerbet or Pierre Desfontaines created the original smooth shells, but the research lends itself to that of Claude Gerbet as the shells were sold by his brother in their pastry shop in Paris at the same time. The family also claims to have inspired Desfontaines, as Gerbet made a little sandwich style macaron type cookie every Christmas.
Little dainty cookies made with eggs, almonds and sugar have been produced in the Venetian monasteries since the 8th century. Catherine de’ Medici brought them with her to France in 1533 and the Larousse Gastronomique claims a French macaron- type cookie was created in 1791 in a convent as in 1792, they began to gain popularity when two nuns known as the “Macaron Sisters”, baked and sold them in order to pay for their housing. It was not until the 1830s that macarons began to be served two-by-two with the addition of jams, liqueurs, and spices. In these early stages, macarons were served without special flavours or fillings.
In the 1960’s Ladurée was only serving 4 flavours and all were made by hand. It is no wander that they were not sold individually in 1995, as the mechanical process of making these began in the late 1990’s when Pierre Hermes, their head pastry chef, went out on his own, and when Ladurée was taken over by The Holder Group. As of 2012, Pierre Hermés’s macarons were still made by hand. Sadly, Ladurée is no longer the best place to visit in Paris for an authentic handmade French macaron experience. Yet, I have been there, along with throngs of tourists, enthralled by the art deco design and history. Just sitting and watching the well dressed strut by, breathing in the atmosphere and sipping a café au lait is something one still has to do while on the Champs Élysées.
Homemade French Macaron: Project 2017, Valerie Cooking in the Kitchen with You!
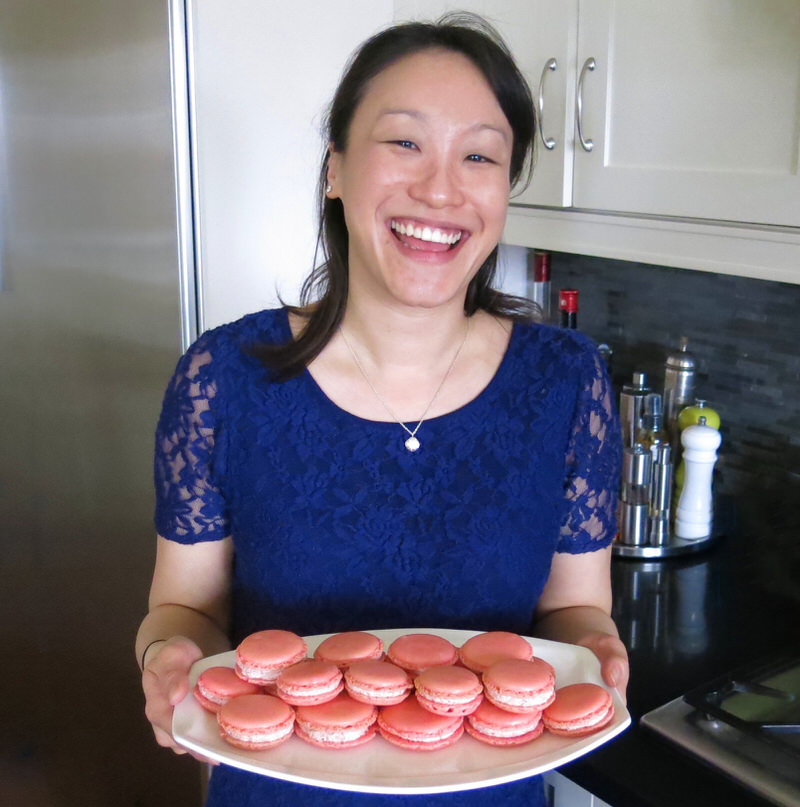
Some women like to shop or go to the spa. I love to cook in my kitchen with a friend – or someone learned who has a recipe to share, and a story to tell. Essentially, I want to glean heritage and traditional recipes – the best of the best – from our oldies and goldies that have so much experience in their heads. I want to cook with our babas and nonnas and grandmas and grandpas and learn to make what they are known for, or famous for, and share it with my readers. This is not exclusive to our elders, but definitely with them in mind. Of course, many, many younger folk, like me, for example, have much to share, as well.
#ACFValerieCookingwithYOU!
Lillian is participating in this project. Though the French Macaron recipe hails from France, it has created a fervour and quite a local following due to the opening of our own world class Duchess Bake Shop in October of 2009 in Edmonton.
If you would like to, please let me know!
- Project 2017: Cooking in the Kitchen With… Completed Project Posts here.
- Project 2017: Cooking in the Kitchen With… Cooking Schedule is here.
- Project 2017: Cooking in the Kitchen With… PARTICIPATE!
Homemade French Macaron: Special Equipment
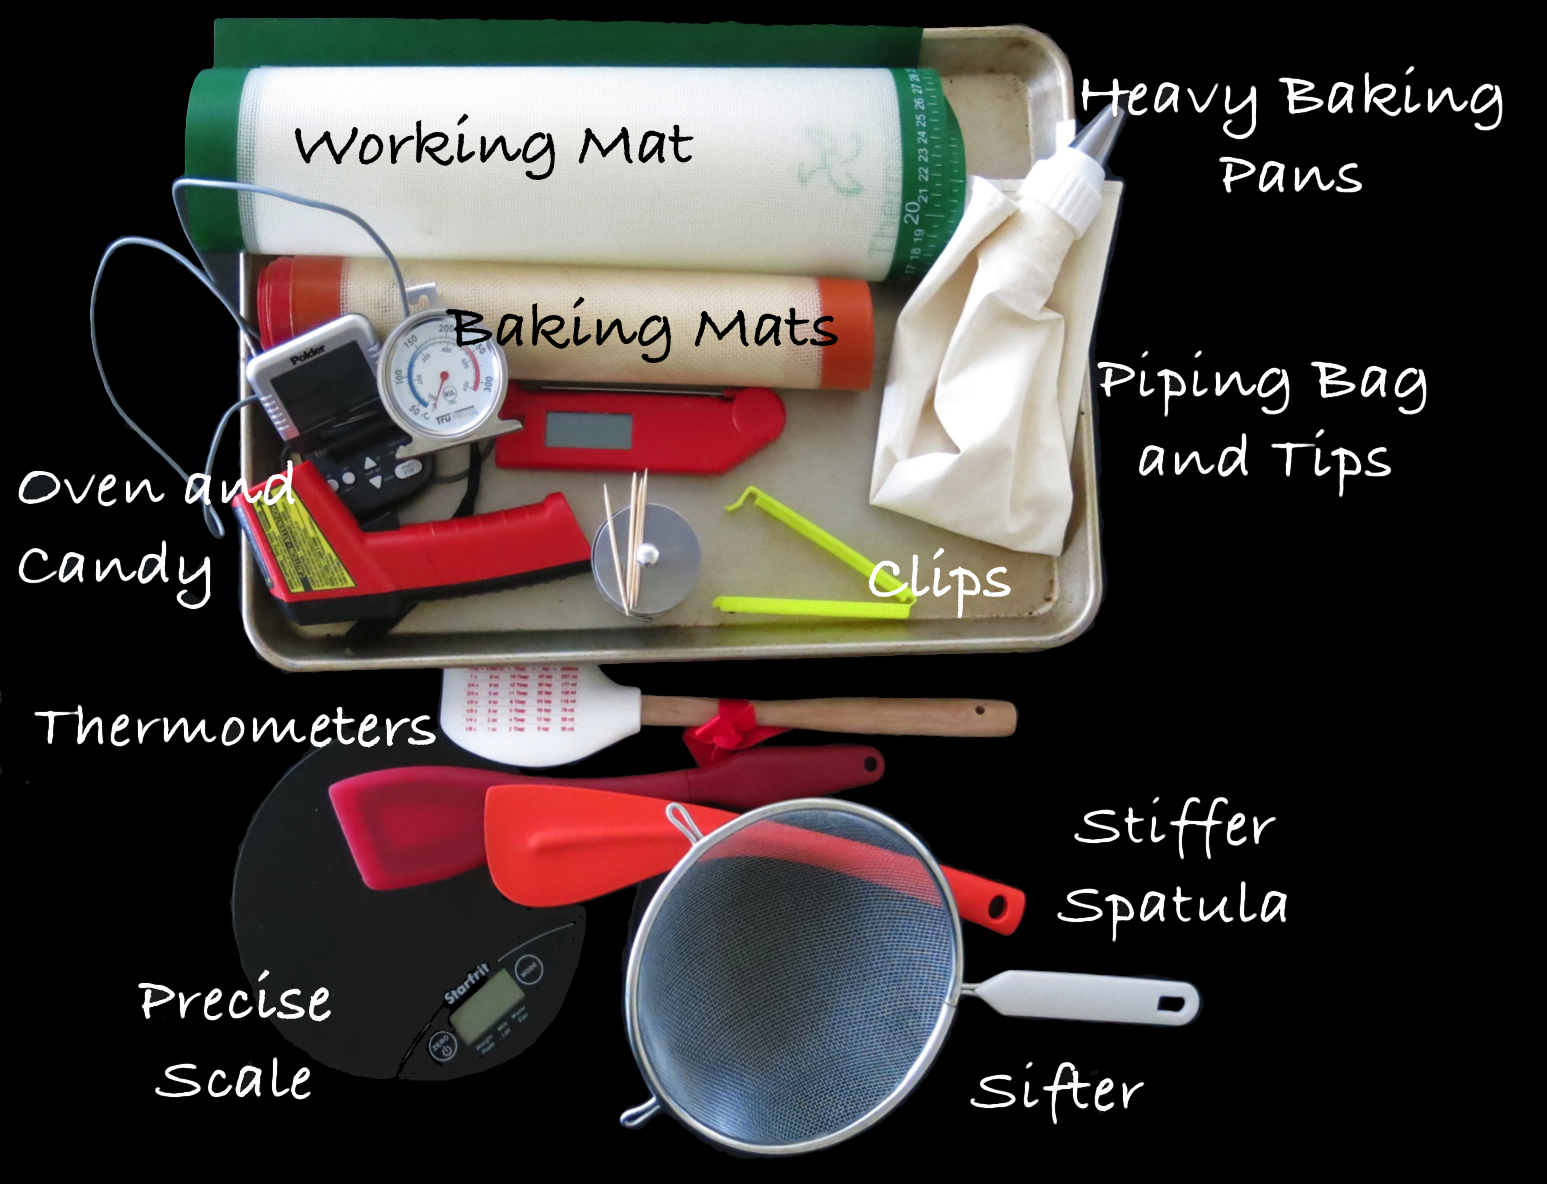
To invest or not to invest? Now, that is a serious question. How far gone are you? Are you ga-ga over the French Macaron. Is your passion and determination going to whisk you over the finish line? Because, even with these very specific instructions that will, I promise you, lead to your success. If you haven’t begun your French Macaron journey yet, you will face failure square in the eye more than a couple of times. Unless, well – you are just the lucky sort. It is the oven temperature and time that will be the last dragon to slay in this quest. You will already need all of the above. Well, not all of it, but one of each and four trays. As a prolific cook and baker myself, I have once again found myself in the position to make an investment decision. Should I buy new and heavier trays, or risk failure first? I definitely need a stiffer spatula for folding at the Macaronage phase and I need a scale that weighs to the gram. Fortunately, for me, I have the:
- Food processor (For finely processing the almond meal and icing sugar.)
- Fine mesh sifter
- clips for piping bags
- Stand mixer
- Piping bags
- Large round piping tip (Wilton 2A)
- Parchment paper or Silicon Mats (3-4 silicon mats for a batch of macarons)
- Toothpicks
- D-shaped spatula
- Oven Thermometer
- Candy Thermometer
- 3-4 Heavy commercial (prevents shells from burning) jelly roll pans (43 x 31 x 3 cm)
But, don’t that these:
- Kitchen Scale that weighs to the gram
- Spatula for macaronage process (stiffer sort)
Homemade French Macaron: Mis en Place for the Shells
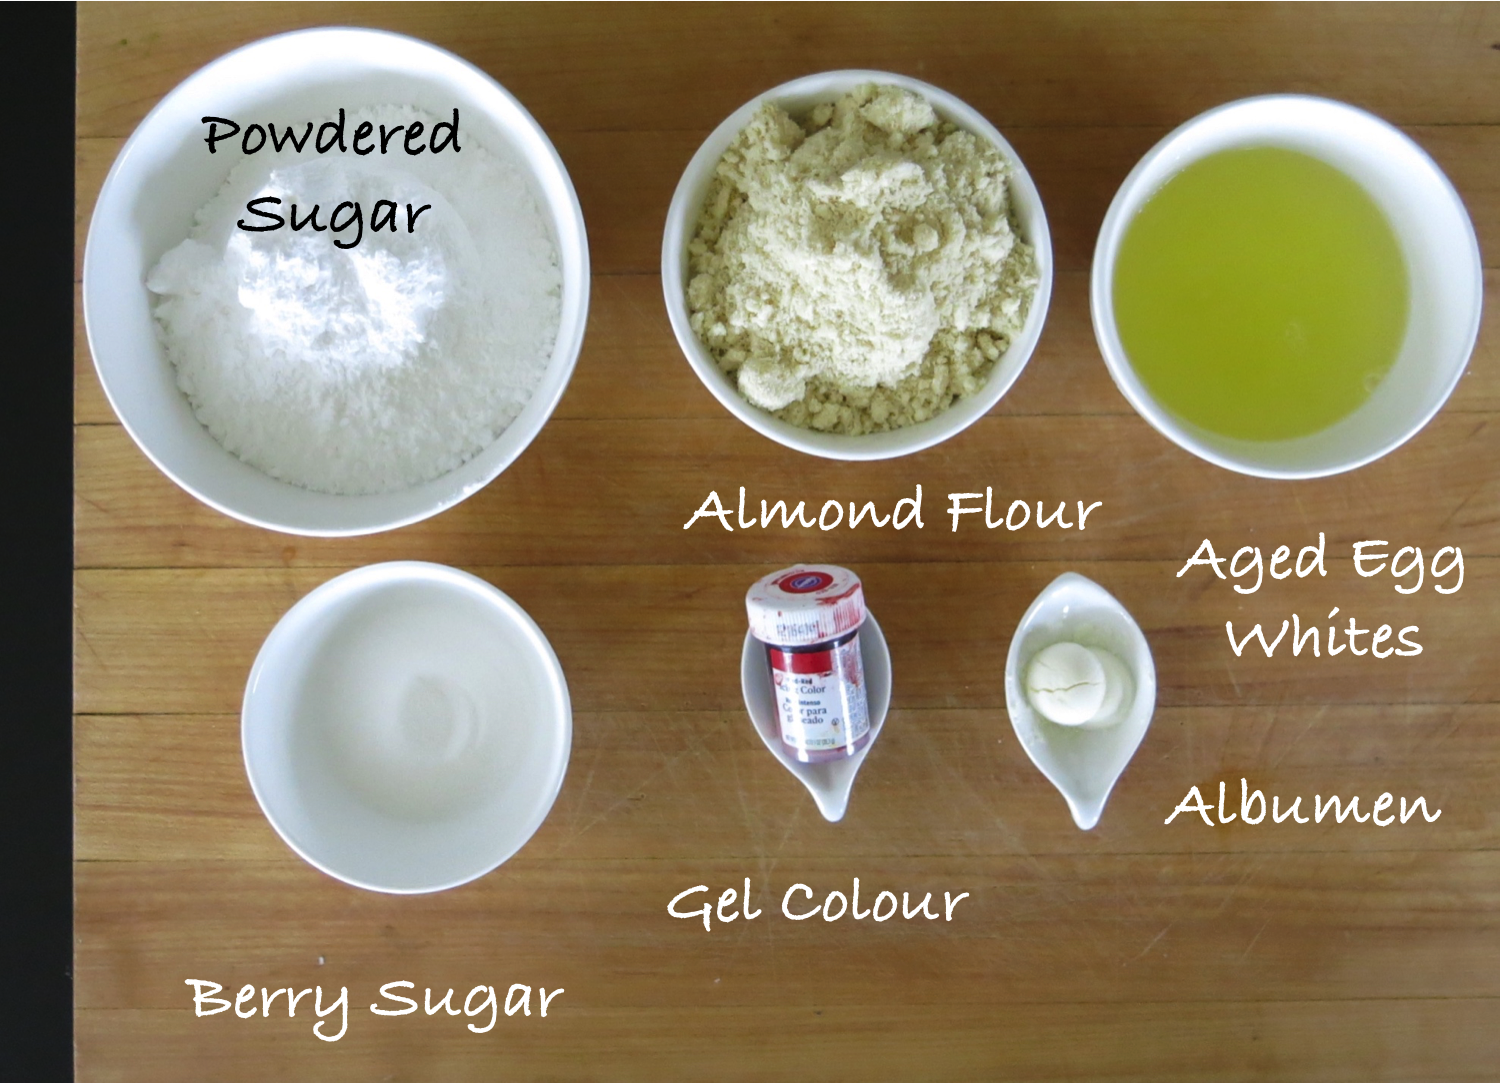
It is important to note that the egg whites must be aged on the counter at room temperature from 2-5 days before making Homemade French Macarons. These are not a little somethin’ somethin’ you whip up on a whim at the last minute. Plan to be home for a considerable period of time. Have your egg whites aged and other ingredients measured and ready. Even with this in place, there is still a considerable amount of preparation to do before beginning with the recipe.
Homemade French Macaron: Preparing the Ingredients
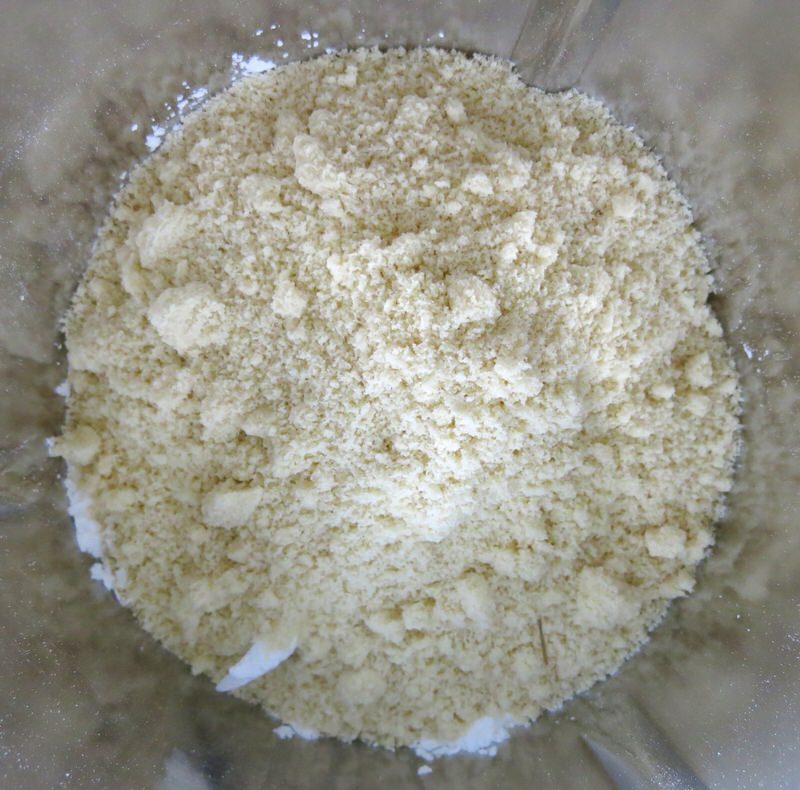
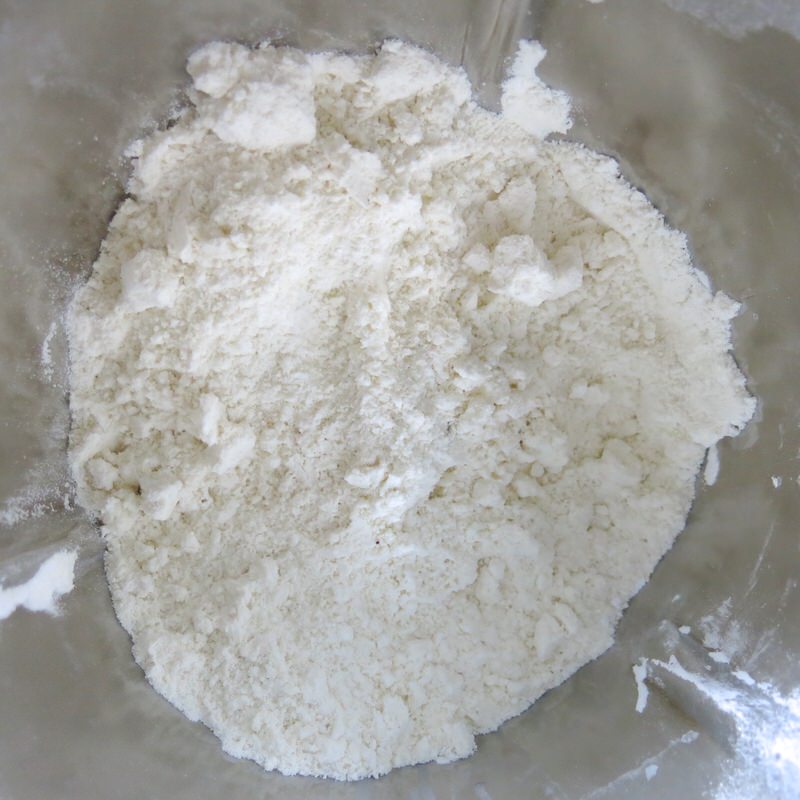
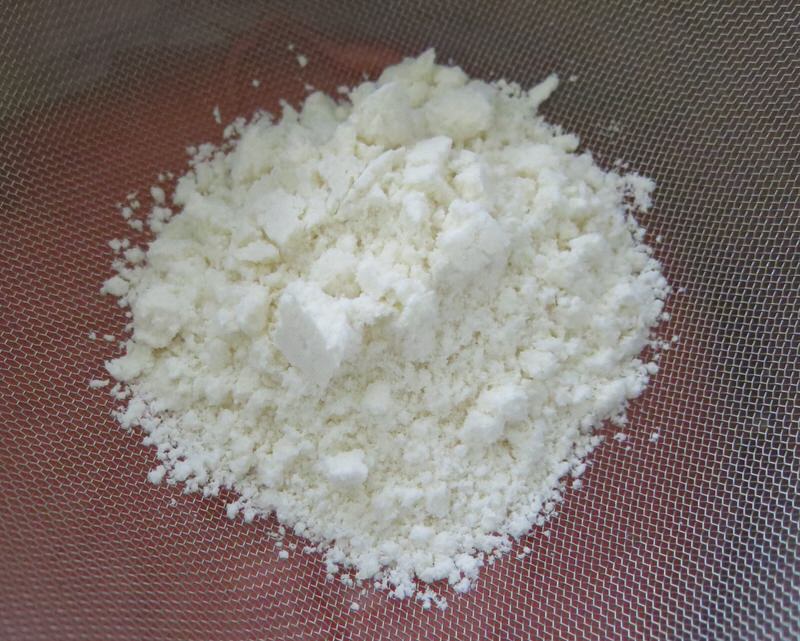
Preparing the “Tant Pour Tant”: Tant pour tant is a classic base ingredient for many French pastries, including madeleines and financiers. The name is a French expression meaning “both as” or “so much for so much,” referring to the equal parts almond meal and powdered sugar that make up this simple mixture. Usually there would be 125 grams powdered sugar to 125 grams almond powder combined together in a processor or ground together in the Thermomix machine, then sifted through a fine sieve. This mixture can then be refrigerated and used anytime. Classic chefs would then add the remaining sugar (100 grams more, in this case) to the tant pour tant. Lillian effectively skips the double step and simply adds the 125 grams of almond flour to the entire 225 grams of powdered sugar and incorporates both via a Thermomix or processor, then sifts it through a sieve rather quickly.
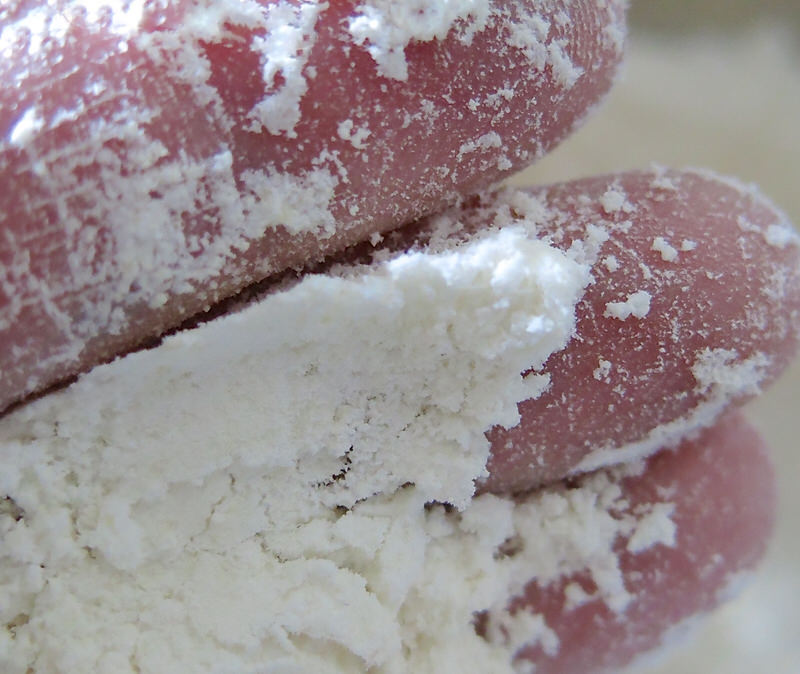
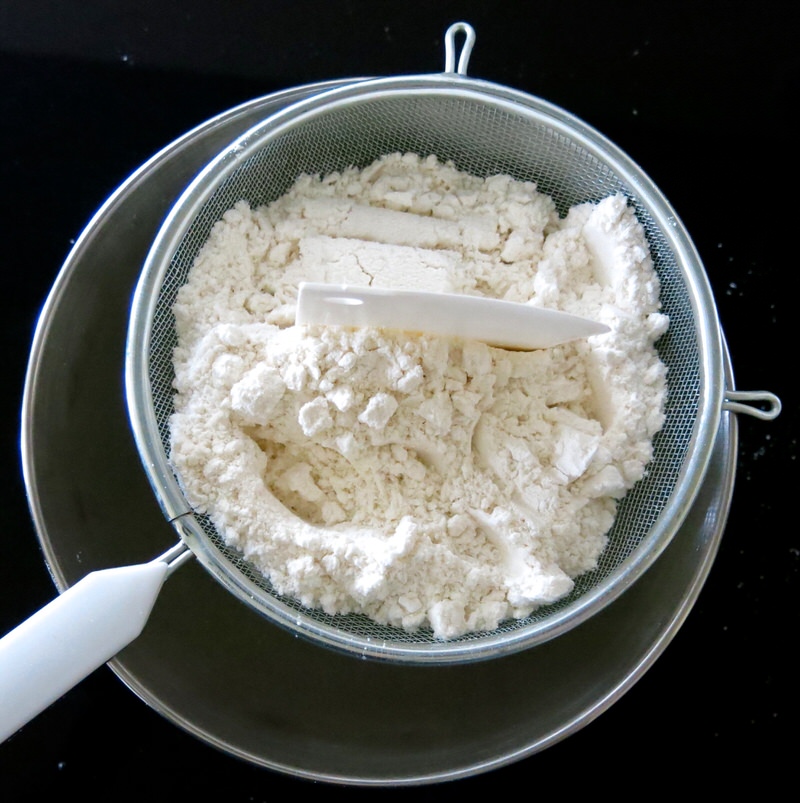
I was shocked at how fine this combination was. Oh, the heartaches of my past. I would take hours just getting a tant pour tant ready for macaron making day!
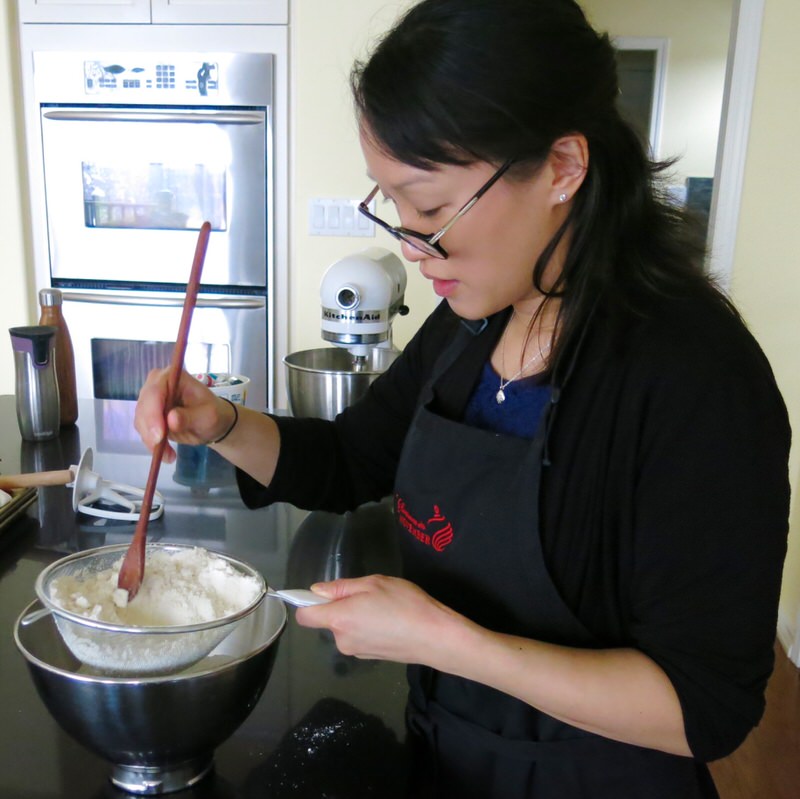
Above, I have a larger bowl to sift into, but ineffective. Below, a much wider-mouthed bowl expedited the process significantly. The hours of pushing my tant pour tant mixture though a sieve are no more: with the greater amount of sugar combined through the milling process, this makes sifting the mixture a snap.
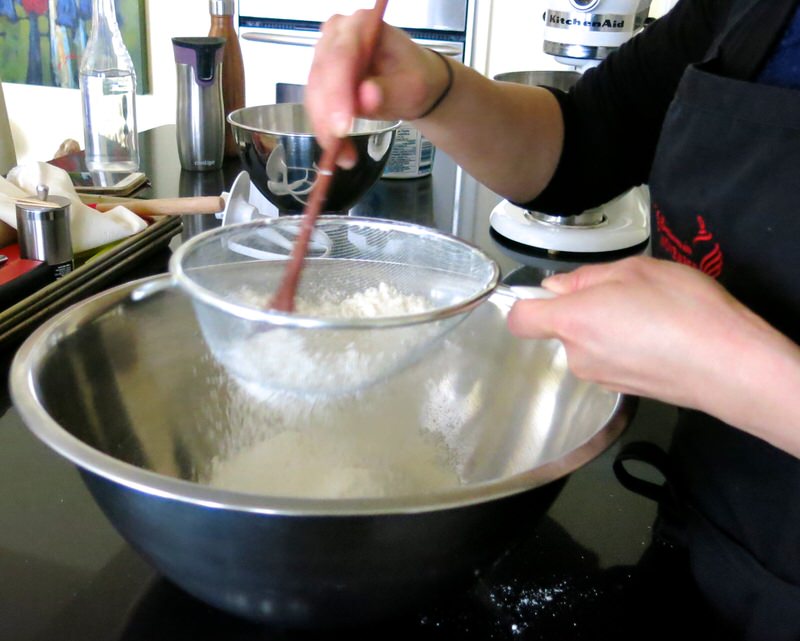
Almond sugar mixture ready. Now, piping bag.
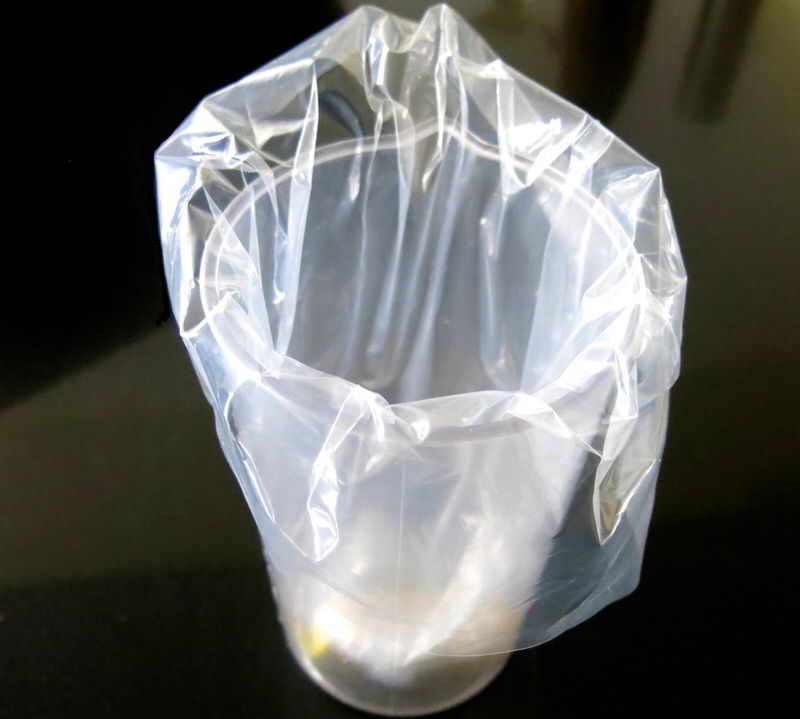
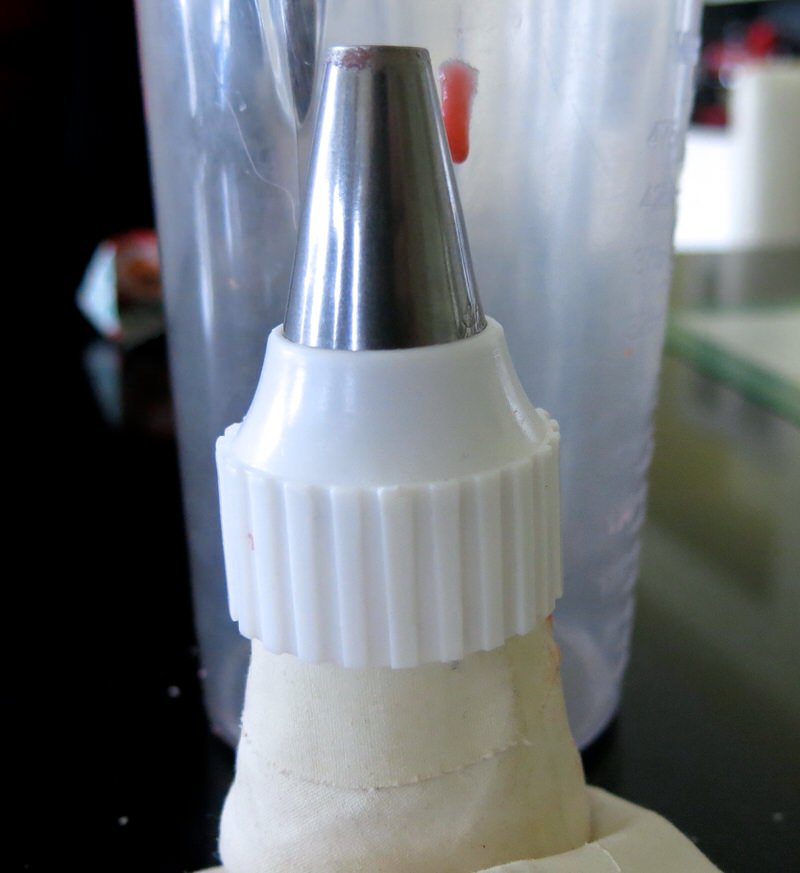
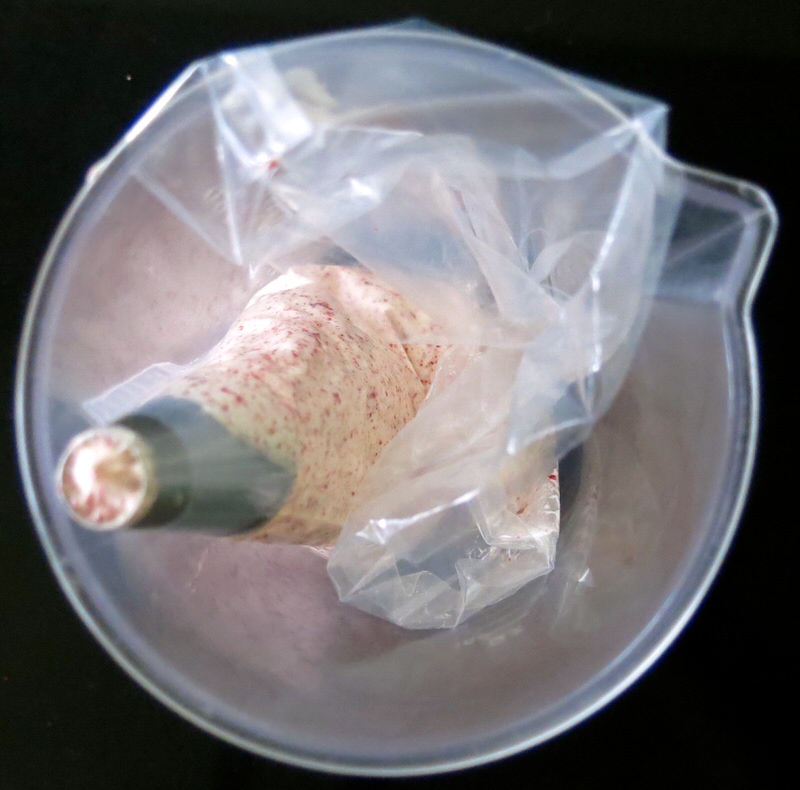
Place the tip on the end, with a clip just over the end to avoid the batter spilling out of the tip before ready to pipe. Set the bag into a cylindrical shape, like a vase, ready to receive the macaron batter.
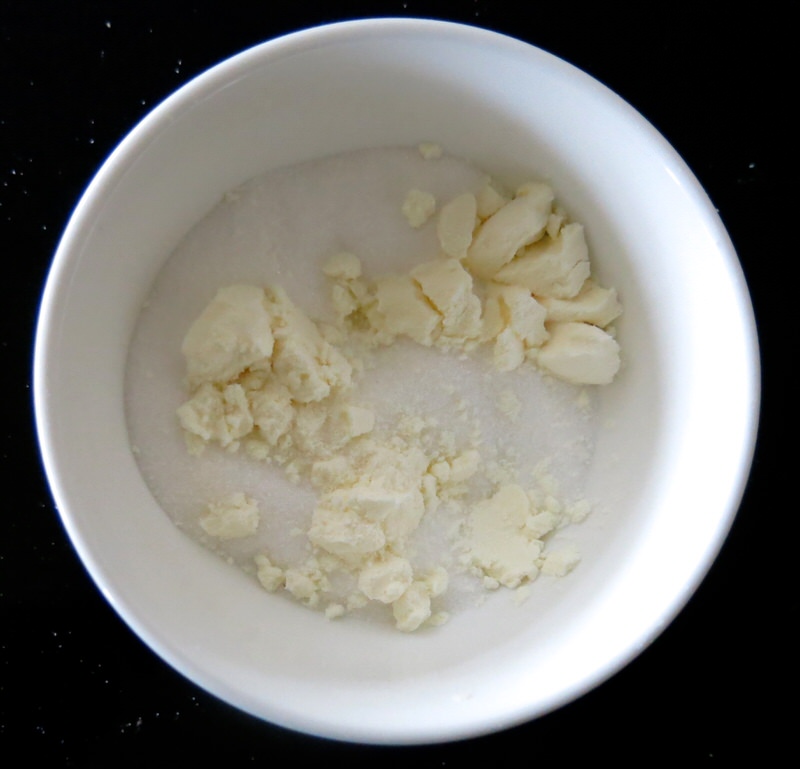
Almond sugar mixture done, piping bag ready, now mix the extra fine berry sugar with the albumen. Stir together to incorporate well. One last thing: the cookie sheets. Line them with silpats or parchment paper so they are ready for piping. OK. Special equipment gathered. Mix en place measured. Ingredients prepared. Time for the first step: Making the Meringue.
Homemade French Macaron: Making the Meringue
A spotless whisk and bowl are consistently essential when whisking meringue. So is the temperature of the bowl and the meringue. The loft will increase considerably when everything is at room temperature. Remember, your egg whites have been on the counter for 2-5 days, aging. Ensure your bowl is not just in from a chilly storage shelf. Have it warmed to room temperature and spotless to enable the full incorporation of air.
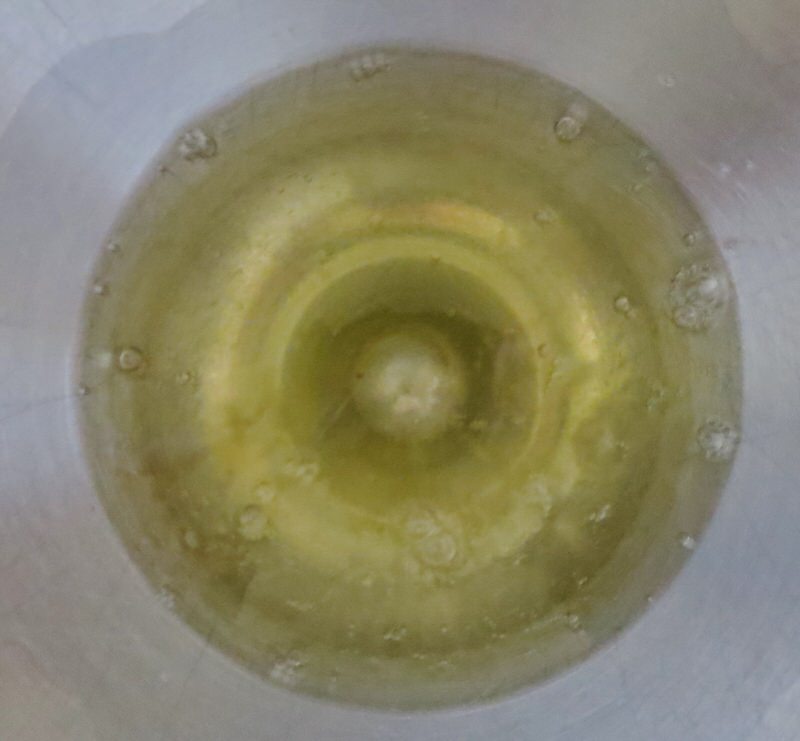
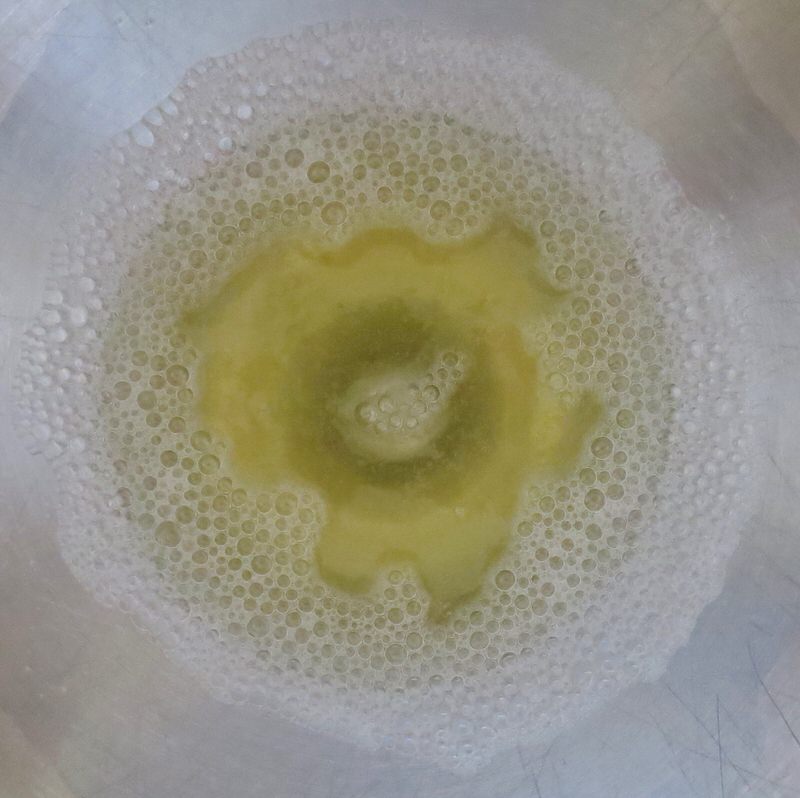
Tip One: Do not take your eyes off the whites at this time! I had barely put the whites in an turned on the whisk when Lillian redirected my eyes to the bowl. “Don’t look away. This only takes a few seconds to be ready for the extra-fine sugar and albumen mixture.” Woops! Above, right. Just the beginning of foam, and your whites are ready to receive the mixture.
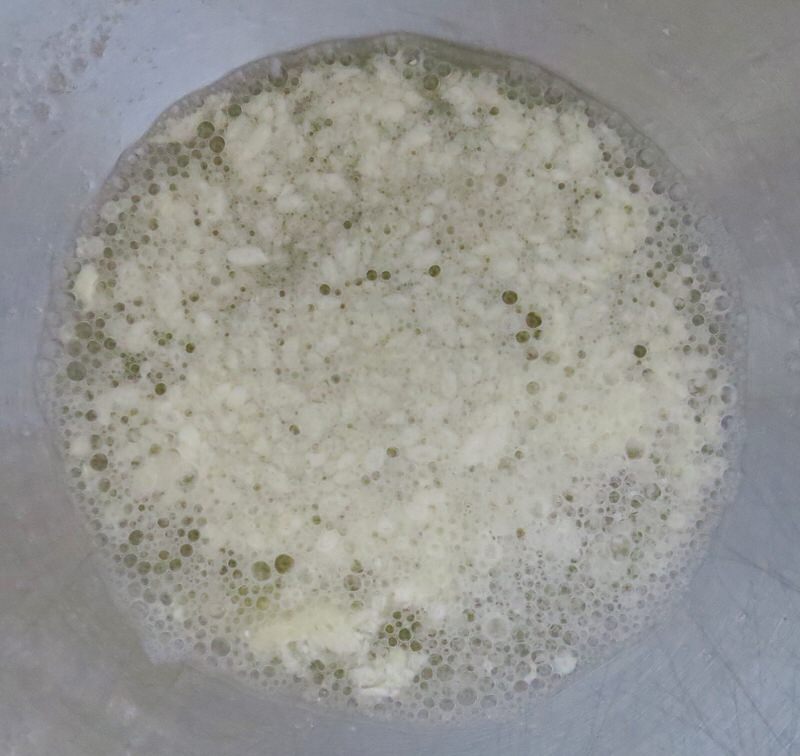
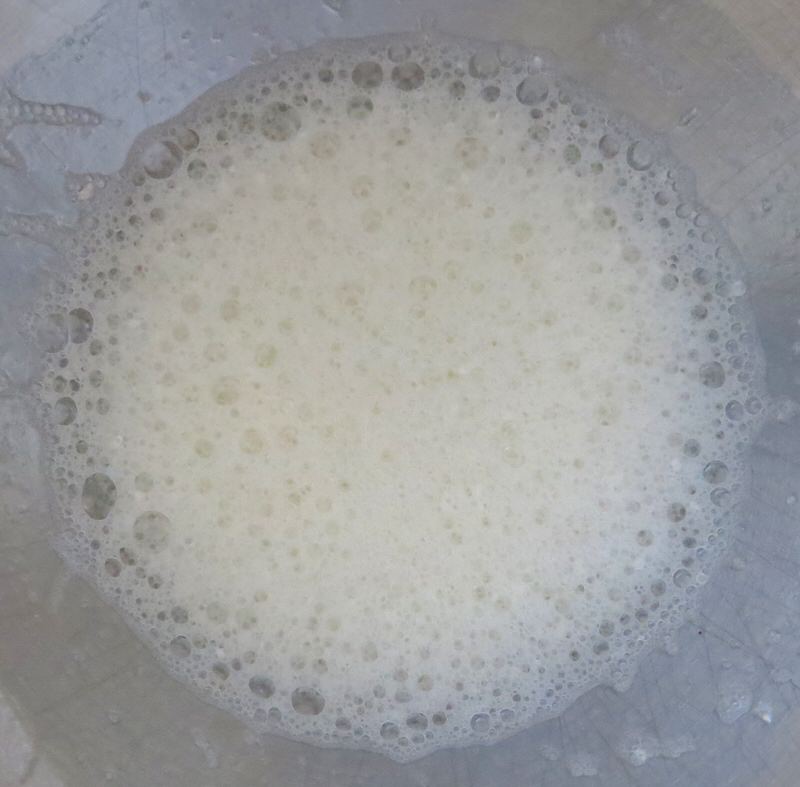
A little help with a spatula, and its all in. Don’t look away. Seconds later, the whites are foamy and ready to receive the gel colour.
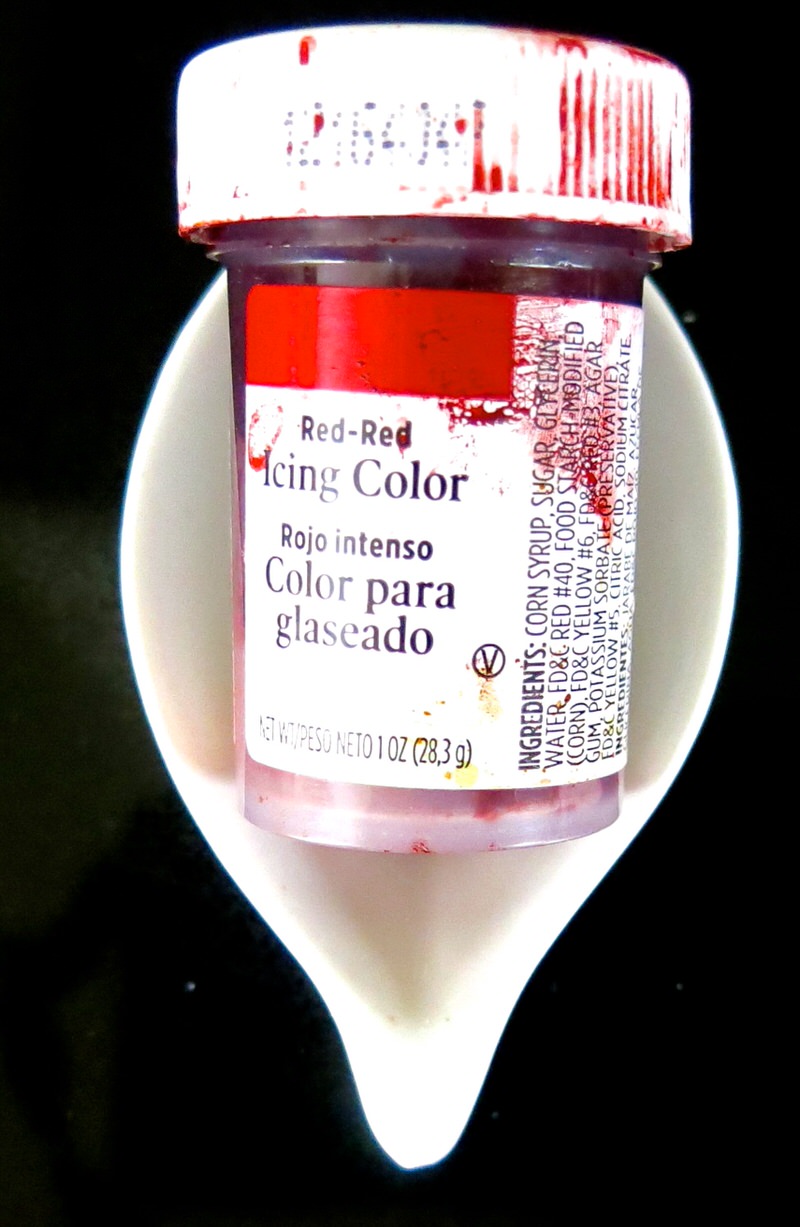
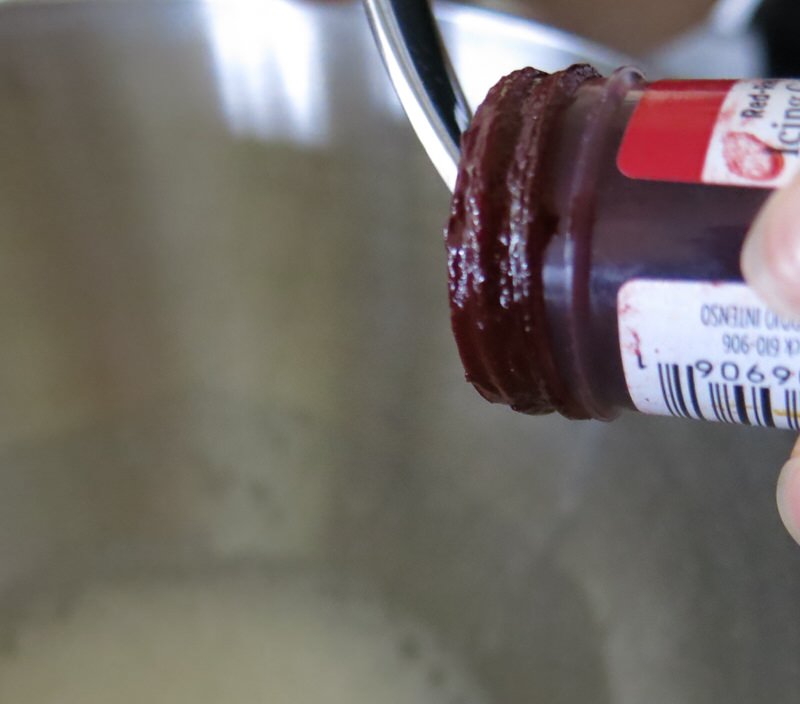
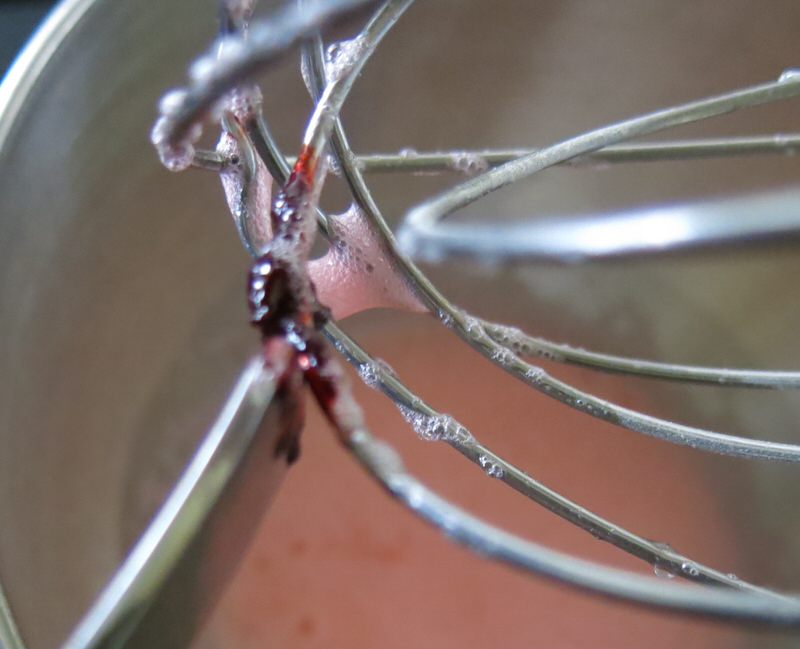
A drop or two for a pastel shell and a few more for a vivid shell. The colour will lighten when baking. The colour you see will need to be a shade or two darker than your desired outcome.
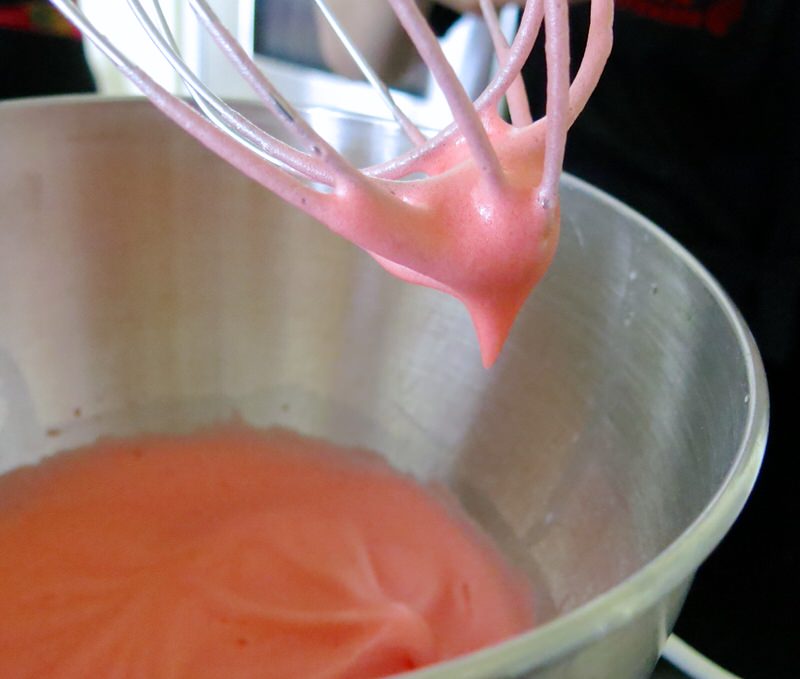
Tip Two: The Beak! It’s barely a peak, but it is a beak! Definitely stop the machine and test this a few times before reaching this phase. If the meringue falls off the whisk into the bowl, it is not “ready’. It is not at the “beak stage”. You will only know this if you test it before it gets to this phase. So, as soon as it starts to get thick at all and leaves the least marks in the meringue, stop the whisk and lift it out. If there is a flow from the whisk back into the bowl; whisk another 30 seconds to a minute. Do this for no more than 2 minutes as it does not take long to get to this beak.
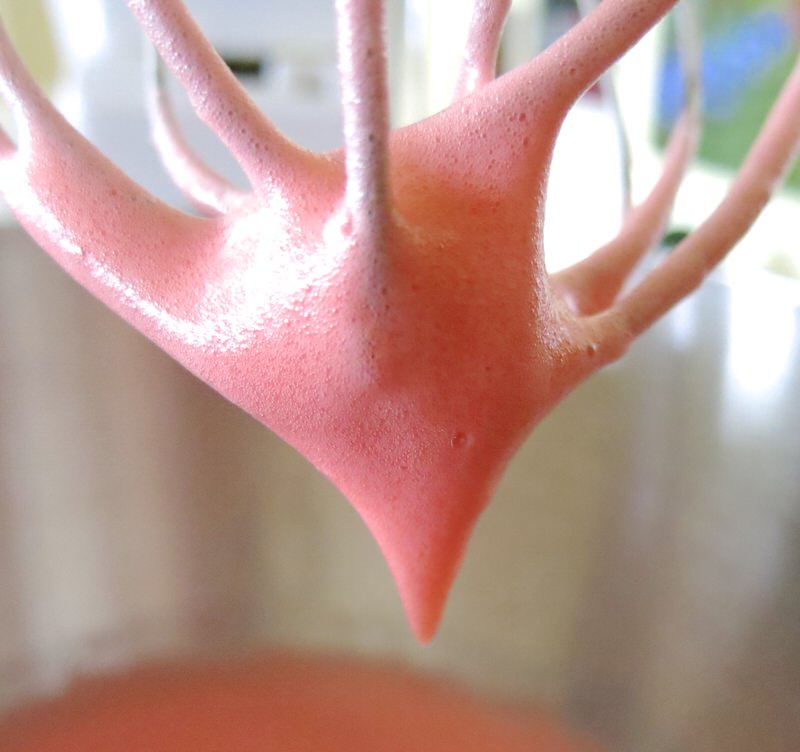
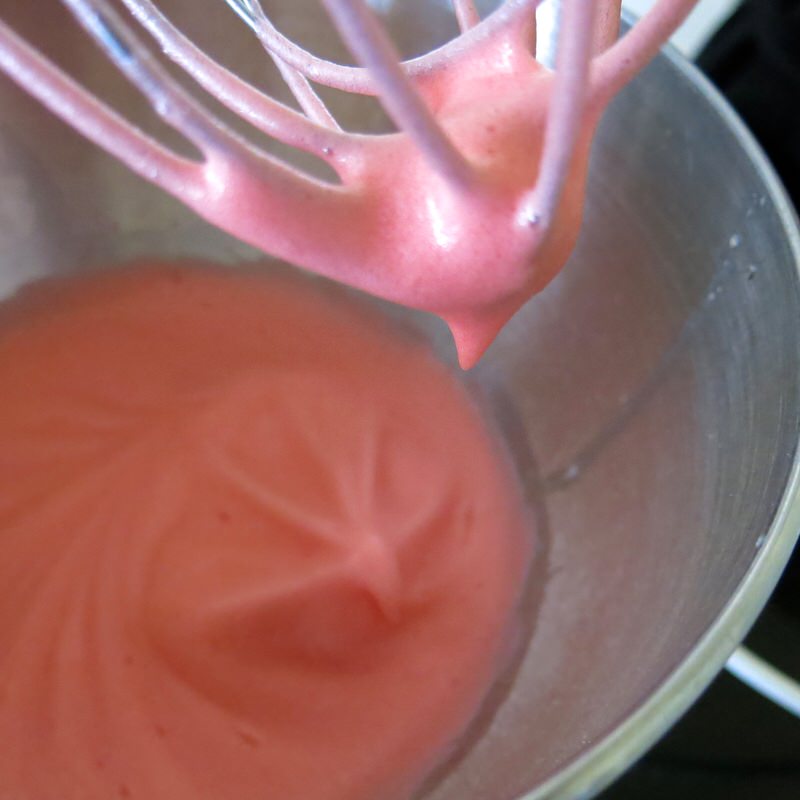
When ready for the Macaronage Process (at the Beak Stage) you can also see that the peak in the bowl curls back onto itself.
Homemade French Macaron: The Macaronage Process
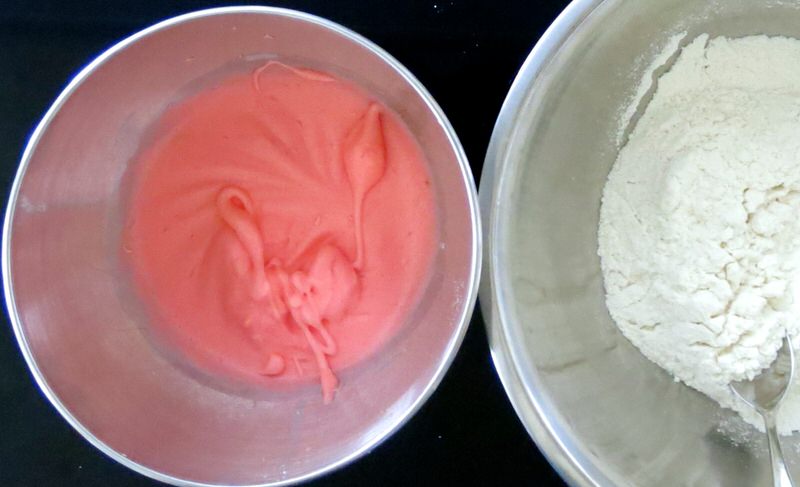
On the left, the meringue whisked to the beak phase and ready to receive the almond sugar mixture via a process that is called Macaronage.
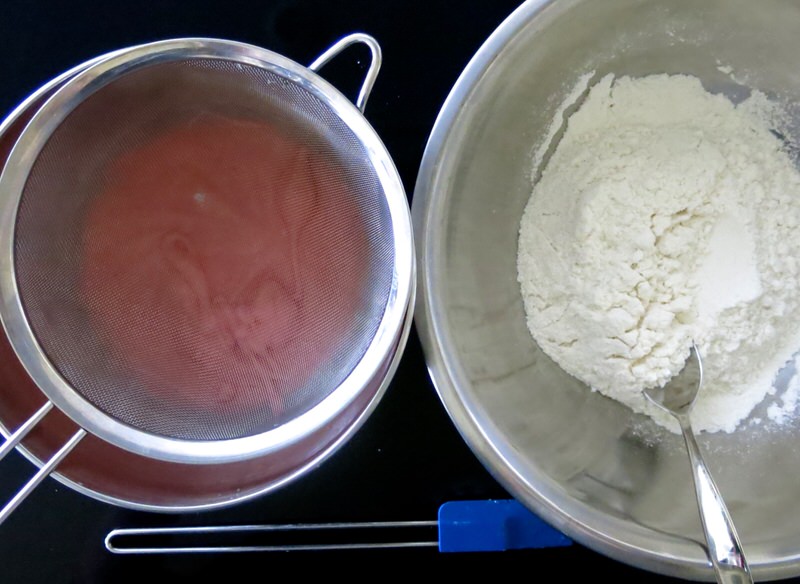
Tip Three: Lillian has devised a very specific Mararonage Process that is in the notes section of the recipe. It works. She sifts a quarter of a cup of the sugar almond mixture into the meringue and folds the dry ingredients into the meringue a very specific number of times. The sifting again and this counting is not common, but it works. It works very well.
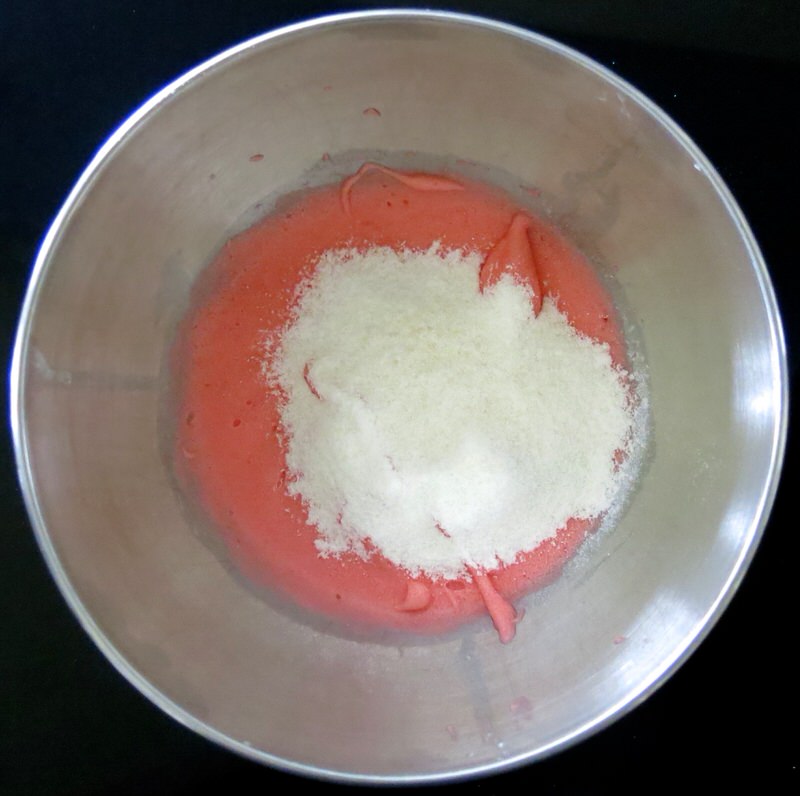
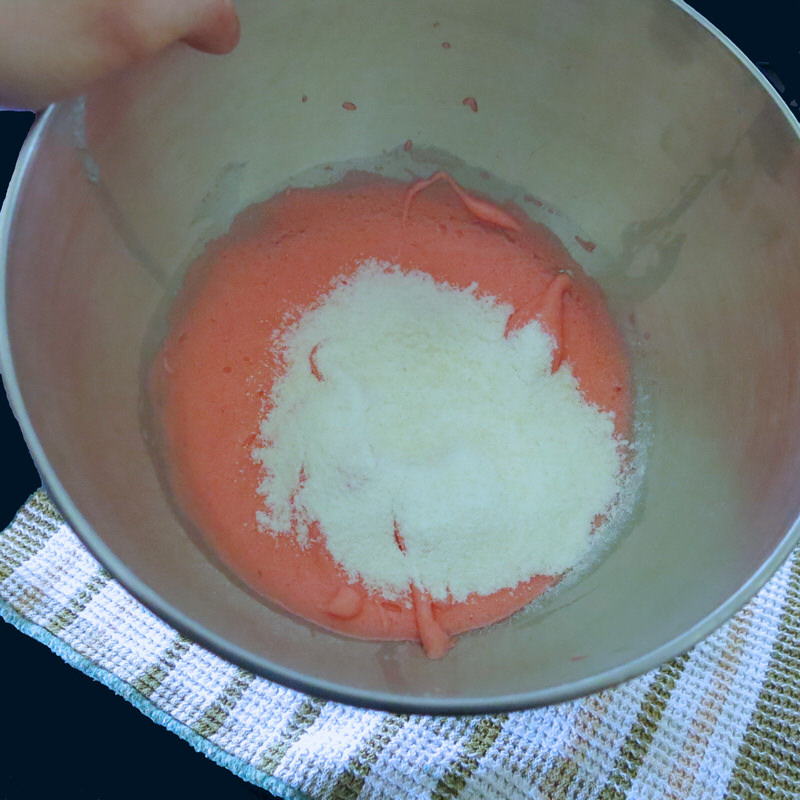
I feared every aspect of the Homemade French Macaron process, and this is known to be a difficult one: getting the batter to the piping phase. It is a fine balance between under folding and over folding. Lillian never goes through the mixture. Keep the stiffer rubber spatula folding the ingredients from the outside of the bowl, in. Go completely around the bowl, turning it as you fold. Never go through the mixture.
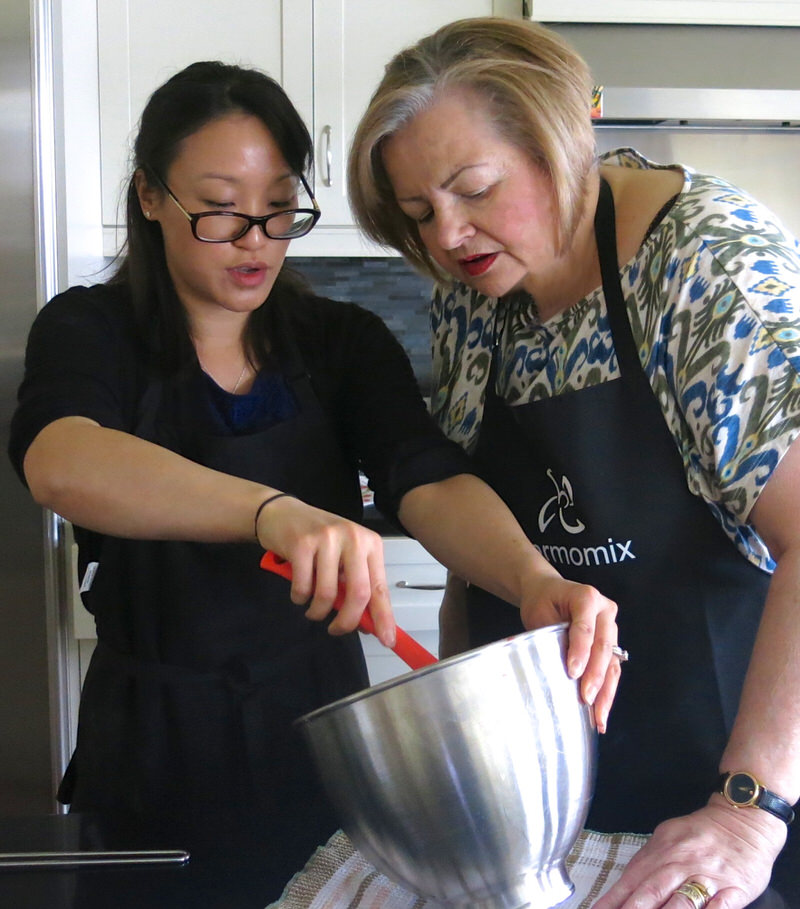
It is a folding process that I was unfamiliar with, but easy. Simply fold the meringue on the outside of the bowl gently back into itself, turn and repeat.
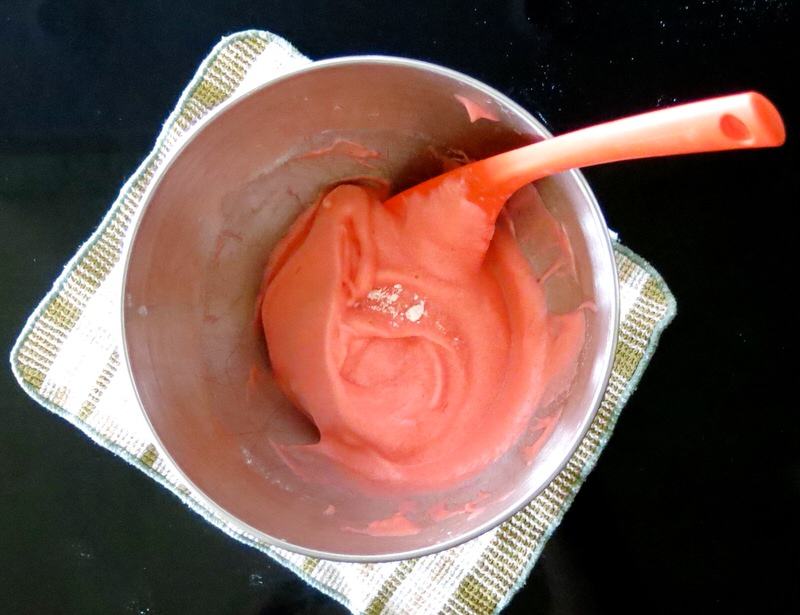
It is fine to have a little white not completely incorporated at the end of a set.
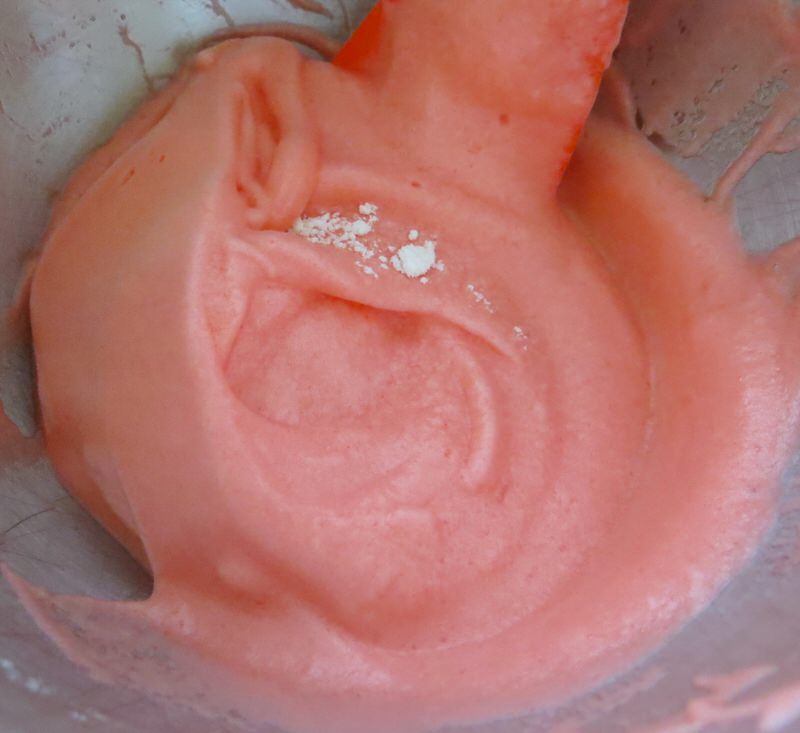
Above, the meringue is light, matt and voluminous. At the end, it becomes glossy and more substantial.
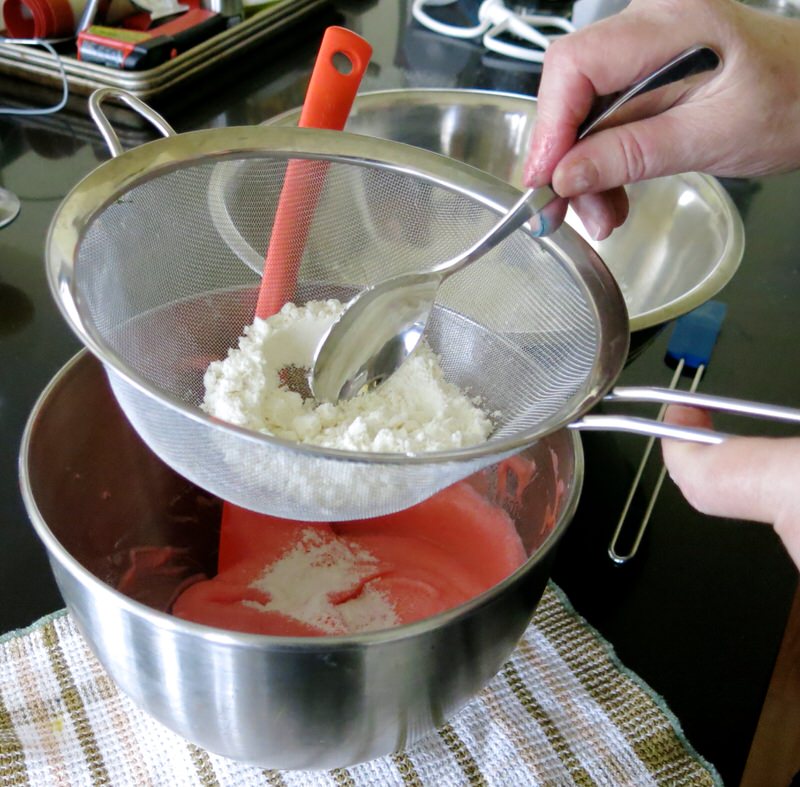
Another quarter cup of the almond sugar mixture through the sieve; another specific number of folds around the outside of the bowl, gently turning the meringue back into itself while incorporating the dry ingredients ever so delicately.
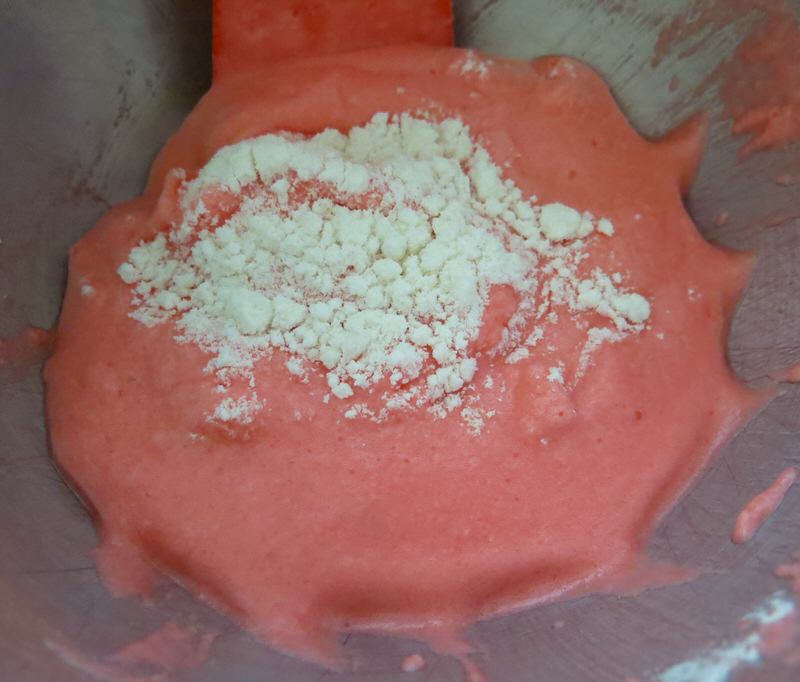
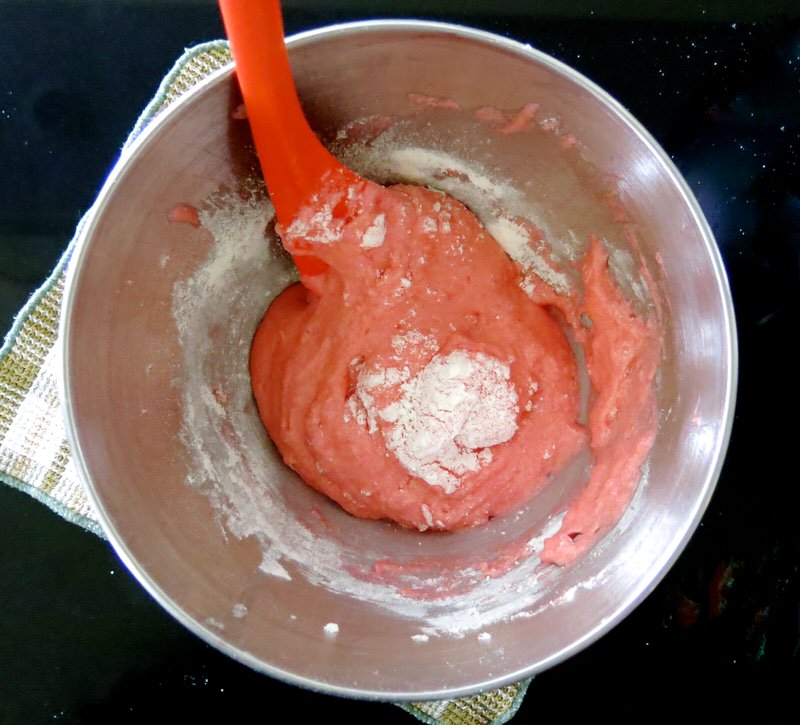
All ingredients not fully incorporated. That is fine. Sift more in and continue the process yet again. Most time, a specific and different number of folds.
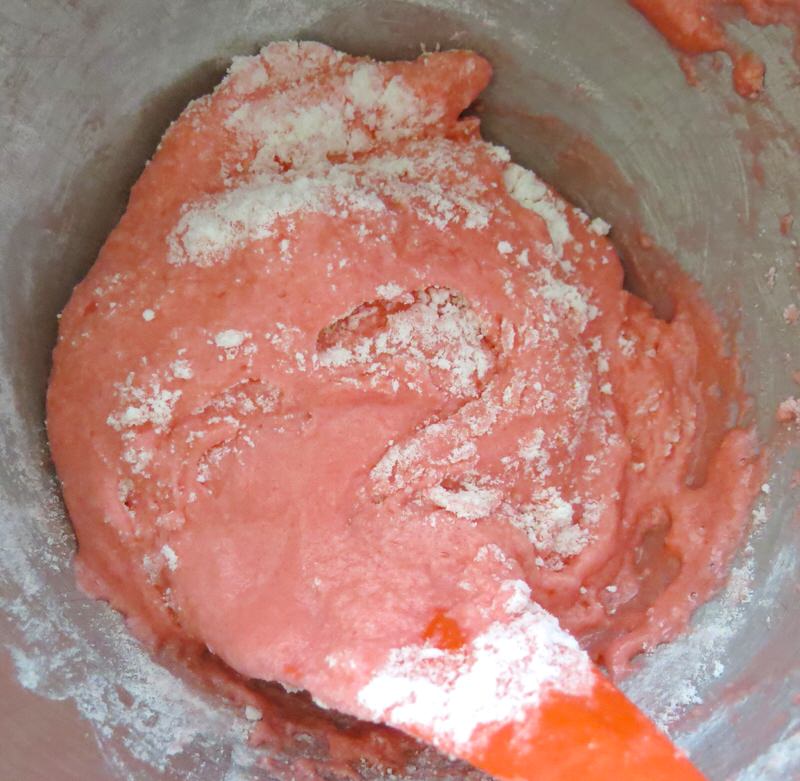
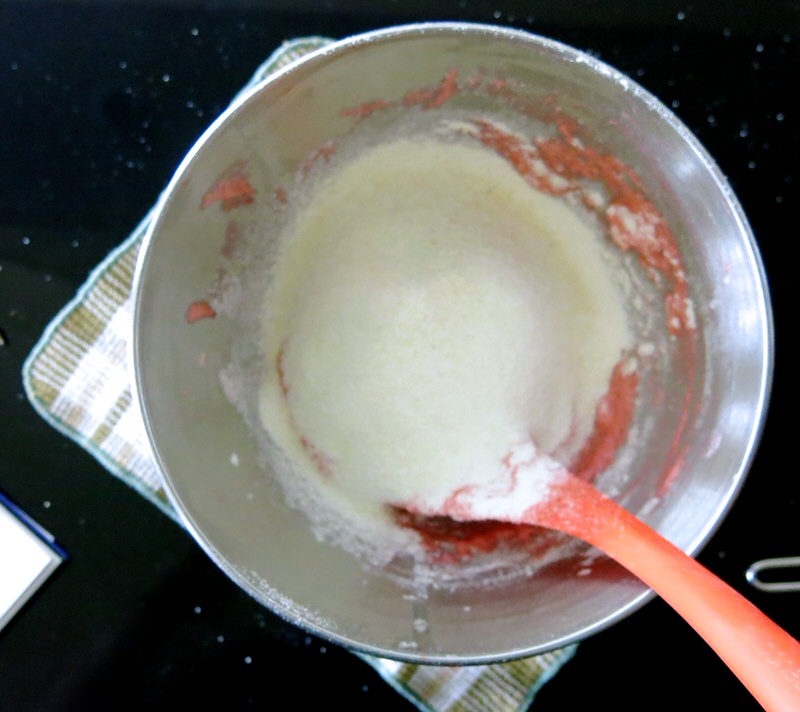
At this last phase, just as the last folding happens when all dry ingredients have been incorporated, it is time to cross through the ingredients to fold them together. Just a couple of times, but most definitely gift the mixture a good couple of thorough folds at the end.
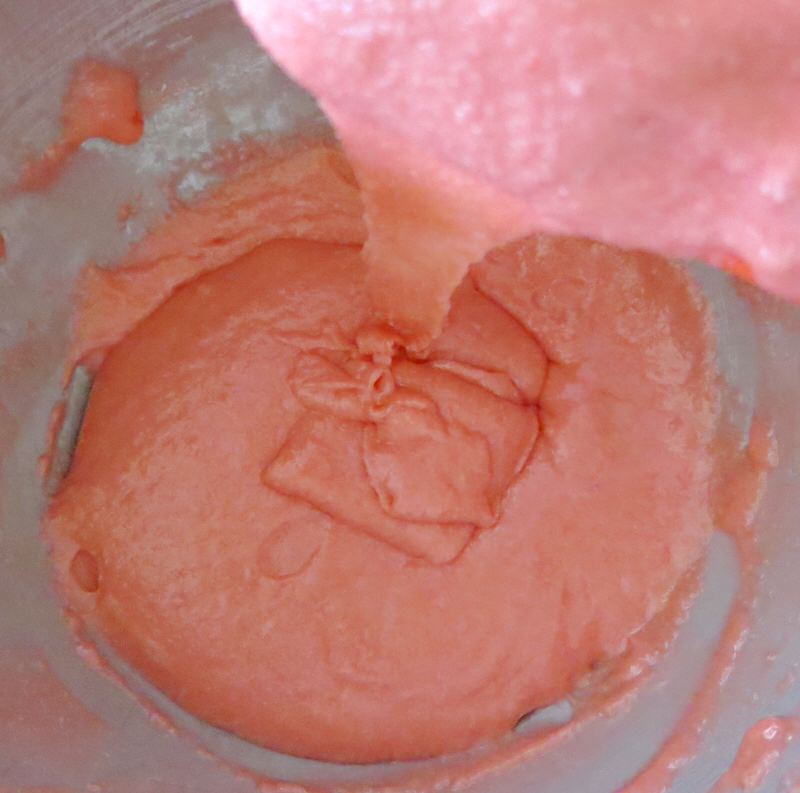
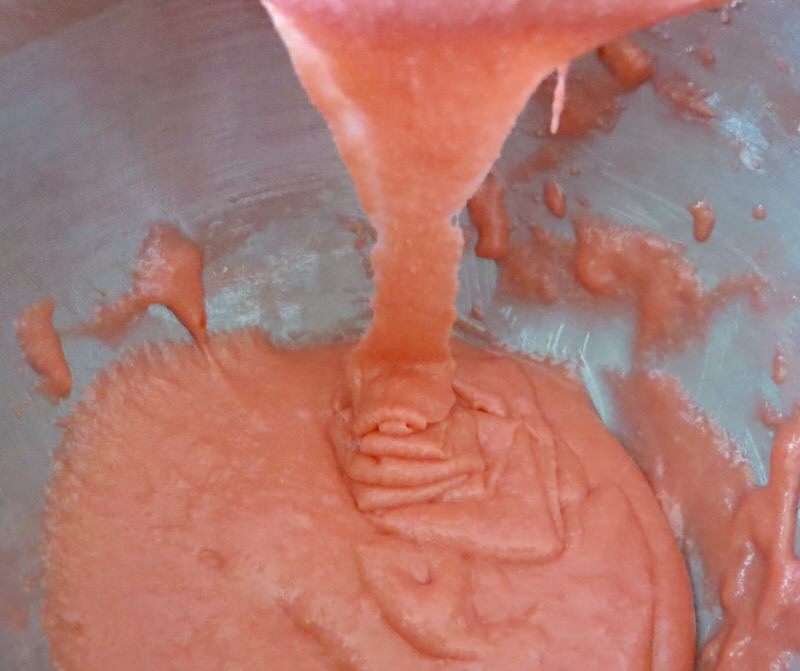
Finally, the mixture becomes glossy, settles in a ribbon on the bottom of the bowl for a few seconds before disappearing into the batter. Below, you can see how it sheets off of the spatula into a ribbon. The matter is ready for piping.
Homemade French Macaron: Piping the Shells and Piping Bag Tips
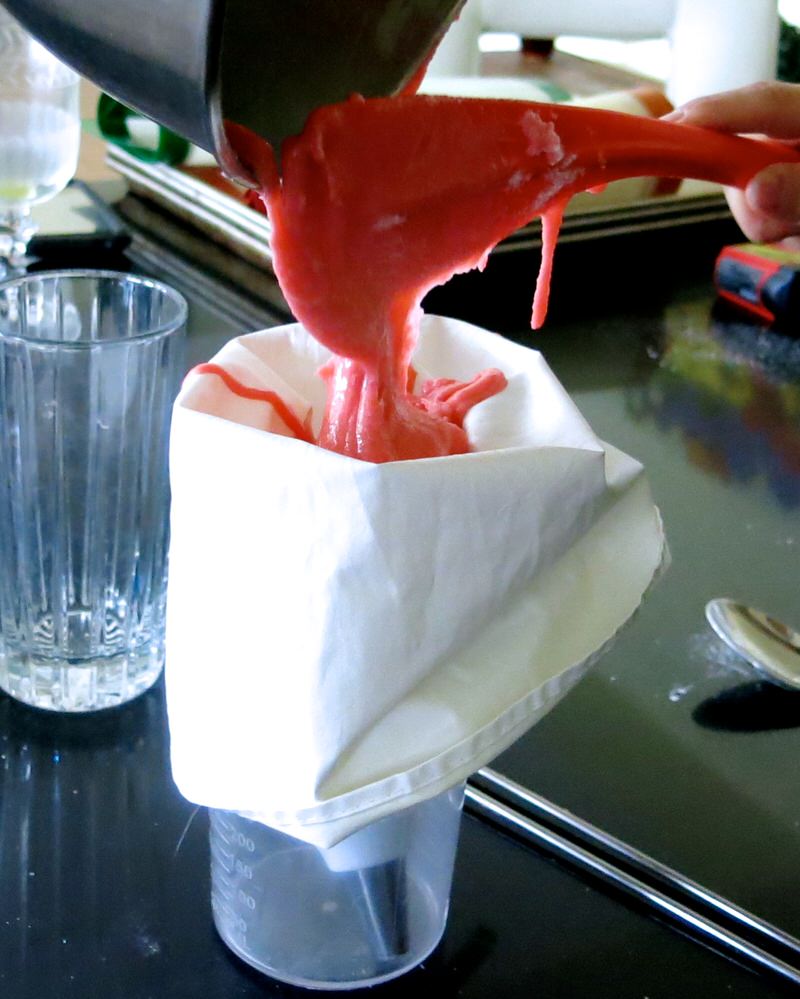
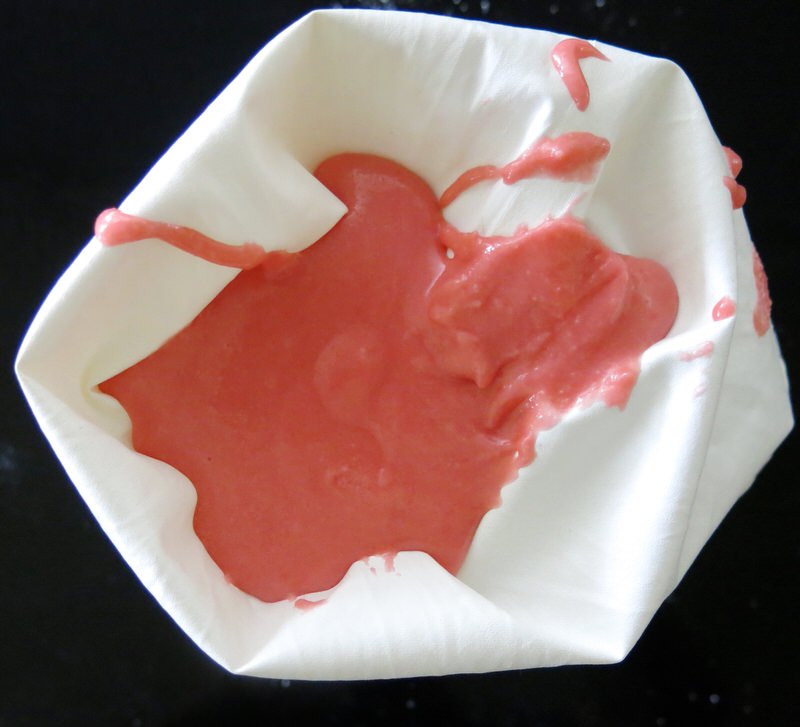
Tip Four: Recall the entire Macaronage Process? So don’t suddenly start using the spatula to rigorously move the batter into the piping bag. Gently tilt the bowl toward the open bag, and let the ingredients fall into it. Guide the remainder carefully and with as little interference as possible with a spatula, at the end.
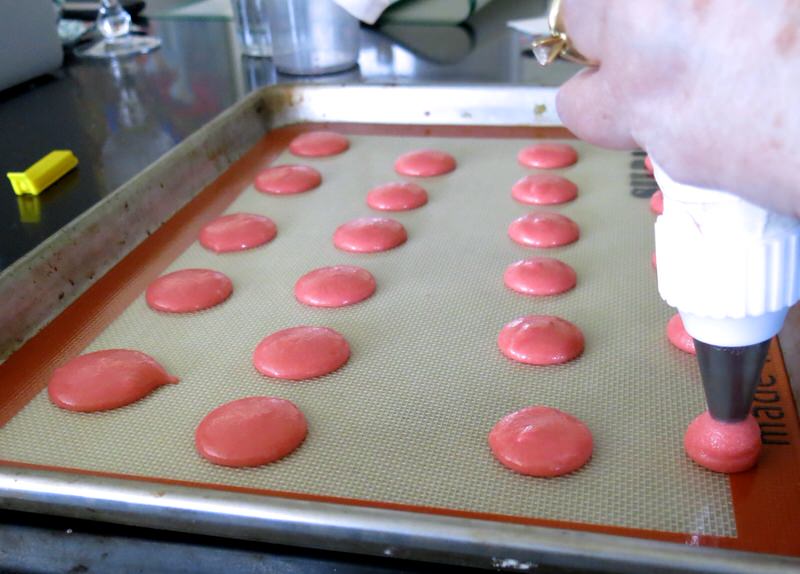
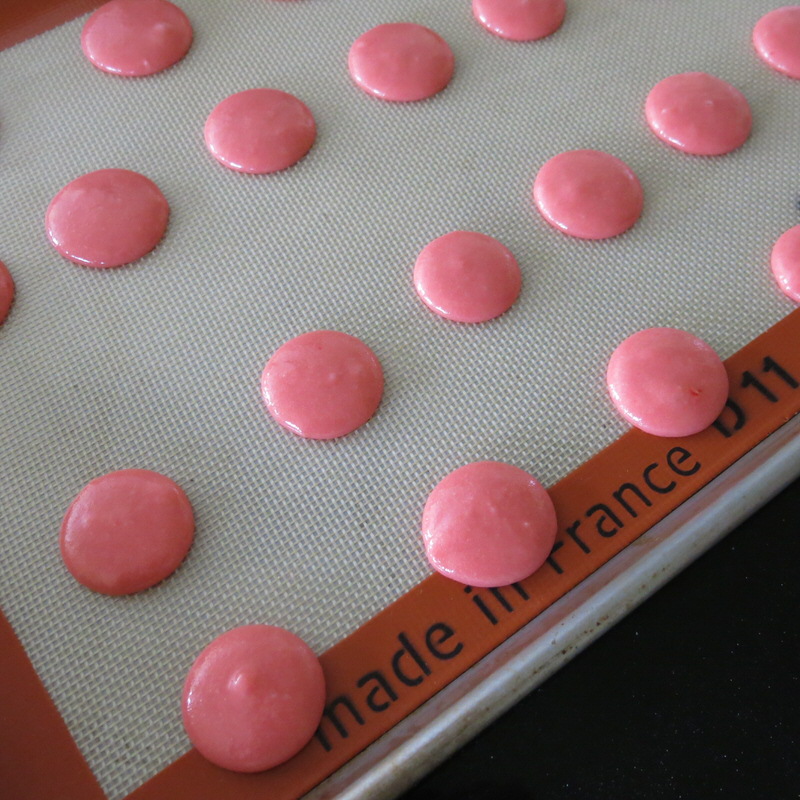
Piping Tips: Your predominant hand will hold the bag at the top, and force the amount of batter through the bag, twisted closed at the top, vertically onto the mat. The other hand will guide the tip. Airflow around each shell is also important. Lillian suggests a pattern of rows of 5, 4, 5 , 4, or 18 shells per sheet. She has 72 shells or 36 macarons per batch.
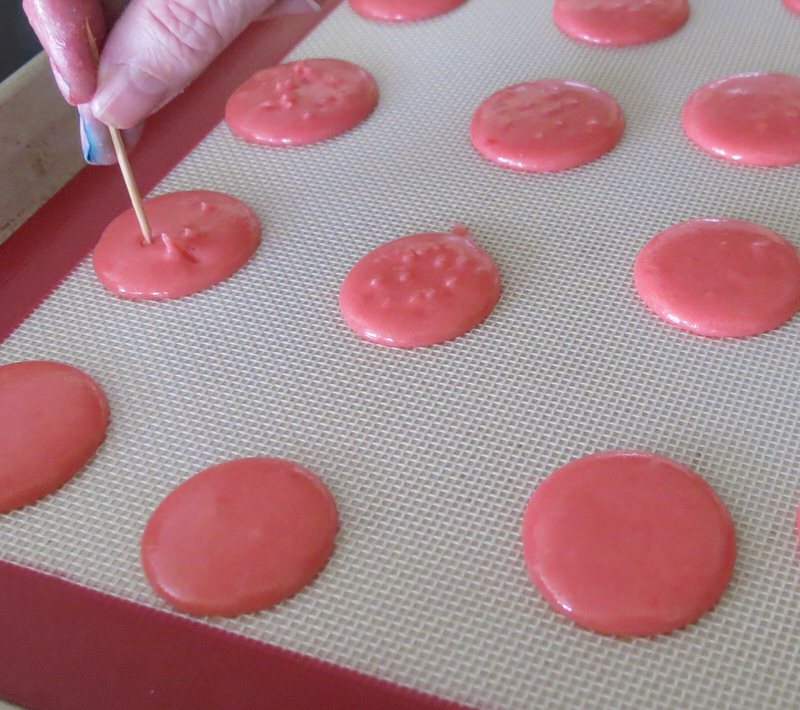
Tip Four: Tamp immediately after piping a tray of macaron shells: bang them on the counter or a surface area a few times to expel the air bubbles in them. Then, using a toothpick, pop the remaining ones. After that, Lillian also pokes a few holes in the top of every one of her shells to ensure they all bake into a smooth crust.
Homemade French Macaron: Resting the Shells
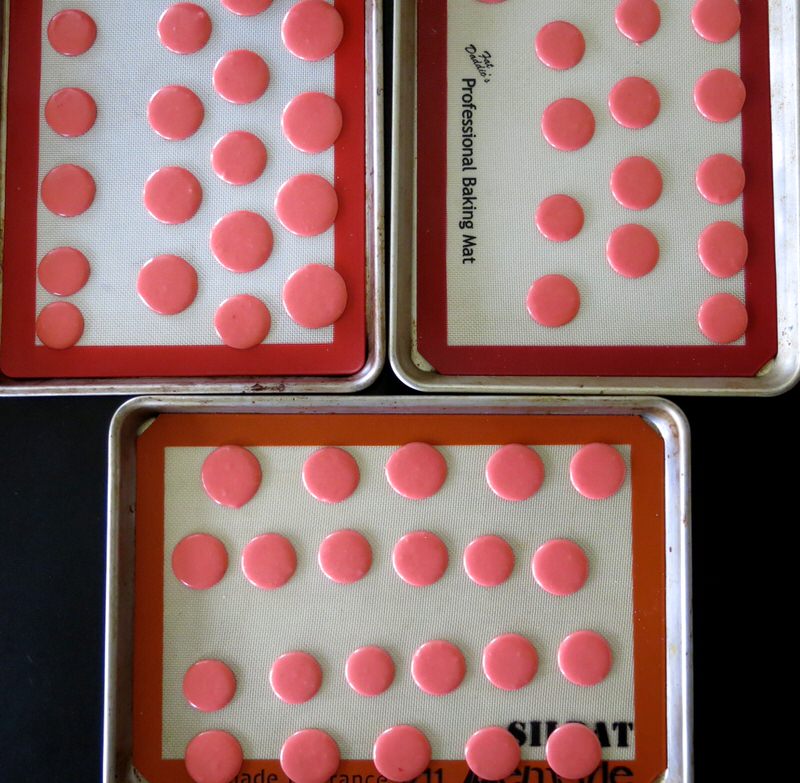
I did not realize I should have piped in a specific pattern for proper air distribution when I started. I will be more careful next time.
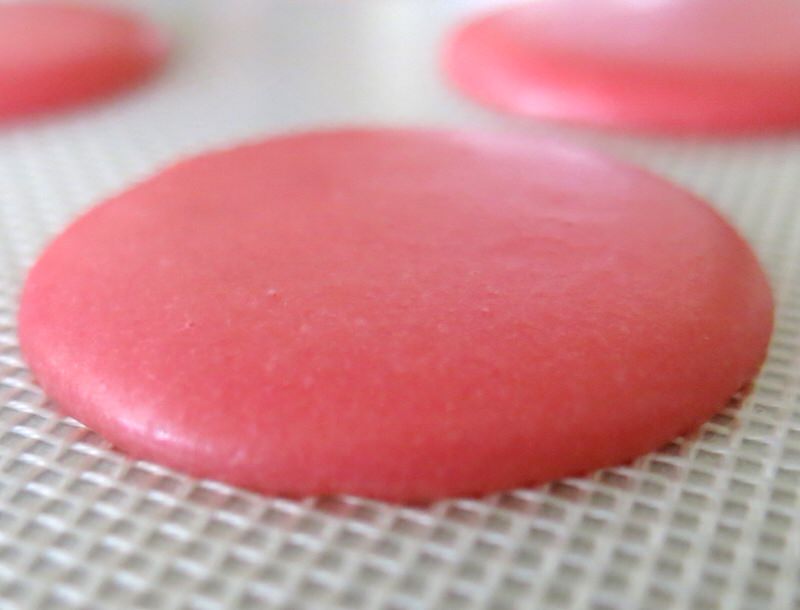
The shells now need to rest, or cure, for a minimum of an hour, or more, to form a crust which is almost visible, above. This enables the air to be captured in the cap of the macaron and helps support the precious little feet every Homemade French Macaron maker celebrates when they start to appear through the oven window. While they rest, there is time for clean up, and when the first batch goes into the oven, time to start the butter cream.
Homemade French Macaron: Mis en Place for Raspberry Buttercream
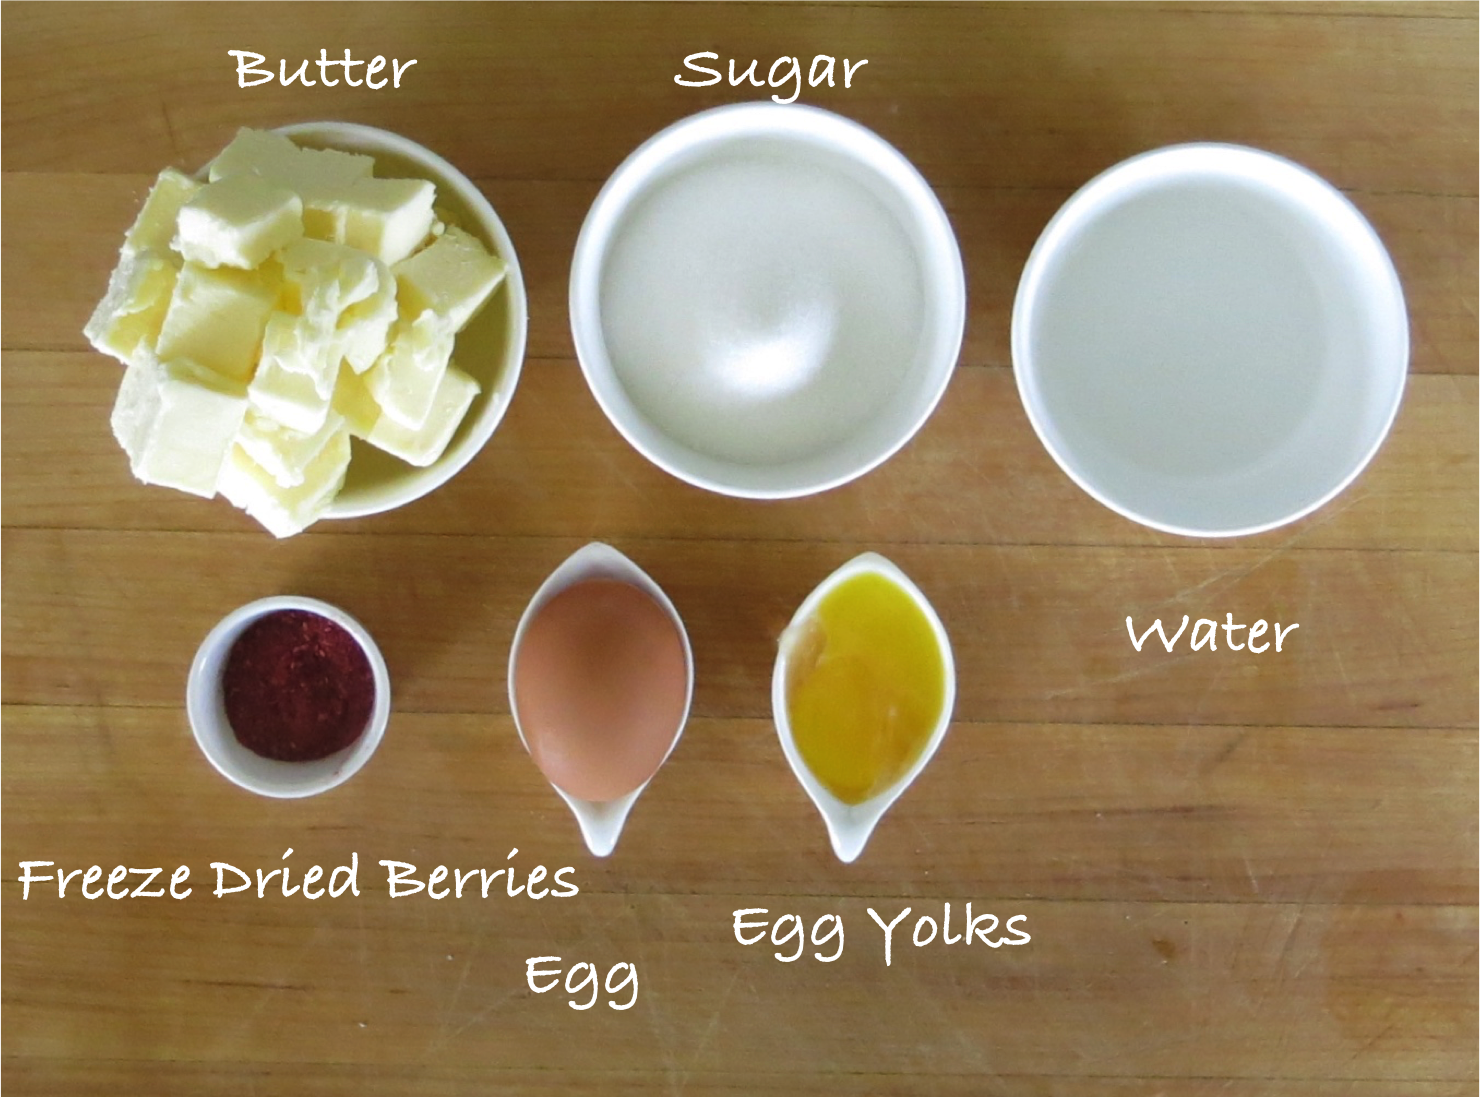
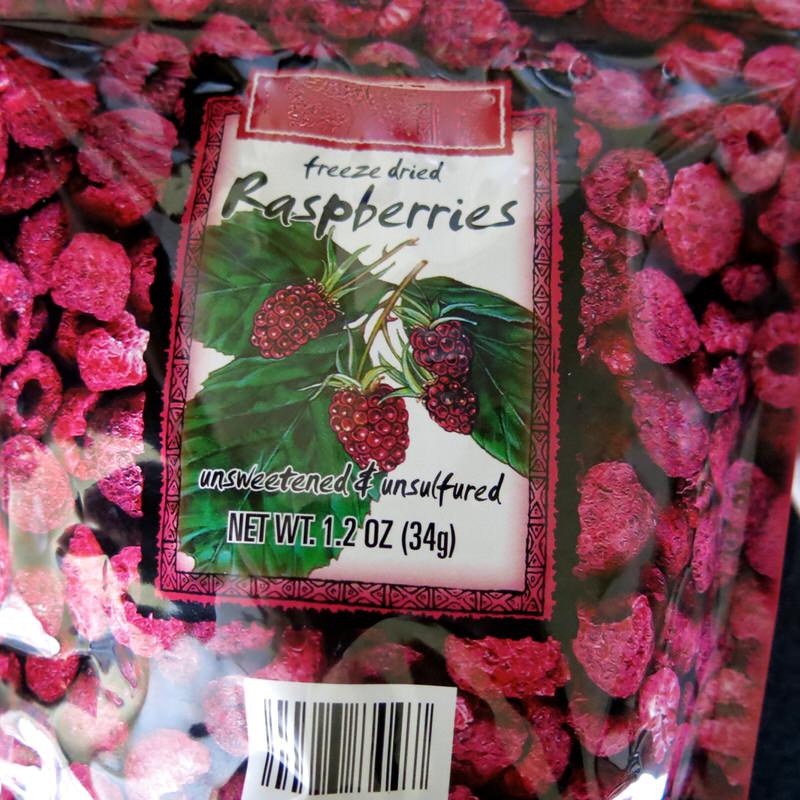
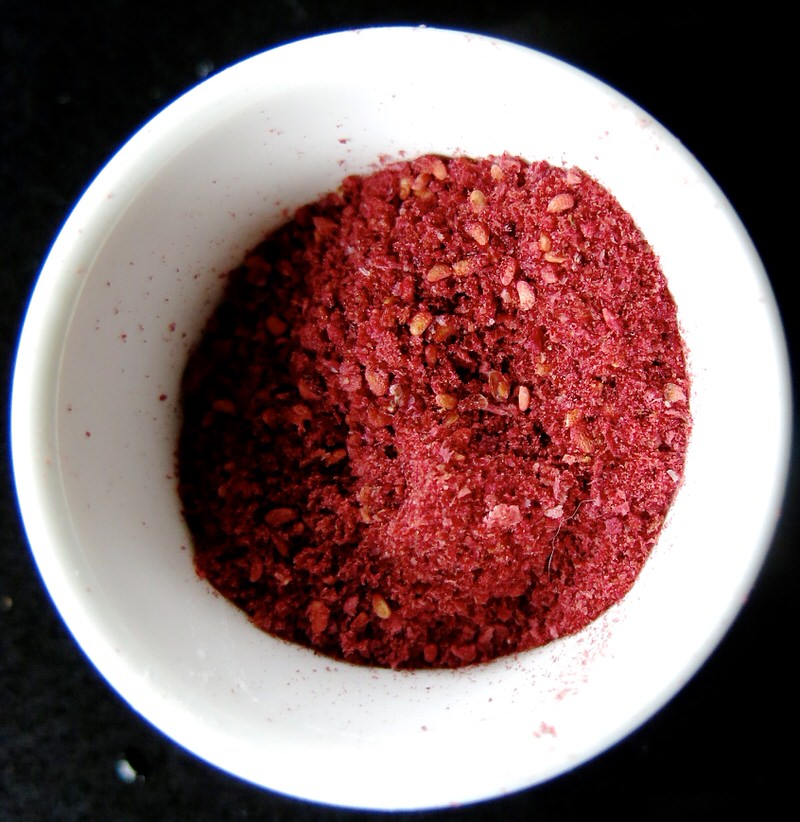
This is where the flavour of the macaron is captured. All of the shells taste the same. They have different colours, but it is the filling that flavours these little dainties. Lillian uses freeze dried fruit to flavour her buttercreams. I was skeptical at first as my experience with freeze dried fruit was limited, and out of curiosity, alone. I didn’t find the product tasty or useful. However, she grinds them into a powder, and as that rehydrates with the moisture in the buttercream, powerful flavour can most definitely be achieved.
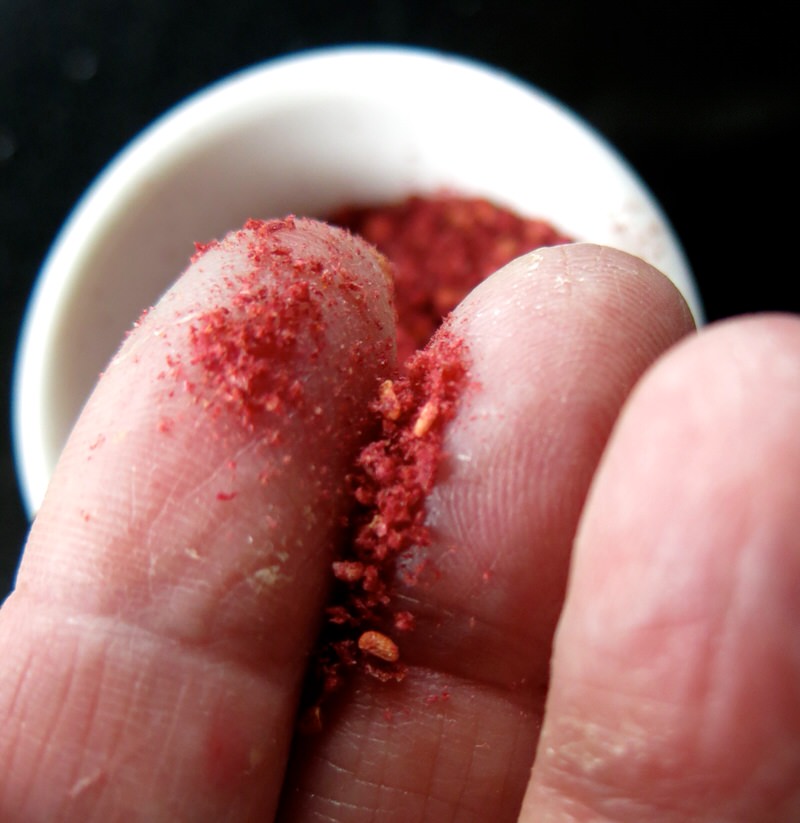
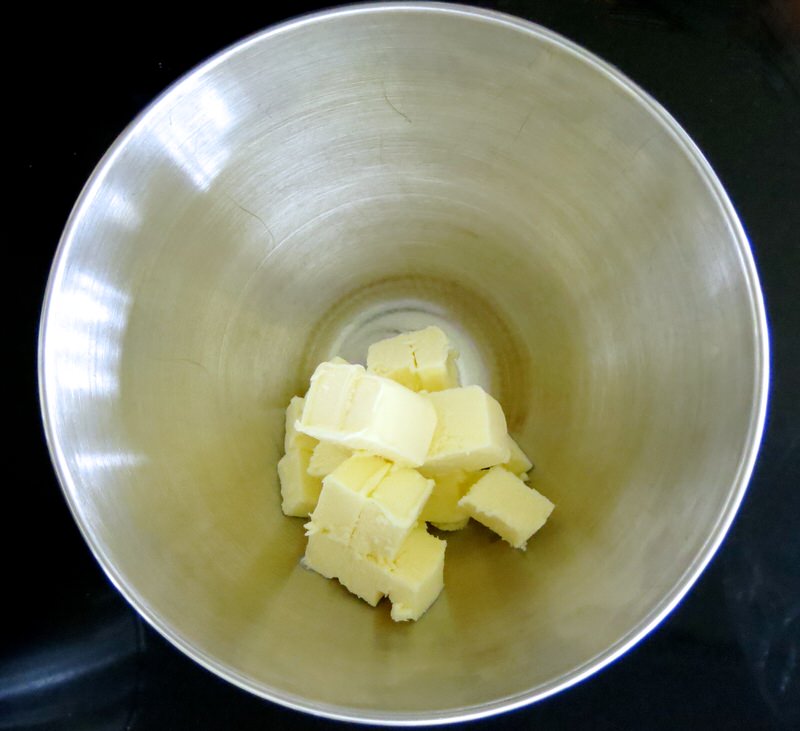
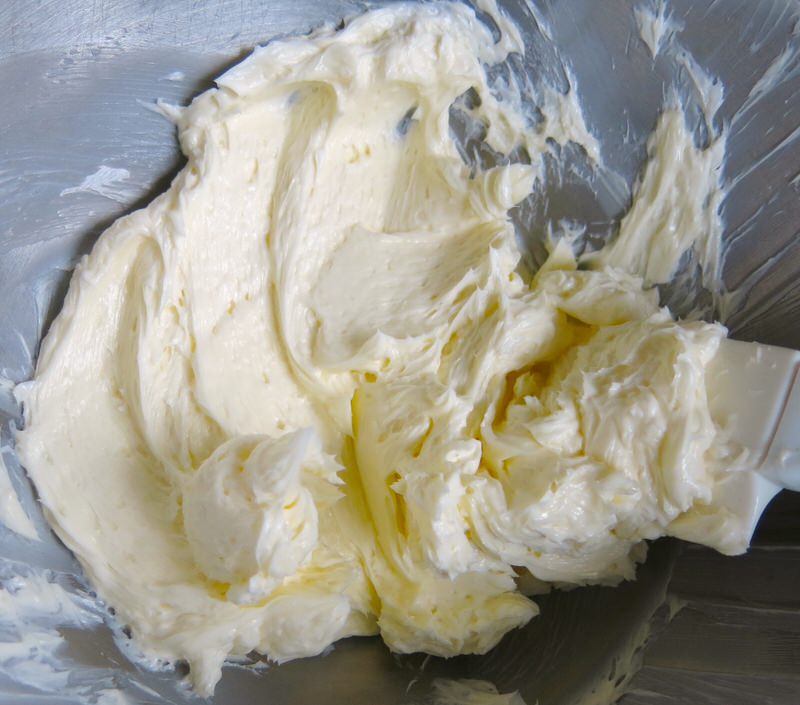
The room temperature butter is whipped into submission.
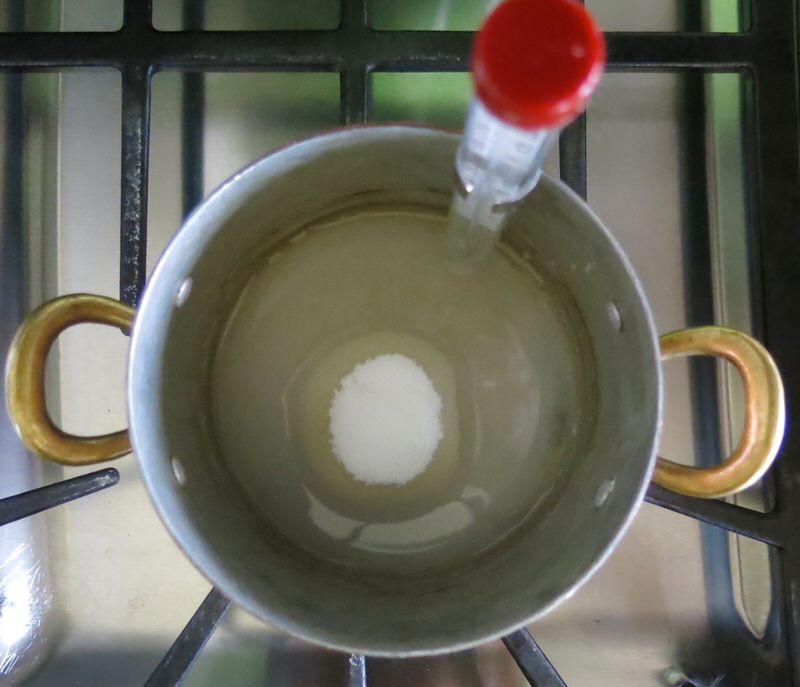
The sugar water mixture is placed into a pot on the stove with a candy thermometer in it. Momentarily, a syrup will be formed that will be streamed into the beaten egg whites to form a stiffer mixture.
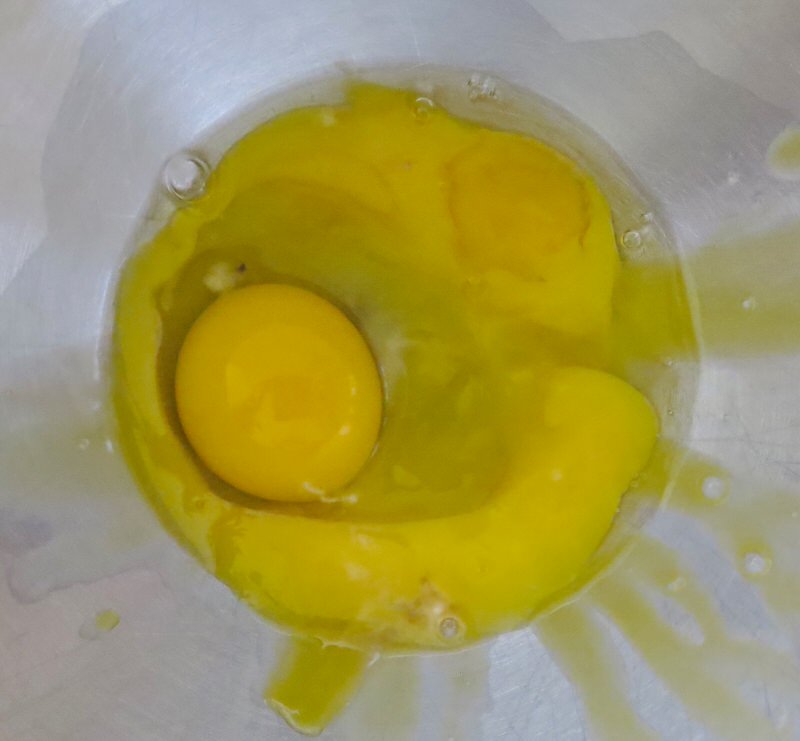
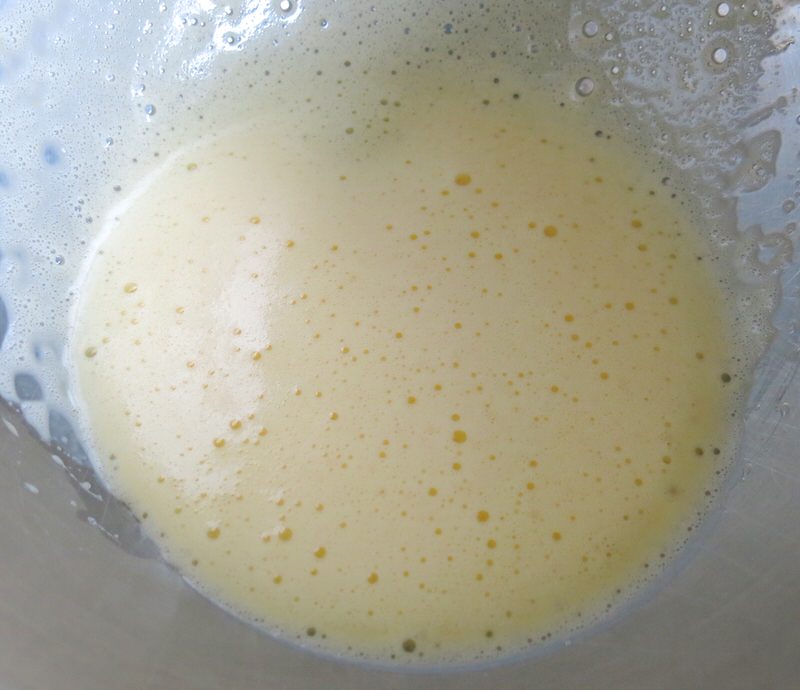
The egg and yolks are whipped in the stand mixer place immediately beside the stovetop.
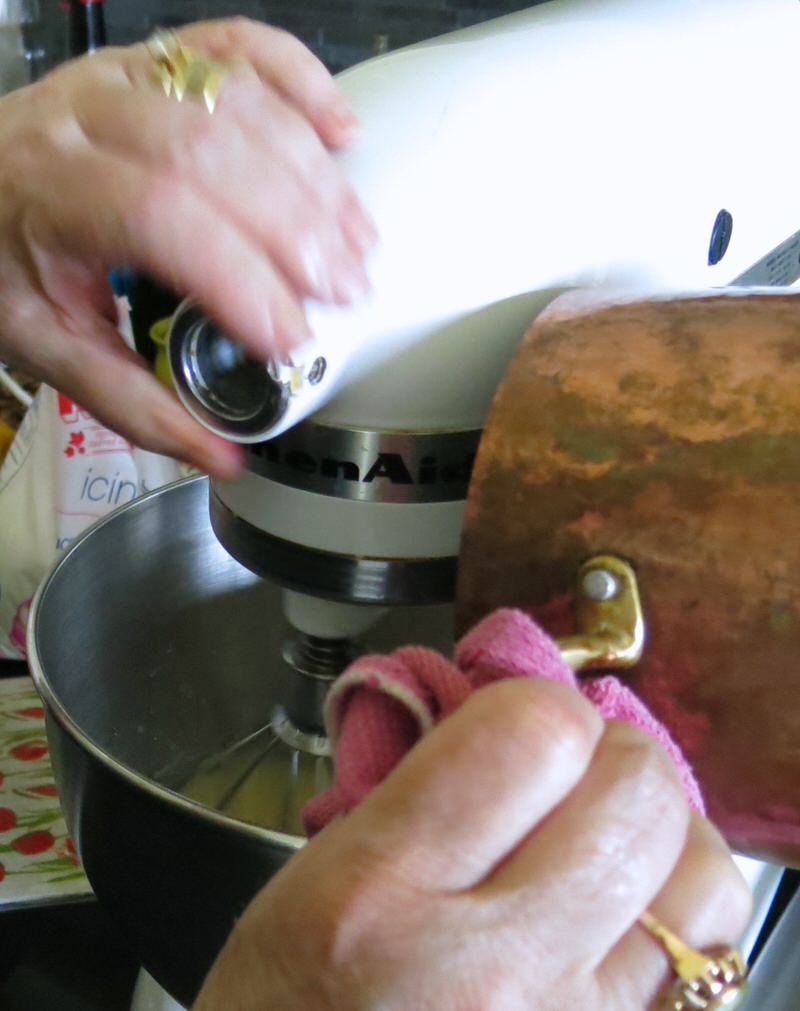
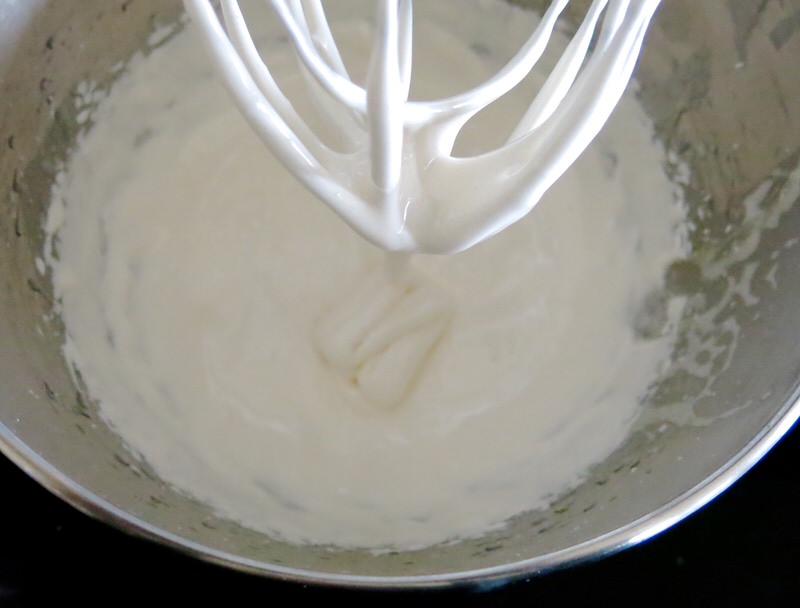
The eggs are kept stirring at the correct consistency while the syrup comes to temperature. When it does, the speed is increased, the syrup into the eggs and the heck whisked out of them for about 15 minutes until all reaches room temperature, again.
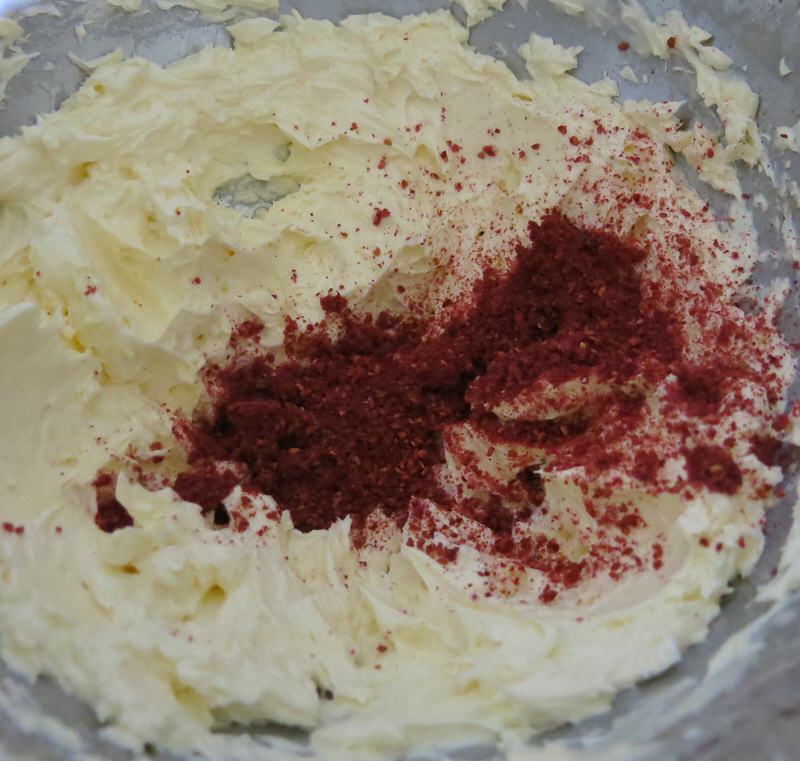
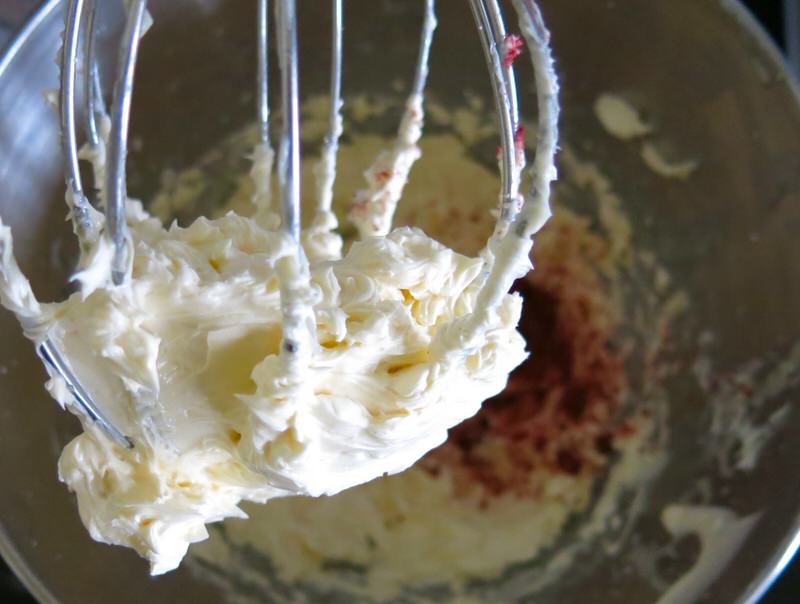
The creamy whisked room temperature butter is then added into the sugar egg mixture in batches. Once completely incorporated, the milled freeze dried berries are added.
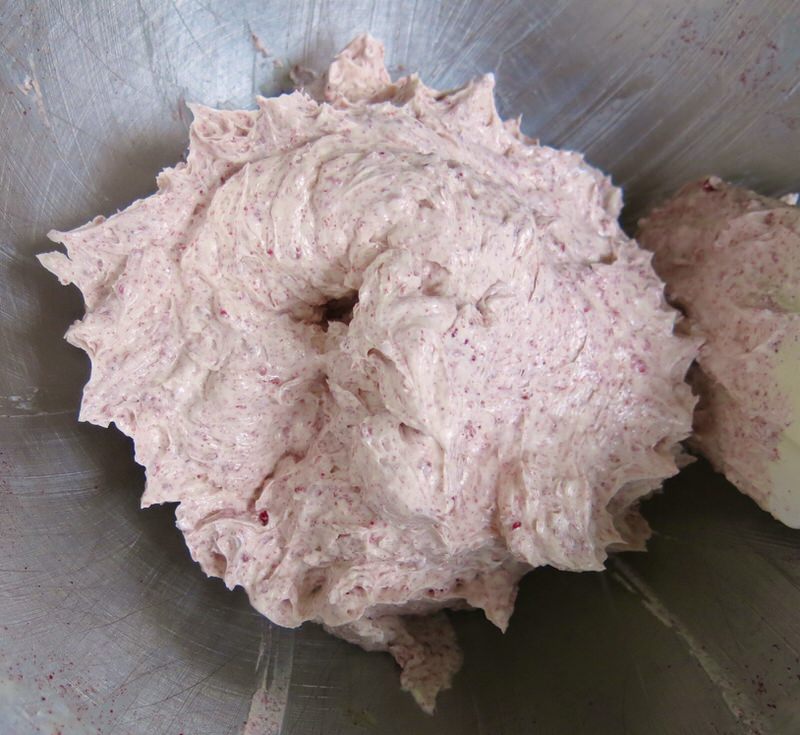
I am one who appreciates texture, particularly in raspberries, so welcome the little lumps in this vibrant tart raspberry butter cream.
Homemade French Macaron: Mis en Place: Baking the Shells
An oven thermometer is vital to determine if your oven is calibrated and the temperature given is the actual temperature of your oven. This is a hurdle that can only be conquered in your own home kitchen and once this one is accomplished, there will be success every time. It is all about time and temperature. The average cooking time in the perfect or ideal oven is 290F for 19 minutes. However, most ovens tend to beep and indicate they are “at temperature” about 15 minutes before they are fully “at temperature” which works fine for the average cook or bake. But not with precision baking. That is also why you pre-heat the oven for 30 minutes, not 10.
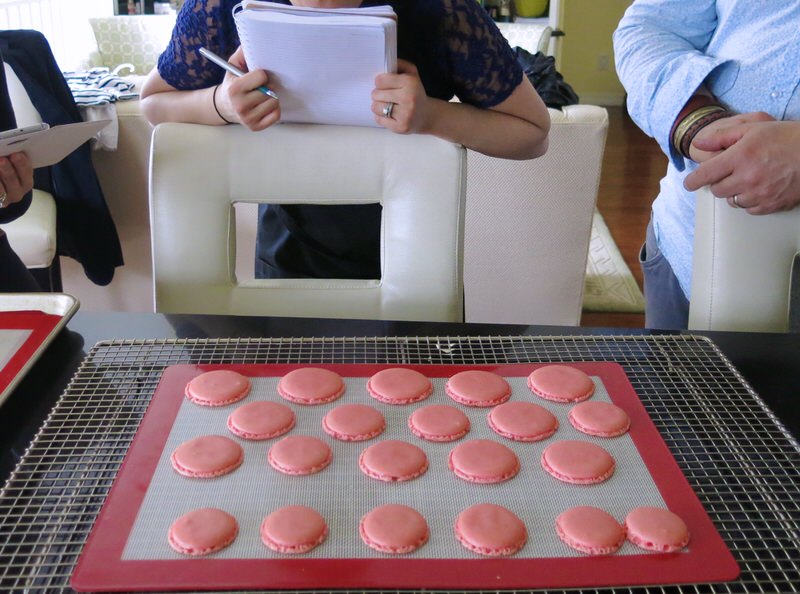
Little Miss Lillian Macaron Scientist, above, is taking notes. The first batch is your oven test batch. If you pipe 18 shells on three cookie sheets, the chances are you will have 4 to 6 on the forth sheet for an oven test. We got feet and were jumping for joy when the macarons started to flatten and spread a bit. “Temperature was too high.”
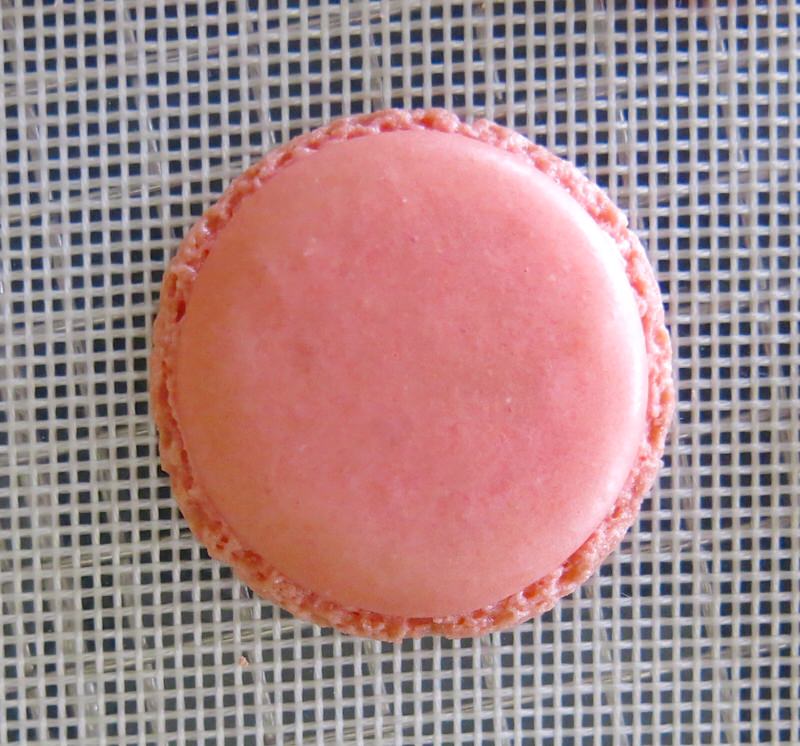
We determined my oven temperature was aligned with the oven thermometer, but that my bake on the macarons in my oven will be a low and slow bake: 24-25 minutes at 275-280F. You may get lucky with your oven, and get perfect results and discover your idea temperature and time for your oven first round. Usually, it takes a few rounds. There are so many factors that affect the bake that have nothing to do with the batter piped out of the bag, though that is the first and foremost important part of the process. After that, there is the weight of the baking tray, oven heat circulation, mat or parchment paper… size of macaron and distribution of each on the cookie sheet.
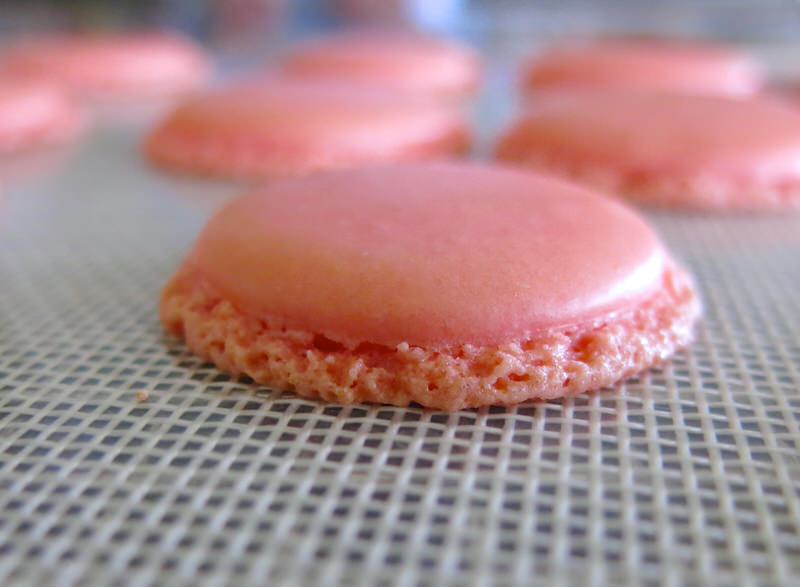
Oh, how discouraged was I. No wonder I decided to buy them instead of bake them. Yet, the magic has happened. That enigmatic “Somethin’ somethin'” that was barring me from achieving this quest with ease has dissipated. The glass ceiling has shattered and I now know, without doubt, mussin’, fussin’ or cussin’ that I CAN do this. Thank you, Lillian. Thank you! Let them sit on the parchment or silpat until room temperature, then gently peel away from paper.
Homemade French Macaron: Mis en Place: Instructions for Filling Shells
Buttercream ready and waiting, upside down, to ensure no leakage. Pair shells to matched sizes and arrange on working sheet to ready for piping filling.
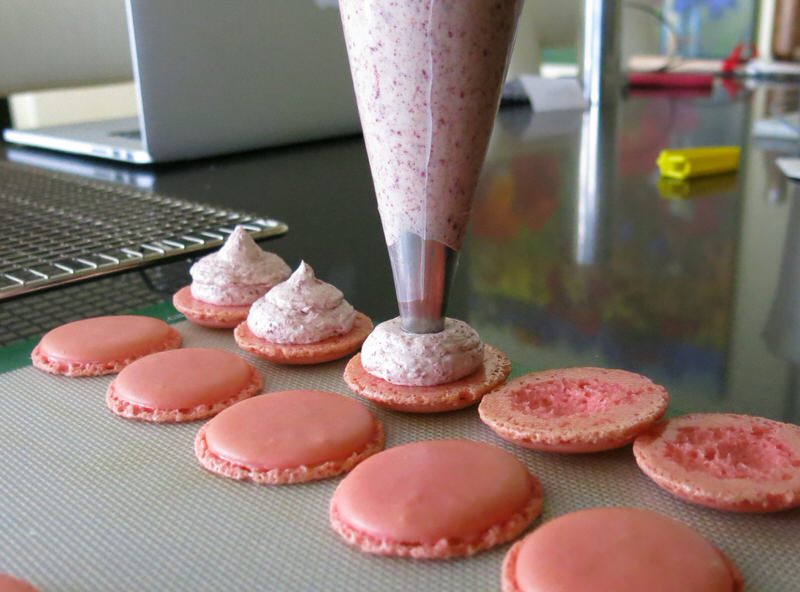
Top to the left, bottom to the right, and pipe down one row at a time in the same fashion as piping the shells, except….
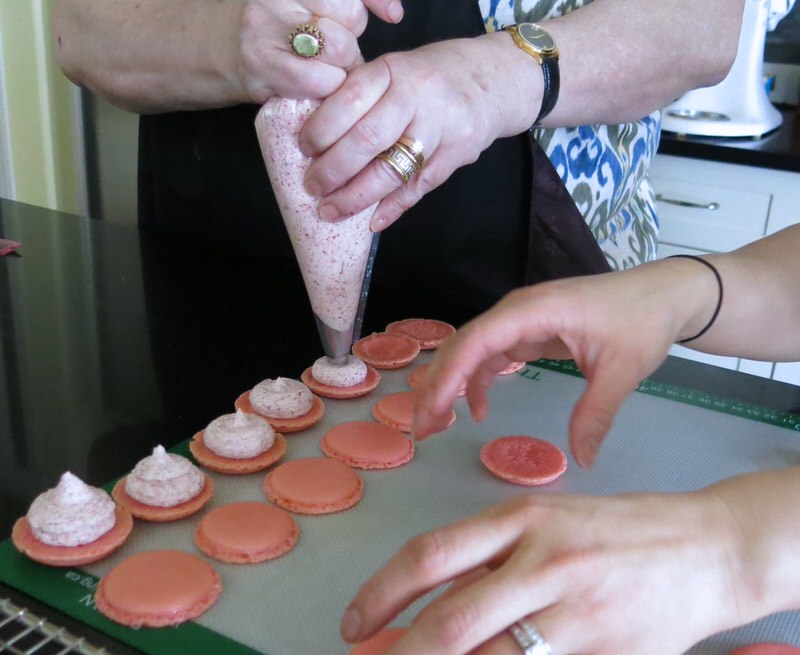
Pipe a lot of filling atop each shell. “No, Lillian!” I exclaimed when she had me go back and pile on the amount of buttercream you see on the first shell, above. “That’s way too much!”
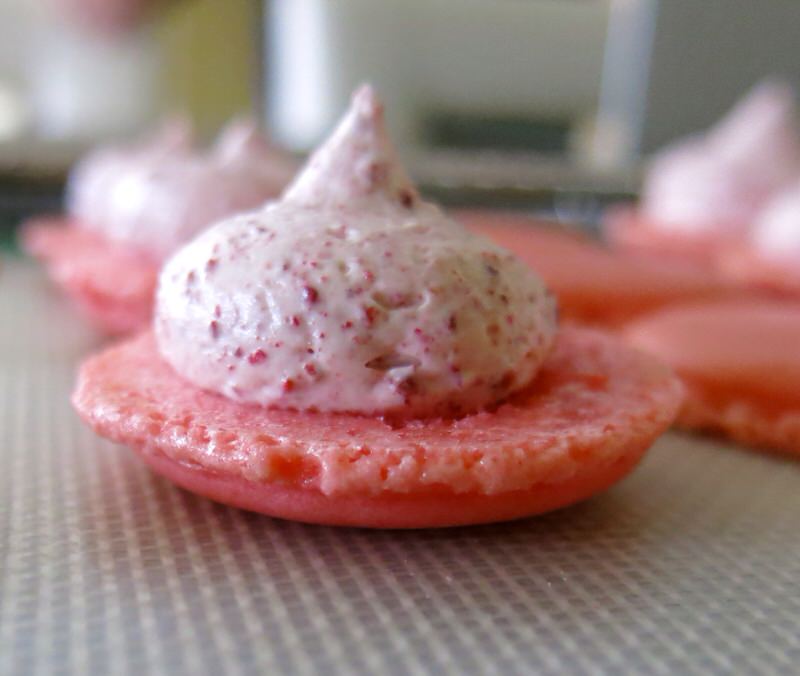
Of course she was right. Who am I to argue with the pro. Several times during the process I actually thought I knew what I was talking about or had a helpful idea.
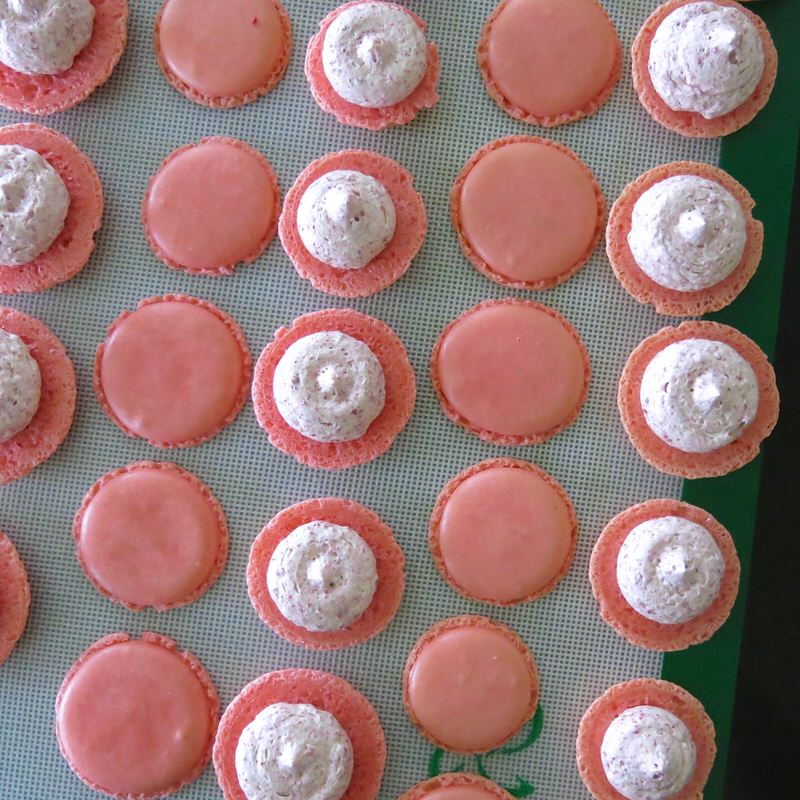
Nope. Not one she hadn’t already employed, anyway. And yes, I was once again hard on myself. And, likely on Lillian, as I saw these macarons and “unsuccessful”. They were too flat. They had spread too much. They were under cooked. Oh my. I am so forgiving with everyone else and with anything else I do. I know the monster in me rears its head when in the process of seeking perfection and I purposefully don’t bother to go there anymore. Yet, here I was. Somehow, conquering the mastery of the elusive French Macaron can bring you face to face with your ugliest self. Me, at least.
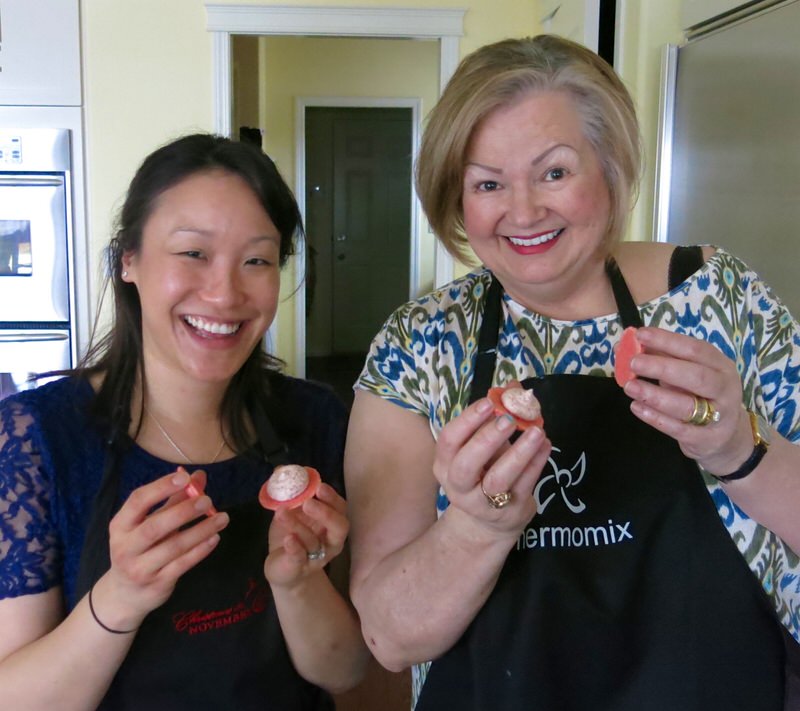
Time to close the macarons! Time to celebrate! I was so happy about my new learning and the newly instilled belief of my new ability.
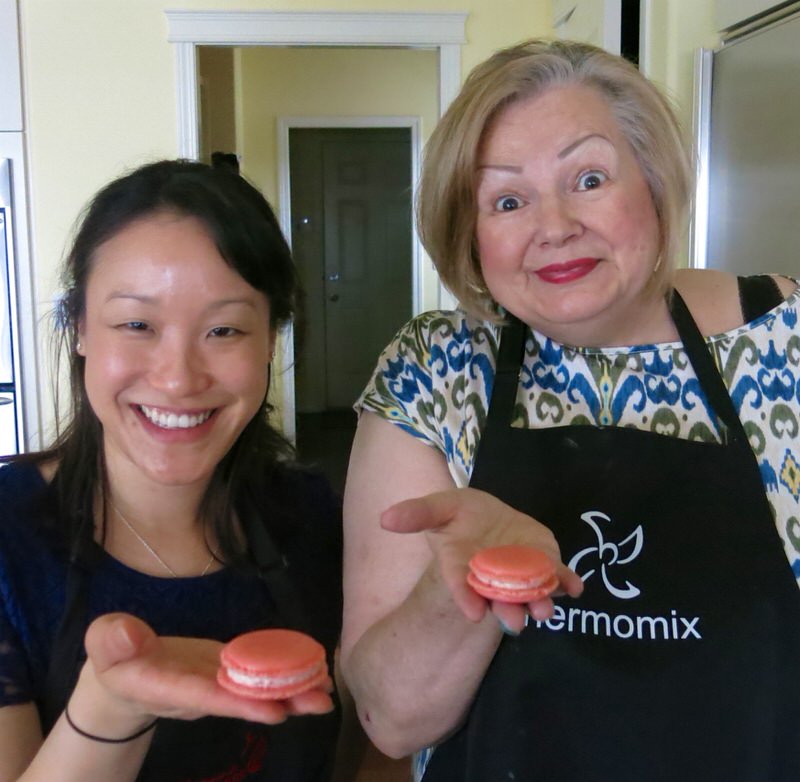
What happened? It looks perfect now? What a gift of knowledge and time from this lovely young gal.
Homemade French Macaron: A Party in the Kitchen

Nicoletta and Loreto from SugarLoveSpices joined us in the kitchen on this day, as well, to observe the Homemade French Macaron process and Nicoletta and I are getting together next week to make them again! I am tickled! It is so much more fun to bake with someone else. Particularly when you want to have a second opinion.
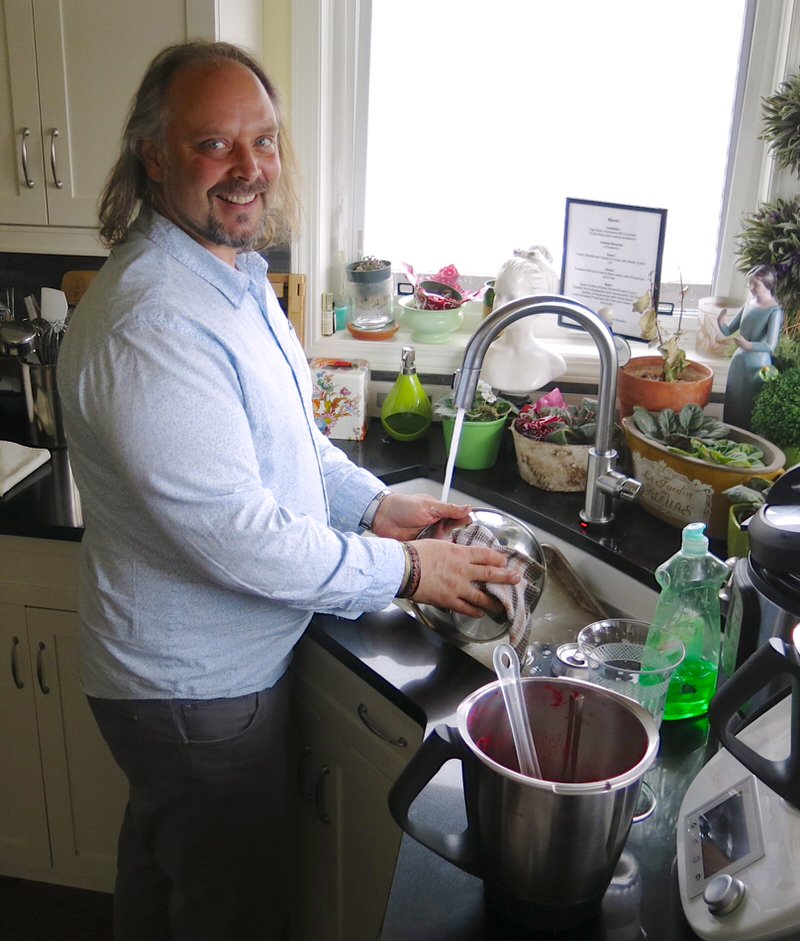
Without thinking, they were both cleaning and sparkling behind Lillian and myself. I was a little embarrassed, as there wasn’t so much to do, but there would be even less to share at the end of the day as Lillian didn’t bake them with me. She was my coach on the side and with a recipe like this, it made all the difference. Nicoletta and Loreto added such a fun vibe to the day and Dan, whom I missed somehow, in the photos, was also working in the dining room, though he joined us at lunch during the shell curing phase.
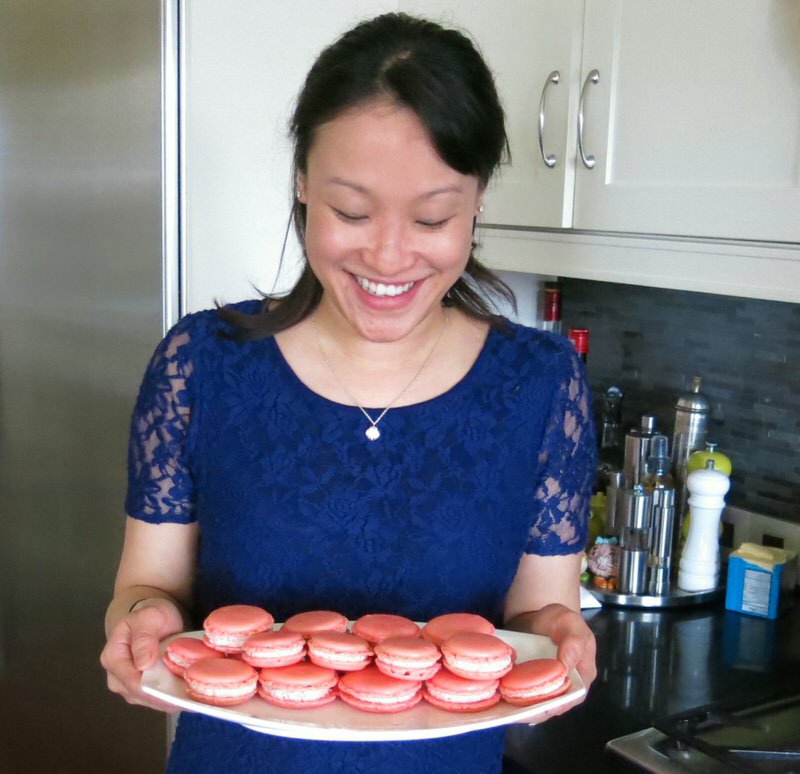
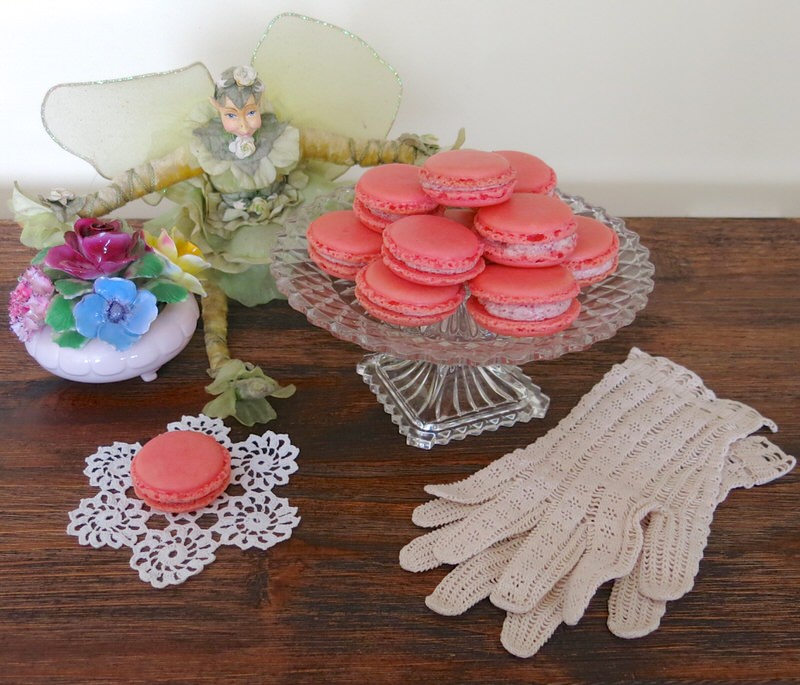
The macarons must cure for 48 hours. You can see I didn’t do that in my photographs, as the one in the image is halved awkwardly. After 2 days, these were exquisite. Crisp on the outside. Chewy. So flavourful! I would have no clue they were slightly underbaked. They were not overly sweet. Honestly, I could not believe I actually made them. They were perfect.
Homemade French Macaron: Troubleshooting
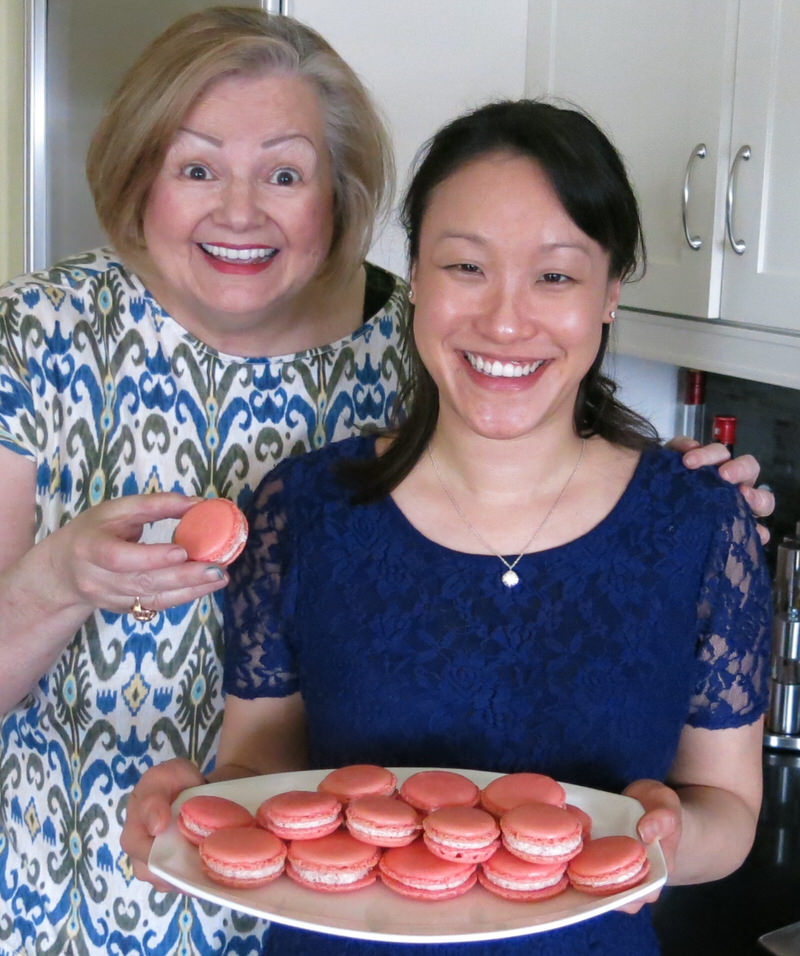
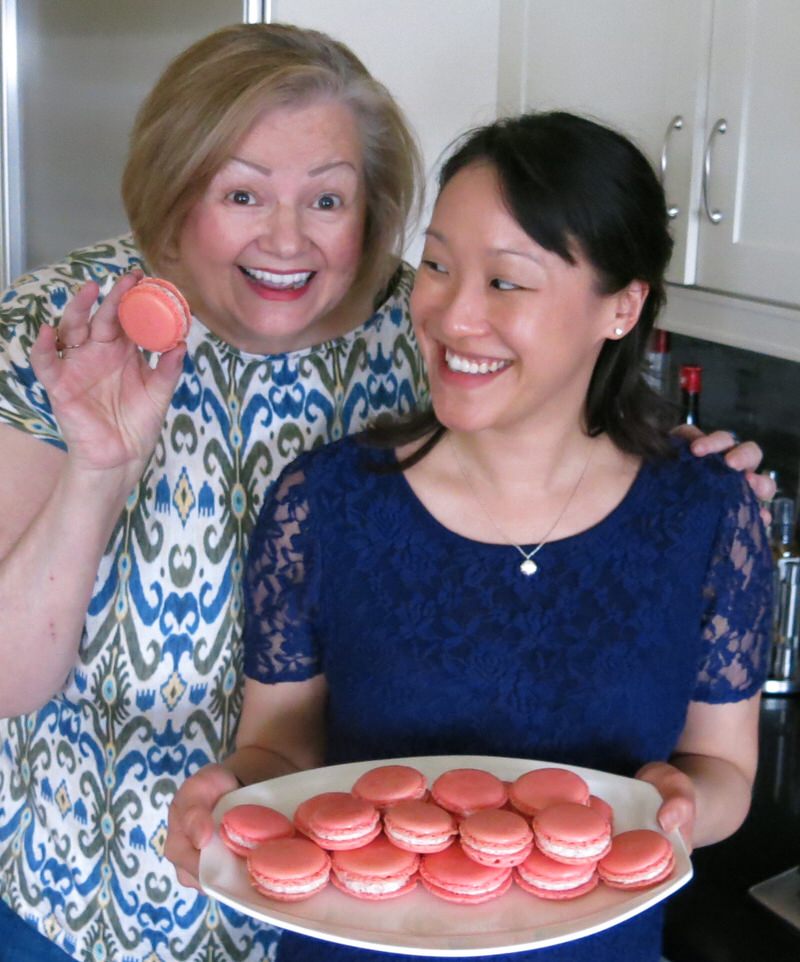
Being silly is pretty much a big part of who I am. I love silly.
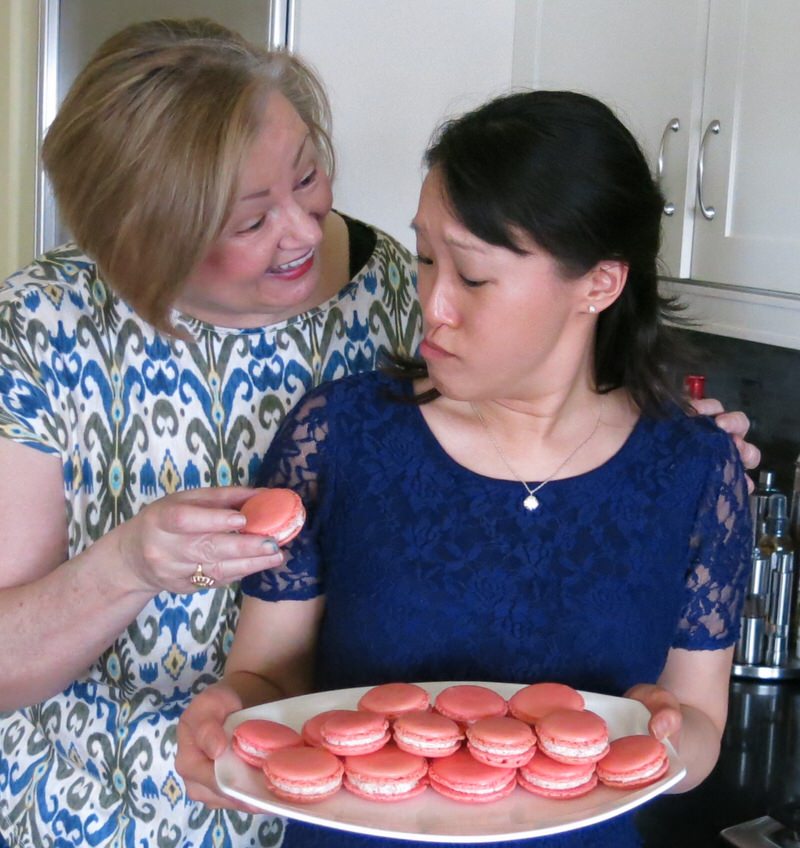
I was so proud of us.
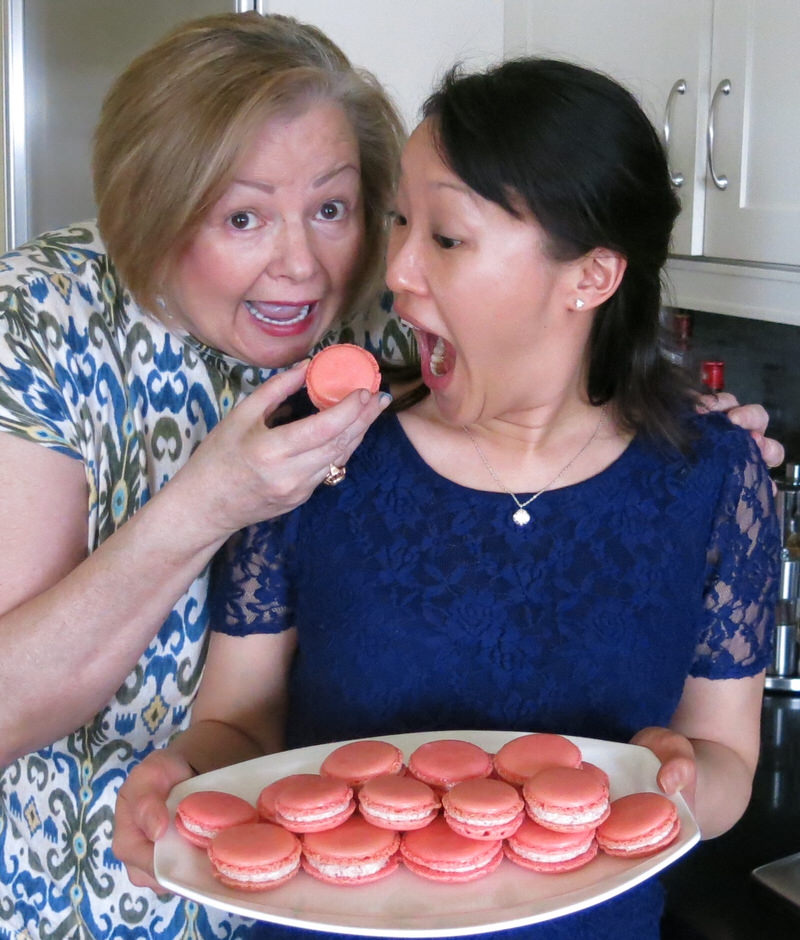
It is so difficult to wait 2 days!
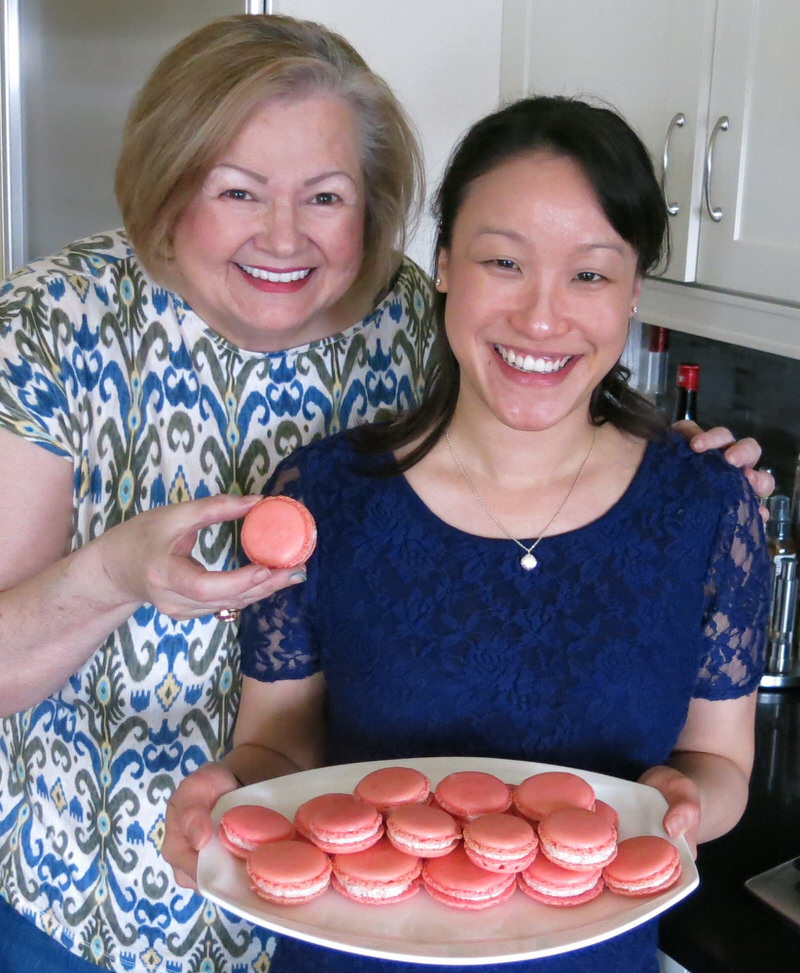
- cracks appear on the shell: baked without drying surface of trays OR trays aren’t thick enough OR oven too hot and bottom of baking sheet conducted too much heat
- bottoms aren’t flat and have a dent in the middle: oven too hot OR trays aren’t thick enough OR under cooked
- macarons not glossy: macaronage process not completed properly
- volcanoes or bumps on surface of shells: forgot to tamp (hit trays on surface immediately after piping to expel air bubbles) OR left an air bubble in batter after piping
- flat/no feet/runny batter: over mixing during macaronage process
- oil stains on the top of shells: almond meal was old OR ground almonds exposed too long to room temperature (Keep almond meal in fridge or freezer between uses; remove to room temperature a few hours before using)
- crinkling of shells: not enough rest or curing time between piping and baking
- wide feet: macarons are piped too large; try piping smaller macarons

Share your homemade macaron making experiences with us! Start a conversation. Certainly, making and baking these were the rage in 2010-2012. We may be a little out of fashion, but Lillian has perfected this process and if you have yet to have achieve success, now is the time and this is the process for you!
Raspberry French Macaron: Cooking in the Kitchen with Lillian Tse from Beyond Umami
A methodical step by step recipe with step by step images included to enable even you to make the elusive Raspberry French Macaroon!
Ingredients
Necessary Equipment and Materials:
- A kitchen scale (Crucial for measuring to the exam gram.)
- Food processor (For finely processing the almond meal and icing sugar.)
- Fine mesh sifter
- At least 2 Heavy commercial jelly roll pans (43 x 31 x 3 cm) (Helps to prevent macaron shells from burning.)
- Stand mixer (A hand mixer can also be used.)
- Piping bags
- Large round piping tip (I use a Wilton 1A tip.)
- Parchment paper or Silicon Mats (at least 3 silicon mats for a batch of macarons)
- Toothpicks
- Oven Thermometer
- Candy Thermometer
Ingredients for the Shells:
- 100 grams aged egg whites (2-3 days in airtight container at room temperature)
- 225 grams powdered sugar (icing sugar)
- 125 grams almond meal (almond flour)
- 5 grams dehydrated egg white powder (albumen)
- 28 grams extra fine berry sugar
- Gel food colouring
Ingredients for Butter Cream:
- 80 grams or 1/2 cup superfine berry sugar
- 25 grams water
- 1 whole egg
- 2 egg yolks (I used 2 large yolks)
- 180 grams butter , room temperature, cubed
- 50 grams freeze dried raspberries, pulverized (I used ½ a bag or a good ¼ cup of pulverized dried berries)
Instructions
Instructions for Preparing the Ingredients:
- Process almond meal and icing sugar in food processor; sift blended almond/sugar mixture through fine mesh
- Place large pieces left in sieve through food processor again; repeat process
- Combine albumen and extra fine berry sugar into one bowl; mix well
- Prepare piping bag: add coupling, nozzle, clips and set in vase or tall vessel
- Prepare baking sheets by covering with silpat mats or parchment paper
Instructions for Making the Meringue:
- Attach whisk to stand-up mixer; place 100g aged whites into large bowl
- Whisk whites at low speed (2 on Kitchen Aid); when egg whites are foamy, add albumen and almond/sugar mixture (mousse-like)
- Add two drops of gel colouring (note: colour of shells will lighten after baking); increase speed (4 on Kitchen Aid) and do not look away: beat egg whites until "soft peaks" or "the beak" forms (see NOTE on Meringue Test).
Instructions for Macaronage Process:
- Add 1/4 cup of almond/sugar mixture 6 different times through a sieve to meringue mixture; stir in a clockwise direction with a stiff rubber spatula around outside of mixture only the specified number of times (see Macaronage Chart in NOTES)
- Repeat process 5 more times, until dry ingredients are used and ingredients leave visible ribbons of batter in bowl when falling back upon itself (magma-like)
- Transfer to piping bag with nozzle and size 2A tip being very careful to let the mixture tip into the piping bag, stirring it as little as possible to get it there
Instructions for Piping Macarons:
- Prepare baking sheets with silicon mats or parchment paper; pipe down onto the sheet with a quick twist to the right to finish piping each macaron shell
- Tamping: firmly rap each tray on counter to expel air bubbles inside shells immediately after piping each tray
- Use a toothpick to pop remaining air bubbles on surface of shells (poking is essential to avoid volcanoes instead of smooth macaron shells)
Instructions for Baking Shells:
- Rest shells for 30-45 minutes in draft-free area until skin forms on top of shell (dry to the touch): resting time varies depending upon humidity
- Pre-heat oven to 280F and bake for 19-20 minutes; pre-heat convection oven to 280F and bake for 12-15 minutes.
- When a firm crust forms on top and ruffled edge feet appear, macarons are done; remove from oven, cool
- Repeat until all trays are baked.
Instructions for Making the Raspberry Butter Cream:
- Boil sugar and water in small pot to 250F(120C) using a candy thermometer; do not stir
- Whisk eggs and yolks in medium bowl with electric mixer until thick and light in colour
- Once sugar mixture reaches 250F, reduce mixing speed to medium and pour syrup immediately into into egg mixture in thin stream
- Increase to higher whisking speed (8 on Kitchen Aid); continue whisking until mixture has cooled down completely and looks like a glossy meringue (about 15 minutes)
- With another electric mixer, cream then whisk butter until it thick and voluminous
- Add whisked butter, one tablespoon at a time, meringue cooled to 50F until buttercream is smooth; it may curdle, but keep whisking and it will come back together
- Add finely pulerized freeze dried raspberry; whisk to incorporate
- Transfer to piping bag fitted with nozzle and size ? tip
Instructions for Filling the Shells:
- Match shells by size; pipe small mound of buttercream onto middle of each half shell
- Top with the remaining shell; twist to secure shells to filling
Instructions for Storing Macarons:
- Store in airtight container in fridge up to 2 days; 2 hours before serving, remove from fridge as they are best at room temperature OR
- Freeze for up to 1 month; remove from freezer to fridge night prior to service and 2 hours before serving, remove from fridge as they are best at room temperature
- if thawing only a few from the freezer, place in sealed ziplock bag on plate, or sealed container on counter to come to room temperature before serving
Notes
If this is your first time, age 200 grams of whites in case you need to start again at the Meringue phase.
Consistency is Key
Measuring all ingredients exactly the same way every batch with a precise scale enables success and easier troubleshooting
Aging egg whites from fresh real eggs makes the best meringue
Storing the almond meal in fridge or freezer prevents it from going rancid; have at room temperature when using
Using albumen stabilizes the meringue
Meringue Test
Watch ingredients constantly after colour added; it will take approximately 2 minutes to get to "beak". Watch carefully for the mixture to change from foaminess to thickening. Stop machine. Test if meringue is at correct stage by tilting whisk back to look at the point of the mixture off the end of the beater: if a small peak forms on end of whisk, you are done. If ingredients flow from whisk back into bowl, continue whisking. Once "the beak" holds in position off the end of the whisk you have now made the "meringue" stage of the macaron. If the peak is firm like a stiff meringue, throw it out, and start again.
Lillian's Macaronage Chart
1st part = 16 turns
2nd part = 11 turns
3rd part = 14 turns
4th part = 11 turns
5th part = 11 turns
6th part = 23 turns
Macarons per Cookie Sheet
Try to pipe 30 shells on each sheet
Oven Temperature
Preheat oven from 270-295 degrees Fahrenheit: temperature may depend upon what type of oven you have, therefore, use an oven thermometer so you know what temperature your oven is really baking at
Piping Bag Tips
Put the tip into the piping bag.
Cut tip of piping bag a centimeter or two from end to accommodate tip (less in more)
Pull piping tip out; cut more of piping bag, if necessary
Replace tip; screw on nozzle[b] Clip end of bag above tip (to avoid oozing and spillage when filling)
Place bag in tall glass or vase
Fill; clip open end
When ready to use, unclip top and twist bag firmly with predominant hand (this hand will push out filling)[
Unclip bottom clip to enable flow; use other hand to guide tip
Once almost empty, lay piping bag on flat surface; using a D-shaped spatula, force all ingredients from top of bag to tip to avoid waste and continue until empty




We so enjoyed spending the day with you, Vanja, Lillian and Dan. It was a lot of fun and educational. The macarons were delicious, we even shared one with Loreto’s daughter and she loved and so did we. I can’t wait to make these and I feel a little less nervous having witnessed the process. Plus, you’re right, baking with somebody is a lot more fun. Loreto says “don’t forget the music” ????. Another great post, Valerie!
We must remember the music!!!
What colour are you going to make?
🙂
V
wonderful, I wish I was there to taste one, they look so exquisite!
They were delicious – but, two days later! How are to wait!
Nicoletta and I are attempting them again next week. I think I’ve got it; we’ll see!
🙂
V