Homemade Turtle Cake: Revisiting a Blast from the Past!
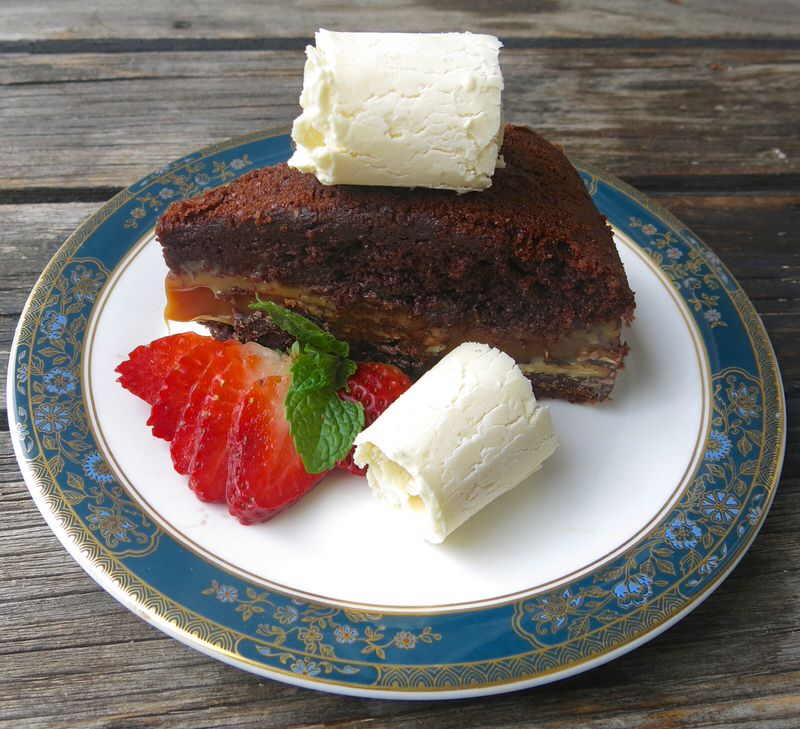
Homemade Turtle Cake from scratch for Luciana’s birthday this past January. She, I and Marie will be celebrating 50 years of friendship this fall. Yup. We met at the beginning of my grade 7 year. I had just turned 12. It’s a beautiful thing to grown old with those you love. She has been craving one of my turtle cakes for a long while now, and has never had a homemade from scratch one.
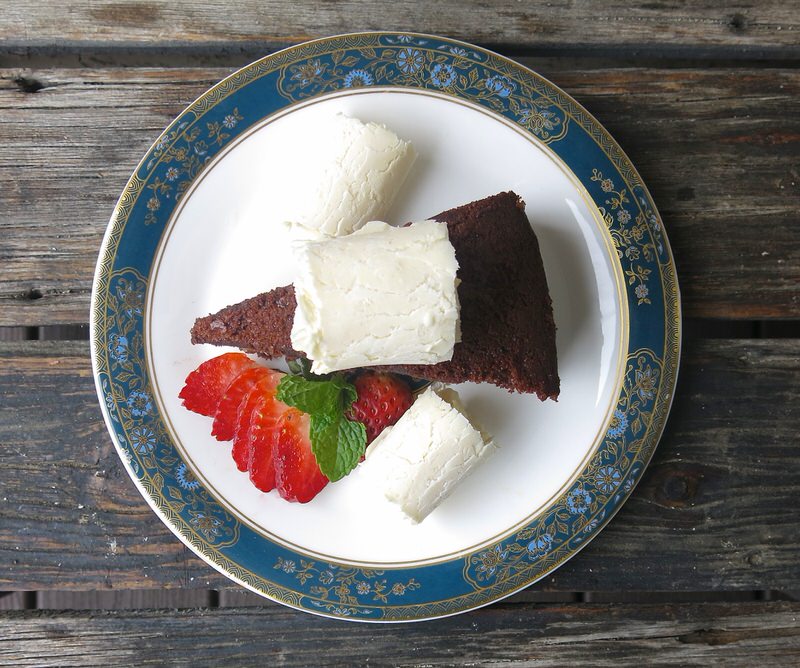
This cake, in its cheater form, was my go-to party cake in the late 80’s and early 90’s. We gal pals have been celebrating one another’s birthdays for years, and I would usually take the cake. My Turtle Cake at that time was most often requested.
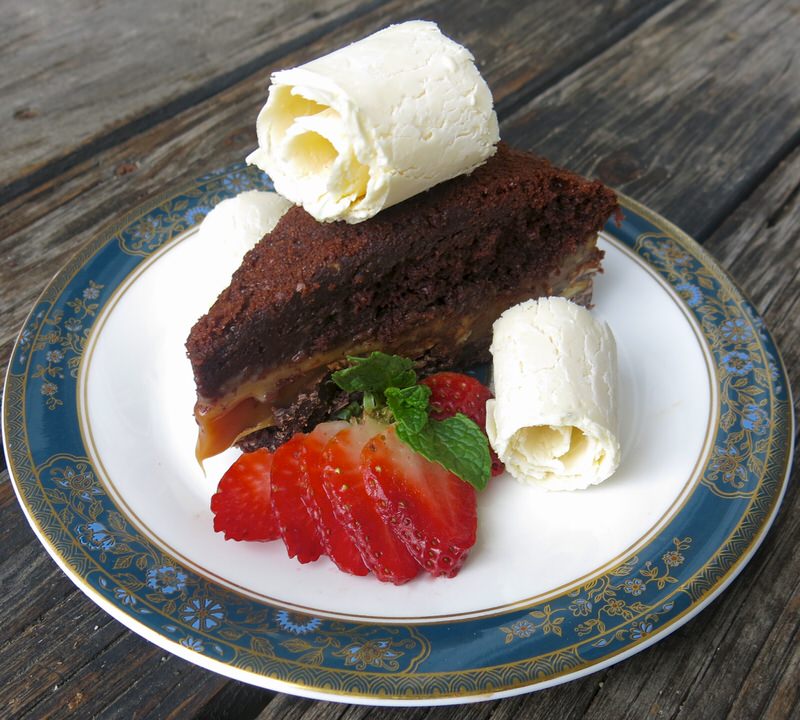
For Luciana’s birthday this year, I made her two cakes: this one and my original Turtle Cake that I now call the Cheater Turtle Cake. This cake is completely made from scratch: the cake and the caramel filling. My original invention (and it was my original invention) was completely out of a box with a little bit of magic (completely out of a bag and a can) in the middle. And, I was so proud of it. But, that was then and this is now.
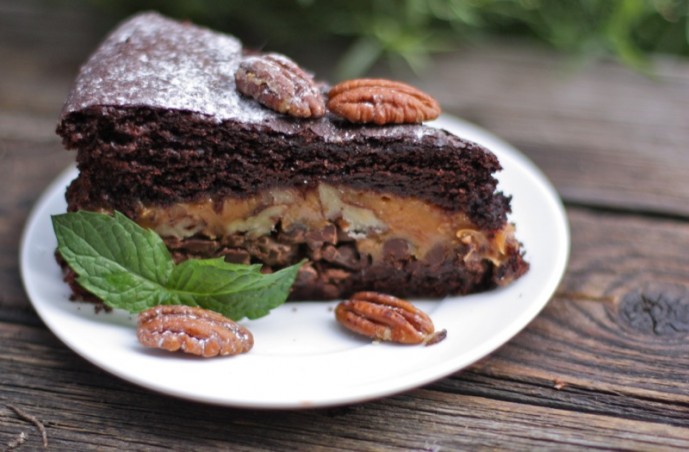
Above, is my Cheater Turtle Cake. It is a good story. Pop over for the read. It is still the best cake you will ever make out of a box and a bag. But, really? If I am going to indulge, I like to make what I bake from scratch as I have done, most of my life. This was the only cake I ever used a mix for, and ironically, the most requested. That motivated me to develop the recipe from scratch. Voilà! And, Happy Birthday, Luch!
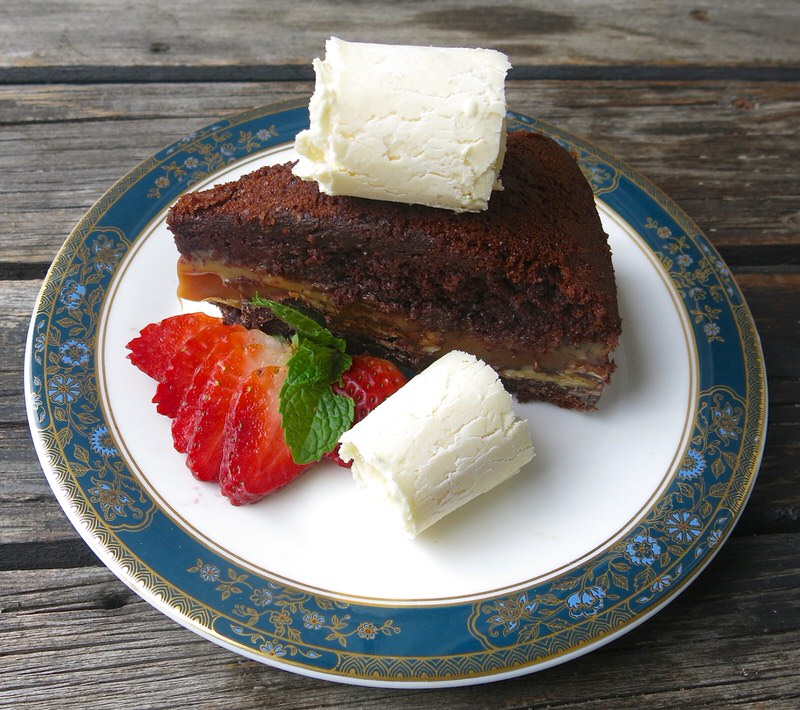
I took both cakes to the party. I presented one for the song and candle blowing ceremony, then cut a piece of each for service. All gals did a blind tasting. I was a bit nervous, to be honest. We are such a fast food society, now, and as a result, our palates have changed considerably and become somewhat addicted to those “not so good for us” foods.
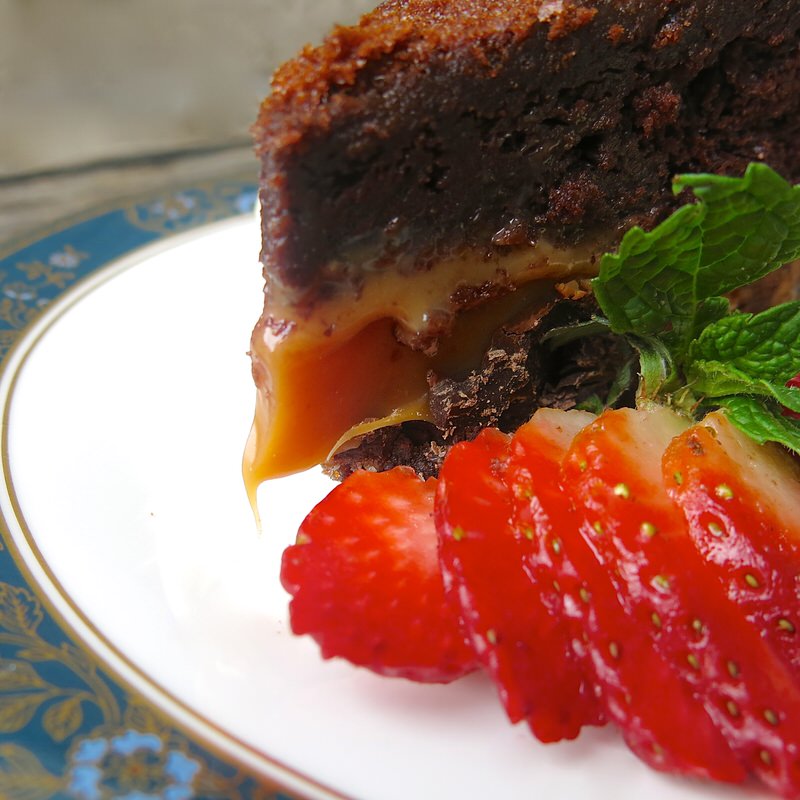
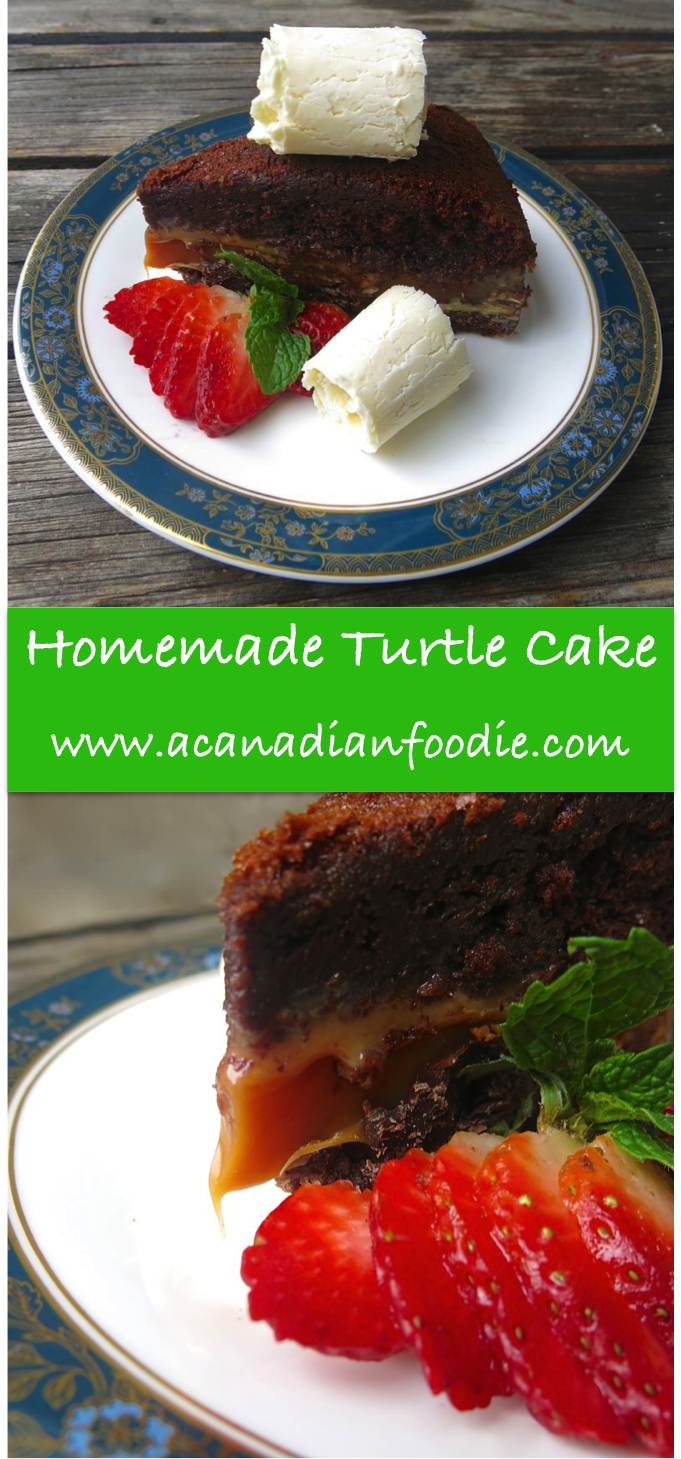
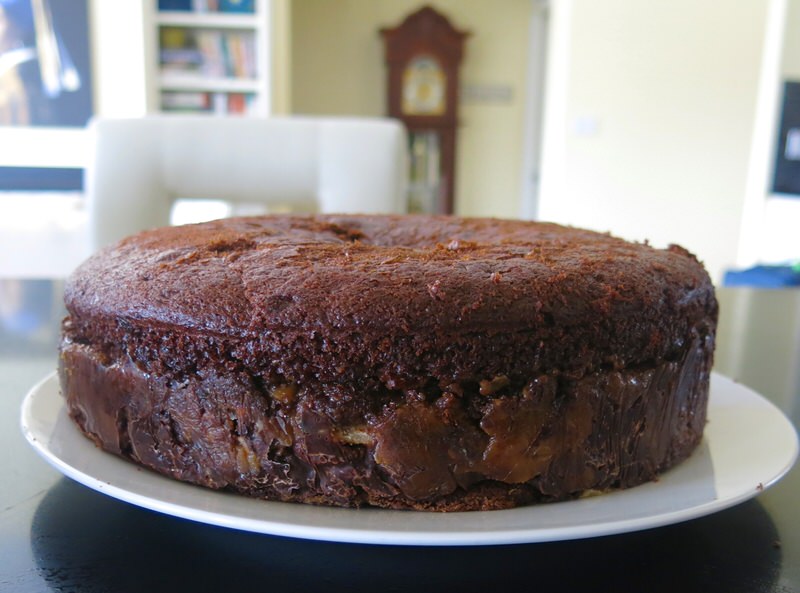
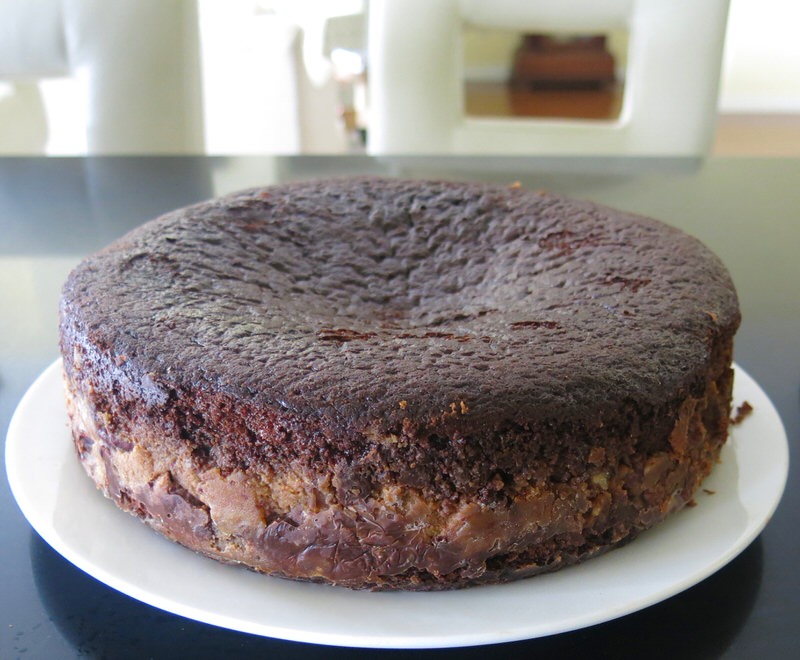
If you look at the photos of both cakes carefully, there is a remarkable difference, really. The homemade caramel is translucent with a lovely give.
There were 6 of us, and 5 chose the from scratch cake, hands down. One wobbled and just was not sure. I learn so much from these kinds of comparative tastings. The recipe for the Cheater Turtle Cake, though it flies against all I now stand for, remains posted and I am proud of my original idea. There are many of you who will make it because you will think it is far easier than making this cake. I did not find that to be the case. Making this cake is not difficult. Get all of the ingredients in place, put on some good music and rock your kitchen!
Homemade Turtle Cake Caramel Filling: Make the Filling First
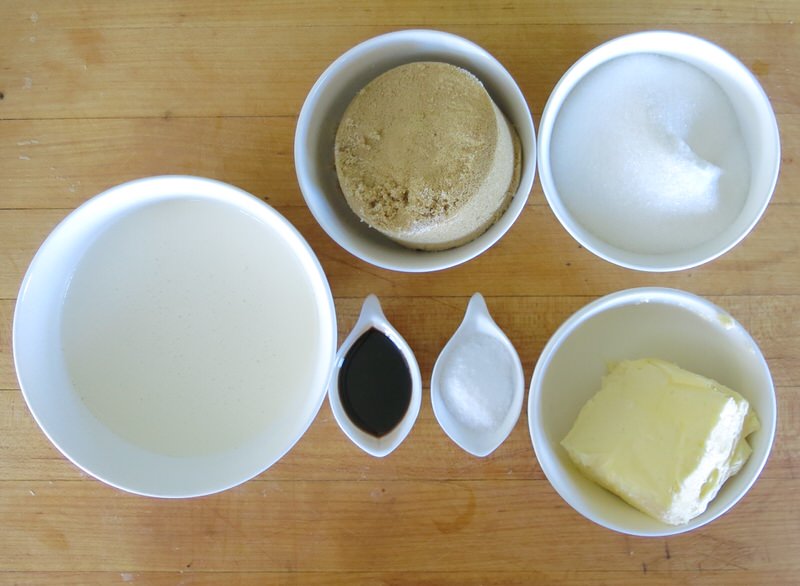
Because it takes quite a long while to cool and set up to pour into the cake, make the caramel filling first: heavy cream, two sugars, butter, vanilla and salt.
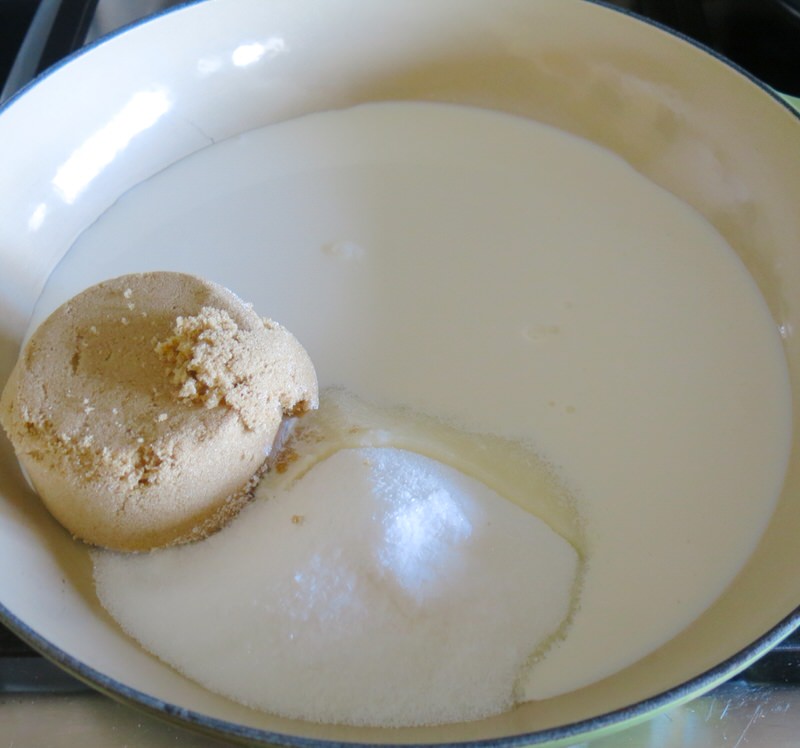
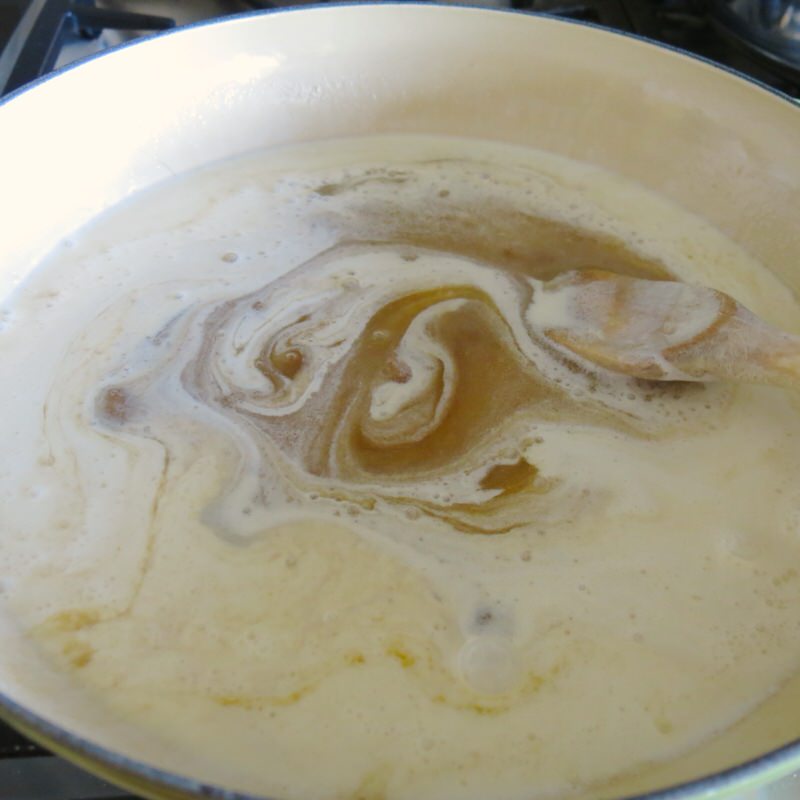
This is not a caramel sauce. It is not a caramel recipe, either, though close. This caramel filling recipe is designed to bake into the cake like the caramels, butter and sweetened condensed milk do in the Cheater Cake. It will create a soft set caramel.
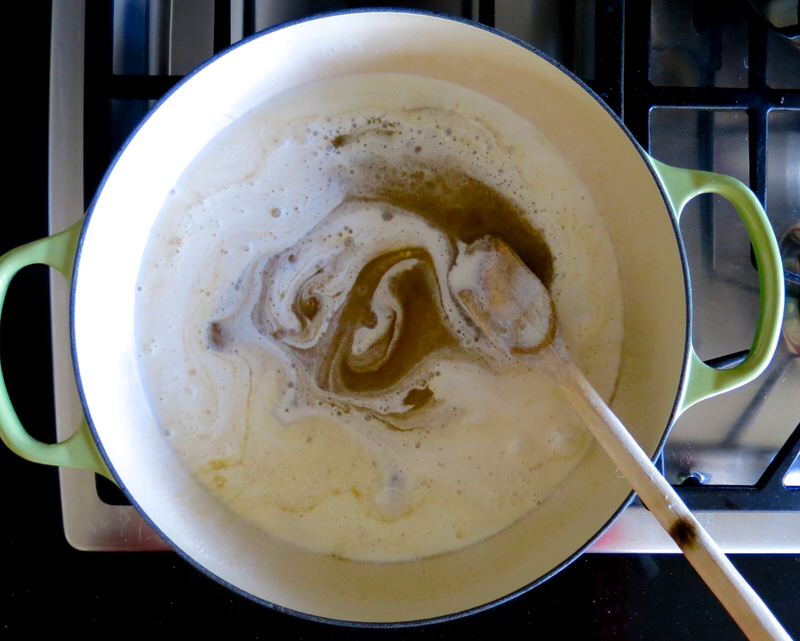
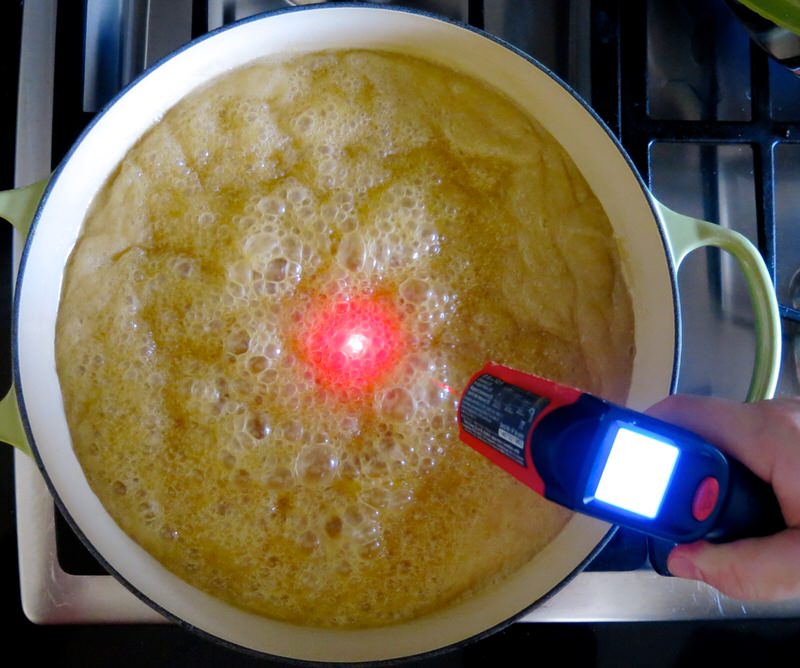
I don’t trust thermometers when doing this kind of work. I always use 2 or 3 just to be sure of the accuracy of the temperature I need. Honestly, I think it is important to use at least two thermometers when making any caramel of candy unless you make it all of the time and know your tools are calibrated.
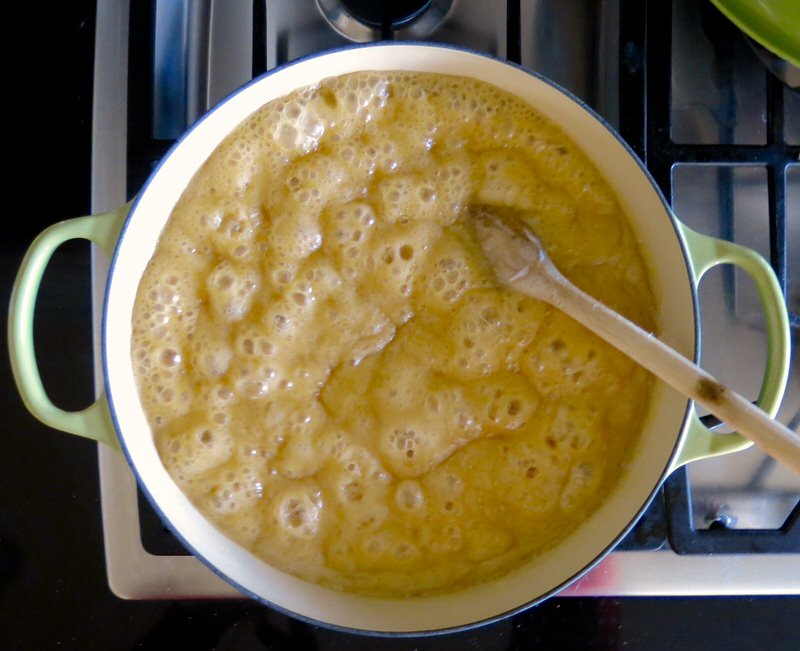
Caramel! The aroma sometimes has me lose my head. I love it!
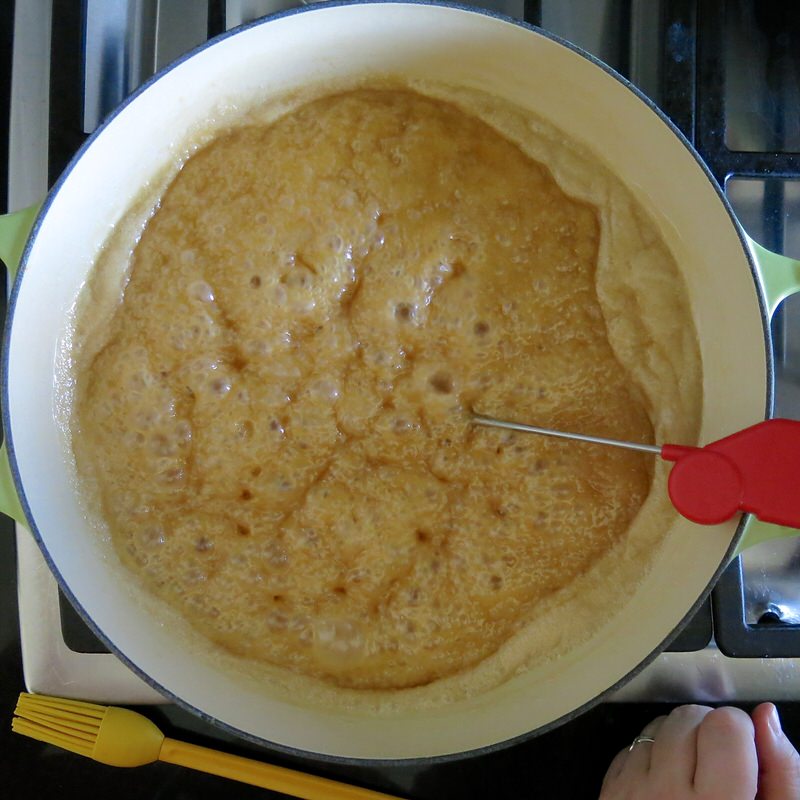
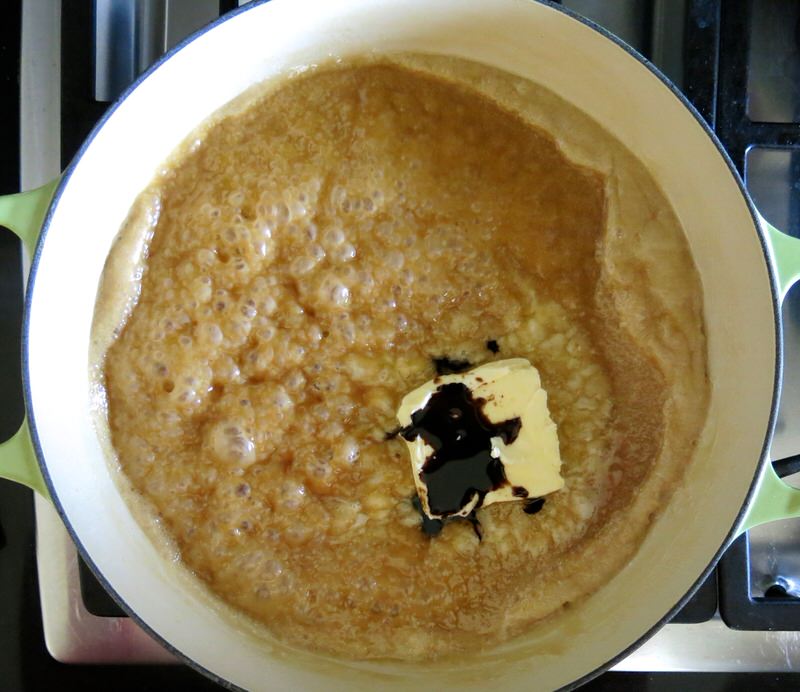
Off the heat for a moment to add the butter and vanilla, then back on for a bit to incorporate all and reach temperature.
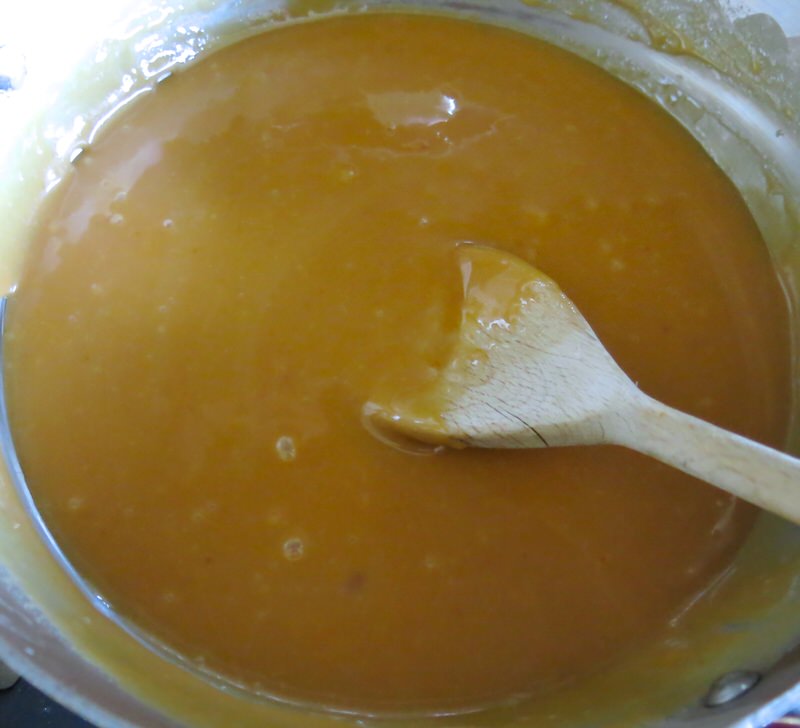
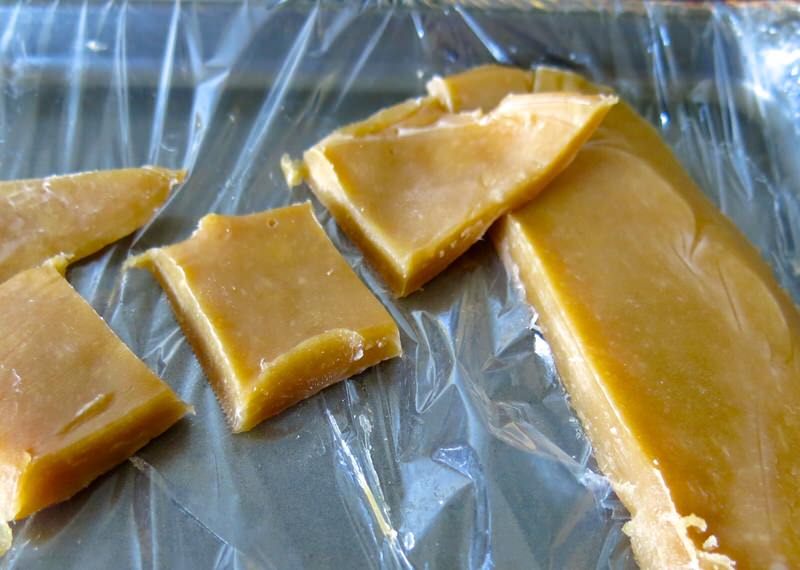
Above is some of the filling that I poured on a plate to set to demonstrate how soft the caramel is.. My finger touched the square, above middle. A lot of “give’ there.
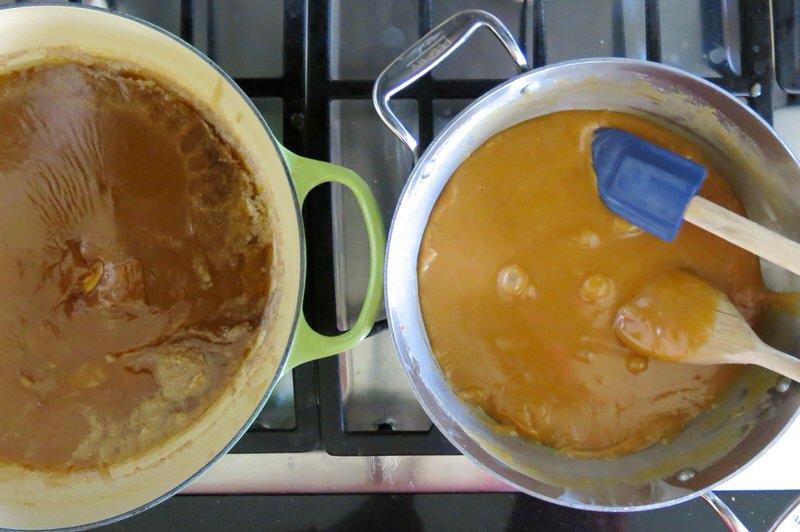
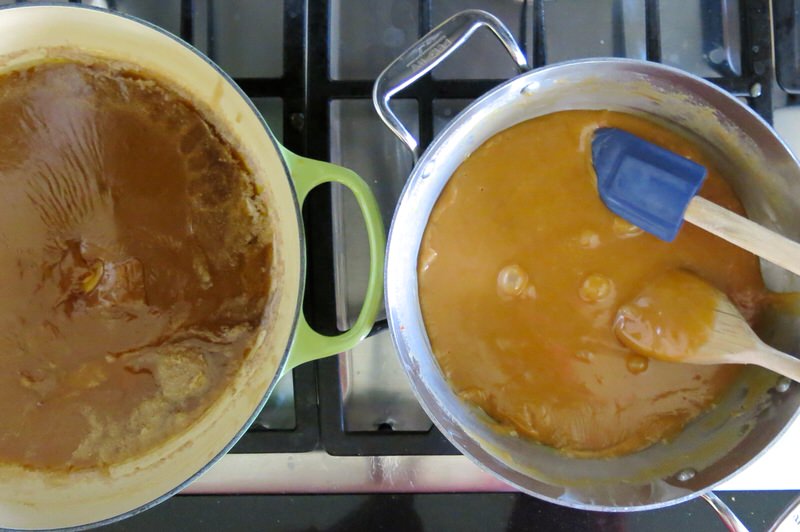
A photo of both fillings. Above right, the Cheater Caramel Filling made with Kraft Caramel, Eaglebrand milk and butter. Above left, the homemade filling. There was no comparison in flavour at this point. The homemade caramel filling was divine. The cheater filling was a little plastic, as it looks. Without the comparative tasting, the cheater filling is scrumptious. Revealing, eh?
Homemade Turtle Cake: Mis en Place
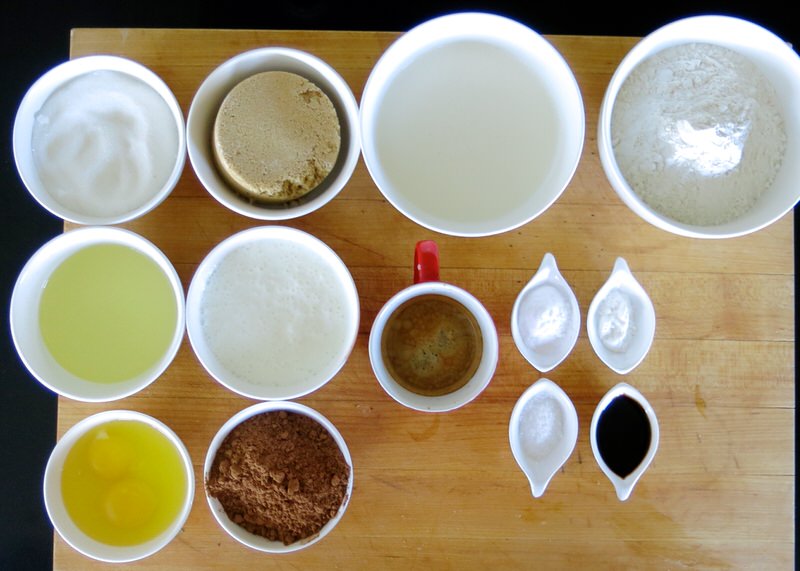
Yes. A considerable amount of ingredients do go into a homemade cake. One box, 3 eggs, water and oil vs all this. Let’s stop and think for a minute. It would likely take 5 minutes more to get these ingredients out. Why is it that those 5 minutes are so intimidating? There is no comparison in the flavour and texture of a homemade cake vs one in a box.
Homemade Turtle Cake: Making the Batter
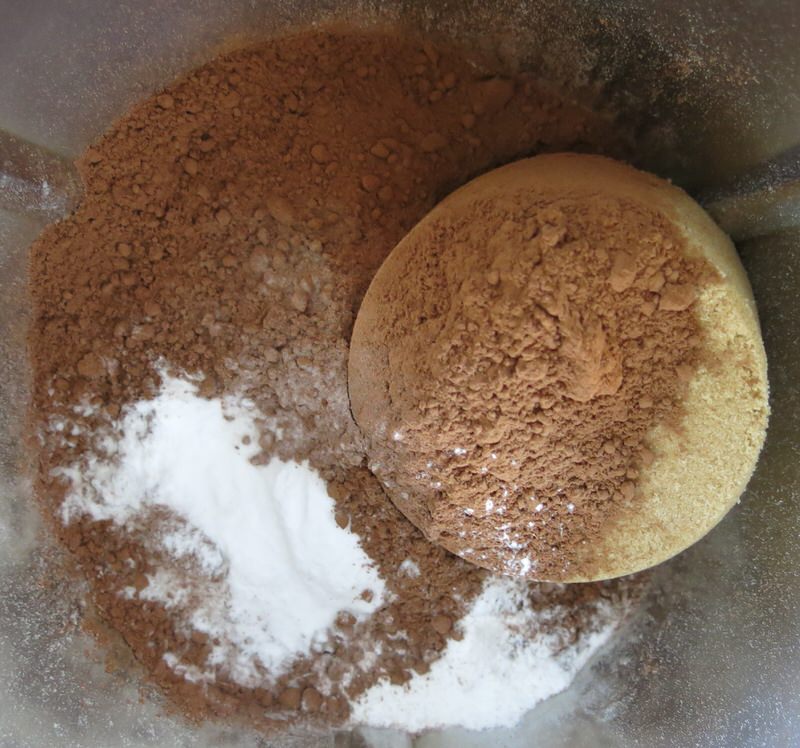
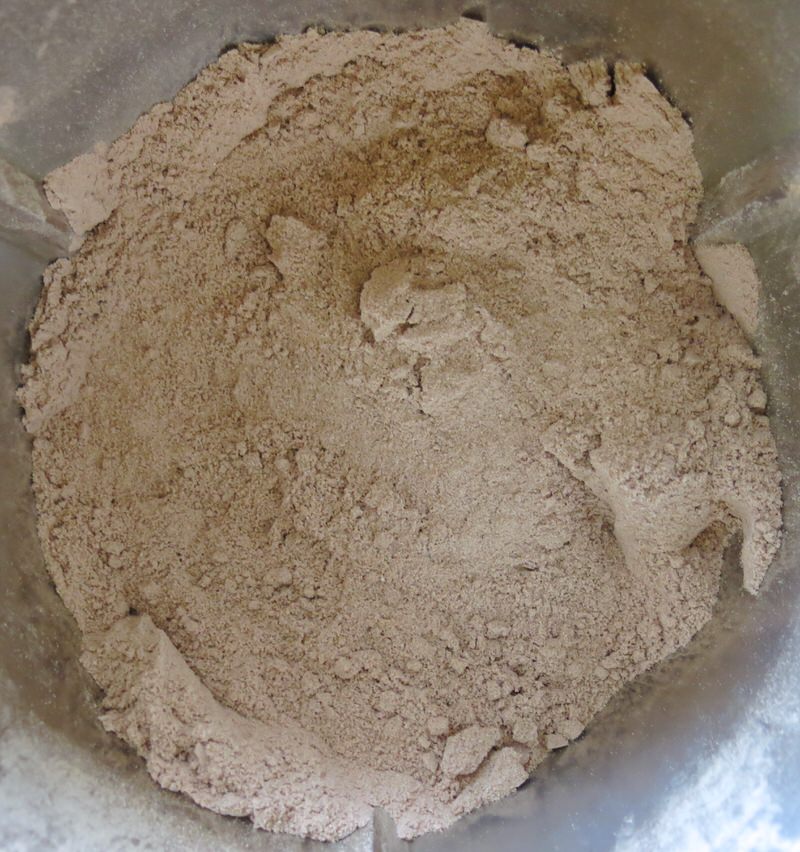
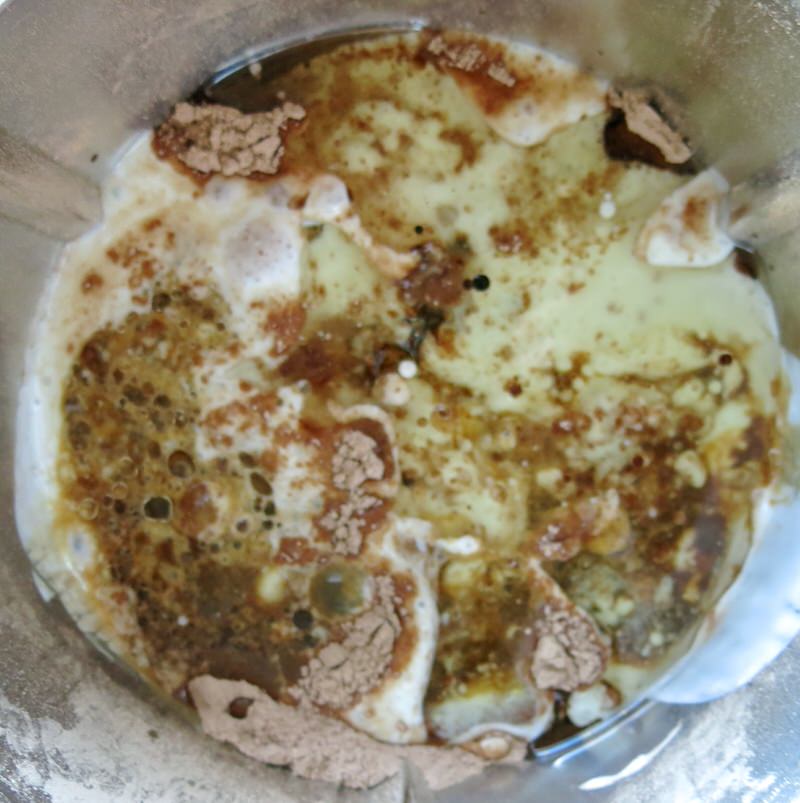
I always use my Thermomix, but have written instructions for making the cake with and without it in the recipe, below. It take only second in the machine, and only one bowl to wash.
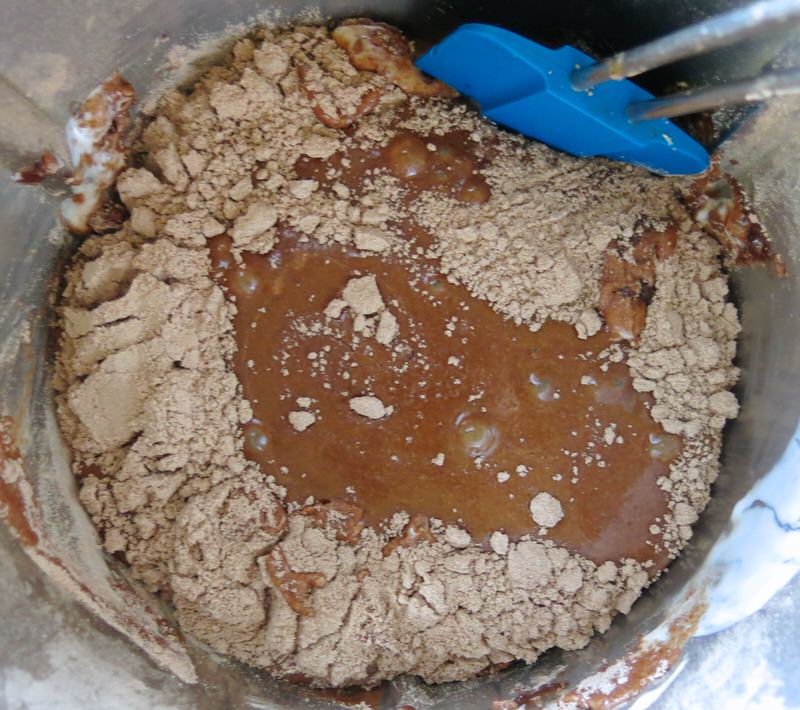
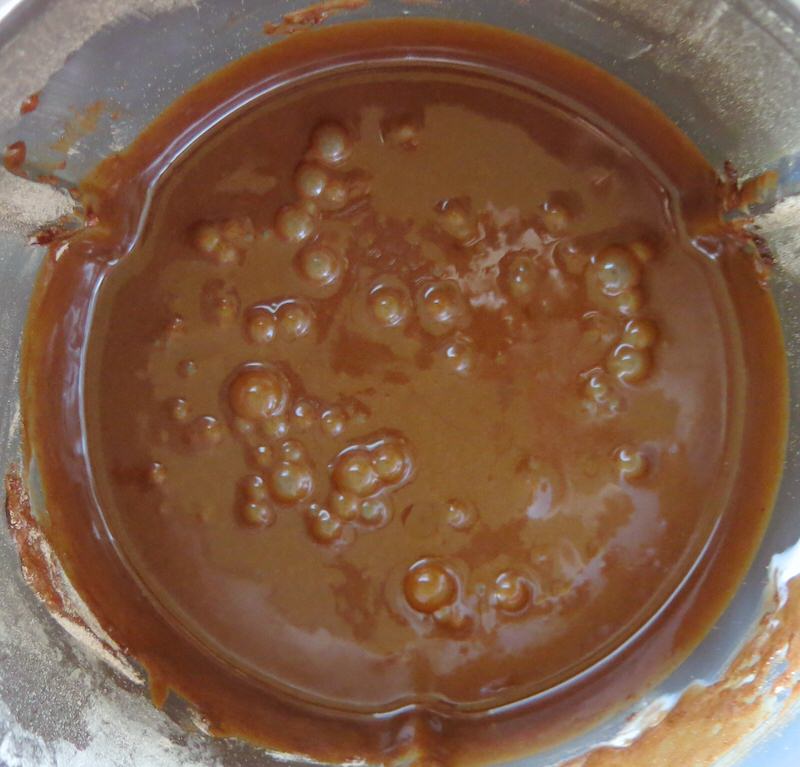
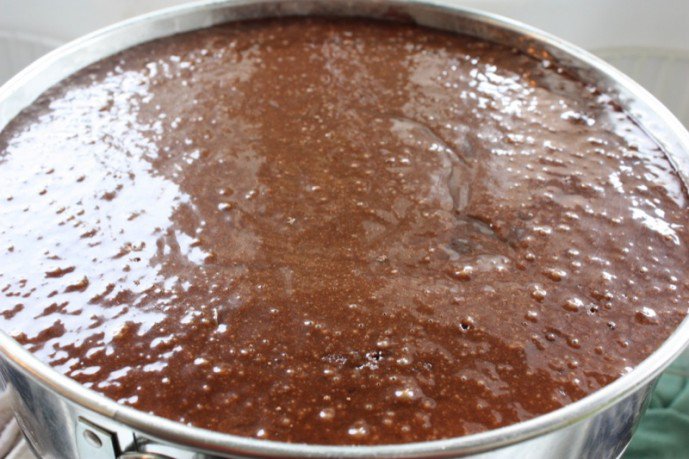
Springform pan floured and buttered with buttered parchment paper on top: 1/2 batter goes in. Half of th e batter or a wee bit less.
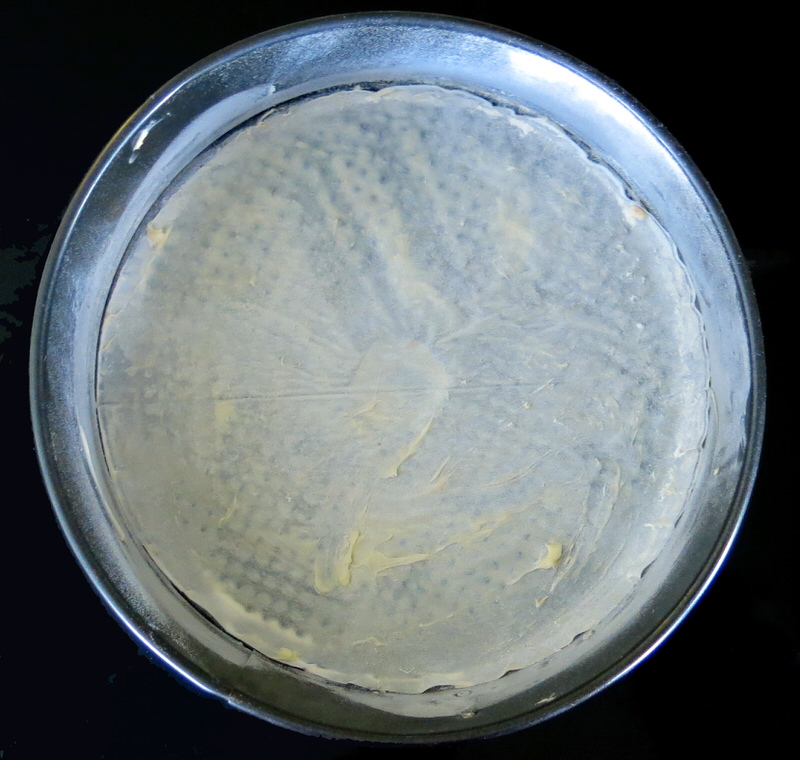
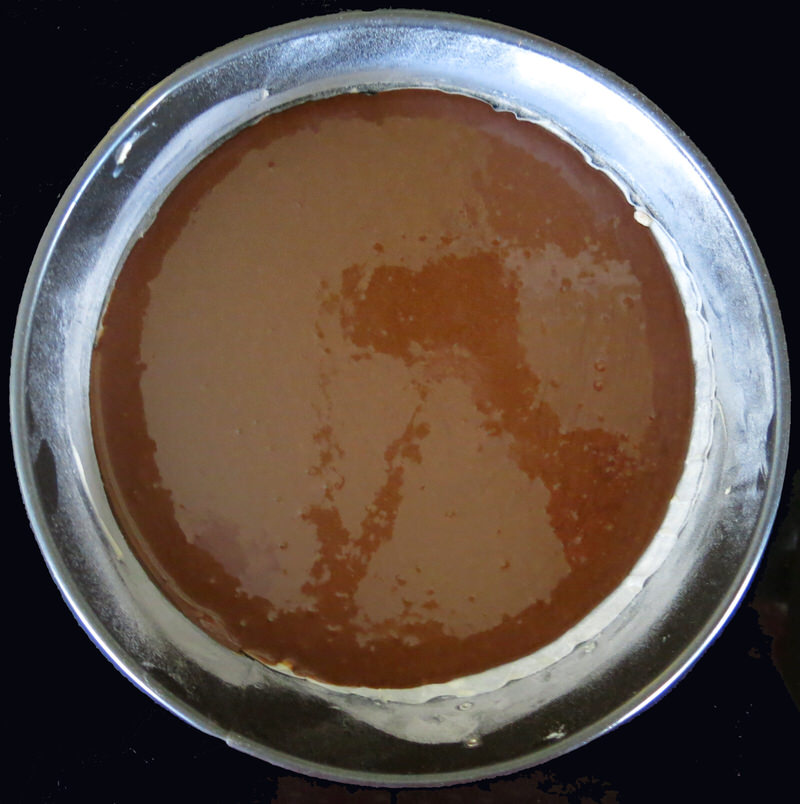
While that batter bakes in the oven, stir the caramel and get the fillings ready for filling the cake.
When the timer goes, don’t rush, but move quickly. Be prepared. You don’t want the cake to cool. Keep it out of the oven only as little as possible while layering the goodies on it.
Homemade Turtle Cake: Layering the Fillings into the Cake
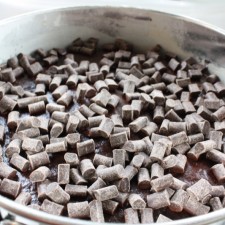
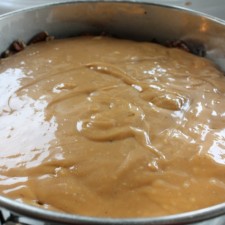
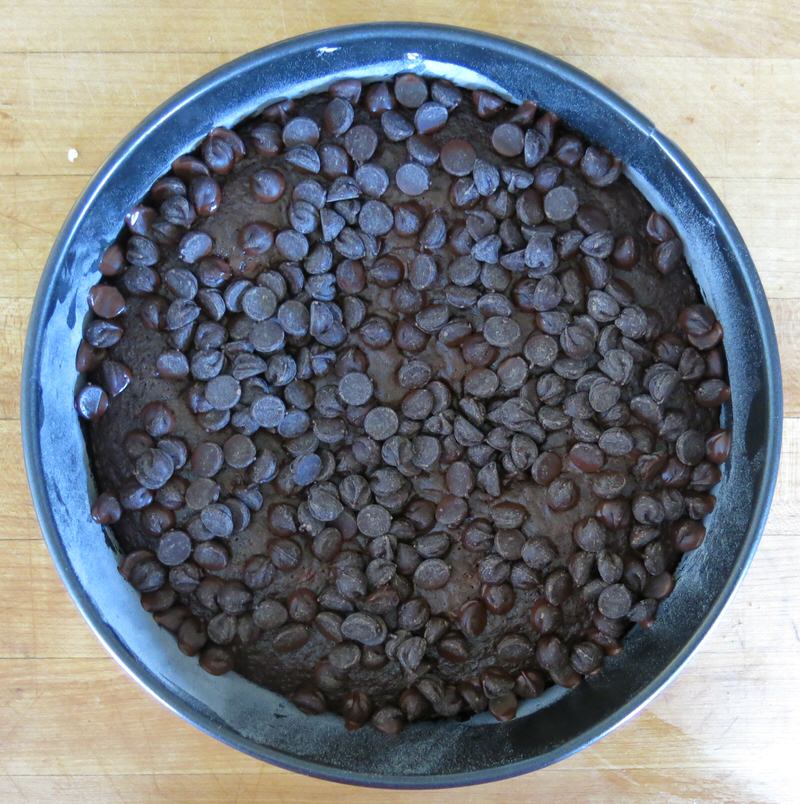
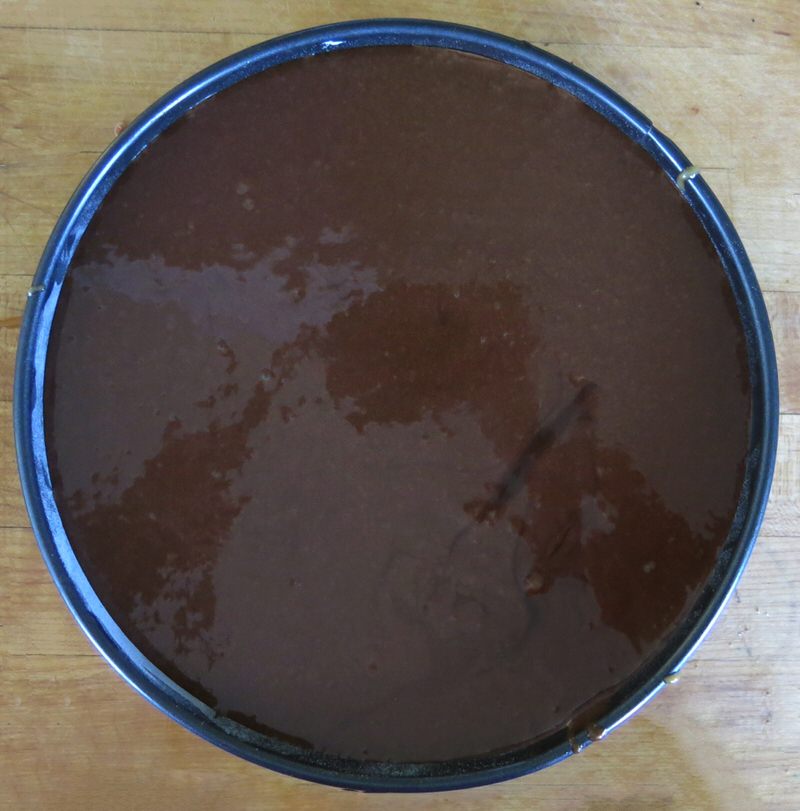
Surface tension taught: see above, left. Gorgeous! I feel like the Mad Kitchen Scientist I am! Add Callebault chocolate chunks. Be generous. Be careful to not break the surface tension of the cake: start with the weight of the filling on the outside and work in. I have adjusted the recipe and added more than a cup of each, but be sure to cover the entire surface with the chunks.
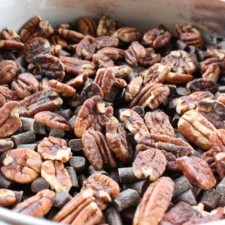
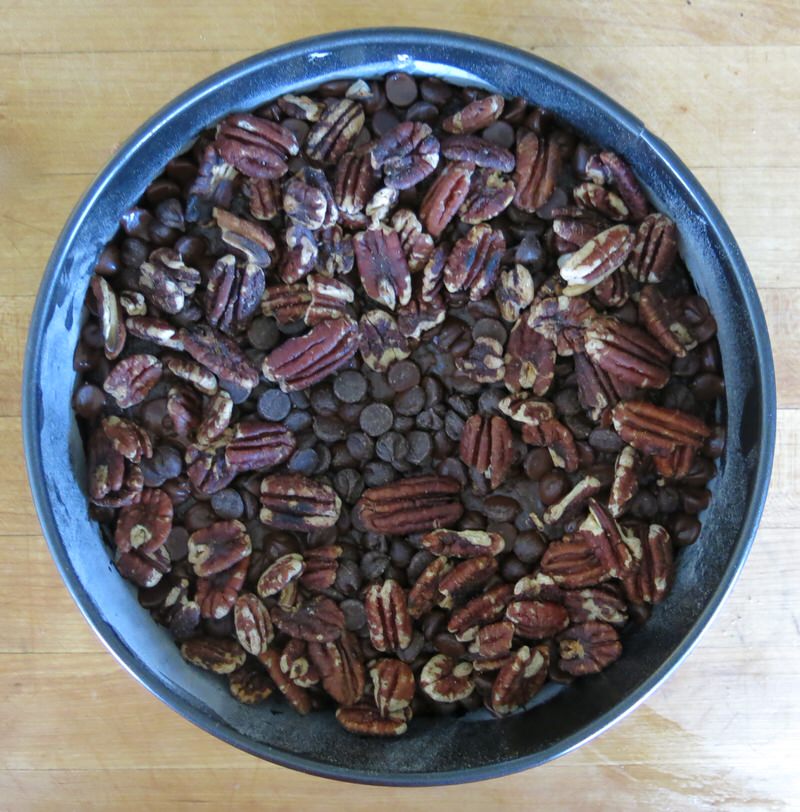
Cover all with toasted pecans. Do the same with the filling. Start on the outside and work in. Be sure to cover the entire surface each.
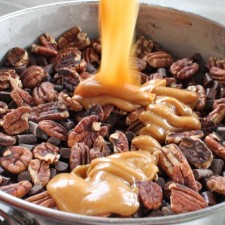
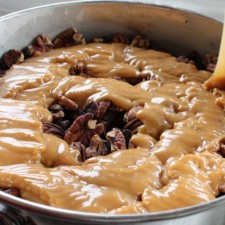
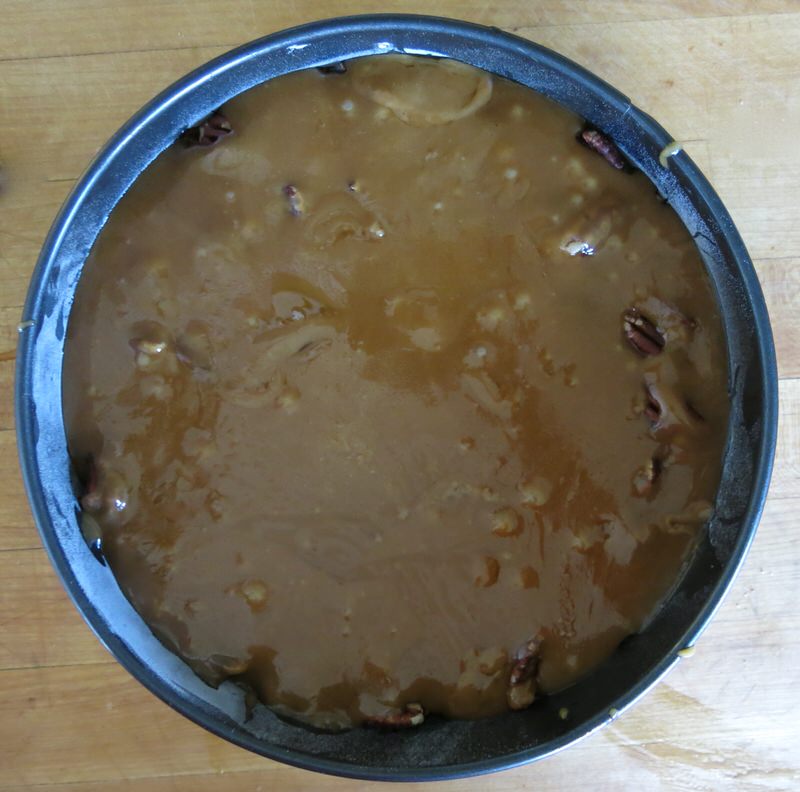
Start on the outside and work in. Almost forgot this, above, with the caramel, but caught myself before the weight of the caramel broke the surface tension. That has happened. But, only once and it isn’t pretty. Just follow the instructions, and it will be perfect!
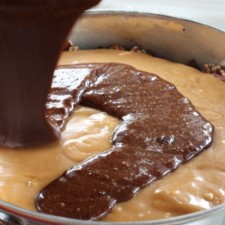
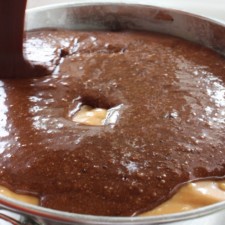
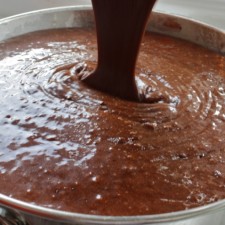
Cake batter is last. Again, no rush. Slow and gentle works best.
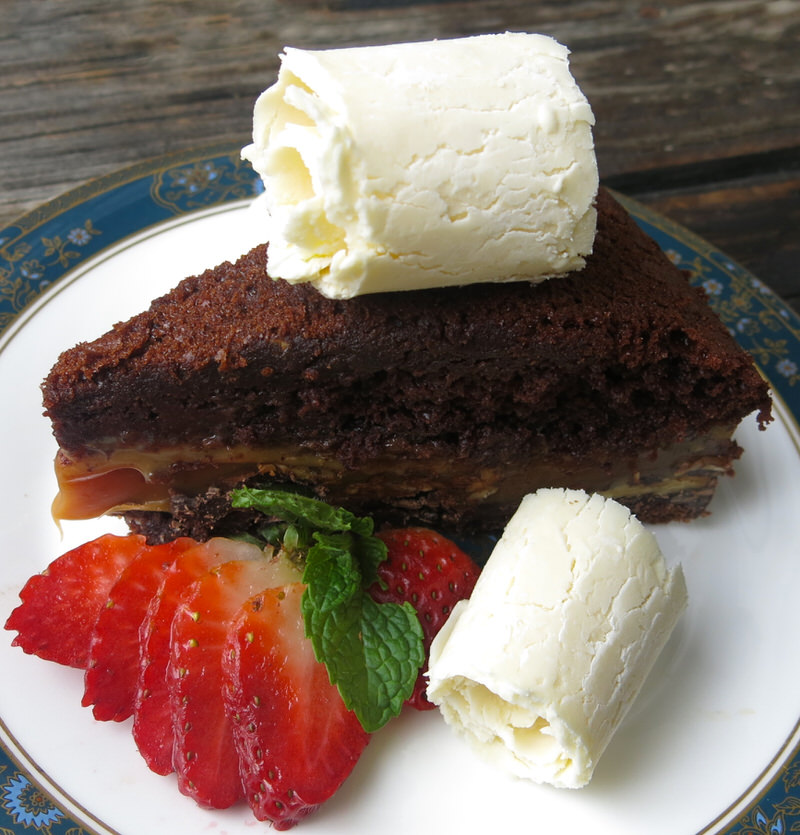
The cake takes 50 to 60 minutes to bake at 350°F and the trick is to use a toothpick in the middle of this cake. It must come out clean. If not, the cake will fall in the middle on the top. This can be filled with nuts or a chocolate ganache icing, and the cake will still be delicious and not gummy on the inside. It does tend to dip in the middle unless that toothpick comes out clean; however, that has never really been noticed by anyone but moi. My motto: “If in doubt, don’t take it out!” Five to six more minutes will not dry out the cake. I dust it with icing sugar and press whole pecans into the side if I take it out of the form while still a little warm. The pecans will only stick to the filling on the side of the cake if the filling is warm. It is rich, so needs to be served with ice cream, whipping cream, or crème fraîche. I always add a sprig of mint. Cannot resist. Usually a berry, too.
I am forever amazed how the bottom layer, baked 15 minutes longer than the top, is still moist and lovely. There is no discernible difference between layers.
Homemade Turtle Cake: Baking the Cake
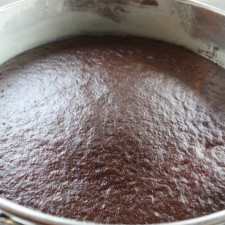
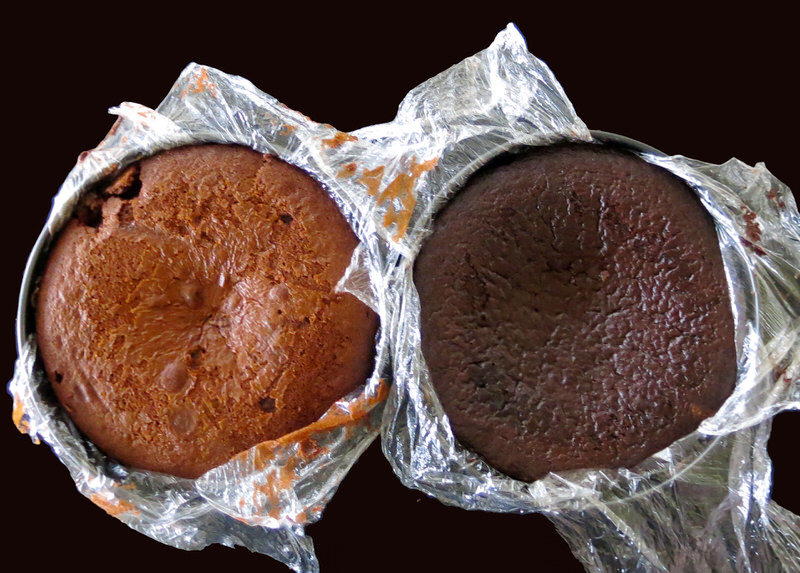
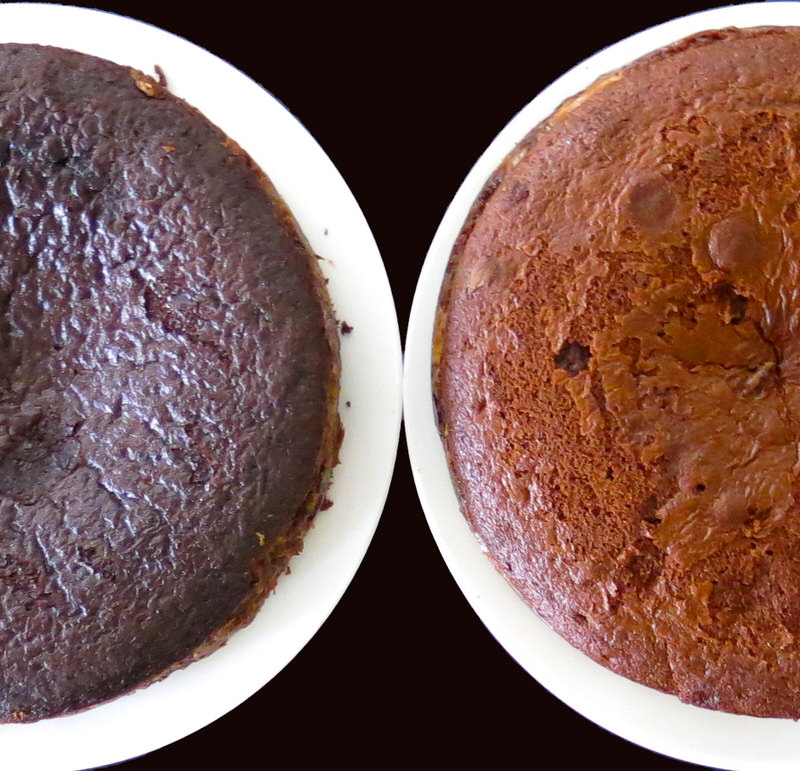
You can see a dip in each. And that is fine.
Guess which is the homemade from scratch cake and which is the one out of the box? Do you know?
I love how black the one on the left looks. So chocolately and deeply dark. The one on the right doesn’t appear as rich or chocolatey simply because of its colour.
Homemade Turtle Cake: Which Cake is Which?
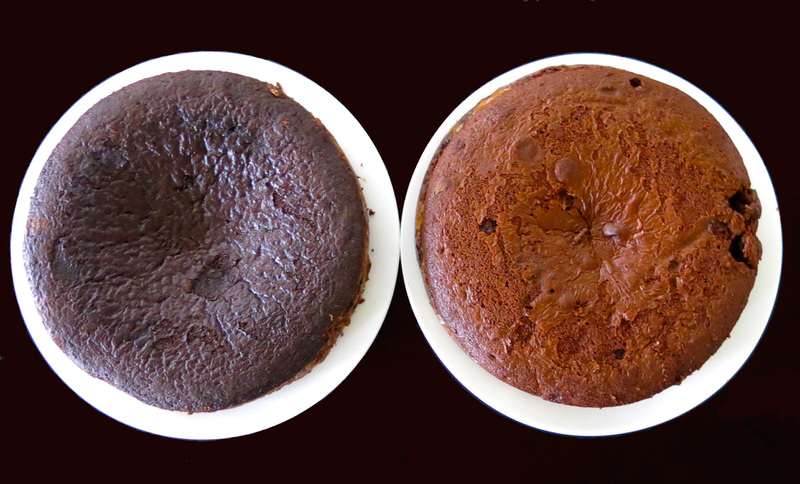
Above, the cake on the left it the lighter one. The one on the right is the darker one. Study each. Look at the texture. The colour. The caramel around the middle.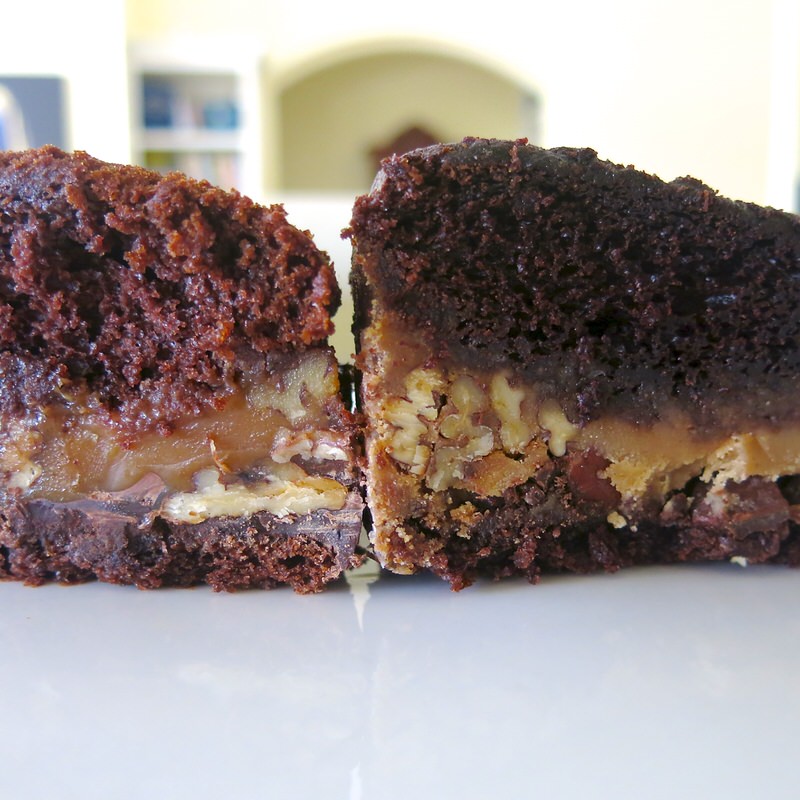
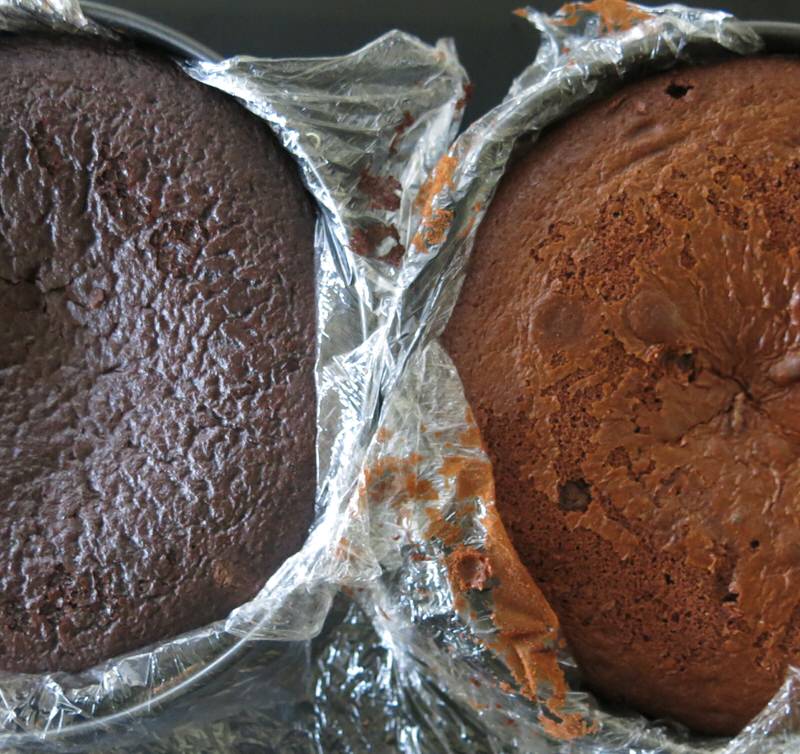
Here’s an up close peek of the inside. Light on the left, dark on the right this time. The answer of which is which is here.
Homemade Turtle Cake: Decorating and Serving the Cake
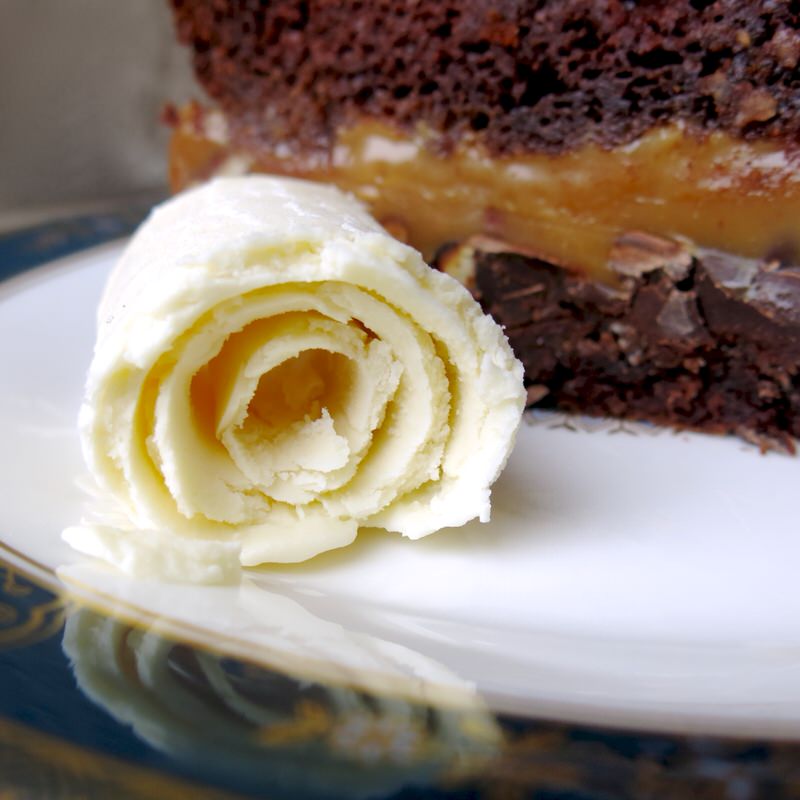
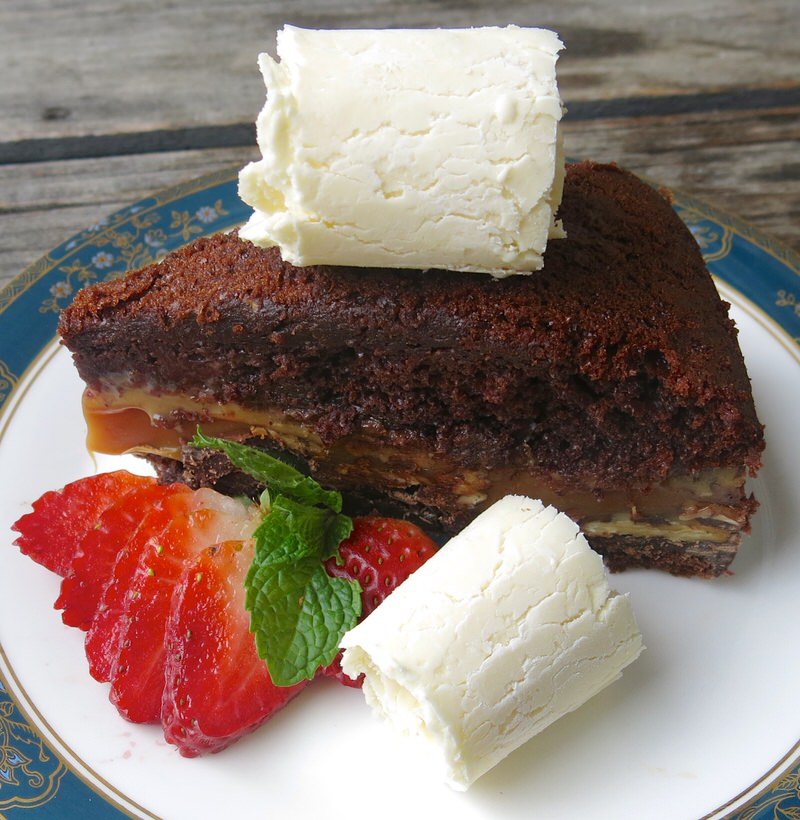
I always dust with icing sugar. I confess. I cut a wedge out of the cake I was taking to the birthday party for this photograph, so the dusting of icing sugar will happen later. I dressed this little beauty up with a berry, some mint and three rolls of homemade vanilla ice cream that I made when testing the Rolling Desserts Ice Plate earlier this year. Pretty, yes?
Which Cake is Which: The Answer
The lighter cake with the translucent caramel filling is this cake. The dark cake with the opaque caramel filling is the Cheater Turtle Cake. Are you surprised? I was really surprised at how light the homemade cake appeared on the crust. Inside, the difference is noticeable, but not nearly as dramatic as it is on the crust. If you look at the inside cake photos, the homemade version even appears to be more moist. It was more chocolately, too, though that is hard to believe when looking. Interesting, eh? Not so much? Ah… well, I know I am a nerdy gal in my kitchen at times. Good thing I enjoy my own company, eh?
In any case, if you make this cake, are motivated to try, have any reaction to this read whatsoever, share it! Let’s face it. If you have read to the end of this post, you are a bit nerdy yourself, so if we lived closer, we’d likely be great pals.
A Canadian Foodie's Turtle Cake Recipe
Homemade Turtle Cake with Homemade Caramel Filling: A Canadian Foodie Original Recipe transformed from her Cheater Turtle Cake recipe from the late 1980's.
Ingredients
Read the entire recipe before making this cake. Make the caramel filling first as it will thicken as it cools.
Ingredients for Caramel Filling:
- 1 1/2 cups (360 ml) heavy whipping cream (35-40% butterfat content)
- 1 cup (200 grams) granulated white sugar
- 1 cup (210 grams) packed light brown sugar
- 1/4 cup butter and 1/3 cup butter (both butter measurements needed)
- 1 teaspoons kosher salt
- 1 teaspoons pure vanilla extract
- 1 ¼ cup of excellent quality chocolate chunks (I use Callebault)
- 1 ¼ cup of pecans , toasted and extra for decorating
Ingredients for the Cake:
- 1 ¾ cup flour
- ¾ cup dark excellent quality cocoa
- 2 teaspoons baking soda
- 1 teaspoons baking powder
- 1 teaspoon kosher salt
- 1 cup or 200 grams granulated white sugar
- 1 cup or 210 grams golden brown sugar , packed
- 1 cup buttermilk
- 2 eggs
- 1 cup strong double shot espresso , room temperature
- ½ cup cooking oil
- 1 teaspoon pure vanilla extract
Instructions
Instructions for Homemade Caramel Filling:
- In a heavy medium sized saucepan, stir together cream, sugars, and salt; place saucepan over medium high heat and bring to a boil, stirring constantly with a wooden spoon
- Once mixture boils, with a heatproof pastry brush that has been dipped in warm water, wash down sides of saucepan to remove sugar crystals that may have formed
- Clamp a candy thermometer to side of saucepan; boil without stirring over medium high heat until temperature reaches 245 F (118 degrees C)
- If sugar crystals form on sides of the pan, wash down with heatproof pastry brush dipped in warm water
- Remove from heat, stir in vanilla, and 1/4 cup butter
- Place back on heat; slowly bring to boil again until temperature reaches 245 F (118 degrees C)
- Add 1/3 cup of butter; melt into mixture; bring to boil, slowly, again until temperature reaches 245 F (118 degrees C)
- Stir well to combine, and set aside to cool, but do not let solidify: mixture must be pourable when ready to use
Instructions for Making the Cake Batter:
- Preheat the oven to 350ºF; prepare bottom of spring form pan with parchment paper by cutting circle to size, buttering both sides, and lightly flouring inside
- Measure first 7 ingredients into large mixing bowl: flour, cocoa, BS, BP, salt, and both sugars
- Stir well to combine dry ingredients; measure remaining ingredients into bowl: buttermilk, eggs, espresso, canola oil, and vanilla
- Whisk to combine until completely incorporated and lumps are gone; use spatula to scrape down sides of bowl
Instructions for Making the Cake Batter in the Thermomix Machine:
- Preheat the oven to 350ºF; prepare bottom of spring form pan with parchment paper by cutting circle to size, buttering both sides, and lightly flouring inside
- Weigh the first 7 ingredients into TM bowl: flour, cocoa, BS, BP, salt, and both sugars
- Mix dry ingredients together for 5 seconds speed 0-7
- Weigh remaining ingredients into TM bowl: buttermilk, eggs, espresso, canola oil, and vanilla
- Combine all ingredients for 10-15 seconds at speed 0-7; use spatula to scrape down sides of bowl
- and repeat for 5-10 seconds only, if lumps remain in mixture, scraping down sides again
Instructions for Putting it all together
- Pour half of cake batter into spring form mold; bake for 15 minutes
- Surface tension will be taught enough to receive filling:
- • Cover surface, starting with edges, with chocolate chips, until completely covered by single thin layer (quarter sized middle circle area can be left uncovered)
- • Cover chocolate chip layer with toasted pecan layer (quarter sized middle circle area can be left uncovered)
- • Carefully pour caramel mixture over chocolate and nuts, again starting around the edges, slowly moving toward the centre (the most sensitive surface area); ensure layer is completely covered with caramel
- Pour remaining cake batter into pan in exact manner: starting around edges, slowly moving toward centre (most sensitive surface area); ensure layer is completely covered with caramel
- Place in oven to finish baking for 45 to 55 more minutes, until cake springs back to touch
- Cook on wire rack for 30-40 minutes; while still slightly warm (just to touch, but not so warm caramel filling will spill out once spring form is released) gently loosen sides of spring form pan with butter knife and slide cake out of spring form pan
- Quickly wrap with plastic wrap and return to spring form pan until completely cool
- parchment strips between cake side and spring form pan and reseal pan
- Continue to do this all along the side of the pan until parchment strips are mostly between pan and cake;
- Remove cake from spring form pan; dust with icing sugar or garnish with whole nuts
- Serve with a sprig of mint and whipping cream




Leave a Reply