Adorable Miniature Meat Pies: delicious, nutritious, ambitious and auspicious!
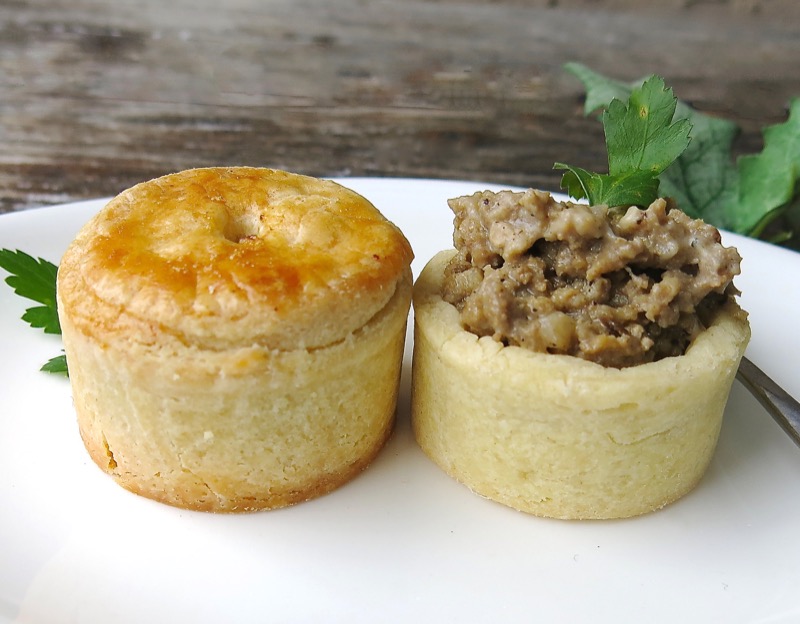
Making these little packages will bring you joy. These Miniature Meat Pies are just that adorable.
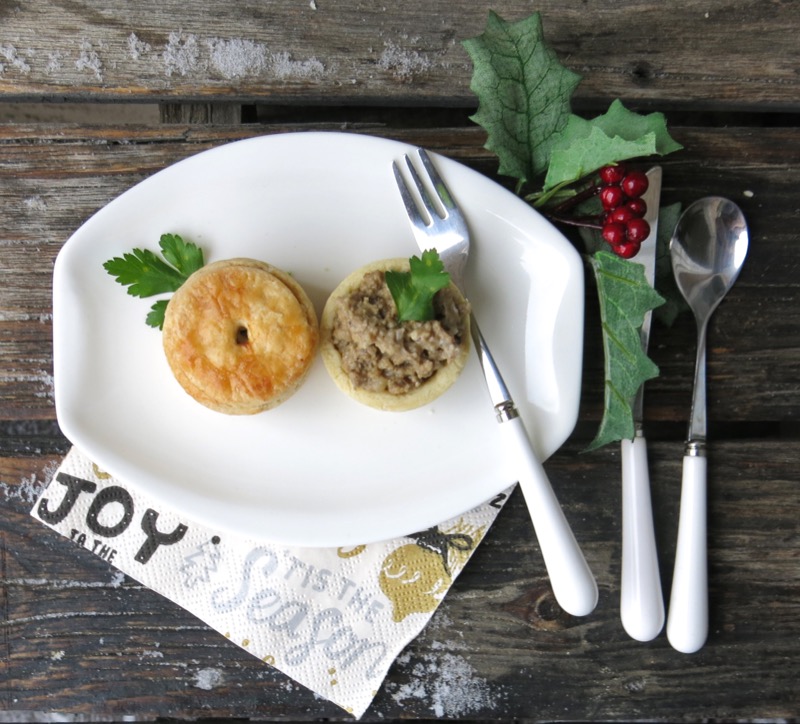
When my miniature French Tart rings arrived, and I had been waiting a few months, the holiday season was clamoring at the ready. I had intended to make miniature little sweets with them, but instantly thought “savory” because of the season….
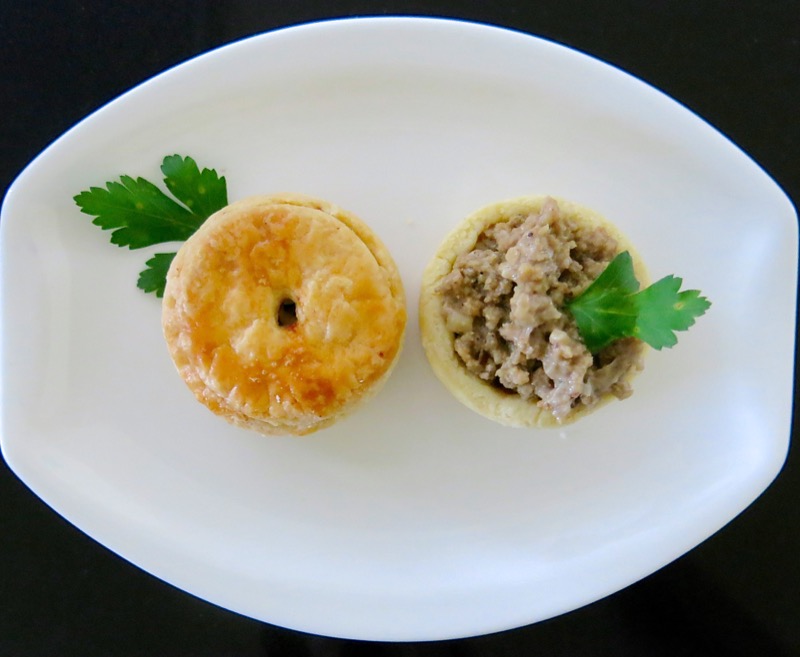
… and I was amid planning my assortment of freezer ready appetizers for the holidays: Vanja loves meat and he adores pastry, so miniature meat pies came to mind within a nanosecond.
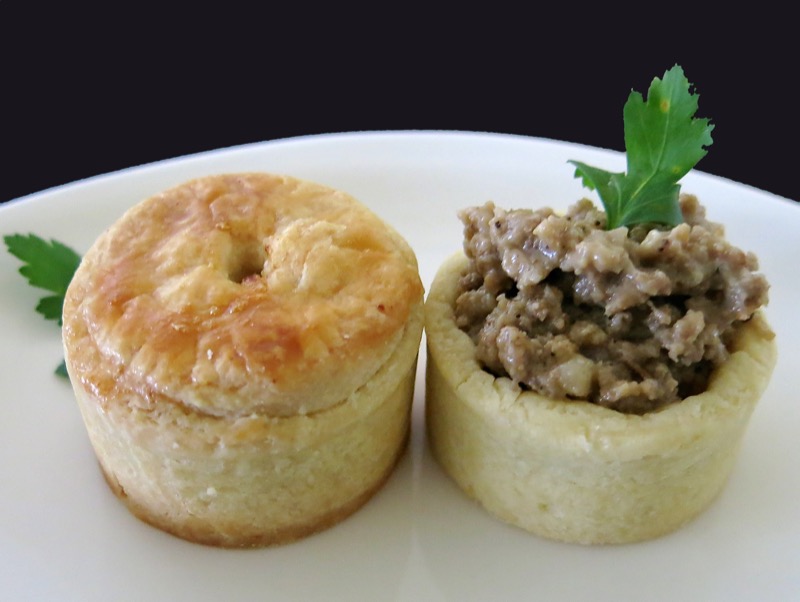
It was the stunning Lemon Lavender Coconut Mousse Mini Tarts that Jacqueline from I Sugar Coat It posted in May of this year that had me swooning. I am a French Tart and a pastry fan. When I saw the image of her tart, my eyes literally did “bug out”. I wrote to hear immediately to ask what ring mold she used and where she got it. She was kind enough to let me know. Then they were not in stock, so when they came in, more than a few months later, I was able to revel in little round rings in my kitchen with that little happy dance only those of us do that understand how truly thrilling it is to get “that perfect little somethin’ somethin'” to enhance one’s baking repertoire. Thank you, Jacqueline!
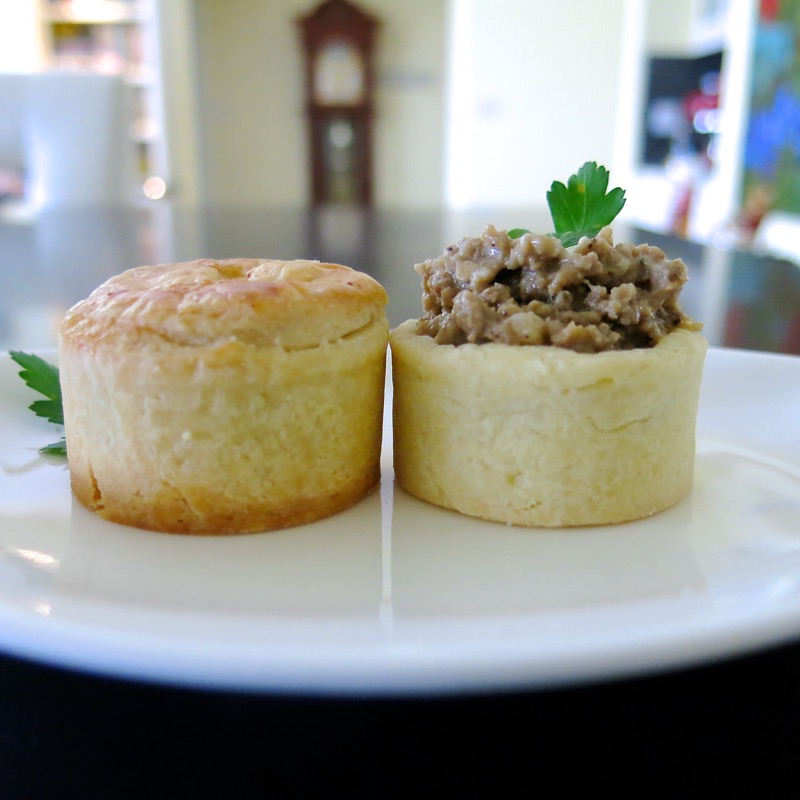
“Keep it Simple” is Vanja’s mantra.
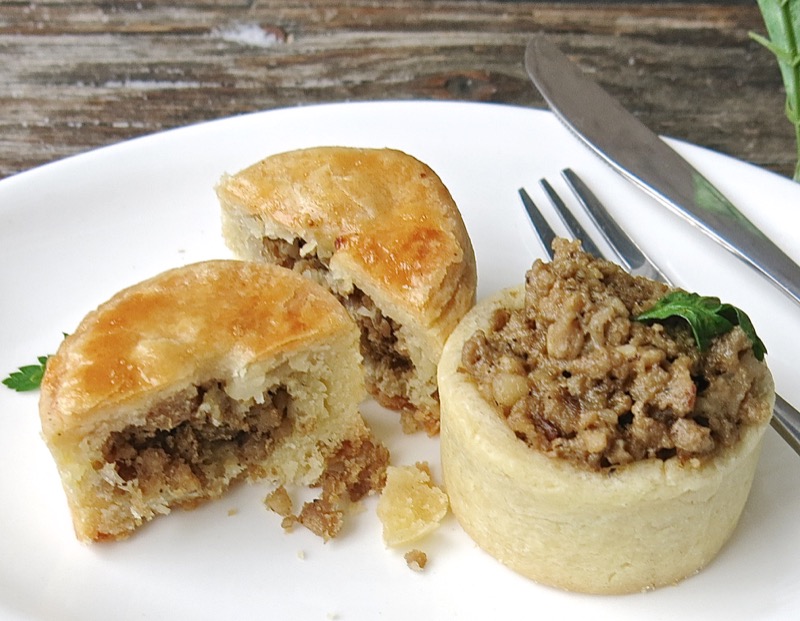
Not mine. The filling for these Miniature Meat Pies is very simple this year, just for my Serbo-Charger, but I will be creating all sorts of creative fillings in the future. Of course, I will make sweet editions, as well, with Pâté Sucrée or other cookie dough-like pastries. I am motivated! Can you tell?
Miniature Meat Pies: Making the Pâté Brisée
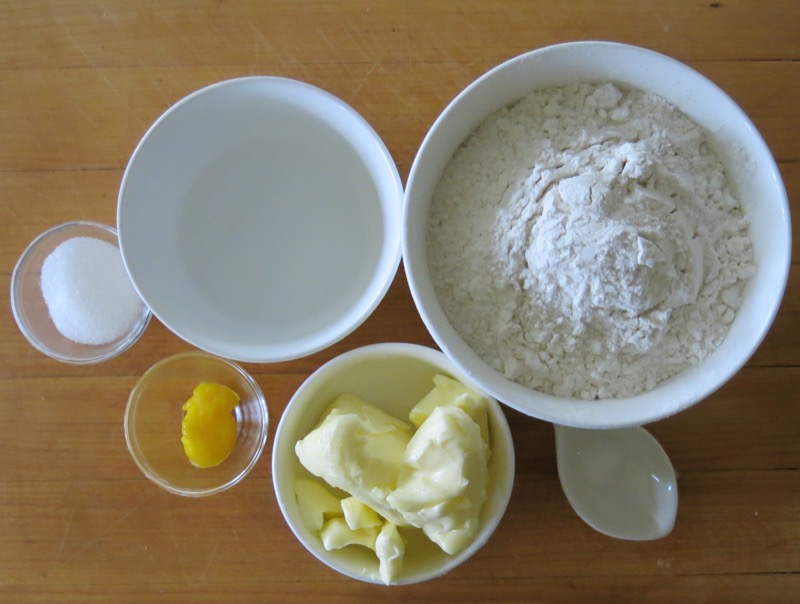
The ingredients, recipe and instructions for Pâté Brisée with step by step images for making it by hand and with the Thermomix machine are here.
Miniature Meat Pies: Rolling the Dough
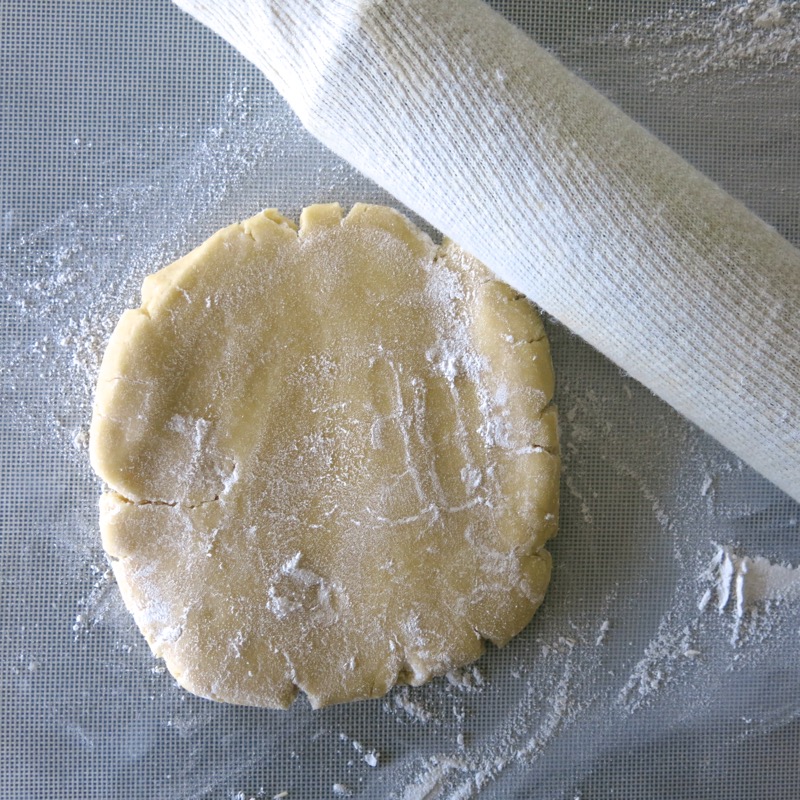
Once the beautiful, well smeared eggy dough has been chilled and rested, ready the work surface with a mat, a pastry rolling cloth, or parchment paper, lightly dusted with flour. I always use a pastry sleeve over my rolling pin, as well. Pastry cloths and sleeves work miracles as both avoid stickage and I like the pattern the sleeve makes in the dough.
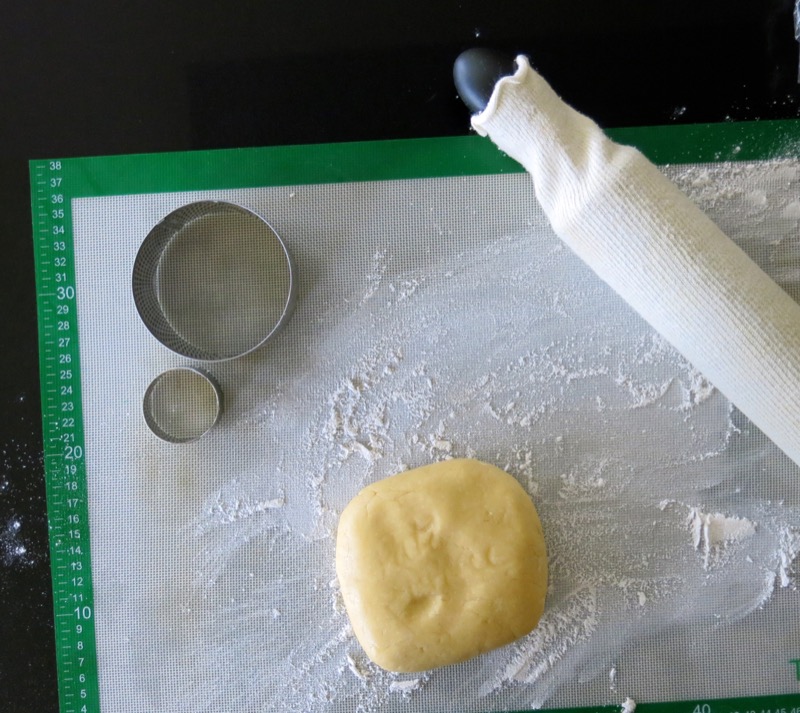
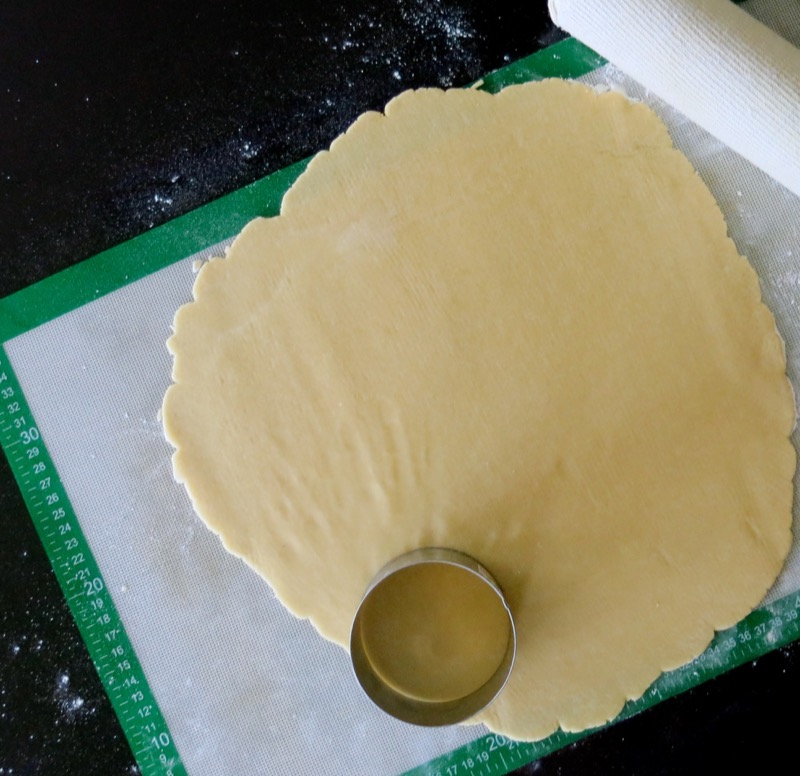
Above, left, are two molds that I used as cutters. The larger one is for the base pastry to go into the miniature tart ring mold. The smaller one is for its “lid”.
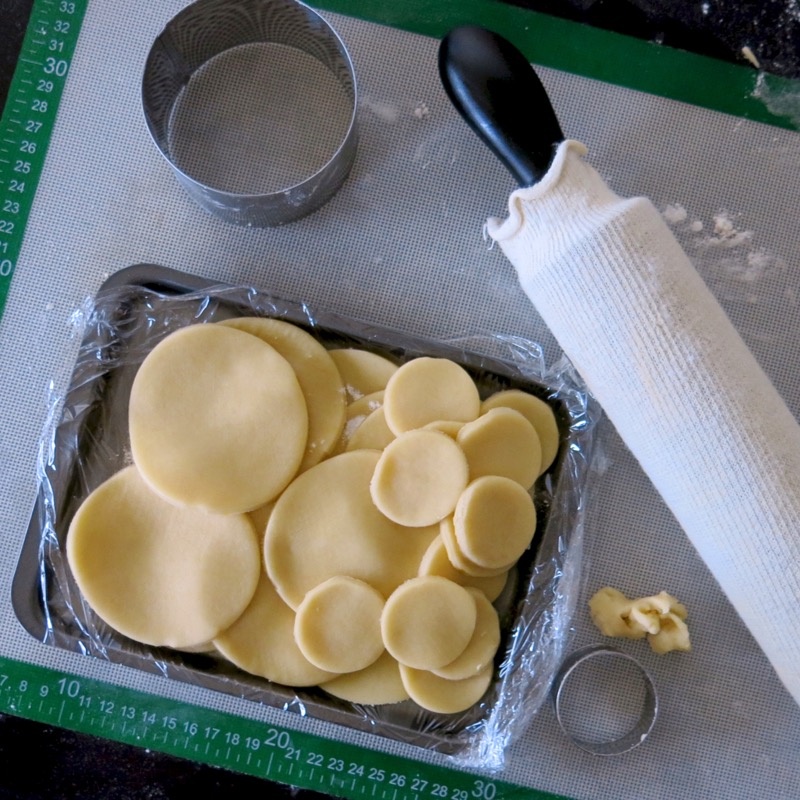
I had decided to make 2 dozen as I had one dozen rings. One dozen would be blind baked open shells that would be filled just prior to service with any kind of hot steaming savory concoction, and the other would be closed as the higher walls on this miniature ring mold provided the opportunity to make a miniature meat tart that would imitate the large savory pies I make using spring form pans. All grown up and still love to play house! Yup!
Miniature Meat Pies: Forming the Shells
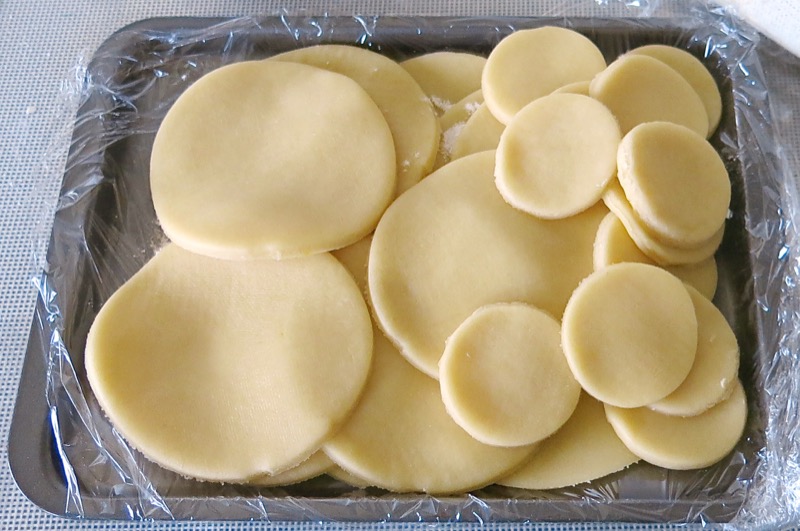
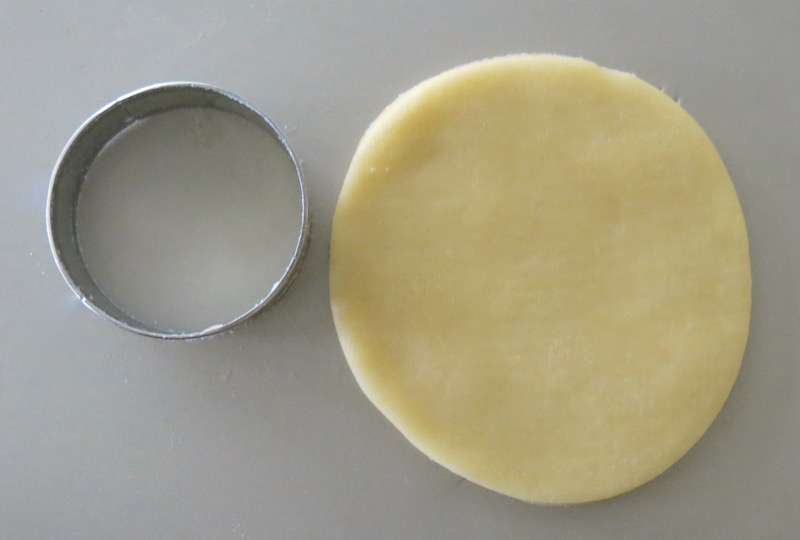
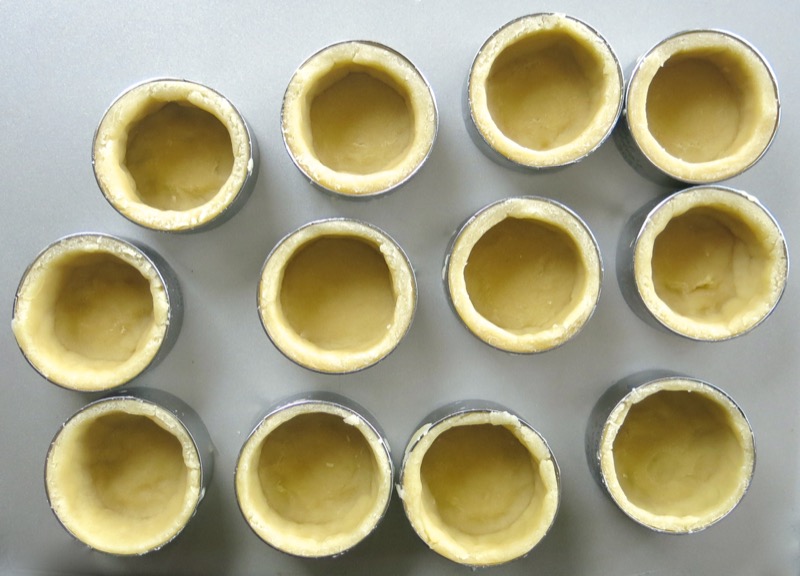
Pastry ready. Jacqueline had told me that getting the pastry into the rings was finicky. When I first started, I almost regretted buying them, but persevered, and then developed a process than worked rather seamlessly.
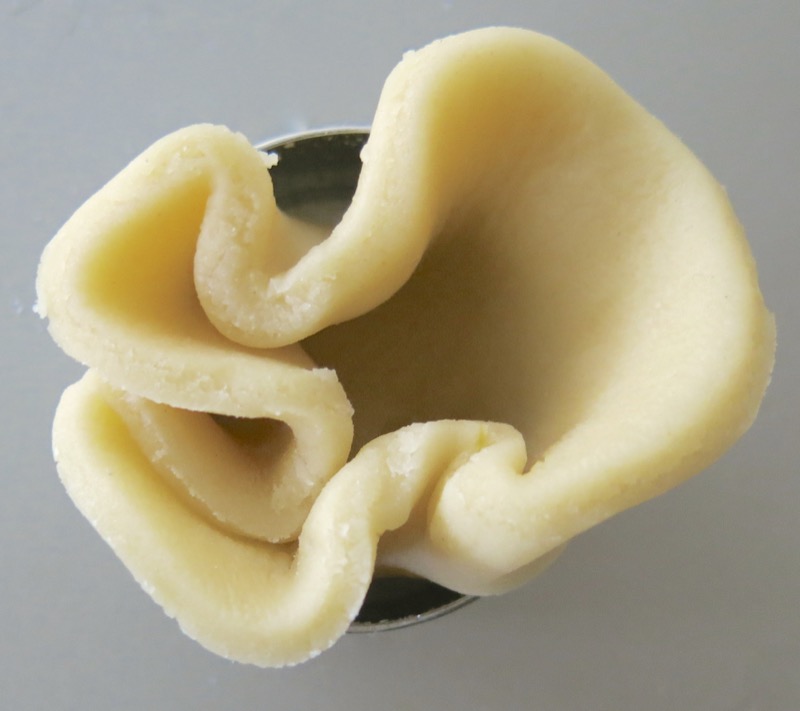
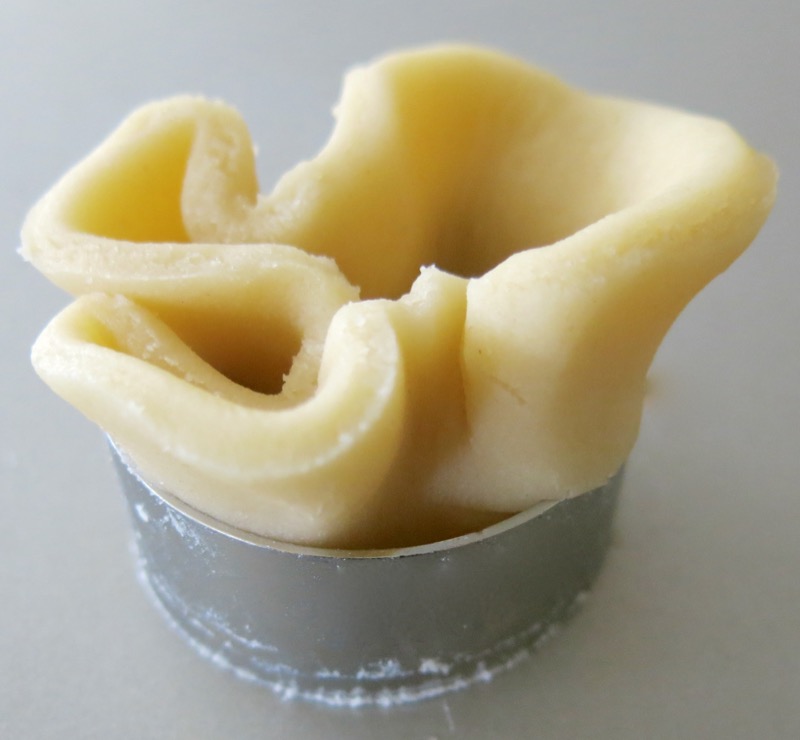
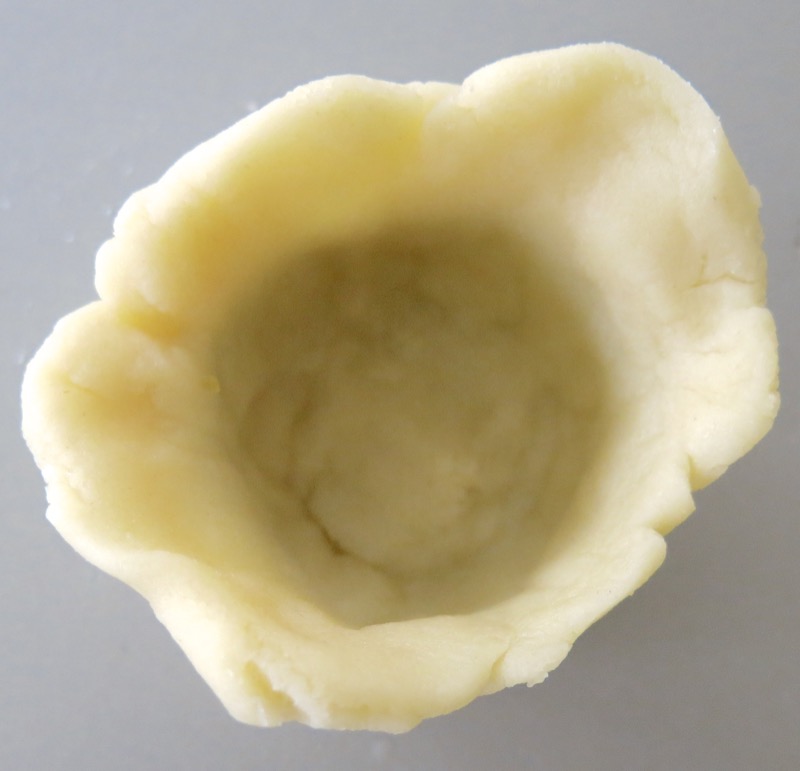
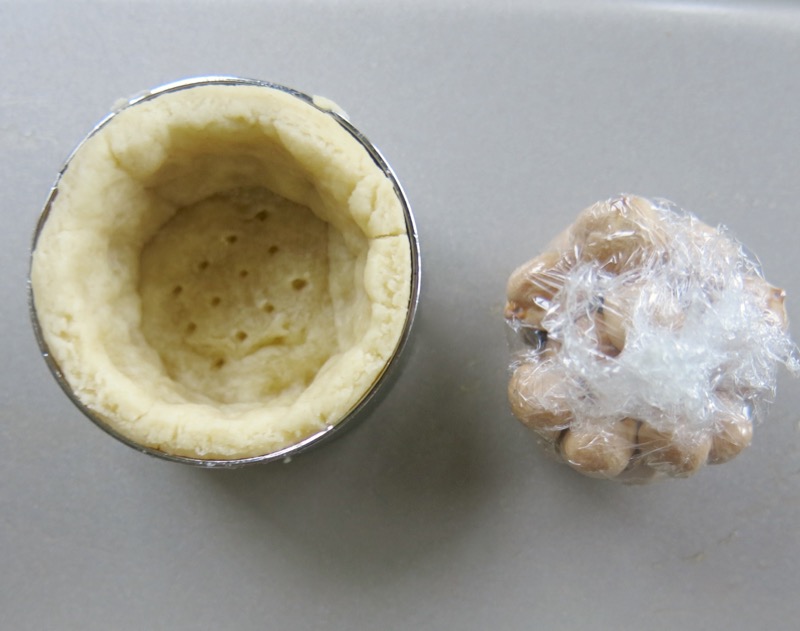
Tuck the circle of dough into the ring taking care to not tear or break it. That is key and the greatest obstacle. Keep the other pastry rounds covered and moist while working on one. Once in, image 2 above, you are rockin’! Pointer finger into the tart, pushing the dough gently around the bottom and then up along the sides of the ring mold.
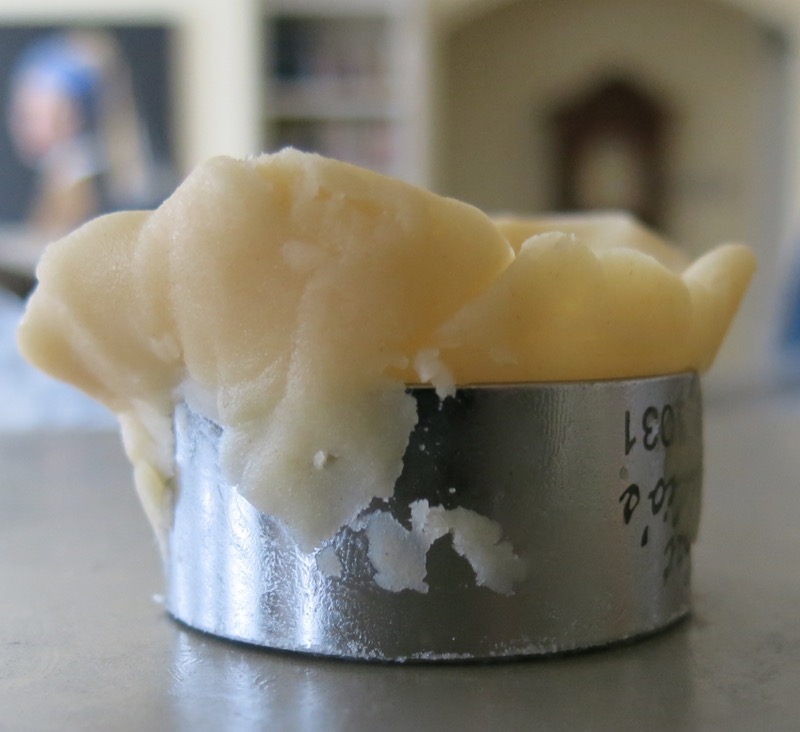
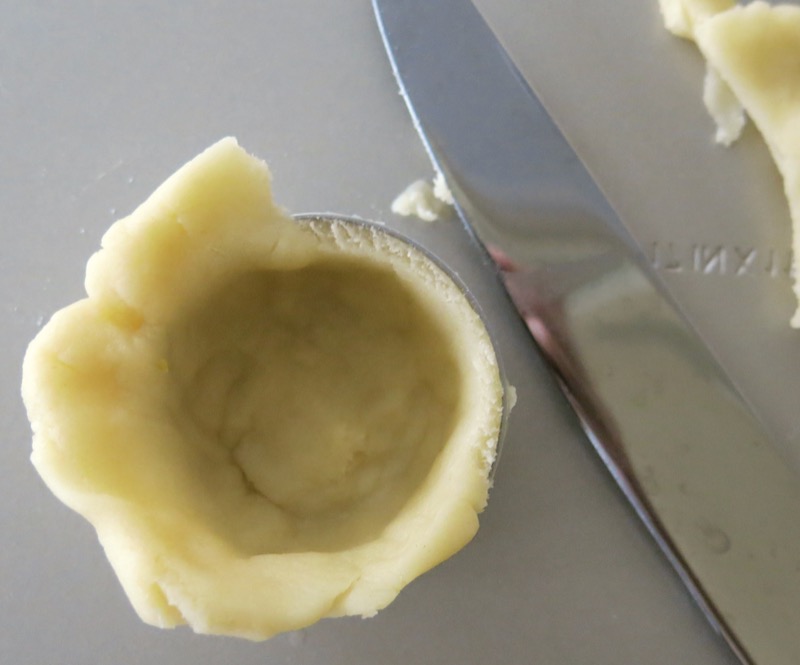
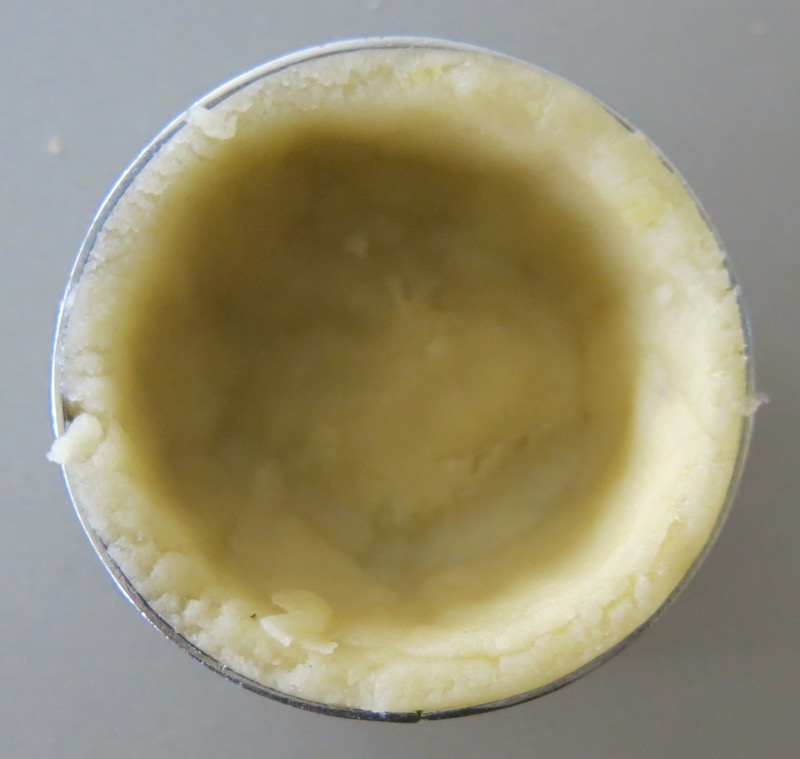
Take some time after you get the shape, to ensure the pastry dough is even bottom and sides. Mine is perfect as the sides do need to be a little on the thick side to remain stable once the ring is removed after baking and cooling. However, when making the covered pies, a much thinner pastry is better. The filling provides the substance for the release of the ring and the pie is more moist with more filling as the centre is so small.
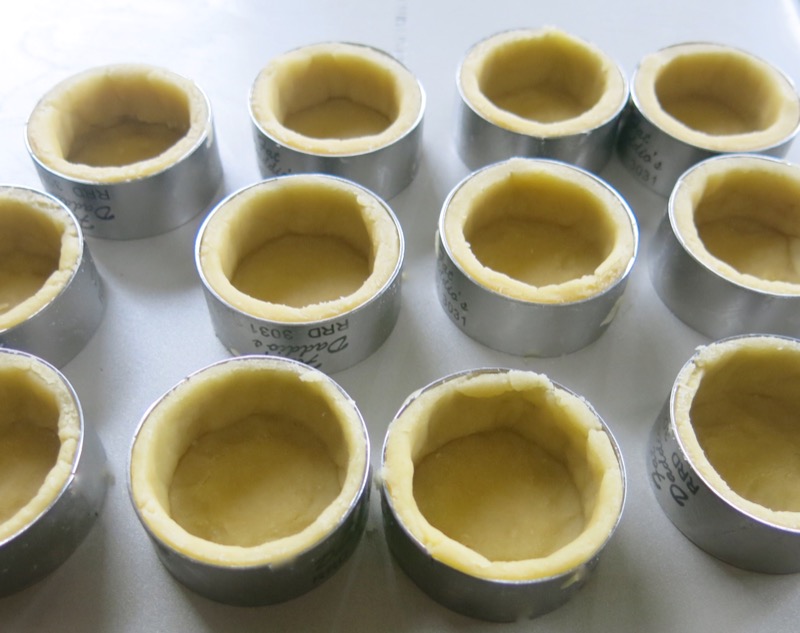
Pre-heat the oven.
Miniature Meat Pies: Blind Baking the Crusts
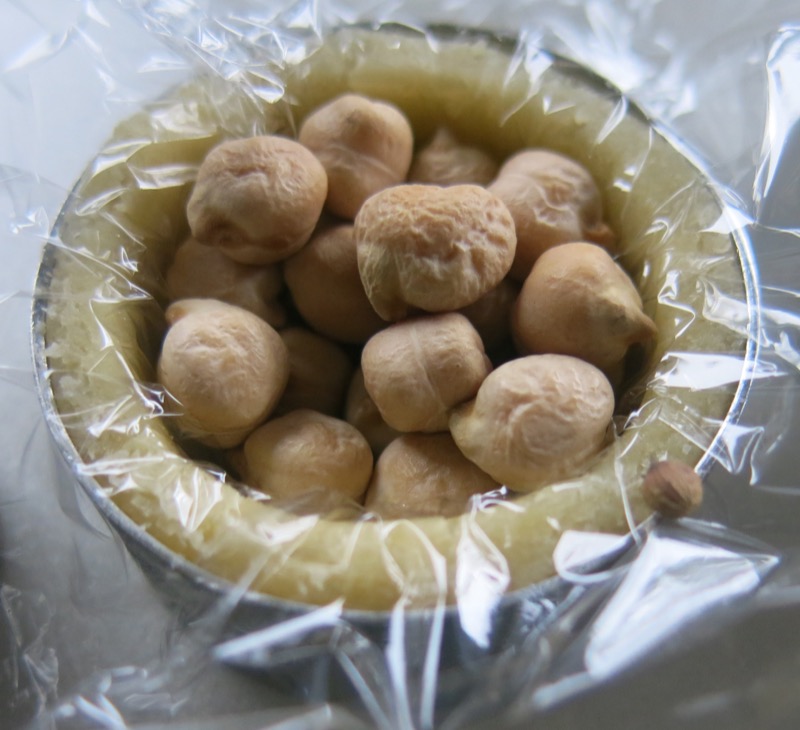
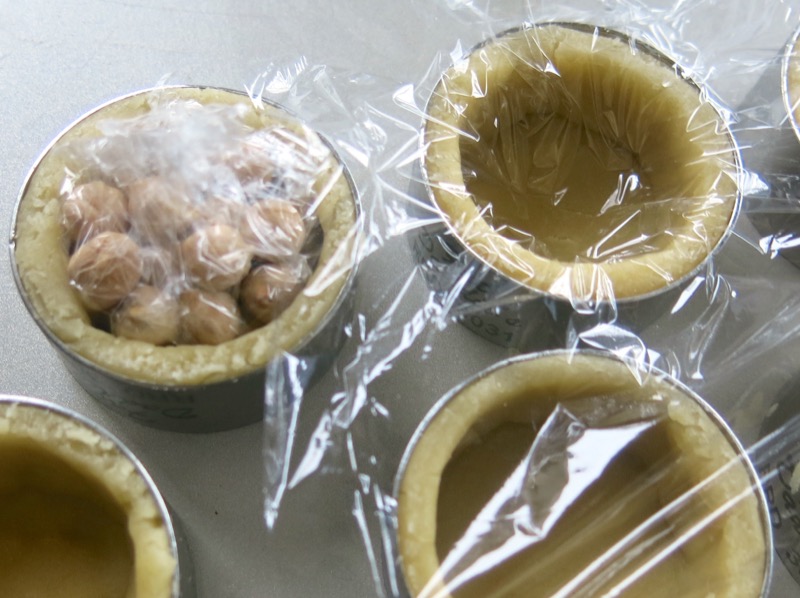
I have used rice and any kind of small beans for this process. Today, I had dried garbanzo beans in the baking bag as they were used most recently. Each tart needs a small piece of plastic covering it. The beans or rice go inside to keep the walls from shrinking and the bottom from puffing up. The plastic is then closed around “the filling”.
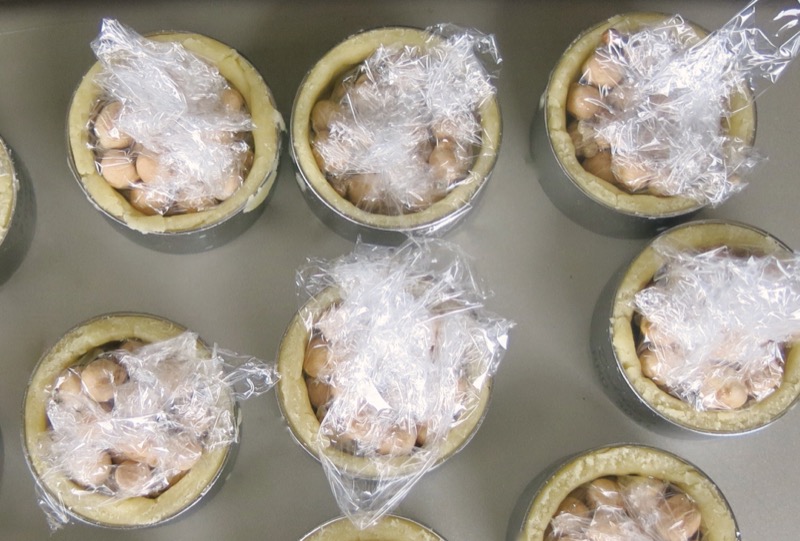
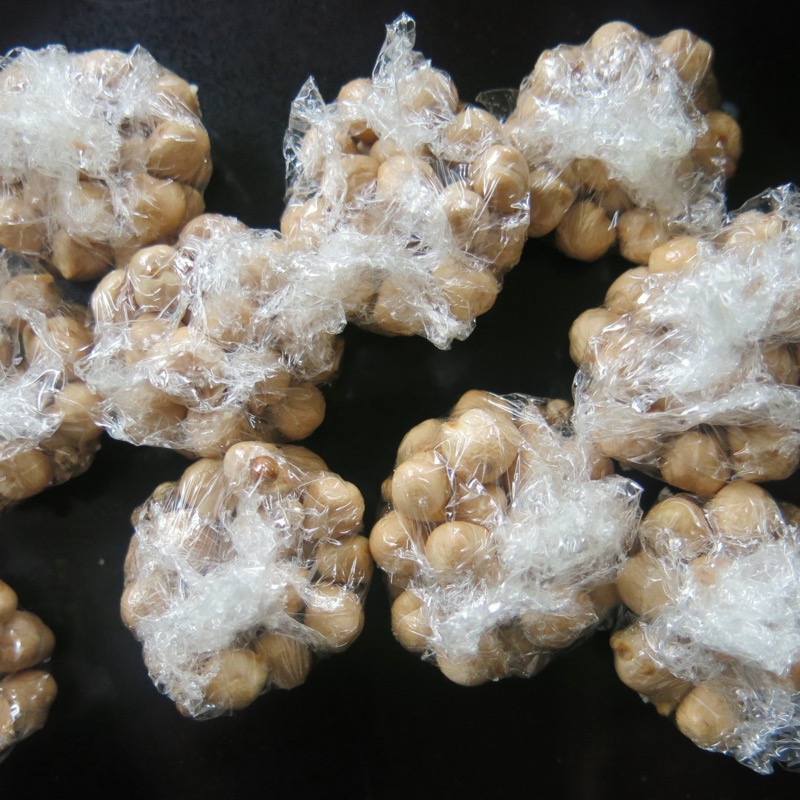
Tart shells are par-baked in this manner to almost done. The little bean bags are removed, right, and back into the oven they go to finish. At this point, I dock the bottoms to avoid and puffing up.
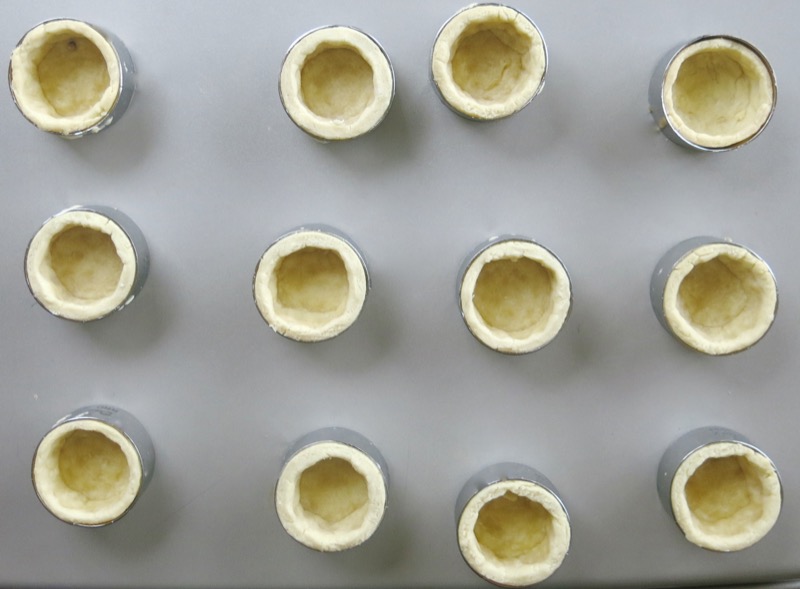
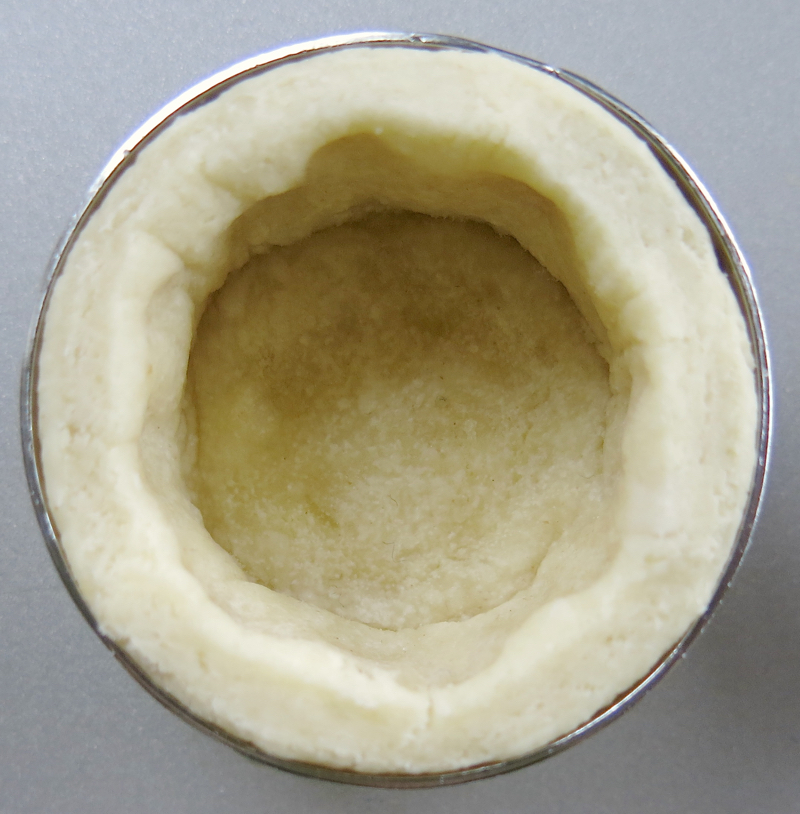
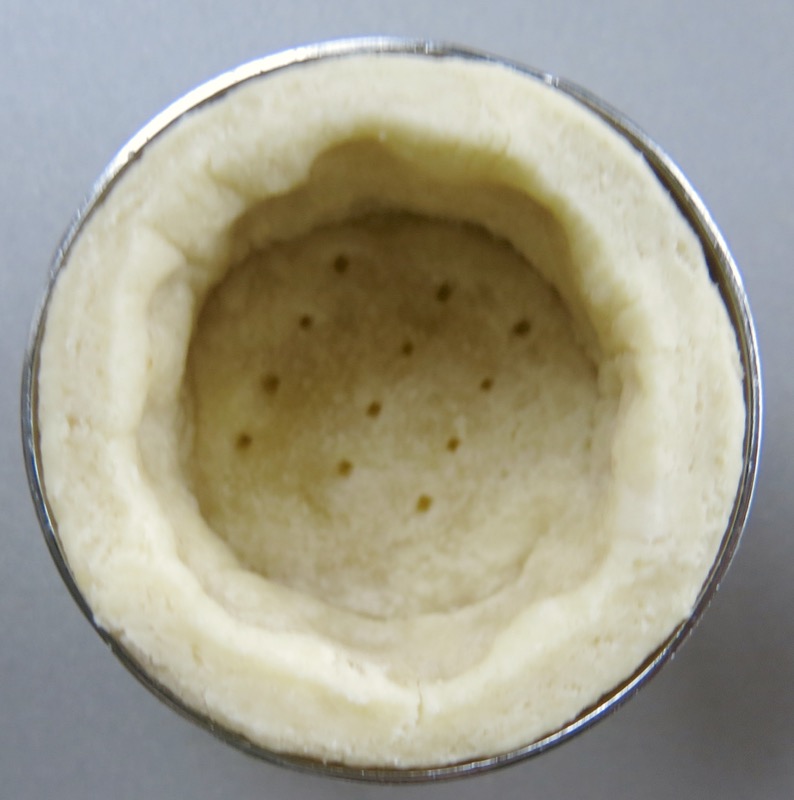
Out of the oven, onto the cooking rack and released from the shell to store until needed. Storage instructions follow, later.
Miniature Meat Pies: Making the Filling
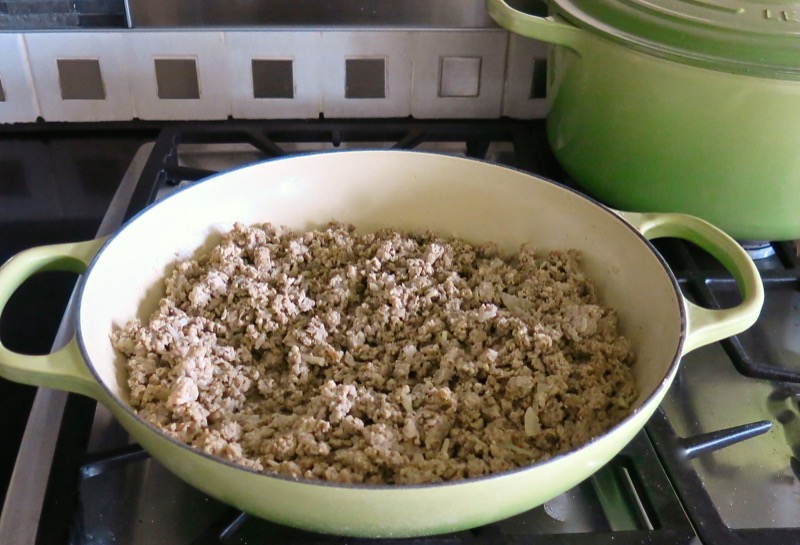
You call this a filling? Yes. Yes. I know. Remember Vanja’s mantra? Gorgeous “know-your-farmer” hamburger, onions and garlic with salt and pepper. That is it. I will add that it was outrageously tasty. Above is the simple filling I used for the closed miniature meat pies.
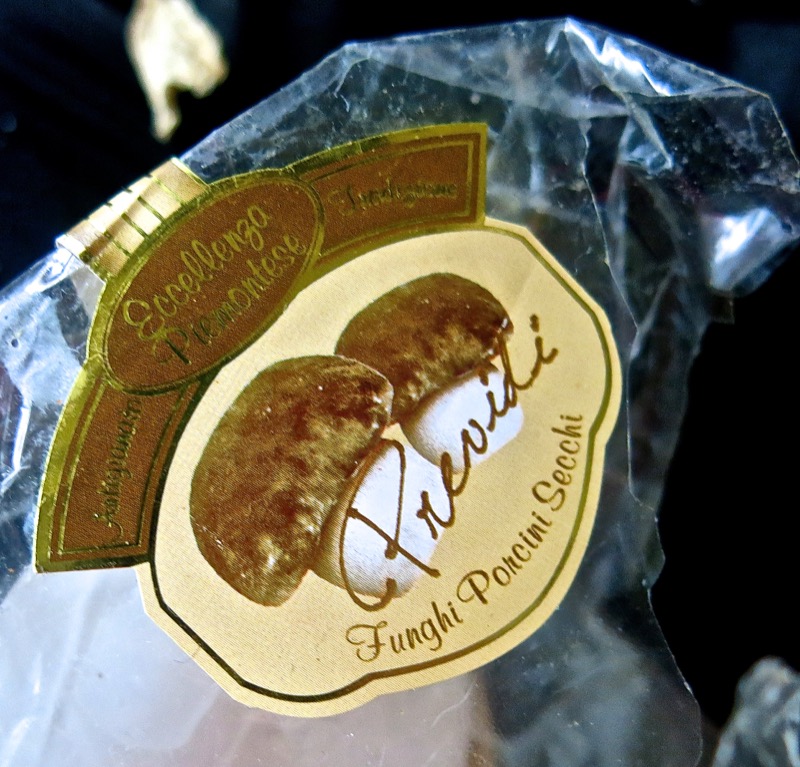
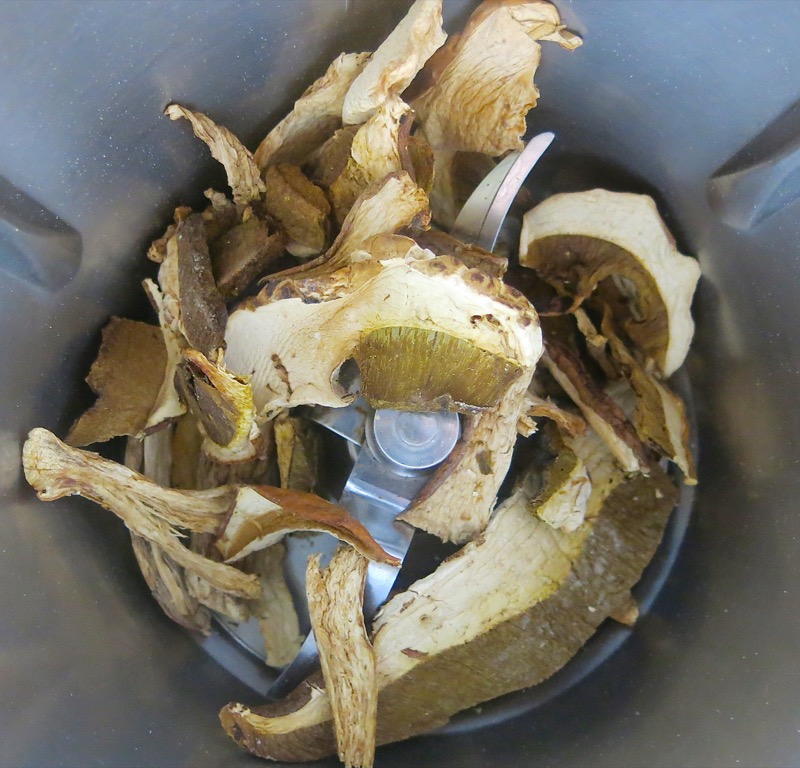
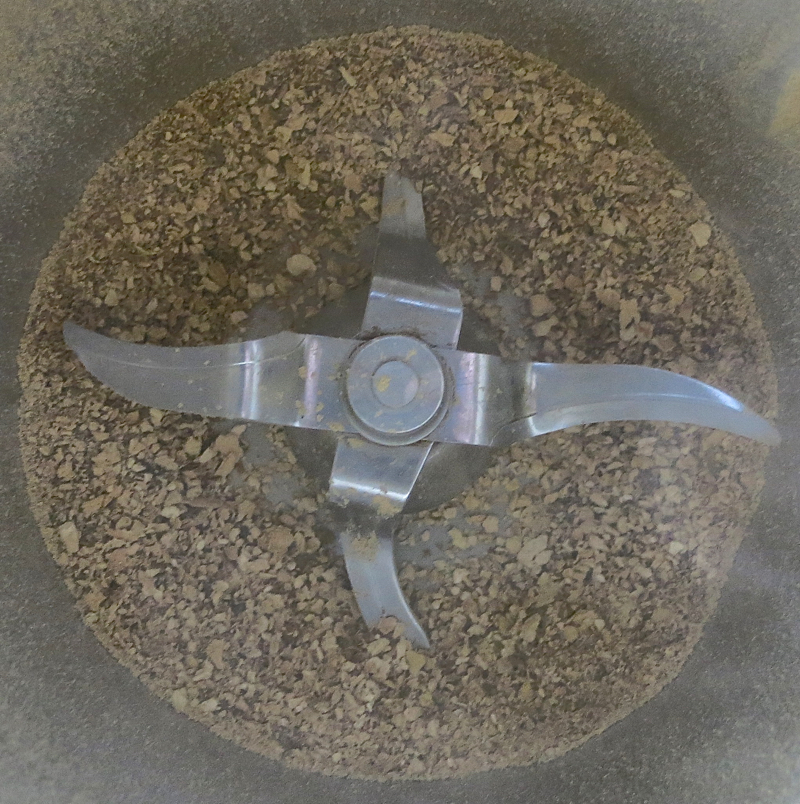
I took the other half of that same filling and added dried porcini mushrooms and cream to it for the filling of the open miniature meat pies. I buy my dried porcinis when I go to Italy, but you can get them at your local Italian grocer. I used an ounce, whizzed them in my Thermomix until the were dust, and added them into the meat with a generous glug-glug of heavy cream.
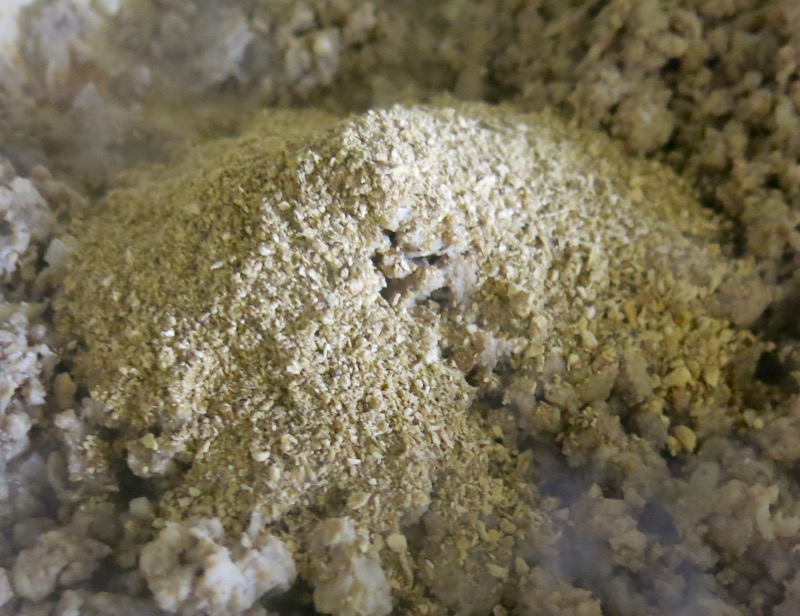
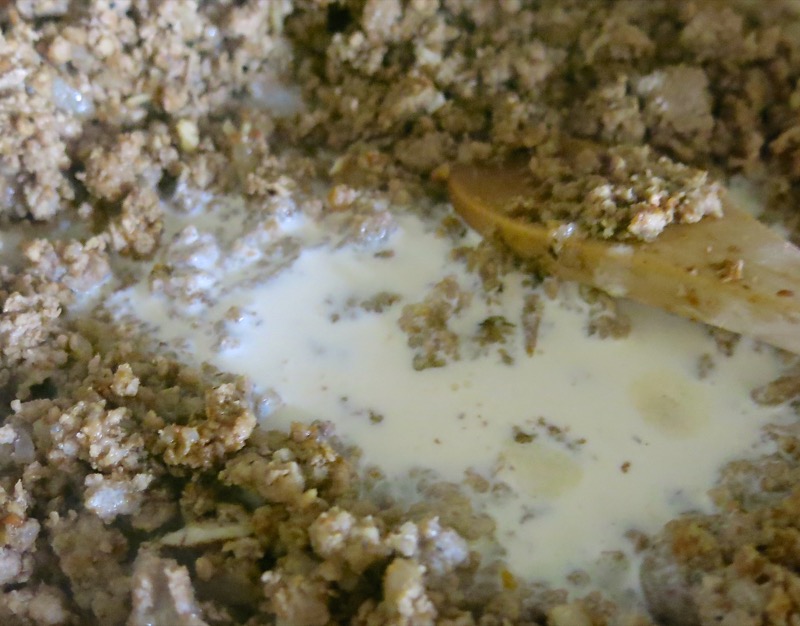
Adjusted the seasonings: two simple fillings, different, yet similar. Delicious, nutritious, for this ambitious and auspicious venture.
Miniature Meat Pies: Filling the Shells and Adhering the Top Crust
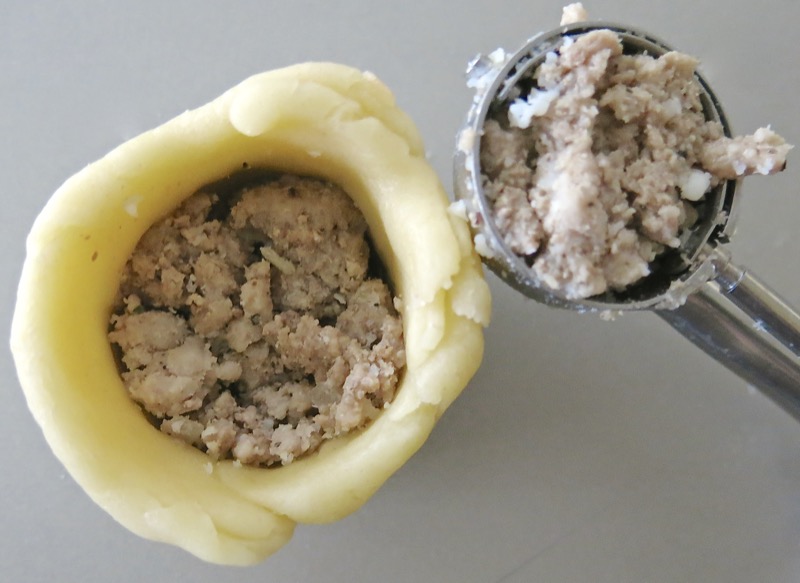
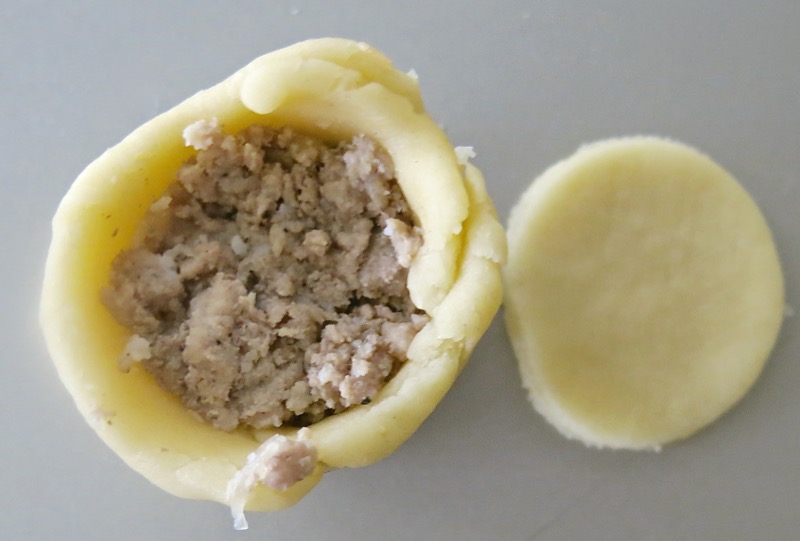
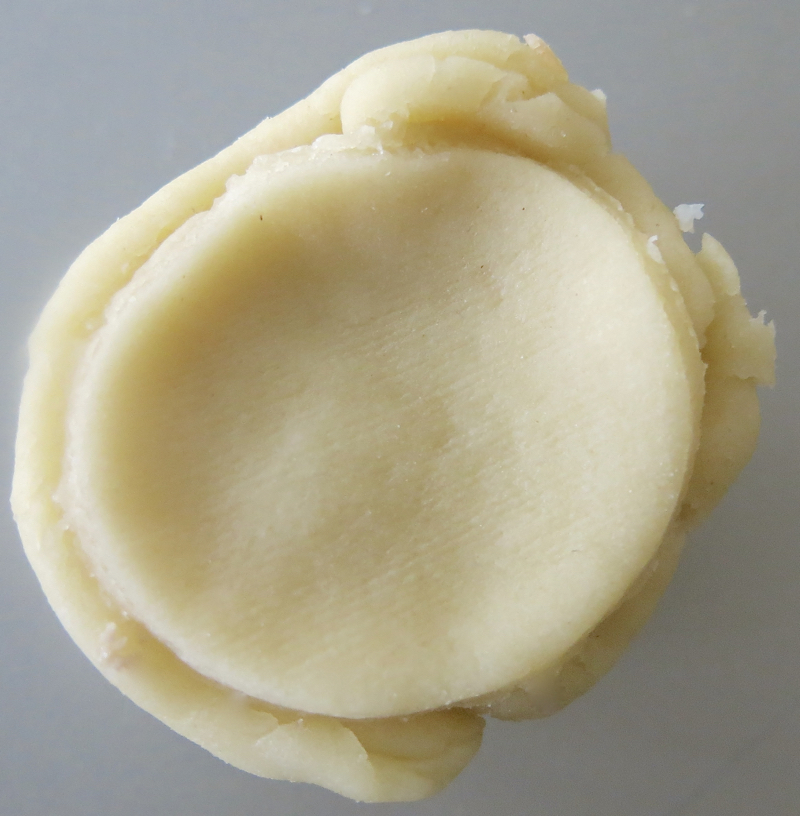
As the open tarts shells are baked and will be filled when served, the closed tarts are now filled and then baked. A good dose of filling fit into each cavity and the lid was then affixed with a little dab of water used to adhere both edges as they were trimmed and pinched together.
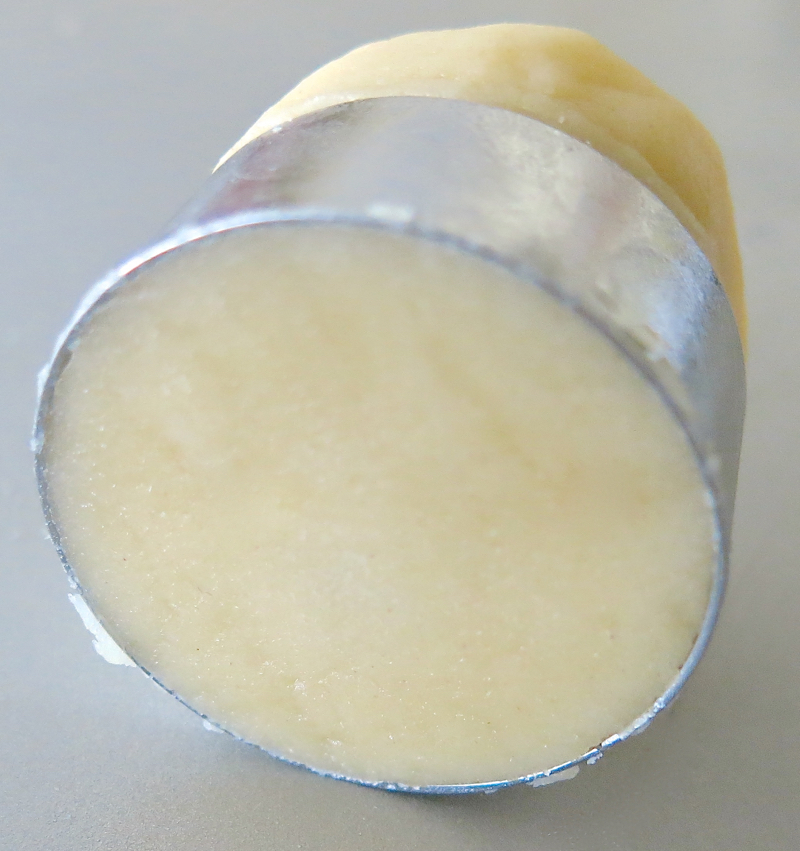
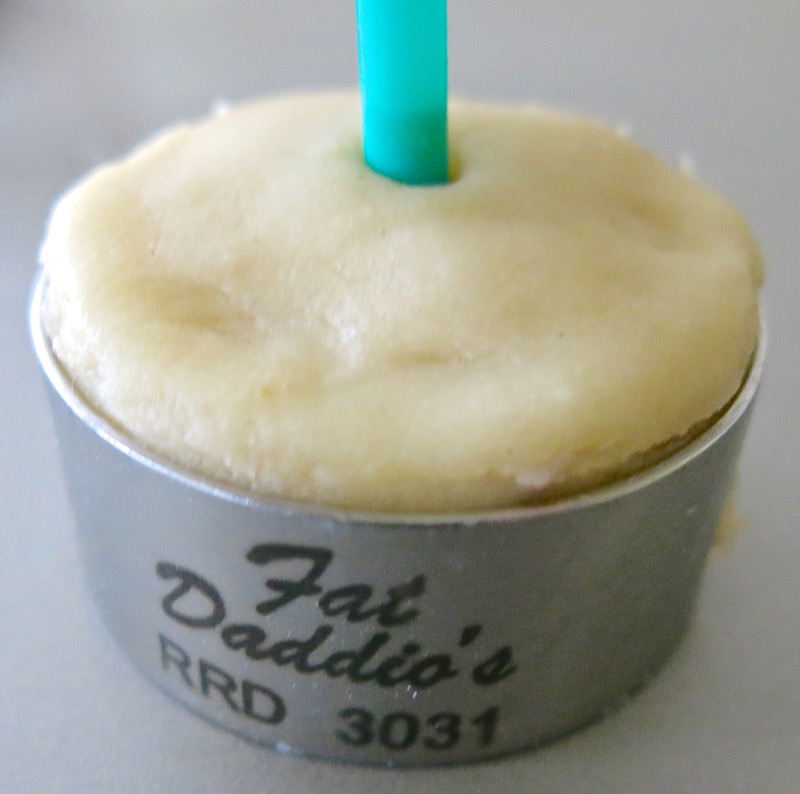
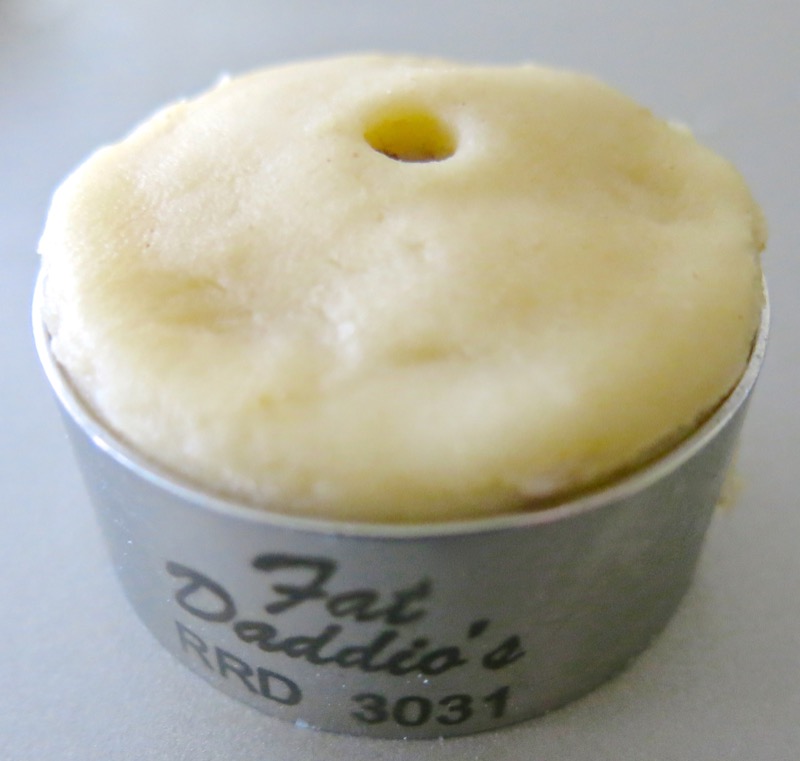
Take a peak at its little bottom. So sweet. To let the air escape while baking, one simple hole in the middle made with a straw also adds visual appeal.
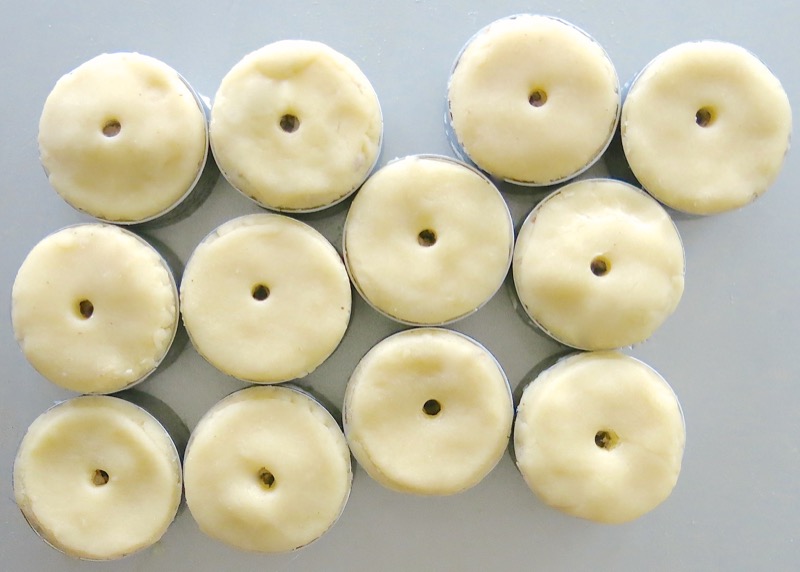
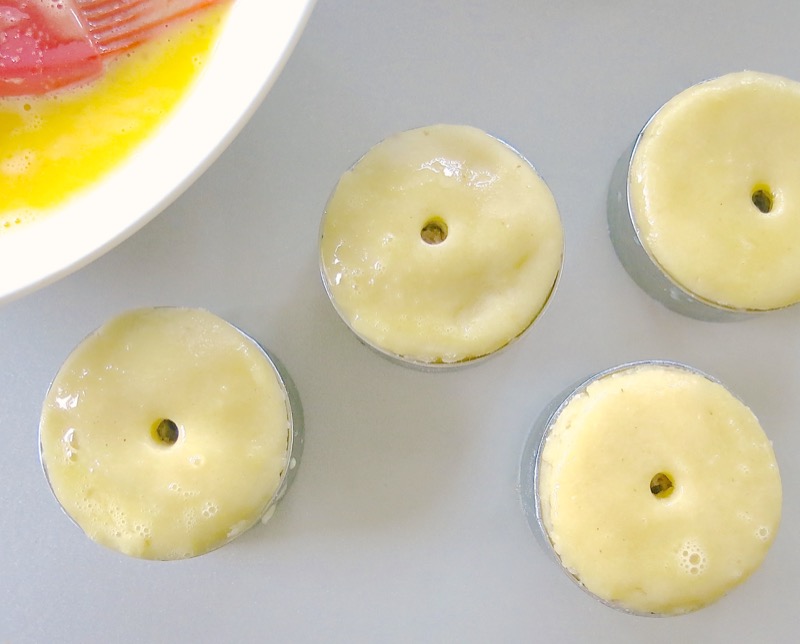
Brush with egg yolks and they are ready to bake!
Miniature Meat Pies: Baking the Pies
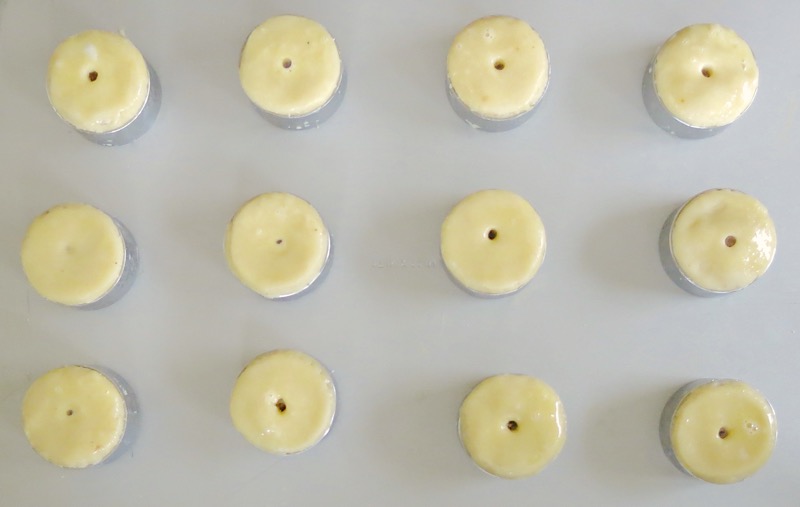
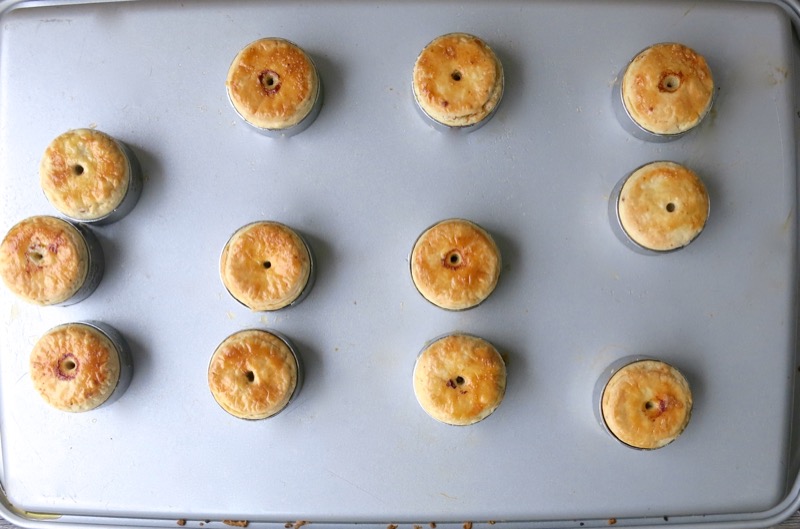
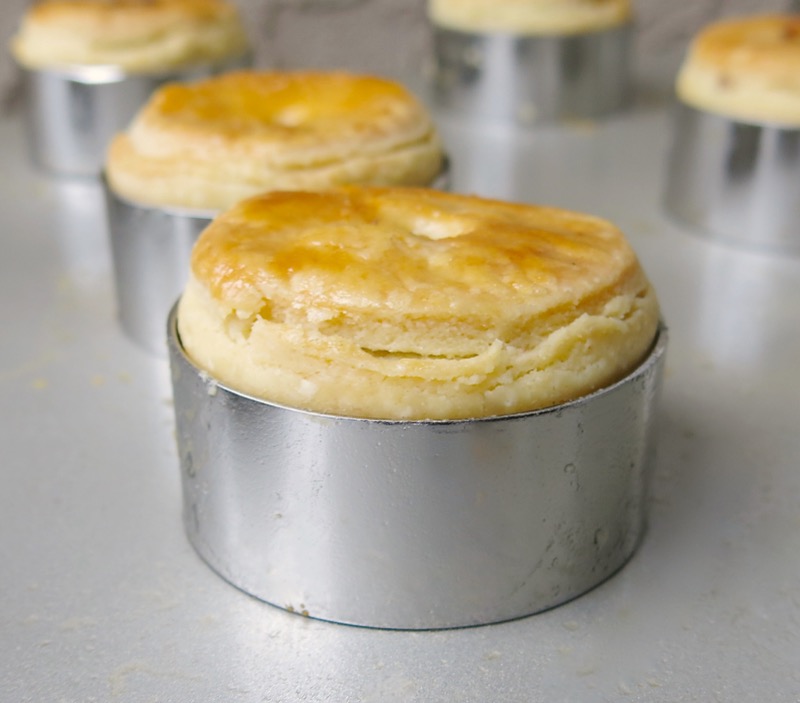
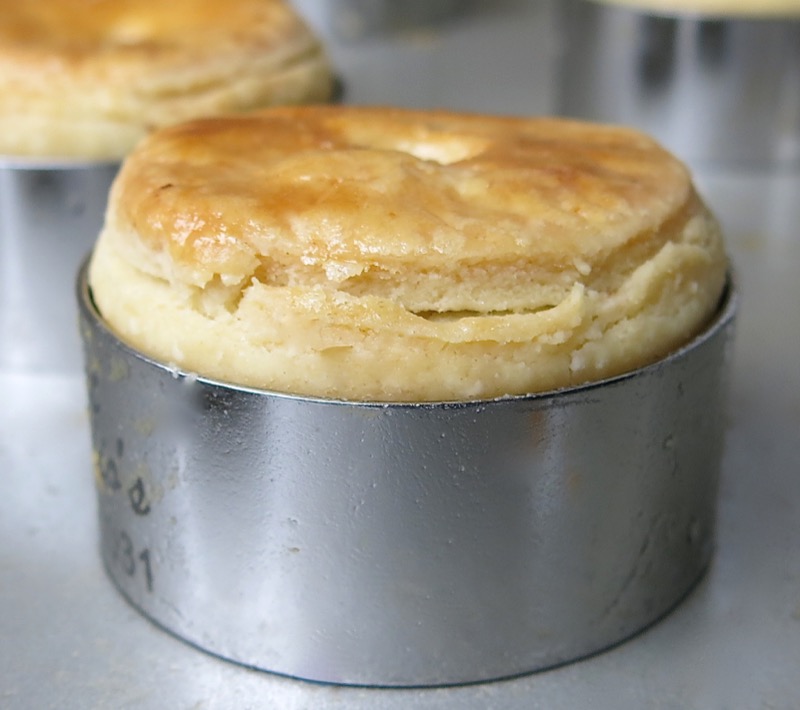
Look mom! They puffed up! Oh, me-oh-my! How excited am I?
Such gorgeous pastry so effortless in the Thermomix machine. And gorgeous. Yes, I know I said that, but I am consistently amazed how dynamic this machine is.
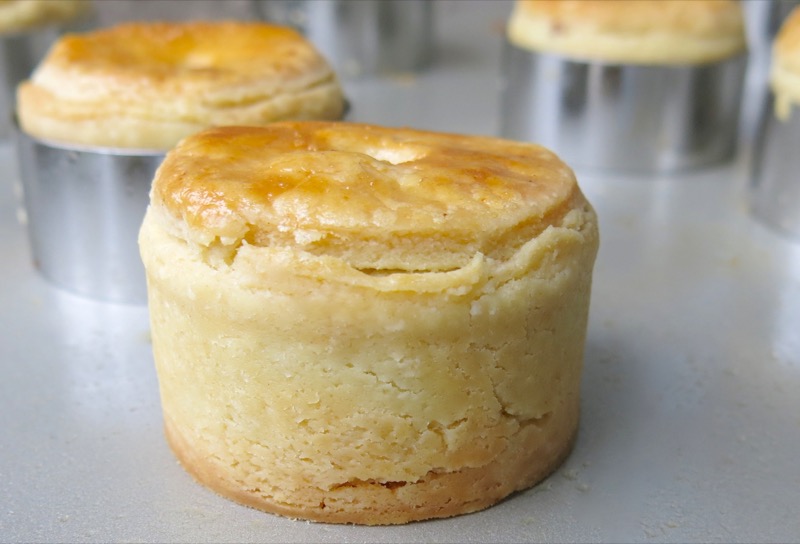
Voilá! Ring removed! Such an adorable little miniature meat pie! Oh, I was immersed in joy when removing each ring.
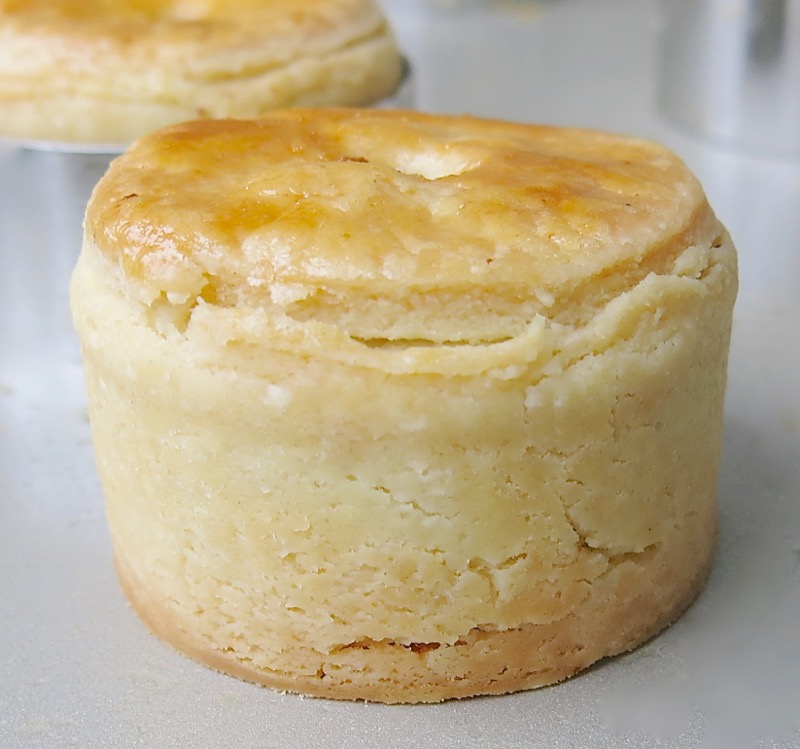
It was as though I was receiving 12 little gifts and each was just perfect. Ok. Rusticly homemade. So – perfect!
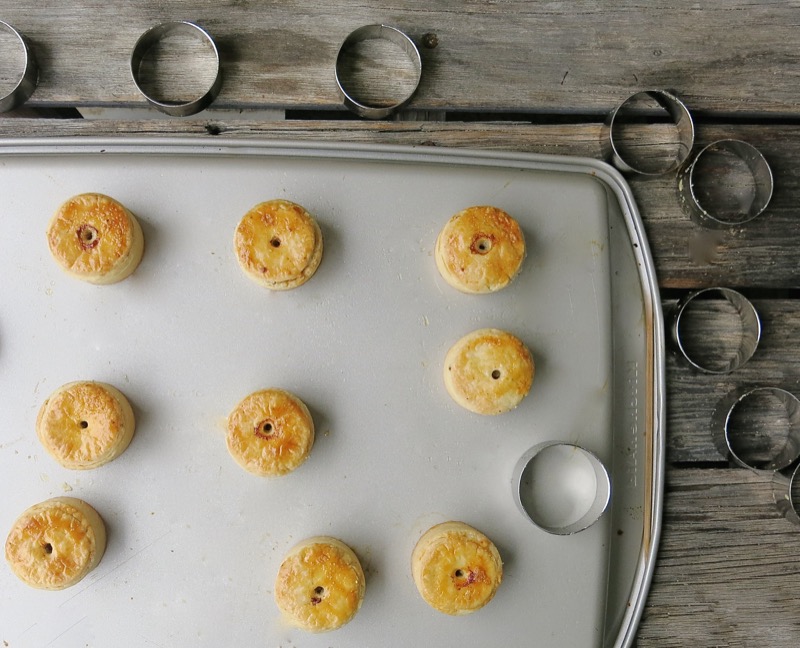
Miniature Meat Pies: Storage
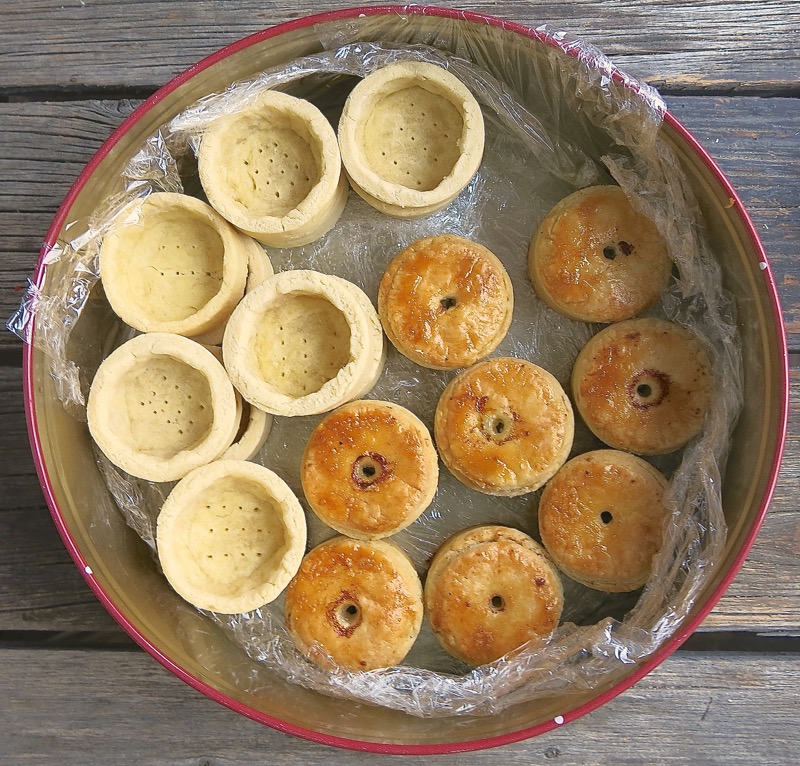
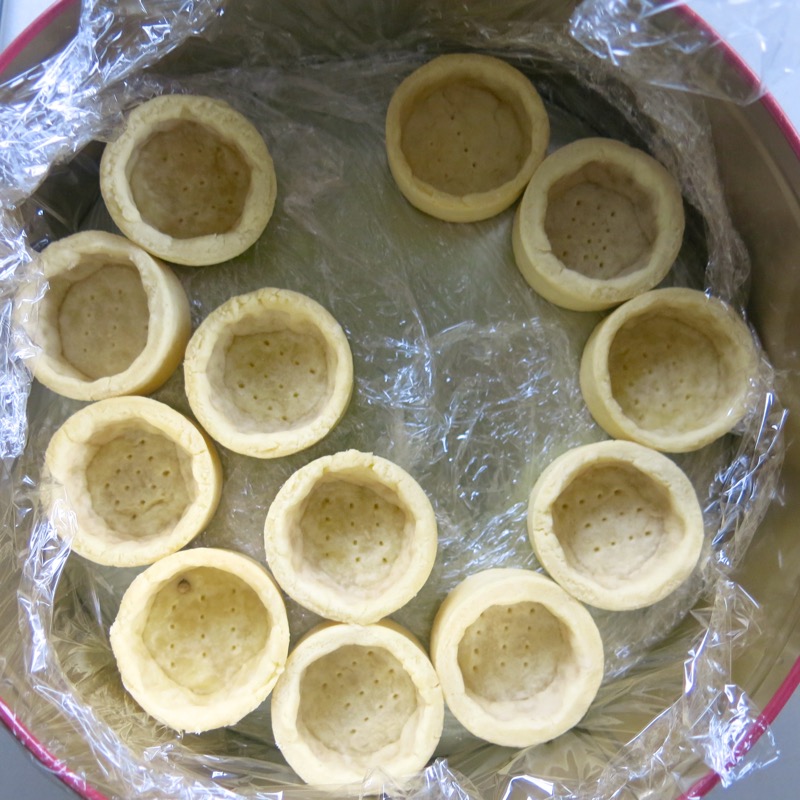
The filled and lidded pies join the open shells for storage. Container lined with plastic wrap and pies and shells layered with plastic wrap…
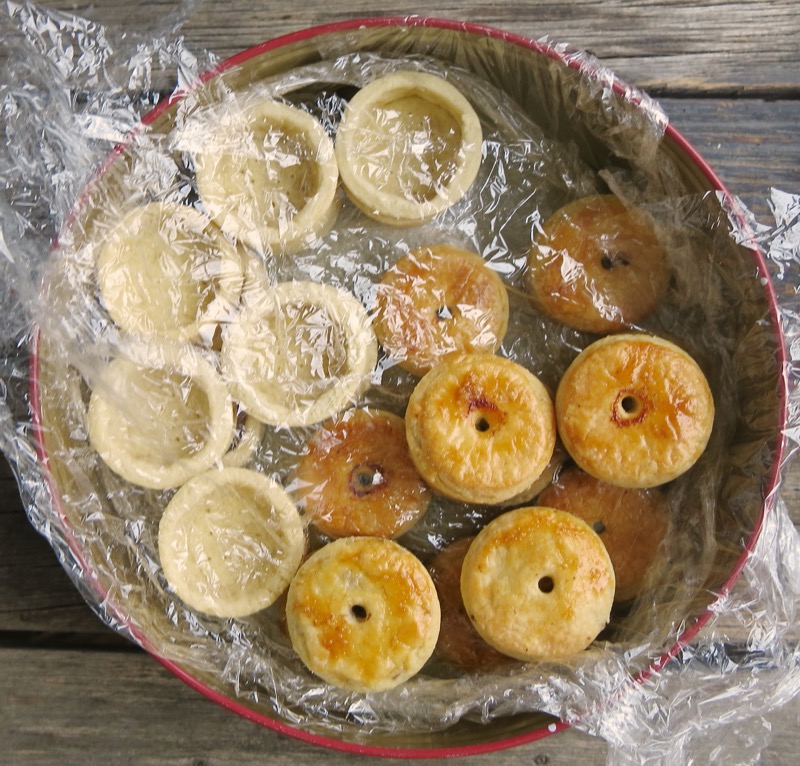
…the container is tightly sealed, labeled, dated and stored in the freezer until ready to heat for service. Will store up to three months, and even possibly beyond.
Miniature Meat Pies: Preparing for Service
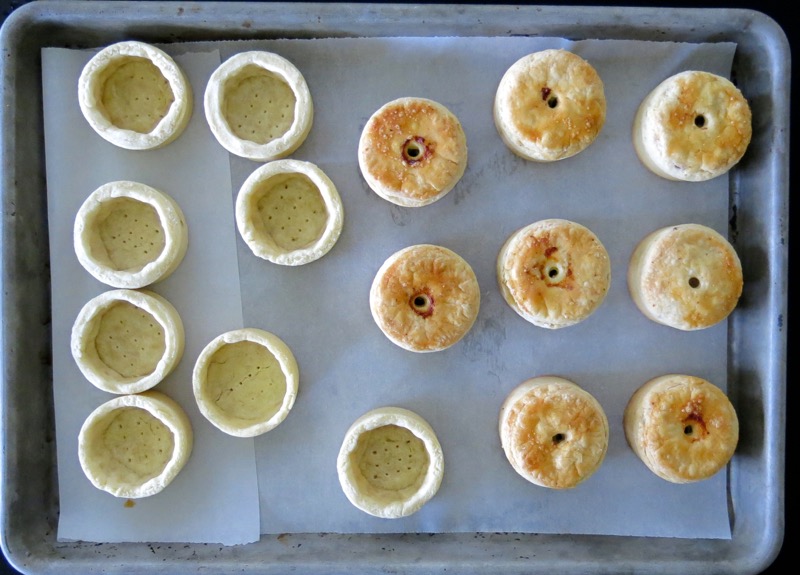
Christmas Eve 2016 was Appetizers and Games night this year. New for us, but really fun. There were 6 adult and a truckload of appetizers. Eight of these would be plenty. (I was right, too.) I stored the filling with the shells and tarts and heated it separately. Oven at 400 and in 10 minutes the shells are ready; the miniature meat pies in 15-16 minutes.
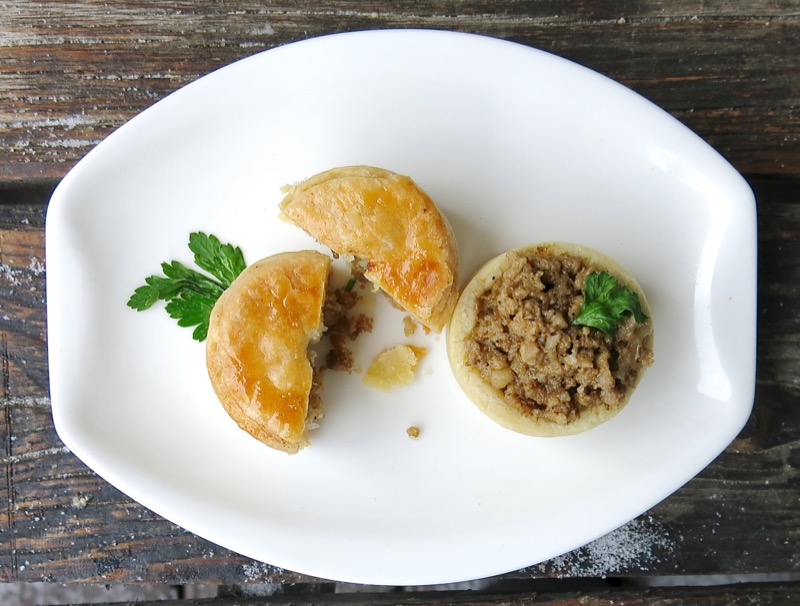
Served with homemade crème fraîche, each was very tasty. The visual appeal is show stopping, so the taste must not disappoint. These were really delicious and tasty and yummy as the pastry was sumptuous and fatty and luscious and flaky and the meat was rich and unctuous and oniony. The crème fraîche bathed each bite in velvet wonder and added the third dimension of texture and temperature, as it was cold with the hot pie.
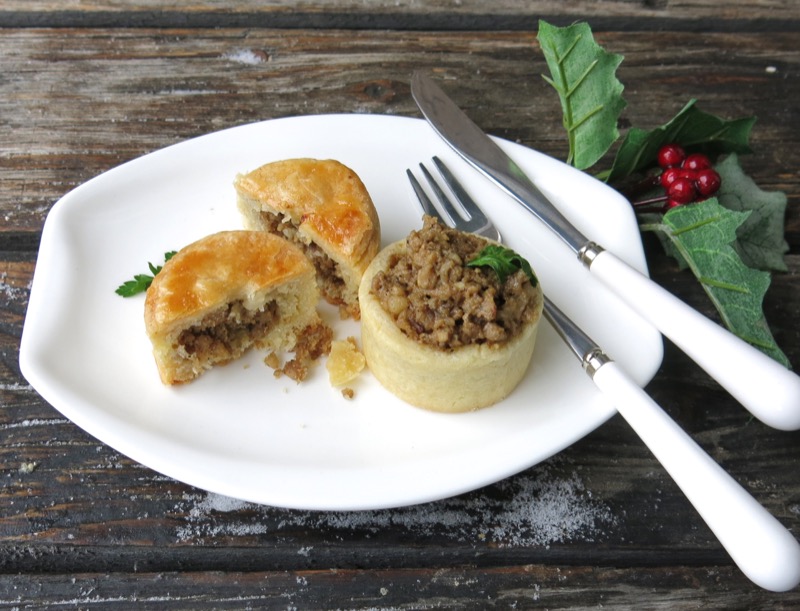
Yet, my palate longed for herbs and spice with a more bold and brave flavor inside. These do not disappoint. Remember that.
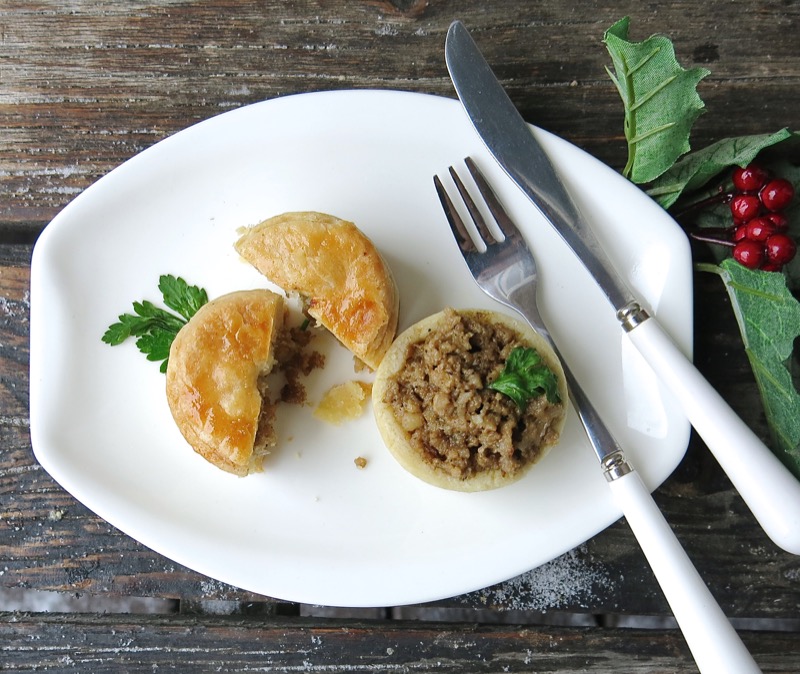
But don’t forget there is ham and cheese and veggies (yes, please) and fillings galore your guest will adore. So, take my idea and make it your own; it just takes a minute to get in the zone! (oh, I know – great big groan!)
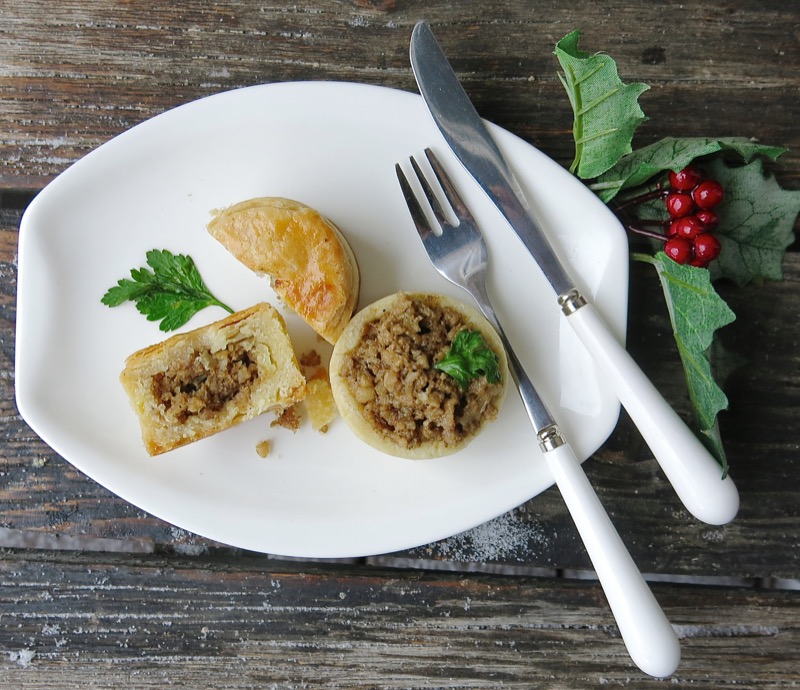
I had so much fun with these 24 little miniature meat pie tarts this year.
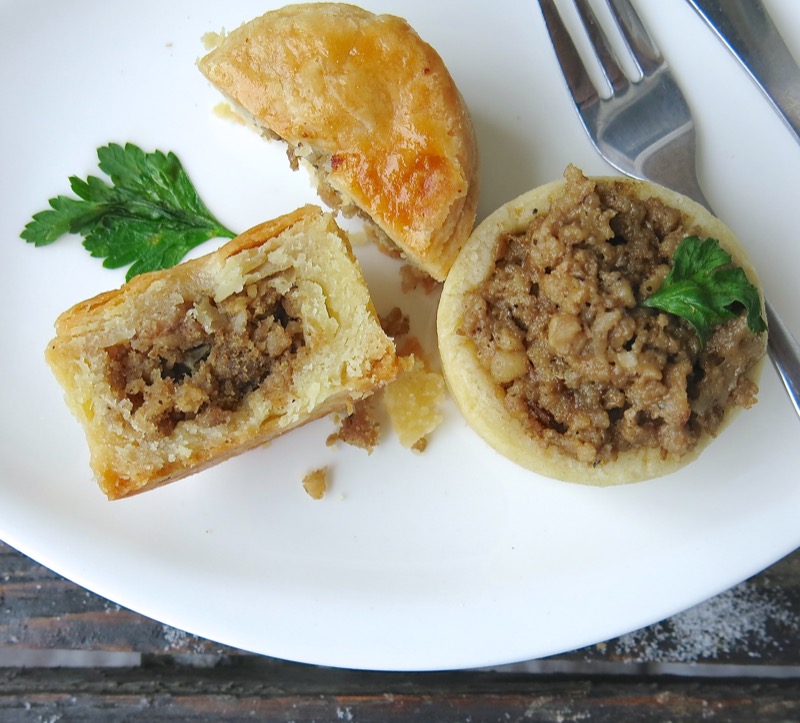
Clearly my most memorable 2016 festive holiday preparatory experience. Just look at that flaky buttery pastry! Happy 2017 and to many more such revelations in the new year!
French Tart Style Miniature Meat Pies
Ingredients
Special Materials:
- Miniature French Tart Rings
- Pastry sleeve for rolling pin
- parchment paper
- 2 round cutters for pastry:
Ingredients for Pastry:
- Ingredients and instructions for pastry with step by step images to make it by hand and with the Thermomix machine is here.
Ingredients for Closed Miniature Meat Pie Filling:
- 1 pound or 455 grams know-your-farmer ground beef
- 1/2 large cooking onion , minced
- 2 cloves garlic , minced
- 1 teaspoon salt
- 1/4 teaspoon to 1/2 teaspoon freshly ground pepper
Ingredients for Open Miniature Meat Pie Filling:
- Remainder of the above filling (half of it)
- 1 ounce or 30 grams dried porcini mushrooms
- 1/2 to 3/4 cup heavy cream
- more seasoning , as required, to taste
- 1 egg yolk (for egg washing tart tops)
Garnish:
- Fresh herbs and créme fraîche
Instructions
Instructions for Pastry:
Instructions for Miniature Meat Pie Filling:
- Start to brown the beef in a heavy skillet over medium-high heat for 2-3 minutes; add onions, garlic, salt and pepper
- Stir to combine; saute together, stirring frequently until onions are translucent and meat fully browned
- Taste, adjust seasoning, as needed; set aside half until completely cooled
- Pulverize porcini mushrooms in food processor; add to remaining half of filling
- Stir in cream; adjust seasoning to taste
- Store in air-tight labeled dated container and freeze or refrigerate until needed
Instructions for Rolling Dough:
- Prepare work surface with mat or parchment, lightly floured; place sleeve on rolling pin
- Roll out dough on lightly floured surface to 1/16th inch or 2 millimeters thickness; cut 24 large rounds and 12 small rounds or tart lids
- Reroll dough as necessary to get 24 large rounds and 12 lids; cover with plastic and clean work surface
Instructions for Making the Miniature French Tart Shells:
- Carefully and loosely "fold" each of the 24 larger discs of pastry dough vertically, like a napkin, and place the pointed part down into the miniature pastry ring, letting the pastry lean on the sides of the ring
- With the pointer finger of your strong hand, gently pat down into the bottom and centre of the mold into the dough, ensuring it is touching the bottom of the pan
- Using your finger, pat the dough around the bottom of the mold and up onto the sides until you can see into the ring; then work to ensure the width of dough sides and bottom are even
- Leave the overhang; set aside 12
- With the remaining 12, at this point, use a table knife to cut off the dough hanging over the rim of the ring
- Use your fingers to soften, smooth and manage the top edge of the rim of each tart to avoid a "cut open wound look"; ensure the rim edge of each open tart has a finished appeal by gently patting your fingers around it
Instructions for Making the Miniature Meat Pies:
- Preheat oven to 375F; ensure rack is in middle of oven
- Fill the 12 open tart shells set aside with overhanging pastry with as much room temperature filling as each can hold; press gently and fill to top, set aside
- Dab a little water on bottom rim of pastry lid; place on top of filling, gently pushing to adhere to edge of pastry overlapping ring mold
- Cut pastry away from ring mold with table knife, working to ensure that there is enough pastry to pinch the pastry lid to the pastry sides to have lid close tightly and attractively over filling
- Brush each with egg yolk; place on parchment-covered cookie sheet
- Place other 12 open miniature French Tart shells on another parchment covered cookie sheet Follow Blind Baking French Tart Shell Instructions here.
- Bake filled miniature meat pies for 15-18 minutes until top is a little darker than golden brown; cool immediately
- Remove rings; store in airtight, labeled and dated container until ready to serve with the open miniature French Tart shells
Instructions for Service:
- Thaw miniature pies overnight, or if baking frozen, add 10 minutes and cover with foil to avoid over-browning
- Preheat oven to 400F; ensure rack is in middle of oven
- Place parchment paper on cookie sheet with filled shells on it; reheat for 8-10 minutes, until hot
- The open French Tart style miniature pies can be served at room temperature filled with piping hot filling garnished with fresh herbs and créme fraîche
- Serve immediately!




Do you know where I can get fabric French rolling pin sleeve stock that I can cut to length?
Sorry, Joel,
NO. In Edmonton, for my cheesemaking project, I just asked around until I found a warehouse that had what I needed for cheesemaking and similar fabric would be perfect for a sleeve… but online, no idea.
🙂
Valerie