Graham Crackers: Holiday “Cookie-Crackers” for the Little Ones
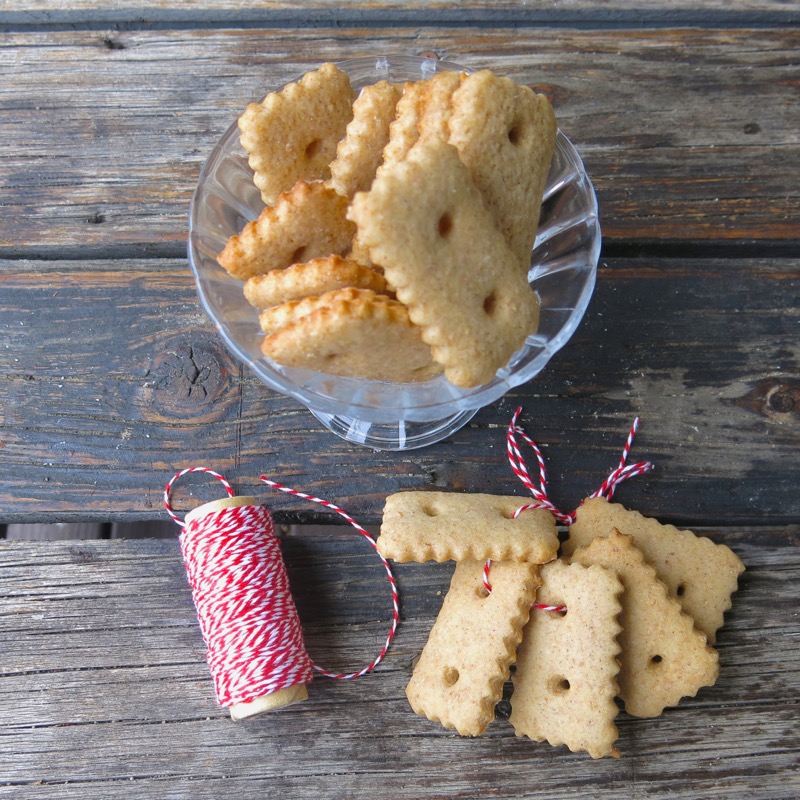
Homemade Graham Crackers do have a little sugar in the recipe, but nothing like most cookies, and with a good amount of Canada’s Heritage whole wheat Red Fife flour, these little ditties are a much healthier choice than those on the Annual Christmas Cookie Platter! Of course, they can and should also be made other times of the year, as well!

The little holes make them a small bit of fun for the toddler! Little ones do love to play with their food and a straw will fit through the hole, so the Graham Crackers are stackable. Cheerios or pretzels can be played with to build little structures with them, as well. Think edible construction kit.
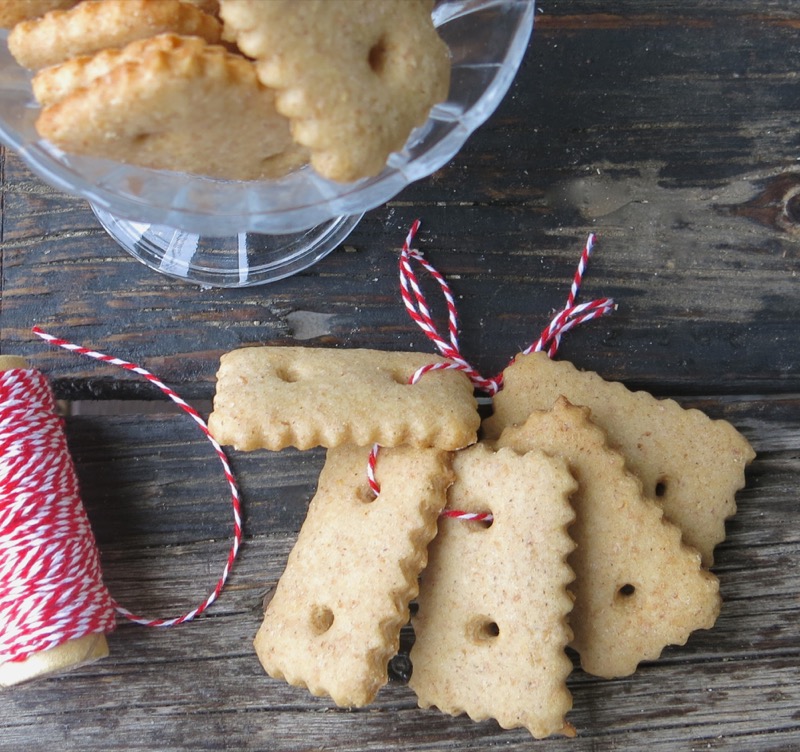
Certainly, I am not the Gramsy, or the mother, or the food advocate that would promote Cheerios or pretzels for a young child. However, they do live in the real world and there will be myriads of occasions where they will be presented endless arrays of processed, convenience and junk food full of preservatives and unhealthy amounts of specific ingredients. Mom’s have to be Superheroes these days to provide healthy alternatives to those addictive offerings. Managing that realm was difficult enough when I was a young mom, but most of us couldn’t afford to eat out often, buy lunches or snacks for our kids, let alone buy convenience or fast food on a regular basis. That was then and this is now as convenient and fast food has become much more affordable. Cooking at home, preparing a healthy vibrant irresistible snack or lunch for a child is daunting. Thus, at church on a Sunday, or at a party, Cheerios or pretzels with some healthier homemade “cookie-crackers” are better choices. Thinking ahead, planning in advance, and vigilance in the development of the palate of a toddler and child is critical to grow a healthy little body and brain. Healthy meal and snack preparation is a sacred trust and critical in this fast food world.
Homemade Graham Crackers: Making the Dough
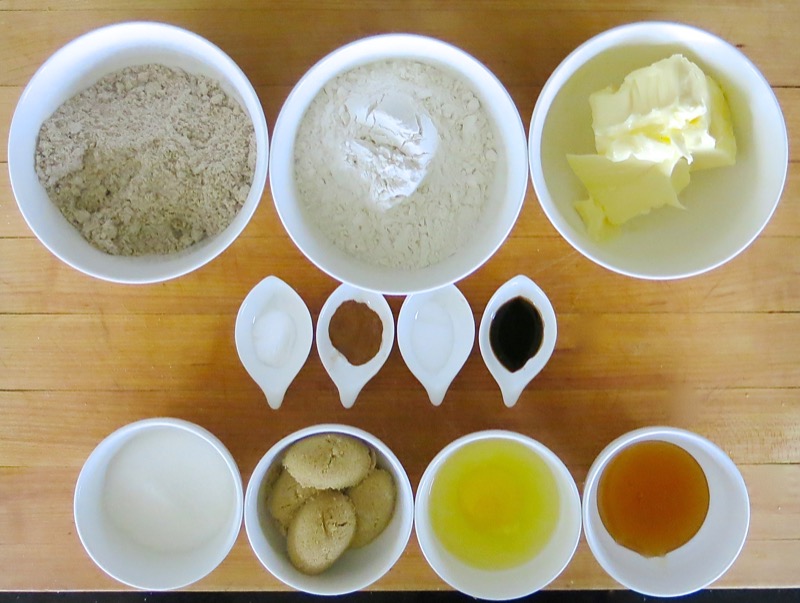
Mis en place, above, for the graham cracker dough. I did use Canada’s Heritage Red Fife Wheat Flour because I have it and enjoy using it, but any whole wheat flour will work.
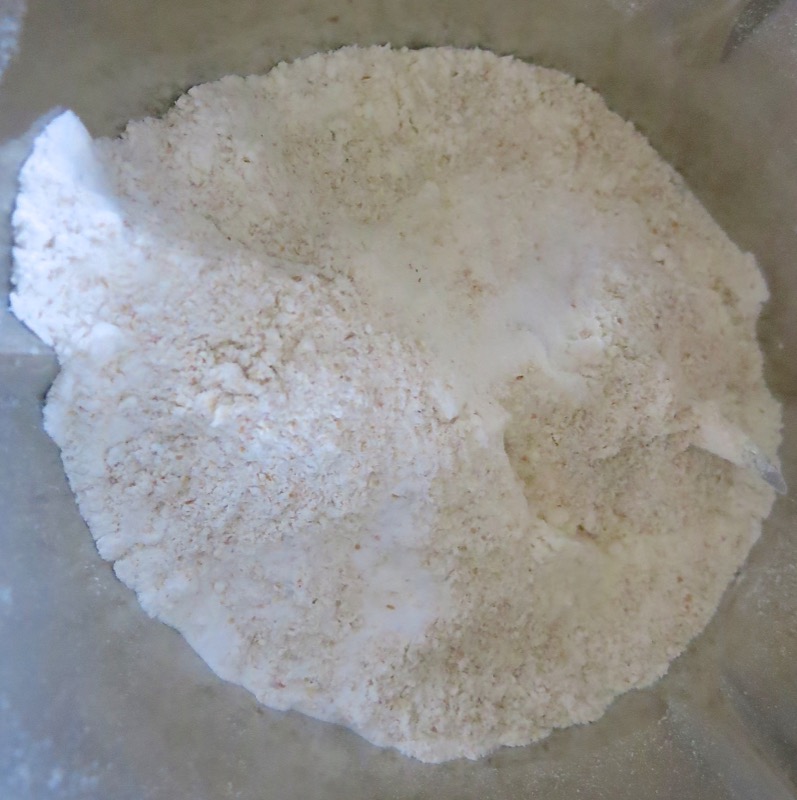
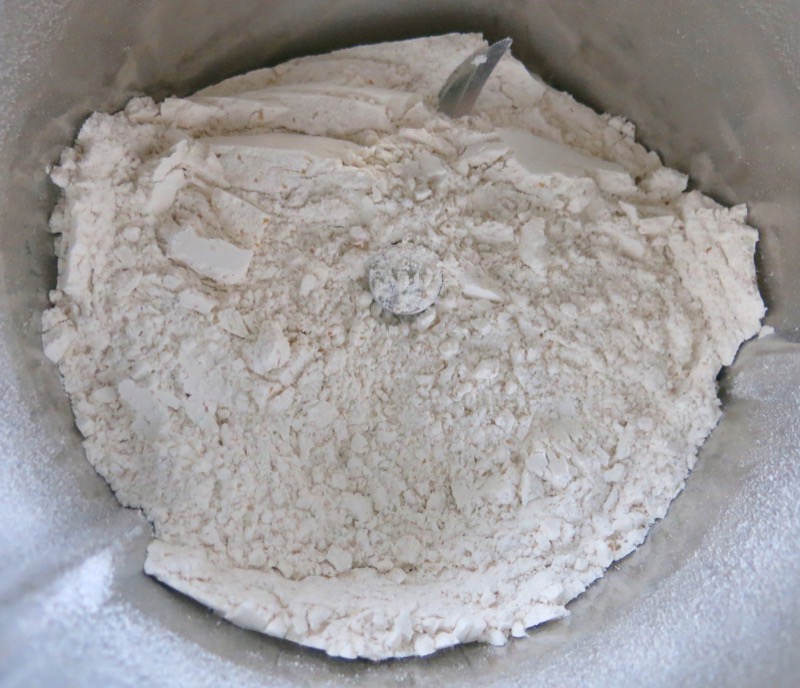
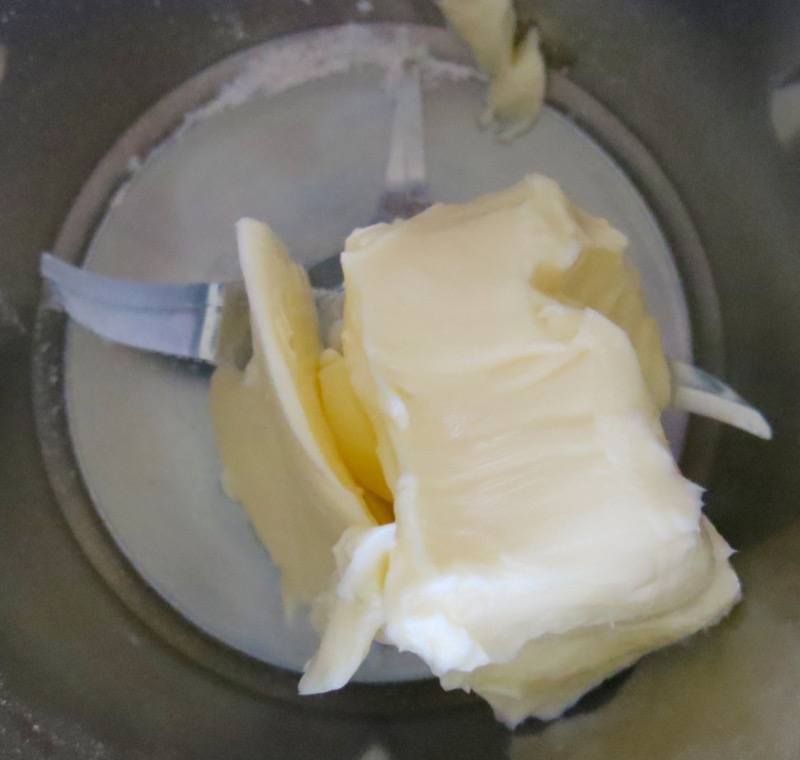
Instructions in the recipe, below, include making the recipe in the Thermomix (which is always what I do), as well as instructions for making the recipe in the traditional fashion. Above, the dry ingredien were sifted or stirred together, then set aside.
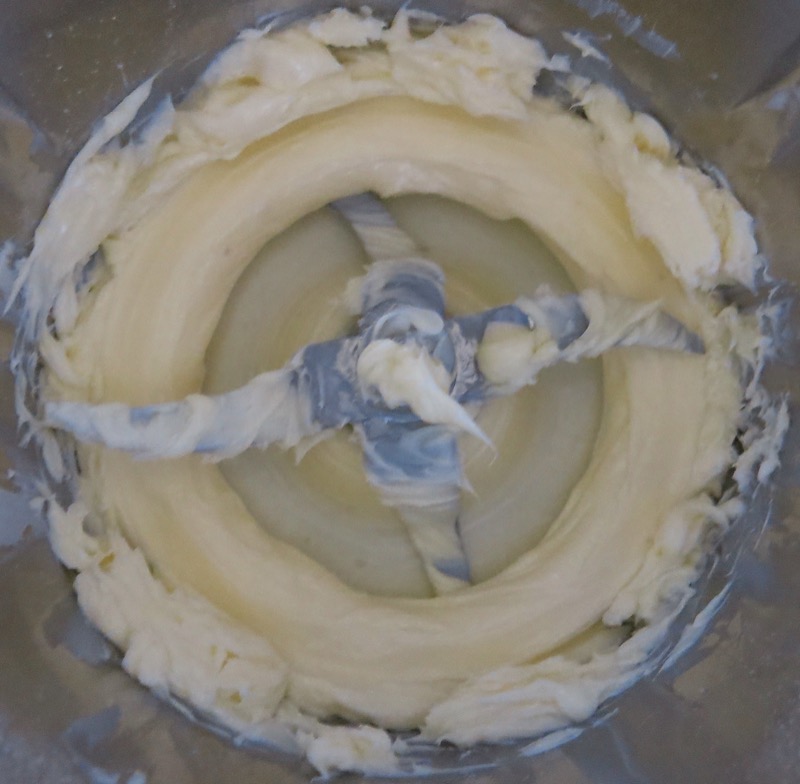
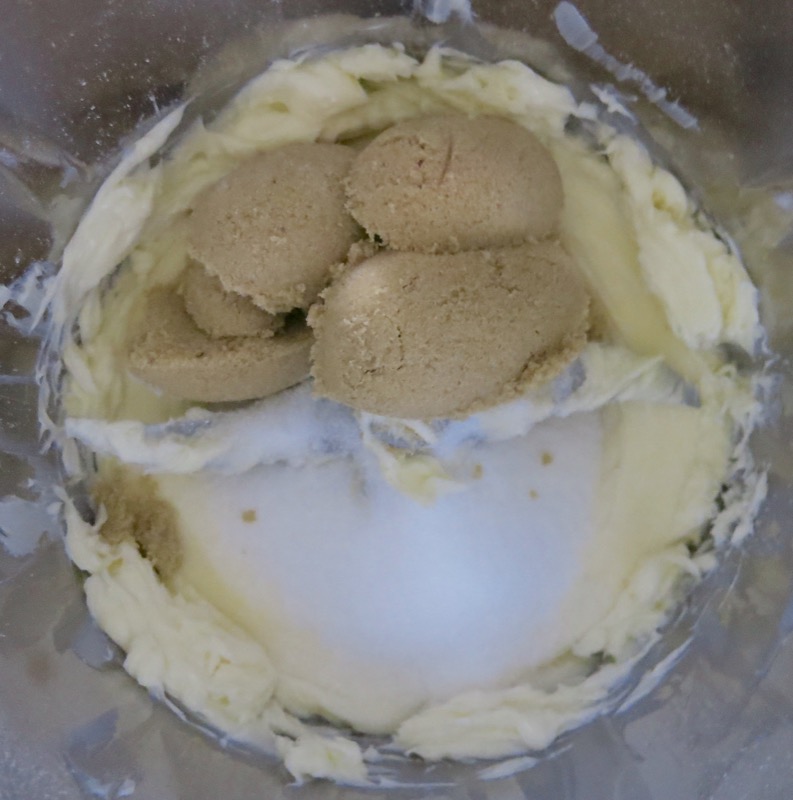
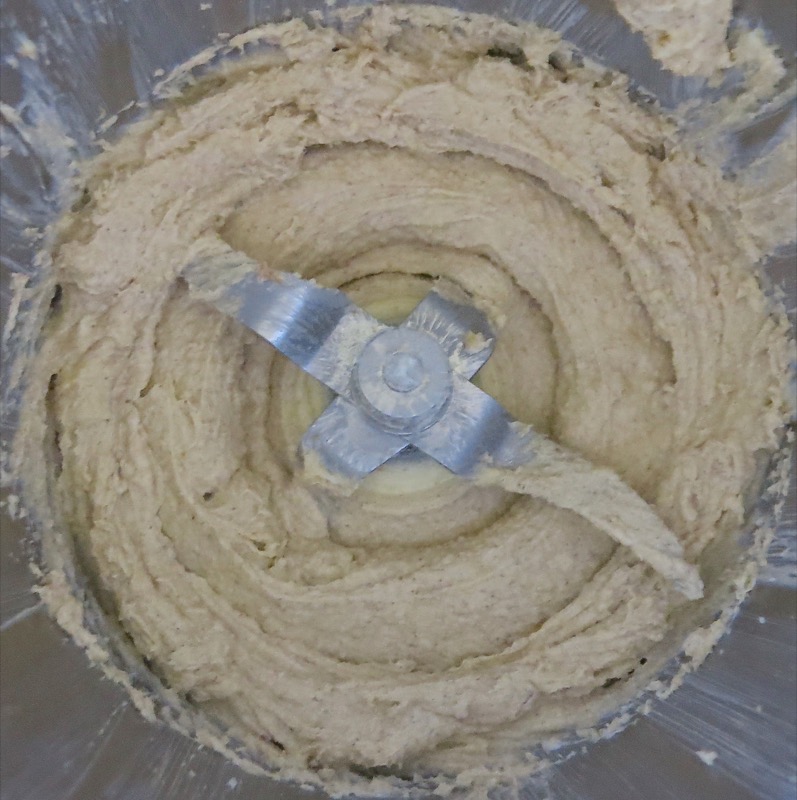
Butter was softened, sugars added and creamed together.
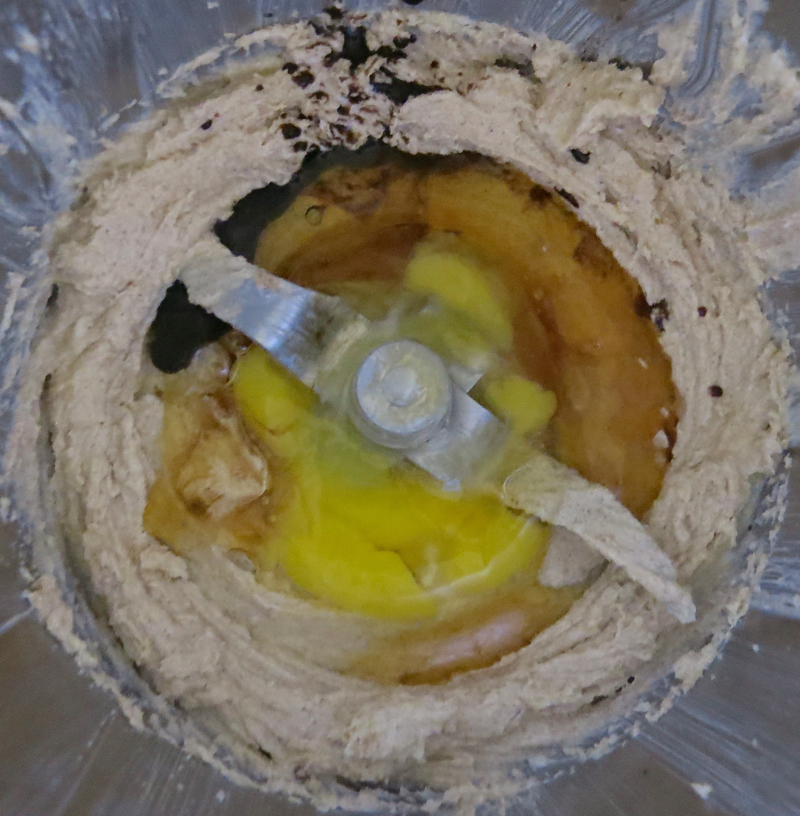
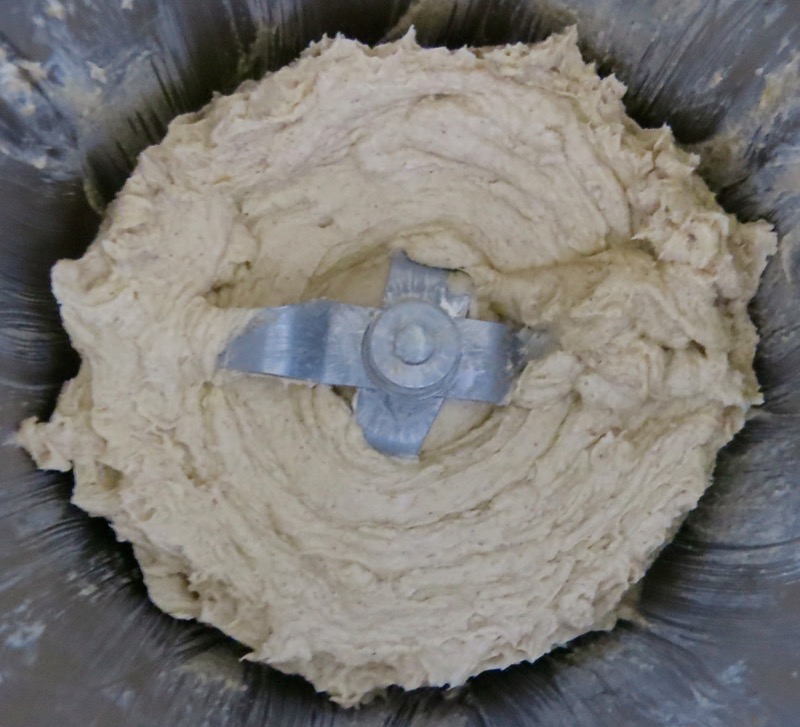
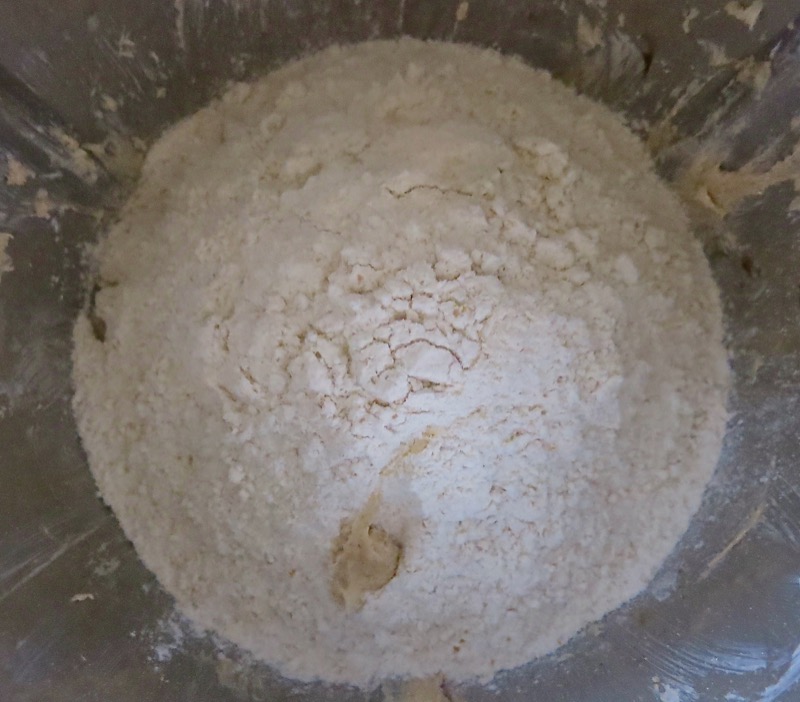
Eggs, vanilla and honey added, whisking well to incorporate thoroughly, then dry ingredients added to the mix, half at a time, and folded in gently.
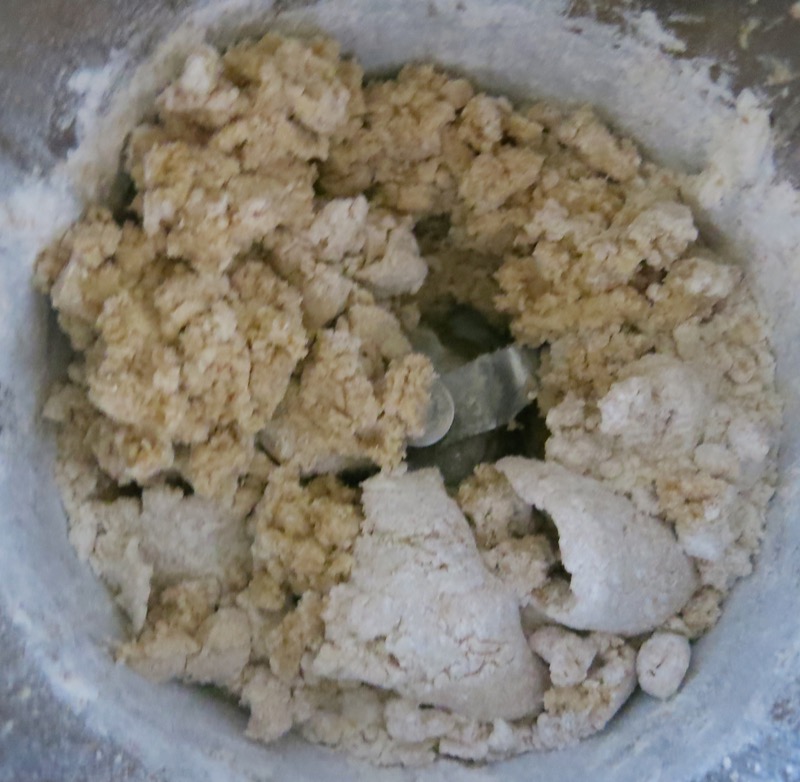
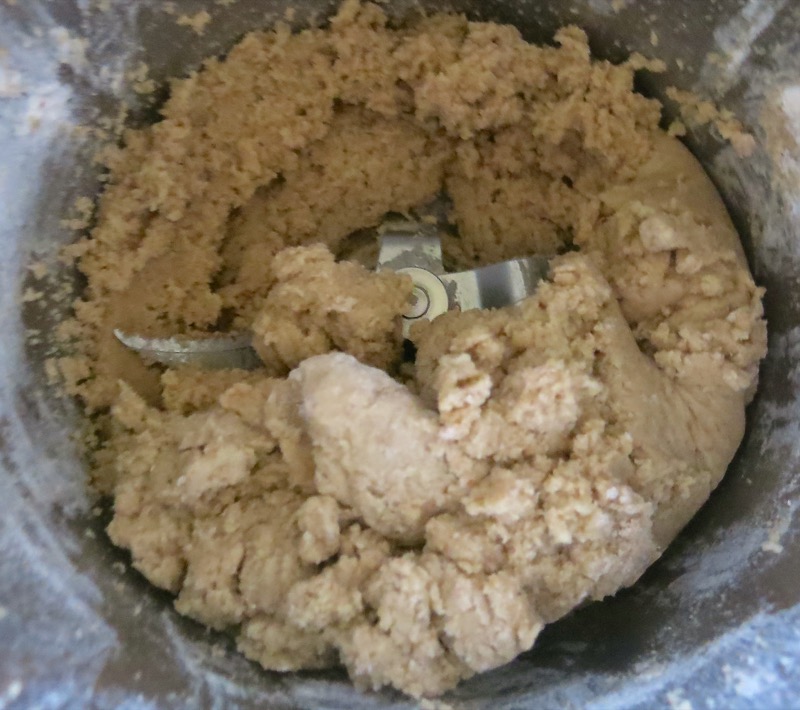
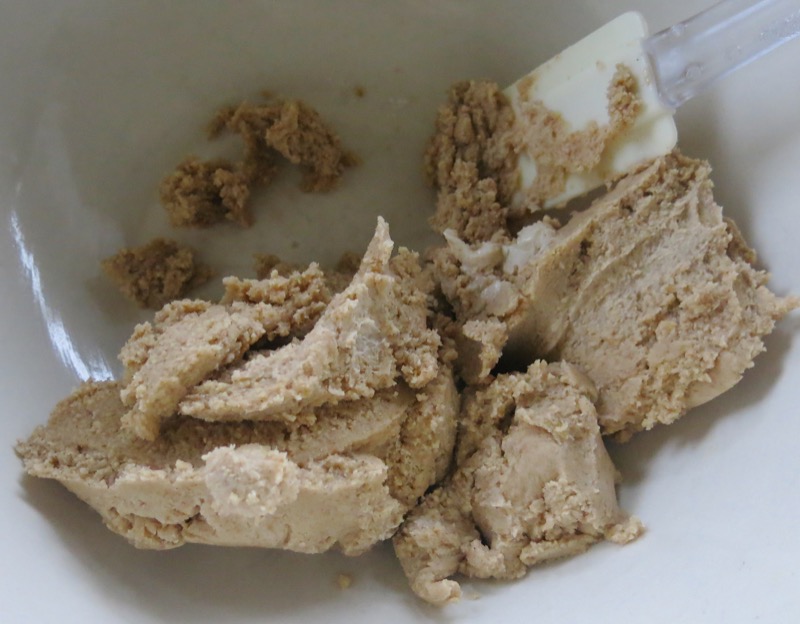
No rush. Talk your time. Mix until fully incorporated into a thick mass of dough.
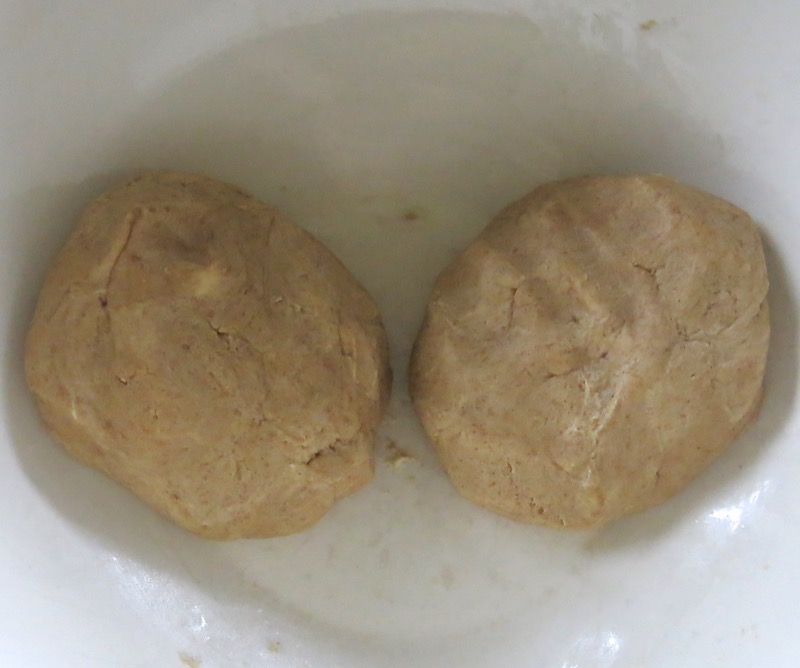
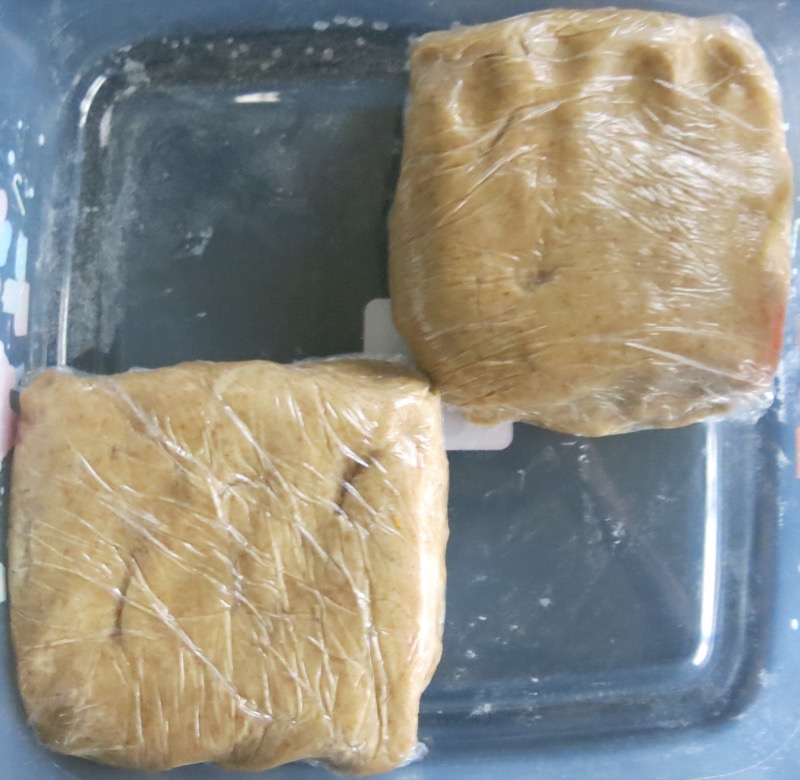
Divide mass into two equal portions. I weighed the total mass and divided it by two. Form into 2 squares, wrap tightly in plastic and refrigerate until completely cold: 2 hours, or overnight.
Homemade Graham Crackers: Rolling the Dough and Shaping the Crackers
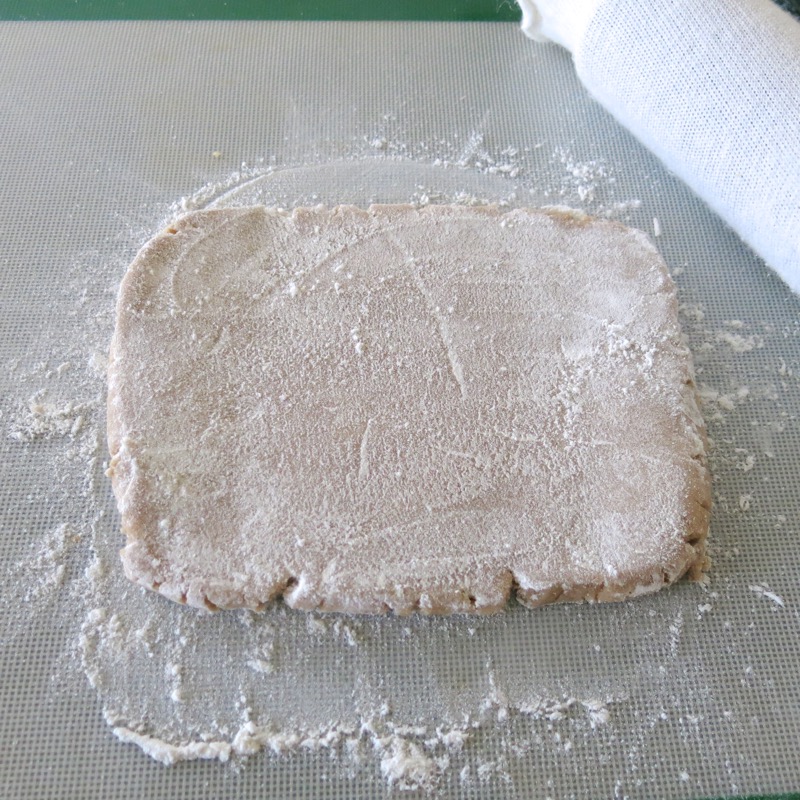
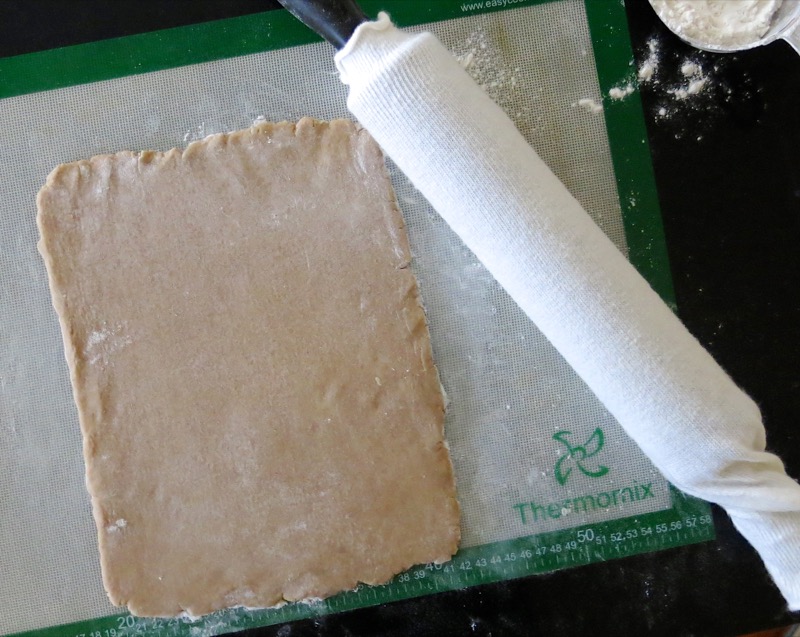
Lightly flour the work surface, place a sleeve on the rolling pin, or cover the dough with parchment paper. Now is the time to decide: big traditional sized graham crackers, or little ones. That will determine how carefully you rock your roll! If making large crackers, carefully roll a rectangle 12 x 24 inches and using either a pizza or pastry cutter, measure out 2×4 inch crackers. Move each to the parchment covered cookie sheet. Carefully indent the mid-point with the side of an offset spatula, like the old-fashioned ones in the box, for easy breaking in half, later. Dock both sides with a fork.
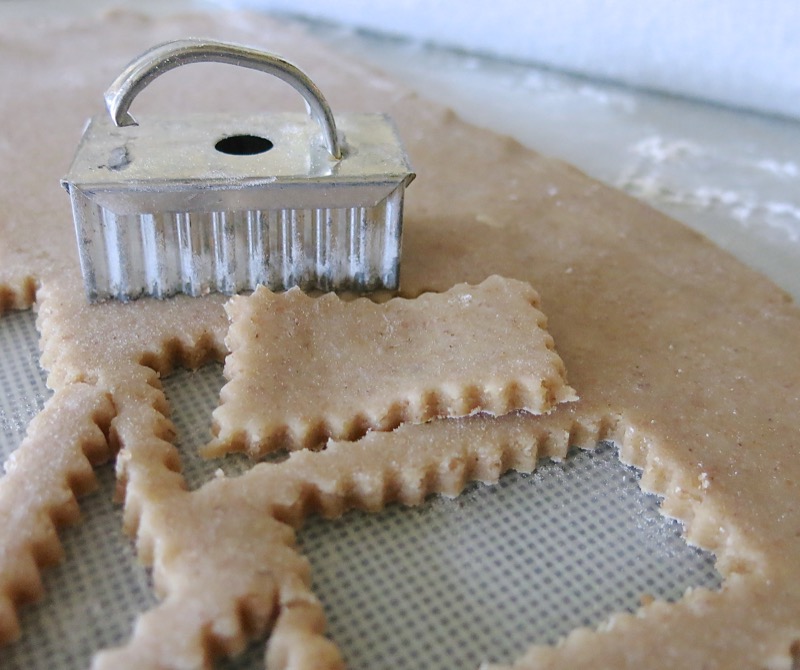
The little crackers use a cookie cutter, so the roll need not be precise. In both cases, remaining dough can be re-rolled and cut out.
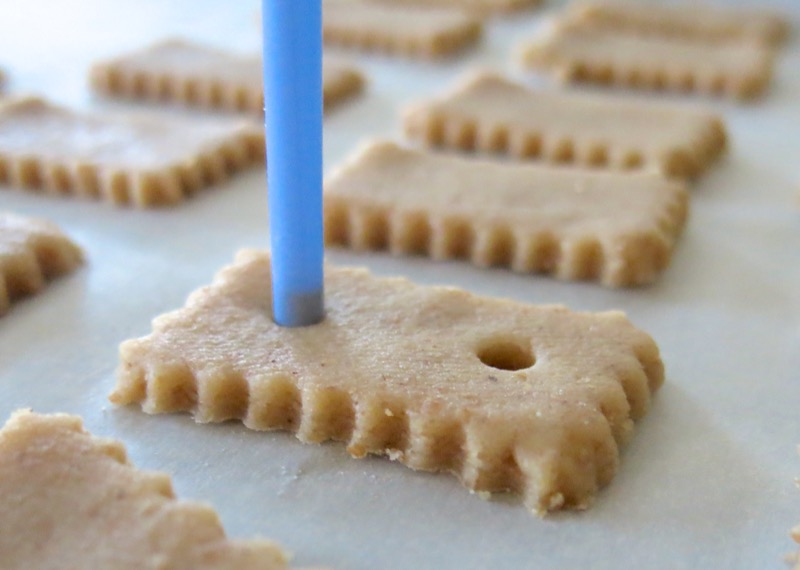
I used a straw to puncture the holes instead of docking the small crackers. If you are baking them to make as part of an edible construction gift or snack, as soon as they come out of the oven, use the straw to open the holes in the soft graham crackers as some will have expanded with the baking powder, but are easily re-opened. It just takes a minute, but you must do it immediately upon them coming out of the oven.
Homemade Graham Crackers: Baking the Crackers
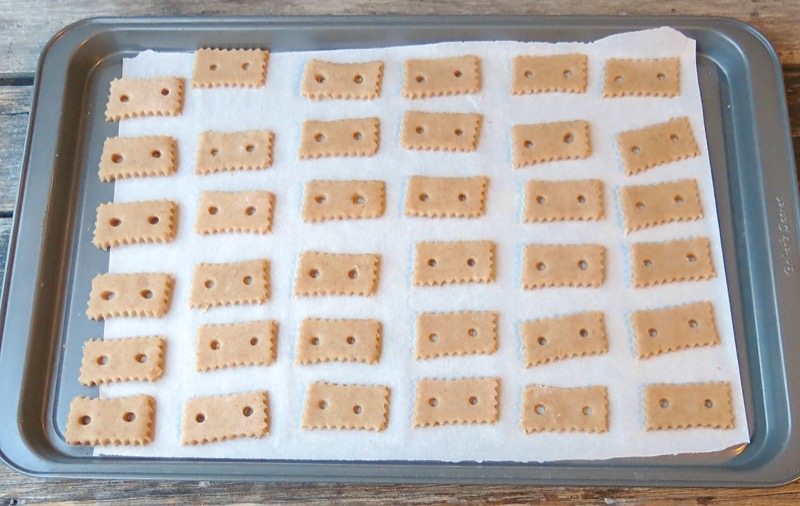
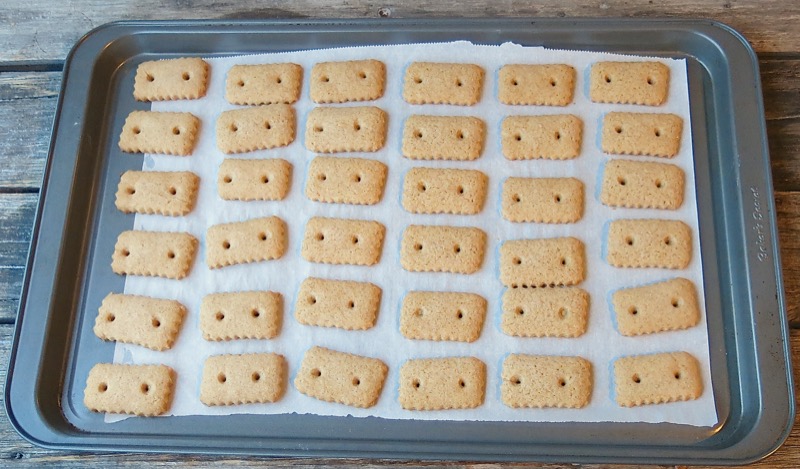
Above, left, unbaked; above, right, baked. The homemade graham crackers are very soft when warm, but do not be disappointed. Wait until they cool to room temperature and they will have the lovely graham cracker crisp consistency you are looking for. Be careful to not over bake. A light golden colour, as above, with a light golden bottom, as below is what you are looking for. The cookies will be soft, but when ready to remove from the oven, will not indent unless you push on them: there will be that firmness to the touch.
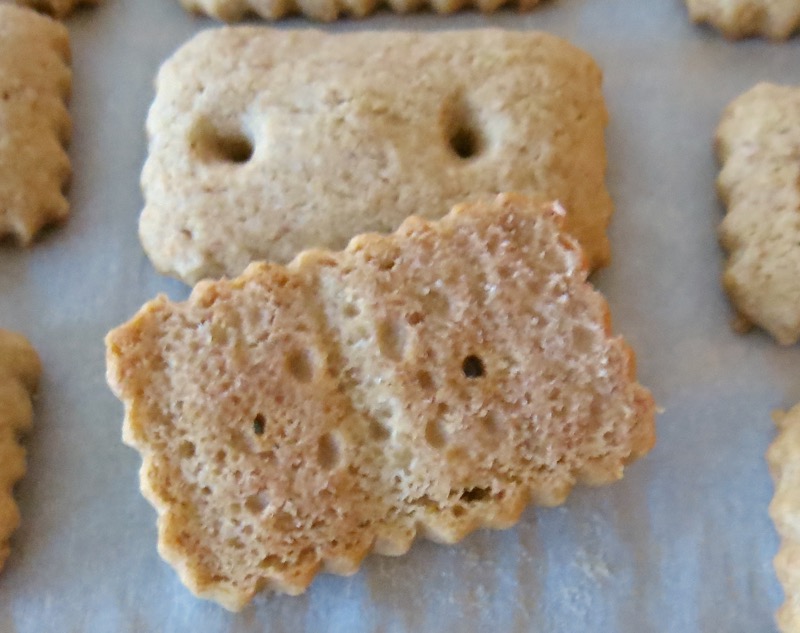
Nice golden bottom.
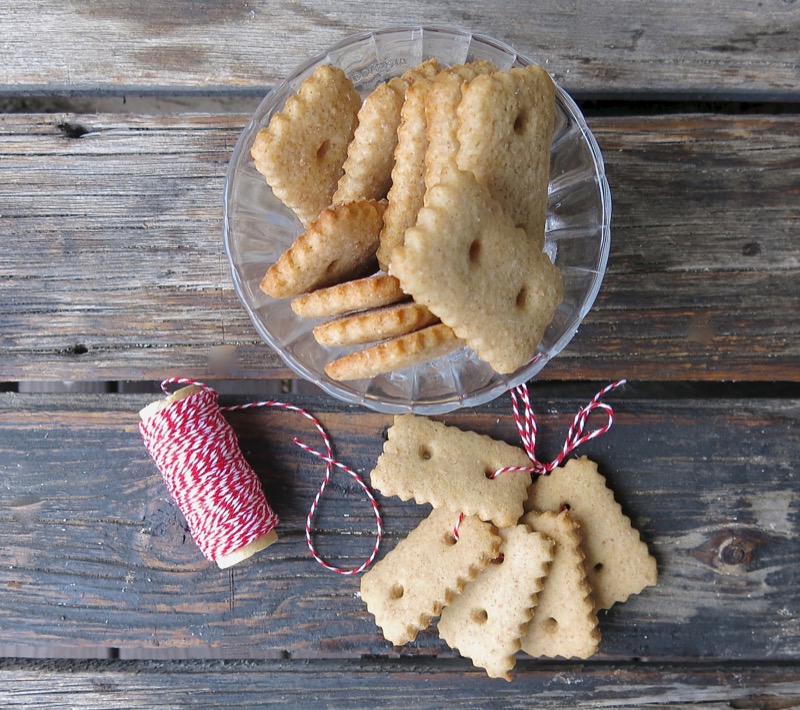
Really lovely with cheese. Great adult snacks, too!
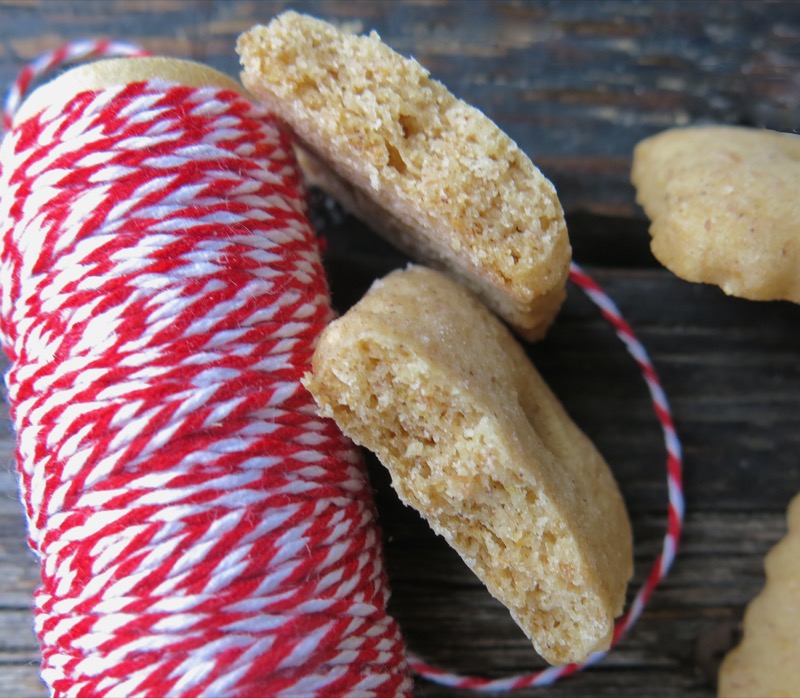
And look at that break! Lovely crisp textured layers. Very easy to make. Delicious, quite nutritious and certainly, economical!
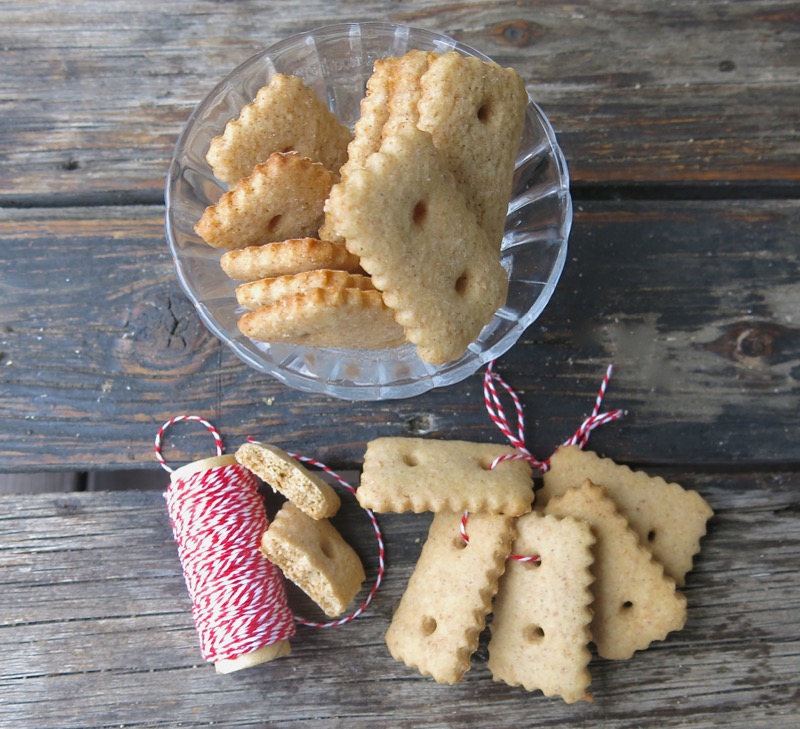
And, ultimately, fun, too! Let me know if you give them a go!
Homemade Graham Wafers
Homemade Graham Wafer Crackers or Cookies on Christmas 2016 baking list for cheese platters and kiddie visits: delicious, travel well, and great shelf life. Flavour and texture will vary depending upon coarseness of whole wheat flour and spices used.
Ingredients
- 1 ¼ cup flour
- 1 cup whole wheat flour
- ½ teaspoon cinnamon
- ½ teaspoon baking soda
- ½ teaspoon salt
- ¾ cup unsalted butter , slightly firm
- 1/3 cup brown sugar , lightly packed
- 3 tablespoons granulated sugar
- 2 tablespoons honey
- 1 large egg
- 1 teaspoon vanilla
Instructions
Instructions for the Dough
- Combine first 5 dry ingredients; stir or sift together and set aside
- Whisk butter with electric mixer until softened; add both sugars, continuing to beat until just combined
- Add honey, vanilla and egg; mixing to combine into a lovely batter
- Fold 1/3 of pre-measured dry ingredients into wet ingredients until completely incorporated; repeat with next 2 portions of dry ingredients
- Place onto a very lightly floured surface; weigh dough, divide into two equal portions shaping each into a square and wrap in plastic wrap
- Refrigerate
Instructions for the Dough with the Thermomix
- Weigh and combine first 5 dry ingredients; stir or sift together and set aside
- Weigh butter into TM bowl; mix to soften for 30 seconds, speed 3.5
- Weigh in sugars; bring together until incorporated with butter for 30 seconds at speed 4
- Weigh in honey, vanilla and add egg; mix to combine for 30 seconds at speed 4
- Add 1/2 of pre-measured and weighed dry ingredients into TM bowl; combine for 10 seconds at speed 2 to 4
- Add remaining 1/2 of dry ingredients; combine for 10 seconds at speed 2 to 4 until ingredients begin to clump together
- Remove from TM bowl onto very lightly floured surface; weigh dough, divide into two equal portions shaping each into a square and wrap in plastic wrap
- Refrigerate
Instructions for Rolling the Dough and Cutting the Cookies
- Preheat oven to 350F; prepare 3 parchment lined cookie sheets
- Lightly dust work surface with flour (I like to use a rolling mat); add sleeve to rolling pin
- Roll out on disc of dough, keeping it floured lightly underneath, to 1/8 inch; cut into desired shapes and bake until a little puffy and golden around sides (my small cracker-cookies took 7 minutes each)
- OR roll into an 8 inch square 1/16 inch thick; trim one inch from all 4 sides with a decorative pastry cutter to have a 7 inch square remaining (reserve trimmings)
- Divide dough into 9 even squares with pastry cutter; place on parchment-covered cookie sheet 2 inches apart
- Repeat with the second square
- Re-rolling the trimmings should yield 3 more squares for a total of 12; bake 13-14 minutes, rotating in oven after 8 minutes for even browning until a little puffy and golden around edges and on bottom
- Rest on cookie sheet for 2 minutes; transfer to wire rack for proper cooling
- Seal in air-tight container; travel well and have a long shelf life
Instructions for Rolling and Cutting Large Traditional Graham Crackers
- Carefully roll dough into 12x24 inch rectangle; using either a pizza or pastry cutter, measure and cut out 2x4 inch crackers
- Move each to parchment covered cookie sheet; carefully indent mid-point of each with side of offset spatula (to look like old-fashioned ones in the box) for easy breaking in half, once baked
- Dock both sides with a fork; bake




Leave a Reply