Spanakopita: Two-Bite Spinach and Feta Parcels of Festive Flavour!
Luciana and I used to bake together every year for about 10 years. Mainly freezer appetizers. Sometimes other things.
But it was Marie who taught me how to make these mighty morsels. Our dear friend Cathy, a home economist, taught her, and she taught me. That was a good thirty years ago. I never knew I would become such dear friends with Cathy. Nor did I know that these little pastries would become an integral integrative strand within the fabric of our family’s Christmas culinary tapestry.
Everyone loves them. I don’t always make them. It depends on the year, and my time.
Yet, I love making them and reminiscing about the parties, the memories, the friendships and the many, many times I have made these over the past several years.
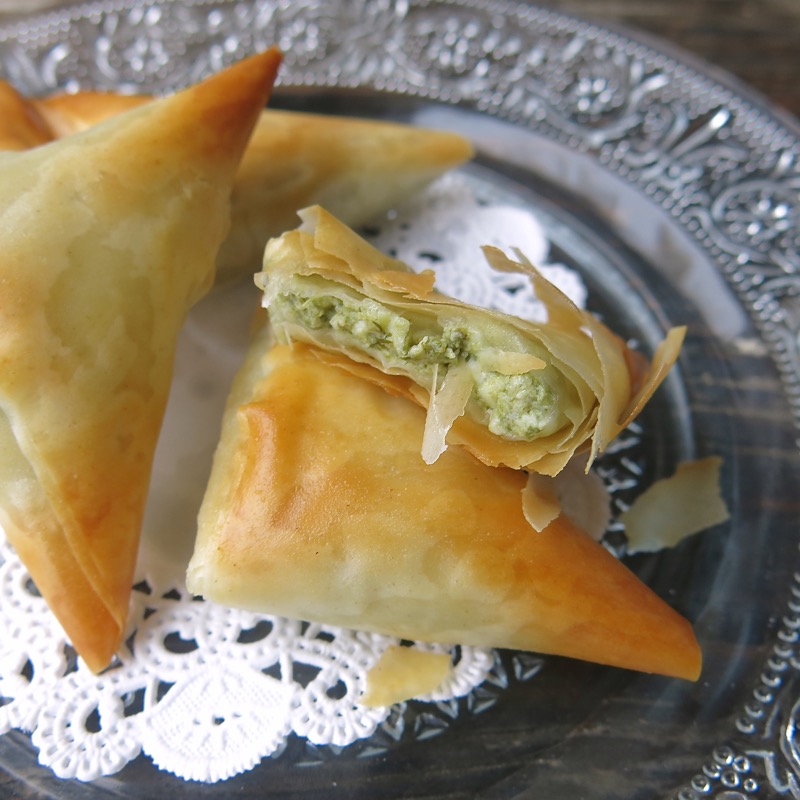
Any of my dearest friends care to share a few memories? What was your favourite party treat from those old days?
Homemade Spanakopita: How to Make the Filling
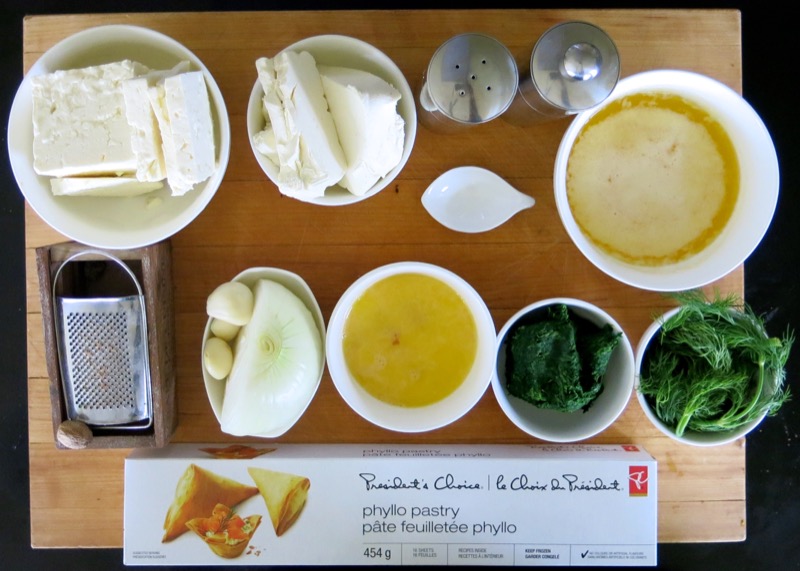
Mis en place for filling, above. But, this amount of filling will actually use 2 complete boxes of phyllo dough, so I suggest you make the filling with a friend and then have a great visit while you each fold up a box of the phyllo into triangles, or go home and each fold your triangles while listening to some good music or watching a movie. It took me about 2 hours to do them all after I had the filling chilled and ready.
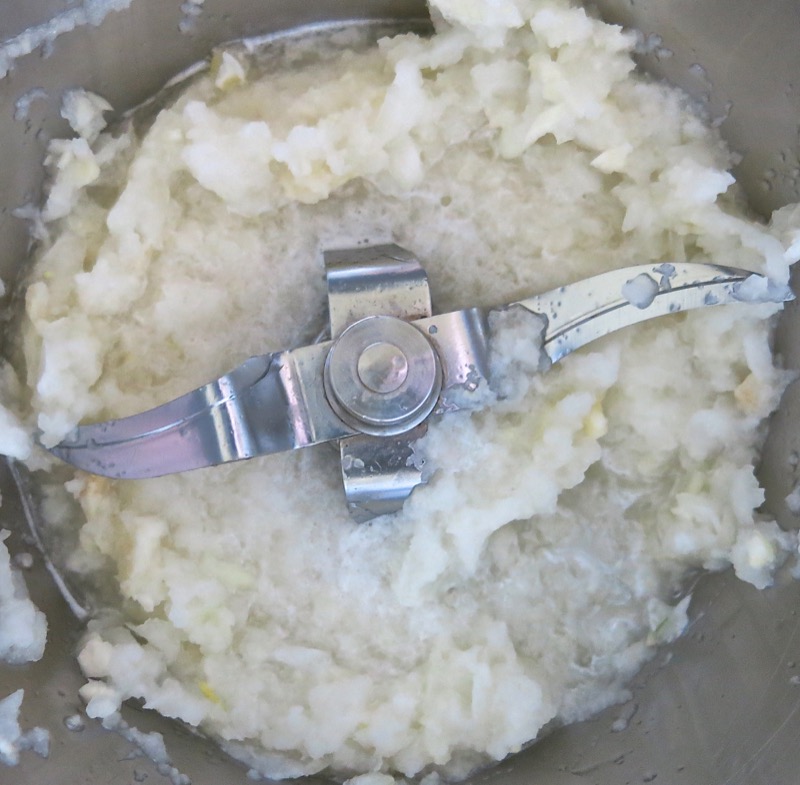
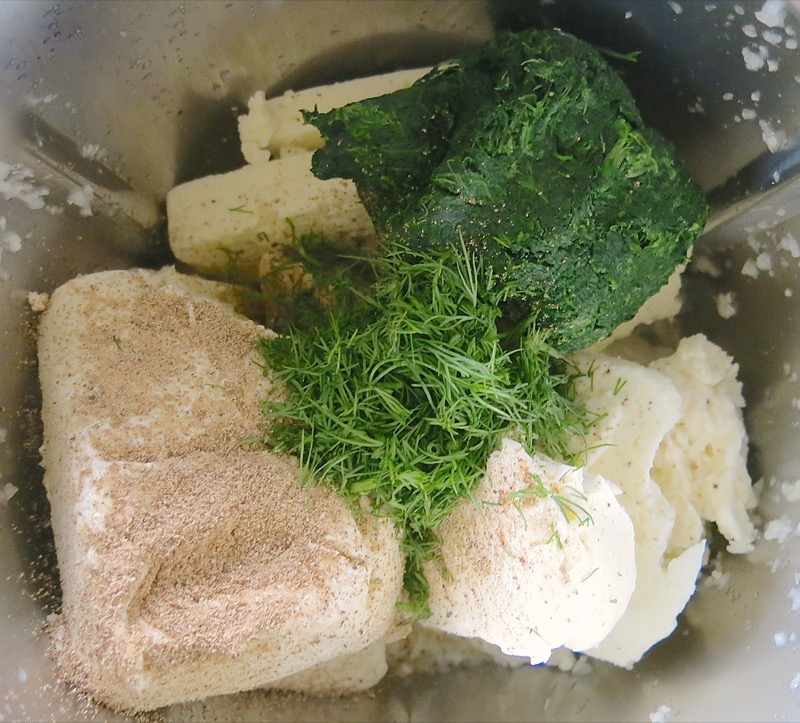
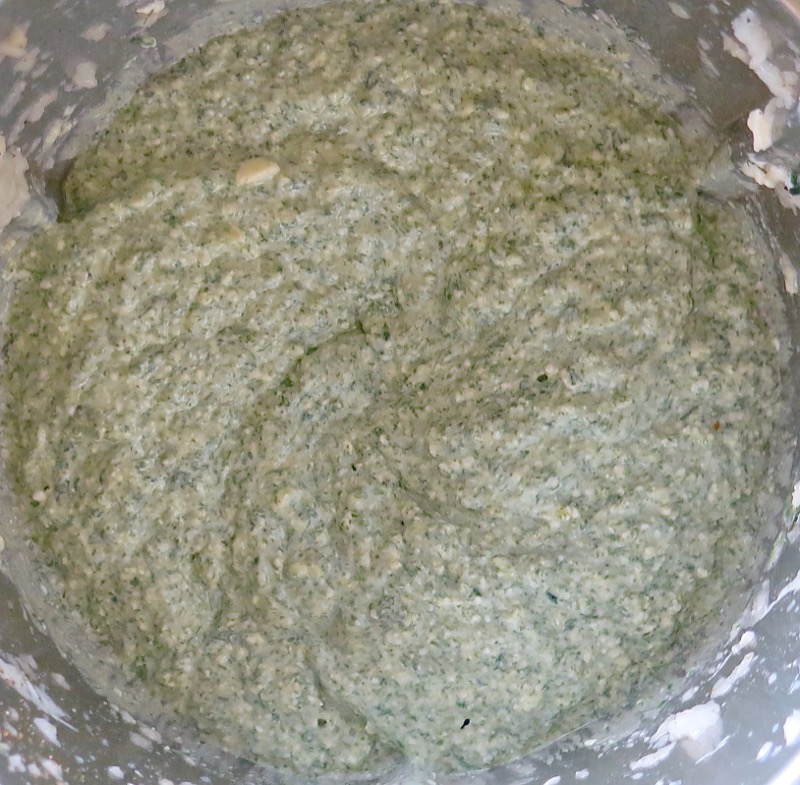
Be careful with your onions. The recipe calls for a specific amount, but keep the flavours balanced. The amount in the above left photo is far too much for the entire recipe. The onion I used was huge, and 1/4 of it, or half of what is in the mis en place bowl is the correct amount for a good balance of flavour. So, half was kept, the rest left in the bottom of the bowl, and the ingredients whizzed up into a tangy blissful mass.
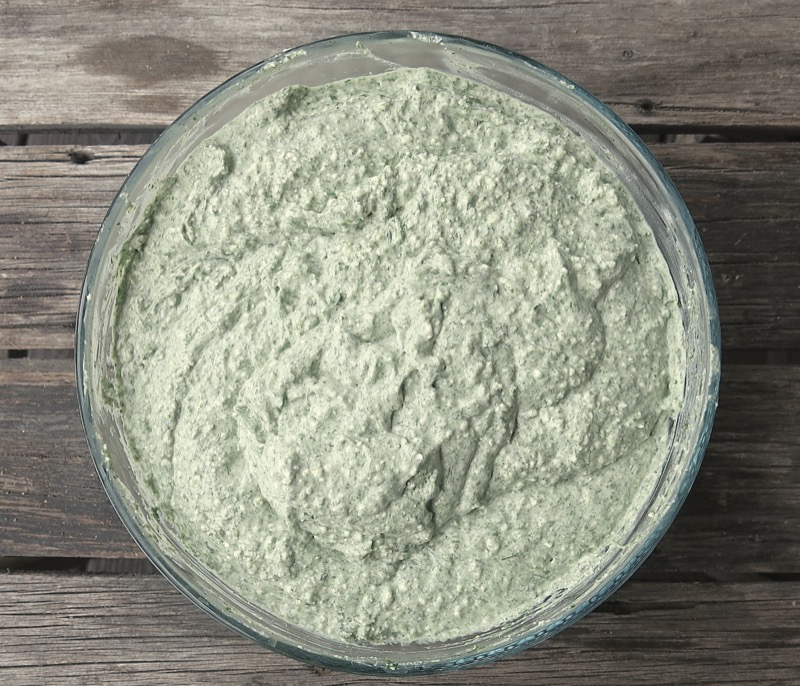
It is necessary to chill the filling before making the triangles.
Homemade Spanakopita: How to Prepare the Phyllo
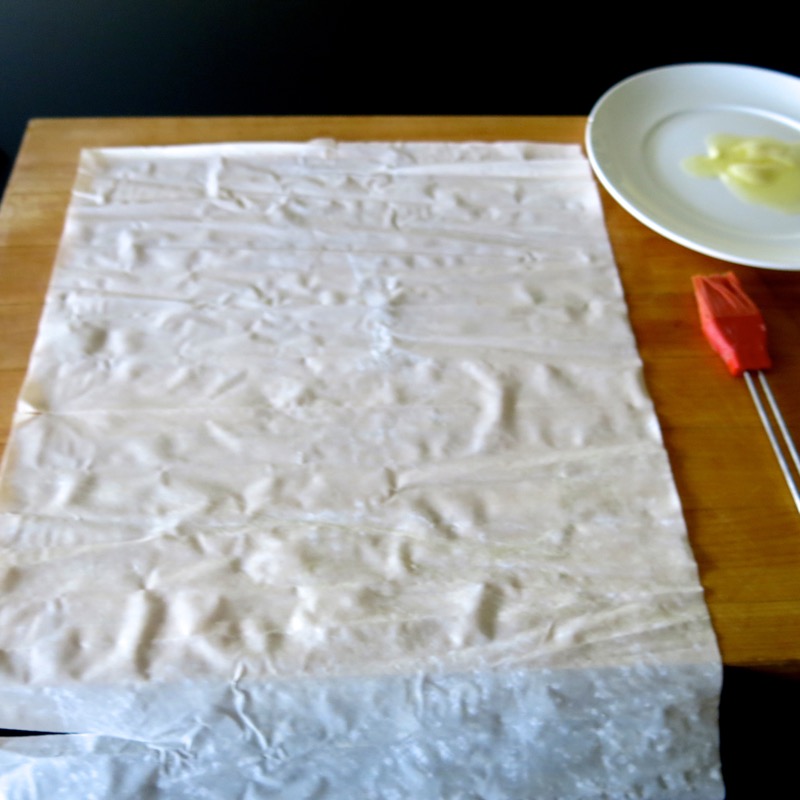
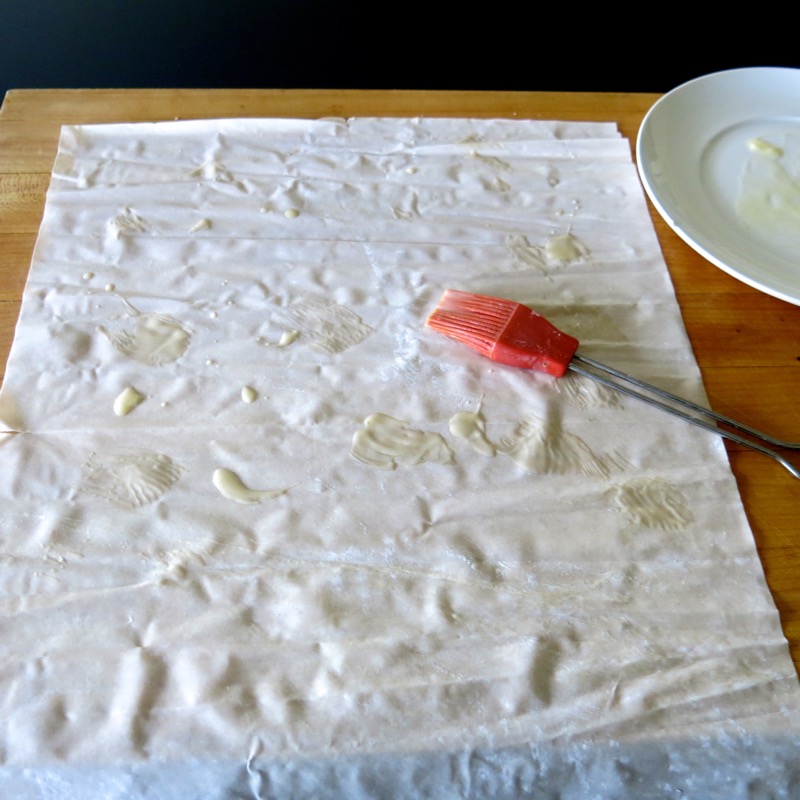
Place the frozen phyllo in your fridge overnight. When ready to use the thawed phyllo, have a damp towel nearby. Open the plastic bag inside of the box, take out one leaf of the phyllo, roll the remainder back up and cover with the plastic and or parchment (however it is packed) then lay the damp towel over all, to keep moist, ensuring the leaves exposed to the air are in a humid environment so they will not dry out while you are working through the filling. It is very important to work quickly, as phyllo dries out and shatters into glass-like shards faster than you would ever expect.
- Lay one single leaf out on your work surface; lightly brush or drizzle melted butter over the top half of it sporadically; do not cover with butter as it will be far too much butter
- fold the leaf over onto the buttered half quickly: see below, left
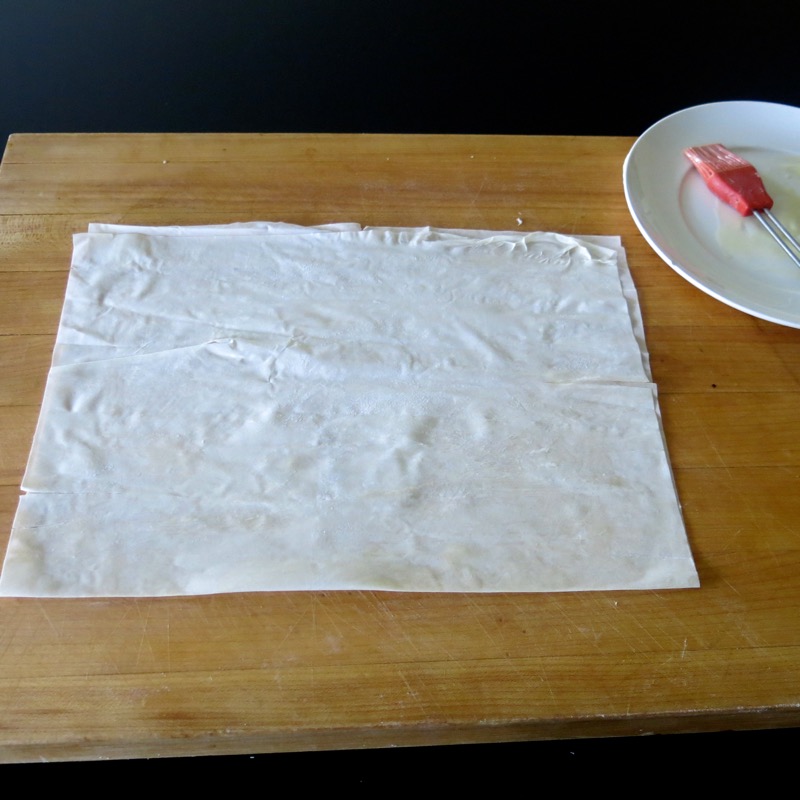
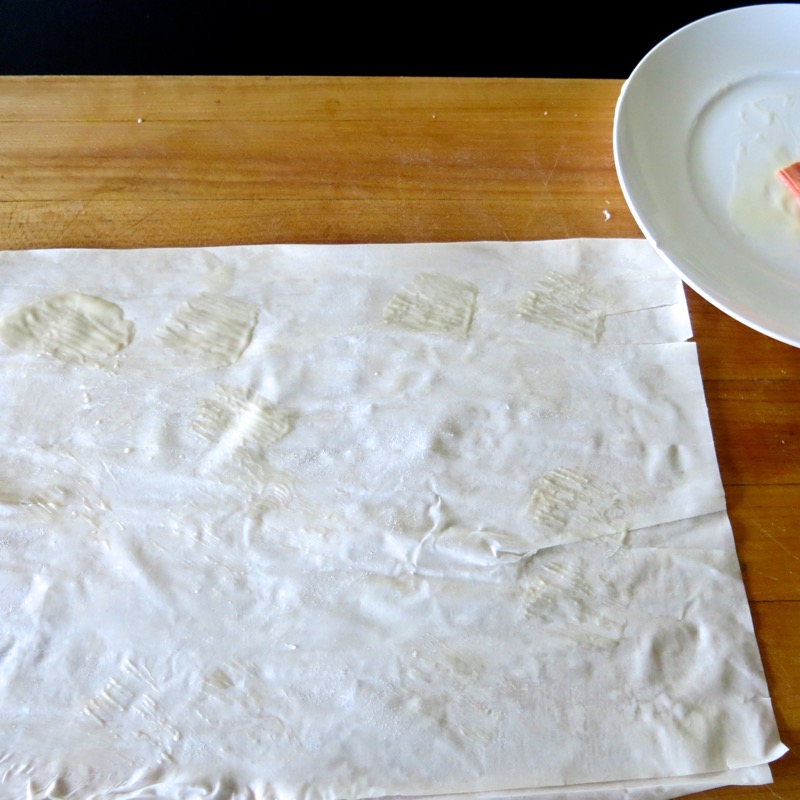
- butter the folded half sparingly, then slice it into 6 even strips as below
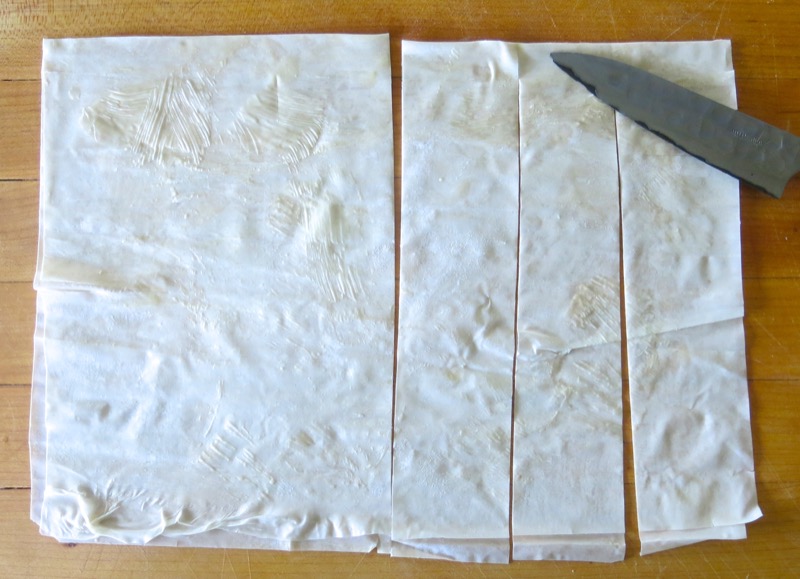
You can see the fold is not exact. That is fine. The “messy bits” will be hidden in the fold, once you learn how to do that quickly and precisely. If worried about it, start with 4 triangles per folded leaf. I used to make 8. They were tiny and I cannot imagine what I was thinking now that I make 6. I would not want them smaller than this and this size is finicky enough. The larger they are, the easier they are to make. So, if this is your first time, and you are worried about not being able to work fast enough, try 4 per sheet.
Homemade Spanakopita: How to Fold Phyllo Pastry Triangles
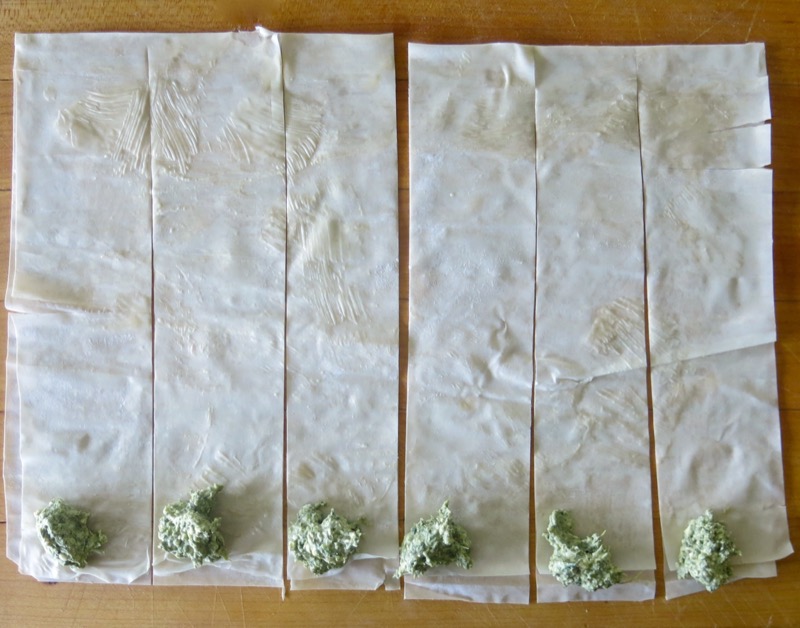
A teaspoon of filling onto each strip at the bottom left side; it is almost a minuscule amount, but so flavourful it will shock you when you taste your finished product. Such a small amount of filling is perfect for these appetizers.
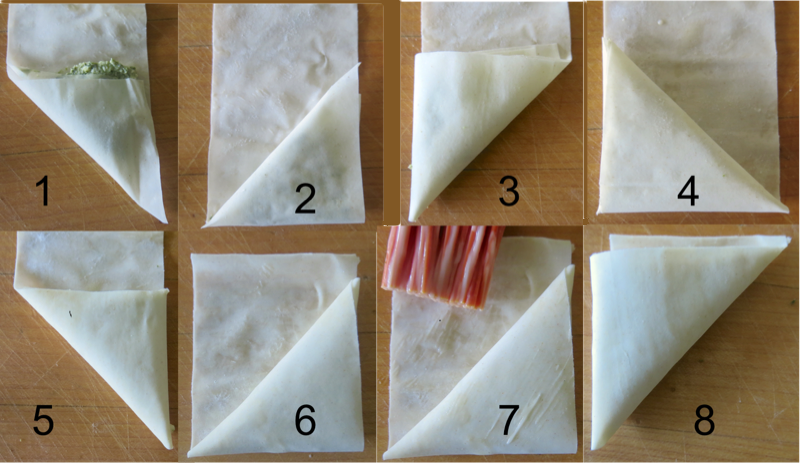
Above is the part you may what to practice with a piece of paper before you start. It depends on whether you are a perfectionist, or not. Did you ever fold the flag at school? If so, that is exactly what you do, here.
- Fold the filling over onto itself to form a triangle at the bottom of the strip of pastry
- Where the open edge is, and the right angle is formed in image one, fold the triangle directly over that seam to enclose the opening; essentially, you are just flipping the triangle straight up and over with the previously open end at the bottom of the triangle now enclosed with the pastry folded over it
- It is easy to see what to do from image 2 looking at image 3; simply fold the triangle back over onto itself
- And now, take the triangle and fold it back up onto itself again; see the open edges at the top? Fold the triangle over itself to enclose those open edges
- And keep going.
- The last fold will need a bit of butter to secure the close, and if the pastry peeks out over the bottom, as in image 8, cut it off
At this point, I am very fussy, making sure my corners match and that all meets up tickety-boo. I like my phyllo triangles tidy. However, if you have ever purchased them, or eaten them at a restaurant, most are folded in the most haphazard and rustic of styles, so it is clearly a personal choice. Either way, it’s delicious.

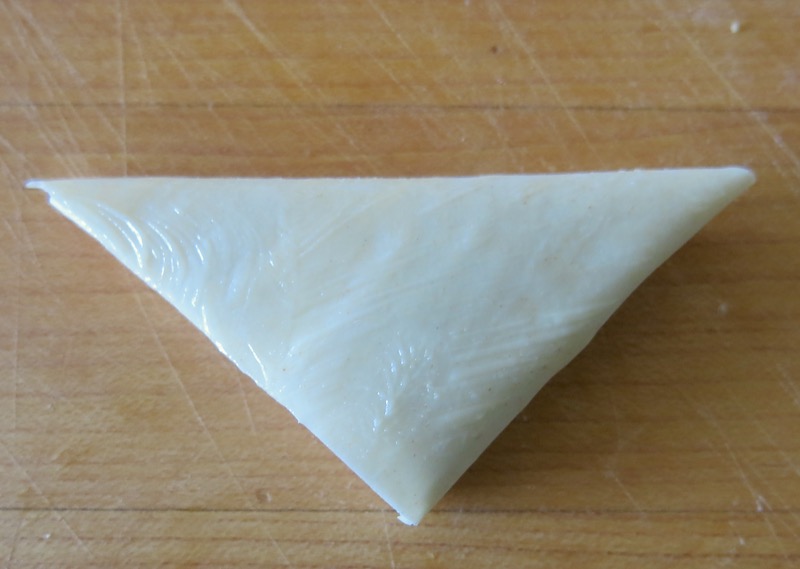
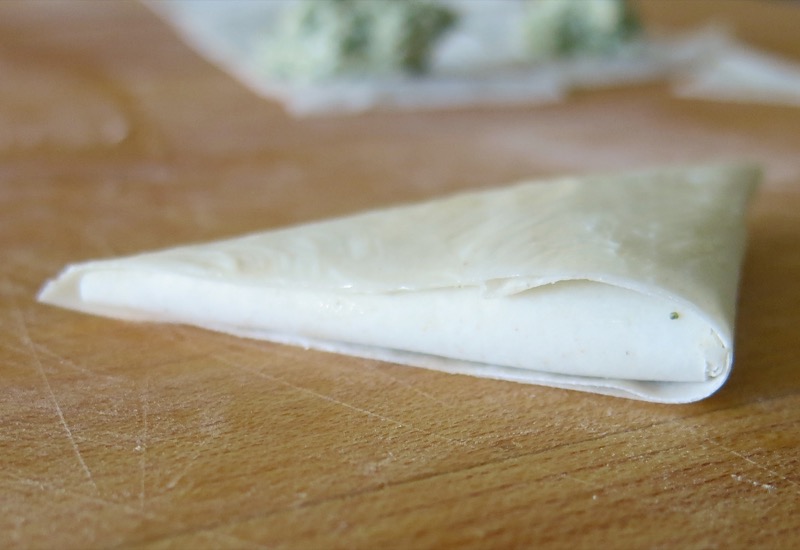
Lovely little parcels ready for the freezer. Labour intensive, but worth it to me. I have never had any that taste this delicious.
Homemade Spanakopita: How to Freeze the Spanakopita
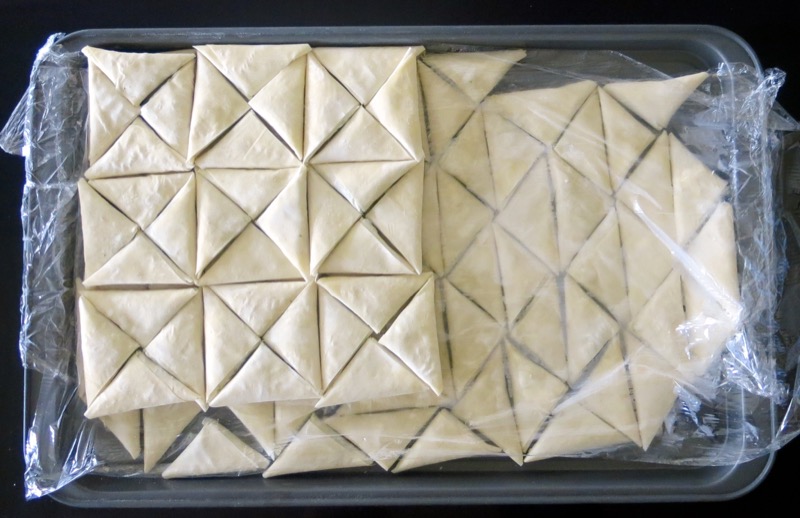
I layer them tightly between layers of plastic wrap and securely encase them all in a tight freezer container, labeled and dated. They will last a good three months in the freezer and I love how I can take out a small amount to bake and leave the rest in the freezer. So easy!
Homemade Spanakopita: How to Bake the Spanakopita
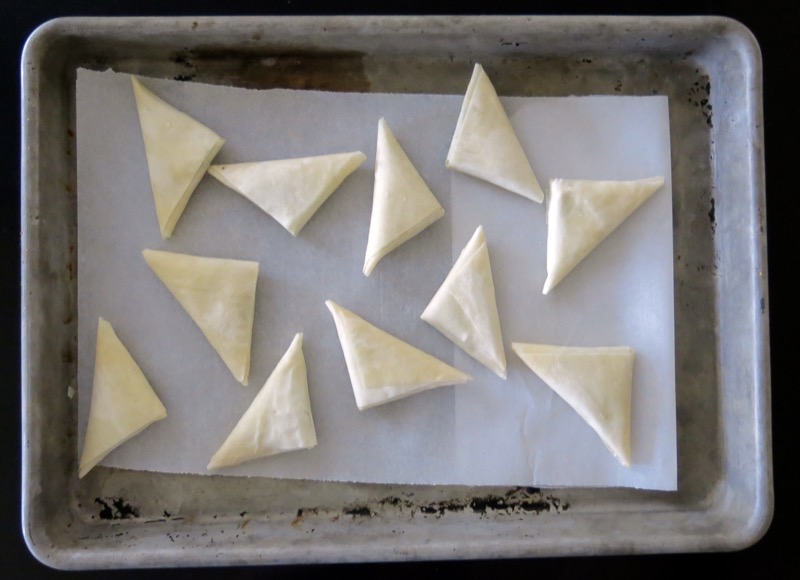
When ready to bake, onto the parchment covered cookie sheet, frozen is best. Oven pre-heated to 400ºF and 10 minutes later…
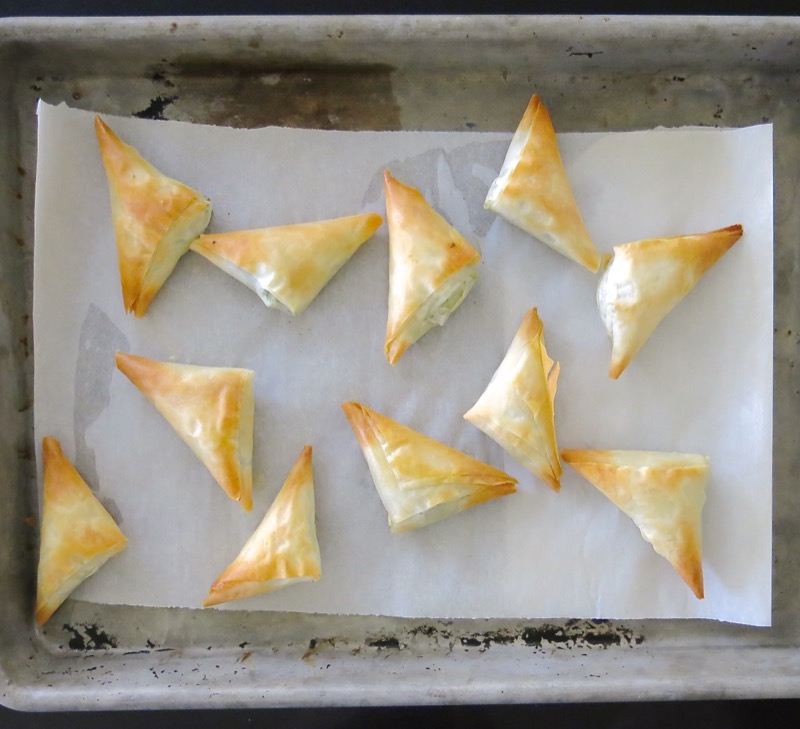
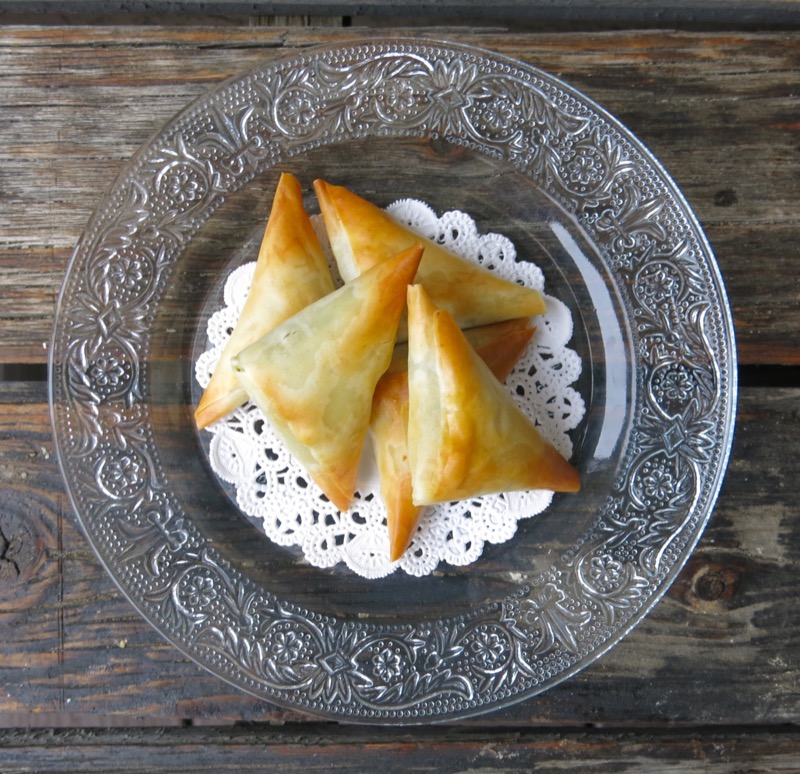
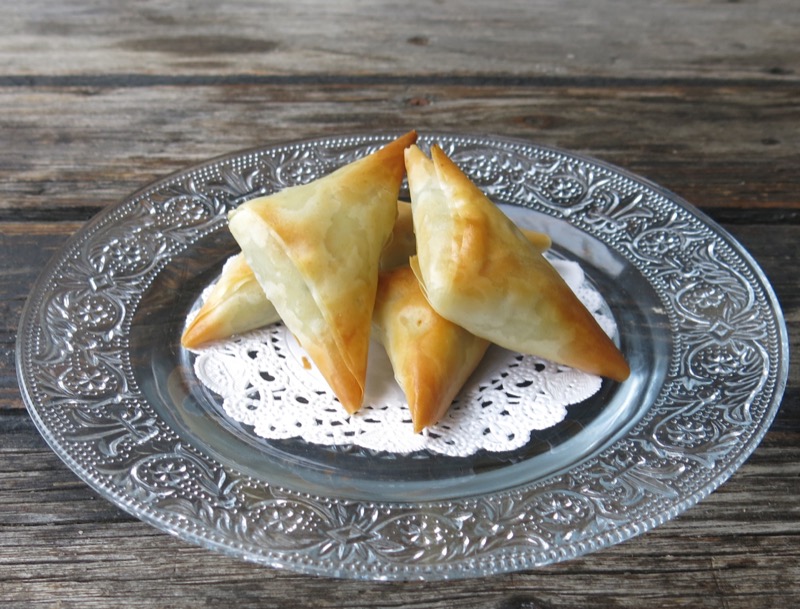
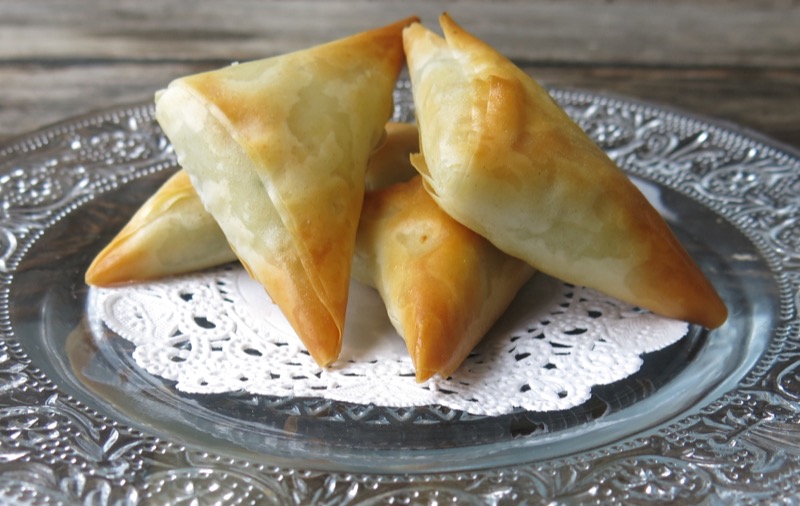
Voilá! Woops, I baked a couple upside down by accident as the folds are flailing in the breeze.
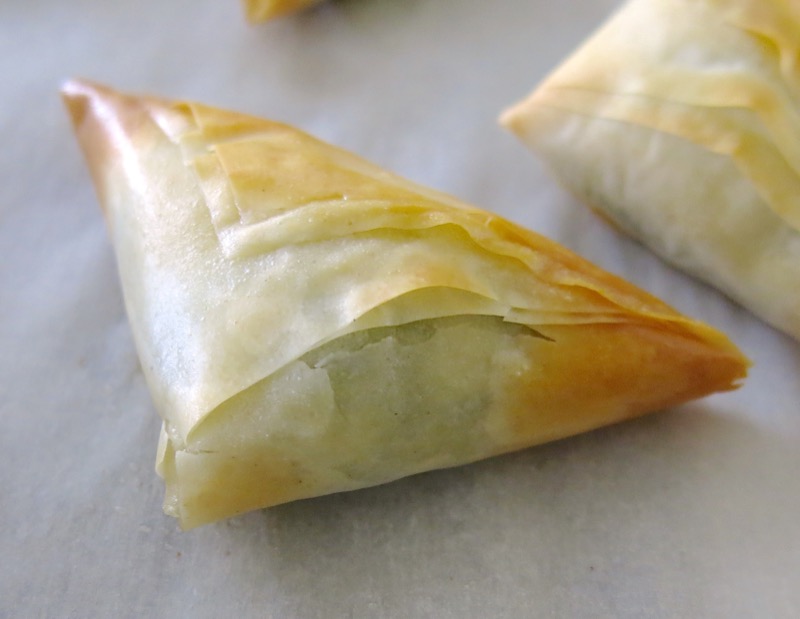
They show off the delicate pastry, so really, it used to drive me crazy, but I don’t mind at all, anymore!
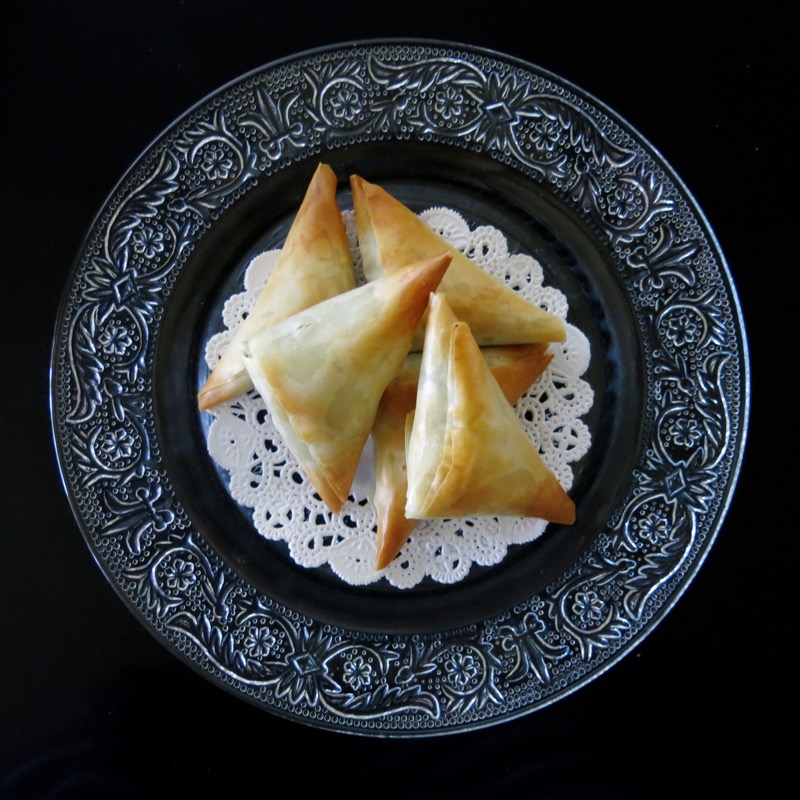
They are not so pretty, unless you have tasted them. Suddenly, with that knowing, they are stunning!
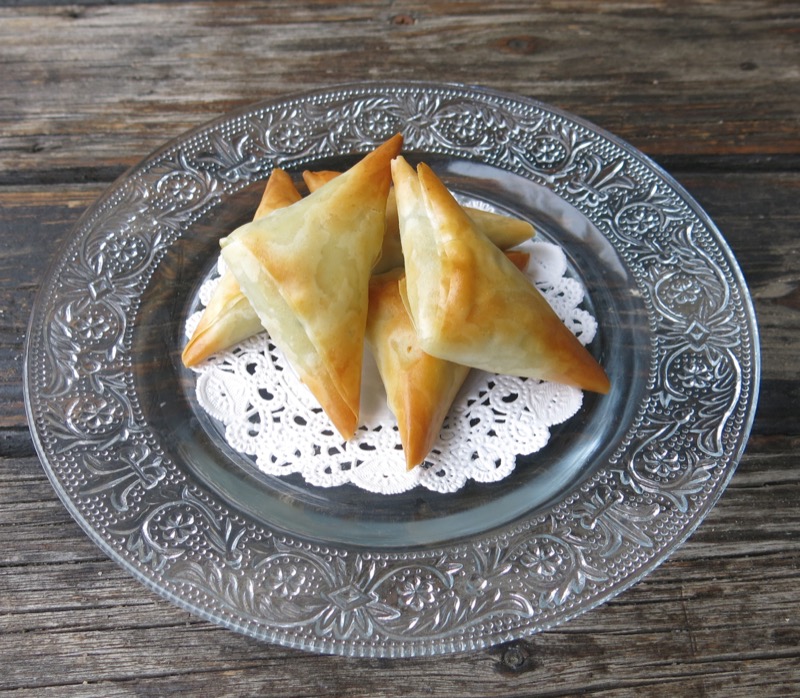
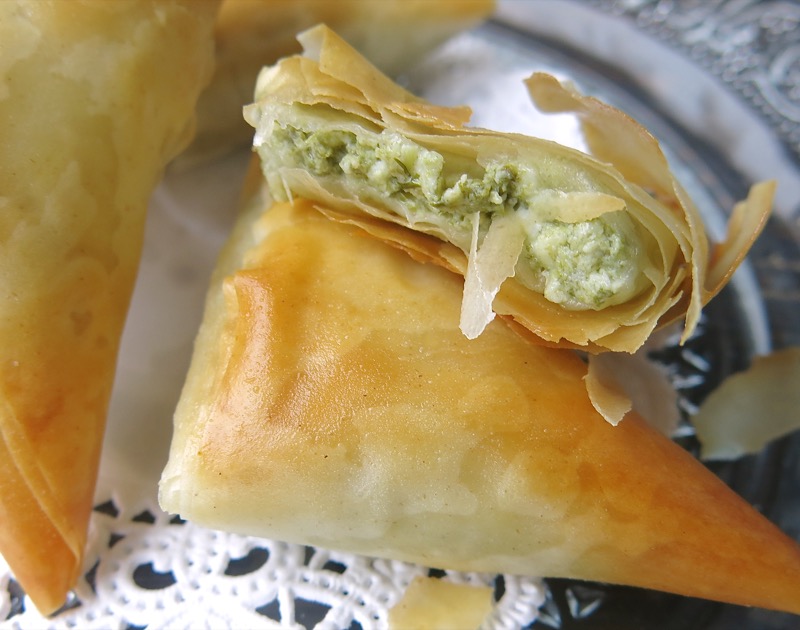
That crunch. Shards of phyllo fly.
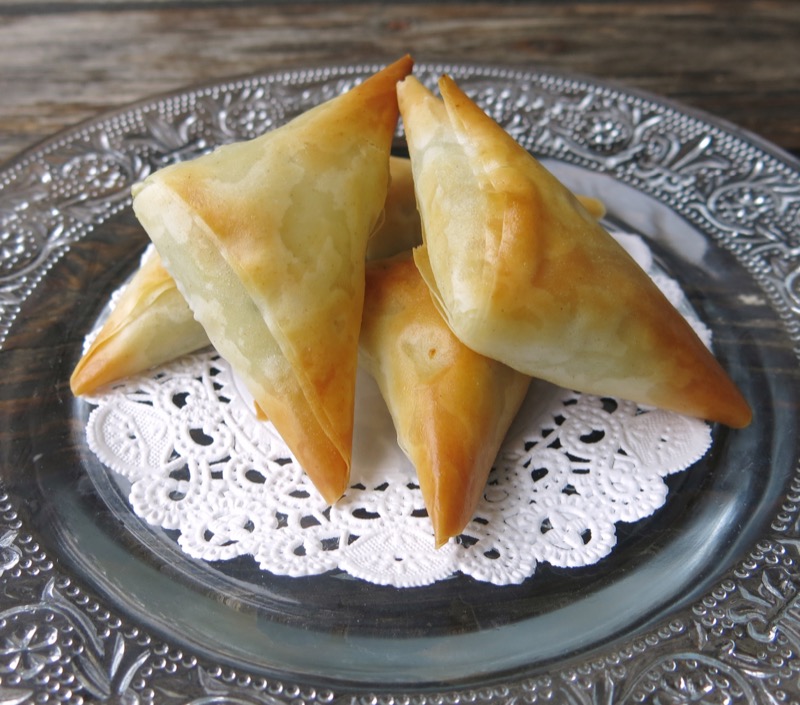
The salty tang of the feta…
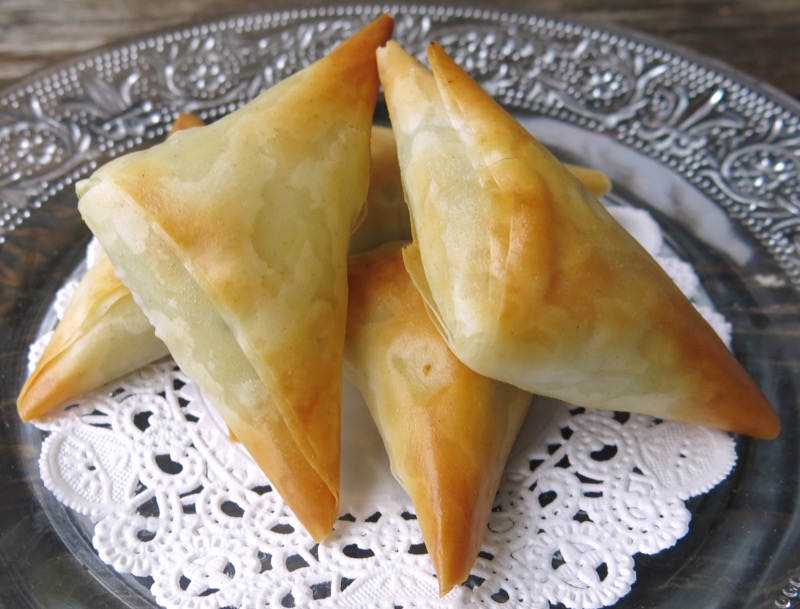
The soft centre with the crunchy pastry….
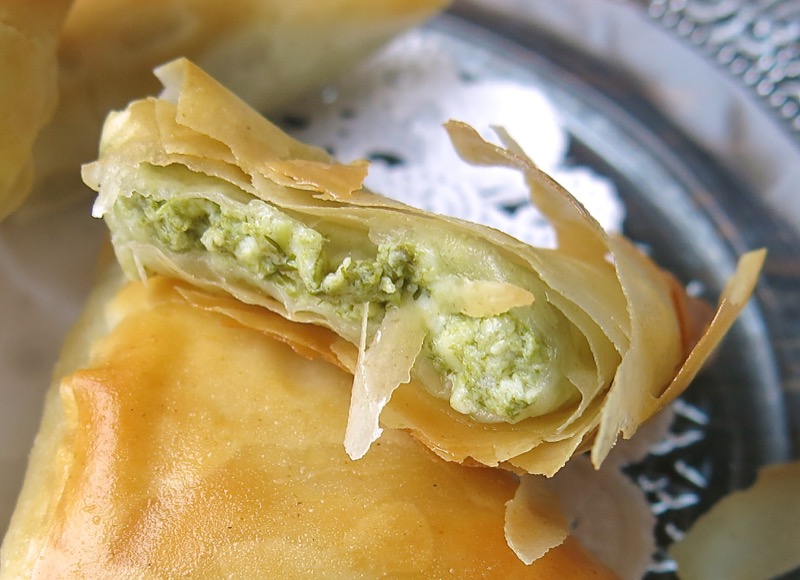
The butter with the cheese. The Greeks just seem to get everything right!

Spanakopita in Phyllo Pastry
Phyllo triangles, folded like one folds the flag, present an incredible
Ingredients
- 300 grams chopped frozen spinach (or 1 box) , thawed
- 500 grams of high quality feta , crumbled
- 250 grams of cream cheese
- 2 tablespoons onion , finely minced
- 2 eggs , whisked
- 1 bunch of fresh baby dill , finely chopped
- 2-3 fresh garlic cloves , minced (5 grams-10 grams)
- Half a fresh whole nutmeg , grated
- Freshly ground black pepper (1/4 teaspoon)
- 2 boxes of phyllo (filo) pastry, thawed
- 1 cup of melted butter (likely more)
Instructions
Prepare Spinach:
-
To get all of moisture out of frozen spinach, place it in tea towel and squeeze it until liquid is completely expelled
Instructions for Filling:
-
In a medium sized mixing bowl, place all ingredients, except butter and phyllo pastry
-
Mix or knead together to combine completely
Instructions for Making the Spanakopita:
-
Line a freezer container with plastic wrap
-
Moisten two tea towels, and wring out until just damp
-
Cut open plastic bag phyllo is housed in; slide out phyllo, and unroll
-
Take out one leaf; re-roll phyllo quickly inside parchment paper protector
-
Place phyllo on top of one damp tea towel, then lay second over phyllo rectangle of phyllo in front of you, vertically.
-
Using a pastry brush, brush lower half of rectangle with butter; fold top half onto buttered portion
-
Make 6 even vertical slices into strips; place a small amount of filling in each bottom right triangular corner of each strip of phyllo
-
Fold that over, and continue folding, triangularly, as you fold a flag, until you have completed one spanakopita triangle
-
Brush each with butter, and place in freezer container, covering gently with plastic wrap
-
Continue with remaining dough and filling; consistently be sure to keep phyllo covered with moist towels as it dries very quickly
-
Line each layer of freezer container with plastic wrap; seal tightly, label and date
-
Freeze up to 3 months.
Baking Spanakopita
-
Pre-heat oven to 400°F; bake 8-10 minutes until golden
-
Serve immediately with white gloves on a silver tray, of course!
Recipe Notes
Phyllo dries out very quickly, so you must be quick when working with it. It can be very brittle, even when “new”. It is important with this recipe that the dough is in excellent condition. As these are small morsels, and very labour intensive, it makes sense to use only the best leaves of pastry. Take it back and get better phyllo if it is shredded or dry.





Please could you tell me the weight of the
spinach. A box means nothing to me!
Many thanks
Emma
Of course! Thank you for pointing that out! 300 grams – and I have added it into the recipe. So not like me to leave that out! Love this recipe and hope you do, too. Of course, by the time you drain and squeeze all out, the spinach will be much less than the weight on the box when used.
🙂
Valerie
I use fresh, chopped, cooked swiss chard. For us it provides so much more flavor and it is free from the garden!
Great!
I am sure it was delicious!
🙂
Valerie
What is the cooking time from frozen?
I always bake them from frozen – so whatever the recipe says.
🙂