Royal Icing is easy to make in the Thermomix machine

Never too old to learn new techniques, correct? Fear is usually lack of experience and understanding. (Though, at times, due to experience and understanding!) Never having made royal icing, and not enjoying the texture and flavour of cookies iced with it, I simply had no desire to learn how to work with it or to use it. However, preparing for Amy’s baby shower to celebrate the birth of sweet little Heidi Marie put me over the edge. I wanted to decorate little babyface cookies, so I had to learn, and I had to also make them tasty. The quest was on!
Thermomix Royal Icing: Mixing the Colour Solution
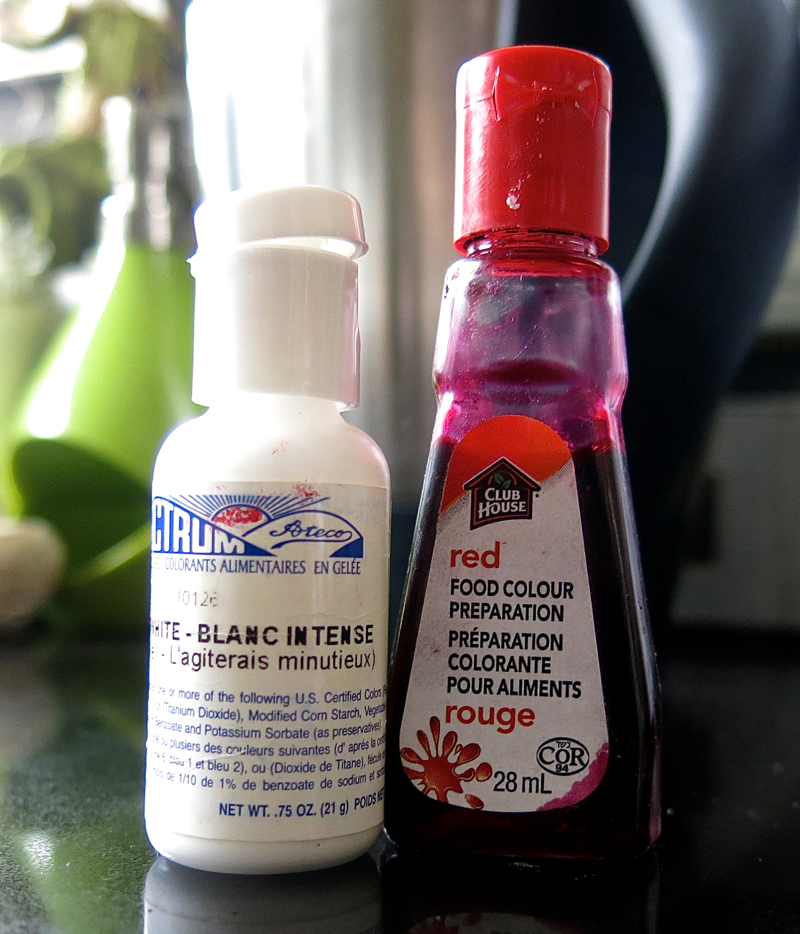
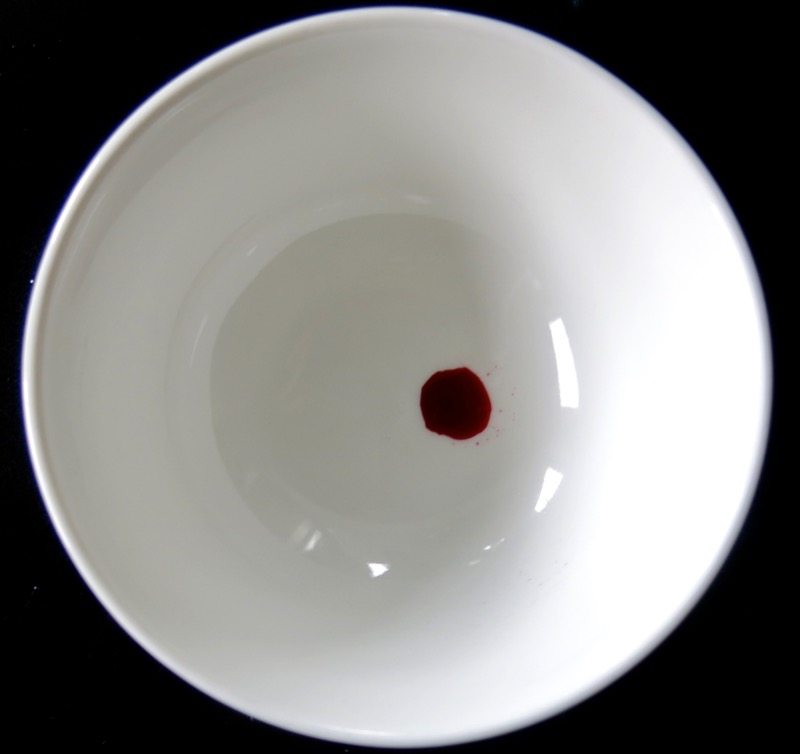
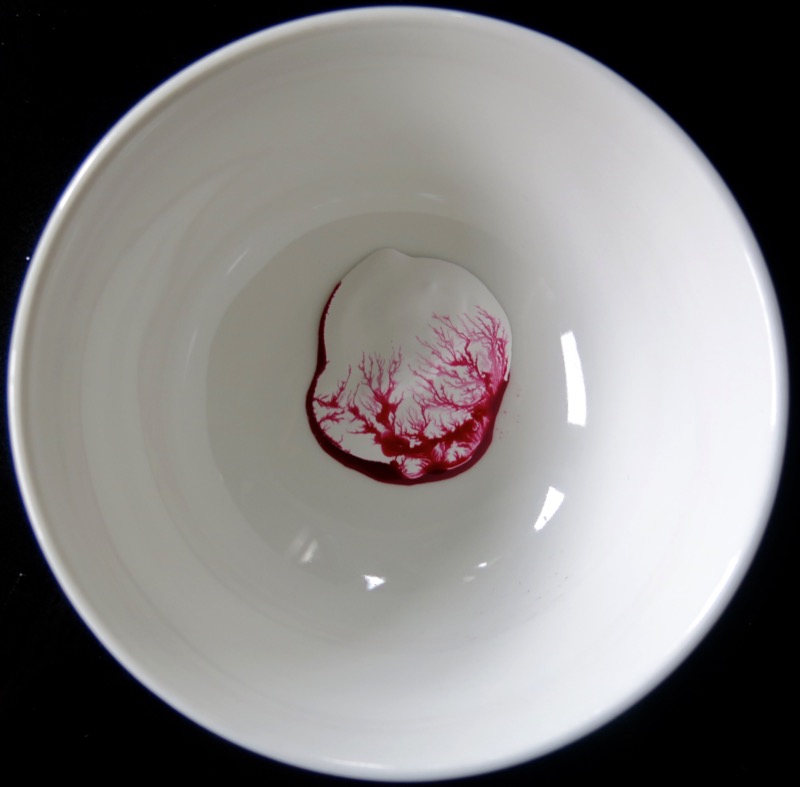
Thank God I am a little crazy at times. Truly. I had white food colouring. And a few bottles of it. Where and when I got it, I have no idea, but that is what I do. I see things that I don’t usually see, and I think: “Oh, I know I will need that sometime, and will never be able to find it.” Then I buy a bunch of it. On this day, I wouldn’t have even known I needed white food colouring – but I certainly did. So, I was tickled to have it and to use it. I used the entire bottle of the white for one batch of the cookies.
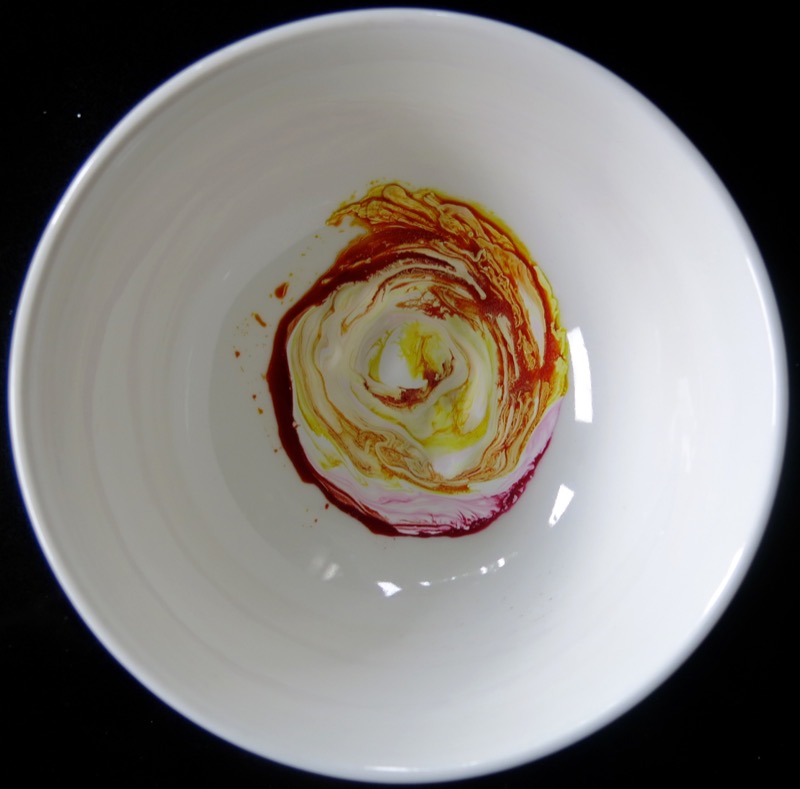
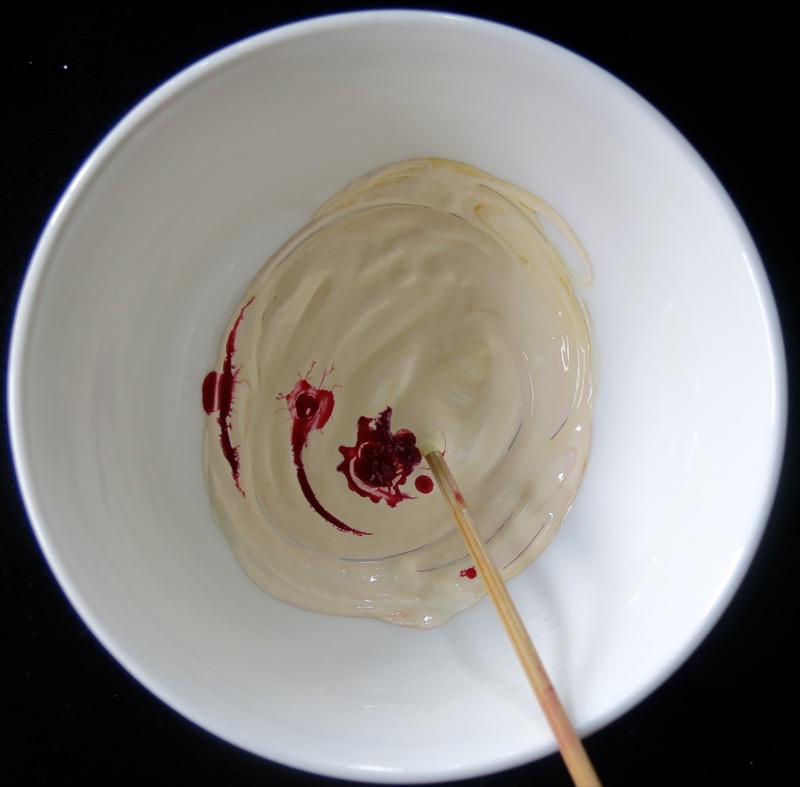
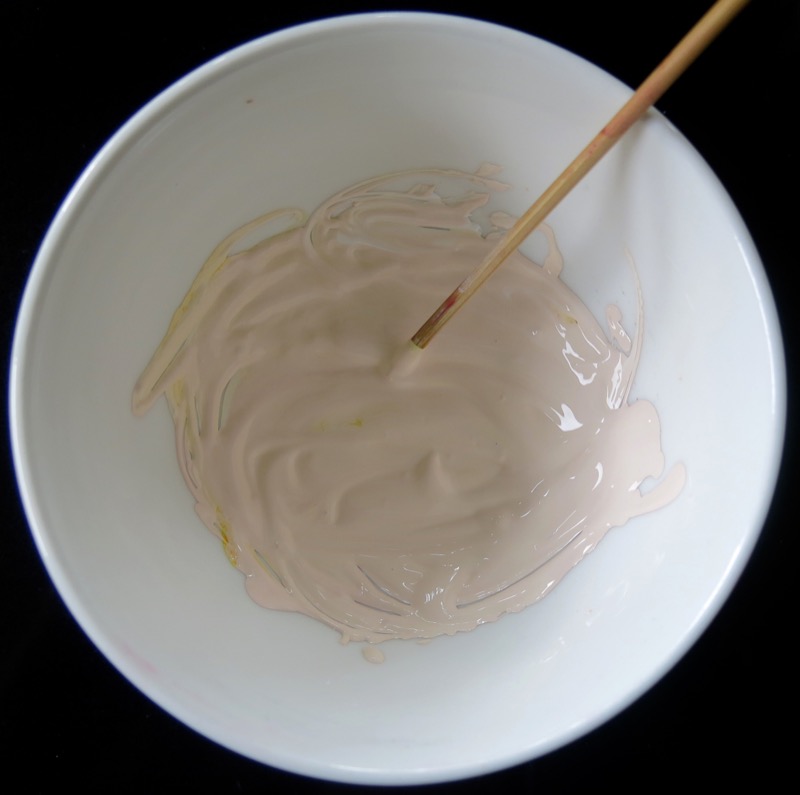
A drop of red. A drop of yellow. A bottle of white. It looked something like skin-tone. I knew I would also be adding it to the icing, so the colour would be dramatically toned down. I was a bit concerned about that, as you can see it isn’t very intense as it is.
Thermomix Royal Icing: Making the Icing and adding the colour
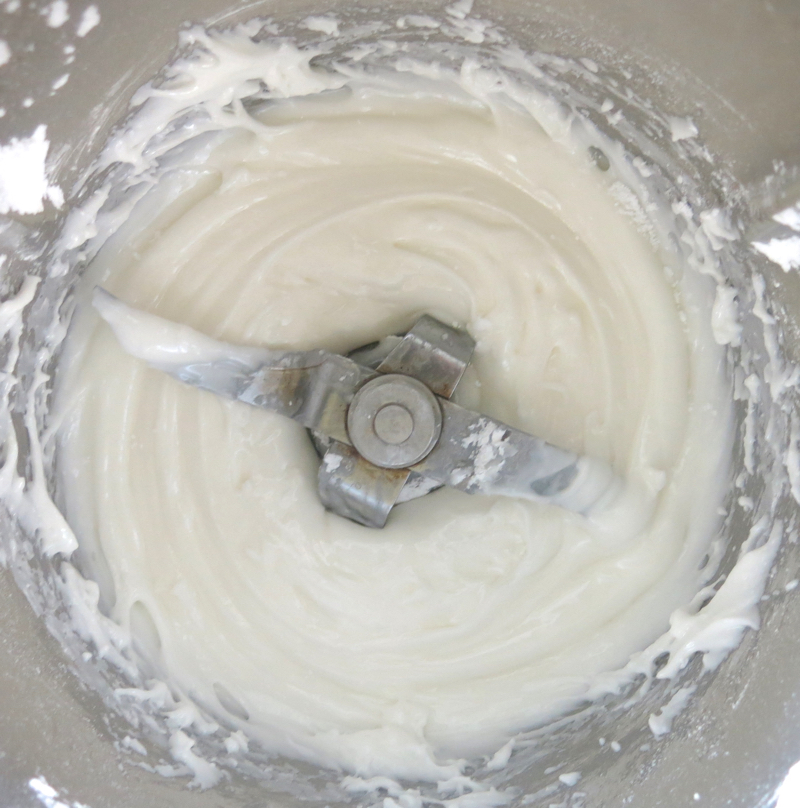
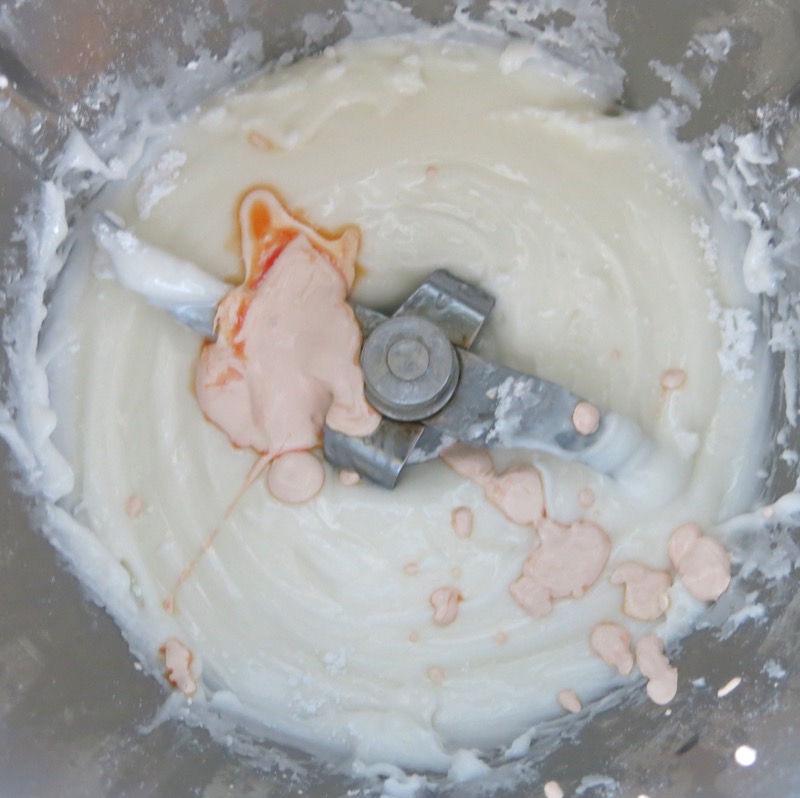
Yet, beside the white icing, it was pretty intense. So, the colour was a lot lighter than I wanted, but certainly still acceptable for my project and I was happy with it. I didn’t want to mess with what was working up to this point, as the consistency with all of that colouring was excellent.
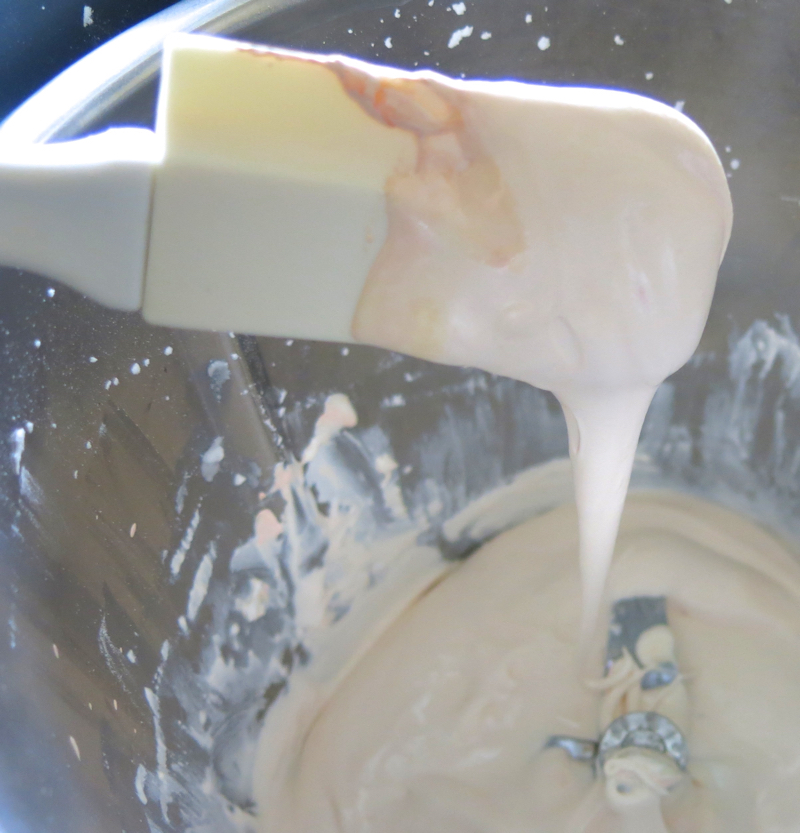
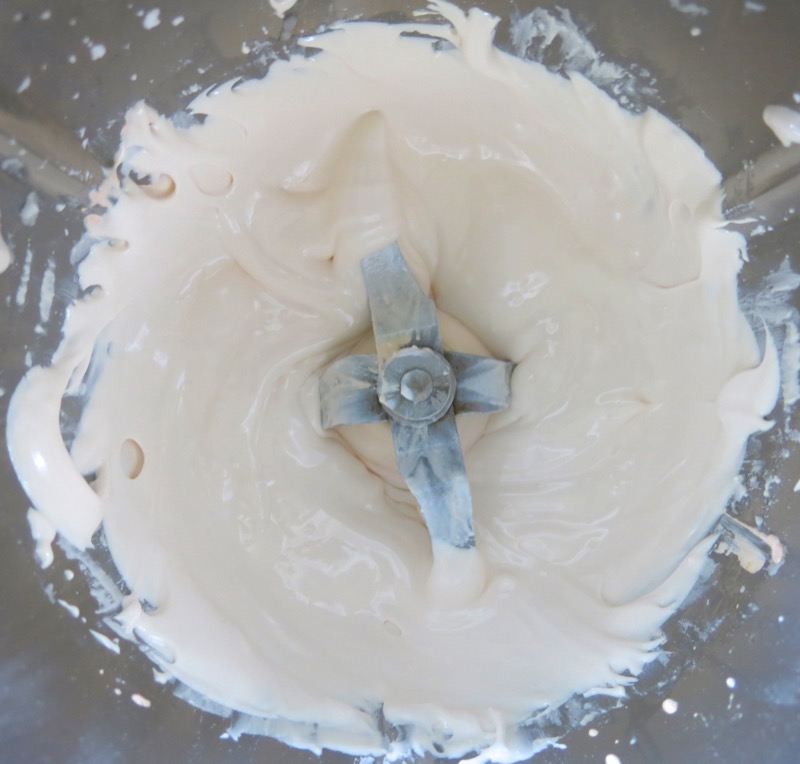
After putting the royal icing into another bowl, I needed to adjust the viscosity to be sure it was good for outlining. (See the recipe, below.) Into a disposable pastry bag the full batch went. I usually use non-disposable bags, but this tip is thin and my thin tips are too small for my cloth pastry bags. Thus, the disposable bag. Yes, I have a bunch of those, as well, but they were given to be by someone. Everything was working. If you are by yourself, put a small clip or elastic around the bottom or your pastry bag so the icing won’t come out. Put your pastry bag into a tall vase or glass, fold the edges over the container, and pour or spoon the frosting into it.
Thermomix Royal Icing: Piping the Outline
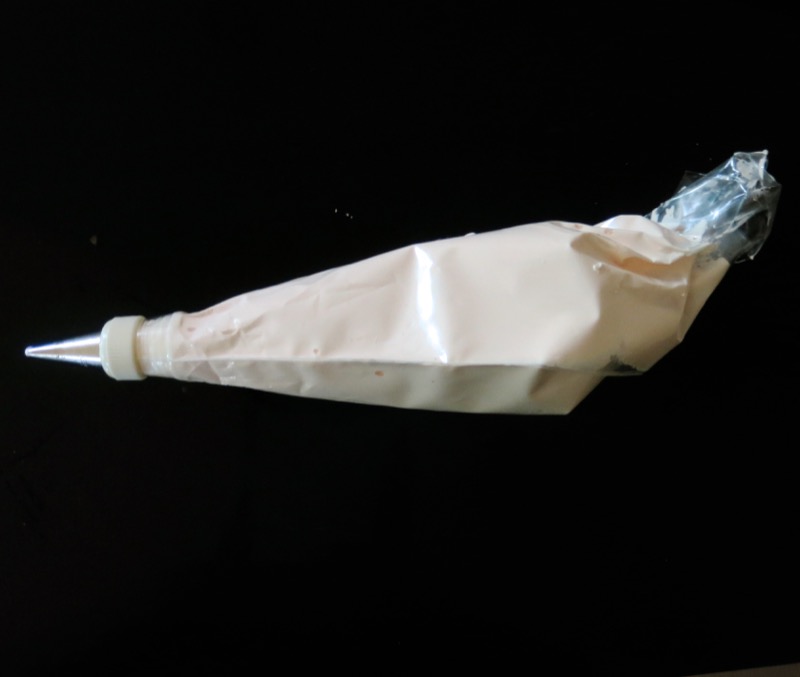
Apparently this icing will keep quite some time.
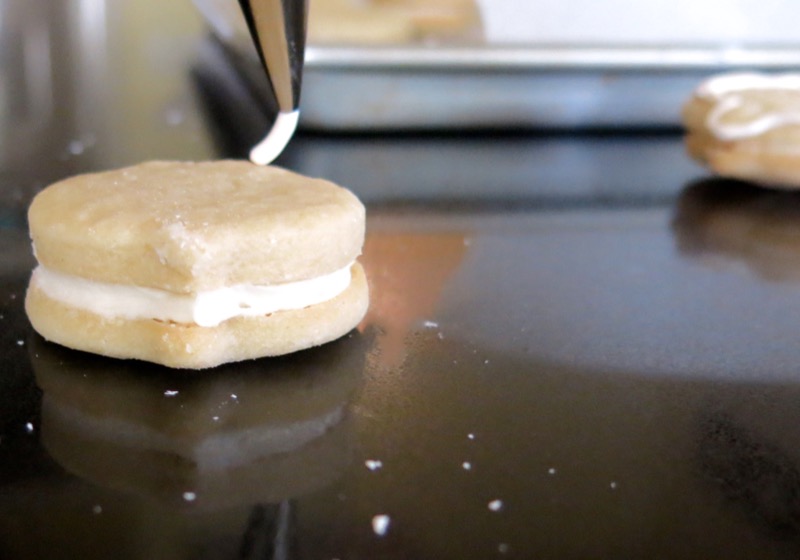
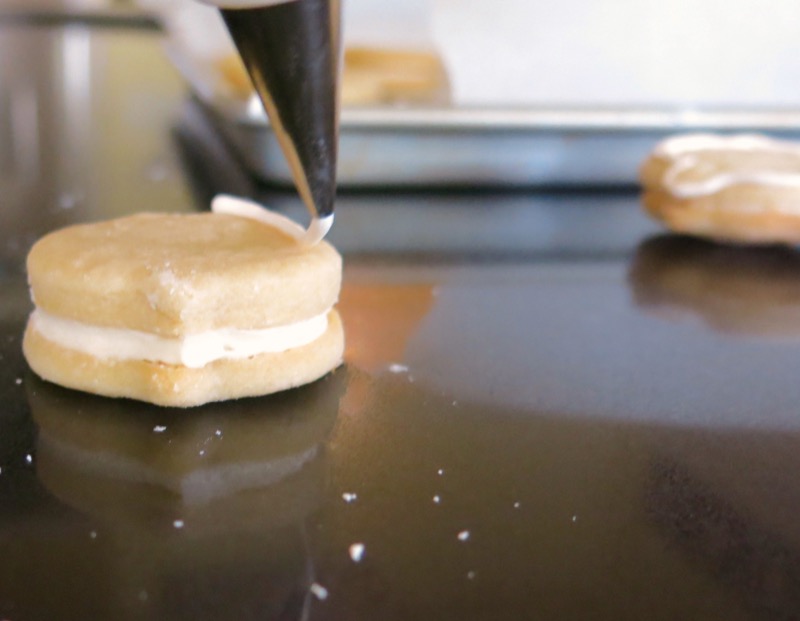
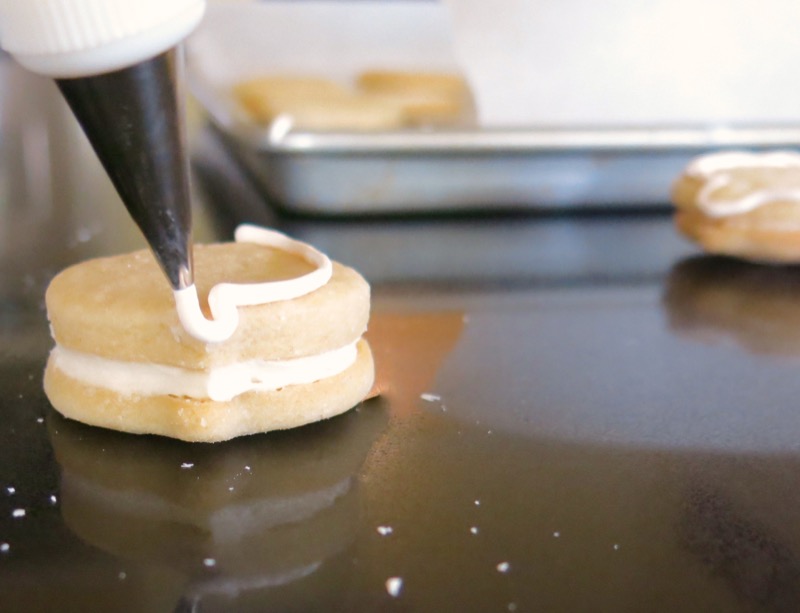
A couple of little tips:
- practice first, with any kind of icing, if you have never piped before
- if you are right handed, guide the tip with your left hand hand and with your right hand, you will be twisting the piping bag and controlling the flow
- let the icing channel fall onto the cookie with your tip instead of laying it right onto the cookie with the tip as you have more control that way
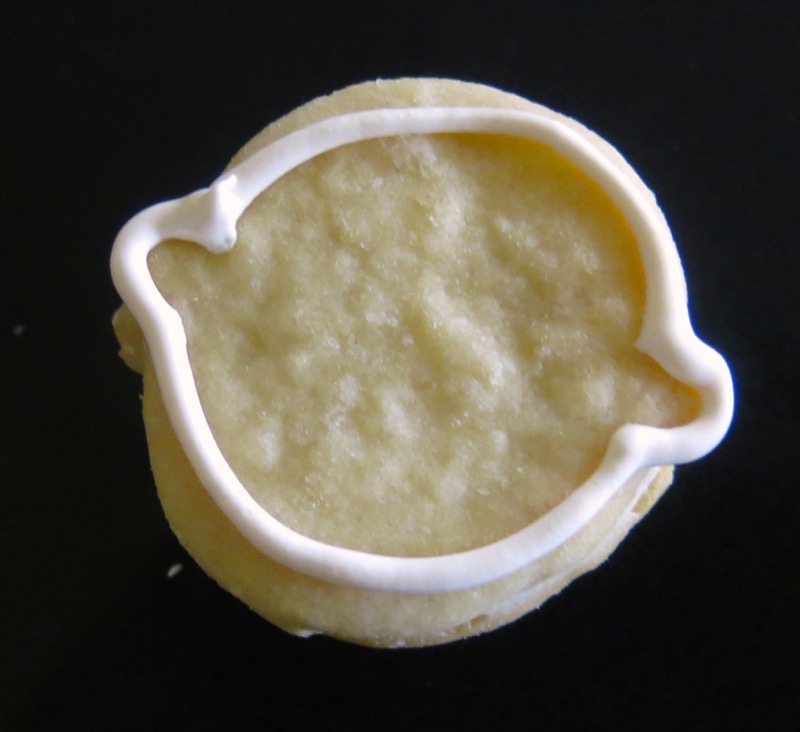
Thermomix Royal Icing: Flooding the Cookie
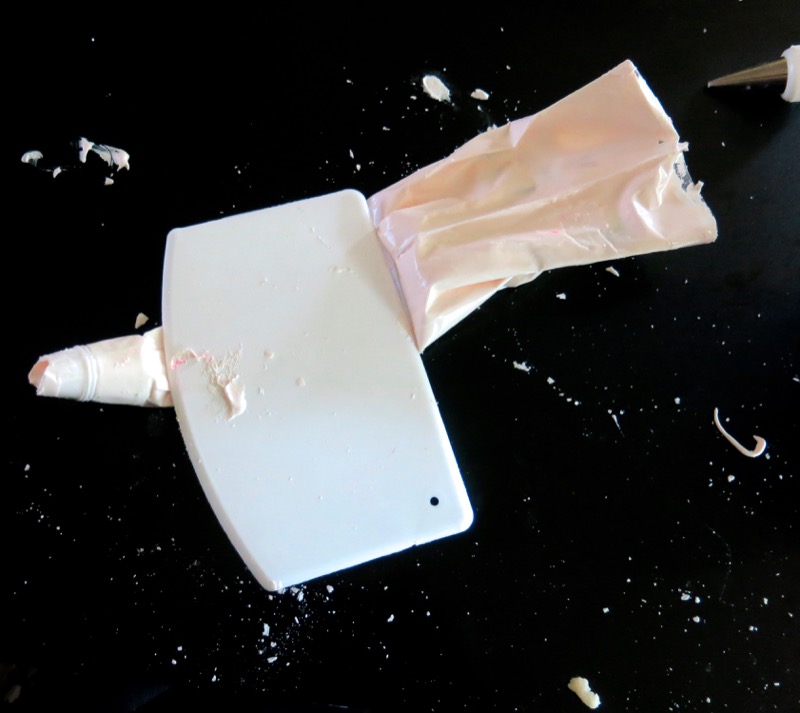
Removing or using all of the ingredients in a piping bag is easiest with a D-shaped spatula, as in the above image. Use it as a scraper to press all of the ingredients in the piping bag down to and through the tip.
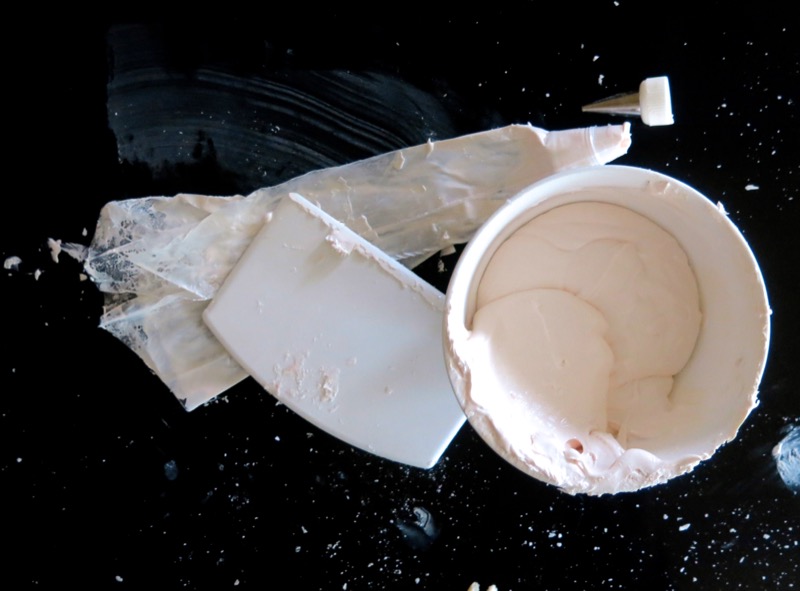
Before flooding the cookies, all of the outlining icing must be removed from the piping bag to have the consistency changed into a “flooding consistency” and then poured into a squeeze bottle.
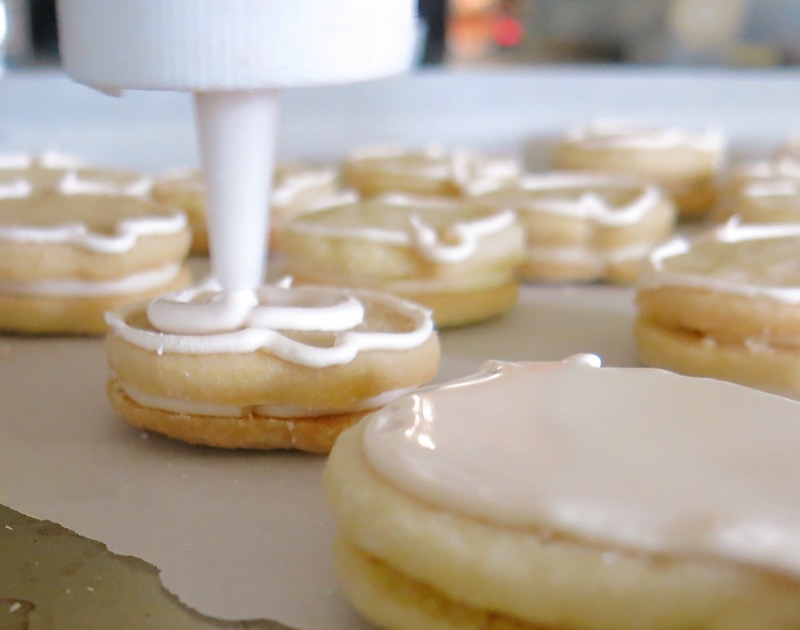
The borders are stiff enough to hold the flooded icing from spilling over and contain it. It is important to use the nozzle of the squeeze bottle, or a toothpick, to move the liquidy royal icing around to completely cover the surface of the cookie to the same height as the outline. In a perfect cookie, the outline will not be visible.
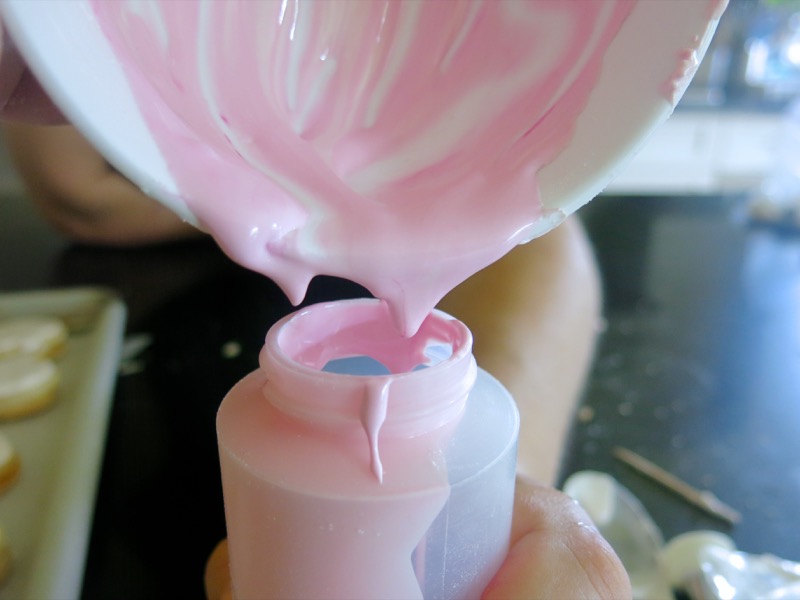
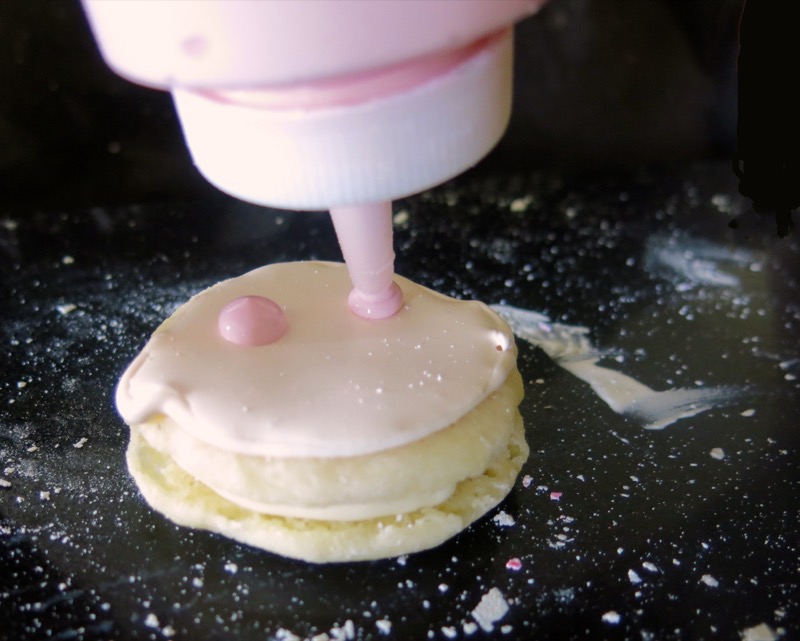
Making polka dots or blushing pink cheeks can be a lot of fun, too. You need another squeeze bottle with pinker icing the same consistency as the icing you are flooding the cookie with. After flooding the cookie, without going on to another one, take the pink icing (or whatever colour) to make the polka-dots or blushing cheeks. Simply set the dot on top of the flooded icing and it will sink into it, yet remain in position and appear as a small polka-dot of colour. However, if you finish flooding the surface of all of the cookies first, and come back to do the dots, you will be out of luck, as I was. They will not sink it. Instead, they will sit on the surface. In my case, I got adorable chubby little cheeks. Texture can be fun with polka-dots, too. My experience turned into a happy accident. I may have preferred the other look, but I was really taken with this one, so when I did make them again (and, sadly, I needed to), I made them the same way.
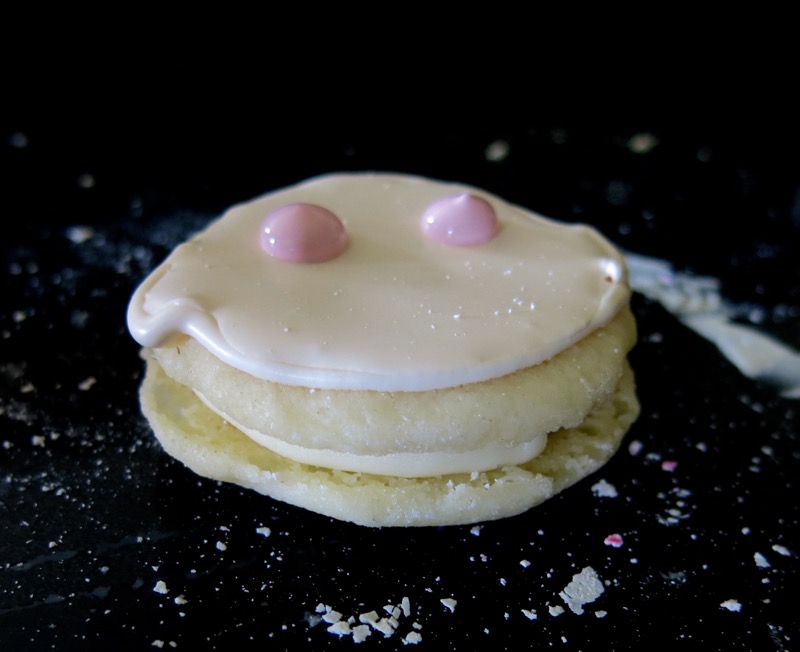
They need to sit over night to completely dry, or cure, before decorating begins.
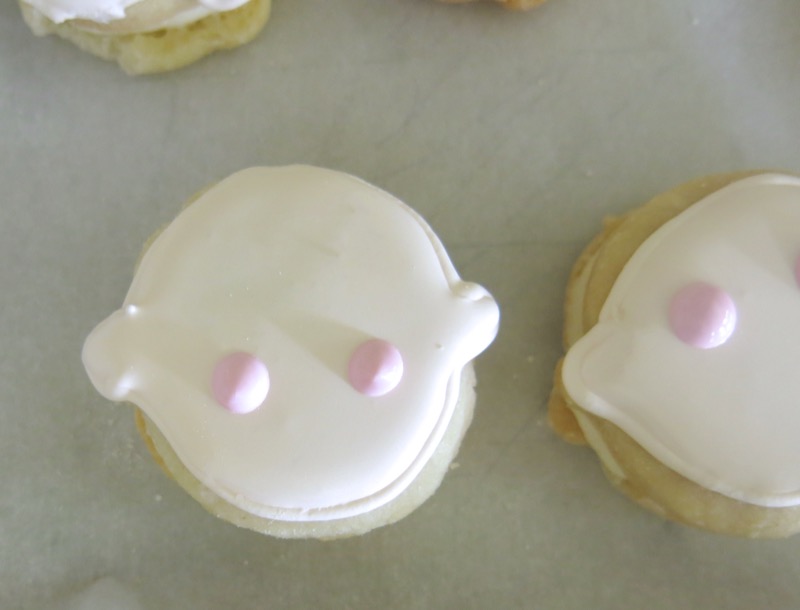
Thermomix Royal Icing: Decorating the Cookies

I added blue and yellow to the pink in the squeeze bottle to make brown for the hair, and squiggled a few curls a top each little noggin. On those curls, I stuck a little flower.

Then, using an edible ink pen, finished off by dotting my “eyes” and add a deep u-shaped smiley mouth.
Thermomix Royal Icing: Evaluating the Result

Recall my saying that the outline should not be seen. In all of the above, it is evident. But, not on all of my cookies. Lesson learned. Also, I need a finer tip edible ink pen. Mouths look a little smudgy. (Later I learned that was because it wasn’t an edible ink pen, at all!)
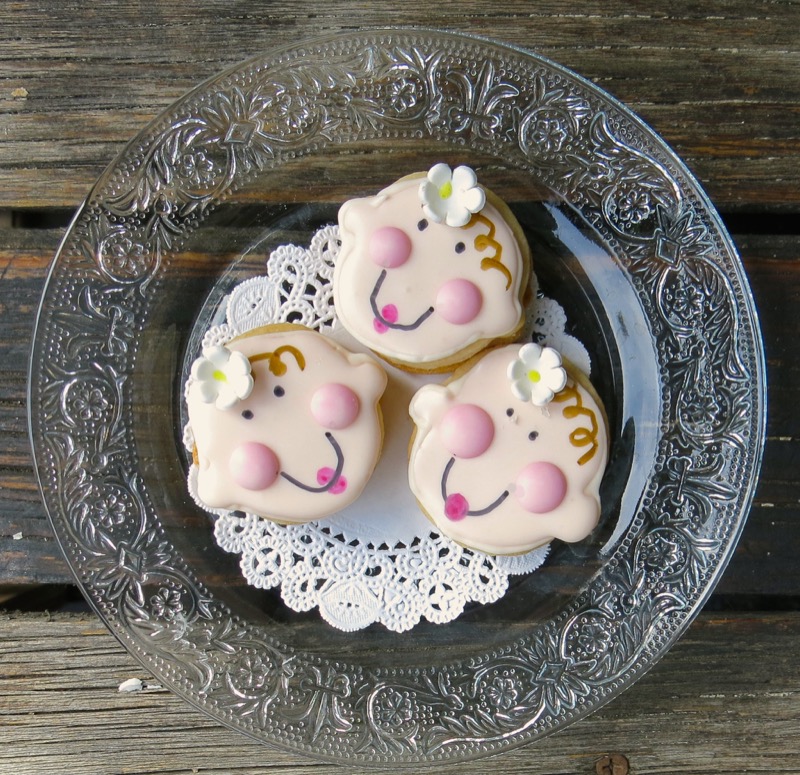
I really enjoyed this process and might just be doing something similar in the future. Likely not the near future, but it was not hard. What was hard was overcoming my fear of failure. And, why? I fail all of the time. But, I always pick up, and give things another go, until I succeed. Not sure why that fear is so debilitating as it surely is. Love to see your royal icing creations! Please do share.

Royal Icing: Outlining and Flooding
Not so much work, but to get these cookies looking professional, like anything else, it takes practice and experience. Otherwise, it is a heck of a lot of fun to make them in a folk artsy style, each with their own whimsical personality at the hand of an amateur!
Ingredients
Royal Icing Base Ingredients
- 360 g powdered sugar
- 60 g or 2 large egg white
- 1/8 teaspoon of cream of tartar
- flavouring
- food colouring: red , white, yellow and black
- water
Materials Needed:
- Flavourings
- Food Colouring
- Pastry Bag and Tip
- Squeeze Bottle
Instructions
Royal Icing Instructions for Base Recipe
-
Prepare colouring in a small white bowl: start with 1/4 bottle of white, 1 drop of red and insert toothpick into yellow colouring, adding as needed and mixing in, to achieve desired skin tone; set aside
-
Weigh sugar and whites into TM bowl with Cream of Tartar; combine for 10 seconds on speed 4
-
Add flavouring and colouring; combine for 10 seconds on speed 4
Royal Icing Instructions for Outlining
-
Add 1/2 teaspoon water to entire base recipe; combine for 5 seconds at speed 6
-
Remove to piping bag
Royal Icing Instructions for Flooding
-
Remove all remaining icing from piping bag to bowl; add 1/2 teaspoon water and stir
-
Keep adding water, 1/4 teaspoon at a time, completely combining, until desired consistency
Desired Consistency
-
Thick enough, but runs into bowl and keeps its shape for 5 seconds in the bowl before melting back into itself






This was a fun experience too! They are adorable 🙂 and delicious
Thought I responded to this one – but I guess it was the cookie making of this recipe.
XOXO