Enchiladas Potosi Style or Enchiladas Potosinas
After staying in the Yucatan Peninsula and taking an incredible cooking class with Chef Claudia at Can Cook in Cancun ( Mi Cocina es Tu Cocina) I remain Mexican food obsessed. The appetizer enchiladas in Potosi style prepared in the class were not so “to-die-for” delicious that I had to come home and make them, but how they are made and the possibility for them to be “to-die-for” delicious was so compelling, that they were the first item on my list. Enchiladas are typically tortilla shells dipped in a sauce and rolled around a filling, or layered in a casserole dish with a filling. These are tortilla shells that are made with adding a pepper paste that includes onions, and garlic in it, to the mesa (corn flour from kernels that have been grown, harvested and dried, then boiled with limestone powder for tenderizing, rinsed then ground into mesa; at this point, it is dried again to make the Mexican corn flour). Motivated to explore the possibilities, the flavours of the peppers and the ancient technique of making a pepper paste, I begin.
The pepper paste process and recipe is posted separately as I could see the possibility for the concoction to be use for many other purposes, and though I have not posted making any Mexican moles, the making of the pepper paste for these recipes is very similar, if not the same. So, let’s start with the filling created from putting together flavours form a variety of recipes I read. Chef Claudia did give us a recipe, but her filling didn’t include tomato or peppers.
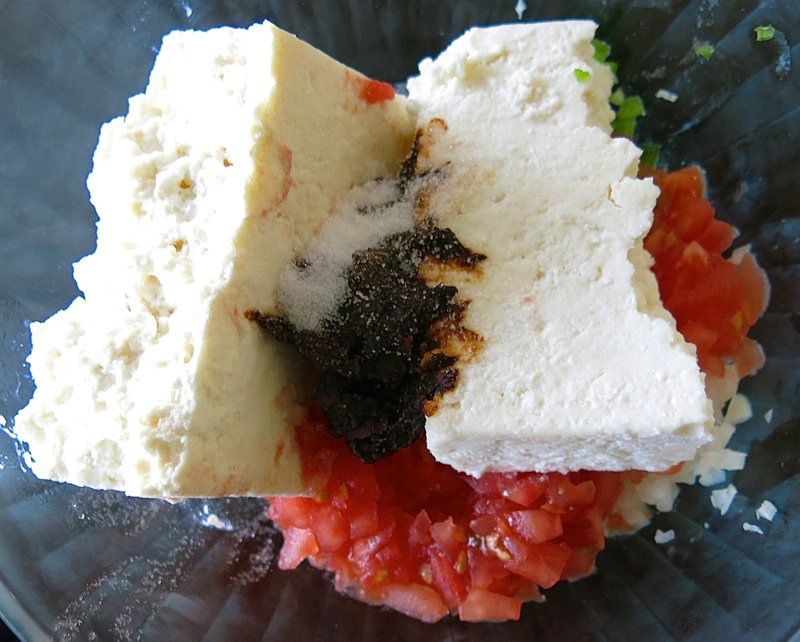
There was no doubt this would be tasty as I adore young cheese, but it was startlingly tasty. I did not expect this filling to be as delicious as it was. I could have eaten the entire bowlful with a spoon. Was it the pepper paste? No. It was no one item, but the combination that presented a clean, bright, fresh experience coupled with the homey satisfaction and creamy texture of the cheese. I will make this again just for dipping raw vegetables into. (I wish it was more visually appealing.) You can see it does hold its shape so could be rolled into balls and then into minced herbs, too.
The aroma of the red pepper paste aroused the umami salivation points at the back of the jowels, yet the bitterness of the peppers overpowered the lovely warm complex notes the peppers offered. Fortunately, the mesa is the perfect partner to temper those bitter notes and support the warm complexity of the flavour in the paste.
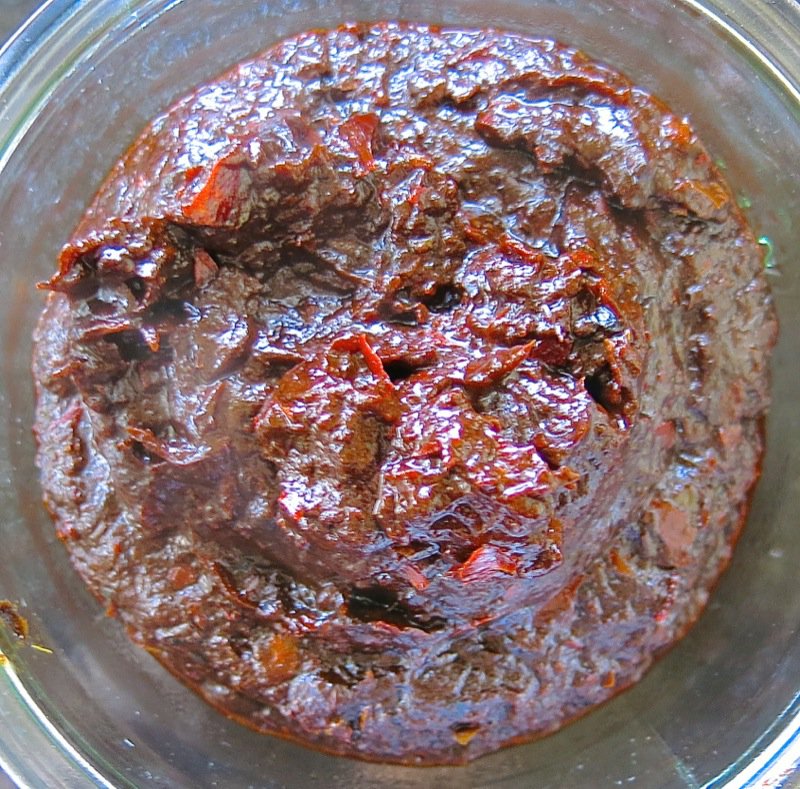
I have noticed that there is a MesaCa that can be purchased at the local Mexican stores and even at Superstore, but it is the “Instant MesaCa”. What I brought back from Mexico is not instant, and cannot be found anywhere locally. I wonder if the locals in Mexico use the instant and what that actually is. I cannot imagine an instant flour, so what is instant mesa?
Masa vs Masa Harina
According to Rick Bayless, masa is close to impossible to make at home and an effort to find, if even available in most communities, and then easily perishable. To use fresh masa, it has to be ground the day you use it, and not refrigerated. It will spoil within 12 hours. If refrigerated, or frozen, will yield a tortilla that is more dense. Masa is used for special parties. Masa harina (Mesaca brand is agreed by most to be the best) though the tortillas made with them are a little less smooth and a little more mealy.
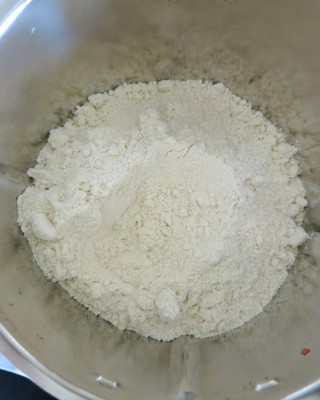
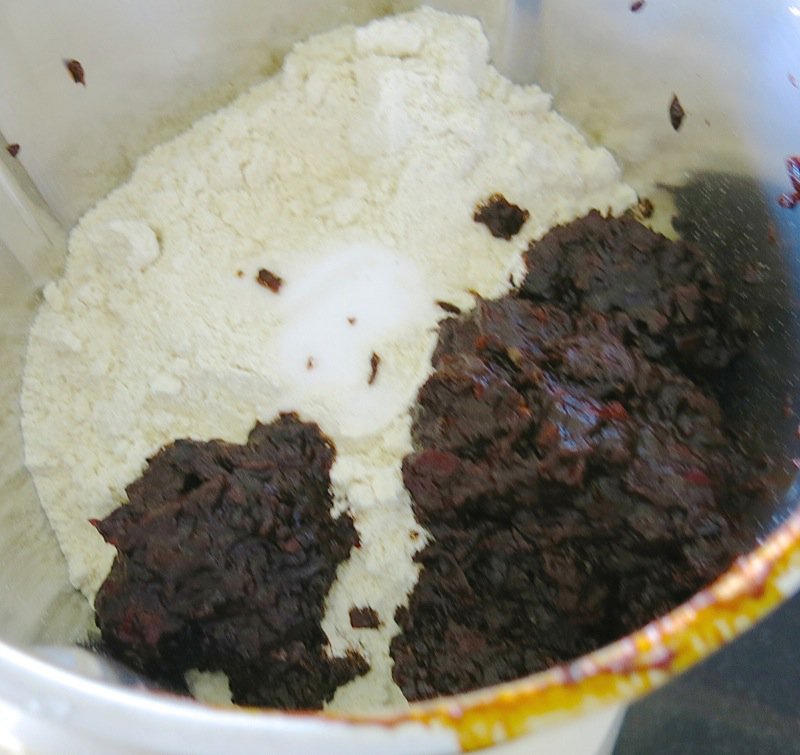
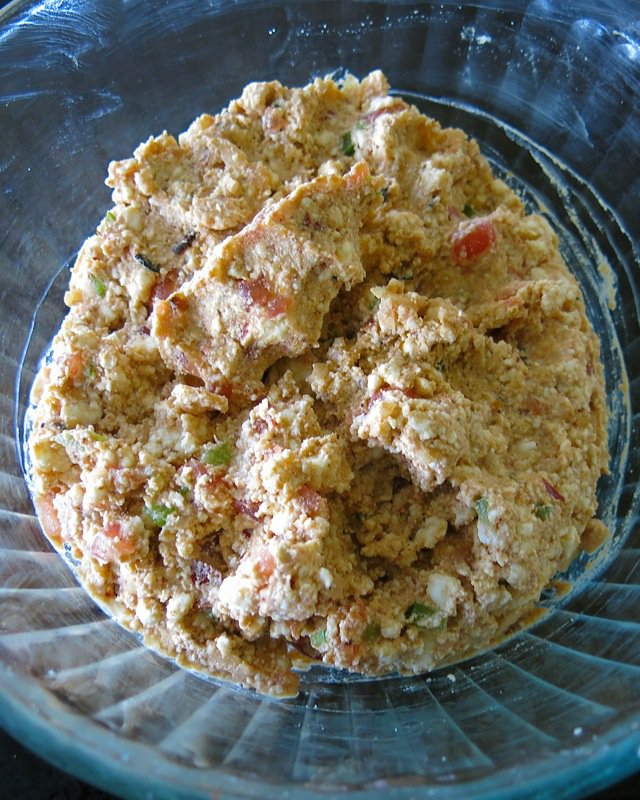
Happy to use the Thermomix whenever making doughs or pastries, I combined the ingredients for the shell using Chef Claudia’s instructions and got the gorgeous grainy concoction you will see below. I imagine that is partially due to the lack of moisture in the air here compared to the humidity almost visible there.
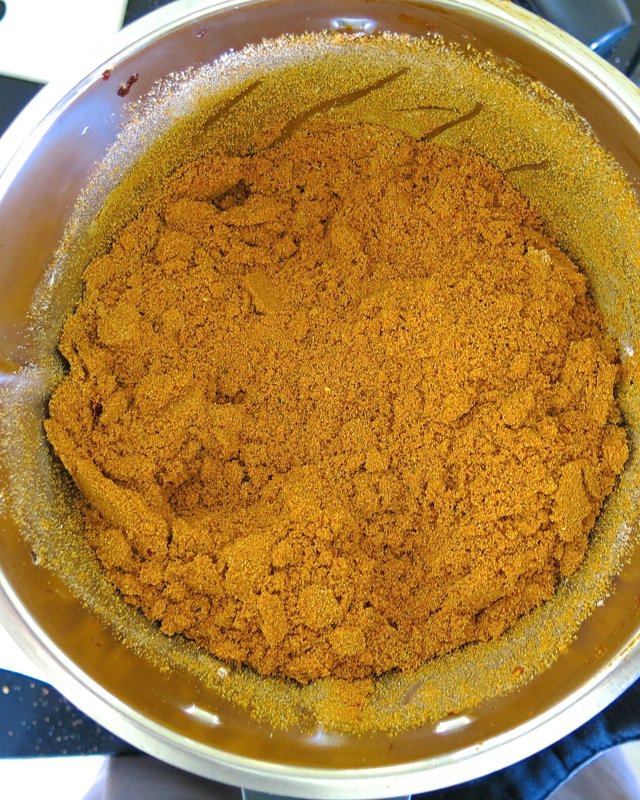
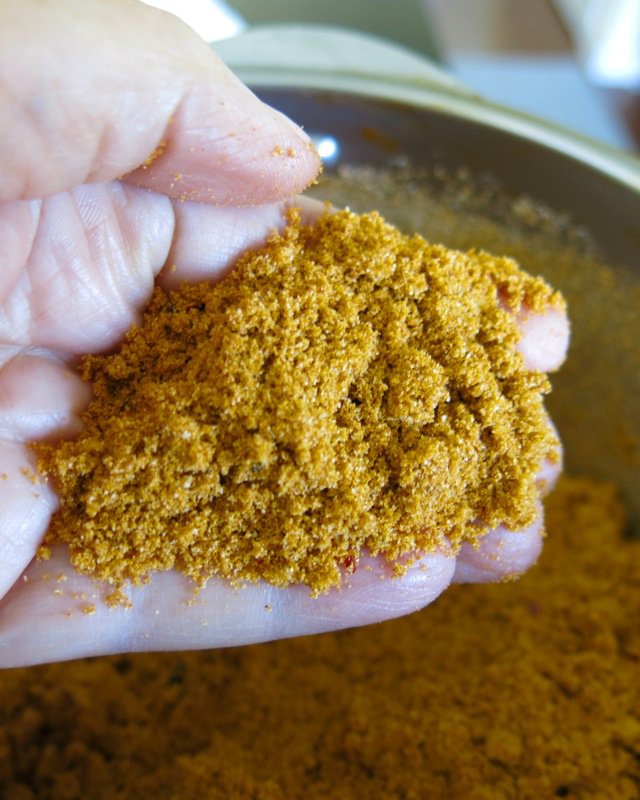
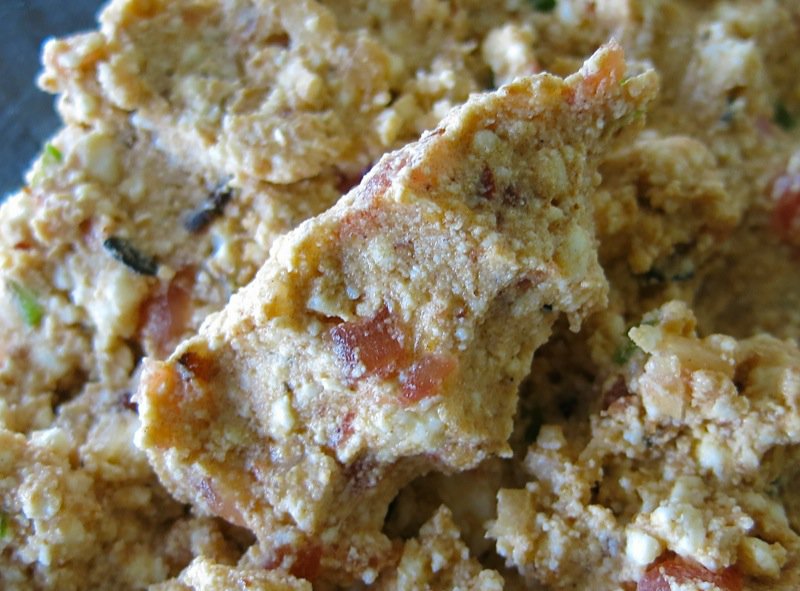
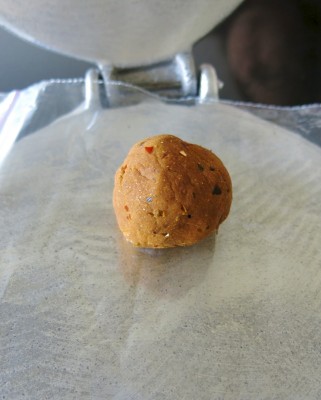
I added another 150mL of water to get the dough to the consistency below. I could roll it into a ball, but that didn’t happen in the Thermomix. I was hesitant to add so much more liquid, though would add even another 50 to 100mL more next round as I did have to moisten my hands to roll each ball to put into the tortilla press. The dough was just too dry.
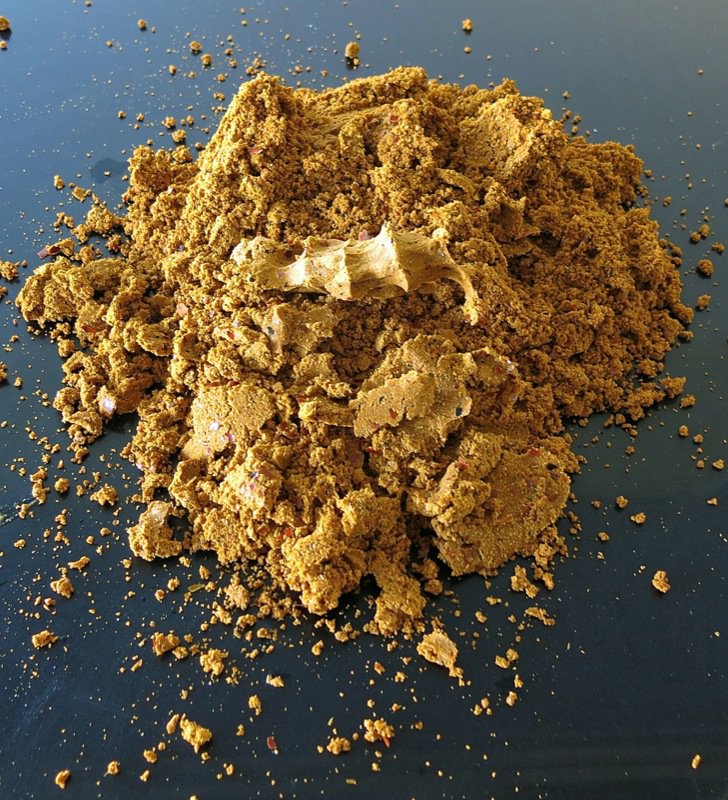
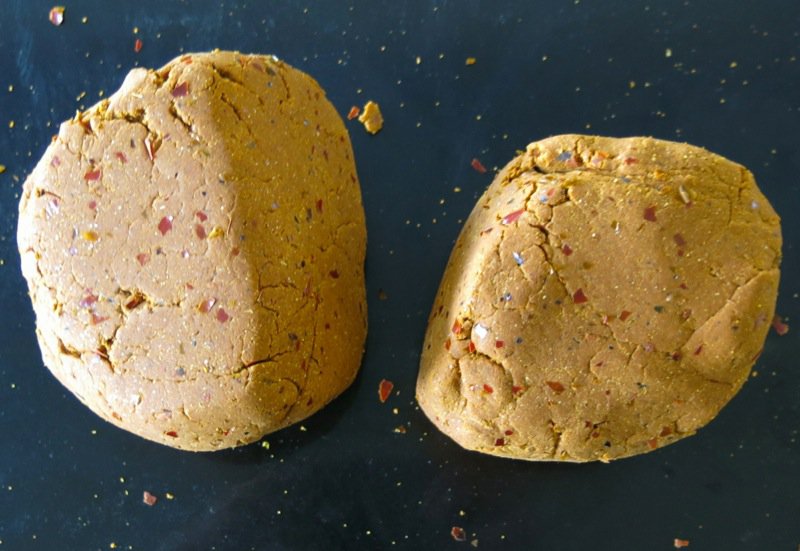
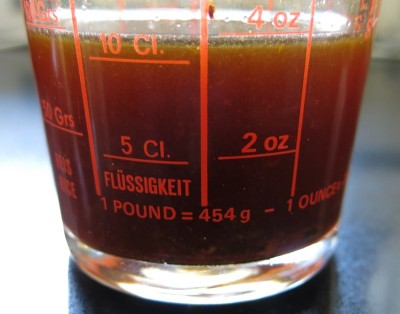
I did add 1/2 cup of the soaking liquid and topped up the remainder to make a second 1/2 cup. Then, added another 150mL of water.
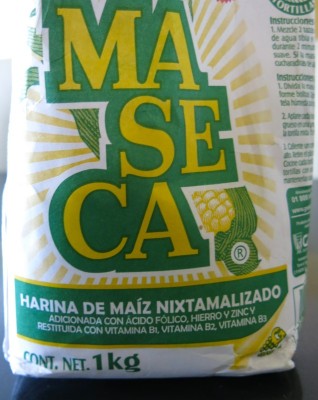
The bottom of the bag does not say instant. It says the corn has been nixtamalized which means the grain is soaked and cooked in an alkaline solution, usually limewater, and hulled. A new English word to me! Maize subjected to the nixtamalization process has several benefits over unprocessed grain for food preparation:
- it is more easily ground;
- its nutritional value is increased;
- flavor and aroma are improved; and
- mycotoxins are reduced.
While cornmeal made from untreated ground corn is unable by itself to form a dough on addition of water, the chemical changes in masa allow dough formation. These benefits make nixtamalization a crucial preliminary step for further processing of maize into food products, and the process is employed using both traditional and industrial methods, in the production of tortillas and tortilla chips, tamales, hominy and many other items.
Is that not interesting? Who knew? Apparently, everyone but me!
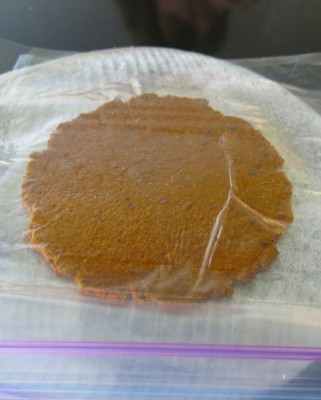
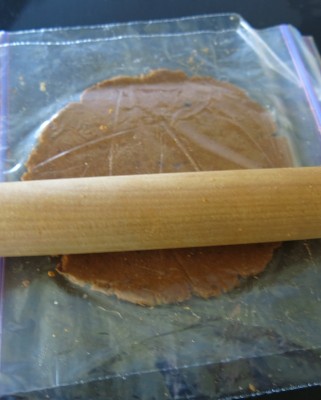
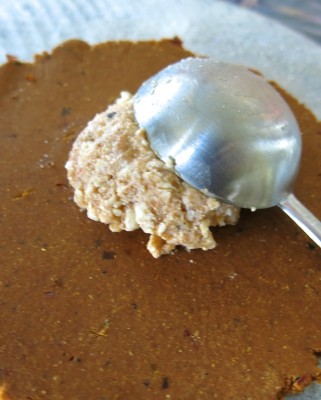
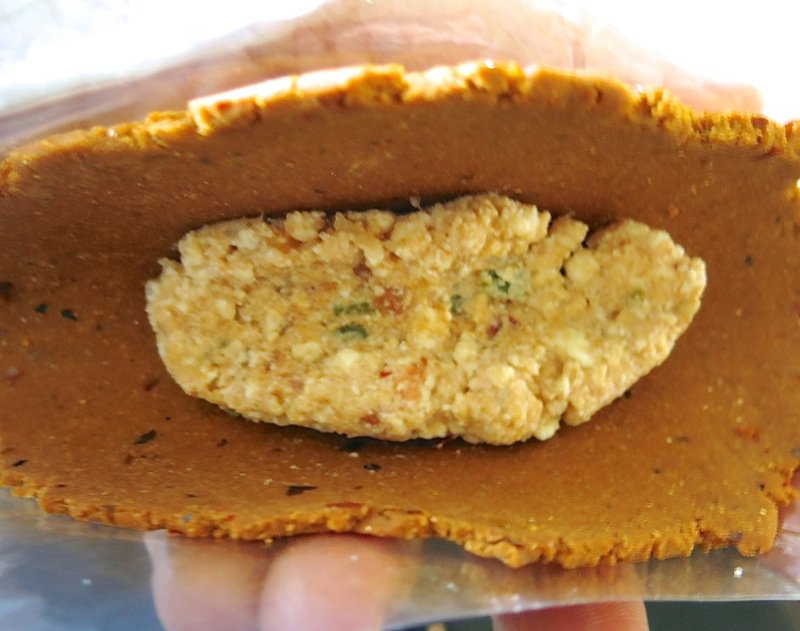
I did opt for a tortilla press, though was determined never to get one, and should have definitely purchase one in Mexico. The cheap hunk of junk I found at our local Mexian store for $15.00 is probably made of led and has toxic paint on it. It does not press evenly and has me quite frustrated. Yet, rolling the dough is more difficult. When the gals made the tortilla shapes by hand at the cooking class in Cancun, the dough was definitely lighter in colour, and much softer and more pliable. Sadly, we did not get to see the process for making the dough which is something I don’t care for when taking a cooking class. I am a hands on kind of gal. The dough we did use to form our tortillas with was quite similar in texture, yet more pliable. When filling the enchiladas, I learned to keep the shell in the plastic and to mold the shell around the filling so that it wouldn’t crack.
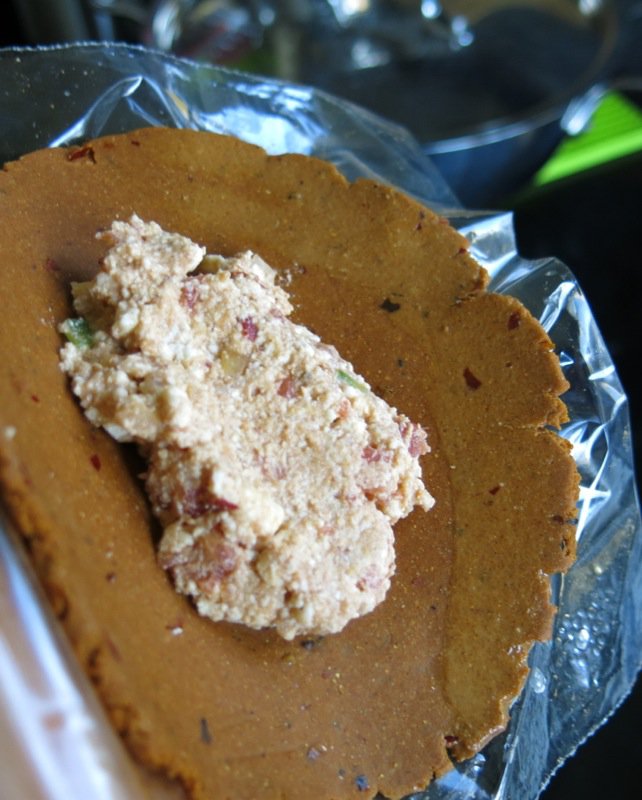
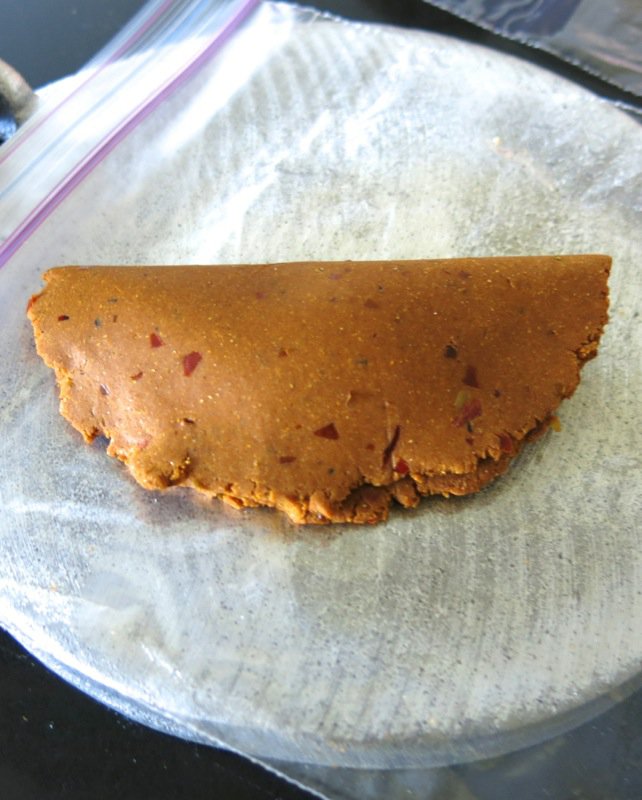
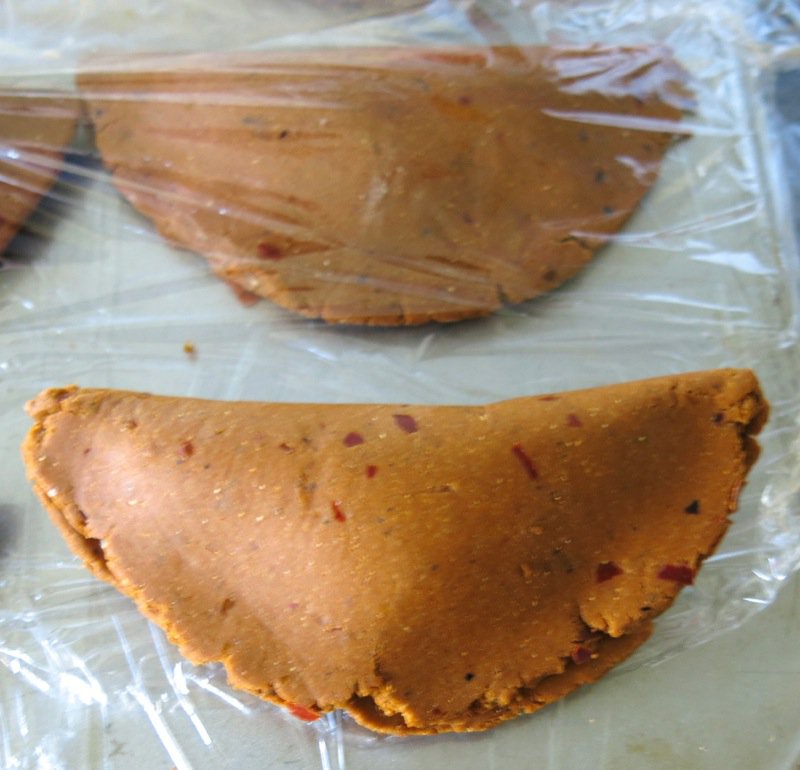
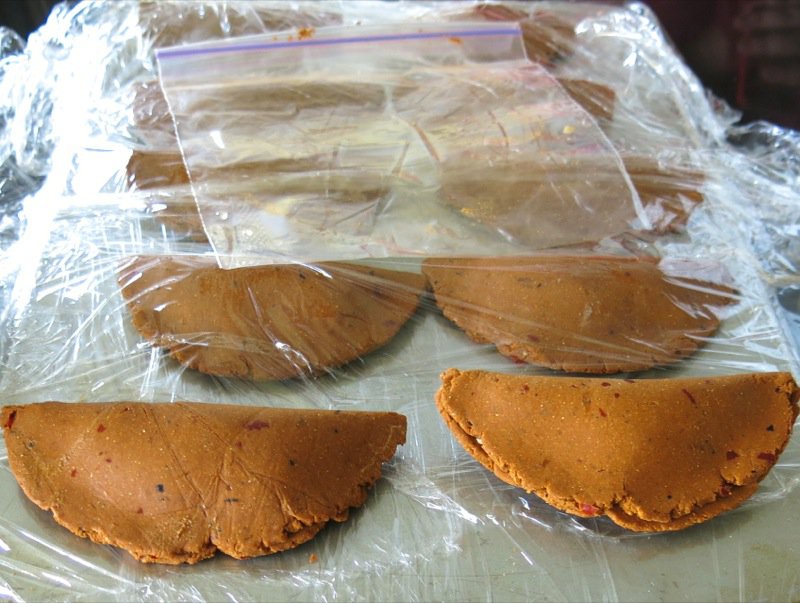
These are a good size and half of the batch made 10 which was plenty for the meal I was planning. I prepared them one day ahead to be fried just before serving. I chose not to do any fancy fluting as the rustic look just seemed right.
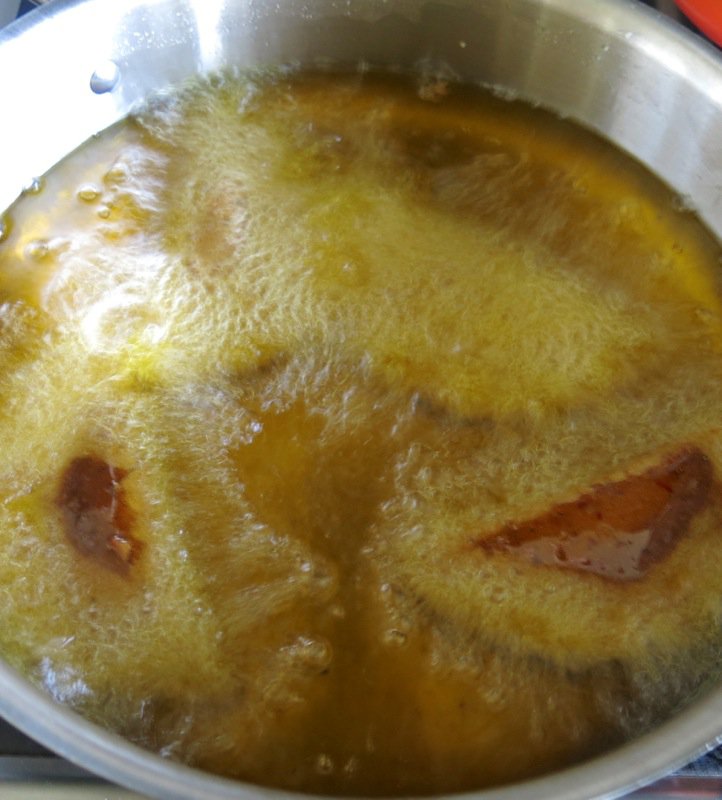
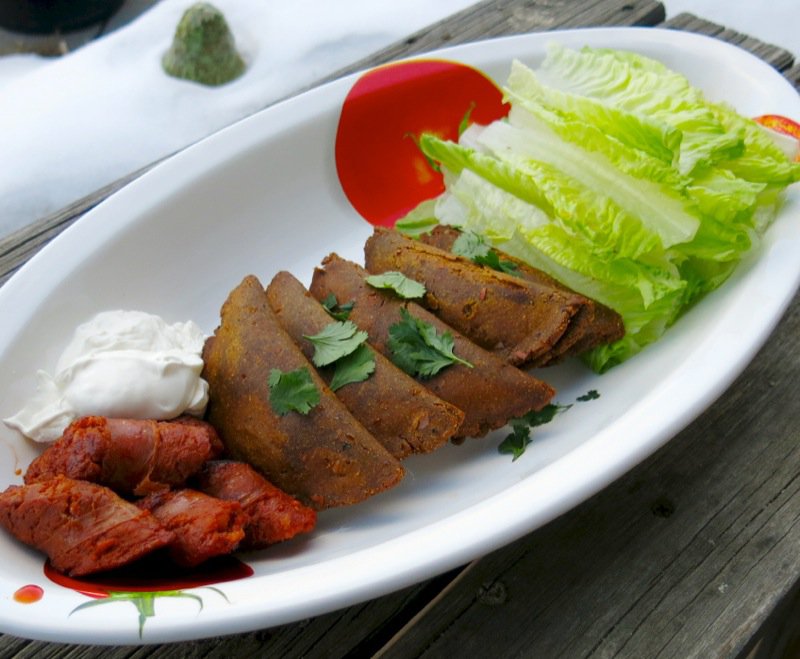
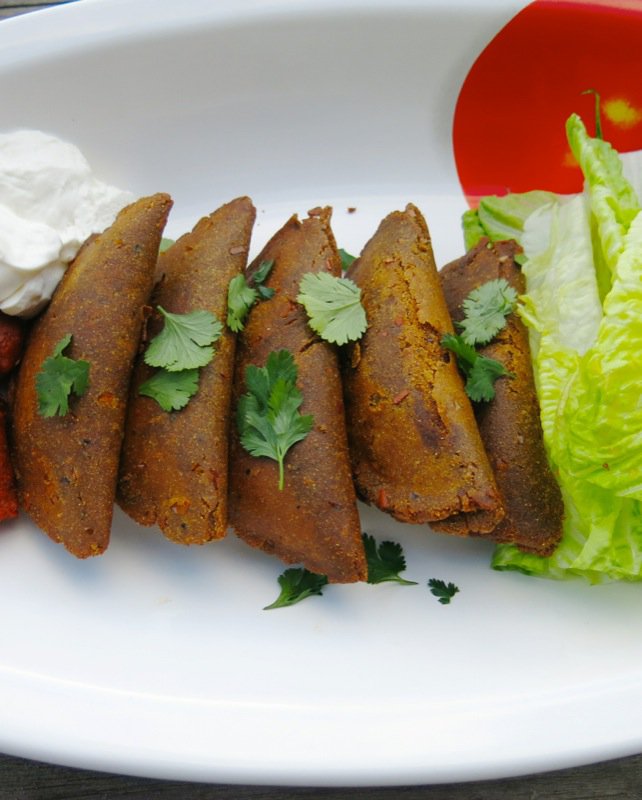
These were to be fried in about a half inch of oil, and then turned, but I added too much oil, so they were deep fried. And, not for long. They cook very quickly and were crisp, corny, and addictive. Seriously addictive. I had most definitely accomplished my 10/10 goal for the flavour combination of this snack. Ragan was immediately a fan of the Enchilada Potosinas served at dinner with the crispy lettuce and some Mexican Crema; they were the highlight of the meal.
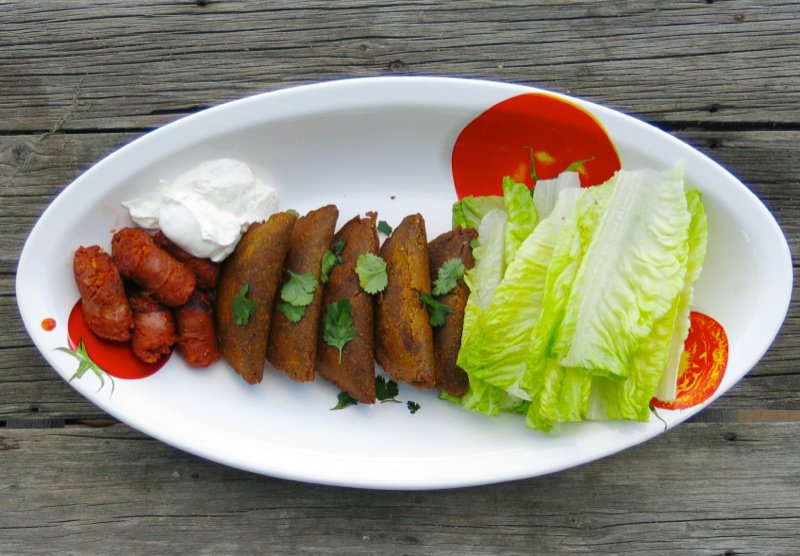
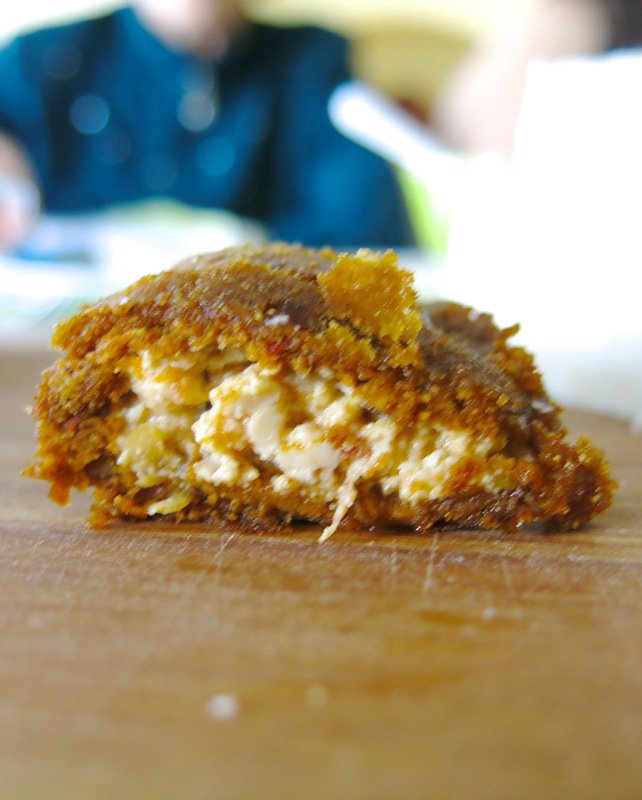
I was surprised at how much they changed colour when fried, and was a bit disappointed in the “flakiness” of the outer shell on a couple of them, but that lack of visual appeal was over compensated for by the flavour of these puppies. And, they are so easy to digest. They can also be baked, instead of fried. I did attempt to bake one on the comal, but the bulging filling didn’t allow the part of the shell not touching the heat, to cook. I think maybe the oven might be an alternative to frying? I will try this another time.
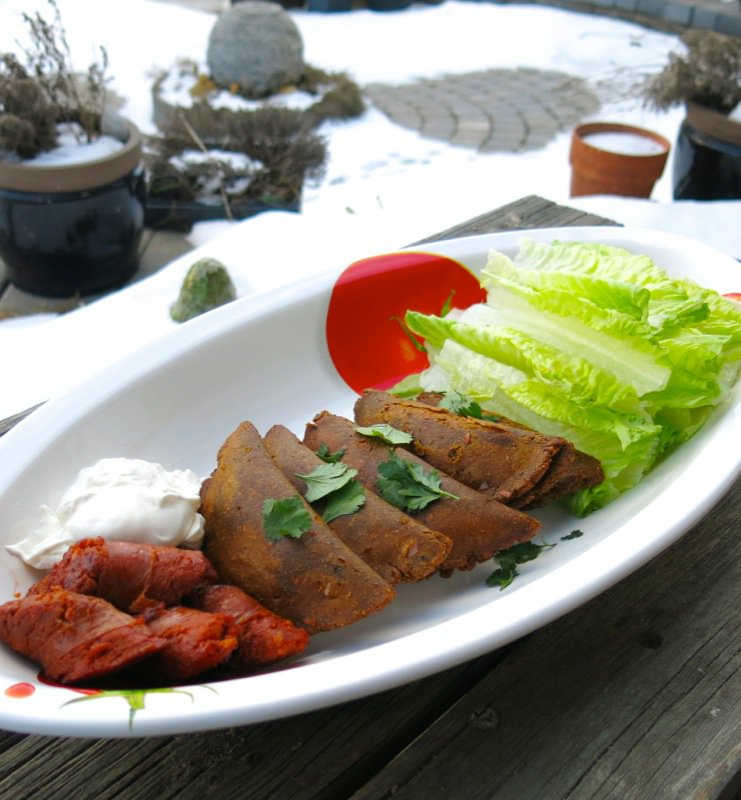
Have you ever eaten or made enchiladas potosinas? Chime in, please! I am so eager to learn more!
NOTE: I have since learned that mine are a darker colour than the authentic ones as only guajillo peppers are used in the authentic version. Also, the initial recipe I was working from, and adjusted, didn’t have enough soaking water for the chiles. It read 1/2 cup and should have read 2 1/2 cups. I did add another 2 cups of water to make my dough, and have adjusted the recipe to ensure the same success I experienced second time round. No flakiness. Perfection.
The chile paste link in the recipe below isn’t working for some reason, so I am providing the link here, as well.
Enchiladas Potosi Style or Enchiladas Potosinas
Ingredients
For the shell:
- 100 g of Homemade Mexican Chile Paste [made with guajilla peppers only for the traditional red colour of the shell; these are the peppers used for the authentic version
- 500 g mesa corn flour (MesaCa)
- 1 teaspoon salt
- 300 g water used to soak the peppers to make the chile paste
For Valerie's filling (enough for only 12-14 enchiladas):
- 3 tablespoons onion , minced
- 1/2 jalapeño , peeled, seeded, stemmed and minced
- 1 ripe tomato , peeled, seeded, and minced
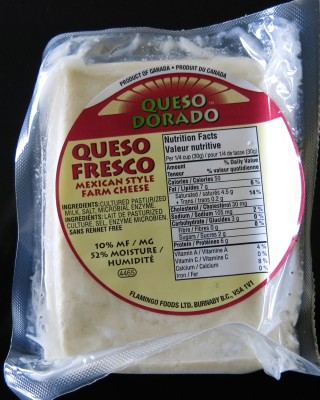
- 1 cup queso fresco
- 1/2 teaspoon salt
For frying:
- Extra oil
Instructions
For the shell:
-
Reserve one tablespoon of the Homemade Mexican Chile Paste for the filling
-
Place the mesa in a bowl; add remaining chile paste, salt and 200g of the water
-
Combine, kneading to form a ball
-
Add 100g of water through kneading process
-
Form dough into two equal balls (mine weighed 520g each); rest for 20 minutes sealed in plastic (or overnight, even better)
Day Two or Process:
-
Make the filling first
-
Make each tortilla one at a time (instructions below)
-
Fill and bake each tortilla on the comal or something similar, as you make each one
-
Set aside all baked enchiladas potosinas to fry at the end
For Valerie's filling:
-
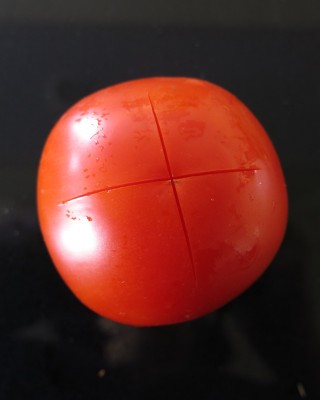
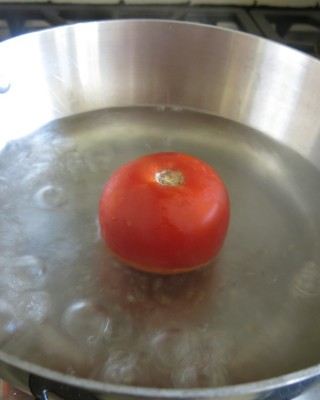
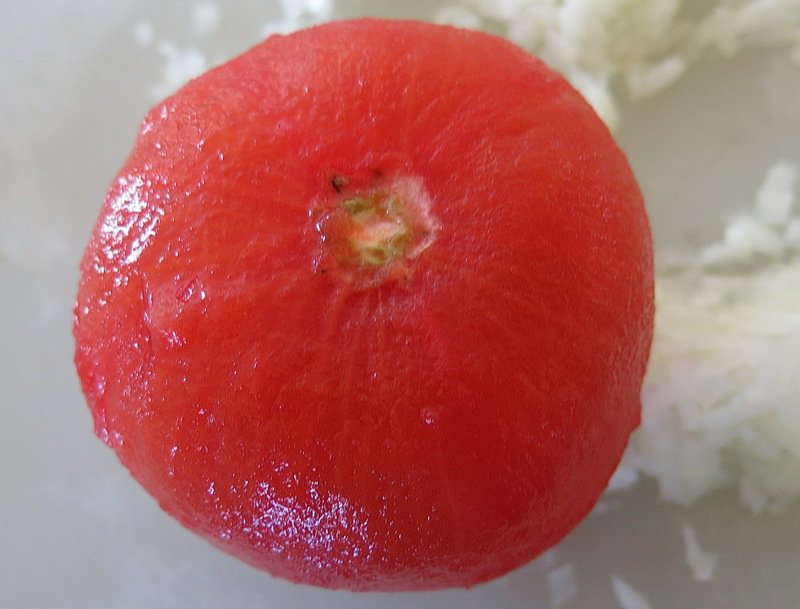
Place x on bottom of tomato and pepper; place each in pot with boiling water
-
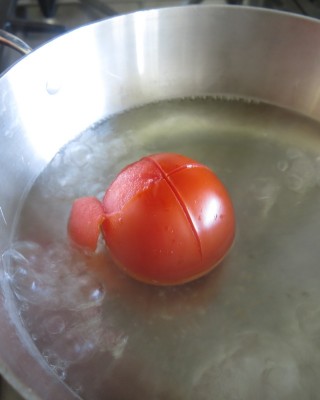
boil each side about 30 seconds, then run under cold water
-
Remove skins; mince
-
Combine cheese with the onion, jalapeno, tomato, salt and 1 tablespoon chile puree; combine and set aside
Finish preparing each shell:
-
On day two, or after resting the dough, place in food processor and puree; it should crumble
-
Add 50g water to the dough, to combine into a supple soft clay-like easily pliable consistency
-
Form one portion of the dough into twelve equal balls, keep covered in plastic or with a damp towel so they do not dry out (43g each worked well)
-
Place each ball between two pieces of thick plastic (zip lock bags work well) on tortilla press and flatten to achieve a 3 inch circle (Sadly, each tortilla press has its faults; I have to press lightly twice, turning each time and turning the third time to the full press to get a good even tortilla with mine: find the sweet spot on your press)
-
Peel the dough off of the plastic and fill it, keeping the dough tightly wrapped so it doesn't dry out
-
Place filled enchiladas potosinas on parchement tray covered with damp cloth or plastic wrap until ready to dry fry or fry in oil
Putting each enchilada together:
-
Place dollop of filling in middle of each shell in your hand; moisten the edges on on half of the shell with water, if necessary: mine was moist enough
-
Press filling from both sides of the shell toward the edges, trying to ensure there is no bottom, or flat side; seal by pressing the edges of the dough together
-
Trim the edges, if sloppy
-
Cover with plastic or a damp cloth while making the remainder of the enchiladas
Dry Frying the Enchiladas:
-
Cook on dry skillet or comal for 2-3 minutes on each side, until shell changes colour and appears cooked OR
Frying the Enchiladas
-
Heat 1/2 inch oil in skillet, add 3-4 enchiladas at a time, frying for 1-2 minutes each (30 seconds to 1 minute, per side), until done
-
Drain on paper towel
-
Serve with crisp lettuce and Mexican crema
Recipe Notes
If frying, and they are scrumptious fried, make ahead, covered well with plastic and fry the next day, just before service.
You you will need to double the filling if making the entire recipe at once; there is only enough filling for 12-14 enchiladas.
Most English recipes use Ancho and Pasilla peppers for the chile paste in the shells. Chef Claudia recommends Guajilla and Ancho peppers.
Anaheim peppers make a nice substitution for the jalapeño in the filling if you want to avoid heat.



They look delicious, Val.
Yes, sirree-bobble-oosky! They were delish!
🙂
V
Interesting recipe, Valerie. I am not sure I’ve ever tasted enchiladas. They do look delicious!
Well, these are actually shaped like empanadas, but I am assuming they are called enchiladas because they have the chile paste inside of the shell instead on the shell dipped in the sauce.
So yummy – you must!
🙂
V
Of all the Mexican food you’ve cooked since you’ve been home, this and the peppers were the best. Really enjoyed these.
Val,
Was sure too tired to go to the cooking class with you, but glad you are cooking what you learned at home. These were delicious with the crispy lettuce, a little pico de gallo and some of that Mexican Cream!
Had no idea they were such a production to make.
XOXOXO
Mom
These were a 10/10. Hands down! Loved them! The filling was delicious on its own, but fried in these orange tortillas, the enchiladas were spectacular! Never seen them at any Mexican restaurant, though.
Ragan