Quick, Easy and Delicious: a Snap with the Thermomix
 Another incredible recipe from one of my bread making heroes, Richard Bertinet. I cannot express the affect that his books, Crust and Dough have had on my ability to make bread. But, it was the bread making class that I attended at his Cookery School in Bath, UK, that completely converted me to a Richard Bertinet full on fan.
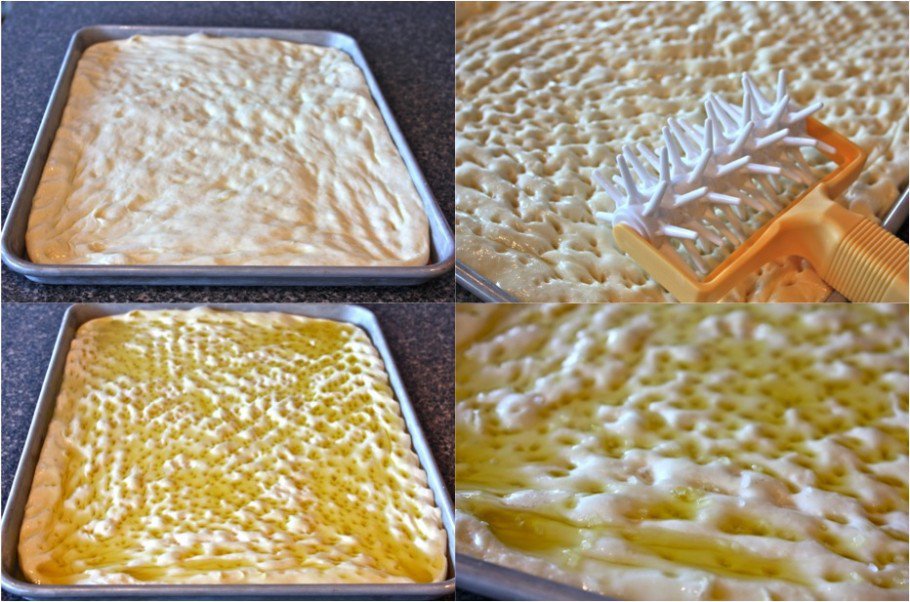
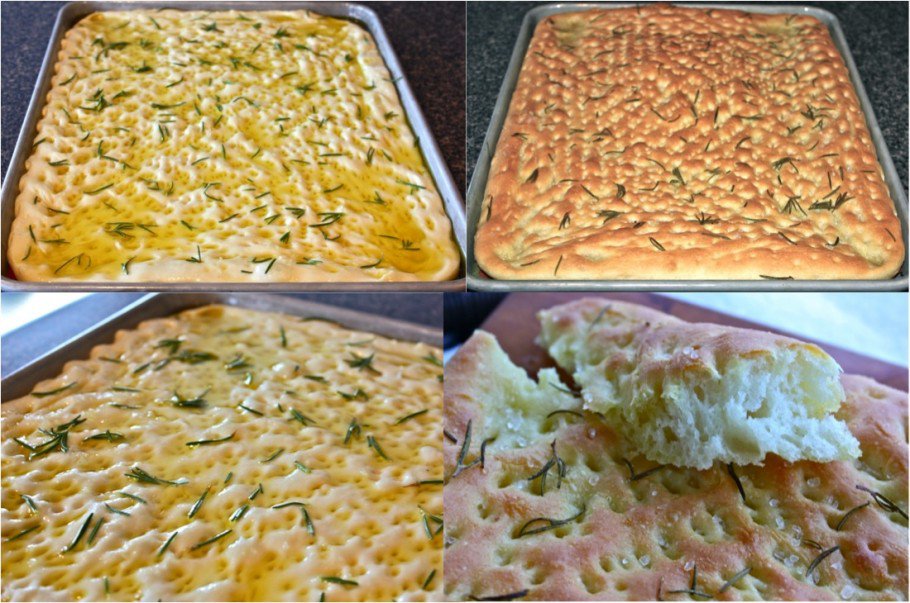

 Olive Oil Flatbread by Richard Bertinet is so versatile you can use the dough to make bread sticks, calzones, filled sliced rolls… make it once and you will rarely make it the same way again.
Olive Oil Flatbread
Ingredients
- 18 ounces or 475g of white bread flour
- 2 tablespoons or 30g course semolina
- 1/2 ounce or 15g of fresh yeast (preferably) or 1/4 ounce envelope of active dry yeast (1 and 1/2 teaspoons)
- 2 teaspoons or 10g fine grain , good quality salt
- 5 tablespoons or 75g good quality olive oil
- 11 1/2 ounces or 350g water (just over 12 fluid ounces)
- 4 ounces or 60g olive oil , or more
- sprigs of rosemary
- course salt
Instructions
Instructions without the Thermomix:
- Mix the bread flour and semolina together; rub in the yeast with fingers as if making the topping for a crumble
- Add the salt, olive oil, and water mixing well until all are combined in the bowl
- Transfer to the counter with the help of the rounded end of your scraper and work the dough as demonstrated in the video, below
- Mold dough into a ball; lightly oil a bowl with EVOO or avocado oil and place the dough in the bowl covering with a lint free towel and rest in a warm place for 60 minutes, or until double in volume
- With the help of the rounded end of your spatula, turn the dough out onto an oiled, parchment covered jelly roll pan or cookie sheet with edges
- Using your fingers, push and prod the dough from the centre so that it spreads toward the edges of the pan (do not stretch or pull the dough)
- Using a lintfree cloth, cover the dough and rest in a draft free place for 45 minutes
- Dimple the dough again with your fingers; rest for 30 more minutes
- Preheat the oven to 475 F
- Pour the 4 ounces of olive oil into the dimples and over the surface of the flatbread; add more, if needed
- Sprinkle or press rosemary leaves onto the surface of the dough
- Sprinkle course salt over the surface of the dough and immediately place into the preheated red hot oven
- Turn down oven to 425 F
- Bake for 25 or 30 minutes, until golden brown
- Remove from oven; slide onto wire rack to cool
- Brush with more olive oil while still hot
Instructions with the Thermomix:
- Scale the bread flour, semolina and yeast into the TM bowl; combine for 15 seconds from speed - to 6 or 7
- Scale in the salt, olive oil, and water: combine for 15 seconds from speed - to 6 or 7 until mixture comes together inside of the bowl
- Set the time for 3 minutes, the speed at the Interval setting (knead) using the wheat shaft icon: do not leave the kitchen while kneading with the machine
- Lightly oil a bowl with EVOO or avocado oil
- Remove the dough from the TM bowl and place oiled bowl covered with a lint free towel to rest in a warm place for 60 minutes, or until double in volume
- With the help of the rounded end of your spatula, turn the dough out onto an oiled, parchment covered jelly roll pan or cookie sheet with edges
- Using your fingers, push and prod the dough from the centre so that it spreads toward the edges of the pan (do not stretch or pull the dough)
- Using a lintfree cloth, cover the dough and rest in a draft free place for 45 minutes
- Dimple the dough again with your fingers; rest for 30 more minutes
- Preheat the oven to 475 F
- Pour the 4 ounces of olive oil into the dimples and over the surface of the flatbread; add more, if needed
- Sprinkle or press rosemary leaves onto the surface of the dough
- Sprinkle course salt over the surface of the dough and immediately place into the preheated red hot oven
- Turn down oven to 425 F
- Bake for 25 or 30 minutes, until golden brown
- Remove from oven; slide onto wire rack to cool
- Brush with more olive oil while still hot
Notes
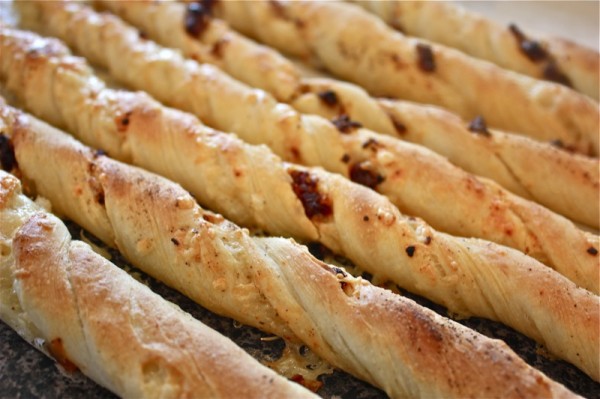
Cut it into strips and twist for bread sticks
Stuff with filling to make a Calzone
Fill with stuffing and roll like cinnamon buns, slice and bake
Let me know what you make!
 Kalamata olive and sun-dried tomato breadsticks brushed with a lovely olive oil, sprinkled with course salt and baked, using the same recipe!
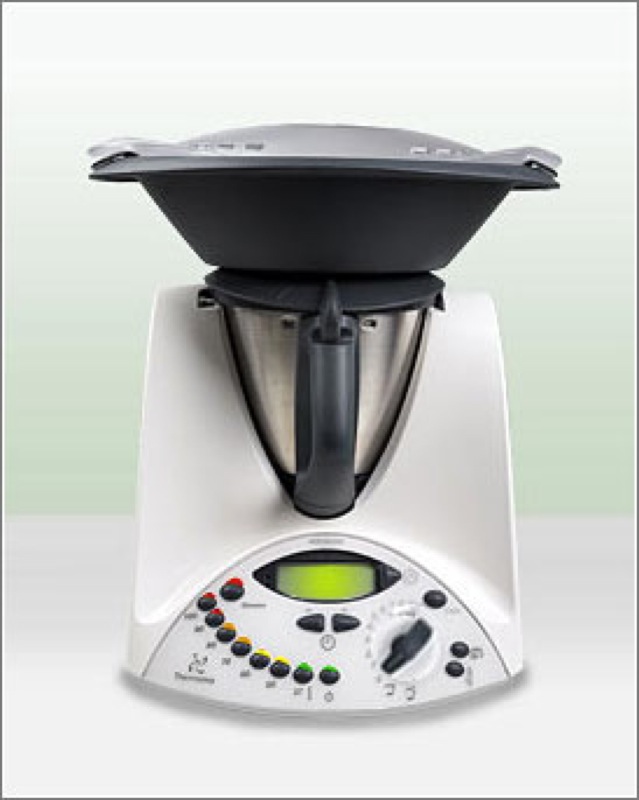
By the way, I sell the Thermomix. You can find lots of information about it here... (black menu bar on top of this page). If you want to learn more about the machine, just leave a comment. The machine costs 1599 Canadian dollars plus 5% gst and is worth every penny!



The technique looks great, and the bread amazing; my only question is the oven preheating directions. Is the intent to have the oven at 475 F for over 2 hours cumulative time (mixing, first rising, first and second resting, + shaping, oiling and sprinkling time), prior to the rest of the process? It seems that 2+ hours at 475 F prior to baking would be a tad excessive, energy use wise. Yes, the oven would be red hot, but does that take over 2 hours?
Thanks
Thanks so much for catching this, Catherine! I had the preheating at number one and again at number 10…which is now probably number 9 – as I removed the initial preheat. I sincerely appreciate you catching the error. You are absolutely right. I only preheat when needed.
🙂
Valerie
Your breads are always SO delicious Val! That was a very informative video which took me back to the days when I made buns all the time. Great post! 🙂
Thank you so much for introducing me to Richard Bertinet. It’s an amazing video. I was similarly inspired by the Peter Reinhart through his own cookbooks. There seems much in common which isn’t a surprise between master bread makers, but the most telling commonality is their palpable love of bread and the dough. I found the video a great lesson in translating all that I had only previously been able to “read.” Very instructional and makes me want to go out and make a loaf right now ….
My real question for you, though, through this post is what is that “dimpling” contraption seen in your pictures? I HAVE to have this 🙂 As your instructions provide, I just dimple with my fingers when making focaccia, but this looks like a great little gizmo. What is called?
Dale,
I was lucky enough to meet Richard and attend a bread baking day with him at his cooking school in Bath. Life changing for me. The tool I called a docker. $20 at Bosche Kitchen Centre and $6 at provisions, beside Duchess Bake Shop. Both in Edmonton. 🙂
V