A great recipe that really works and a photo essay of all the fun we had!
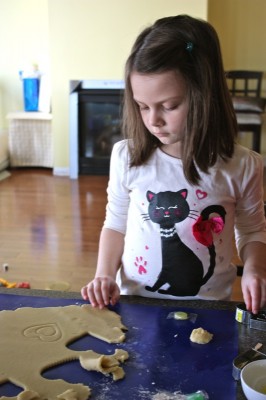
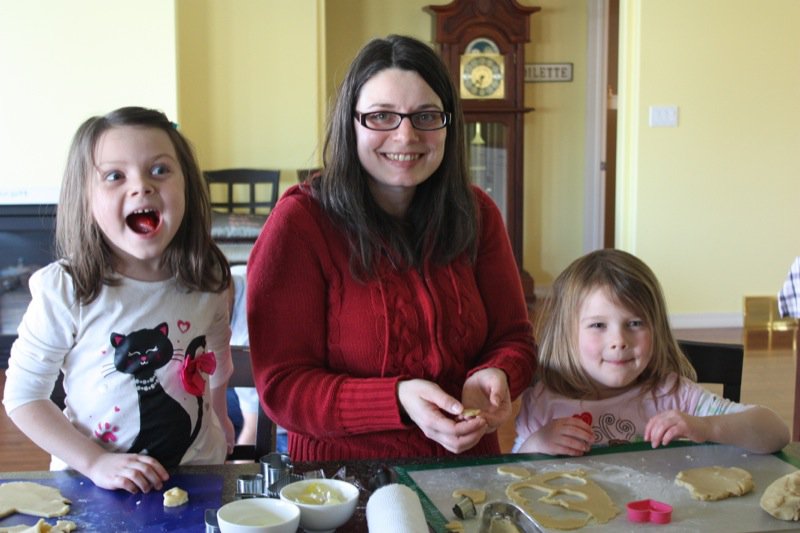
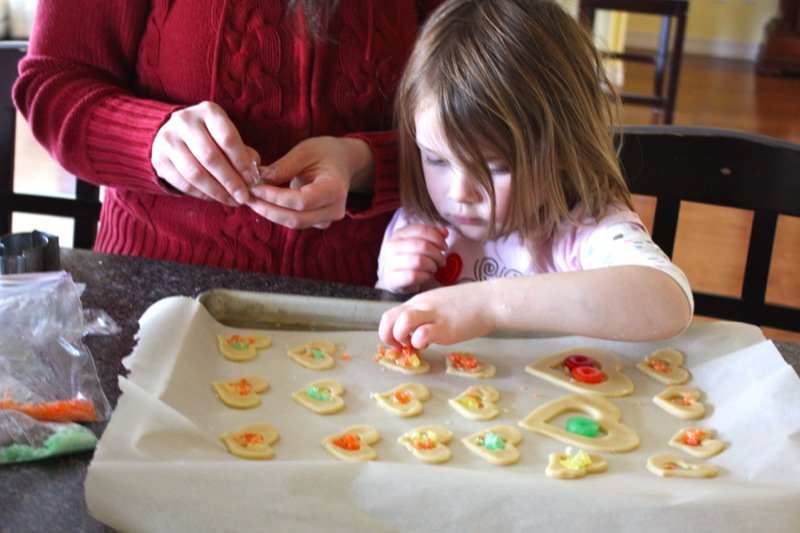
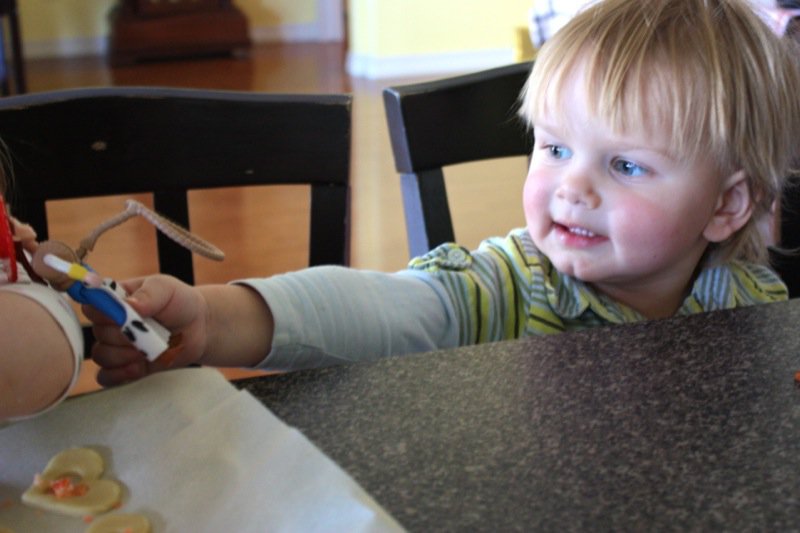
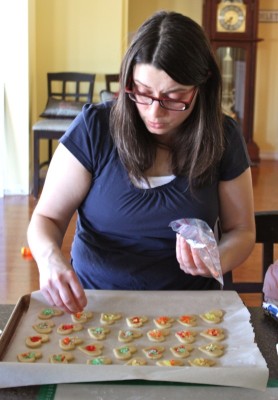
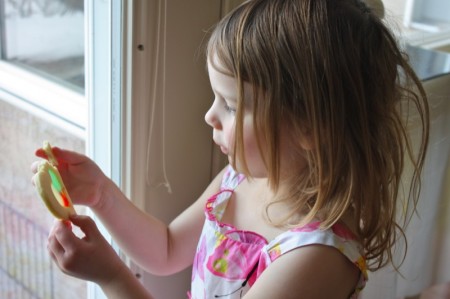
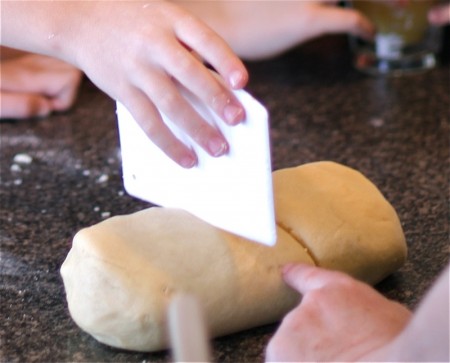
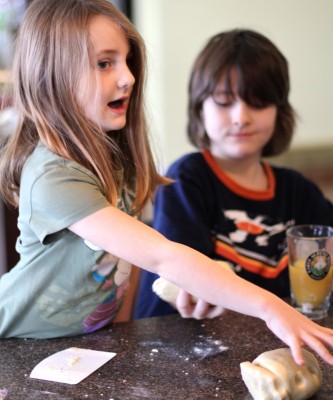
Baking and children just go together. Kids love cooking at any age and they eat what they make! Keep that in mind, mommies, when worried about your child’s fussy eating habits! This was crystal clear when I taught cooking classes to Junior High School students. “Yuck! No WAY I am eating this!” But, working through the cooking process, won over by the aroma, hunger, and the enthusiasm of their classmates (or family members), fussy eaters never failed to give everything “a taste” and were almost always converted to love what they just created! I try to bake with children a couple of times a year, just to keep me in shape, in case I get to be grandma some day! (subtle hint 🙂 ) This past Christmas, I was able to bake Christmas Stained Glass Cookies with Supermom Magpie’s Kiddies! These kiddies are such fun! Last year I made Candy Cane Cookies with them and then Cupcakes with them at Easter. I wasn’t able to get together with The Kossowan Clan until recently, so we baked Stained Glass Valentine’s Day Cookies together.
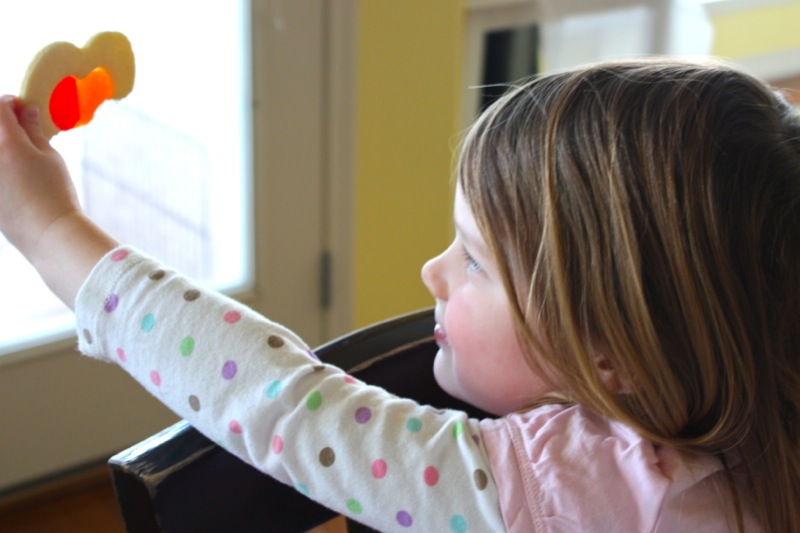
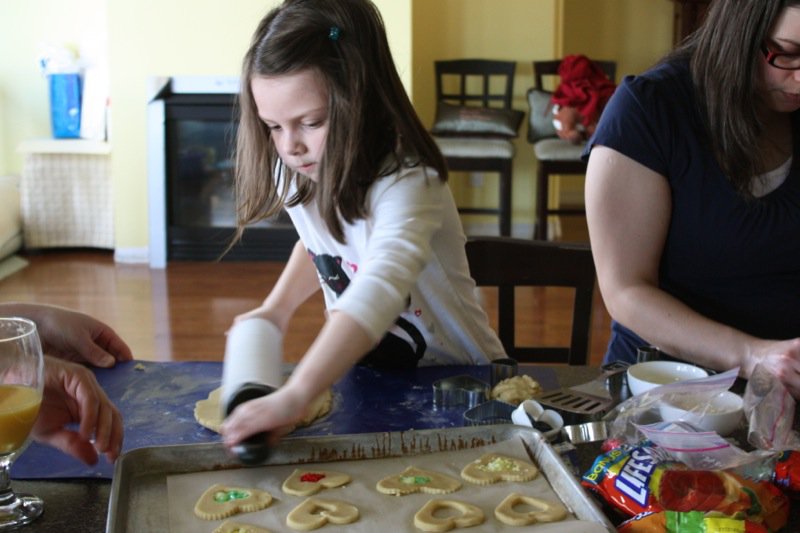
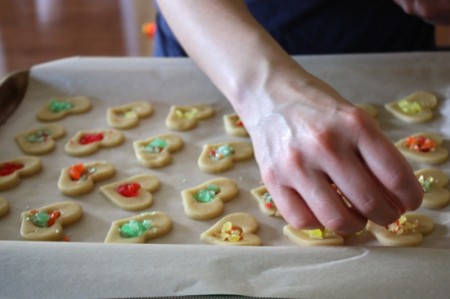
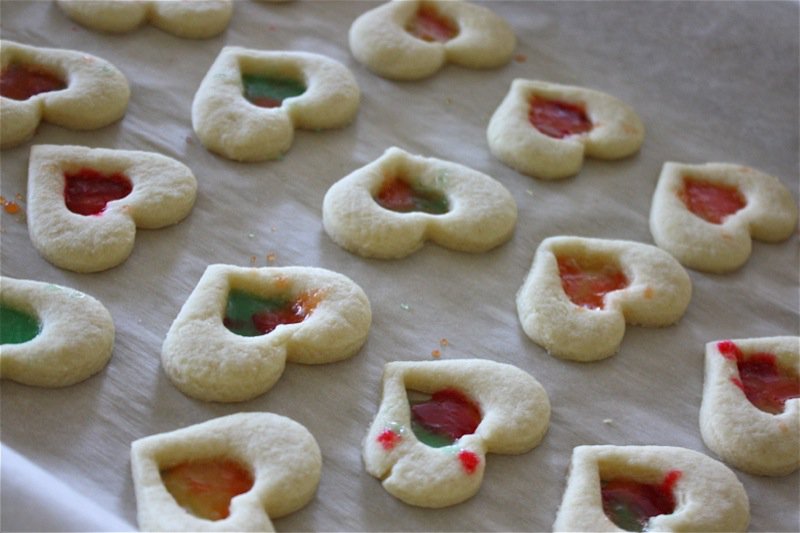
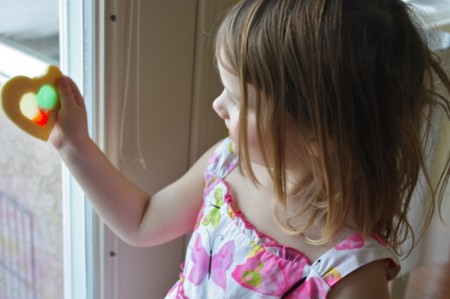
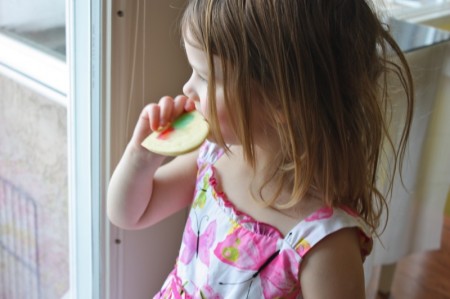
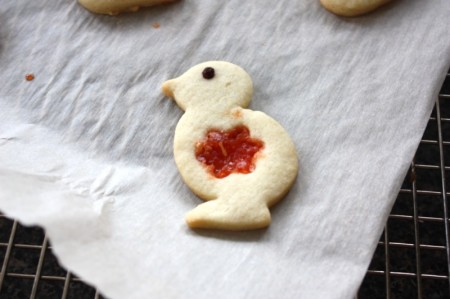
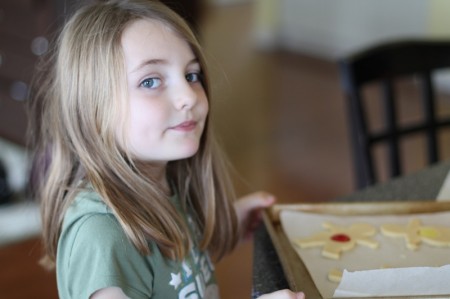
These children are much younger and also such fun! We made Gingerbread Cookies in 2012 and Candy Cane Cookies in 2011, but missed the stained glass Christmas of 2o12! Instead, we just finished making gorgeous heart shaped cookies together.This is a great family activity and these cookies make terrific gifts for any special holiday. Enjoy the photo essay. Recipe to follow.
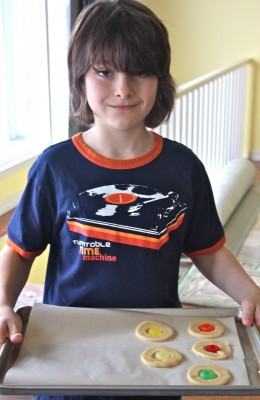
The Magpie Munchkins appear to have more to take home because they baked their entire batch, while the Kossowan Clan took some dough with them to finish at home. A lot of people have trouble with these sticking to the pan. I found the Kraft recipe to be a great spring board for my rendition. I left out 2 whole cups of flour which is a lot, but they turned out perfect. I would say, this is a no-fail stained glass cookie recipe! Get the family together and be prepared for a whole lotta fun (bake some precious memories, to boot!)
Great little trick: one child divides and the other chooses!
At Christmas, I also had a chocolate cherry dipping activity prepared! Not sure which the kiddies liked best, but they took home both with great big smiles!
Stained Glass Cookies
- 1 cup butter, softened
- 1 cup sugar
- 2 eggs
- 1 tsp. vanilla
- 3 cups flour
- 1 tsp. Baking Powder
- 1/2 tsp. baking soda
- 1/2 tsp. salt
- LifeSavers
Instructions:
- Pre-heat oven to 350°F
- Cream butter and sugar in a bowl; adding eggs, one at a time with vanilla
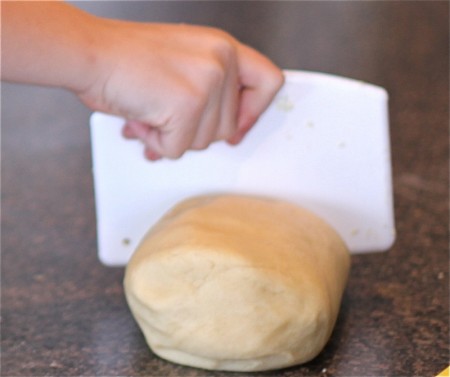
- Sift flour with baking powder, baking soda and salt; add to wet ingredients and mix well; divide into two equal portions
- Test the candy melting time on parchement paper in your oven:
- place lifesaver on paper crushed and whole
- bake for 6 minutes
- you will see how long each takes to melt and how wide the diameter of each melted portion is, which will help you determine how much to use to fill each cookie hole
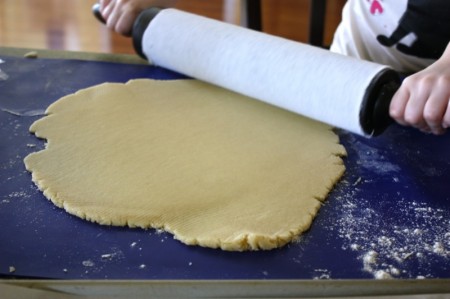
- Place dough on lightly floured surface; roll out to 1/4-inch thickness
- Cut into desired shapes with 2-1/2- to 3-inch floured cookie cutters
- Cut smaller shapes out of the inside of each dough cookie, leaving 1/2- to 3/4-inch border of dough; remove dough from center of each shape and set aside
- Place cutouts on baking sheets covered with parchement paper
- Shape remaining dough into ball; re-roll to make additional cutouts.
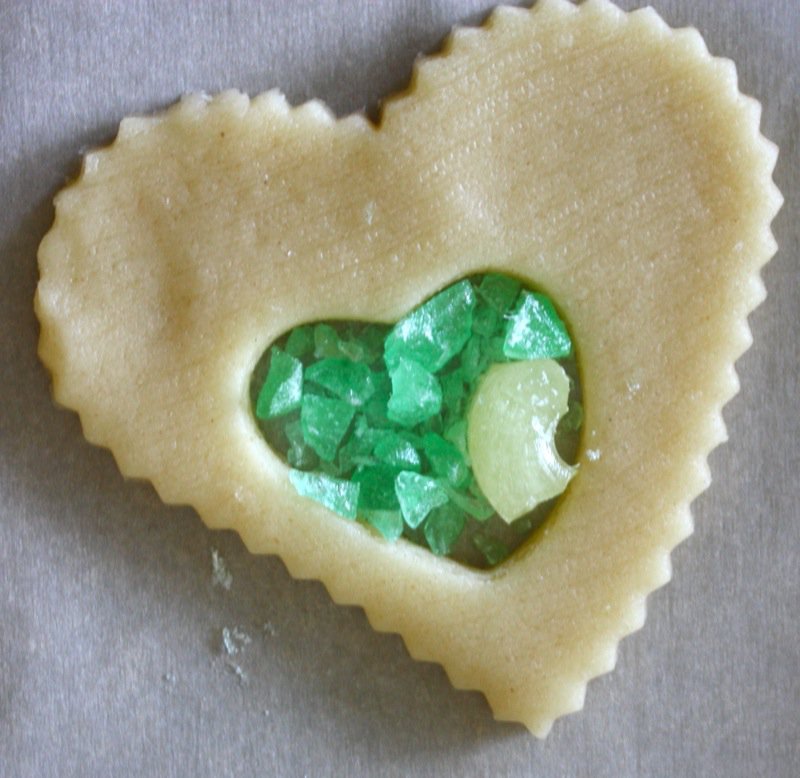
- Break each color of candy separately, if necessary, and spoon inside centers of cutouts
- Bake 6 to 8 minutes or until candy is melted and cookies are lightly browned; cool cookies completely before removing from paper


















These DO look like such fun! I exhausted myself baking with my 4 year old and 1 year old last night. But next time I feel the urge I am definitely going to get them to help me with these. They’ll have a blast!
Christine!
You will have a BLAST with this! Thank you for stopping by and making my day!
🙂
Valerie
Such fun! A beautiful post from beginning to end. I hope you don’t mind that I shared it on my facebook page, Valerie xo
Lizzy!
You shared this on Facebook??? Thank you so much! Cooking with kids is what it is all about, isn’t it!
🙂
V
What an adorable idea! I didn’t know Lifesavers worked so well. Great idea which I’m saving when I bake with my grandson 🙂
Susan
Do you see what colour I am? GREEN!!! With envy – you are a grandmother!!! I cannot WAIT to be one!
🙂
Valerie
This is such a cool cookie idea! I can’t wait until my little one is old enough to bake with me. (As things stand, he seems to enjoy watching me cook, that’s a start…)
Valérie
You have the sweetest, cutest, most adorable little munchkin I have ever laid eyes upon! Congratulations!
XO
V
What an absolutely marvelous time!! 🙂 Your photos make me grin – seeing the kids have such fun making these beautiful cookies. 🙂
Krista!
Wonderful to hear from you! You are so so right… there is nothing more adorable.
🙂
V
Aww those cookies were a hit with the kids!! Thanks again for having us over!
Can’t wait for the next one….
XO
I just love this idea! I will keep this in mind to use with my high school students. The 8 minute baking time will be perfect!
These are so beautiful (and clever!). I never would have thought of using Lifesavers in cookies. I completely agree that involving kids in the kitchen with the cooking/baking process is essential for expanding their palates. What a great thing you did for these kiddies! 🙂
Also, I liked that hint hint at the beginning of your post 😉
Hehe! YES! If only my daughters read my posts! I write for them, but do they read them? Sometimes.
Waiting to be grandma in Edmonton,
…not so subtly,
😉
Valerie
Gosh! What fun and I love the stained glass effect. how very cool indeed.
chow! Devaki @ weavethousandflavors