Cheesepalooza Challenged Me: Look Mom! I did it! I did it!
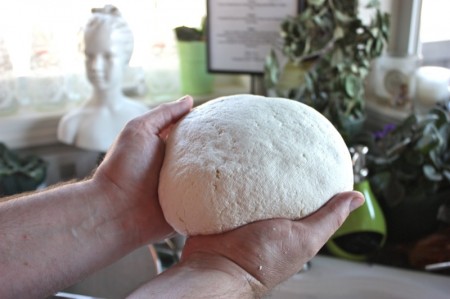
The last time I experienced this feeling of accomplishment was a few years ago when the University of Alberta Faculty of Extension awarded me with the Constance McFarland Memorial Fine Art Award. I thought they called the wrong person. I was over the moon. It validated everything I had been working toward in my drawings that year. I can draw! I can draw! And today, I can make cheese! Caerphilly at 8.5 weeks old.
Real cheese! A round of semi-firm cheese! And it tastes like really great cheese! The texture, the flavour, the aroma and the colour are each divine. No award is needed to tell me I did good this time!
When we started this project August 1, I never imagined that I would make a cheese like this – ever – let alone before Christmas! Yes, I know it was on the plan. Knowing and imagining are two completely different things. I just worked toward my goal, step by step, clinging to Ian’s guiding hand a bit too tightly at times, and: Voilà! Success! Oh, what a wonderful feeling it is.
I made this cheese September 30th as my mom had been diagnosed with cancer in August, and I wanted to make sure I had all of my projects completed before her surgery. Theoretically, it should be “at it’s peak” at Christmas time, but I cannot imagine it being better than it is now at 8.5 weeks. Though, looking at the photos of Caerphilly from Neil’s Yard Dairy, I can see that the mold on the rind and the aging makes for three distinct tasting experiences with the “real” Caerphilly: the rind, the yellowish-golden edge inside of the rind and the ivory creamy centre.
As the cheese aged and matured through the golden autumn ’til covered in snow, my mom, at 83, survived her major surgery with remarkable will. Her pathology came back completely clean which is all wrapped up in the success of my first young, but aged Caerphilly cheese.
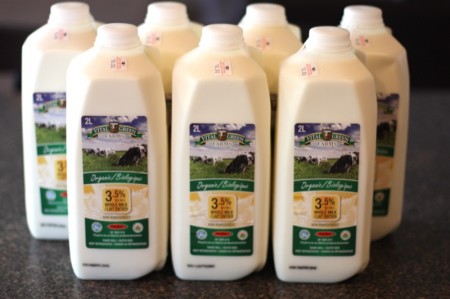
Until raw milk becomes legal in Alberta, we continue to buy Vital Greens cow milk for our cheeses. I hope I live long enough to be able to make raw milk cheese!
The challenges I have participated in through Cheesepalooza this year have developed a firm foundation of basic cheese making practice and knowledge. Already. Making the feta and the 30 minute mozzarella were significant aspects of my process as I made each many times. After making this cheese, I also have made Mary’s Farmhouse Cheddar, below, before brining, and have it also aging in my cave. I believe it is even easier than the Caerphilly to make, but won’t know how it tastes until Christmas. I would strongly suggest making both cheeses fairly close together as their aging time is similar, and then you could enjoy them both at Christmas if you got busy right away!
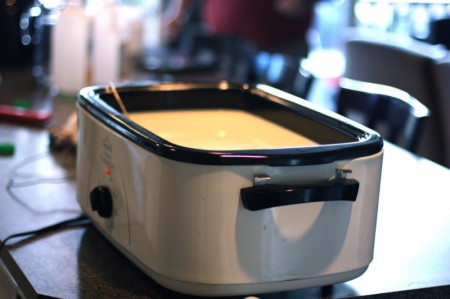
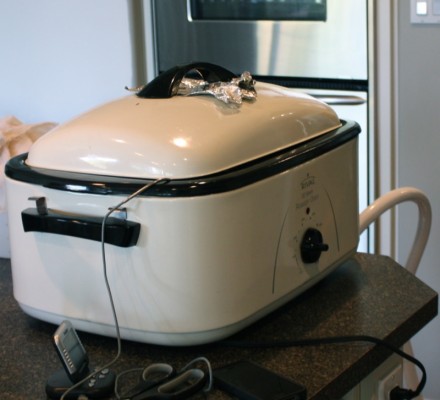
Which brings me to making this cheese. This is the first time I have used my turkey roaster as a double boiler, and it is excellent! Mine holds exactly 16 litres of milk and makes this kind of cheese making so easy. When they first came out, they were so expensive, but now they are very reasonable and can often be found second hand. I would definitely want one that could hold all 16 litres.
Flocculation
This day, Addie and I had Ian mentoring us through our process. He didn’t make any cheese; he just guided our process and taught us what we needed to know. I cannot express how valuable that day was and those opportunities are when Ian assists us in the process. After the milk had ripened for 30 minutes with the culture in it and then set for 45 minutes with rennet and the calcium chloride added, Ian taught us about flocculation.
Flocculation is employed to measure the progress of curd formation while in the initial stages of making cheese to determine how long the curds must set. For example:
- Add rennet to the milk, then toss the milk cap on the milk and time how long it takes for the surface of the milk to gel; the lid will not move freely
- Take that time and multiply by the floc number for that cheese: the floc number for this cheese, is 4Add rennet at 11 am (start timing flocculation)
- For example:
- mix rennet in at 11 am
- surface gels after 10 minutes
- Take time (10 min) x floc multiplier (4) to get 40 min total “setting” time
- cut the curd at 11:40
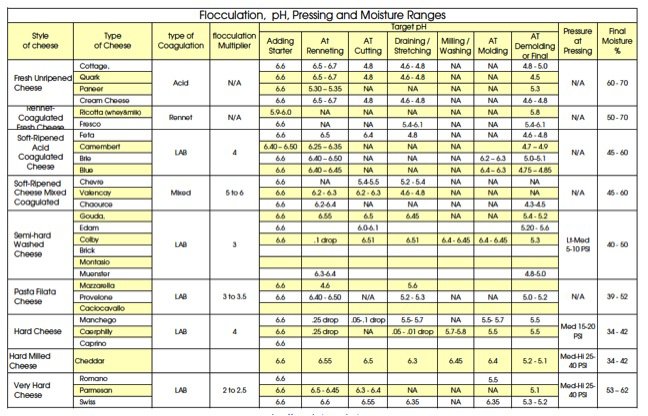
To test if the set is ready, using the time in the recipe is only a guide. The set is truly ready when you can place an object, like a milk cap onto the surface of the milk immediately after adding the rennet and time it; try to move it or slide it, and from the time you stirred in the rennet to the time it will not move is your floc time. When you lift it, it leaves an imprint. Can you see the imprint behind and to the left of the cap on the milk? At this point, you do your calculation to determine when the set will be ready to cut into curds. I have added a flocculation chart at the bottom of this post.
Another initial test that works well, is placing your hand onto the surface of the set. If it lifts off with only whey on it, then the set is probably ready to cut. Ian’s lifted with some milk on his glove, so his has to set longer.
As Addie is the only Dr. of Physics in the house, he was tasked with dividing up the cultures into four portions for those of us that purchased them together. This is by far the best way to purchase your cultures, as you can buy 100g for 33 dollars and only 10 grams for 7.25. Ask Addie to do the math! We divided these portions into 4 and sold them for 36 dollars which included a portion of the hefty postage. Still, a great deal.
I am consistently excited to see a strong clean break in the curd.
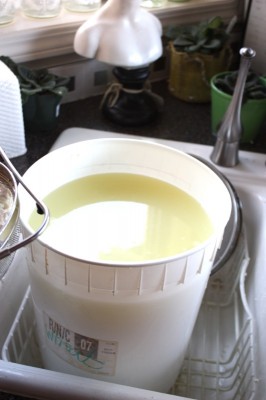
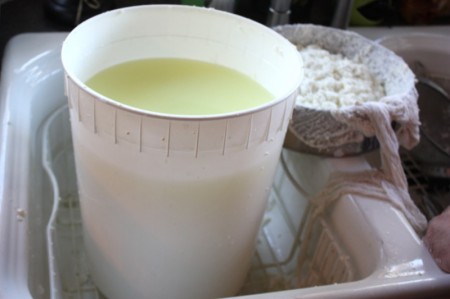
The whey is the gorgeous clear greeny yellow colour I am growing accustomed to.
After cutting the curds, they must rest for a bit, and the whey pools on top. That is just what you want to see: a nice clear whey.
Ian cannot resist playing! Now is the time to stir the curd. Remember to loosen the sides of the curd from the vat, first, if the mass didn’t come clear of it on its own. During this time, my temperature fluctuated a bit more than I believed it should and I panicked. “That’s OK, Valerie. The temperature can vary at this point of the process without hurting the resulting cheese. Just work at getting it back up.” Calm. Soothing. Inspiring. That is Ian.
Large pillowy curds: stir slowly, slowly…slowly.
Below is Addie’s stirred curd. It shattered. We were really worried about our ability to rescue it and still make it into a cheese. We believe it shattered as Addie used a highly pasteurized Organic milk. There was no other reason we could think of. Ian was reassuring and calm. “Don’t worry. It’s all right.”
My pillows of milky lusciousness are ready to sit and rest. They will fall to the bottom of the vat and the whey will rise above them.
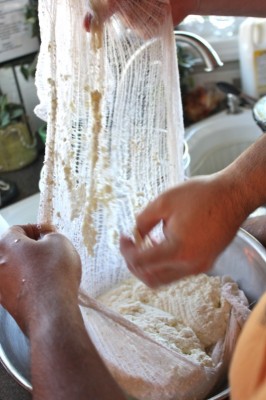
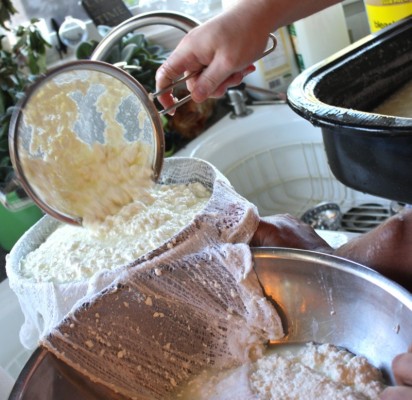
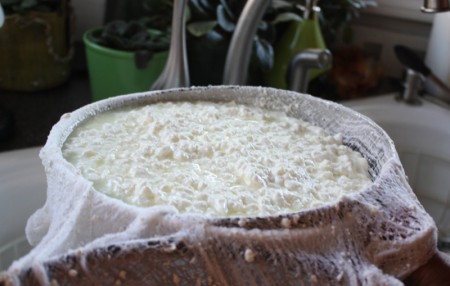
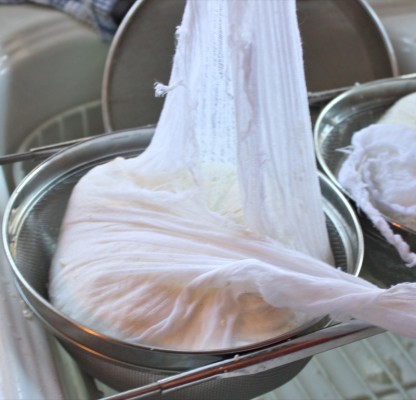
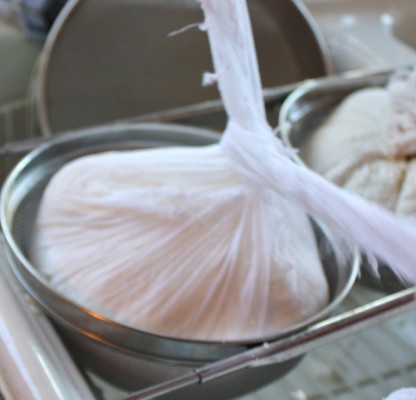
Ian assists Addie: Caerphilly Rescue 101. I have had so many failures by now, but would not have known what to do, so it was a good thing we could learn from this. Addie’s shattered curds had rested, but were not sinking, so Ian simply went on with the recipe after the allotted time and scooped them out of the whey and into the cheesecloth covered sieve.
There was an excessive amount of whey and they patiently worked to dispel it. From sieve to sieve until a fairly dry mass remained that was actually clumping together! That was what Ian was hoping for.
Considering the shattered curd, this mound of sticky curds looks very good and was tasty!
To test your curd for “doneness”. if it holds its shape in your hand when you gently squeeze it, it is good to go!
I was tickled with my pillows of goodness, but Ian’s praise: “Those are beautiful curds, Valerie!” built my confidence. No cheese cloth was required to drain my curd. That is the way it should be. Look at all of the whey! I was just too tired to make ricotta with the whey after this day. How did they ever do it?
Cheddaring
My curds clumped very well in the sieve and were dumped right into the vat where I cut them into thick chicken breast sized slices. Ian is holding up one of my slices before the cheddaring process begins.
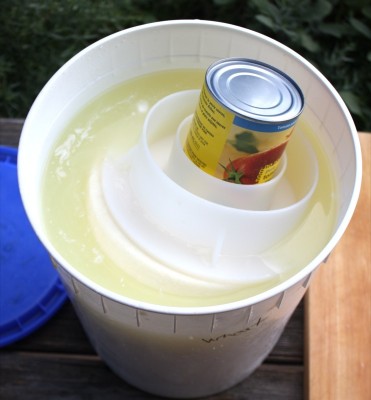
Addies’ vat is above, and mine is below. Each slice is single file at to begin the cheddaring process. We leave them for 10 minutes in the vat at 30°C, until the bottom becomes somewhat smooth and melted. This process removed whey. Keep removing it as you go. Can you see the difference between the piece above, uncheddared, and the piece below, cheddared?
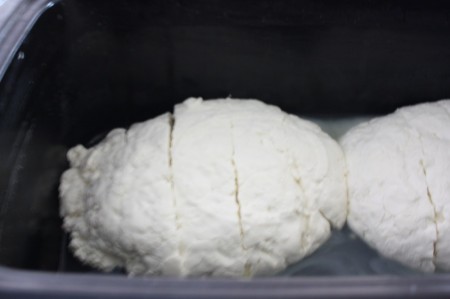
Each slab is now turned over for another 10 minutes until the other side is the same, and then they are piled onto one another in sets of two as you will see shortly.
The full cheddaring process takes about an hour. There is no rush, is there? After both flat sides are done for 10 minutes, then cheddar the end sides. The stack them to fours, and continue.
The last image above, to the right, illustrated the look of the completion of the cheddaring process; the mass is stuck together, not completely, and looking rather squeaky. This is the time to tear the cheese into thumb size bits for the mould. Not too small!
Addie’s hand with his torn bits is on the right, and mine is on the left. I would say his cheese was definitely salvaged. It is still smaller than mine, but it did cheddar. He will include all of this cheddaring photos in his own post. And, I will add, his cheese also tastes fantastic. When he cut it open the other night at the Cheesepalooza Tasting, it looked like a young Asiago. Gorgeous!
I am pleased with the consistency of my torn bits because Ian is pleased. Well, I can tell they are lovely and light and they taste good!
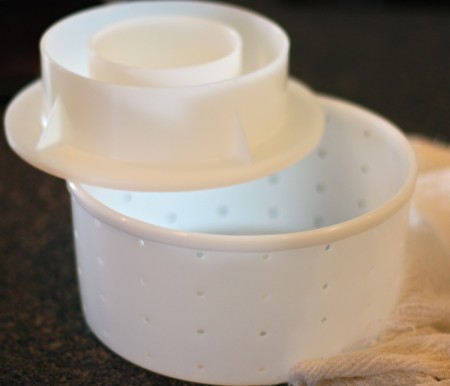
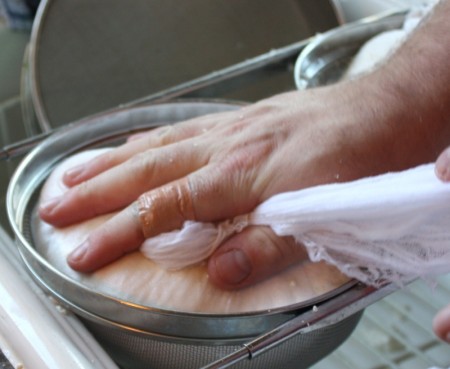
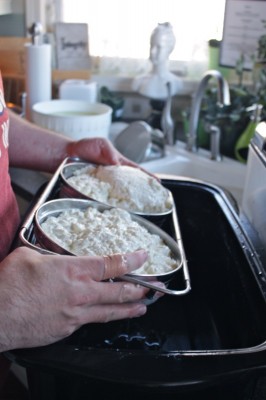
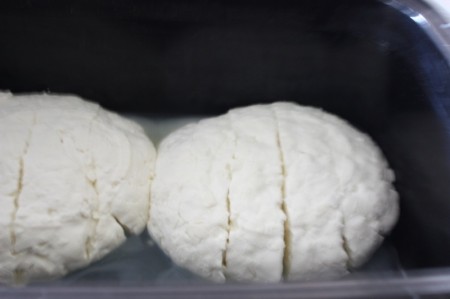
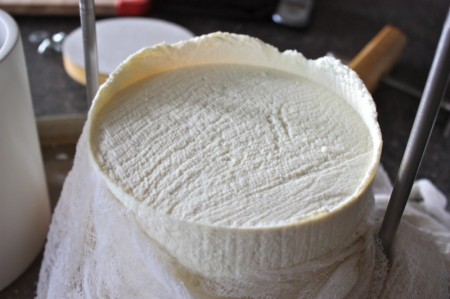
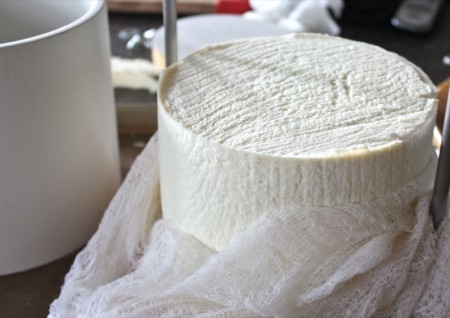
Into the mould they go! No air holes! The cheesecloth gets wrapped over the curds and they are pressed for one hour with 10 pounds, and then flipped.
Already it is looking like a wheel of cheese!
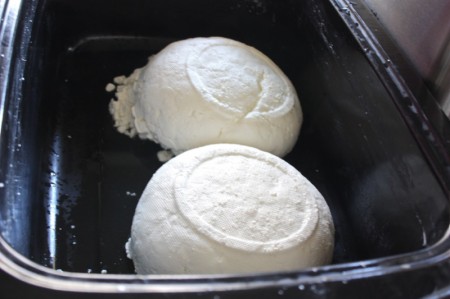
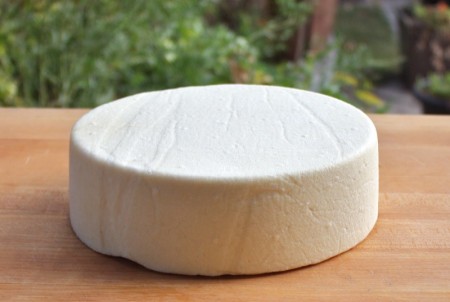
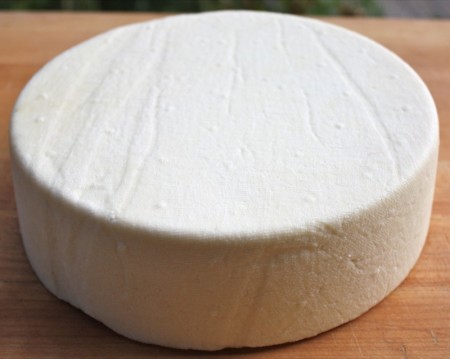
Above is mine, and below is Addie’s, before the final 12 hour pressing.
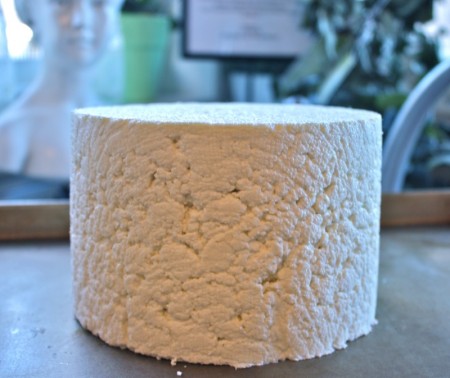
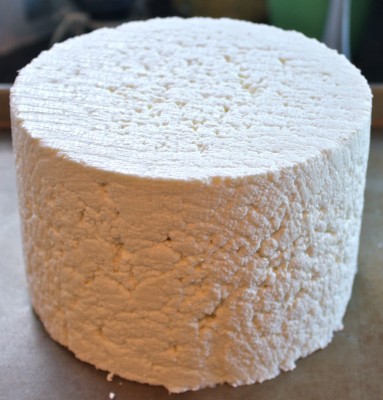
I babysat Addie’s cheese, and he used Ian’s press. I cut off the bits at the top and look at his gorgeous Caerphilly! It has to go into the brine yet, and still needs to age, but it doesn’t take a Dr. of Physics to know that this is going to be a successful cheese! I love the rustic look the cheesecloth left running down the side of his cheese.
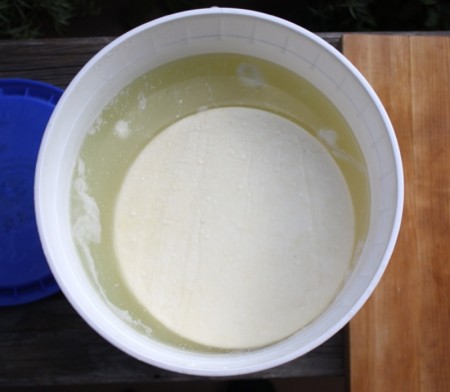
Into the brine it goes! Mine was much smother and more “refined” in appearance. A little less rustic, but rustic enough. Love the lines on mine, too! And into the brine it went, on top of Addie’s. I had to turn the cheeses in the brine in the middle of the day and so packed it in the back of my car and took it with me on my errands.
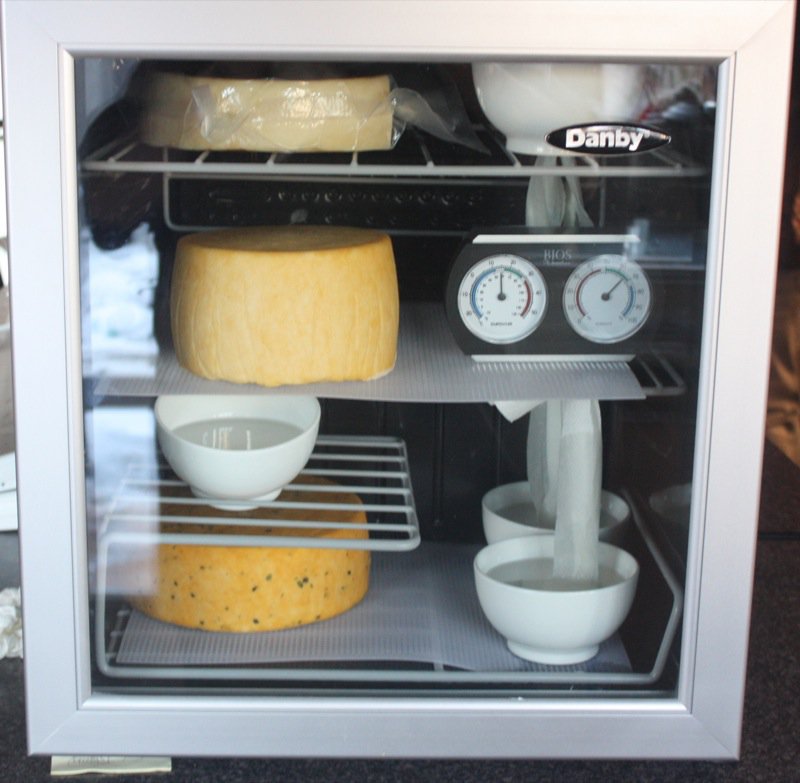
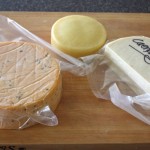
Out of the brine, the cheese got patted dry and sat on the counter for a couple of days. I sat it on what I thought was a stainless steel rack and it left brown rust like marks on each of our cheeses. Again, panic! Ian was calm: “Cut it out and rub it with salt, or just leave it and see what will happen.” Sadly, Addie’s had the worst “rust”. I left mine. During this time, my dad was in the hospital and I was there with him, so Addie to the rescue! He bought my cave, set it up and placed our cheeses in it to age. There are no photos of this, as I wasn’t home. However, here is my “cave” below, with my Caerphilly, top, vacuum packed, which is what I did with it after it cured in the “cave” for two weeks. Addie’s Farmhouse Cheddar is next, and mine is on the bottom. Both have brined, air dried and were to get waxed or wrapped in cloth. I decided to cure mine in the “cave” at 90% humidity for one week, then vacuum pack it as I didn’t have any wax. Once the cheese is vacuum packed, the temperature is still important in the cave, but the humidity isn’t. You can see that I have several bowls of water with extended “wicks” of paper towel in them to keep the humidity at 90%.
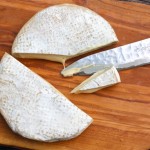
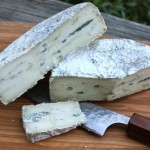
The day of Cheesepalooza Tasting Three, I broke into the vacuum seal and was overcome by the heady aroma of an aged cheddar. Seriously. I will now buy some aged cheddar to compare as a great Welsh Caerphilly is to be similar to English Wensleydale and Lancashire. The Lancashire I do know, as I fell in love with it at Neal’s Yard Dairy and brought some home with me! Caerphilly differentiates itself by having a higher moisture content than these other two, giving it a more buttery, less crumbly personality. Mine was not crumbly, but you can see, it is a little crumbly when sliced. Caerphilly is to be a young white fresh tasting cheese, with a creamy flavor that goes well with a crisp Chardonnay. Mine was not “fresh tasting”. It was definitely aged. And “cheddary”. That is not just my imagination. I am also looking forward to comparing this to the authentic Welsh Caerphilly at Christmas as Everything Cheese will be bringing some in from Neal’s Yard Dairy!
I was at home alone when I sliced it in half. Sheer wonder. It looks exactly like cheese. Real cheese. The aroma was captivating, yet I was not eager to taste it. I was savoring the slow knowing of my Caerphilly.
The tasting was surreal. As Ian would say: “a cheesegasm”. The texture was creamy, but firm. The flavour was complex and coupled with the heady nose of what was to be such a young and fresh cheese, the experience was simply the ultimate in instant gratification.
Tasting Notes for Welsh Caerphilly:
- Appearance: The rind is an ivory colour and dry to touch; it is traditionally covered in rice flour. The inside of the cheese slice is a lighter, warmer ivory colour with little eyes and is firm and a little crumbly when sliced.
- Nose (aroma): The nose is bolder than the flavour: it is an intoxicating aroma of milky tang with a hint of appealing milky sourness that invites saliva to the back of one’s throat
- Overall Taste: This is much like a sassy cheddar; not a medium or an aged cheddar, but one with a personality you would not miss on a cheese plate. There is a sense of butter there, possibly due to the creamy texture. Mine was not a fresh tasting cheese with lemony notes as often described in my reading. It was complex and bright.
- Sweet to Salty: Tangy. The cheese is not sour, and not stinky, but definitely possesses an appealing tang similar to that of a yogurt or a buttermilk coupled with a hint of caramel
- Mild (mellow) to Robust to Pungent (stinky): Traditionally, the cheese is to be mild and fresh tasting, but my Caerphilly is not a mellow cheese; it has personality plus. The cheese would be a medium “cheesy” experience. Not robust, but definitely a cheese that once tasted, would be hard to resist; it invites cheese lovers to enjoy the Caerphilly experience all by itself.
- Mouth Feel: (gritty, sandy, chewy, greasy, gummy, etc.): This is very creamy and smooth on the tongue, but crumbles when sliced.
Smoky Valley Artisan Cheese Caerphilly
Smoky Valley Cheese is a Cheesepalooza partner. Ian went out for a day of Cheese making with Leslie and Alex and developed a Caerphilly for them to sell. He had the honor of naming each: the Redwater which is the cheese inoculated with ARN and he Callingwood Caerphilly is not. Leslie is playing with the idea of smoking the Callingwood. Both are unpasteurized cow milk cheeses. Look for them in the pre-Christmas market. And be prepared to swoon!
Ian Treuer’s Caerphilly Recipe
Ingredients:
- 16L whole milk
- 1/4 tsp mesophilic type II or M4001 (I used M4001)
- 1/4 tsp Aroma B/Flora Danica/Probat 222 (I used Fora Danica)
- 3/4 tsp calcium chloride (Optional if using Raw Milk)
- 1/2 tsp double strength rennet (that is usually all I can find)
- 2 tbsp cheese salt
- distilled water (always for cheese making)
Instructions:
- Heat milk to 90°F/32°C (ph 6.6)
- Sprinkle culture on surface of milk; let re-hydrate for 5 min, then mix in with an up and down motion 20 times
- Let ripen for 30 min at 90°F/32°C (pH should drop .25 = 6.35)
- Dilute calcium chloride in 1/4 cup distilled water and add to milk by stirring in up and down motion 20 times
- Dilute rennet in 1/4 cup distilled water and add to milk by stirring in up and down motion 20 times
- Let set for 45 minutes; if using flocculation method your multiplier is 4: maintain the temperature for duration of set (pH should drop .05-.1 = 6.3-6.25)
- Check for a clean break; cut curds to 1 inch and let sit for 5 minutes to firm up (or set for 15-20 more minutes for clean break)
- Slowly bring temperature to 95°F/35°C over the next 30 min, stirring the curd gently
- Turn off heat; rest curd for 45 minutes and cover the vat (pH should be around 6.0-5.9)
- Cover a colander with wet cheesecloth and gently scoop the curds into it; they will clump together
- Drain for 5 minutes and ensure vat is completely free of whey
- Prepare wet cheesecloth lined large tomme mould
- Cheddaring:
- Cut the curd mass into even slabs and put back into vat (or onto heated draining table), keeping the temperature to about 30°C
- Flip the slabs every 10 minutes on each side (they will look like they are melting), continually remove whey that is released
- After the first two flips, stack slabs onto each other, and flip; after another two flips stack again: there will be four to each stack, now
- It should take about an hour of stacking and flipping
- In the end, the cheese should look like a slab of boiled chicken (pH should be at about 5.5-5.7)
- Mill or break up the curd, use a peg mill if you have one, or rip up the curd into thumb size pieces; alternately, you can cut the slabs into French fry like strips
- Toss 2 tablespoons of cheese salt into the the milled curd, mix to combine
- Fill mould with the curd and press for 30 minutes at medium pressure (10 lbs)
- Flip cheese, redress the cloth, and press for 8 to 12 hours or overnight (10 pounds)
- Prepare a 20% saturated brine
- Remove cheese from mould; brine for 16 hours flipping after 8 hours
- Air dry cheese for 2 to 4 days until dry to touch, flipping twice a day
- Once dry, you can wax this cheese, but Ian likes it best with a natural rind
- Ripen at 85% humidity at 50 to 54°F/10 to 12°C, turning daily; at 10 to 14 days, grey mould should appear, this is good
- After 3 weeks this cheese can be consumed;its flavour will improve up to 3 months
Note: The cheese will begin to soften under the rind at about 4 weeks, this gives the cheese it’s soft outer layer and creamy crumbly layer in the centre; if aging longer than 3 months, vacuum seal.




















Good job! Caerphilly is indeed a nice cheese. I made it a couple of times. I was also lucky enough to see a piece of a wheel of the real one in a cheese shop in Oakland: it’s quite beautiful.
I have been thinking about getting a cheesemaker for home and this is nudging me in that direction 🙂
HI, Tandy!
What do you mean, a cheese maker for home? I am our “at home cheese maker”. =) Valerie
Amazing post Val and the cheese looks so amazing! I wish I could try it. i just waxed my cheddar yesterday 😀 Glad the parents made it through too.
Evelyne!
I hope you posted about your cheddar and the waxing of it! I will be making more next weekend. Fontina maybe.
🙂
V
I’m speechless! How nice to see all of the step-by-step photos for making this cheese. I’m afraid this is way out of my league for the time-being but I loved learning more about the process. Nice to meet a fellow Canadian foodie. We have relatives in Edmonton so we are out there quite a bit — it is a lovely part of the country.
You are an awesome cheese maker!
Lovely pics. So helpful. I have my first wheel of Havarti aging in the fridge, should be ready by Dec. 25th. I hope I didn’t over mill the curds. Will know in a month.
Jeff – please send photos! I would love to see them! What recipe did you use! Where are you from?
🙂
V
Let me tell you – I am learning so much from your cheese posts. I can’t wait for you to start your own home-made boutique cheese making business. People will line up at the door for freshly made cheese! The post is incredible – what a labor of love and Caerphilly is indeed a seriously nice cheese 🙂
chow! Devaki @ weavethousandflavors
First, congratulations on the art award. Second, congratulations on the cheese. Simply beautiful.
What a fantastic post, Valerie! Educational with gorgeous pictures along the way 🙂 I had started an assignment, then gotten distracted by your blog post, and couldn’t stop reading or salivating over your cheese pictures. You guys did a fantastic job! Can’t wait to read the next installments.
Thanks, Teresa!
You must come and taste!
🙂
V
Not only can you draw, you are also a cheesemaker. I’m super-impressed. I’ve never tackled cheese making. It appears daunting to me. But I can’t believe how perfect and beautiful your cheese is. Big congrats! xx
Dear Hotly!!!
Join our group! We all work together and help one another. Read about it under projects on my menu bar – look for Cheesepalooza!
🙂
Valerie
I made Caerphilly yesterday – waiting to take it out of the press at noon today. I wish I had read this post first. Lots of good hints. I can hardly wait to do my next batch. Thanks for the details and pictures. 🙂
This recipe is a no-fail – rock it out of the park recipe – but NOTHING like the traditional Welsh Caerphilly. Completely different terroir.
Love to hear back about your cheese!
🙂
V