I did it! I did it!
For those who follow my posts, you know I have been on a serious and intent quest to conquer the elusive French Macaron for one year now. Actually, it has been much longer. The first year was in 1998, and all of the work I did throughout that entire year trying to make a French macaron was from reading and baking. There were no videos, no classes, and no one to turn to for help then. After dozens of eggs, pounds of almond flour, hours and hours in the kitchen and more than a few frustrated tears, I just stopped. I knew I could do nothing more at that time.
The desire never left. Last year, when I saw Béné’s perfect chocolate macarons at a local Foodie Meetup (in the after photos), I wrote to her, introducing myself and my desire and asked her to share her knowledge with me. That was the beginning of another very intent and intense year focused on mastering the ability to conquer the French Macaron. I have had success. I have failed. And, this time, I have the confidence I have been seeking to know that I can do this. I am finally able to make these delicate, chewy, and precious shells without question. I can do it!
Meeting Giselle at Duchess Bakeshop for advise
Pink Peppercorn Macaron: Never got posted they were such a failure
The Italian Method: Rose and Violette (Take Three)
Macarons for mom’s 80th Birthday ended up being petit kisses: not posted, they were such a failure
Lenotre French Macaron Class in Paris this past summer: butter cream and macaron
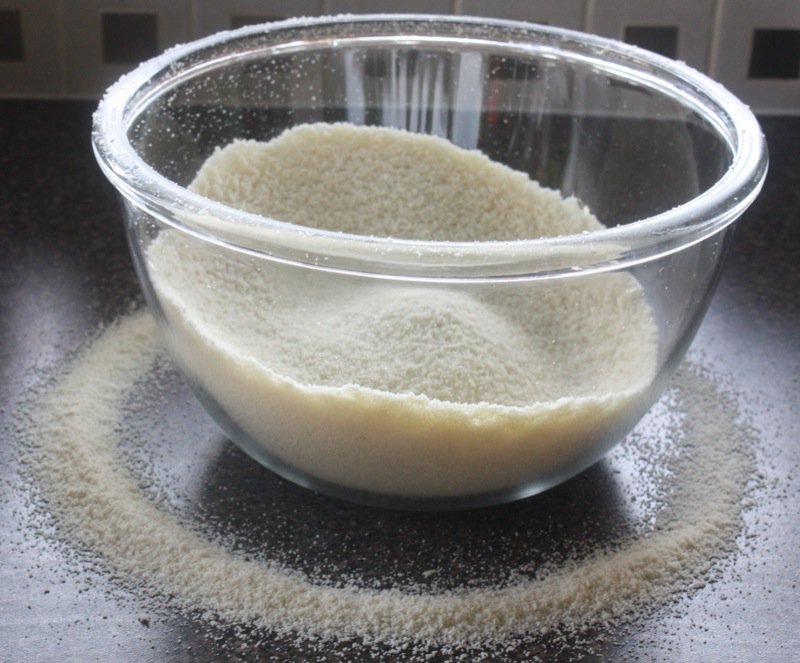
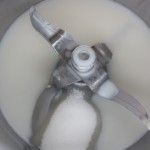
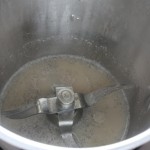
I thought I would be able to do these my first week back from Europe, but never got to them until last weekend. I cleared the day Sunday and worked to prepare my tant pour tant. I decided that I was going tot do as much as possible with the Thermomix as Chef Anthony had told me it would be excellent for making the tant pour tant, and for incorporating the powdered sugar with the tant pour tant: not more than one, maybe two minutes!
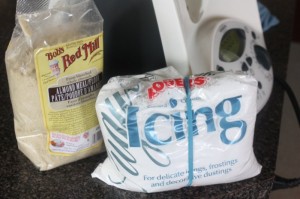
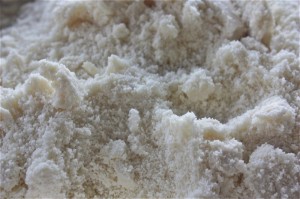
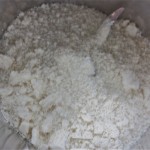
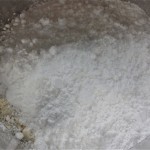
I buy the almond flour (powder, en Français) at Planet Organic. I don’t use the Thermomix to make my own icing sugar, as the macaron actually need the baking powder that is in this icing sugar. Chef A said to make sure to use the “boughten” icing sugar because the filler is very important for the macaron. Tant pour tant means an equal mixture of the almond flour and the icing sugar. I took 400g or each, and pulsed them in the Thermomix, opening it often to scrape down the sides. It took less than a minute to be ready for us. I continues, and did it two minutes. It became warm and heavy and sticky. I definitely overdid it. The second time I did it, it was perfect.
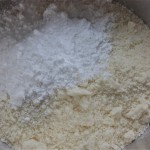
I layered the almond flour with the sugar as I scaled them into the TM bowl. Then I pulsed for 1 second three times, for 10 seconds twice and for 20 seconds once; then I pulsed for 1 second three times and 5 seconds once again. As I did this, I watched to ensure the mixture inside was constantly moving and not sticking to the sides. It was good to go.
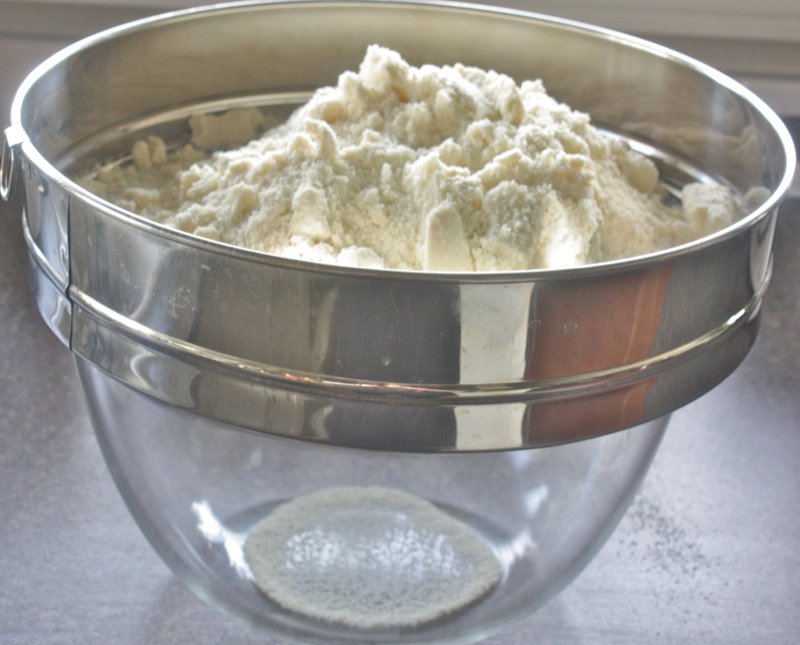
I seriously thought of spreading the warm, denser mixture on parchment paper to cool, and then sifting it. Chef A had said: no tami as that makes the shell dense; the friction with pushing through a seive is not good for the tant pour tant. So, I was careful and didn’t use any friction, or pushing.
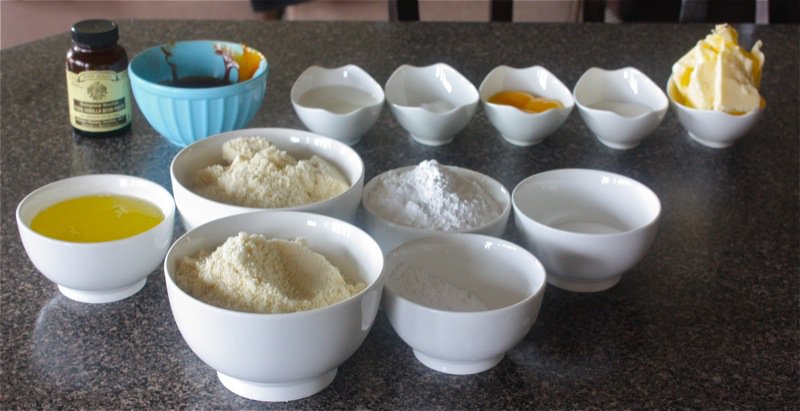
I got my mis en place for both the caramel butter cream and the macaron. I had already made the caramel the day prior.
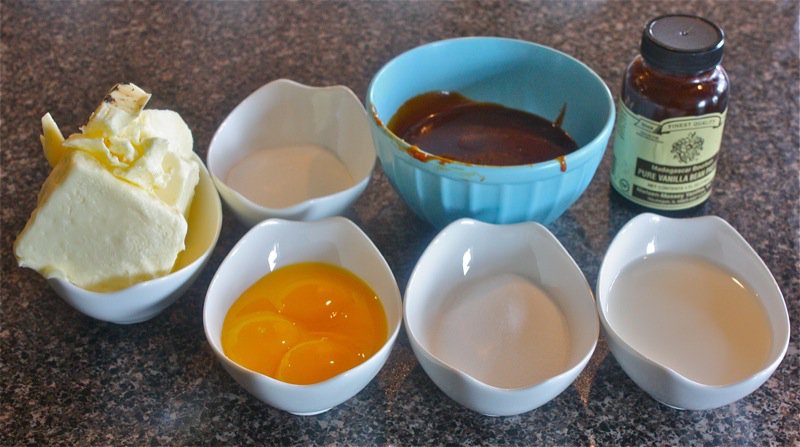
Below are the ingredients for the Salted Caramel Butter Cream.
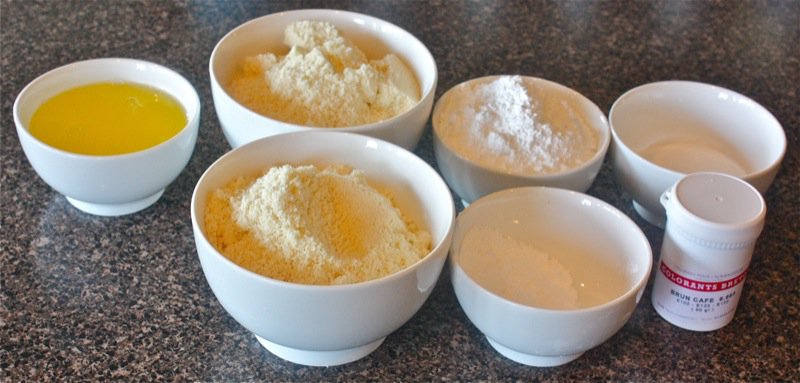
Below are the ingredients for the salted caramel macaron shells.
Once I had everything ready, I decided to make the butter cream first. I scale the milk cream and the vanilla paste into the TM bowl and scalded it for 3 minutes at Varoma (120°C). I let it cool for 10 minutes (set the timer).
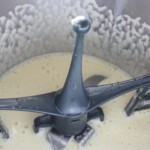
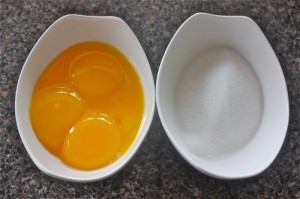
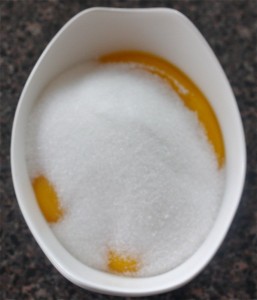
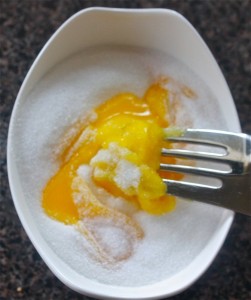
Mix the yolks with the remaining sugar (below) and set machine to 8 minutes at 80°C on speed 3 with the butterfly inserted; slowly add the yolks and sugar mixture in through the lid. Purée for 30 seconds from 0-10 to avoid using a sieve.
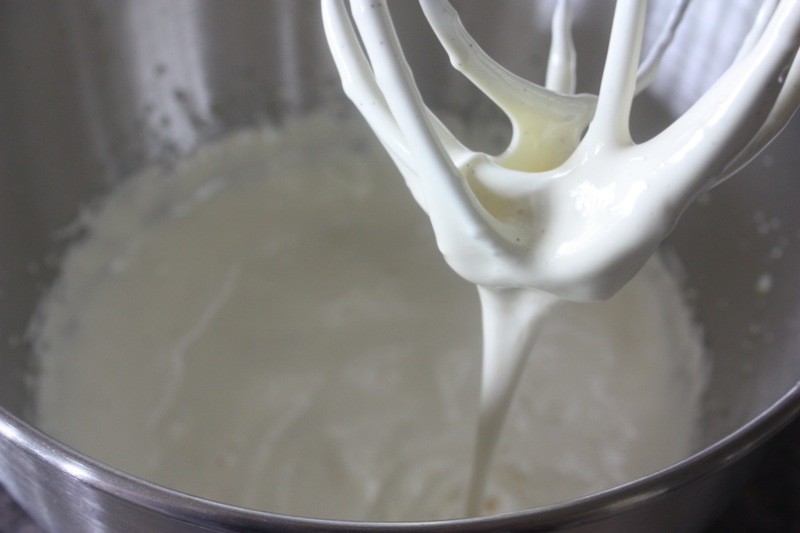
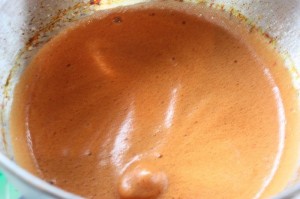
Pour mixture into the large bowl of an electric mixer (Kitchen Aid). It has beautiful consistency out of the Thermomix, below.
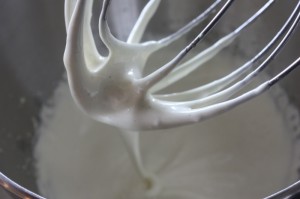
Beat on medium with whisk attachment until room temperature (about 10 minutes).
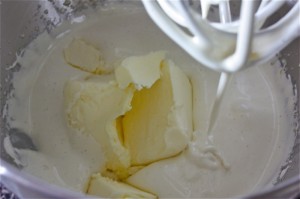
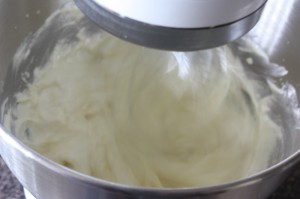
Add soft butter, all at once and eat on medium high for about 10 minutes…
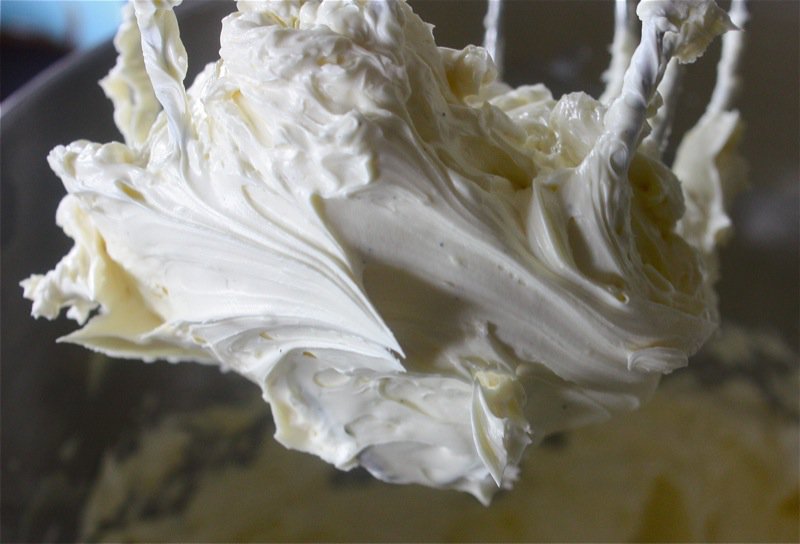
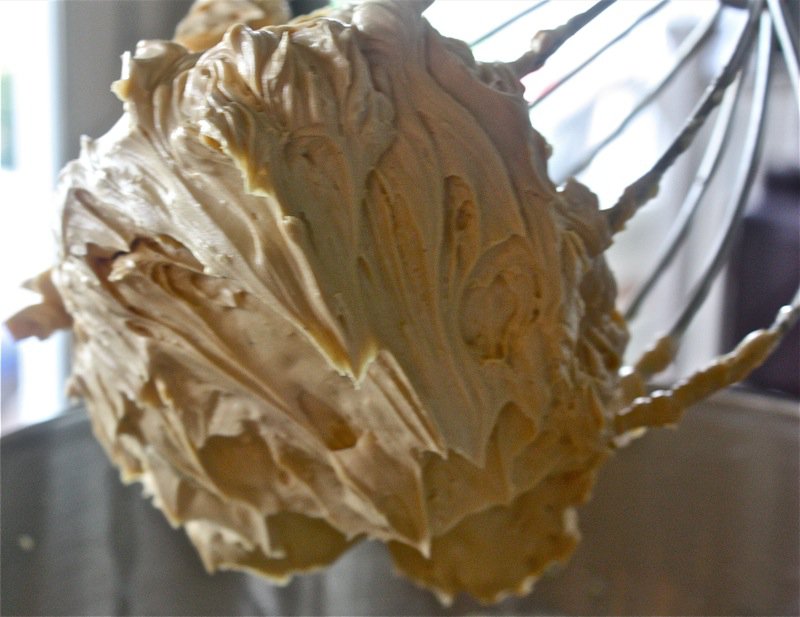
…until the butter cream looks like a lovely thick frosting.
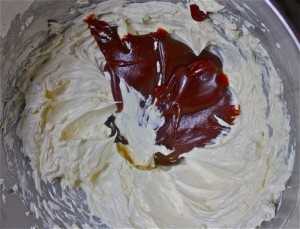
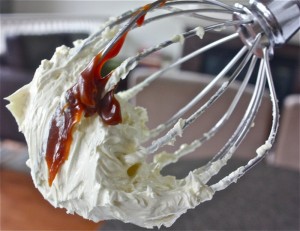
Incorporate the caramel at the same medium to medium-high speed until just done. A video of how to make the caramel is below with the recipe.
Make sure the caramel has been sitting out of the fridge and is at room temperature so that it will incorporate well with the butter cream.
Look at that gorgeous, glistening caramel!
Scoop the salted caramel butter cream into a pastry bag, use immediately, or use the following day, or seal well and refrigerate to use the following day.
I did this the day ahead, but you really have to watch it about an hour after it comes out of the fridge as the window of opportunity for having it at the right consistency and the right temperature is not very long. Warm hands on the pastry bag warm up the butter cream and it can become far too loose to use, so use the timer and check it every 5-10 minutes after the first 30 minutes out of the fridge.
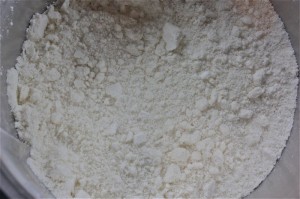
That was enough for one day. I decided to do the Macaron shells on Monday after school. The tant pour tant was lovely and I used the Thermomix again, much more effectively this time, to combine the powdered sugar for the shells with the tant pour tant. Again, I layered the two mixes as I scaled them into the TM bowl. Again, I pulsed on Turbo for 1 second three times, and then 5 seconds and then 10 seconds ensuring that I was tilting the machine a little if the mixture built up on the sides of the bowl so that it would go down toward the blades. I repeated the 1 second three times and then 5 last seconds on Turbo and it appeared perfect and light to me.
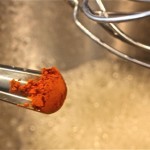
Over to the Kitchen Aid, the whites that had been covered in the fridge for four days and then on the counter overnight went into the large bowl and were beaten only until frothy; then colouring was added that I got from G. Detou in Paris and beaten into the whites. What fantastic colouring. Finally! I have been looking for colouring that would work in macarons for years! I just used as much as you see on the end of the fork, of the brown colouring, and it was perfect.
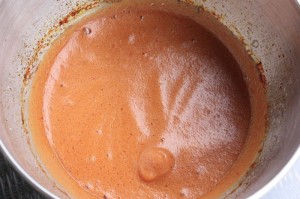
The granulated sugar was added all at once to the whites, and they are now beaten into stiff peaks. Mine are about 10 seconds too dry.
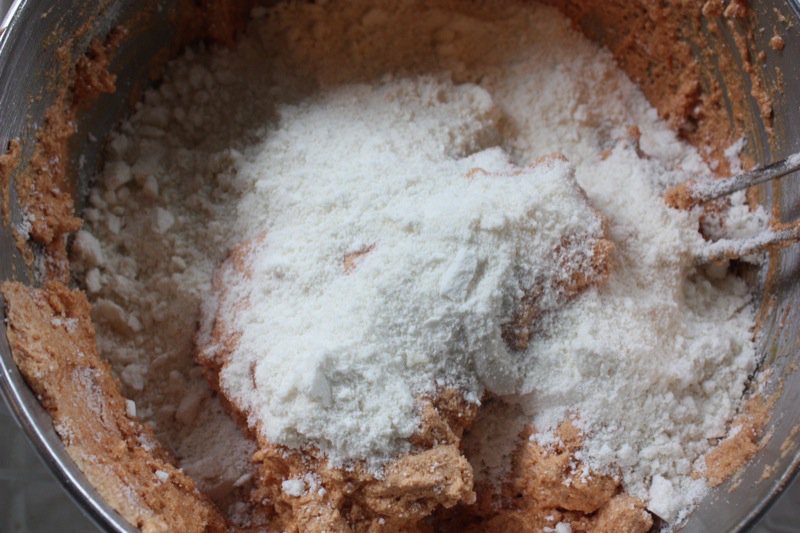
Now, the tant pour tant and sugar mixture needs to be incorporated into the stiff coloured whites in two batches (says Chef Anthony from Lenôtre. He definitely didn’t worry about keeping the air in the whites when he folded in the dry ingredients. I found myself being too careful until I would remember his gestures.
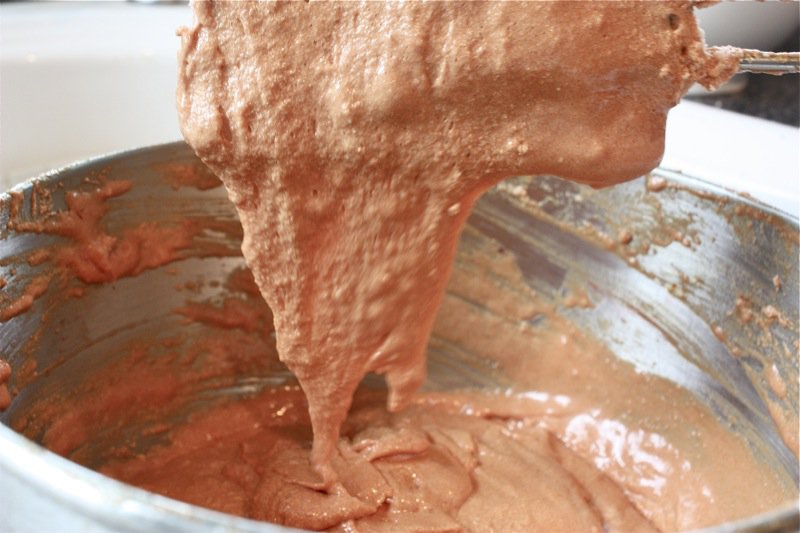
This is the consistency of the batter after the second amount has also been incorporated. It looks just like his did, too me. All of the dry ingredients were incorporated into the wet and then a few more folds and that was that.
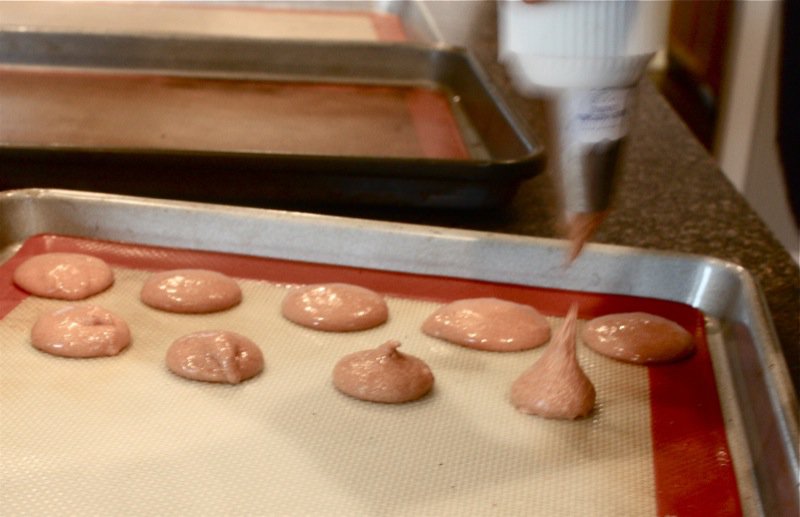
Into the pastry bag it went and I couldn’t find my other two #9 and 8 tips. The tip I ended up using out of desperation was too big. I really didn’t mind at this time. I could tell I had a good batter and a good product. If the shells were too big, that would be fine this time. I thought I had accomplished what I had set out to do. I had to wait until they were baked to be sure, but I knew I could already pipe well, so if these weren’t perfect because of the tip, I wasn’t going to sweat it. I was pretty excited by the confidence growing inside of me.
Béné’s lessons about preparing the dry ingredients carefully and about folding the dry ingredients into the stiff whites were with me. Chef Anthony’s coaching was with me. Giselle’s tips were with me. My experience was starting to make sense. Chef Anthony’s turning of the sheets two minutes after the shells are in the oven was with me, Béné’s tips about touching the macaron shells when they are in the oven to check for doneness was with me. I tested varying times with the four sheets I baked and learned what worked best for my oven. I heated my oven on convection to 160°C, or 320°F, yet the little shells didn’t have feet after the first two minutes when they were turned as they had at Lenôtre. Instead, they had them about 30 sedons after: whew!
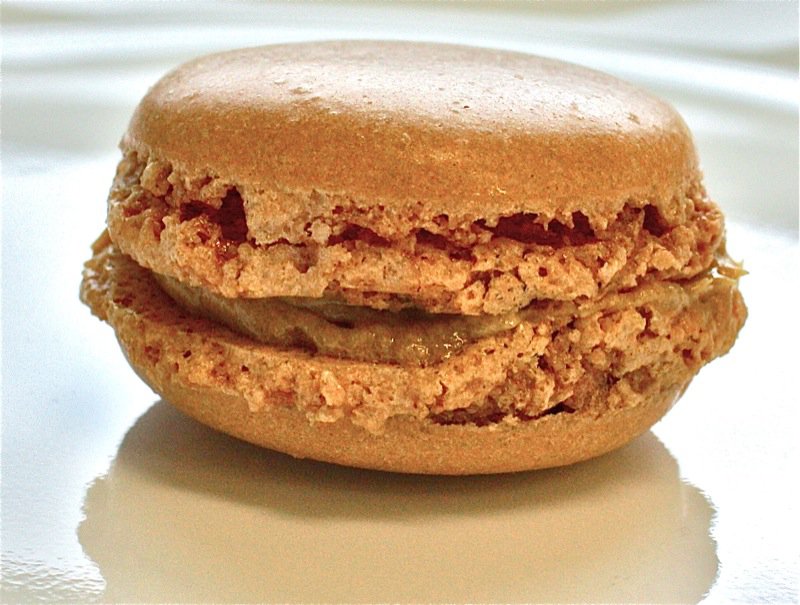
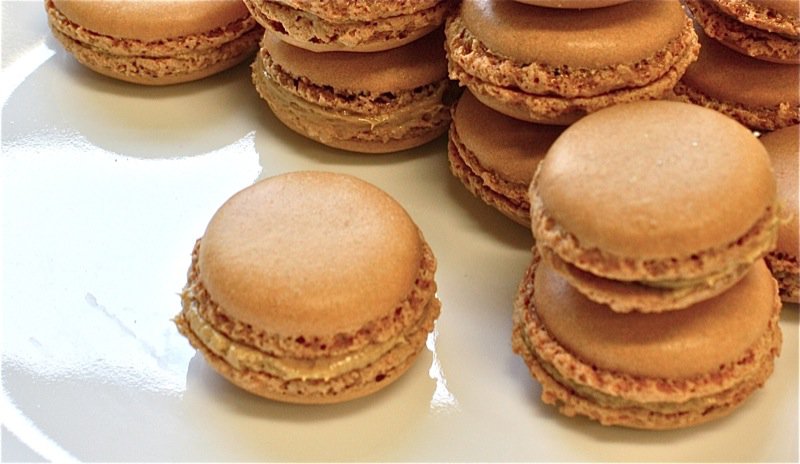
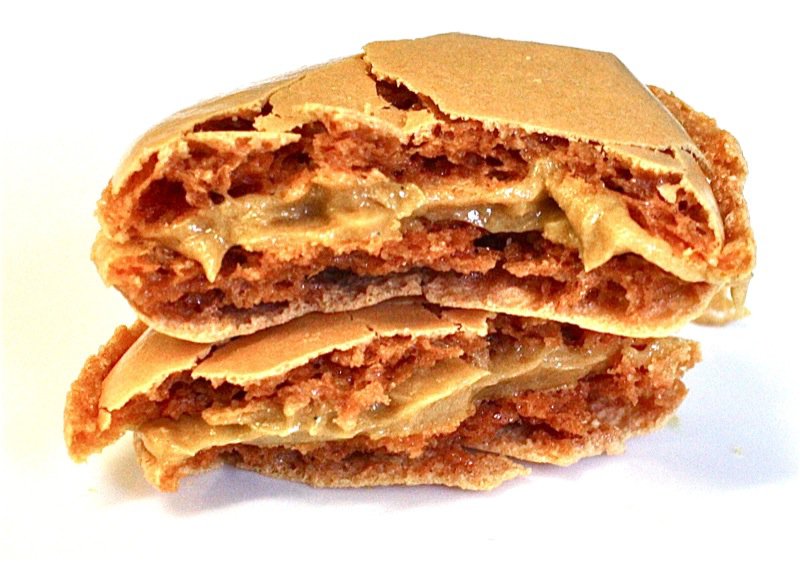
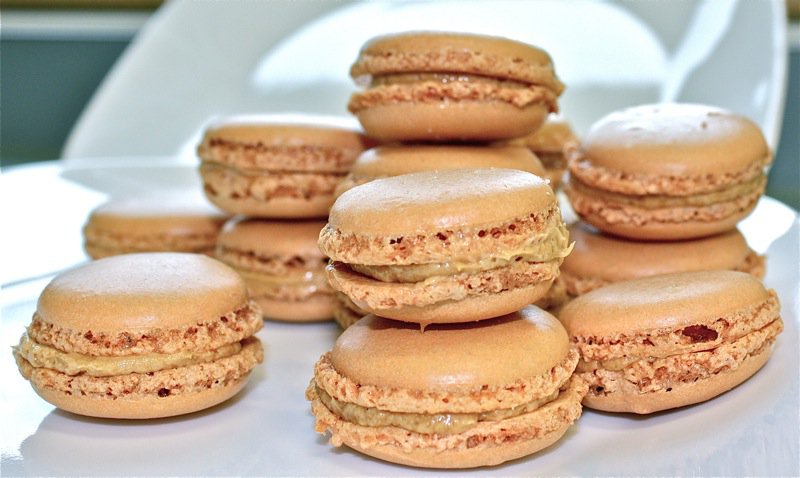
I matched up shell sizes after peeling them from the cooled mats and piped on the butter cream without fanfare. No photos, no standing ovation: only a puffy chest with a big quiet smile. I did it.
DId I tell you how good they were? Now here is the oddest happening: the day I made them, I was jumping and dancing and singing they were so out-of-this world delicious. I placed them all in the fridge covered with plastic wrap for two nights before I took them to school. I had wanted to take photos of them and didn’t want to take them to school until they had sat at least one full day when they were to be at their optimum, from what I have read. However; without tasting one, I passed them all around, wagging my little tail with glee. One reaction had me reach for a taste. OH! There was an odd and off putting aftertaste that had not existed on the day they were made. Very strange. I didn’t let it bother me. I knew I could change the flavour. And, my colleagues are enthusiastic, kind and generous souls who didn’t discourage me at all!
But, the next day, after sitting uncovered in my classroom overnight, that after taste was gone, and I found them to be delicious once again. That would be their third day. They only have a four day shelf life unless they are immediately stored in the freezer, and then may be stored there with excellent results for one month and good results for two months, I have heard. I have more whites. I have more colours. I have more flavours. My staff is going to learn to really love me as I keep testing my concoctions on them with all of the ingredients I bought that I am dying to use.
Now, I just need some time!
Salter Caramel Butter Cream Recipe
Ingredients:
- 75g whole milk
- 30g caster sugar
- 1 vanilla pod
- 60g egg yolks
- 30g caster sugar
- 200g butter
- one batch of caramel (recipe follows)
Instructions
- Scale in milk and sugar, add vanilla seeds and scald for 3 minutes at Varoma (120°C)
- Let cream rest for 10 minutes
- Mix the yolks with the remaining sugar
- Set machine to 8 minutes at 80°C on speed 3 with the butterfly inserted; slowly add the yolks and sugar mixture in through the lid
- Puree for 30 seconds from 0-10 to avoid using a sieve
- Pour mixture into the large bowl of an electric mixer (Kitchen Aid)
- Beat on medium with whisk attachment until room temperature (bout 10 minutes)
- Add soft butter, all at once
- Beat on medium high for about 10 minutes until the butter cream looks like a lovely thick frosting; add the caramel
- Incorporate the caramel at the same medium to medium-high speed until just done
- Scoop the salted caramel butter cream into a pastry bag, use immediately, or use the following day, or seal well and refrigerate to use the following day
Salted Butter Caramel Recipe
Ingredients:
- 100g caster sugar
- 80g heavy cream (whipping cream)
- 30g salted butter (half salted butter)
- 2g pure sea salt
Instructions:
- Make a dry caramel by adding the sugar to a hot sauce pan little by little; as each portion caramelizes, or begins to caramelize, add another small portion of sugar (do not stir, but swirl the pan)
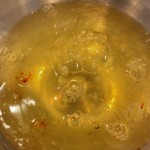
- See the photos; the caramel was very dark in some parts, but adding more sugar appeared to temper that and lighten the caramel colour; however, the caramel was still very dark when finished and before adding the cream to it
- Heat the cream to 90º C at the same time as making the caramel; add the hot cream to the caramel
- Add the butter and the salt blending the entire time with an immersion blender; set aside and cool to room temperature
@font-face { font-family: “Arial”; }@font-face { font-family: “Courier New”; }@font-face { font-family: “Wingdings”; }@font-face { font-family: “Cambria”; }p.MsoNormal, li.MsoNormal, div.MsoNormal { margin: 0cm 0cm 0.0001pt; font-size: 12pt; font-family: “Times New Roman”; }div.Section1 { page: Section1; }ol { margin-bottom: 0cm; }ul { margin-bottom: 0cm; }
Salted Butter Caramel Macaron Recipe
Ingredients:
- 500g tant pour tant
- 200g icing sugar
- 200g egg whites
- 50g caster sugar
- a few drops of brown food colouring
Instructions:
- Finely grind the tant pour tant with the icing sugar
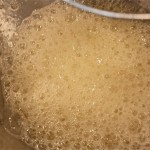
- Beat the egg whites for a minute, then add the colour; beat slowly to incorporate; then beat on high speed for 30 seconds and add the caster sugar all at once; continue to beat at medium speed until stiff peaks are formed (see photo)
- Add the ground almond mixture to the stiff egg whites in two batches for perfect texture (1/2 and half)
- Mix vigorously with a spatula after adding each portion of dry ingredients; do not worry about deflating the air just incorporated into the whites (when the consistency is “œperfect” the batter is ready to be placed into a piping bag: this is called macaronage)
- Place ingredients into a piping bag and pipe onto a baking sheet lined with silpat; bake at 160 C in a convection oven for exactly 13 minutes, rotating the pans exactly 2 minutes after they have been placed in the oven (feet should have formed by then (oven temperatures vary and it may take from 12 to 18 minutes to bake these shells)
- Remove silpat from the pan and place shells on it on the counter to cool, immediately; release from silpat when cool and set aside
Le Macaron est tres bon! Mon petit beret manifique, n’est pas?















Congratulations! They look amazing.
What an amazing story of determination! Congratulations on your achievement so far. Look forward to watching your journey, concocting new flavours and colours.
Hope you’ll pop this on the thermomix forum, as there are a few members working on macarons. I’m sure they would love to see your journey too.
WOO HOO! Go Valerie!!
You must feel so satisfied in this achievement. I bow to your dessert-superiority.
Oh my goodness me! WOW! Those are beautiful… I am so impressed and motivated all the more to give these a shot!
Great blog! Happy I found you!
Mary xo
Delightful Bitefuls
I am so glad that you finally got it! The Sweet Tartlette does classes for this recipe. Check out her site. Yours look fabulous! Just added your site to my blogroll and will be sharing with my classes! I love your site!
They are so professionally baked! Bookmarked your salty caramel buttercream, gotta give it a try!
Wow, stellar job! Although I can make macarons that “look” perfect on the outside, they aren’t right on the inside. I kid you not when I say I’ve attempted making them about 20 times. I took a class, I bought special equipment, but always my macaron shells had a big empty space underneath the dome. I absolutely DO NOT get it!!!!! Because of the frustration and the fact that it has broguht me near to tears on several occasions, I have given up. I feel like I am doing everything right, so I don’t know why I have so much trouble. I am now just way happier to buy them at Laduree (actually had some this weekend :)).
Looks like you have achieved success daaaaaahling, they look fab!
*kisses* HH
Dearest HH,
I was there. I remember you telling me this, too. It sounds like a temperature issue to me. I thought I suggested you try varying times and temps with each pan, but I get it. You have had enough. We need to coin a phrase for that. What should it be? Macaronitis? no…. Macaroni… no, that’s been taken. Maybe ther were trying to make the elusive macaron and stumbled upon pasta? …. MacaronOH! I think I like that one… or, MacaronAH!… or, for we Canadians. MacaronEH!!!!!
XO
Congratulations! Nothing like finally succeeding that illusive recipe. It’s a feeling like no other in the world that only a foode can relate to. Your macaroons are really beautiful; wish I could have been there to witness and and taste the fruit of your labour. Now I have to go study your blog and learn all about ‘thermomix’.
Félicitations!
Rita
Salted caramel really appeals to me Valerie. It is enoigh to get me excited about trying to make macarons. Maybe I need to find a macaron that knock my socks off to kindle the excitement in me.
Of course you did Darling Val! Who else but you would have put those amazing lessons in Paris to good use and come out looking like the Macaron queen! 🙂
Kudos to your perseverance and hard work…muah…muah…
Devaki @ weavethousandflavors
Congrats! Nice work Val, and what dedication.
Yes, you did! They look delicious (love the salty caramel). And the photography rocks!
Yes yes yes you did Valerie! Umm, is it too late to apply for a job at Chegwin? Lol. These look amazingly delicious! Next to your pavlova (sp?) macarons are my favorite dessert. There’s just something about their texture that keeps me coming back for more. I’ve never had salted caramel before. I know, how deprived am I right? Keep posting these delicious recipes and don’t be surprised to find me on your doorstep one of these days :-D. Bravo bravo to you my friend!
LeQuan! You will be at my doorstep. You are coming ot teach me how to make Lo Pop leaves. Is that the right word? The meat filling for the meat with the fresh leaves! However, it will have to wait as I am too swamped with school right now and my parent’s 60th wedding anniversary coming up in November. November, you say – that’s a long way off! Not really. LOTS to do and I am busy doing it. But, we have a date!
🙂
Valerie
Congratulations. Such a beautiful combination of flavors!
Congrats. It is a hit or miss for me still. I can’t wait to try your recipe.
Congratulations!!! They look amazing and I bet tasted fantastic!
They look absolutely delicious! I need to build up some more confidence before I attempt to make macarons. Congratulations!
they look awesome
Lovely and cute Macarons! Nice to be here, hope to come often. best wishes.
Valerie
I am so impressed with your macarons! If you set up shop I would be at your doorstep immediately! that salted caramel is just to-die-for!
I have NEVER attempted to make these because I hate failure or I have a fear of failure or both; I think you have to be determined and passionate about them; even my friend who is a pastry chef from Paris told me they are tricky to master. So I am doubly impressed with your determination and ultimate success.
OMG these look amazing!! congratulations!
CONGRATULATIONS Valerie, I know the feeling of conquering macaron madness – makes you feel on TOP of the world. They look superb and I’m incredibly proud of you! Well done
Wow, those look fantastic…and love the flavor 🙂
Now we’re talking! Yummy!!
oxox
they look perfect… 🙂
did this REALLY happen??? you would put paulette out of business here in san fran. these look amazing. caramel is my favorite i think. YUM! mom, where do you find the time. you are amazing?
Deadly arccuate answer. You’ve hit the bullseye!
Val – I can’t believe I missed this post. You made the most beautiful macarons! Congratulations – they look perfect. I can see how smooth the tops are and what beautiful feet!
These look amazing. Someday when I meet the famous Laureny’s mother can you teach me how to make a macaroon. They are my absolute favorite cookies besides the ricciarelli cookies found in Florence and Sienna Italy. Those are pretty amazing too. These are perfect macarons!
-Charlotte Bird (friend of Lauren’s)
Charlotte!
Of course I know who you are! I have seem more than a zillion photos of you… and now you have me on a new quest for the ricciarelli cookies found in Florence and Sienna. How could I have missed them? I have been to both places three times, and Florence more than that. Where was I?
I cannot wait to meet you!
🙂
Valerie
I just made these delicious macarons. I used coffee extract instead of brown colorong. Ahh…. marvelous!!
Great idea, Alison! YUM!
Is it necessary to use both a Thermomix and a mixer for all the work? What if I only have a Thermox and no mixer? Any suggestion on the sequence of work? Can I mix the tpt and the merengue in the TM? Thank you !
HI, Mei!
Yes, some people do it all in the TM. The tpt for sure – the meringue is a different story. If you are experienced with making mararons and with using the Thermomix, then YES. You must know what the consistency is for the meringue and as this is such a diva cookie, best to start slow, learn step by step – then go to the TN once you have everything down pat. The TM is extremely powerful, as you know. It will do a fantastic job, if you have full control of your machine – and as you are asking me this question, I think you need to work with it a bit more.
🙂
Valerie