This day of baking and learning was my highlight of our trip to London.
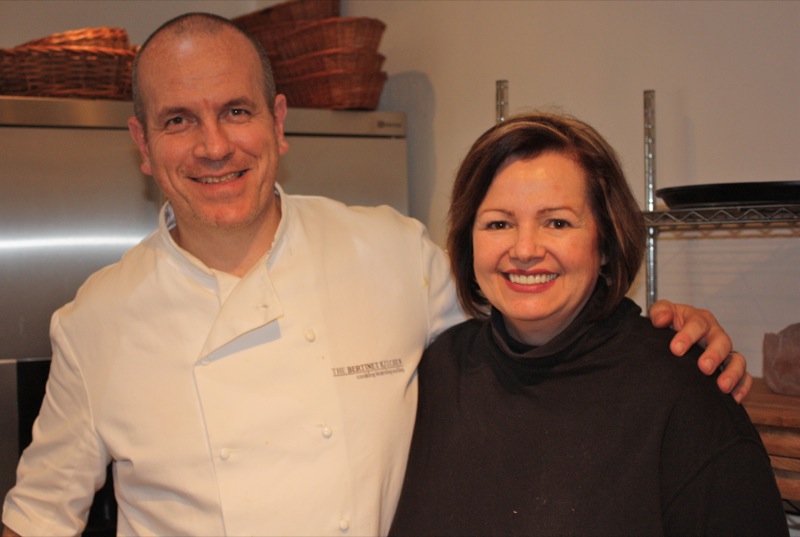 When we decided that London would be our Spring Break destination this year, I just peaked at the Richard Bertinet Kitchen Cookery School class schedule on the website to see what was being offered that week. Then I let out a BIG Whoop! and immediately started looking at train schedules to see if it would be possible for me to even get there by 10 am on a midweek London morning. And, yes it was!
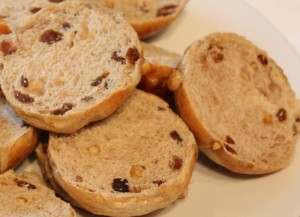
These are what I made upon my return home!!!
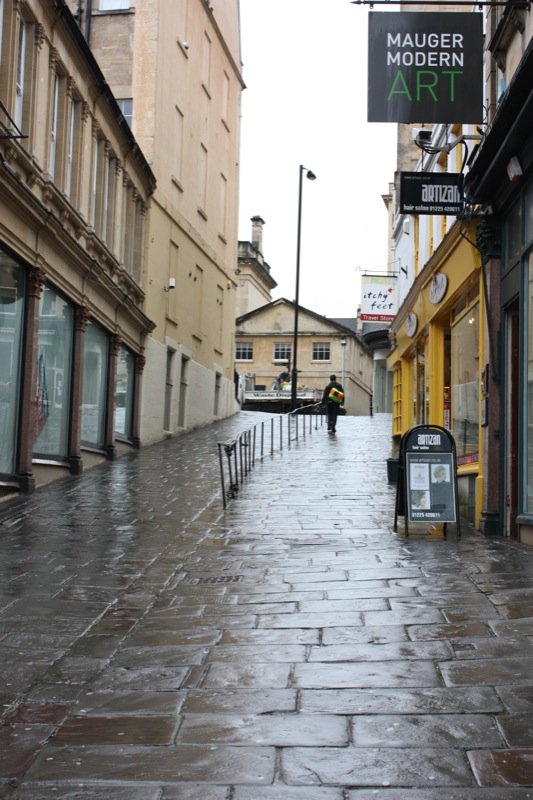
So, up at 6, in the Underground at 6:45, and on the train at 7:30 headed for Bath on a very cold blustery Spring morning. My first countryside viewing since arriving in the UK, so I was not bored for a second the entire hour and a half. Rain pouring down, I hailed a taxi and was dropped me off on a side street and pointed up an alleyway where the driver said, “I’m not really sure where it is, exactly. Never heard of that street, but it must be up there somewhere.” and off he drove. I stood on the quiet, empty street, rain splattering down, wind whistling an eerie welcome, on the most dreary morning in this foreign town hoping I was somewhere close to where I needed to be, and trudged on in the pointed direction.
Not at all sure where I was or where I was going I did forge ahead, like my mother’s good daughter would. Down an alley, or mew, and up a side street. Nothing. Hmmm. I went back. Did I miss it? No. Nothing. Then ducked into the little caféI passed first time up and showed the gent my paper directions. No, he had never heard of the Bertinet Kitchen, or the Cookery School. Hmmm. Well, it was 9:10am. I still had plenty of time.
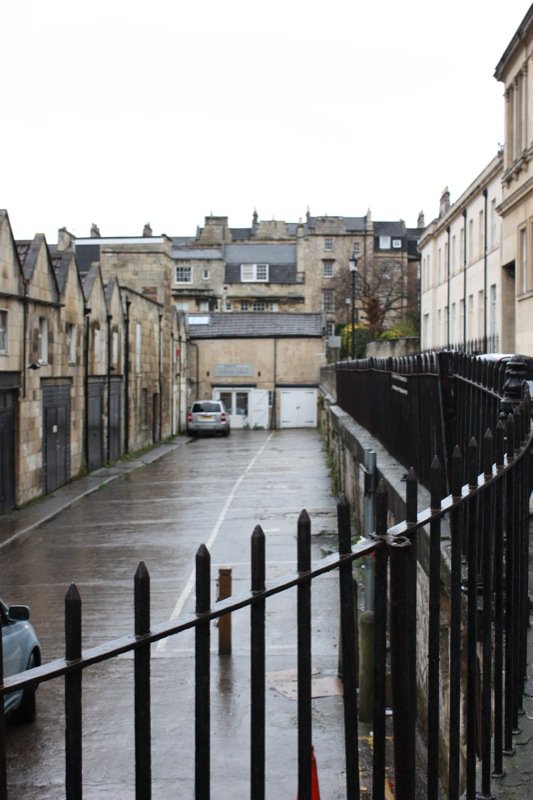
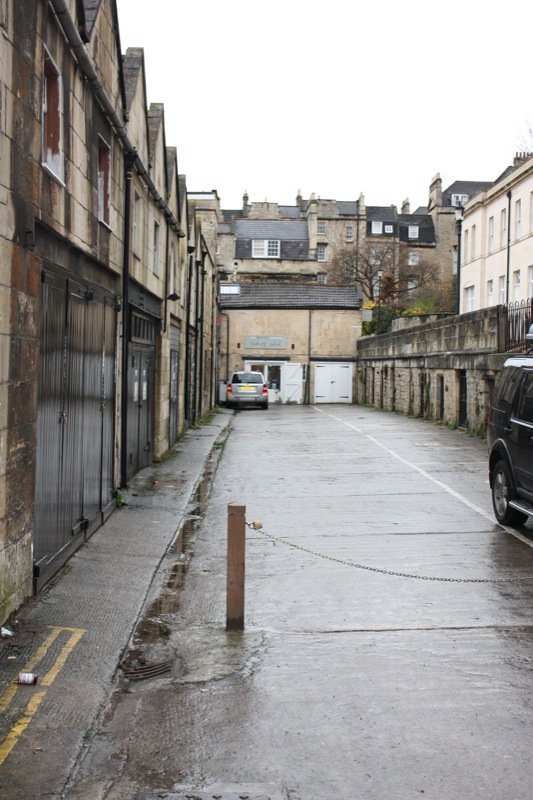
Back outside I went, and windier it was. I opened my directions and again read. “Once you get to the Antique Centre, take a hard look to your left and you well see our sign.” Ah, there is the Antique Centre straight up the way. I had already passed it. Up I went again, and stood there, and took a look to my left. Nothing. I read again. “…take a hard look.” OK. I looked again, but this time, HARD. Ahhhh! There. It is there! Not easy to see. One does have to look hard. Yet, the sign is there. Out in plain sight, actually, but just as easy to miss as it is over a little door and window at the end of what looks like a garage alley. See it below? Just above the car at the end of the road? Perfect.
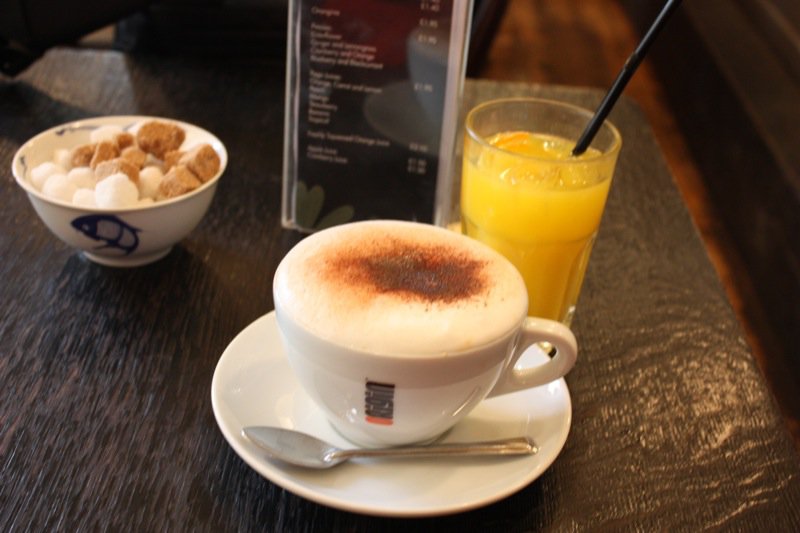
Back to the little caféfor a sorely needed hot cup of morning coffee and a glass of revitalizing orange juice. Brrrr! As I pushed open the heavy door, there was a man with a toddler in the middle of the small room at a table. Two men by the window, and a group by the other wall. One table for 6 was in the middle of the room, so I sat, and later learned that it is common to sit at a table with strangers in these small cafés. I warmed my hands and watched the people. and was thankful to know where I was and where I was going. Somehow, I had sat here before, deep inside of in my imagination: in this very room, on a very blustery day just as it was today, in the heart of England. Surreal. That morning coffee was one of those very special unexpected delights on a trip where so much is planned… This precious blustering morning, I was warmed by the breath of the laughter and a great cup of coffee within a neighbourhood café on a little mew somewhere in Bath.
I grinned at the little gal with her papa’s big horn-rimmed glasses upside down on her tiny cherubic face. I drank my beautiful frothy cup of morning and took it all in. But, I had a mission today. My heart was racing again. It was 9:50, and time for me to head to The Bertinet Kitchen Cookery School. I left my chnage on the table. Nodded at the young chap who is not etched in this memory, and was out back on that now all too familiar path again. But, this time, I knew where I was going.
It is 9:50, the class starts at 10. and I am filled with anticipation as I pull open the light old door and am immediately inside of the cooking room. “Hello! Welcome! Come in!” boomed a warm voice as my eyes adjusted to the light. Immediately, the tall man came toward me and took my pack and said, “Come. come upstairs and let’s take off your coat. Make yourself at home.” I followed through the room, past warm smiles, up some stairs to what looked like a store and around the corner to a coat rack. We were chatting as he led me and asked me where I was from. I told him I had come all the way from Canada just for him, and it was true. Honestly, I was having trouble visiting. I was still in awe of the fact that Richard Bertinet had grabbed my bag from my shoulders and taken it up the stairs for me. How many times have I watched his bread baking video from Dough? I was still actually wondering if this was really him.
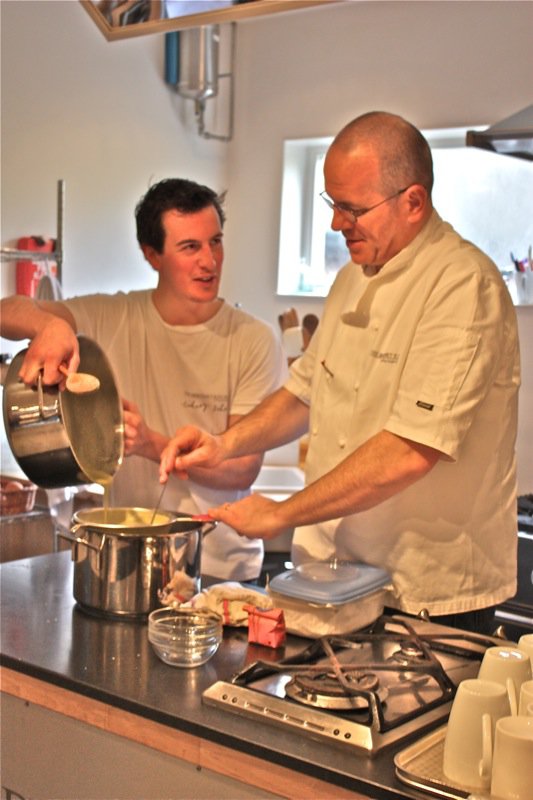
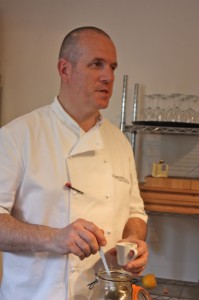
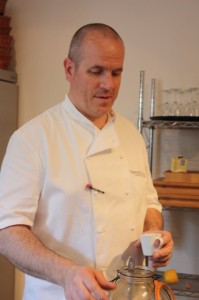
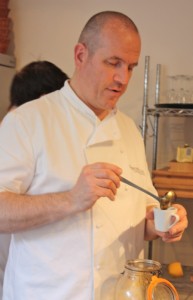
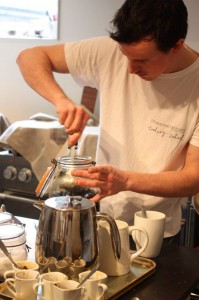
And here we were down the stairs again with more coming in the door, introductions, greetings, warm smiles, toast, coffee, orange juice and home made marmalade. Warm. Everything had a golden glow around it. Richard was warm and welcoming and the quintessential host. His right hand man was putting the finishing touches on the leek soup for lunch and Richard was helping him push it through the sieve. There was a lot happening, yet everything was calm, welcoming, and homey.
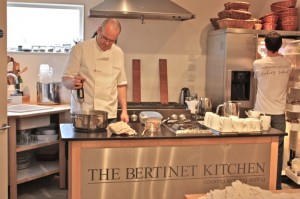
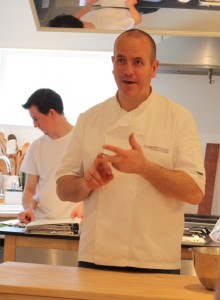
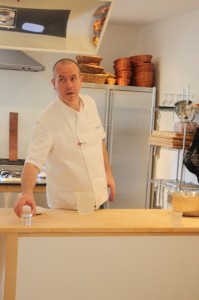
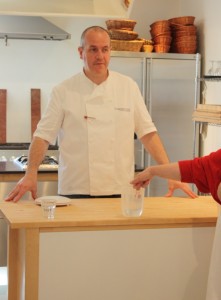
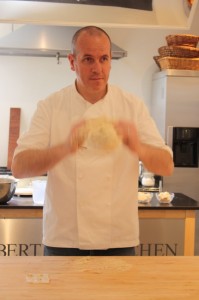
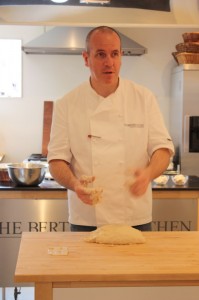
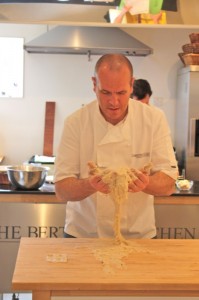
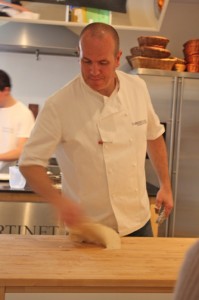
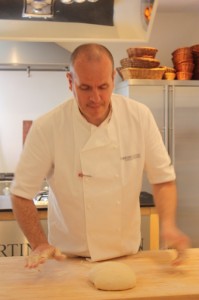
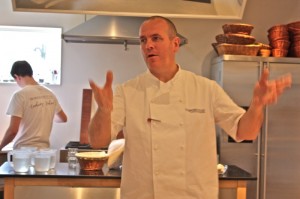
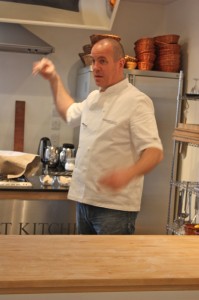
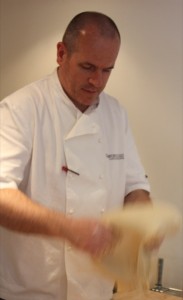
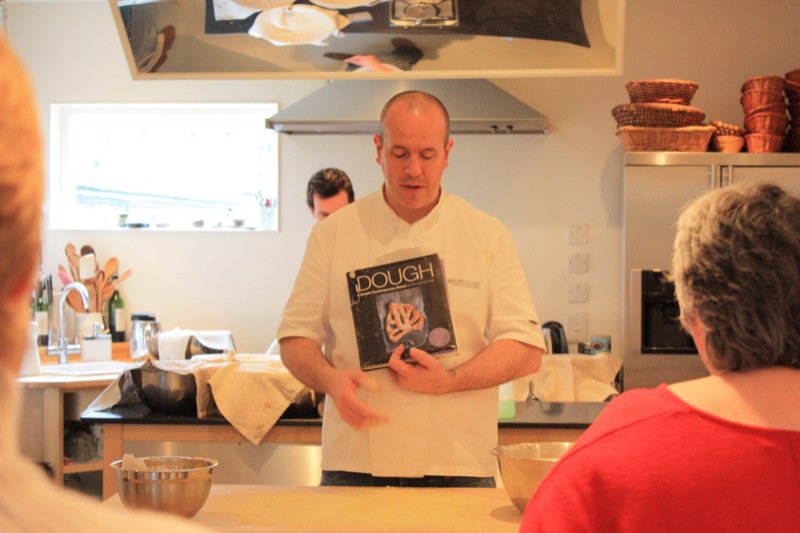
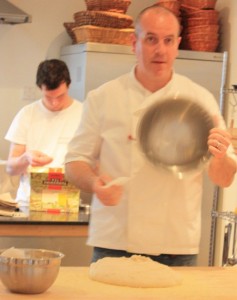
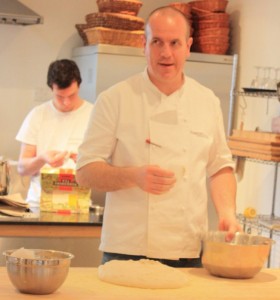
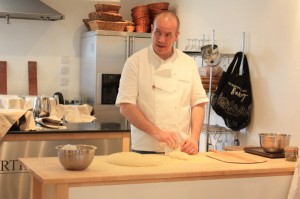
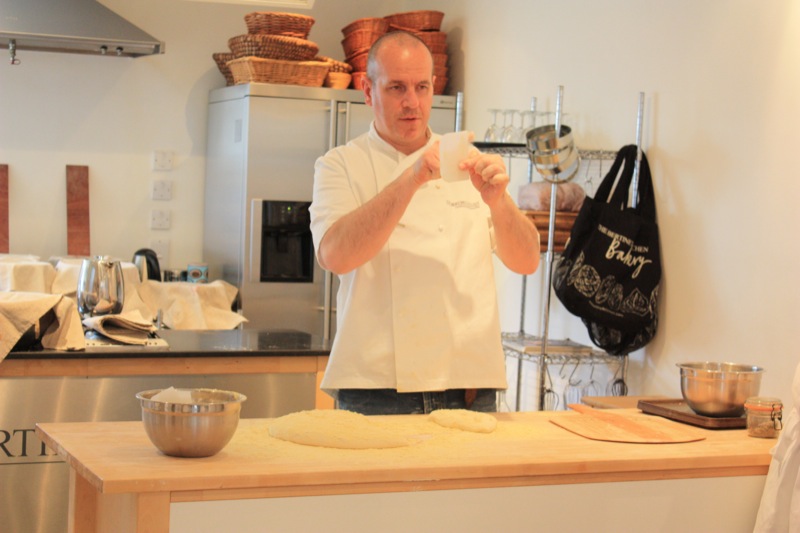
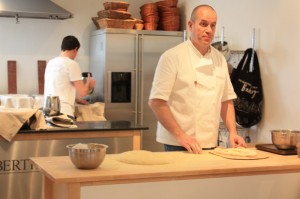
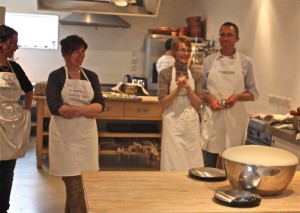
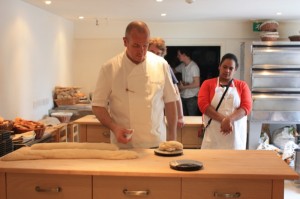
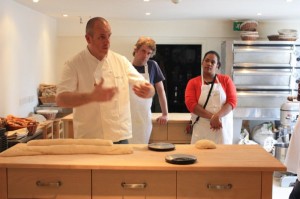
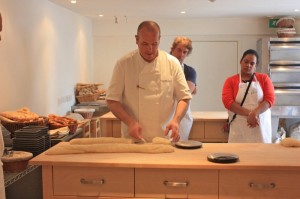
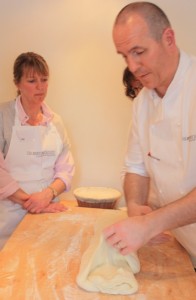
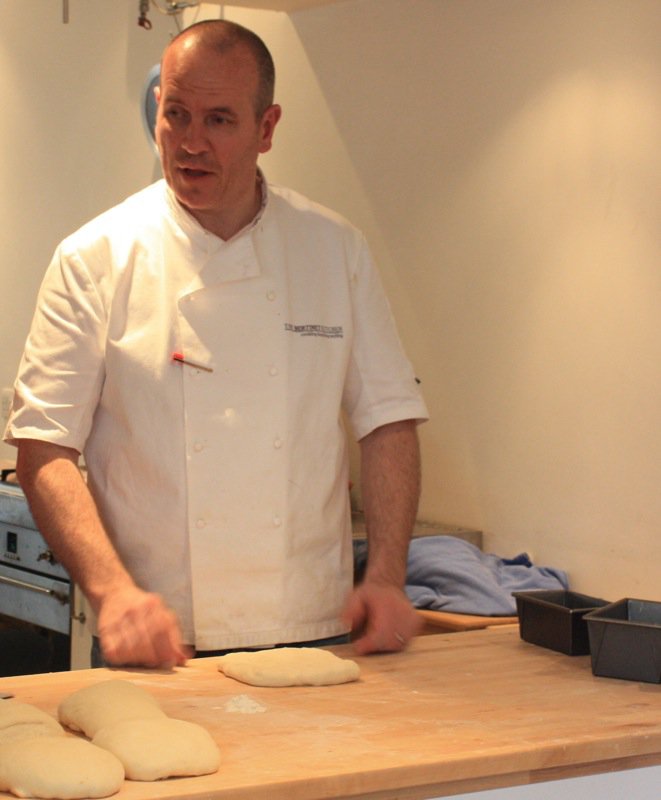
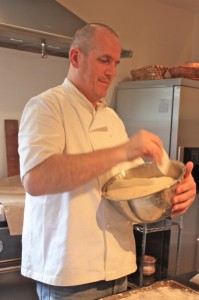
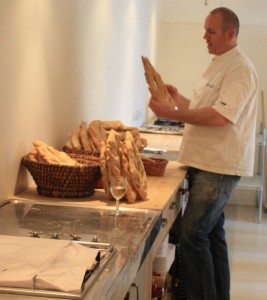
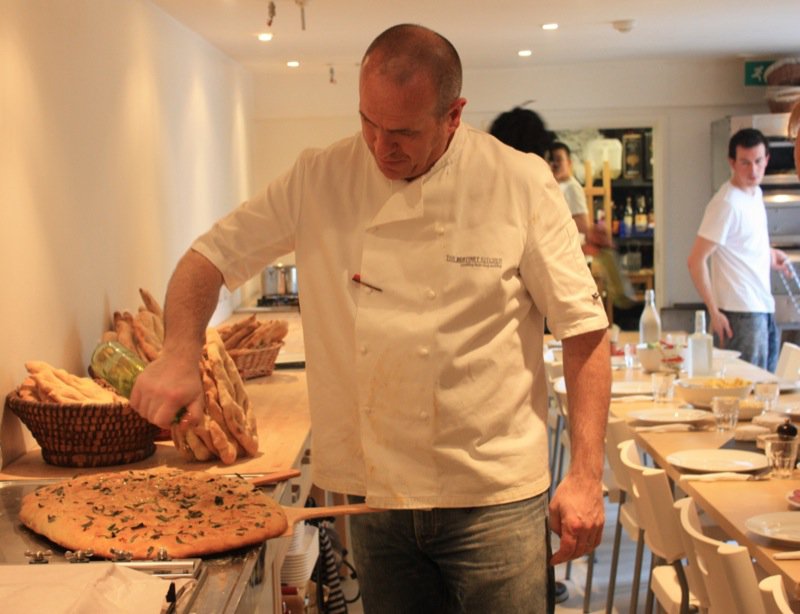
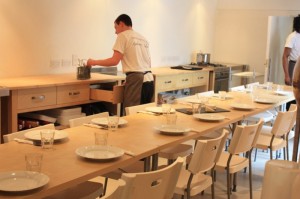
The room wasn’t big. It was long, and the demonstration centre was at the front where Richard is above.
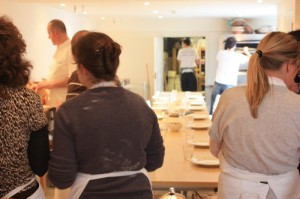
 When I shared these photos and my day with Vanja later, his comment was, “A lot of Ikea furniture.” And it worked, perfectly. Brilliant, actually. The spaces seemed initially too small for a cooking class of 14, but there was ample room. How the space in the room was used throughout the day was astonishing. Every little corner had a second purpose and I was amazed at how much was accomplished within the confines of this room as comfortable and effectively and splendidly as it was.
I had already been to the Bertinet Kitchen website many times and had coveted many of the items for sale there. But, had not purchased anything as the pound used to be 2.2 to our dollar, and then the shipping… so, here I was, eyeing the baskets and goodies “in real life” that I had only eyed in cyberspace. There was bread proofing on the back counter.
And then, it was time.
Basic White Bread
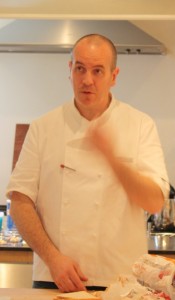
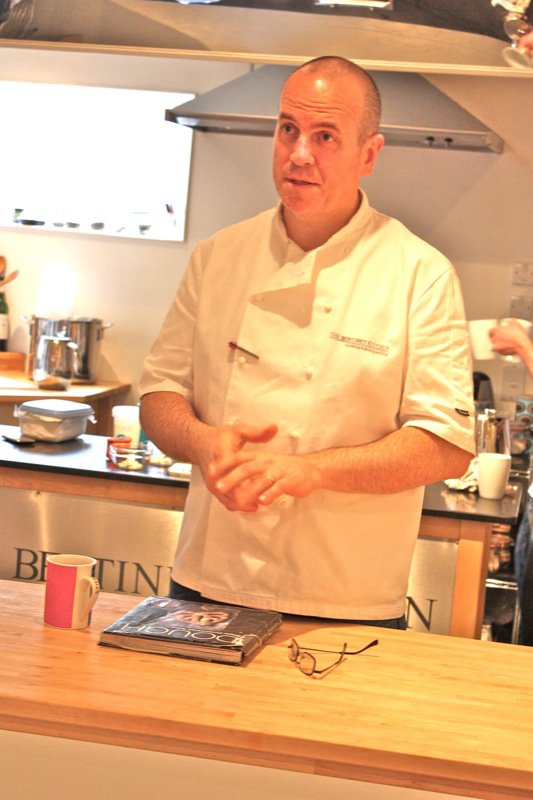 For the first hour, Richard introduced us to his passion. Baking Bread. Real Bread. Bread one must chew. Bread made with only water, flour, salt and yeast – yet, brimming with nutrients. Simple. Yet, so complex and diverse. And – alive. So alive.
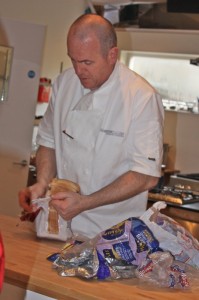
Everyone confessed to buying this kind of bread. White and soft. The bags were passed around. Read the ingredients. Read them. Come on, read them! All of them. It was horrifying. “If you cannot pronounce what is in it, don’t buy it.” Richard espoused. And was vehement about this product betraying all in the food markets all over the world today. “This is not bread! Call it a bread substitute, or a bread replacement, but do not call it bread. It is not bread.” He painted a picture of the British vacationing in France for a week and every day they go to the baker and they feel the bread and it cracks and crunches just like they want and they buy it fresh every day and eat it and savour it. The, go back home to Britain and forget about their relationship with real bread.
“Do you squeeze this stuff?” he asked holding up a loaf equivalent to White Wonderbread in his hand. He passed each of us a slice and had us roll it into a ball which was done in seconds, then asked, “And you think your body can digest this gluey mass of chemical goop?” (Well, he said something similar to that.) We got it. Most of us were there because we already got it, but the presentation could not be missed. His passion was contagious. And, his premise is critical. How has our daily bread, which is so simple and fundamental to humankind, become such a foreign substance?
As an educator my entire life, it is rare when I participate in a class and am blown away by the teaching skills of another. This day, Richard Bertinet blew me away. He has no professional educational training, yet, is the quintessential educator.
Name me 20 Chefs you are familiar with. No name 20 Bakers. You cannot, can you? But, why not? Think about it. Why do we not value bread making anymore? And we must. This is not bread.
Put your finger in the water. Do not say anything! SH!!!! Nothing. Now, what word came to your mind? “Hot!”. Good. And again. Put your finger in the water. Do not say anything! SH!!!! Nothing. Now, what word comes to your mind? “Cold!” Good.
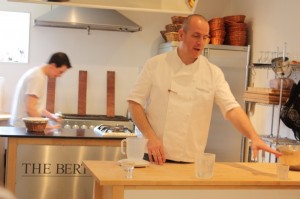 Good. And again. Put your finger in this water. Do not say anything… SH!!!! Nothing. Now, what word comes to your mind? “Luke warm!” “Room Temperature!” “Nothing!” “Not hot or cold – in the middle!” AHHHH! You see? That is why you cannot describe it. Everyone’s reference point is different. Everyone understands it differently. How can you describe this temperature and expect all of you to know what it means when each of you have such different words to describe it yourself? One cannot. You much feel it to know. And, now you have. This is the temperature the water must be at to make your dough. The word that you should say when you touch this sample is: “wet”.
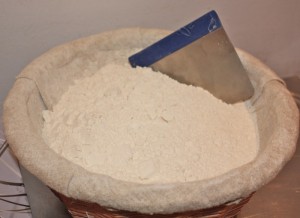
And, now, let’s get to that! Flour (at least 12% protein), water (and we know what temperature), salt (the best you can find and he used a moist grey salt this day), and fresh yeast.
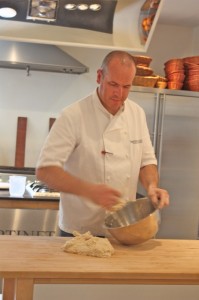
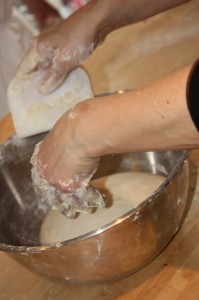
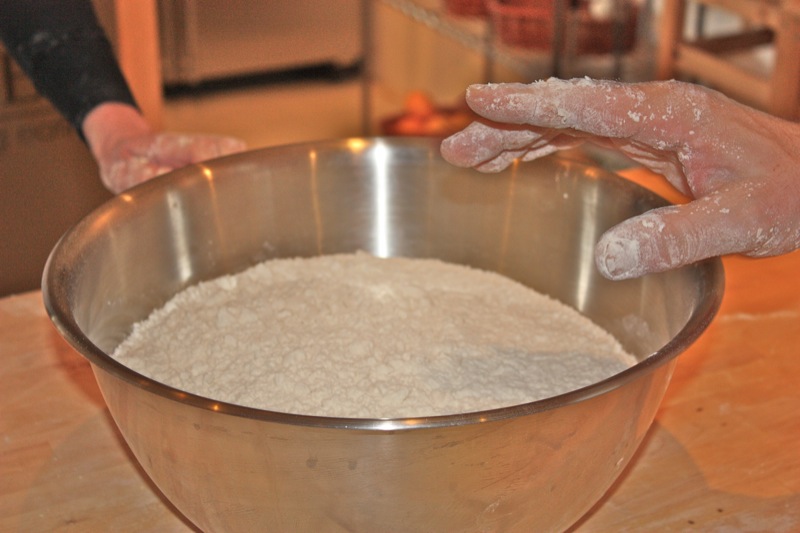
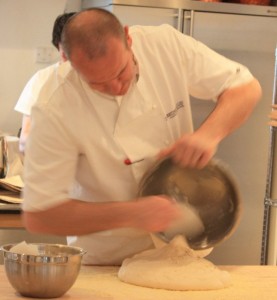
 Richard placed the yeast on one side of the bowl, and the salt on the other. He rubbed the yeast into the flour, then mixed the salt into it, added the water, and is now mixing it to make dough using his left hand to turn the bowl and his right hand, holding the plastic spatula, as the bread hook.
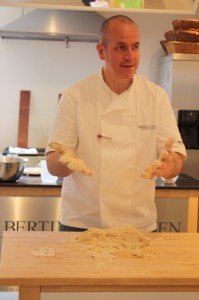
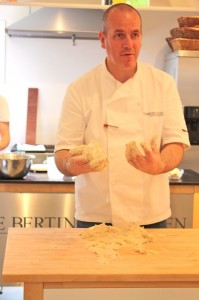
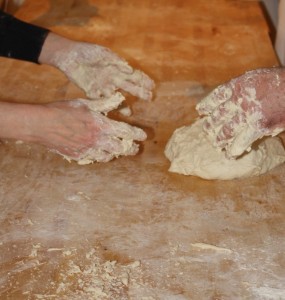
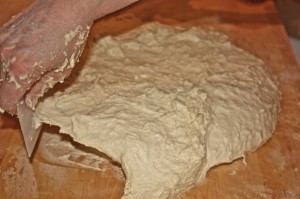
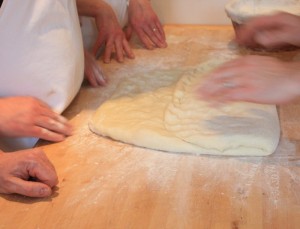
After the water is mixed into the flour, he dumped the mixture onto the work surface and then talked about the difference between kneading and working the dough. “The dough is very sticky. That is what the dough should look like.”
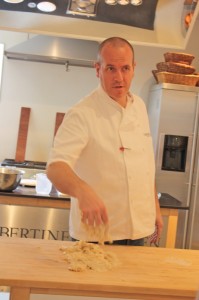
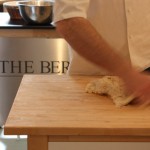
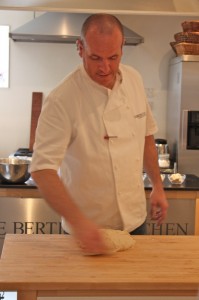
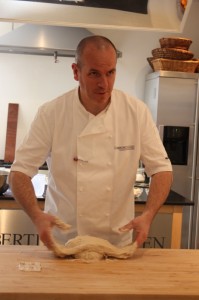
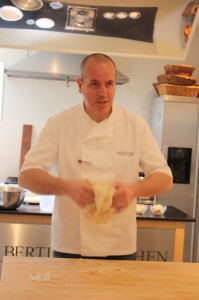
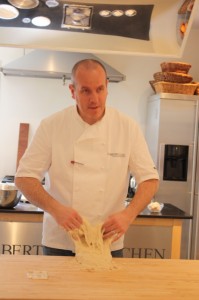
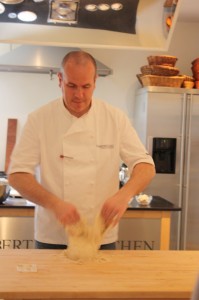
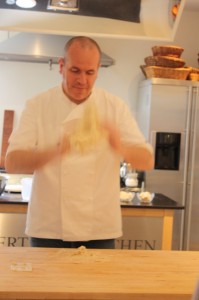
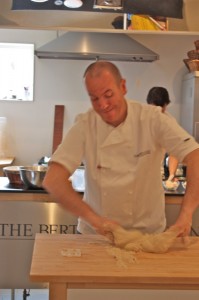
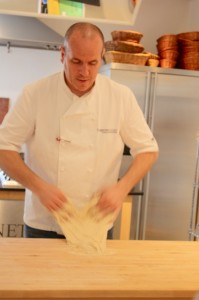
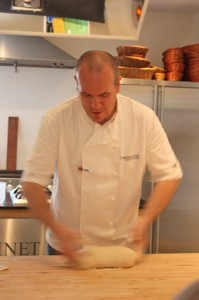
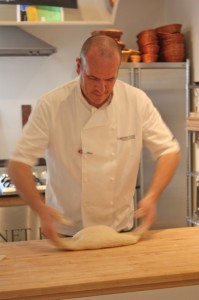
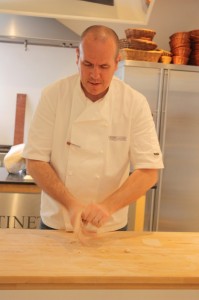
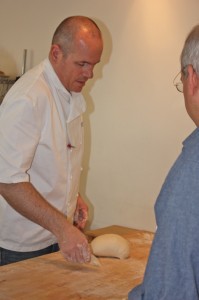
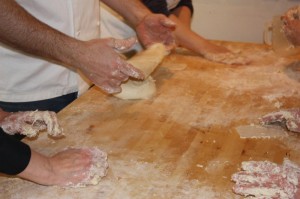
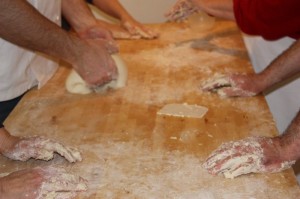
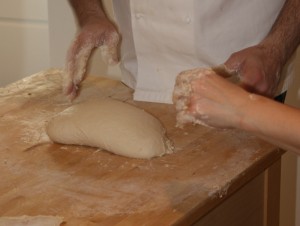
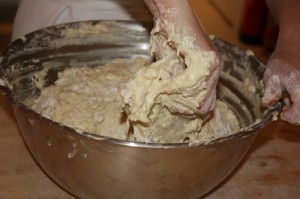
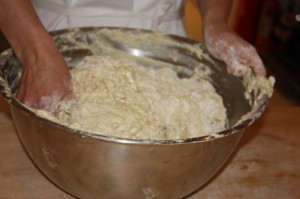
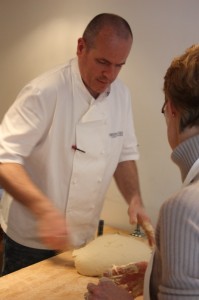
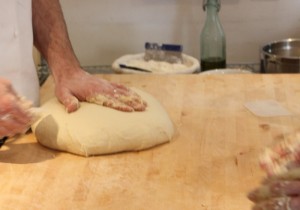
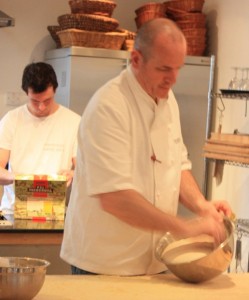
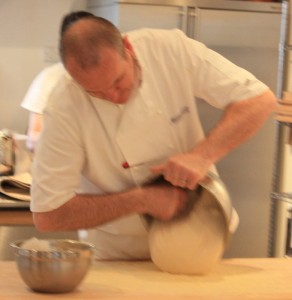
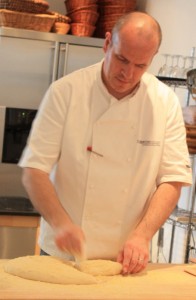
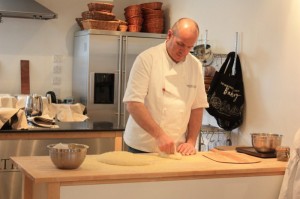
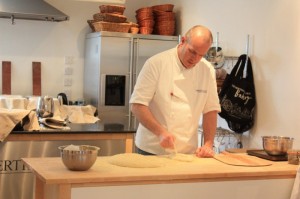
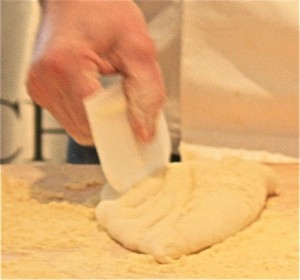
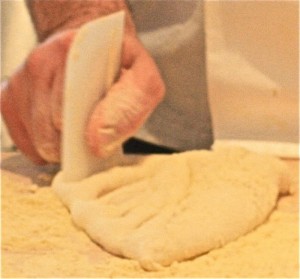
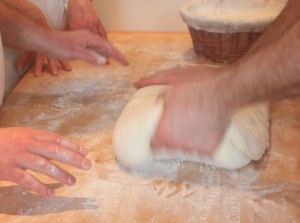
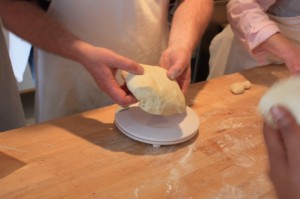
I can’t help but smile when I look at the wicked little grin on his face. He has quite the sense of humour – which I did not expect. “What do you do when you go to knead bread that is like this?” Of course, everyone’s answer was to add more flour. “Ah-ha! That is what you do when you knead dough. And, you are in a cloud of flour the entire time. You are covered in it, your kitchen it covered in it and your entire house is covered in it.” Not so with Richard Bertinet’s technique. He works the dough. He has already very carefully and precisely weighed his ingredients. Then, he adds no more. He works the dough with his plastic scraper, and his hands. He is using the plastic scraper in the second photo below to form the dough into a ball.
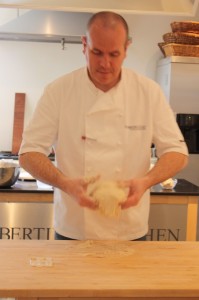
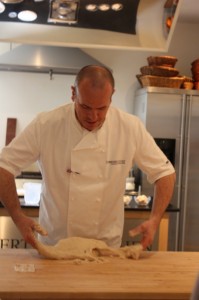
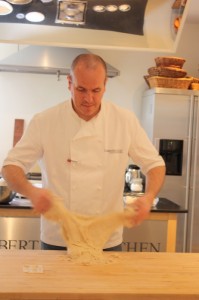
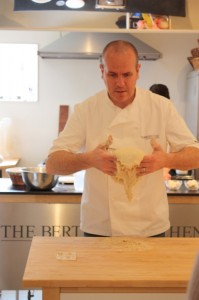
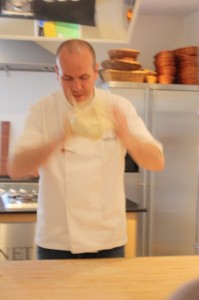
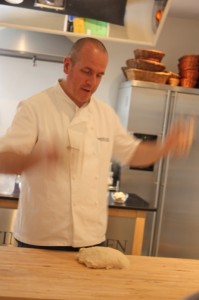
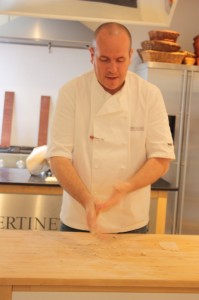
And then he picks it up with the bottom, or sticky side, away from him, his thumbs carefully positioned, and works the dough on the counter. You can see the exact technique n motion in the following video. Watch for his thumb placement. That is important and his repositioning of my thumbs helped a great deal. “You are in control of your dough. Your dough is not in control of you.”
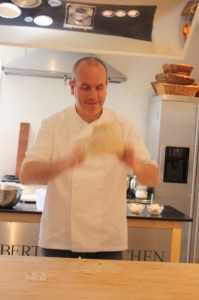
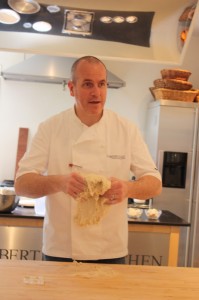
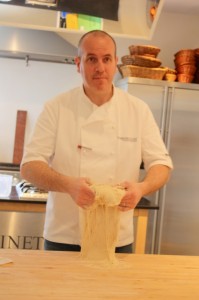
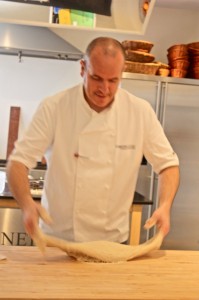
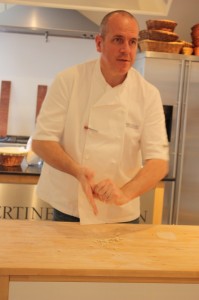
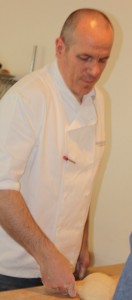
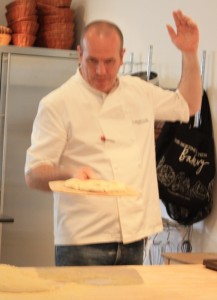
His concentration and intimate relationship and respect for the dough is evident. Look at his expressions.
He works air into the dough as he stretches it with several motions, then uses his spatula to control the dough. Never let the spatula leave the dough when you are moving the dough into a ball. That was an important tip. He gets in back into a ball with his spatula, and “takes it for a walk” around his work surface.
He stresses the importance of body posture. “Your should not be tired. Work your dough and work with your dough. Control your body and your position so it works with your dough and doesn’t tire you out.”
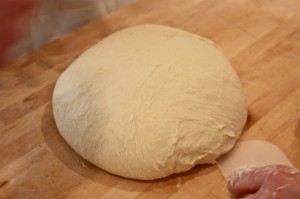
And, voilà ! C’est fini! The soft, supple and beautiful dough is placed to rest in the same bowl it was first mixed in with a cloth on top, in a warm little nook by the stove. And, Richard proceeds to clean his hands on his work surface. “My boss would kill me if I ever wiped my sticky dough hands on his towels or washed this down his sink.” You must us the work surface to clean your hands by rubbing them together with a little flour from the table and the dry bits left to clean the table, as well. Then, scrape the table and rub your hands over the garbage until every last bit of dough is free from both.
Now it is your turn, no? Get into groups of two. You will work with one other to work your dough. I will give you one kilo of flour, 700 grams of water, 20 grams of salt and 20 grams of yeast to make your dough with.
Basic White Bread Ingredients (for 2 loaves)
- 1 kilo of flour
- 20g really good salt
- 20g fresh yeast
- 700g water
This recipe is 70% water (700g water to 1000g flour).
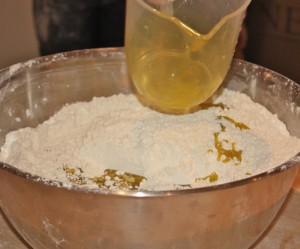
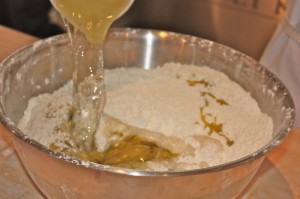
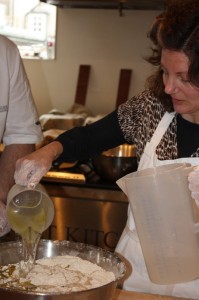
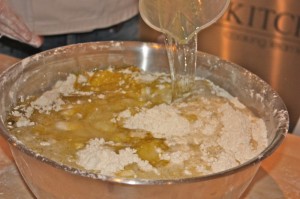
 Rub the yeast into the flour, then sift the salt throug the flour. Never let them touch each other directly. You must rub the yeast into the flour before you sift the salt through the flour. Then add the water and use your left arm to turn the bowl, and your right hand with the plastic spatula in it to turn the batter until it forms into a rough dough. Then dump it onto your work surface without any flour on it.
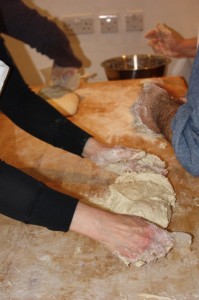
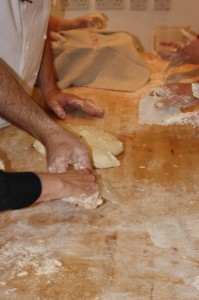
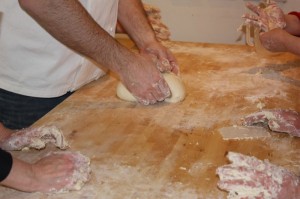
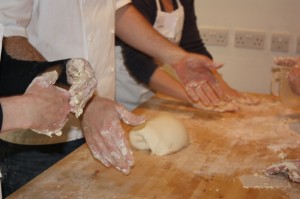
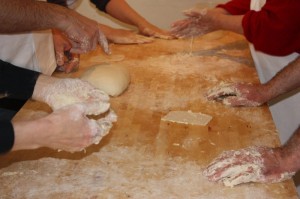
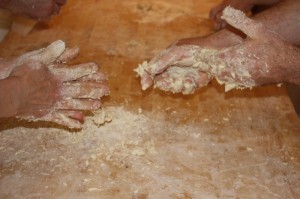
And it was seconds before our hands were covered with sticky dough. It would be really hard to believe that this would transform into the beautiful dough Richard had just created if we had not seen it happen only moments before in front of our very eyes. I recall feeling this way the first time I had tried this at home after buying his book, Dough, watching his video several times, and then working my own dough. I was next to tears the first time because I didn’t have the experience to know that this will become a beautiful dough. Believe. Believe.
And we did. We stretched and worked our dough and got stuck and sticky and sticky and stuck. Then, Richard Bertinet stopped by our table to praise our efforts, point out our good deeds and correct our flaws. Bend your knee. Place your weight here. Don’t work so hard. Be in control of your dough. Rock on your feet and pull back through your shoulders. Get into the groove. Listen to him and watch him on the video. I thought I was moving as he instructed, but he just placed his hand on my shoulder and it was clear I was tense and not relaxed in my movements. And that one touch changed everything in the way I moved through my dough working motion. And his tip about my thumbs. “Keep them up here. Not over there.”
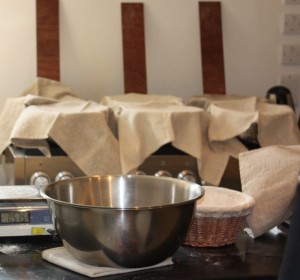
And we cleaned our hands and the board placing the dough to proof by the other doughs on the stove top covered and warm.
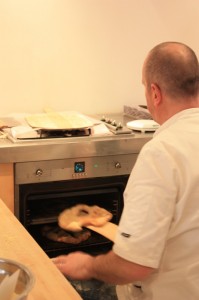
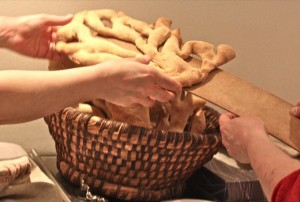
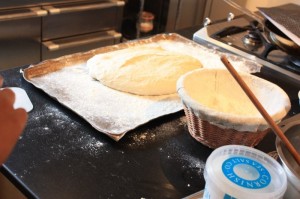
The slats of wood behind the dough are used to retrieve the bread from the hot ovens. He uses his paddles to place the dough into the ovens, and the slats to remove it. Never place dough onto a cold cookie sheet or cold surface and then into an oven. Always have a hot stone, piece of slate, or upside down jelly roll pan hot in the oven to slide your dough onto.
The metal scrapers were pulled out for cleaning the counter tops. No water. A little more flour. Just a little. Rub it in. Rub the dough off, and scrape it all into the garbage.
Now for more dough! This time, a different recipe.
Olive Oil Bread
The flour is so important. It must rest after it is milled. This surprised me so much as I had always believed that most nutrients escaped after the first 72 hours after grinding and the flour must be used quickly. I usually grind my wheat just before making my bread. Richard says the flour has to rest. He sells his flour from his website and it is shipped free to anywhere in the UK. It is a buff colour with a hint of yellow. It is a very soft and fine flour compared to the all purpose white flour I buy and work with here. He stressed that bread flour has to have 12% protein, yet I cannot find that kind of information on any of the bags in the grocery stores and must investigate how to find such a flour, further.
Olive Oil Bread Ingredients (for one loaf)
- 500g flour
- 20g course semolina
- 15g fresh yeast
- 10g good quality salt
- 50g good quality extra virgin olive oil
- 320g of water
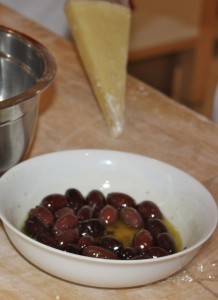
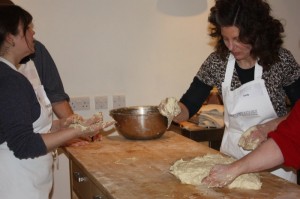
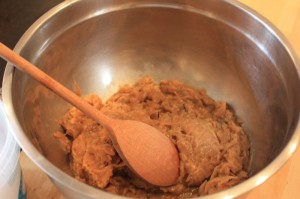
Sophie and I were working together on this one. She dumped the olives into the bowl and I then took the pits out and roughly tore them apart with my hands while she shredded the Pecorino cheese. We weren’t sure what we were making at the time. Some kind of scrumptious bread lovely extra virgin olive oil, Kalamata olives and Pecorino cheese… who cares exactly what. We just happily did what we were told taking in the salty aromas and loving every minute of it. I believe we have 3 kilos of flour in this bowl, so the batch would be 6 times the ingredients listed. “It is just as easy to work 3 kilos of dough as it is to work one kilo of dough, so I will have you learn that now.”
We all took turns and revelled in getting sticky and were learning that it was part of the process of making a beautiful dough.
We learned over and over again what a valuable tool that little plastic spatula is.
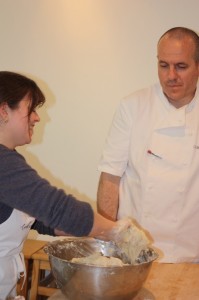
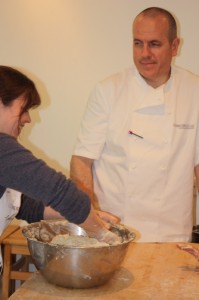
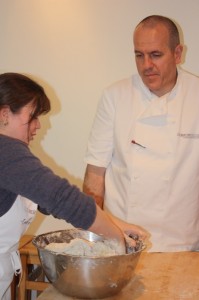
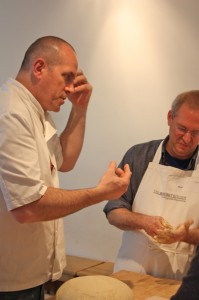
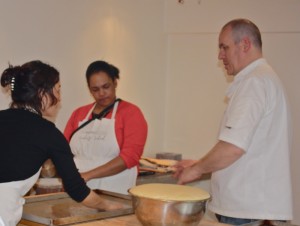
And the Master coaches Sophie. See how patient he is? Then look at the expression on his face in the middle shot. Hilarious. He constantly kept us in stitches, but Sophie could hold her own, and shot a zinger back, I recall.
Now it is on the board, and Emily gives it a go. She uses her spatula to mound the sticky mass into a manageable ball of dough to work. When you do this, never take the spatula away from the dough. Always keep a part of it touching a part of the dough. You will have more control that way. And, after each of us worked the dough and worked at our hand technique and our body movement technique and coached one another and supported one another, the Master stepped in to feel our dough. Isn’t it lovely? It is so beautiful. So alive. Feel it so full of life. So alive.
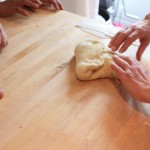
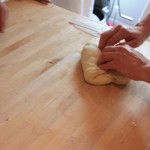
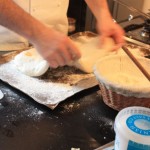
The top is not sticky. The bottom is sticky. When you work the dough, take it in your hands with your thumbs on the top where it is not sticky and place your 4 fingers under it on the sticky side to life it up. Pull it up and toward you, stretching the dough out to fill it with air and slap it down on the table and lift it again: stretching and pulling and inflating the dough with air. When the dough is getting less sticky, pull your hands right away from the sides and turn it 90º before you pick it up to pull it and stretch it and fill it with air again. After about 4 times, use the spatula to form it into a ball. “Take the dough for a walk” with your spatula (roll it around the work area with the spatula never leaving it). And now, it is done and needs to rest.
How do you know it is done? Take your “dough for a walk” with your spatula. Move it around your work surface without removing the spatula from under it, the same way you would use the spatula to form the dough into a ball. Never take the spatula away from under the dough. When there is nothing sticking to the counter when you “walk your dough”, it is done.
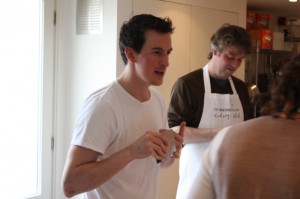
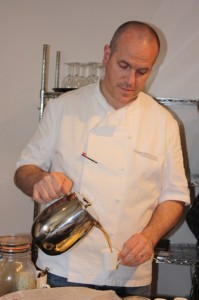
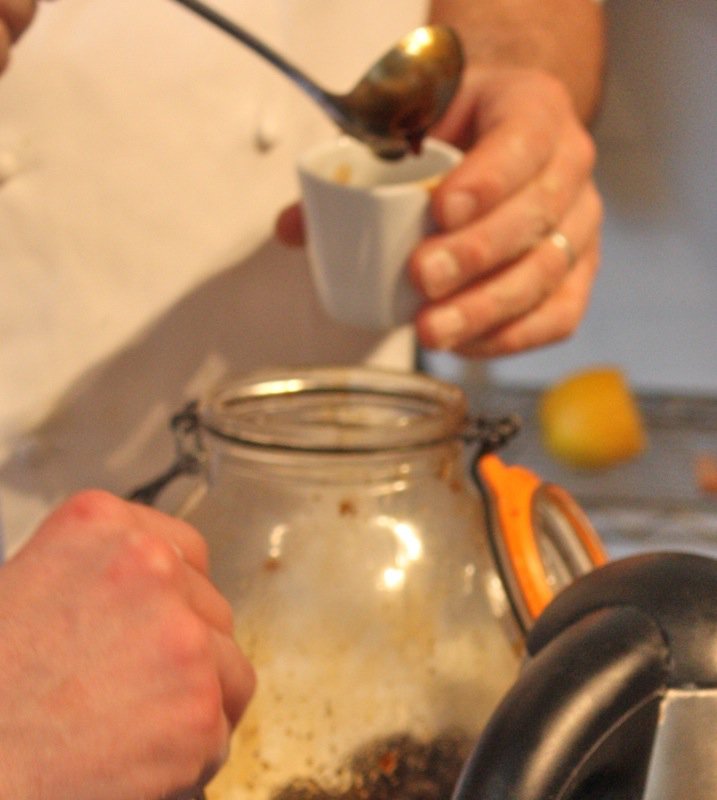
We discuss the experience and our learning and clean our hands and our board and Richard is calling us up to the front again. “Time for some sustenance! There is nothing like a little French coffee to wake you up and we have fresh Hot Crossed Buns for you! ( The class was just before Easter weekend) The coffee was poured, the buns munched and camaraderie ensued. Then, with a wicked little twinkle in his eye, Richard dipped deep into a massive jar and pulled out what was clearly a treasure of some sort and plunked it into the first empty coffee cup. “What is it?” Oh, no! You tell me. I am not telling you anything. You guess, and if you are right, then I will tell you. But, isn’t it delicious? Isn’t it delectable? Isn’t it? The cups were emptied quite a bit faster than they might have been. Arms extended forth. Each politely waiting turn for the plump dark mass that was plunked into our small cup.
I knew immediately that I was eating a prune in alcohol, but what kind? It was so unexpected and so perfect after the delicious bitter coffee. People had guessed other strange concoctions, but when he acknowledged that we were all eating dried plums, the room exploded with guesses for the alcohol. And most were not guesses. They were firm statements. But, all were wrong. Richard clearly enjoyed this tasting. He was having a blast with the mysterious triumph of his sweet treasure. I was sure it was brandy or cognac. But, it was not.
No one guessed rum, and it was dark rum. How perfectly simple. Of course it was dark rum. But, the magic was in the guessing. A big jar filled with plump prunes, covered with dark rum for at least 12 hours….two to three days is better, and, voilà ! A delectable after coffee mystery. YUM!
Richard’s assistant had the new batch made in seconds for the next group. The Hot Crossed Buns were the closest to my mom’s that I have ever eaten. This is one British tradition that we relish in our home every Easter. Mom’s were the best ever this year, and she turned 80 right after Easter. But, how amazing my mother is will be posted shortly with her Birthday Tea. For now, if you are interested in Richard’s Hot Crossed Buns recipe (or my mother;s) just e-mail me, and I will send either to you.
Now our first bread has proofed and is ready to work with. We are making fogasse. I have tried to make fogasse already, at home, when I first got this book. I was not successful. Yet, I had tried and tried. I do learn best by doing and being shown.
Look at this beautiful dough. It is soft and tender and lovely and filled with the air. Take your small hand spatula and very gently release the dough from the edge of the bowl. Try to keep as much air in your dough as you possibly can.
Scrape out every little bit of dough until the proofing bowl is completely empty. Do not waste anything. And there is that wicked little look again (below left). I said waste nothing.
Fougasse
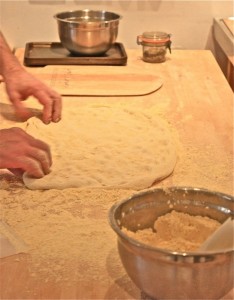
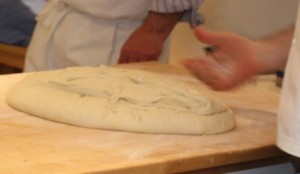
Cut a large wedge of dough carefully from the puddle of dough on the counter with the hand held plastic spatula. Try not to disturb the air in the dough.
Pay attention to which side of the spatula you are using to cut into the dough to make the Fougasse. And, when I blinked my eye, one was already made and …
Richard was doing a little dance in celebration of his achievement. Be prepared to be amused constantly throughout this day.
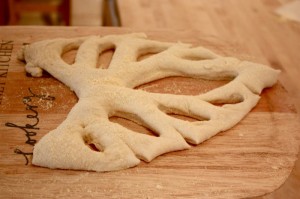
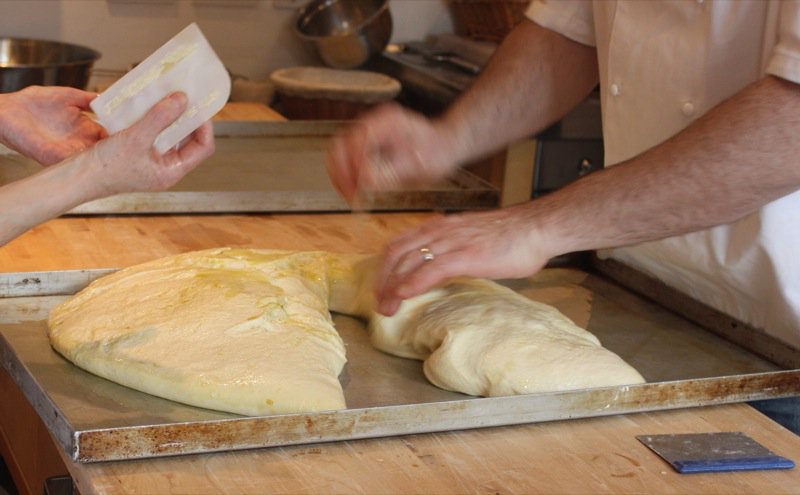
Using the plastic spatula (did I tell you he sells everything he uses in his shop?), make a firm slit from the top of your triangular shaped wedge to the bottom without cutting through at either end.
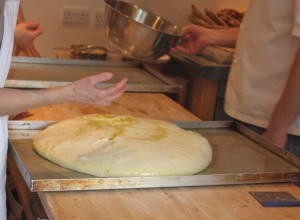
The yellow substance on the board is a fine cornmeal that Richard uses for dusting the Fougasse to enable it to slip off of the paddle and into the oven with ease. Start at the top of teh Fogausse to make the angular side slits: use the short side of the spatula to cut a small angular slit in each side at the top. Use the long side of the spatula to cut the longer angular slit in the middle of each side. At the bottom, use the short side again to finish the Fougasse with a short angular slit on each side at the bottom.
Depending upon the side of your wedge, you may be able to make a slit of two more. The one above has two extra slits. Place a jelly roll pan upside down in the oven and heat it to 500ºF; lift your Fougasse onto the paddle and ensure it slides. When the oven is hot, slide the Fogasse onto the back of the cookie sheet from the paddle for 10 to 12 minutes to bake.
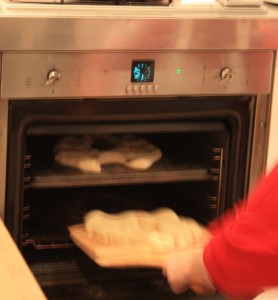
Bend down so you are eye level; open the oven and LET GO OF THE OVEN DOOR, then slide the Fougasse onto the preheated pan with a jerking motion, closing the door quickly. I did this three times and thought I had let go of the oven door. The third time, Richard knelt beside me, and gave me a look I had definitely not seen before: “Hello? Is anybody home?” I had still not let go of the oven door and truly thought I had. The lightbulb really went on at that moment. What a huge habit I had to work to over come if I was going to be able to slide my bread into the oven on a paddle. “Let go of the oven door.” You just cannot do it unless you have let go of that door.
See how Richard is using the long slat to remove the Fougasse from the oven? Beautiful! And this is definitely bread that you have to chew.
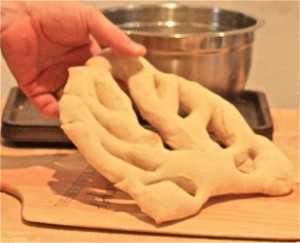
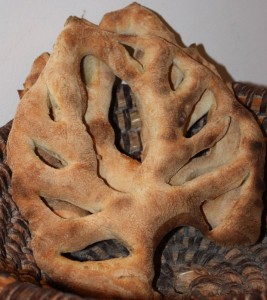
 Look at the gorgeous crust on this Fougasse. It is a work of art. Below, left, you will see that Richard has sharply cut into the sides of the Fougasse between the inner slits out of the edge to add movement and appeal as there was room within the doughy shape of this one to do it.
Sophie’s proud work of art. And now what?
Focaccia
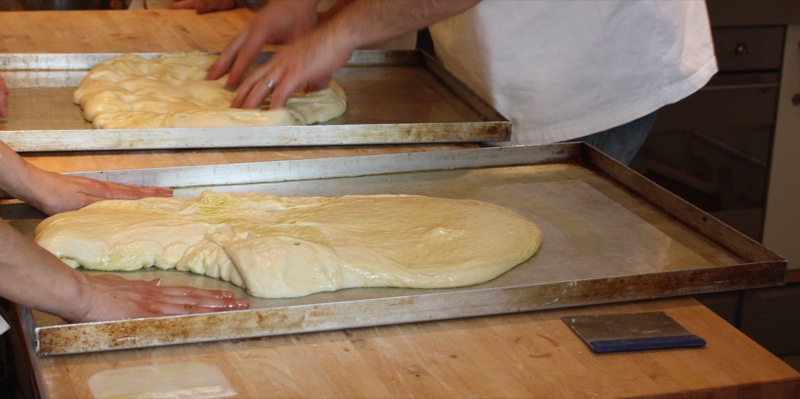
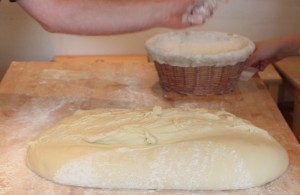
Look at the gorgeous, soft bowl of proofed dough (three kilos of flour was in this batch). Carefully, with his spatula, Richard eased it out of the bowl and then proceeded to cut the entire puddle of dough, very precisely and confidently, in half. One for you, and one for me. He had everyone make Fougasse, and then two tables made bread sticks while one table finished the Focaccia.
Each cookie sheet was completely covered with oil before starting, and then the bread was also generously sprinkles with oil before starting.
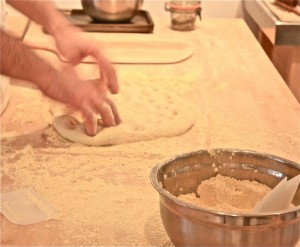
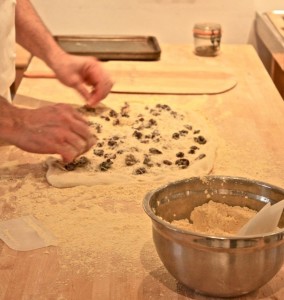
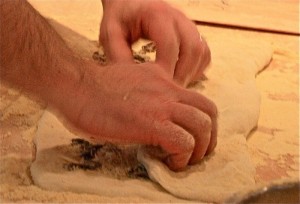
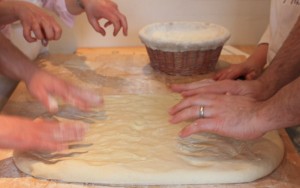
The same firm fingers-into-the-dough technique was used to increase the surface area and prepare the dough to receive its Focaccia topping.
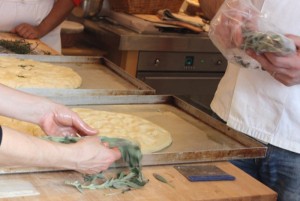
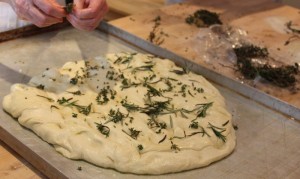
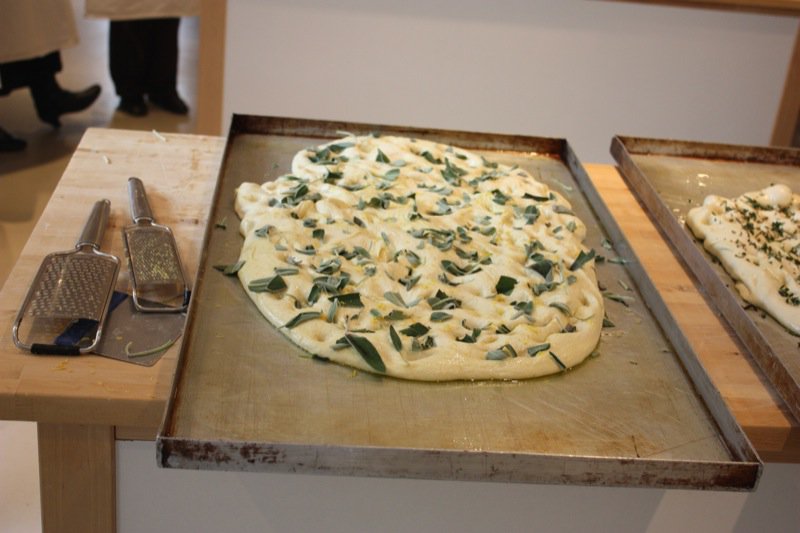
Each one was different: one was made with fresh sage leaves, olive oil and sea salt; the other, with fresh rosemary, lemon zest and sea salt. Both were fed a liberal lashing of extra virgin olive oil throughout the process and after proofing, just before going into the oven.
What are we going to do with this other huge bowl of bread?
Mini Loaves
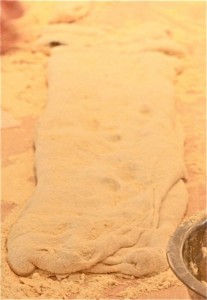
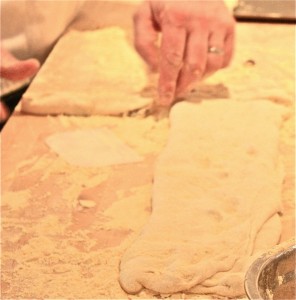
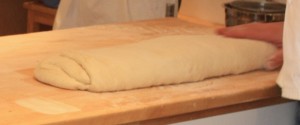
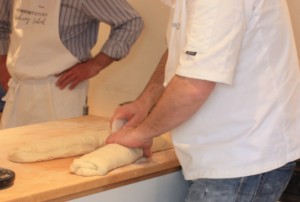
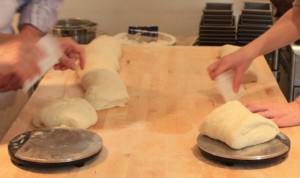
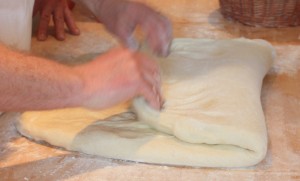
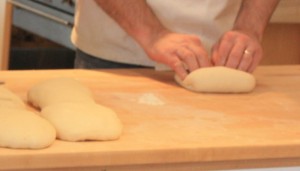
Once again, be gentle with the dough. Do not deflate it. Honour the beautiful bubbles of air within. Use your fingers to expand the surface area, then fold the dough lengthwise into thirds.
This time, right down the middle to make two logs of beautiful supple dough. One for this table, and one for another.
Weigh each portion of dough at 400g and place them in the order of which was weighed first as that will be the order that you return to first to prepare for the pan.
Once you gain experience, you can eye the correct portion of dough quite close to the accurate weight.
Here is yet another bowl to prepare on our own.
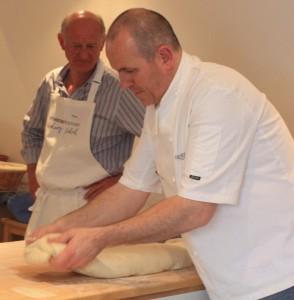
And the Master is a hands-on coach as he checks for consistency in weight of placement before we divide our dough.
Beautiful. Do not be afraid. Take control of your dough.
And remember the placement of your portions: first placed must be first used.
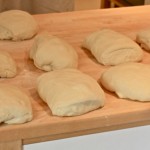
What gorgeous puffy pillows of dough proofing while we weigh out other portions.
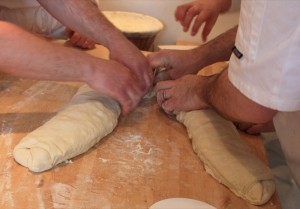
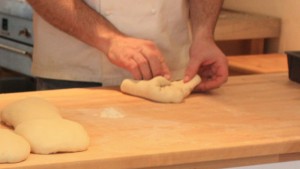
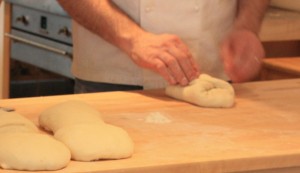
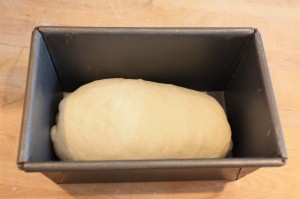
Now pay attention. I am starting with the first portion I measured. And to prepare it for the bread pan,move the square of dough to a diamond shape in front of you with one point up and another down.
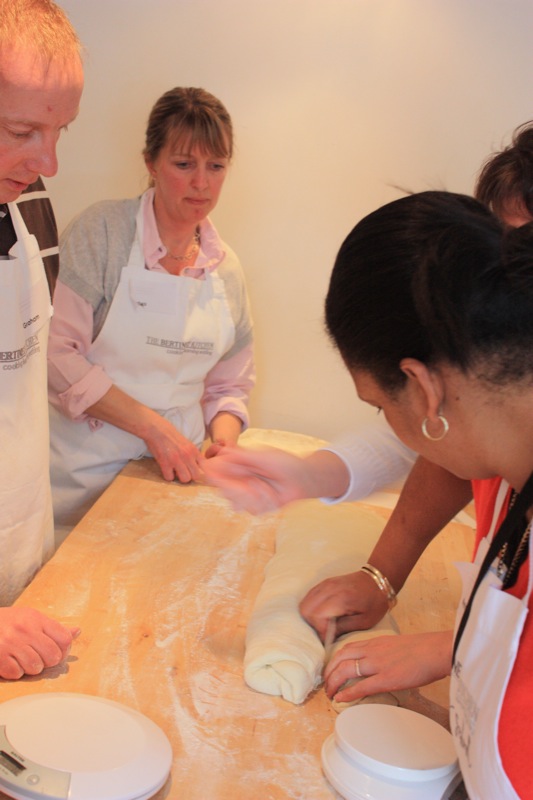
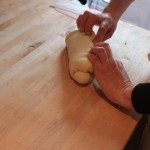
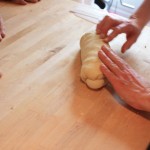
Fold each side into the middle like a baby’s swaddling blanket. Fold the top onto it, and the bottom up over the top. Then fold it over, and slip it into the pan to proof again until double in size.
And our turn…
C’est fini!
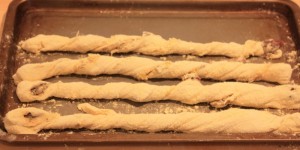
Does this man know how to party! What a class! Let’s dig into our cheesy olive bread sticks with some fabulous extra virgin olive oil and a choice of wines. YUMMERS! The cold water was excellent, too. Phew!
It wasn’t hot in the room. I was just hot, and thirsty and having the time of my life. A bread stick had never tasted better. Crunch!
Look at the fruits of our labours! The Focaccia is still proofing beside the bread loaves.
But wait! There is yet one more bowl of airy dough bubbling over.
Pissaladière
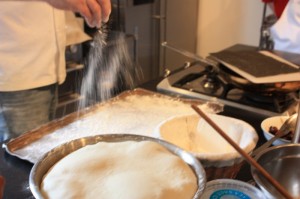
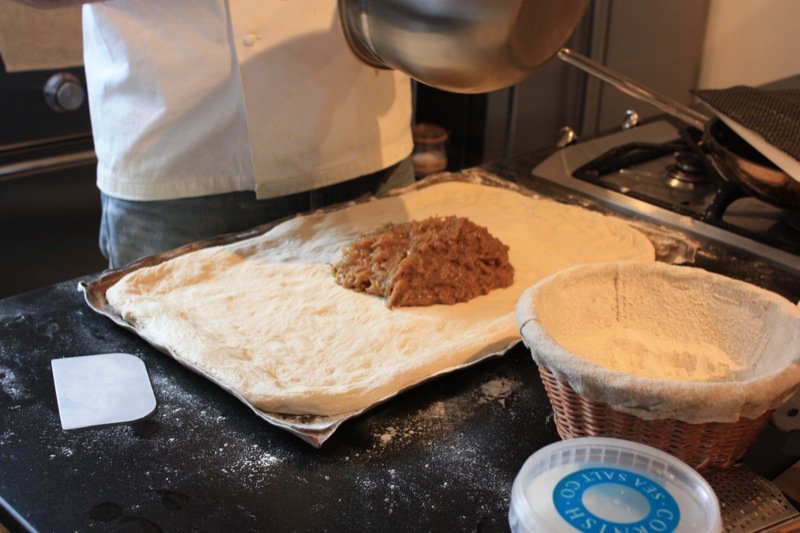
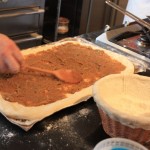
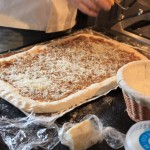
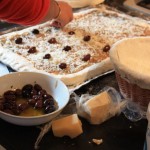
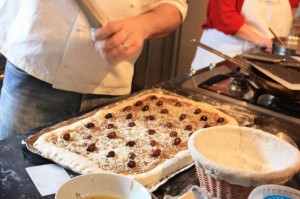
The onions were caramelized ahead of time with some extra virgin olive oil, salt, pepper and thyme. A huge sheet pan is floured to ready itself for the dough. Plop! Out it comes onto the sheet pan in one big wobbly-plop!
This is a man who knows to teach and to cook. He is a man after my own heart. He readies his dough, takes a drink, wastes not a hint of the onion topping using my favourite “money saving tool”, the rubber spatula to ensure every savoury morsel will be eaten and enjoyed.
And there is literally no mess anywhere. “Clean up behind yourself. It clears your head. When your work area is clean, your head is clear, and it is much easier to control your dough.”
Who likes anchovies? Ok, I’ll leave them off. I LOVE them, but, this is going to be delicious either way. I would have loved to see them on half… but, I will just make mine with them at home!
Never forget to season your food. This is salty, and must have pepper.
Let us critique your work today. Hmmm… look at this one! (One of mine, I am sure, that I shot into the oven in a crumpled ball because I could not let go of the door to do it properly). There is that wicked little grin, again!
And suddenly the Focaccia is out of the oven being drizzled again with oil, and the entire room has been completely transformed without interrupting our instruction and enjoyment. I had noticed the quiet organizational change as the tables and chairs were brought out of the storage room at the back, but it was not an interference. And is was a brilliant use of space. Impressive to watch it all come together so quickly while we were sipping our wine (or water), nibbling our bread sticks, all yet completely mesmerized by our Master.
Time now to sit and break bread together. To enjoy the fruits of our labour and to celebrate this feast of new learning. I highly recommend purchasing Richard Bertinet’s first book: Dough. It is excellent. The accompanying video is excellent and it completely changed they way I made bread years before I was able to attend this class and learn from his guiding hand.
This is the best cooking class I have been to. It surpassed my expectations, though I am not sure what they were. If anyone is interested in attending any of his longer classes, call me, and I will come with you. Maybe we can get a few others to join us. The location is superb, but there is no one who could replace this teacher. He is passionate about what he does. He is passionate about you learning how to make incredible dough. He is passionate about bread.
Beavie was completely ripped off when I left him in the hotel room. He still hasn’t recovered. I told him that he was lucky to get tucked in the suitcase! He did have a pretty good time…
Yeah, right! And I suppose she thinks I am riding in first class, too – stuck between her laptop and her briefcase! I could barely breath. I did get to see out the window of the plane, though. That was pretty heady for a little Beaver like me, so I guess I had better learn to take what I get. Watch the video. Richard Bertinet rocks!
Then read about our breaking bread together in a lovely simple spring meal full of flavour, life, and lively conversation.



























LOL @A lot of Ikea furniture"...what a remark! Vanja is an observer. Just realized Bertinet is the author of “Dough”. His another book “Brot und Gebäck für Genießer” is pretty good too.
I am not a coffee drinker, but flavoured with old rum sounds fantastic.
I just had my sourdough caraway seed bread as the breakfast with a pot of hot Oolong tea. Artisan bread rocks!
Valerie, I am amazed at how much detail you remember for each of your posts. They are so well written and everything explained so clearly. Although I am like you, I definitely am a hands on learner. You always take such great pictures to capture your thoughts exactly. What an experience this must have been.
And I’ve never heard of putting a prune covered with dark rum for two to three days into a cup of coffee. The incredible things you learn from the wonderful wold of blogging. Once again, thank you so much for sharing this wonderful experience with us. I can only dream of what that room would have smelled like after all that delicious baking.
Richard Bertinet
Dear valerie, many thanks for the links to this on my facebook page! You’ve captured everything that we are all about and glad that I was able to share some of it with you. Keep baking and see you in Canada, I hope soon. Richard
Sticky dough. Who would have thought. I made some pizza dough on the weekend and it was sticky – I should have been more patient and not so easy with the extra flour
Looks like you had a wonderful day.
PS I rely a bread machine for everything
Valerie
That would be a dream come true! These breads you made are so beautiful it is a testament to the amazing abilities of this man as a teacher and an artisan baker.
I am going to be reading this post and rewatching the videos over and over until I get fully imbibed with his teaching; thanks so much for sharing this wonderful experience with us
Those breads are just wonderful!!
Great post!! love all the photo’s. I love cooking classes, they are so fun!
OH MY GOD, I HAVE GOT TO GO!!!!!!!!!!!! Again, I will be sending your post to hubbykins. I could totally do this class in Bath (its far, but it look so fun). Hubby owes me a favour, you see, after I had to make a mega dinner for his relatives when the came over (hence my recent cake post).
I cant tell you how much i loved reading this post and seeing all those great pictures. It really gave me an idea of how much I HAVE TO GO.
*kisses* HH
Valerie! I felt like I was with you the whole time. I don’t think I’ve read such a detailed post on making bread – not even from the cookbooks! Thank you for sharing this. I love your dedication to making us feel the entire experience. I would love to make the olive bread.
I am green with envy. What a fabulous day this must have been. I hope you are having a great day. Blessings…Mary
Dear Valerie,
You are a total star! This is a work of art and the photographic record of our day wonderful. THANK YOU for capturing this and me then sharing it with everyone! You did have me in hoots of laughter on the master and his apprentice shot ““ totally hilarious. How on earth did you capture all of the information and work with us on the bread as well? I think both reports are excellent and I couldn’t add a thing.
I made Richards parmesan,parma and pine nut slices for lunch yesterday – totally divine to a brit who’s favourite breakfast is a bacon sandwich. If you’ve not made it, it’s a total must.
Hope you come to the Cotswolds one day! All the best Sophie
Hey Valerie, I really enjoyed reading this post, which I can’t always do due to attention span. I felt like I was there in the windy street looking for the school with you, and the chef’s personality seemed almost too familiar. I’ve worked in restaurants most of my life, so maybe he reminds me of someone.
I’ve been baking more breads lately, so I will refer to this post again (simple ingredient breads is my philosophy too. Oh, and CHEWY!)…
I read every fascinating word of this post! I’ve made a lot of bread but never thought I could knead it without additional flour!
Would have loved to take that class with you, but your step by step photos anc commentary are the next best thing!
What an experience! I used to spend time in Bath when I was a child. It is so beautiful there. I so wish I could go back, I would appreciate it more now. Your class looks like it was unbelievable. I wish I could reach into my screen and pull out those crusty breads 🙂
xxoo
Valerie I am extremely jealous of your trip to Bath! You have so many detailed pictures, and the breads look delicious! I hope you still had enough time to enjoy yourself amidst all the picture taking!
What a wonderful post Valerie and amazing how you captured the atmosphere. I’ve never been to Bath and felt I was there with you. Pity that I wasn’t because I would have loved that class. Bread can be so simple but absolutely addictive and it’s truly one of my favourite things, although I think I would have devoured everything there.
Oh and Beavie has captured my heart!
Thanks for this post. You did such a great job, I felt like I was there with you!
I want to know how Bertinet kept his hands so clean while working with that sticky dough. I made a sticky dough this week and my hands looked worse than most of the students hands, I must have lost a sixth of my dough to the glop on my hands!
His prunes look fabulous. I used to make something similar to that. If I recall correctly, it was prunes, port a cinnamon stick and a week’s time. The resulting macerated fruit was great to eat just like that, but even better cooked with meat.
Dear Valerie
Thank you so much for this information. I live in the UK and have booked a one-day Introduction to Bread Making course at Richard Bertinet’s school. Unfortunately, Richard will not be taking it, but I hope it will be fun.
I’m very nervous about the wet dough. I tried it at home and couldn’t get it right. I had bits of dough absolutely everywhere and it stayed so sticky.
Dear Rainbow,
You will love this course and learn a great deal _- but keep trying, in the meantime because you will learn a lot more at the class if you have already faced a lot of challenge! I found I got just the assistance I needed to succeed. If I hadn’t already practiced and made so many mistakes, I wouldn’t have learned so much! 🙂
Valerie
Hi Valerie,
I have read “Afternoon Dinner with Richard Bertinet” but didn’t realize you had another blog – “The Bertinet Kitchen Cooking School in Bath” – It is fantastic. I would love to have done it along side you. What lovely photographs. They really tell a wonderful story. I will print it out and keep it along with his books. I haven’t been blogging much since I lost my elderly friend, but I will get back into it shortly.
Cheers.
Hi Valerie I have just read your wonderful post about the Bertinet Kitchen, the detail is amazing. I had the good fortune to attend the 5 day course at the beginning of March and I can honestly say it is one of the best experiences I have ever had, your post brought it all back, you even managed to describe and capture in pictures that look when he sees you doing something wrong. I will be going back to do another course. I am so confident making bread now and if I was younger(much younger) I would consider making it my career. Thank you
Wow, what a comprehensive post, and fantastic photos Valerie! I went on this course today, absolutely loved it 🙂 And weren’t those prunes divine?! It took our group ages to guess that they were soaked in dark rum…
So wonderful for you to stop by! I have a jar of rum soaked plums in my fridge as we speak. Ever since this class, I have kept the jar full and had so much fun plopping one in an espresso after lunch, dinner or during a mid-morning visit! You have brought back a flood of great memories by stopping in today.
🙂
V
Thanks for such a detailed account of your experience – it sounds fabulous! I am headed over to Bath tomorrow for a chocolate masterclass (it won’t be Richard teaching, but hopefully my teacher will be just as engaging). I was already looking forward to it, and your account makes me anticipate it that much more. (Also, I have been checking Google maps to find the school, which eventually I did, but your difficulties in person echo mine online!)
I would love to hear back from you about your experience, Tara! The breadmaking class, though I had the kneading process almost under my belt before it, truly changed my bread making life forever.
Thank you, Richard!
🙂
Valerie
Hi, Valerie,
Thanks for your wonderful posting about your experience in Richard Bertinet’s Cooking School. I have a question to ask. When you said: ” Never place dough onto a cold cookie sheet or cold surface and then into an oven. Always have a hot stone, piece of slate, or upside down jelly roll pan hot in the oven to slide your dough onto.” What does it mean? Don’t we usually have to put the dough into a pan then put the pan into oven? Please forgive my ignorance. I just could not understand it. Thank you.
HI Sophie,
Richard told us that we should use a paddle, remember? Have the upside down cookie sheet (instead of a stone) heated with the oven – mine goes only to 500F, and use the paddle to shift the dough onto the hot surface for baking for the crispy bottom crust. I bought one of his paddles while there and my bread has never been the same since. I always use ice, too, for the steam. Does this now make sense?
🙂
SO lovely to reconnect. These posts are so old. The photography is terrible, but such a wonderful memory! I have taught so many here how to bake Richard’s way – particularly with his “knead” which is says is not kneading! He works the dough without adding much extra flour. So vastly different than the British bread making school that we learned in the Alberta Prairies and such incredible bread, now, as a result.
Hugs,
Valerie
🙂
Valerie
Hi Valerie,
Where do you live in Alberta? May be I can come and learn from you someday when I visit my daughter in Edmonton. I love baking. I also go to London once every year or two. I have a daughter who teaches in University of Kent. My husband and I go there quite often. I may be able to ask her to buy a paddle. I do not think she has the time to take me to Bath to meet the Master and learn from him. I tried to make his sweet dough yesterday with reasonable result. It is so refreshing to learn the technique and it is also very addictive too. By the way I got your recipe of Tart Cherries squares and have been making them since. My daughter in Vancouver just love it! Thank you Valerie. I do have two sour cherries trees in our garden. We have a small hobby farm in Maple Ridge and enjoy the country life very much. Thanks again for your quick response
Sophie
So funny, Sophie
I thought you were a friend I had just reconnected with named Sophie – who attended this class with me!! The timing of the reconnection and your comment on this very post with the same name is eerie. 🙂 I am from Edmonton AB. I no longer teach cooking classes. You can buy a paddle in Edmonton, at the Italian Centre Shops. Pizza Paddle, bread paddle – they are all the same. Hope that helps!!! I took a train all by myself to Bath for the class. Yup. That was brave, eh? And so worth it. Very expensive, though – but again – a life changer for me bread making wise, so really worth it. I don’t think that’s my tart cherry recipe – 🙂 = I don’t have a tart cherry square recipe! Living on a hobby farm was once my dream…. you are so lucky! Thank you so much for chiming in. It made my day!!!
🙂
Sincerely,
Valerie
Hi Valerie,
Yap! That was brave of you to go by yourself to Bath. i have a very poor sense of direction. I even get lost in my own neighborhood. I know it is expensive. I checked with them and it would cost 520 English pounds. I do not think my husband will let me spend that kind of money for a bread making course. I will sit on it until we go to London again. Thanks again for your sharing of your recipes. God bless.
Sophie
Holy cow! It was 275 pounds when I went and that was 400 CA back then… but now – whoa! I completely understand. His books Dough and Crust each of a DVD in the back – or used to – likely a key, now – and they are great. If you cannot attend the class, practice with those!
🙂
V
Hi Valerie,
I apologize for misinformation.
I do not know how come £520 stuck in my mind. Please accept my sincere apology. I went back to read the email This is what I got:
“We run a number of public classes that you can book onto if one co-incides. These range from £210 for a one day class to £950 for a 5 day course.
Alternatively, it is possible to arrange for a private day with Richard at your convenience (though of course subject to his availability). The price for this is £2500 for a full day. Of course you have his undivided attention and the class can be specifically tailored to your needs and what you would like to learn and you can get through more this way than as part of a group.
By the way, my daughter is going to get those books for me as one of my Christmas presents. Thanks. God bless.
Sophie
Lovely! You will love the books! Easy to follow.
Happy Holidays!
Valerie
Thank you. Happy holidays to you too. I will let you know when I actually have the book and try out.